
My Crochet Strawberry Applique Pattern is a cute way to decorate for summer and spring! Made with simple rows of single crochet, this pattern is perfect for beginners.
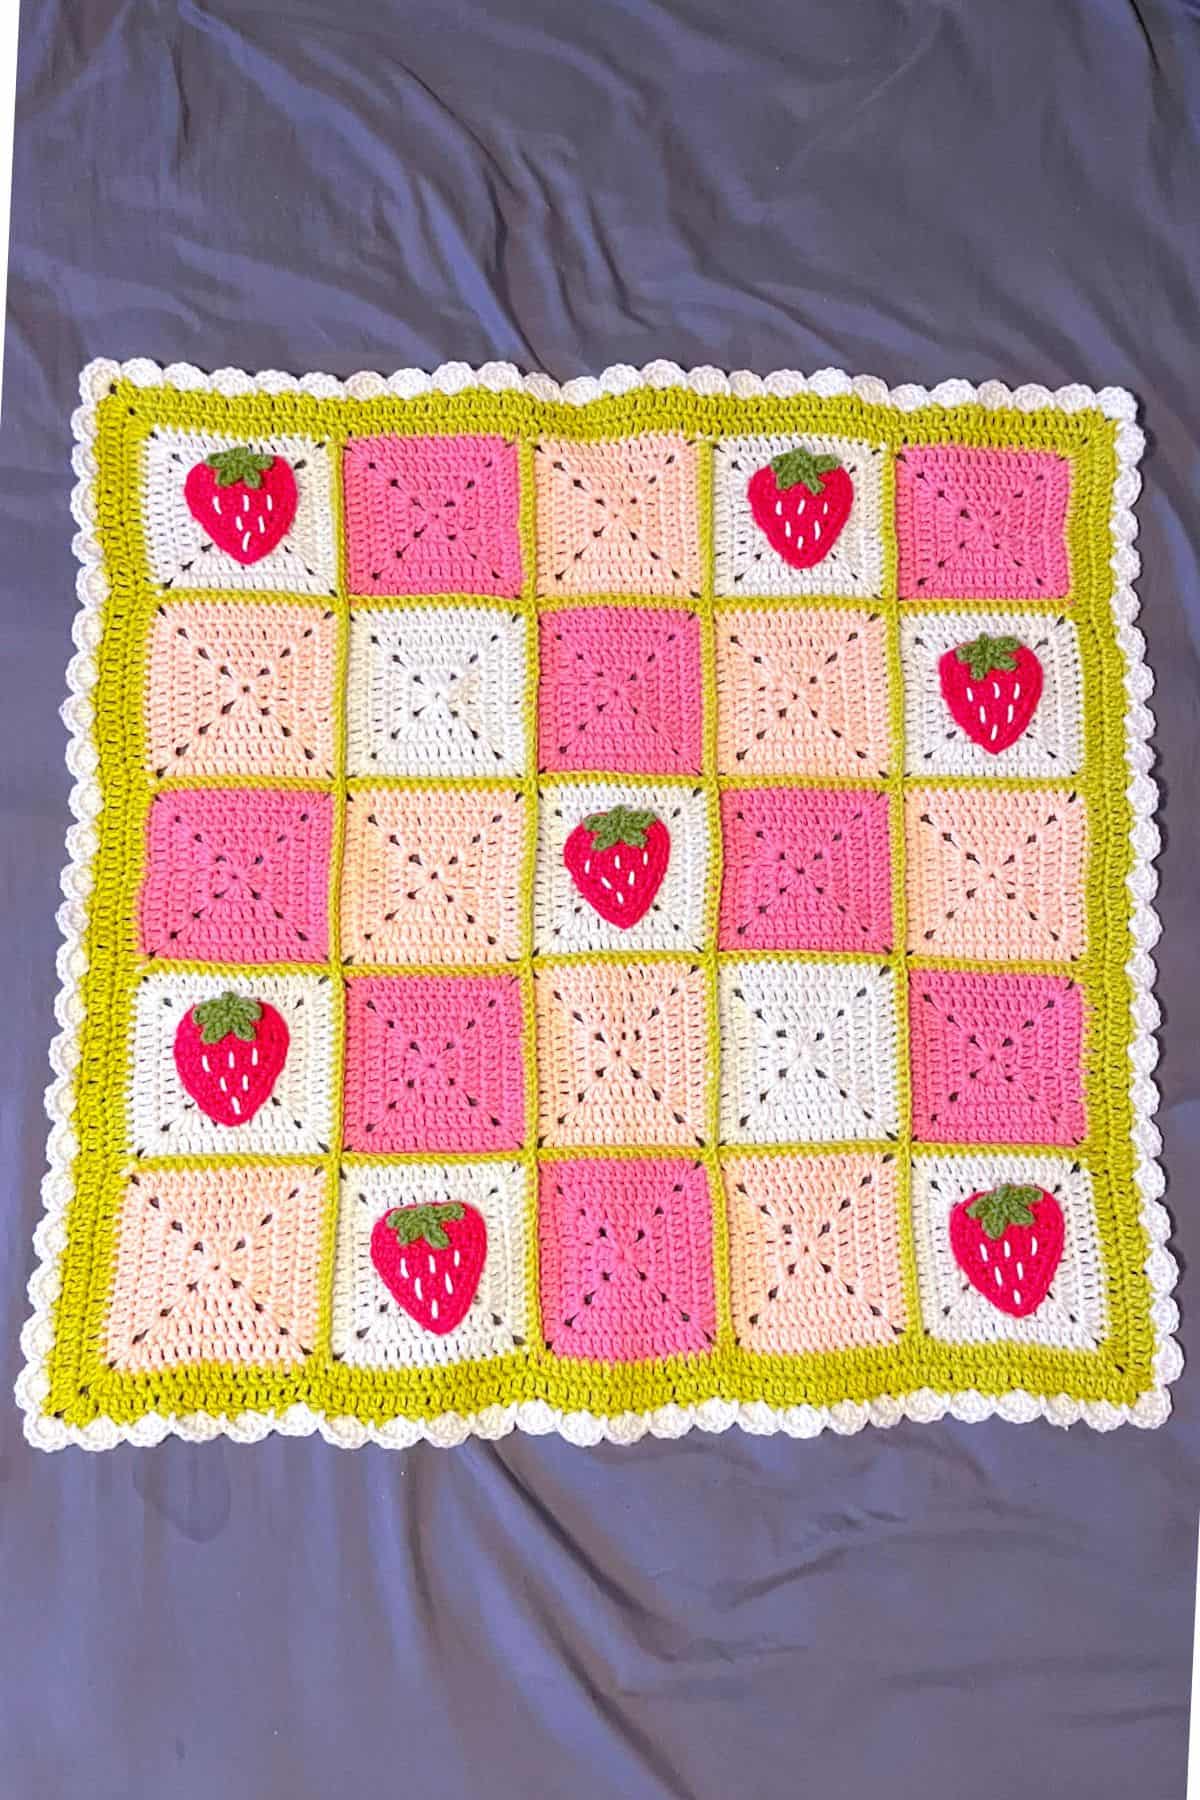
If you love strawberries like I do, you'll want to make my crochet strawberry applique ASAP! They're great as additional decorations for scarves, backpacks, and blankets like my crochet strawberry blanket pattern.
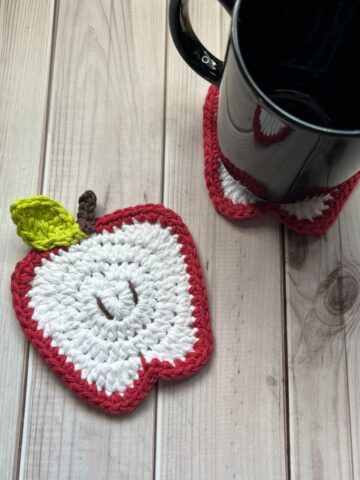
You can even sew two of these appliques together to create a crochet AirPod case. If it’s too small, try my slightly larger crochet strawberry coaster pattern to make a bigger pouch.
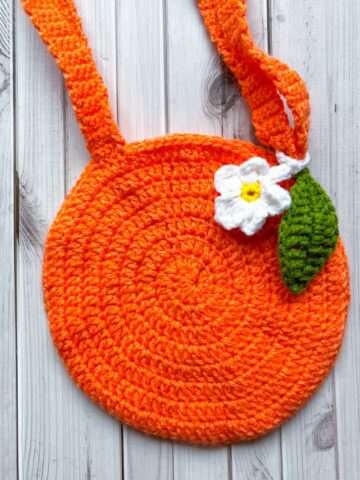
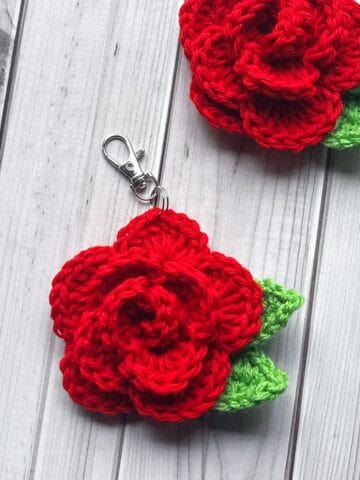
Strawberry-themed items sell well at markets, so knowing how to make and attach these appliques is valuable! You can also create and sell crochet strawberry bags, crochet strawberry keychains, and more.
If you have leftover yarn, consider making my crochet strawberry pillow pattern. It uses a bit of yarn, so make sure you have roughly 300 yards.
Now let's get started learning how to crochet a strawberry!
Jump to:
✏️ Things To Note:
- Yarn Choices: The crochet strawberry appliques use acrylic yarn, but you can use any yarn, even blanket or fuzzy yarn!
- Versatility: The crochet strawberry applique pattern is perfect for all types of projects - blankets, pillows, hats etc.
- Size Adjustments: The finished appliques are roughly 4.5 inches tall and 4 inches wide. To make them larger, add another row of increases before maintaining the stitch count. For smaller sizes, use a smaller hook.
💭Abbreviations to Remember (US terms)
- Chain - ch
- Single Crochet - sc
- Increase - inc
- Decrease - dec
- Slip Stitch - sl st
🧋Variations
Color Variety: Switch out the red yarn for light pink or white to create different shades of strawberries.
🍵Instructions for Crochet Strawberry Applique Pattern
The crochet strawberry applique pattern is made in rows.
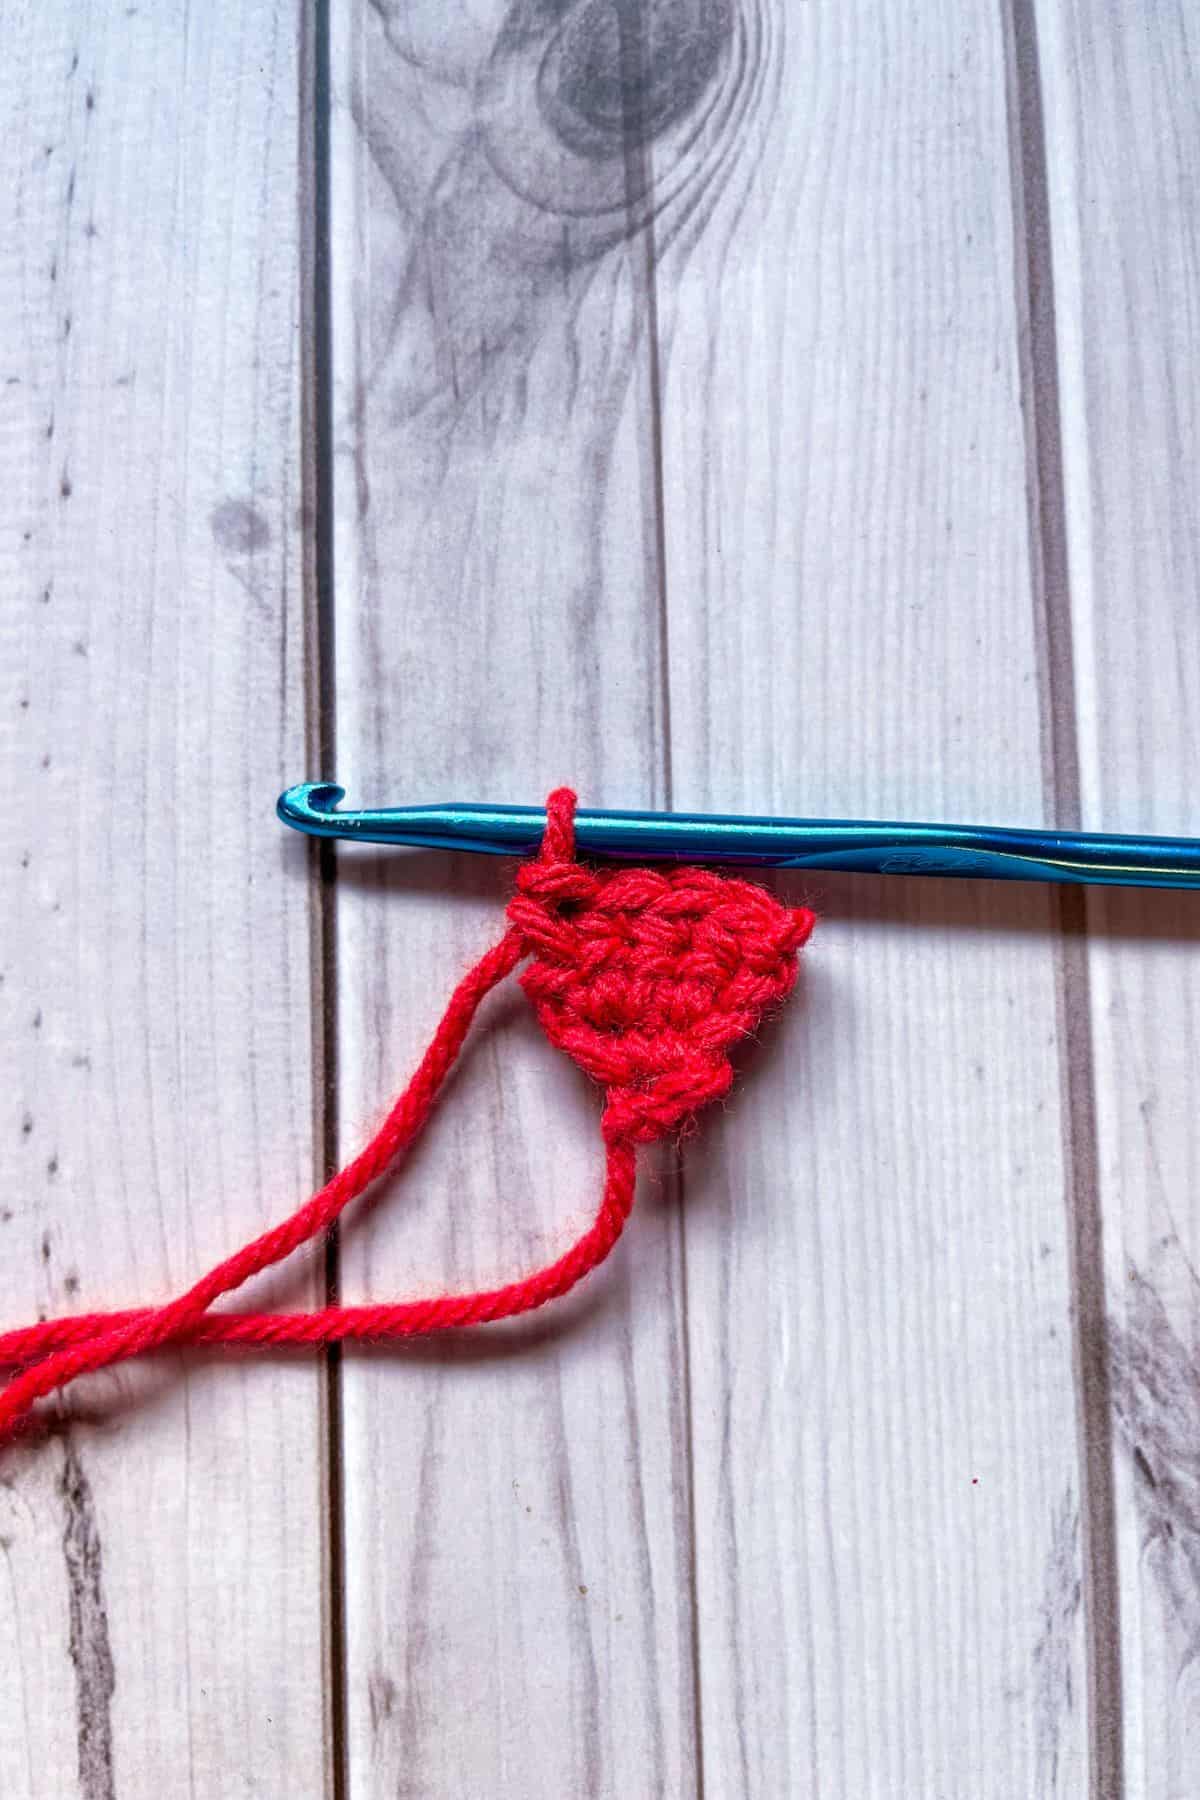
Row 1: Ch x2 and turn.
Row 2: In the second chain from the hook, make an inc. (2) Then ch x1 and turn (for this next row and every row afterwards you will make a turning chain, but do not work in it. It’s to help turn your work).
Row 3: Inc x2 (4). Then ch x1 and turn.
Row 4: Sc in every stitch (4). Then ch x1 and turn.
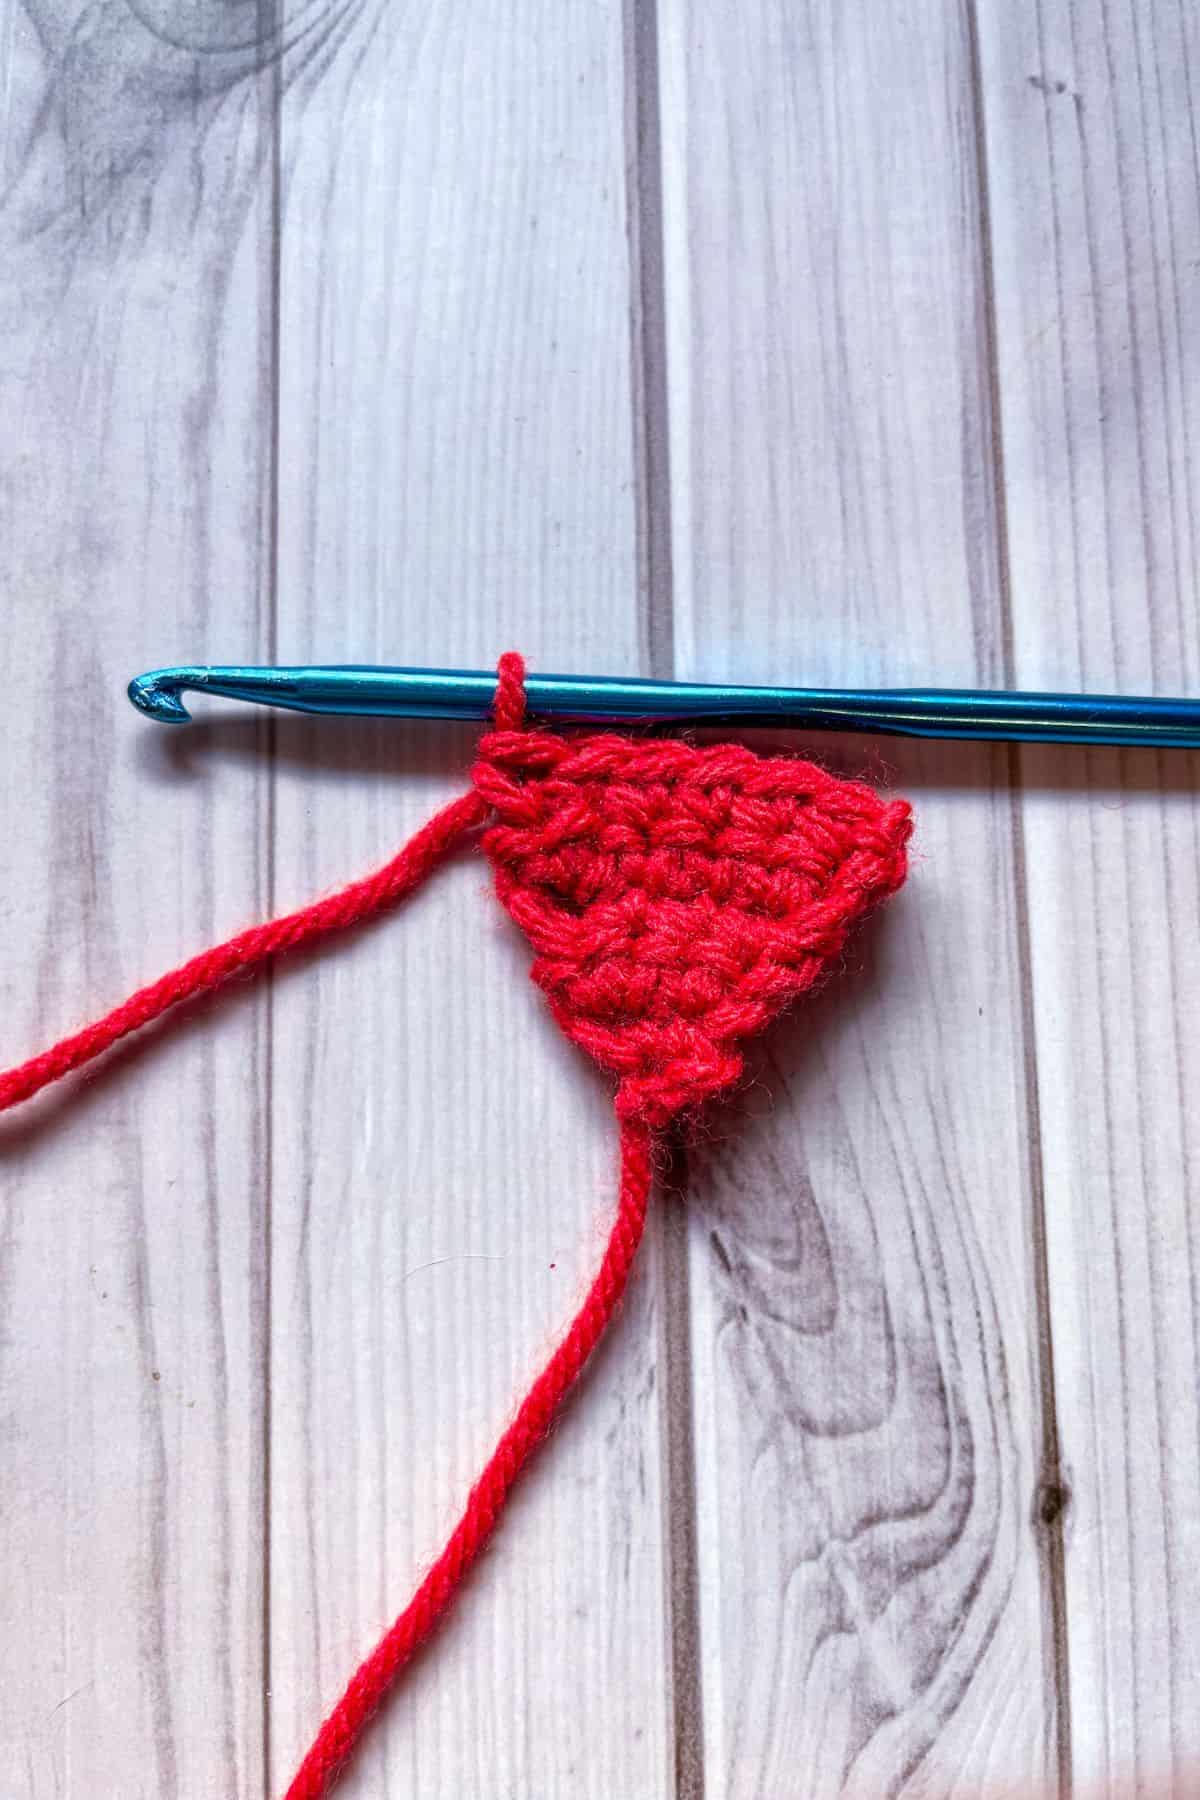
Row 5: Inc, sc x2, inc (6). Then ch x1 and turn.
Row 6: Sc in every stitch (6). Then ch x1 and turn.

Row 7: Inc, sc x4, inc (8). Then ch x1 and turn.
Row 8: Sc in every stitch (8). Then ch x1 and turn.
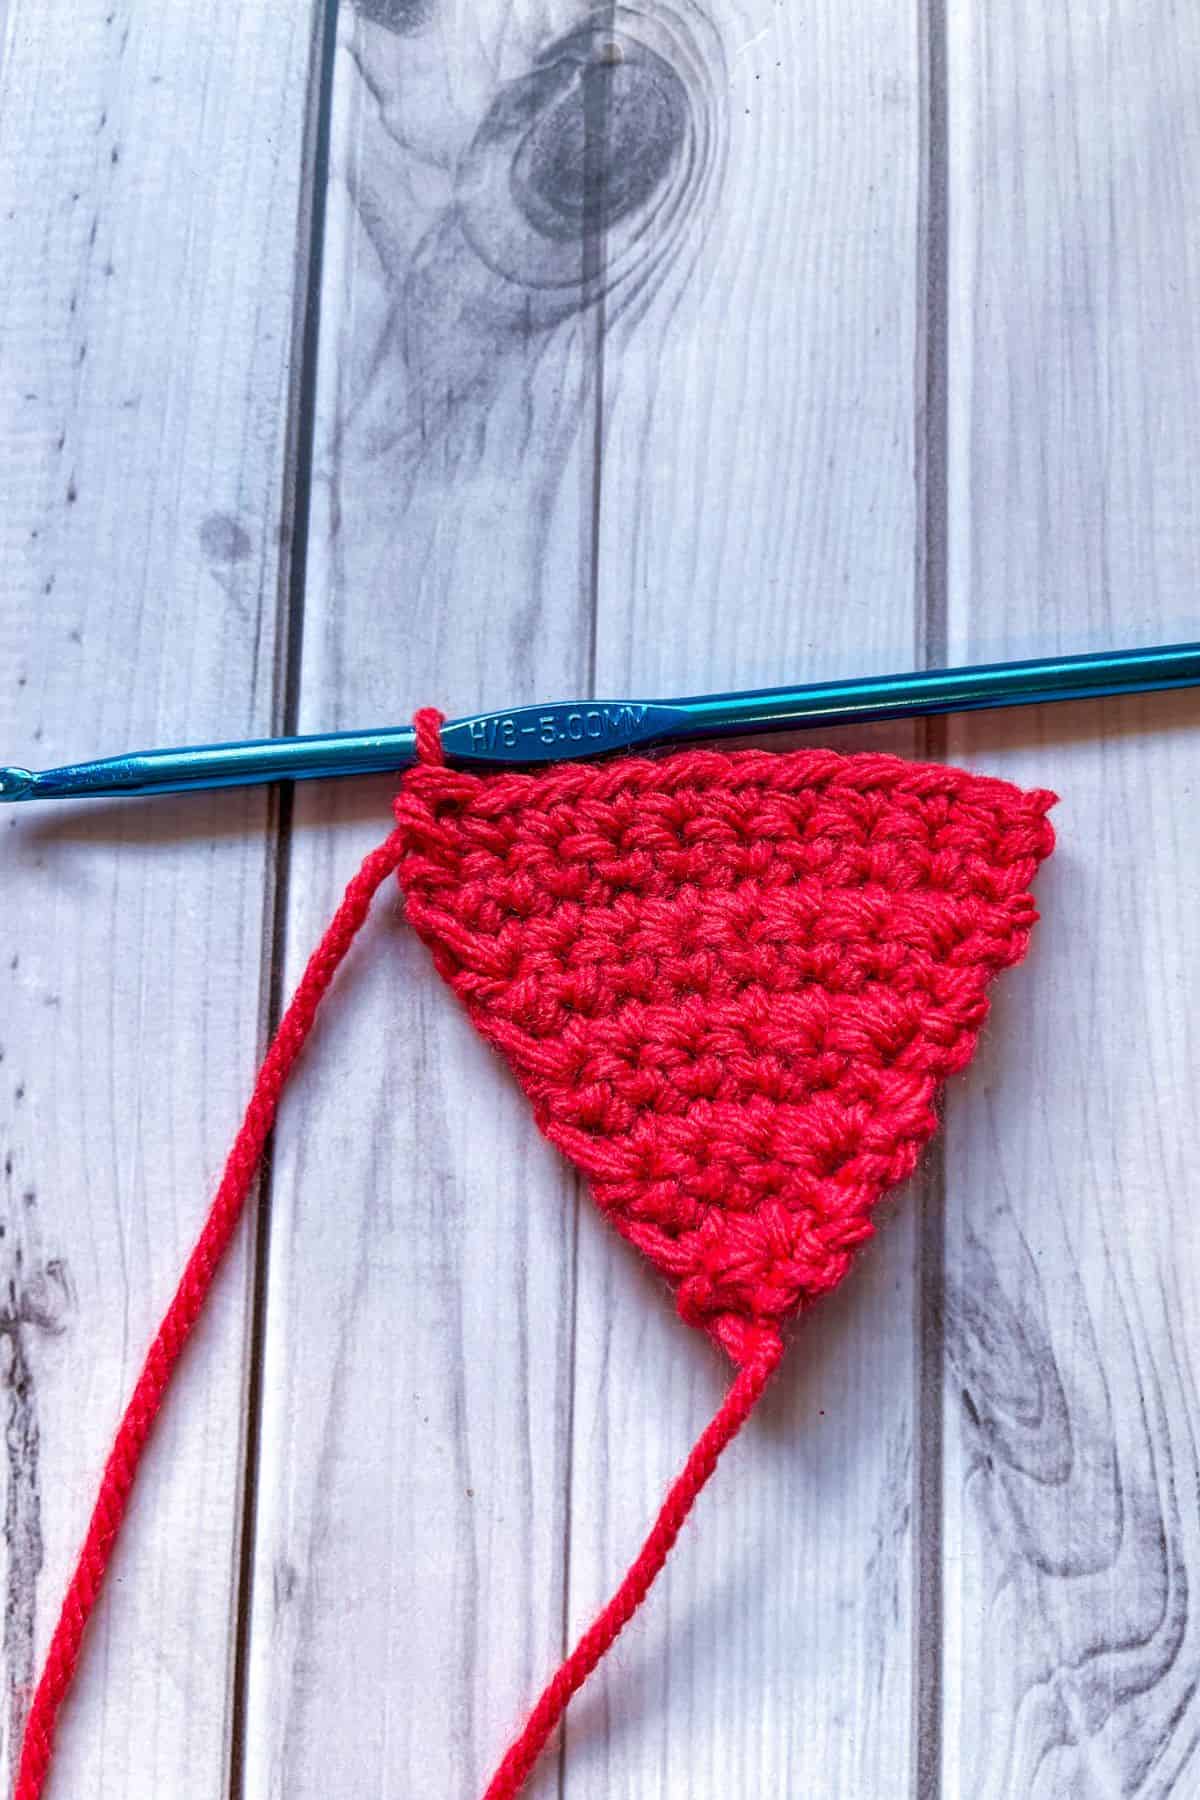
Row 9: Inc, sc x6, inc (10). Then ch x1 and turn.
Row 10-11: Sc in every stitch (10). Then ch x1 and turn.

Row 12: Dec, sc x6, dec (8). Then ch x1 and turn.
Row 13: Dec, sc x4, dec (6). Then ch x1 and turn.
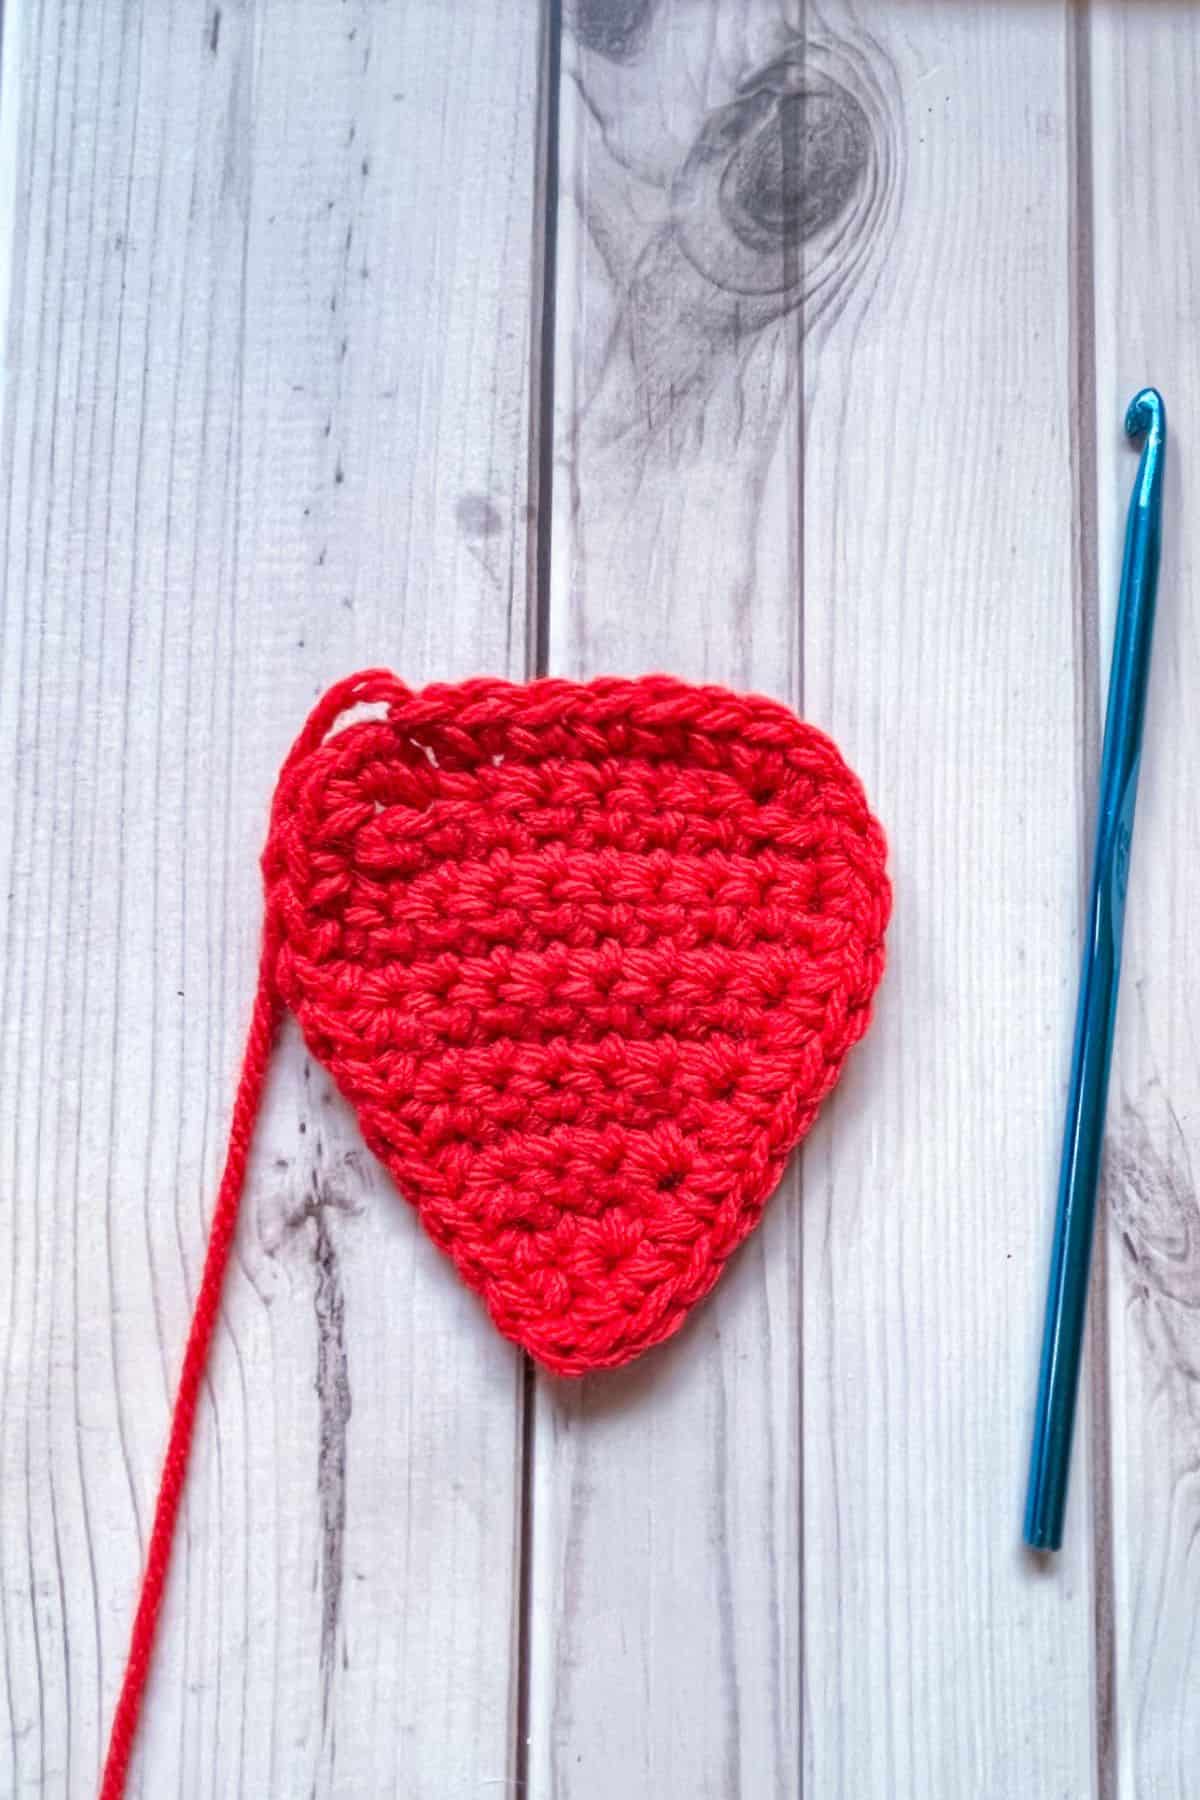
After your last row, crochet around the edges of your strawberry if you want a neater finish and a slightly bigger strawberry. This should be equal to roughly 30-32 stitches. You want to put 2 stitches at the top corners of the strawberry and down at the bottom, otherwise its 1 stitch per row/stitch. Then fasten off and weave in the ends.
Crochet Strawberry Stem and Leaves:
This pattern is made one stem/leaf at a time.
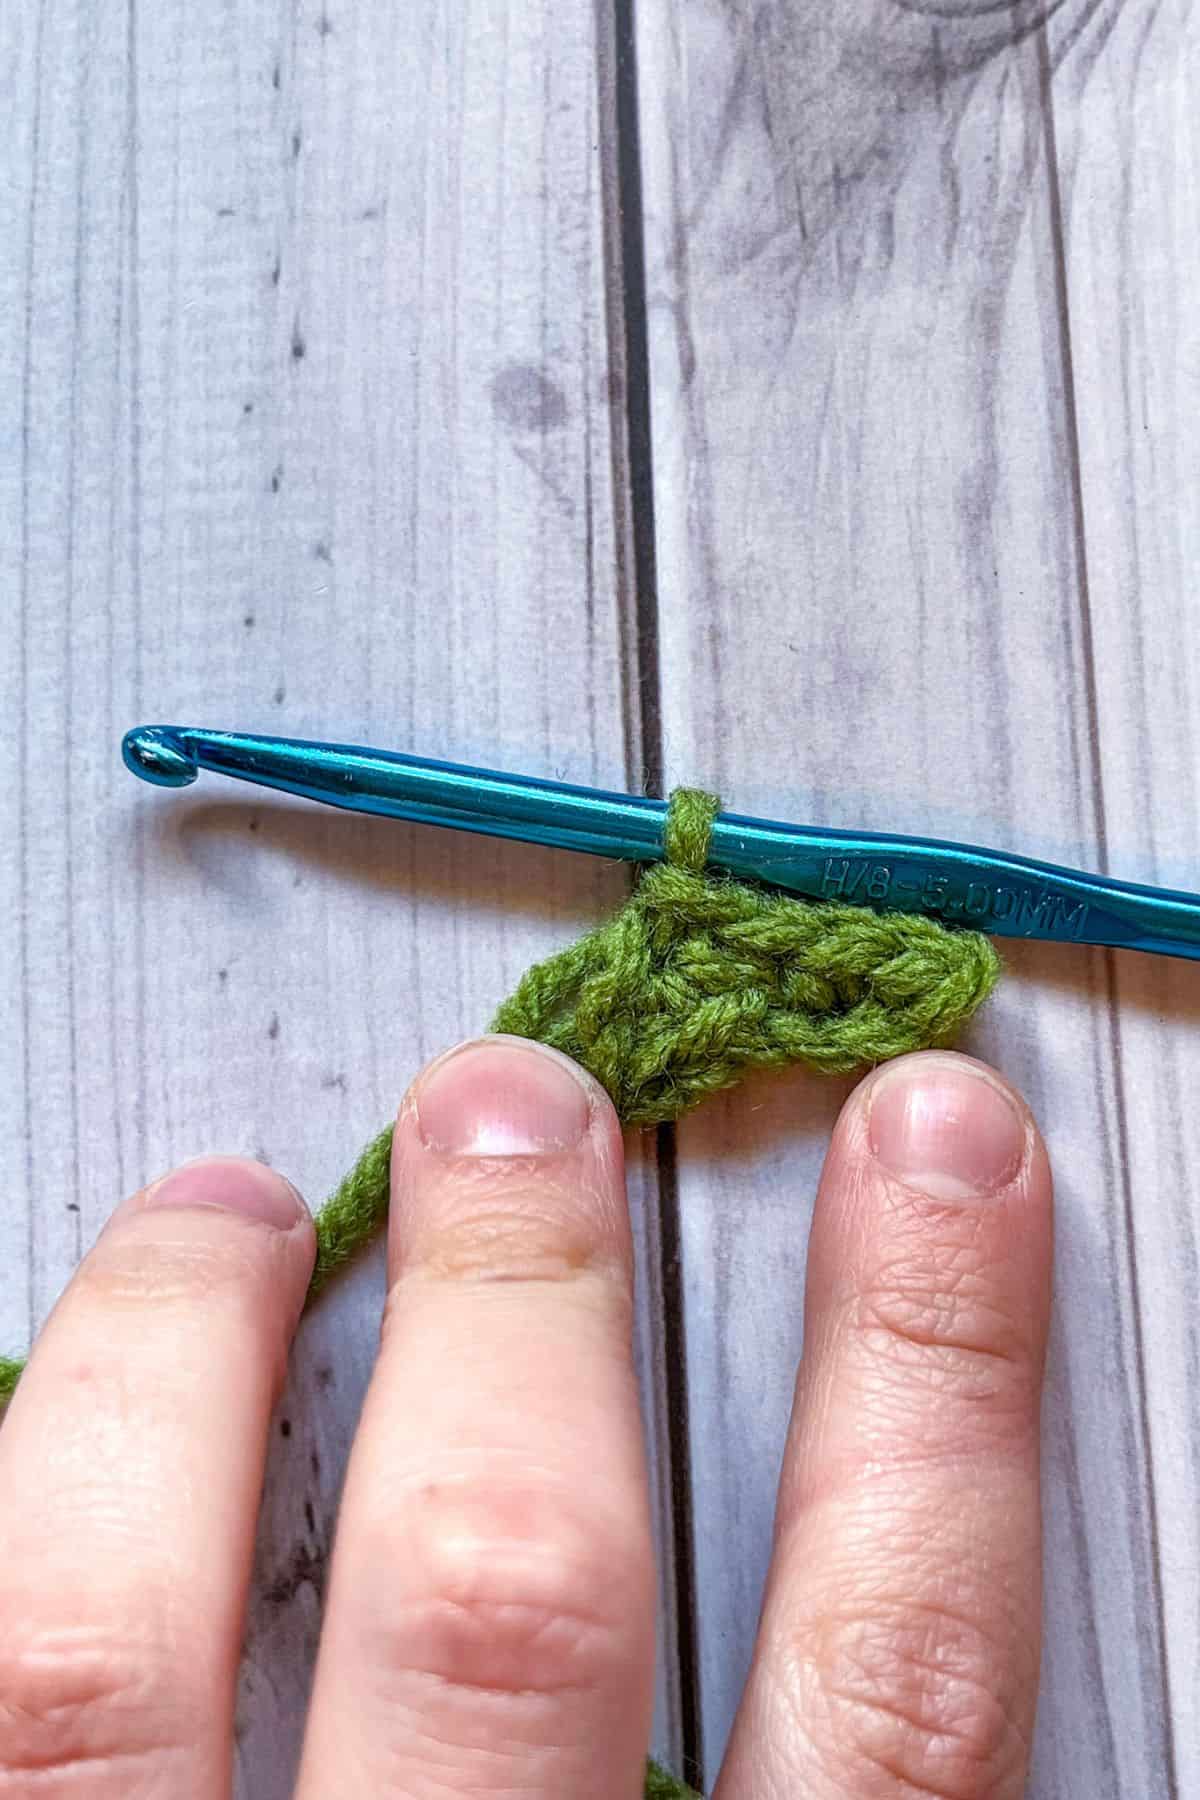
Step 1: Ch x3, then in the second ch from the hook make a sc, then make a sc in the following stitch. This is the stem.
Step 2: Ch x4 and in the second ch from the hook make a sc. Then sc in the following 2 chains. Then sl st back to the stitch where you broke off and made chains for the first leaf.
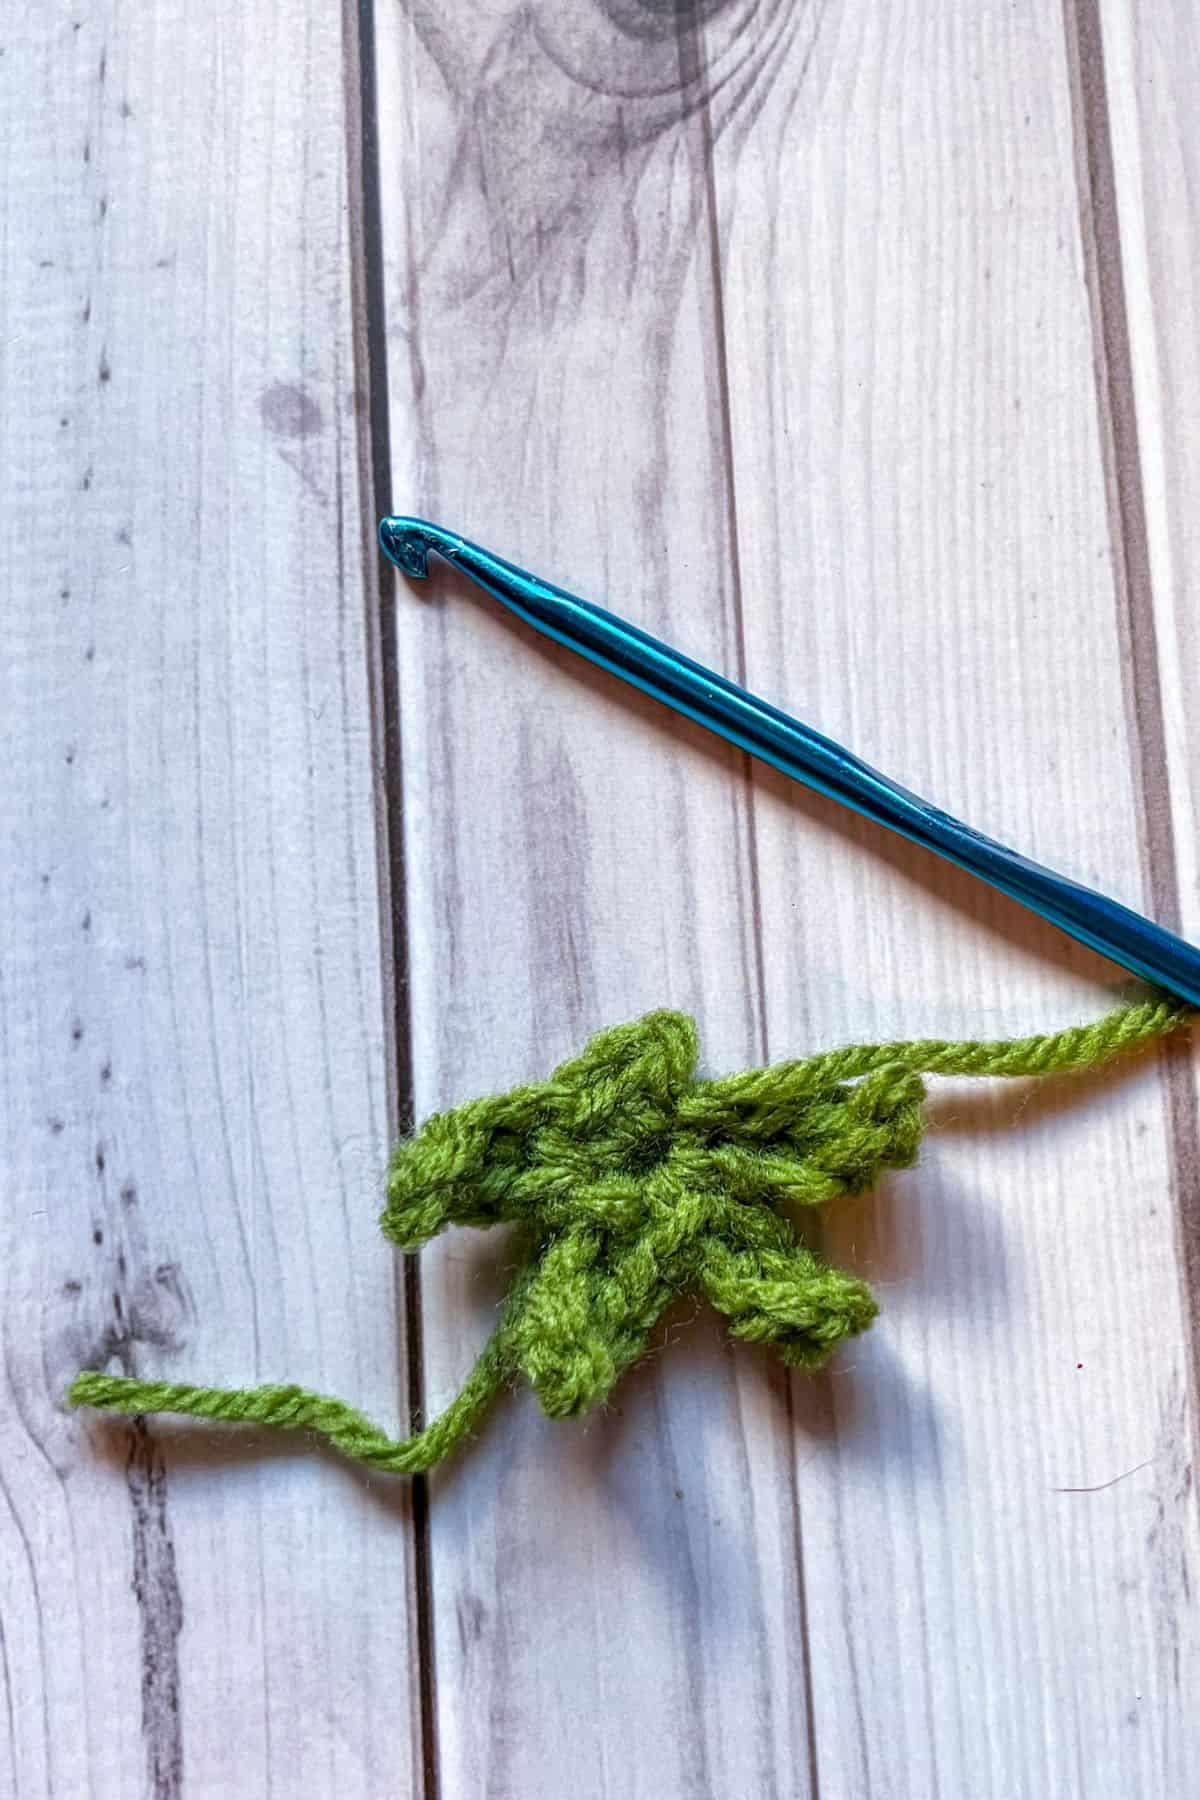
Step 3: Repeat step 2 x3 more times.
Fasten off and leave a long tail for sewing.
Finishing:
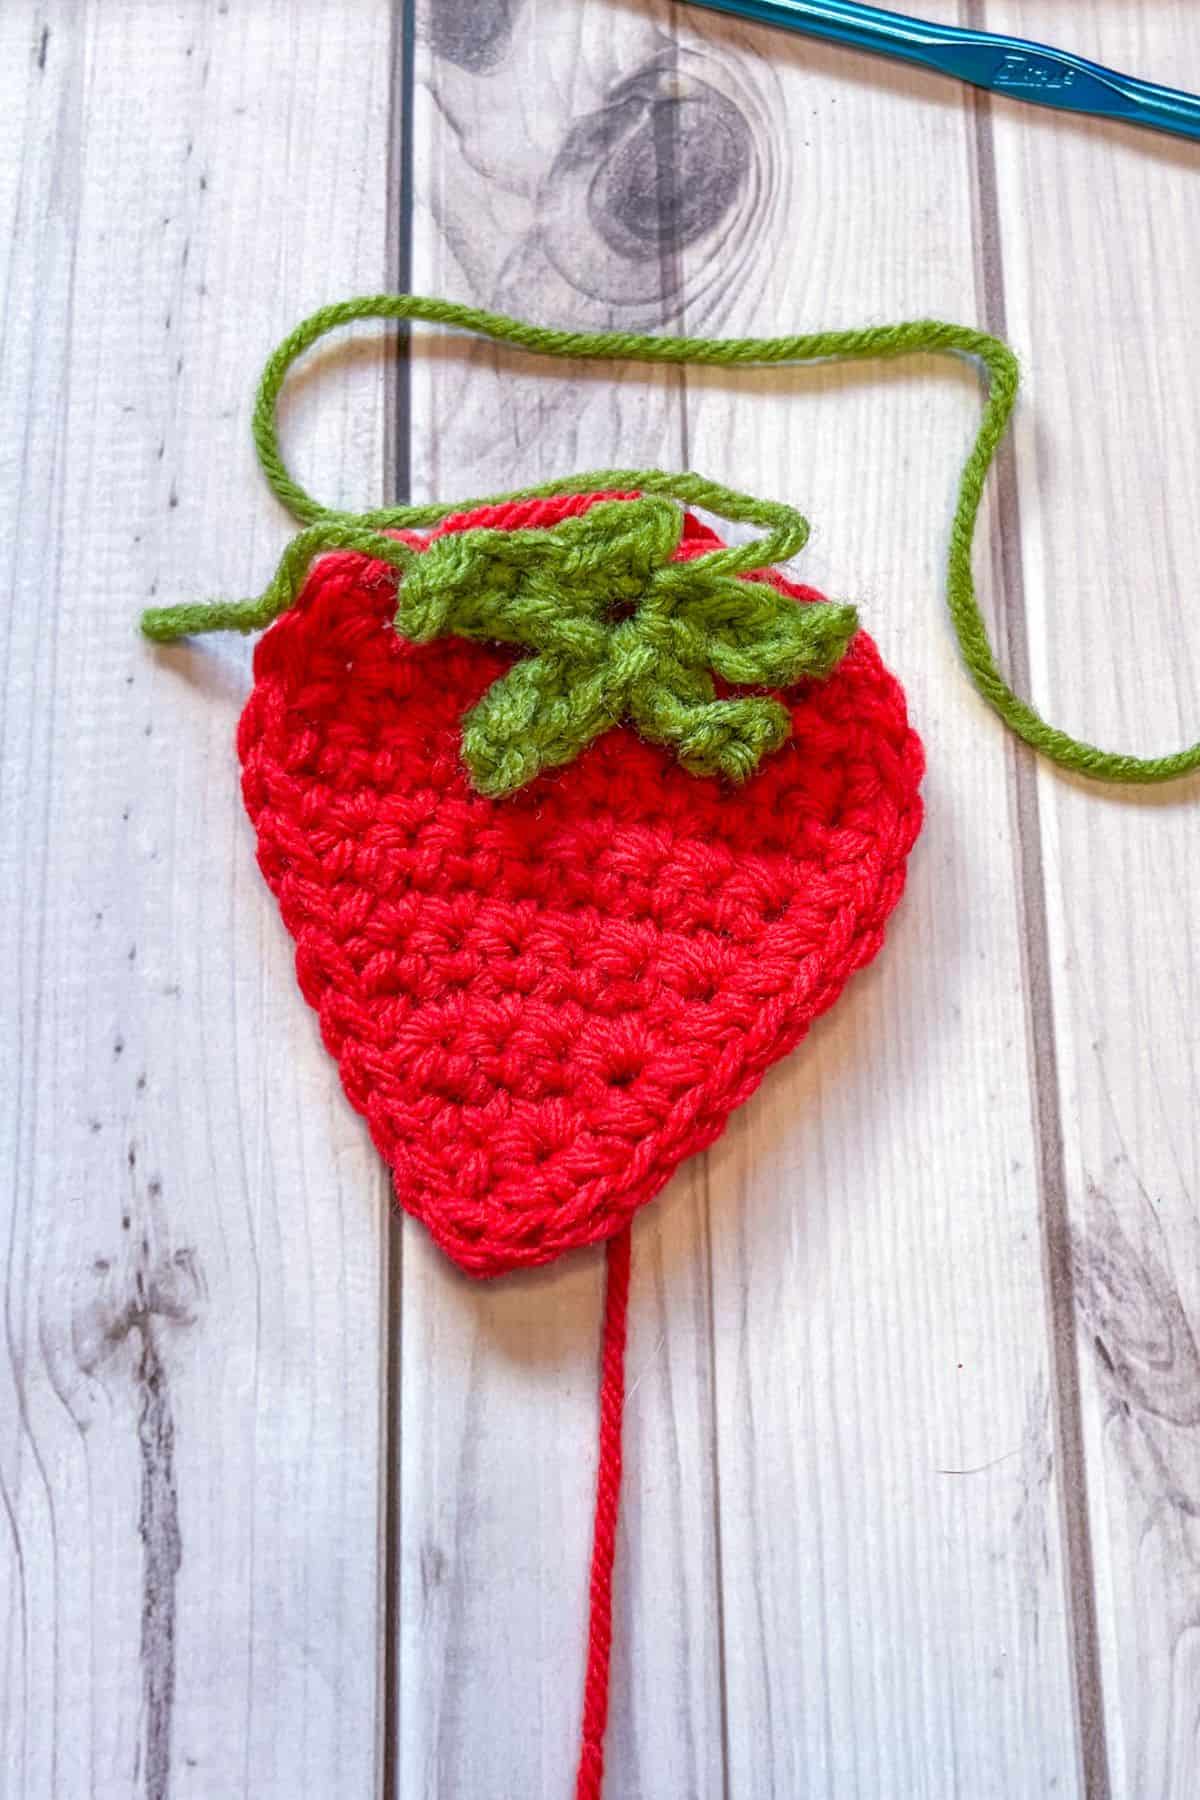
Sew the strawberry stem and leaves to the top part of the strawberry.
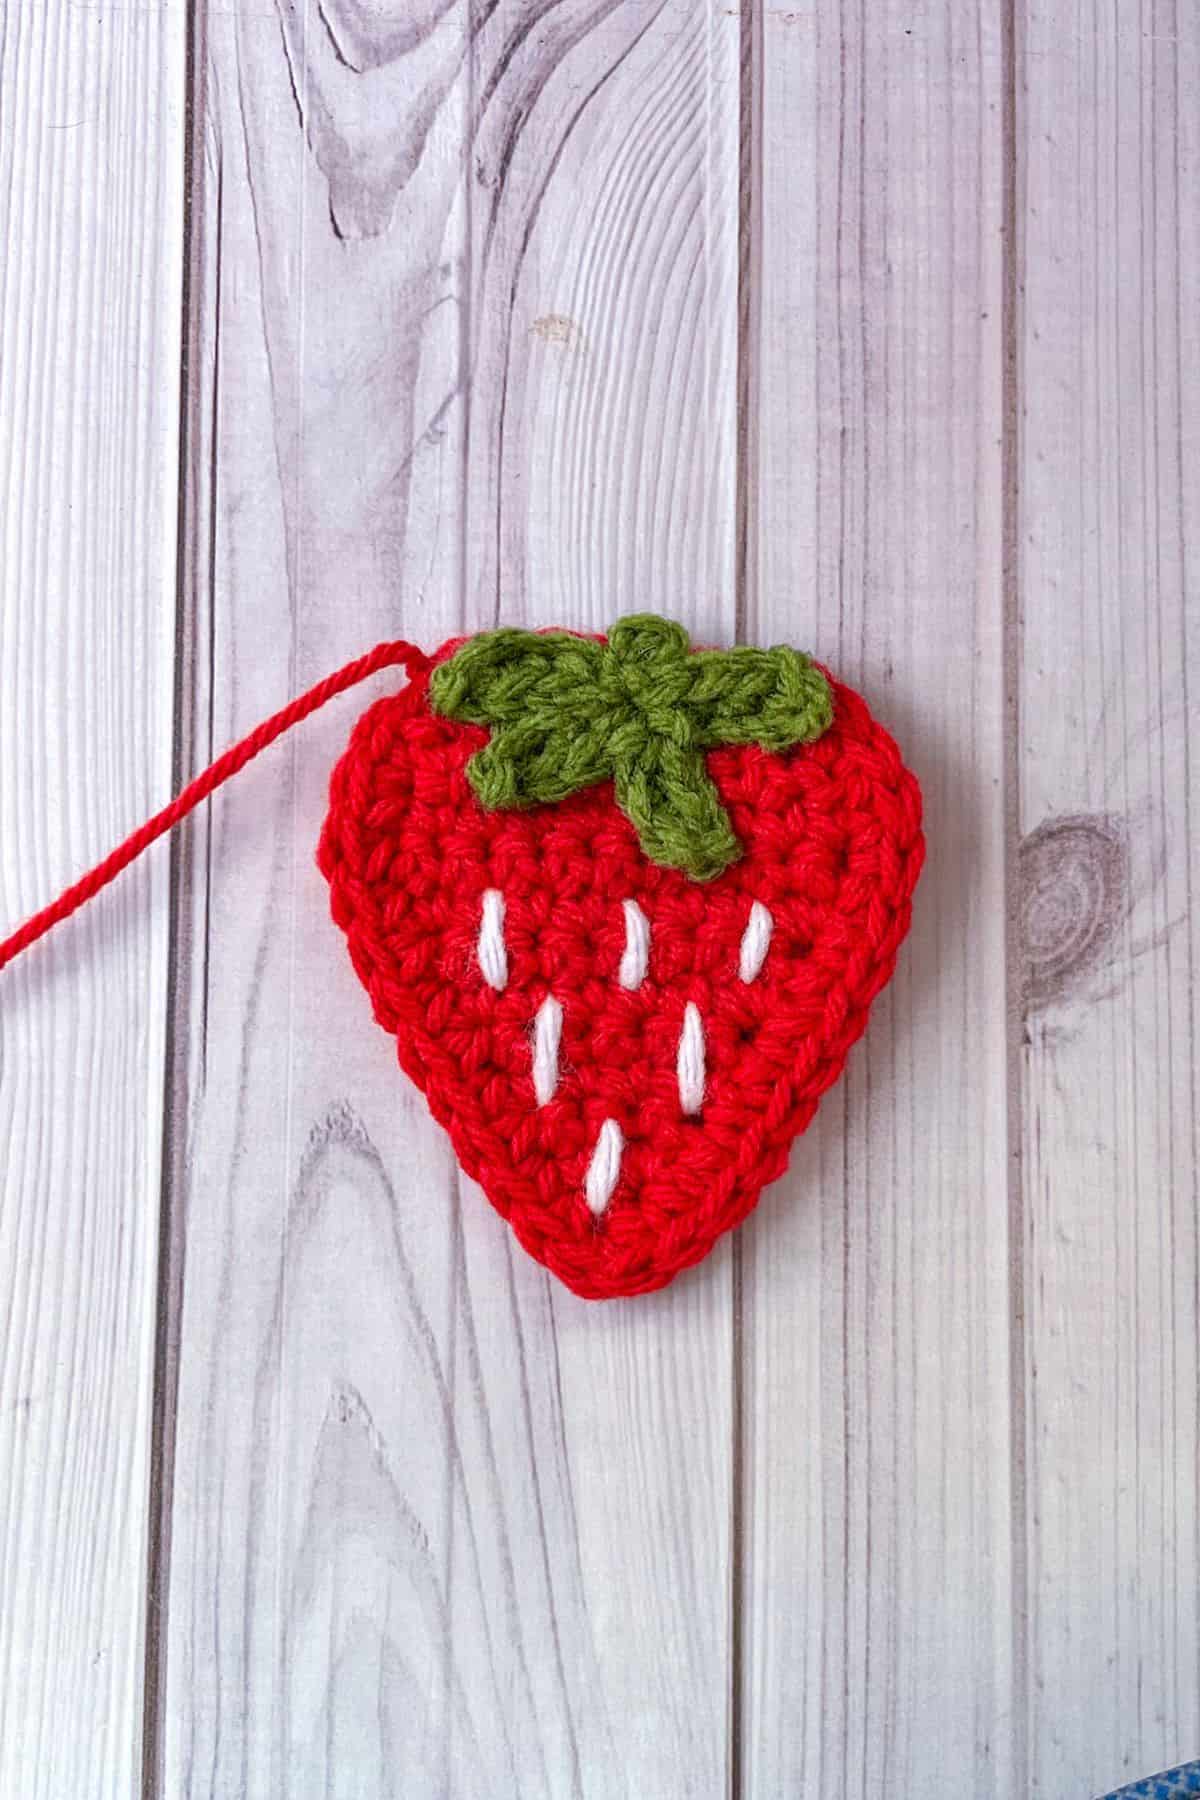
With white yarn and tapestry needle, crochet little lines onto the strawberry.
Weave in any loose ends.
And now you have an adorable crochet flat strawberry applique! Perfect for blankets, bags, cardigans and sweaters! Even strawberry granny squares.
If you are wanting to expand your crochet applique repertoire, check out my crochet skull appliques and crochet mushroom appliques.
You can also make any of my crochet coasters into appliques. A cute applique to pair with the strawberry would be to turn my crochet lemon coaster! Then you can make something strawberry lemonade themed!

🐌Expert Tips
- Sewing Order: Attach the stem and leaves before embroidering details to avoid covering up your stitches.
- Yarn Substitutions: Feel free to experiment with different yarns like cotton for a sturdier finish or velvet for a softer look.
- Pattern Adjustments: To make appliques more delicate, switch to DK yarn and a smaller hook. For a chunky look, try super bulky yarn with a larger hook.
🧵Pattern FAQs
Yes! Just make sure the material you use matches the kind you are using for the main project.
Take your tapestry needle and hand sew it on.
You can use a smaller crochet hook to make them smaller. Or you can use dk yarn instead of worsted.
🧶More Crochet Fruit Patterns


If you tried this Crochet Strawberry Applique Pattern (or any other pattern on my website), please let me know how it went in the 📝 comments below. I'd love to hear from you!

Crochet Strawberry Applique Pattern
Materials
Abbreviations (US terms)
- Chain - ch
- Single crochet - sc
- Increase - inc
- Decrease - dec
- Slip stitch - sl st
Notes
- The crochet strawberry appliques use acrylic yarn, but any yarn works, including blanket or fuzzy yarn.
- These versatile appliques are perfect for various projects.
- Each strawberry applique measures roughly 4.5 inches tall and 4 inches wide.
- To make larger strawberries, add another row of increases before the main stitch count.
- To make them smaller, simply use a smaller hook size.
Instructions
- The crochet strawberry applique pattern is made in rows.
- Row 1: Ch x2 and turn.
- Row 2: In the second chain from the hook, make an inc. (2) Then ch x1 and turn (for this next row and every row afterwards you will make a turning chain, but do not work in it. It’s to help turn your work).
- Row 3: Inc x2 (4). Then ch x1 and turn.
- Row 4: Sc in every stitch (4). Then ch x1 and turn.
- Row 5: Inc, sc x2, inc (6). Then ch x1 and turn.
- Row 6: Sc in every stitch (6). Then ch x1 and turn.
- Row 7: Inc, sc x4, inc (8). Then ch x1 and turn.
- Row 8: Sc in every stitch (8). Then ch x1 and turn.
- Row 9: Inc, sc x6, inc (10). Then ch x1 and turn.
- Row 10-11: Sc in every stitch (10). Then ch x1 and turn.
- Row 12: Dec, sc x6, dec (8). Then ch x1 and turn.
- Row 13: Dec, sc x4, dec (6). Then ch x1 and turn.
- After your last row, crochet around the edges of your strawberry if you want a neater finish and a slightly bigger strawberry. This should be equal to roughly 30-32 stitches. You want to put 2 stitches at the top corners of the strawberry and down at the bottom, otherwise its 1 stitch per row/stitch. Then fasten off and weave in the ends.
Strawberry Stem and Leaves:
- This pattern is made one stem/leaf at a time.
- Step 1: Ch x3, then in the second ch from the hook make a sc, then make a sc in the following stitch. This is the stem.
- Step 2: Ch x4 and in the second ch from the hook make a sc. Then sc in the following 2 chains. Then sl st back to the stitch where you broke off and made chains for the first leaf.
- Step 3: Repeat step 2 x3 more times.
- Fasten off and leave a long tail for sewing.
Finishing:
- Sew the strawberry stem and leaves to the top part of the strawberry.
- With white yarn and tapestry needle, crochet little lines onto the strawberry.
- Weave in any loose ends.
- And now you have an adorable crochet strawberry applique! Perfect for blankets, bags, cardigans and sweaters!

Lydia says
Hi:) Thank you so much for this pattern. I'm just wondering if I can sell the finished product on my Etsy shop?
Kimberly Arenas says
finished products are ok 🙂
Bec says
Hi! I'd just like to ask, how many grams of yarn did this use per strawberry (approximately)? I have some scrap red yarn and I'm not sure if it will be enough
Kimberly Arenas says
About 20g of yarn should work.