
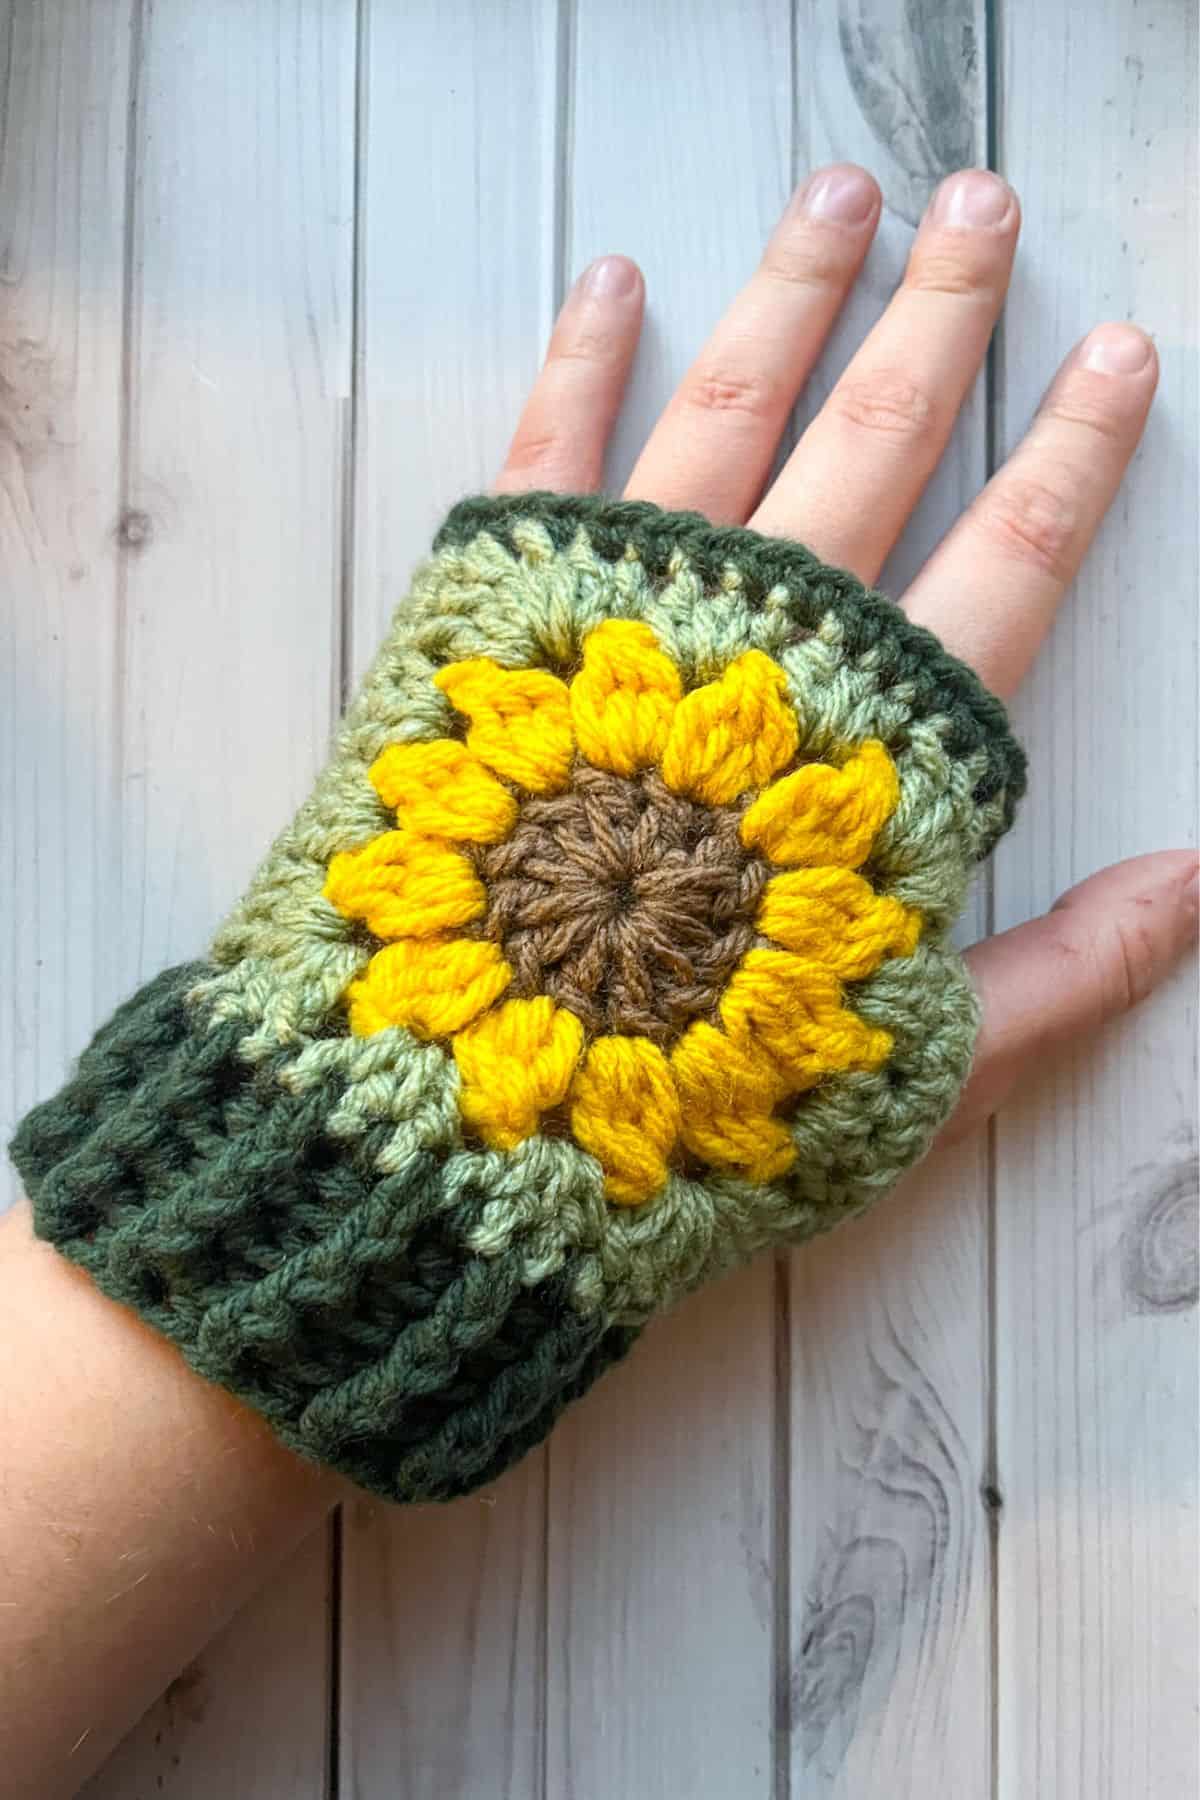
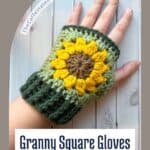
Fall is the perfect time to cozy up with a new crochet project, and these granny square fingerless gloves are just what you need to add a touch of handmade coziness to your wardrobe.
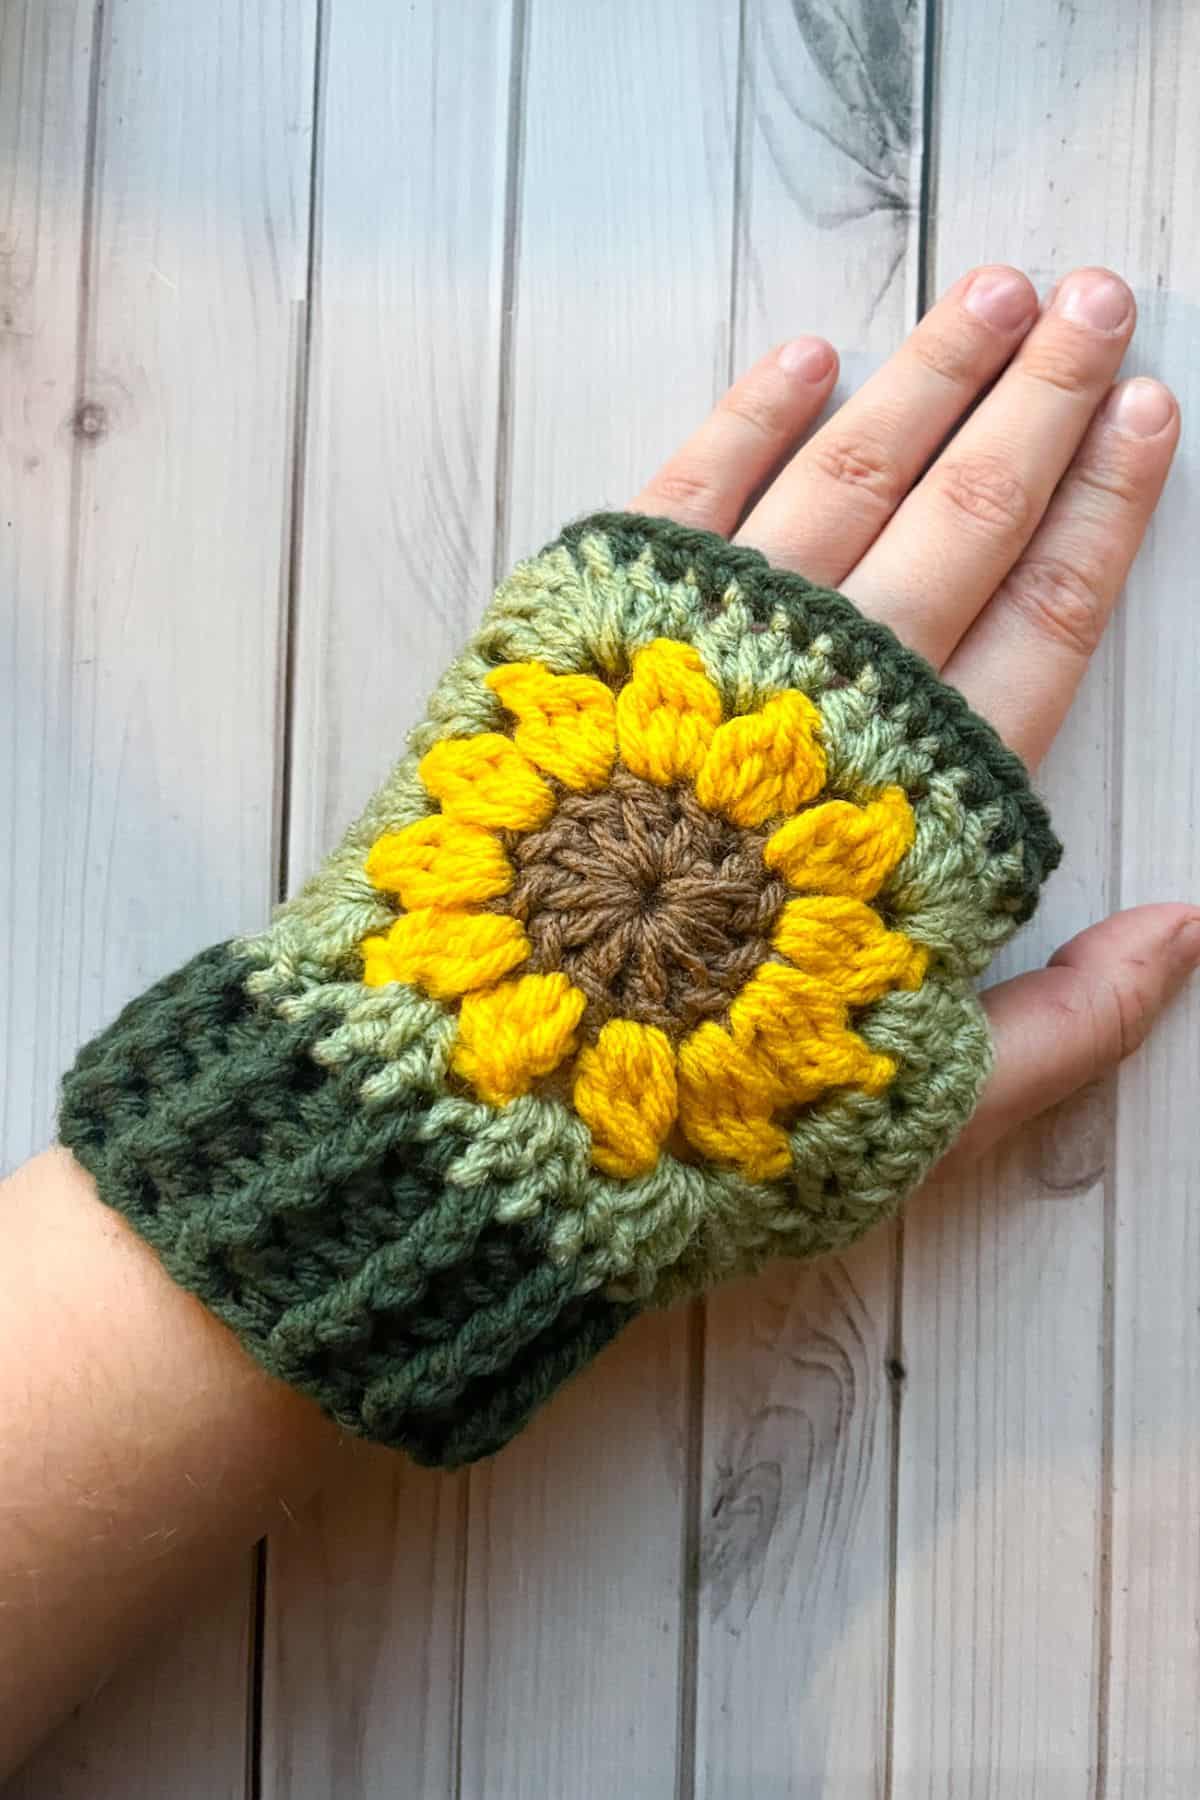
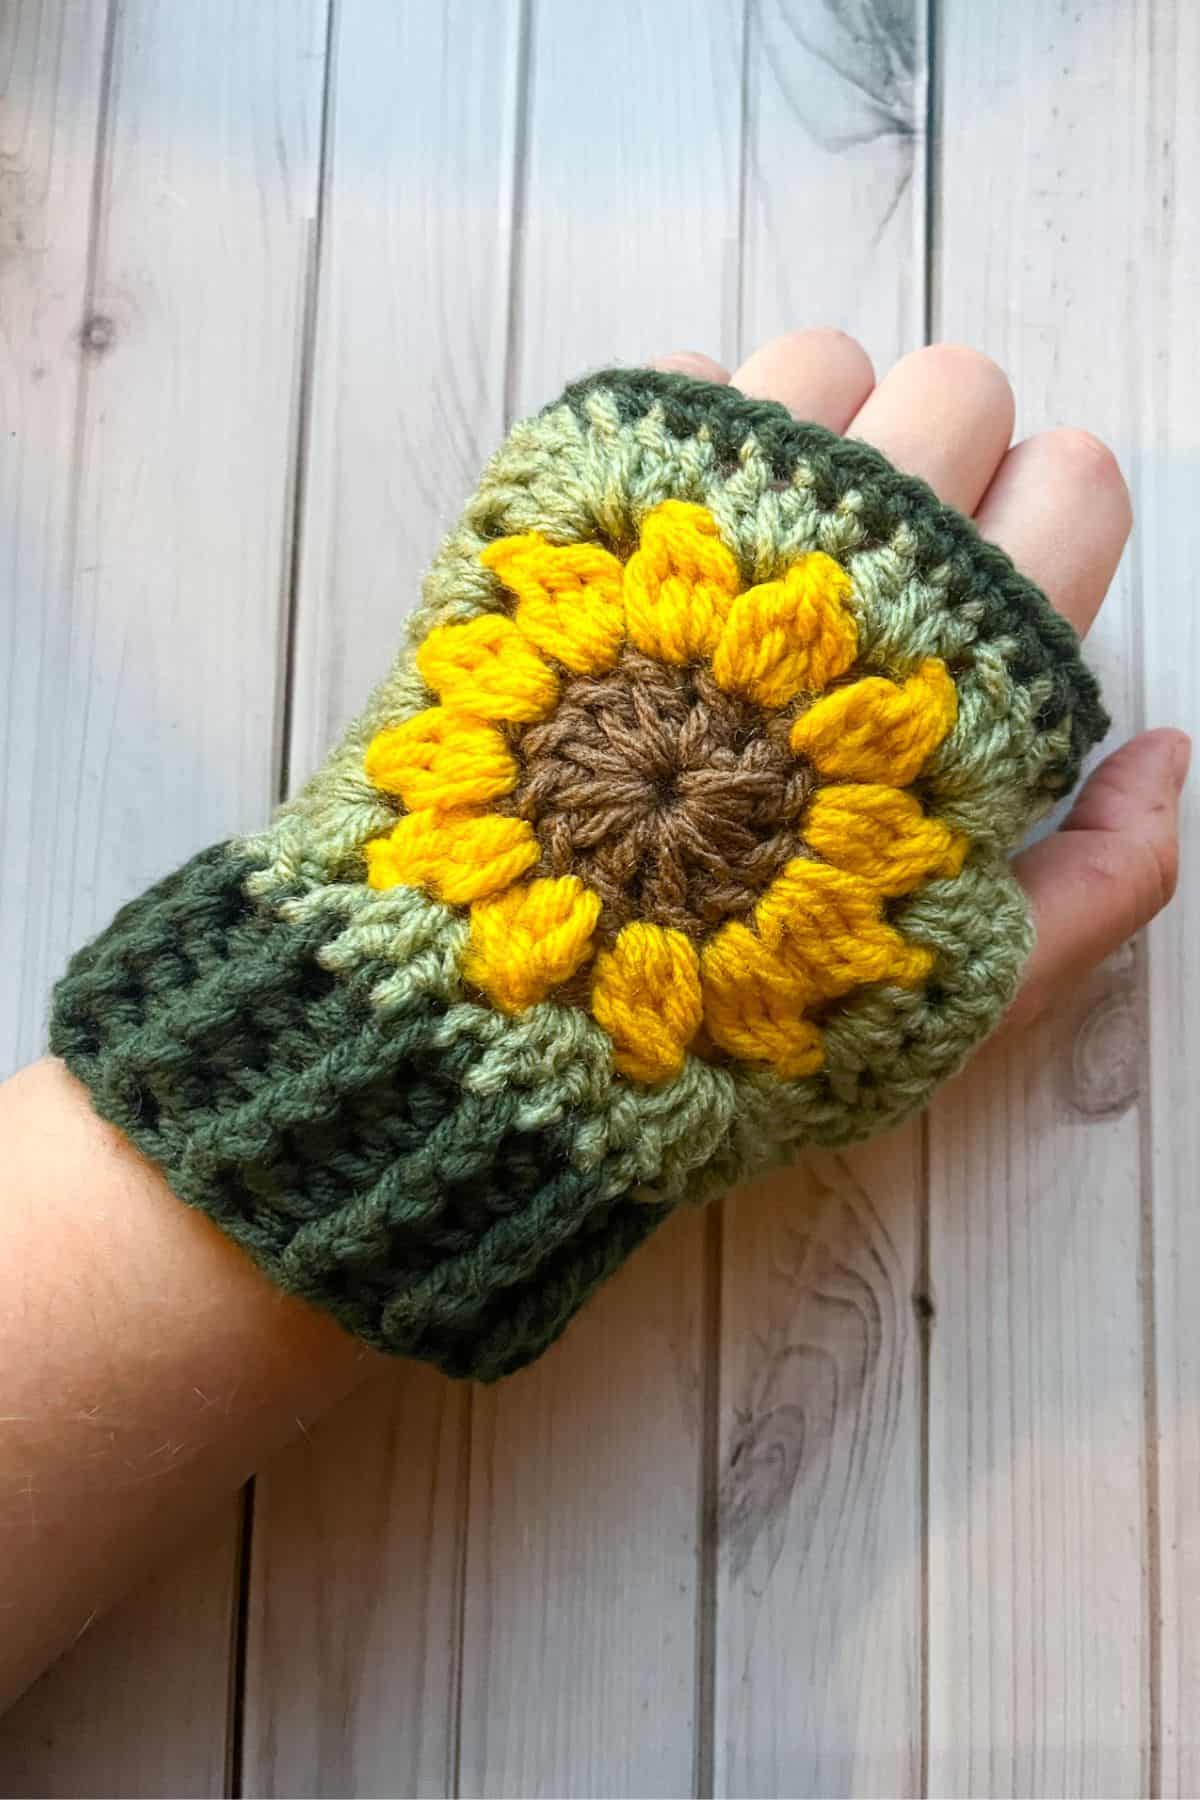
Designed with a mini sunburst granny square, these gloves are super simple to make and perfect for beginners or seasoned crocheters looking for a quick and easy project. You start with a circle of double crochets, build out a circle of granny clusters, and then square it off — it’s that easy! I chose colors to make it look like a sunflower, but you can choose whatever colors you like.
The addition of front post double crochet and back post double crochet in an alternating fashion creates a beautiful, textured cuff for the gloves.
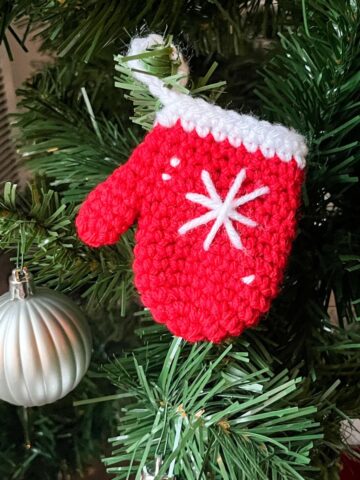
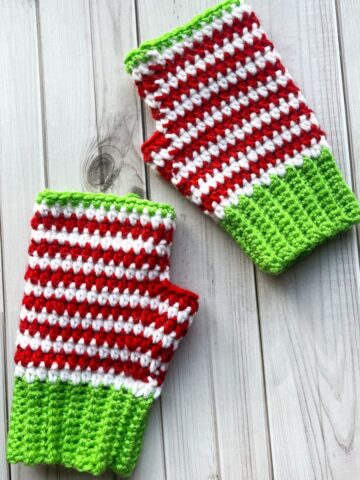
If you’re a fan of granny square fingerless mittens, or just love to make granny square clothes, this pattern is a must-try! And if you’re already thinking ahead to the holidays, be sure to check out my crochet Christmas fingerless glove pattern for another super easy, festive glove option.
Happy crocheting!
Jump to:
✏️ Things To Note:
- Skill Level: The granny square fingerless gloves pattern is beginner-friendly! While it’s perfect for new crocheters, it’s also quick and enjoyable for more experienced crafters looking for a simple project.
- Yarn and Hook: For best results, use a yarn weight that suits your comfort level with the stitch work. Typically, a medium-weight yarn (like worsted weight) is ideal for granny square gloves. Pair it with an appropriate hook size, usually a 5.0mm (H) hook.
- Cuff Technique: The front post double crochet and back post double crochet stitches create a lovely texture and secure the glove's fit around your wrist.
🪡 Materials Needed
- Red Heart Yarn - saffron
- Red Heart Yarn - light thyme (I think its discontinued, but you can use frosty green)
- Red Heart Yarn - cafe latte
- Red Heart Yarn - medium thyme
- 5mm hook
- 4.5mm hook
- Tapestry needle
💭Abbreviations to Remember (US terms)
- Magic ring (mr)
- Chains (ch)
- Single crochet (sc)
- Half double crochet (hdc)
- Double crochet (dc)
- Front post double crochet (fpdc)
- Back post double crochet (bpdc)
- Slip stitch (sl st)
- Increases (inc)
🧋Variations
- Customization: Want to make the gloves more colorful or unique? You can easily switch up the colors of your granny square fingerless mittens by changing yarn colors for each round, or even add embellishments like buttons or a cute bow.
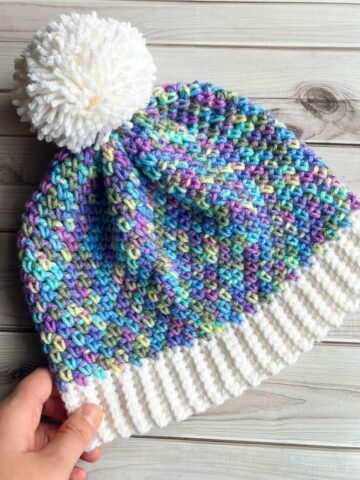
- Matching Accessories: Want to match your granny square fingerless gloves with other items? Try making a granny square hat or a scarf to complete your set of granny square clothes!
- Different Granny Squares: Other granny square patterns you can try are my crochet moon granny square pattern and sun granny square pattern. How cute would a sun and moon mismatch pair look?! Or you could do a skull granny square theme which uses skull appliques sewn onto granny squares.
🍵Instructions for Granny Square Fingerless Gloves Pattern
The granny square fingerless gloves pattern is made in the round.
Granny Square: Make x4
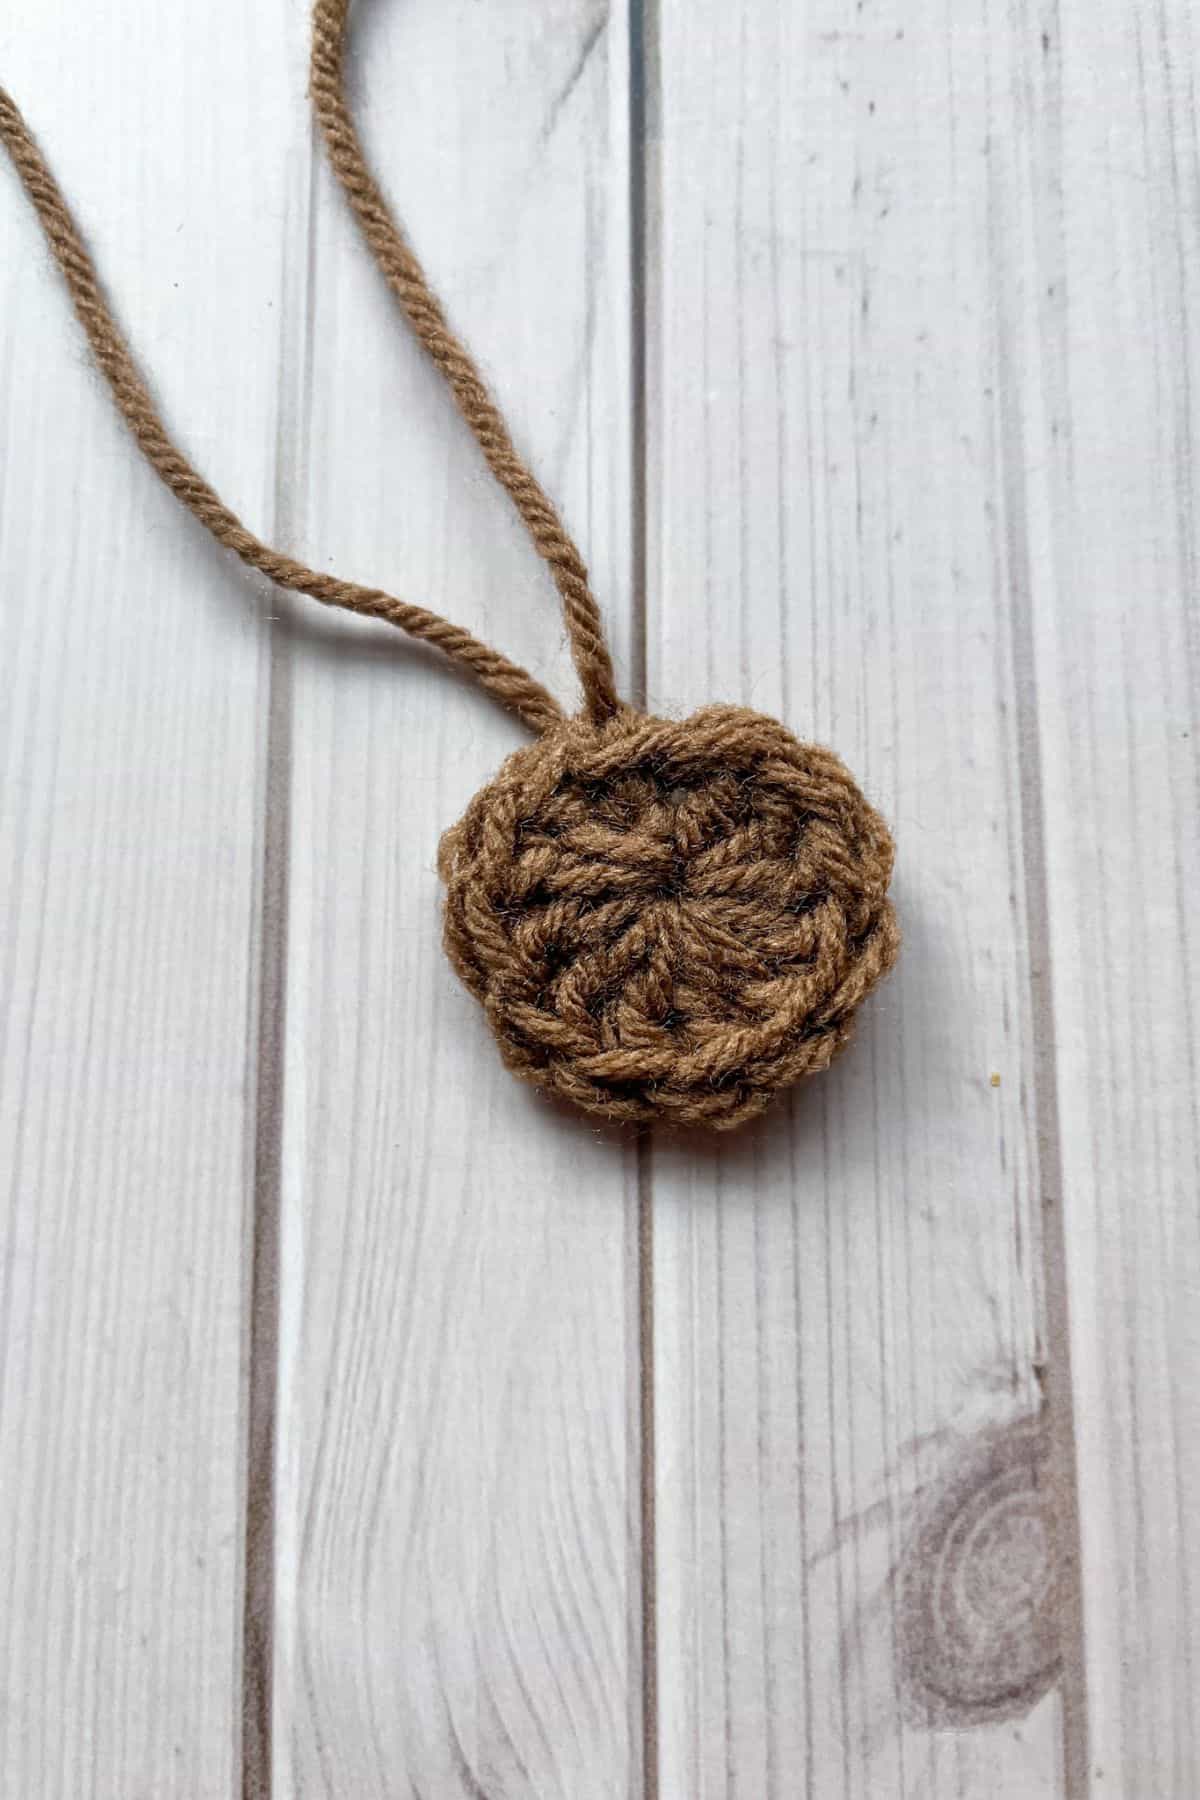
Round 1: With the brown yarn, make a mr, then ch x2 and dc x11 into the mr. Then you will pull tight and sl st to the top of the chains. The chains act as a dc in this pattern (12). Fasten off the brown yarn and weave in any ends.
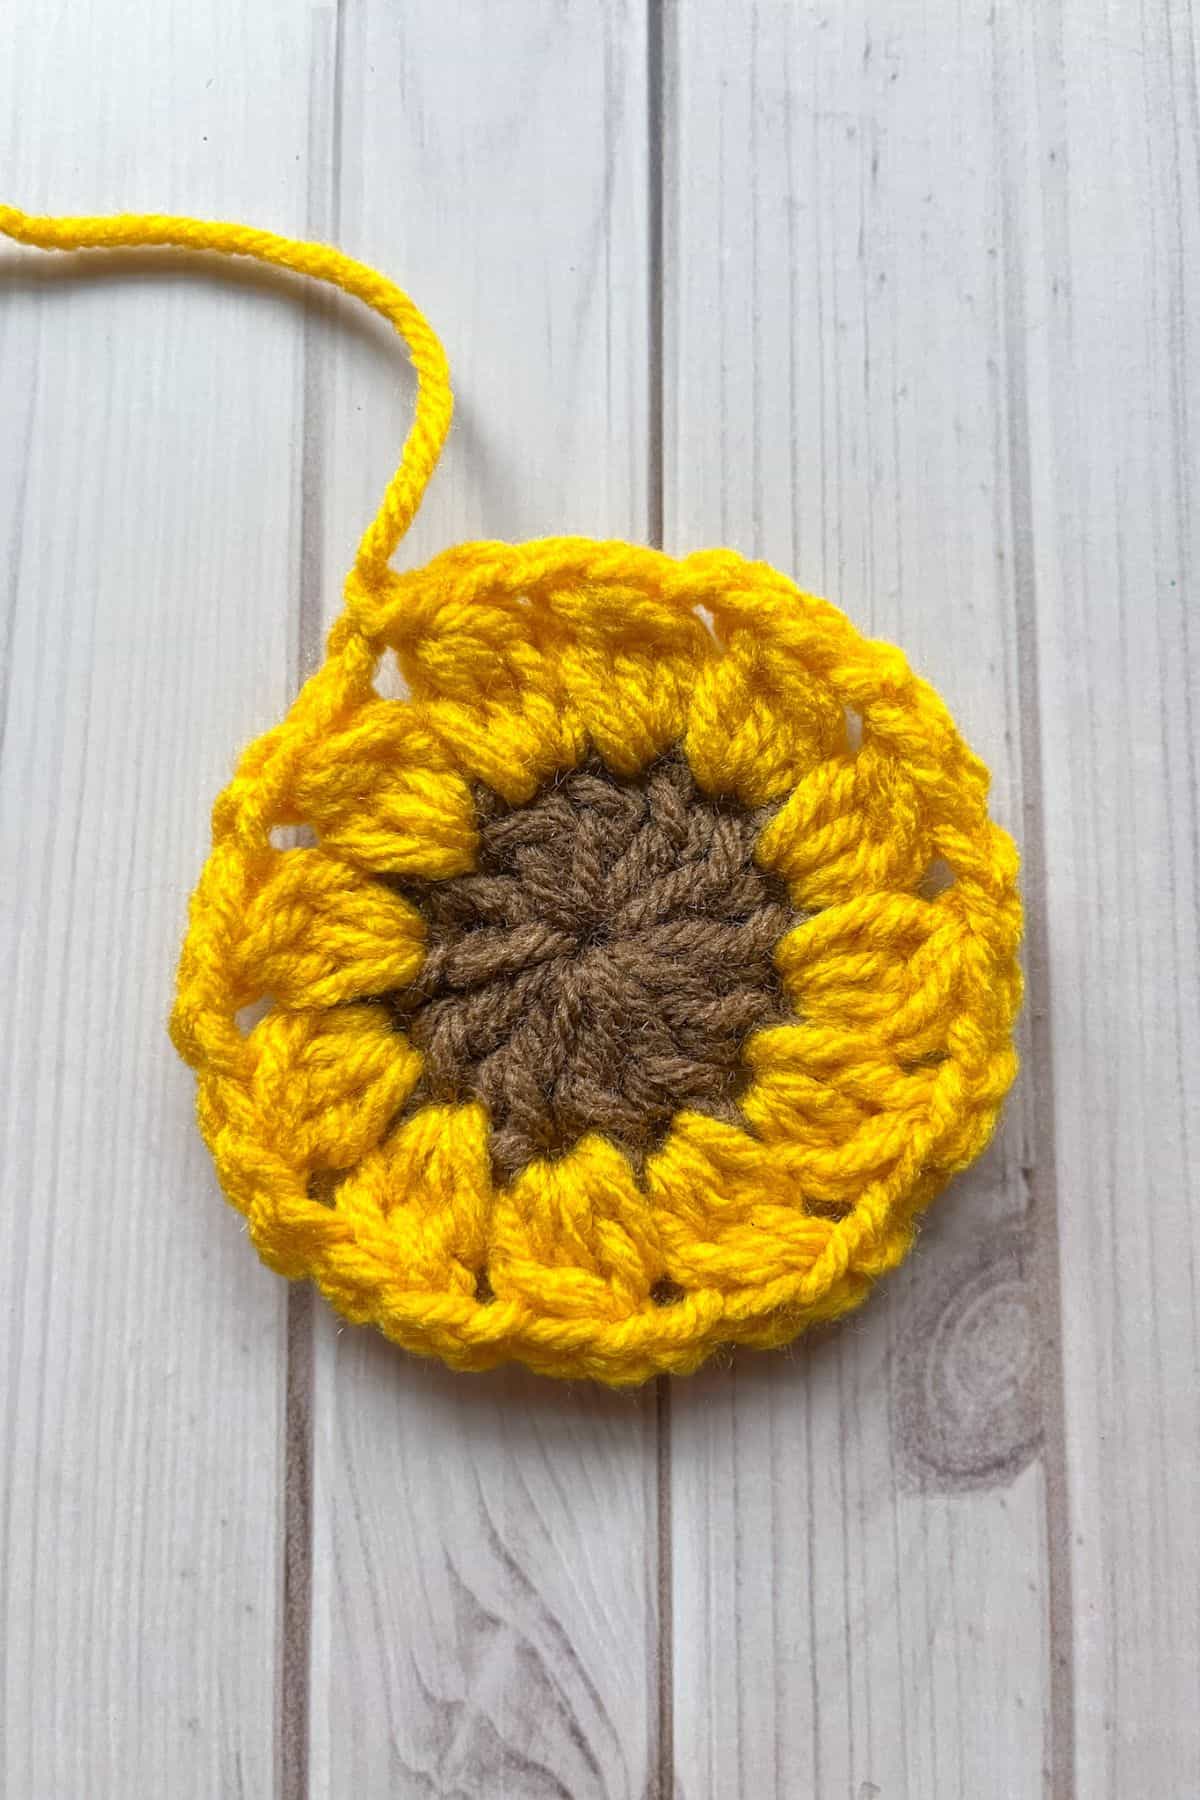
Round 2: With the yellow yarn, Join the yarn to any top of the dc stitches from the round below. Then ch x2. In the same stitch dc 2 together. *Then ch x2. After, dc 3 together in the next stitch (also a granny cluster stitch). Repeat from *.
When you get to the end of the round, ch x2 and make a sl st to the first ch space you made. Then fasten off the yarn and weave in any ends.
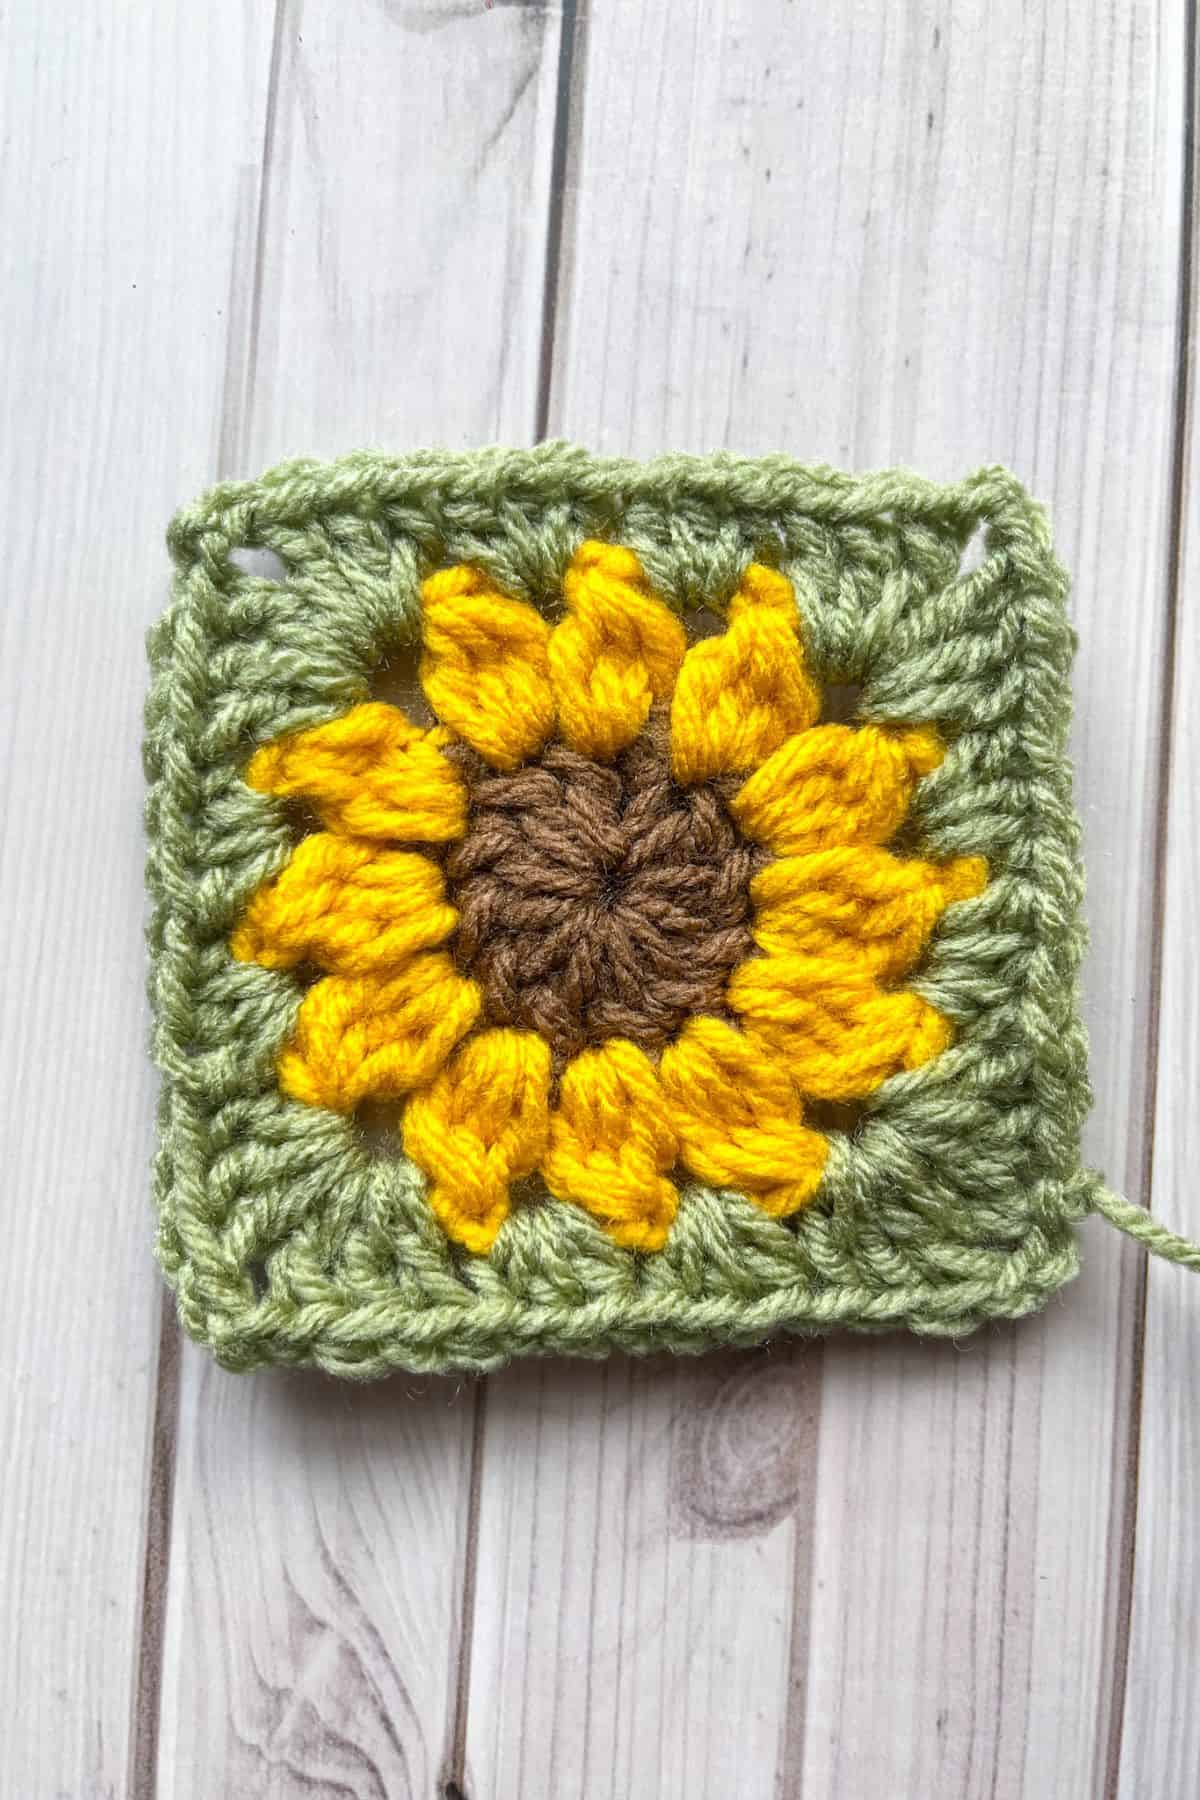
Round 3: With the light green yarn, join the yarn on any of the ch x2 spaces from the round below. Then ch x2 and dc x2 into the same space. In the next ch x2 space, hdc x3. Hdc x3 in the next ch space, then in the next ch space we will make a corner. For the corner dc x3, ch x2, and dc x3 again.
Repeat hdc x3, hdc x3, dc x3 + ch x2 + dc x3 for the rest of the round. After you are done with the last 2 groups of hdc x3, you will work dc x3 and ch x2 in the already half worked corner space. Then sl st to the top of the starting rounds chains. Then fasten off the yarn and weave in any ends.
Assembly:
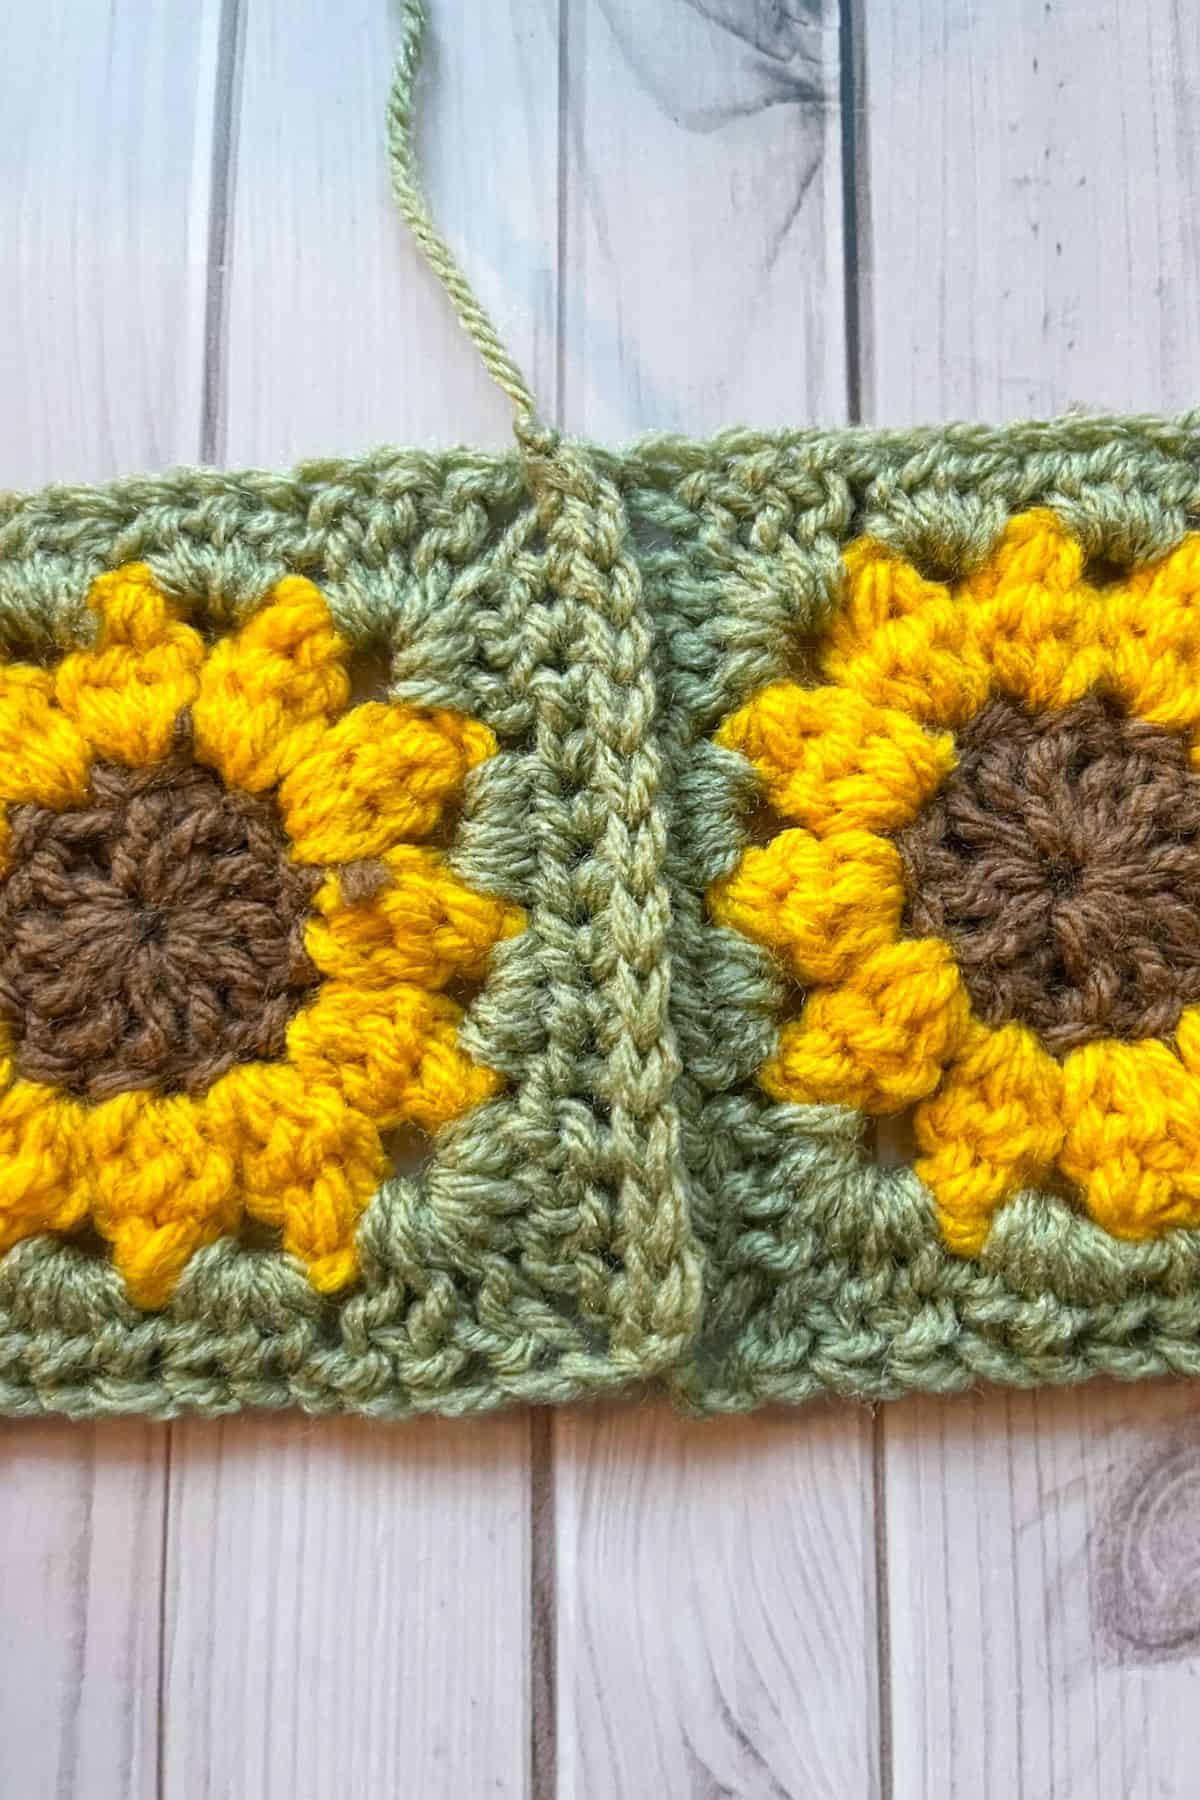
Once you have 4 granny squares made you will assemble the main part of the glove.
Take 2 granny squares and stack them, make sure the wrong sides are facing out. Then sl st or whip stitch (hand sewing) them together on one side.
On the opposite side, sew them together about 4-5 stitches on each end leaving a hole in the middle for a thumb to go through.
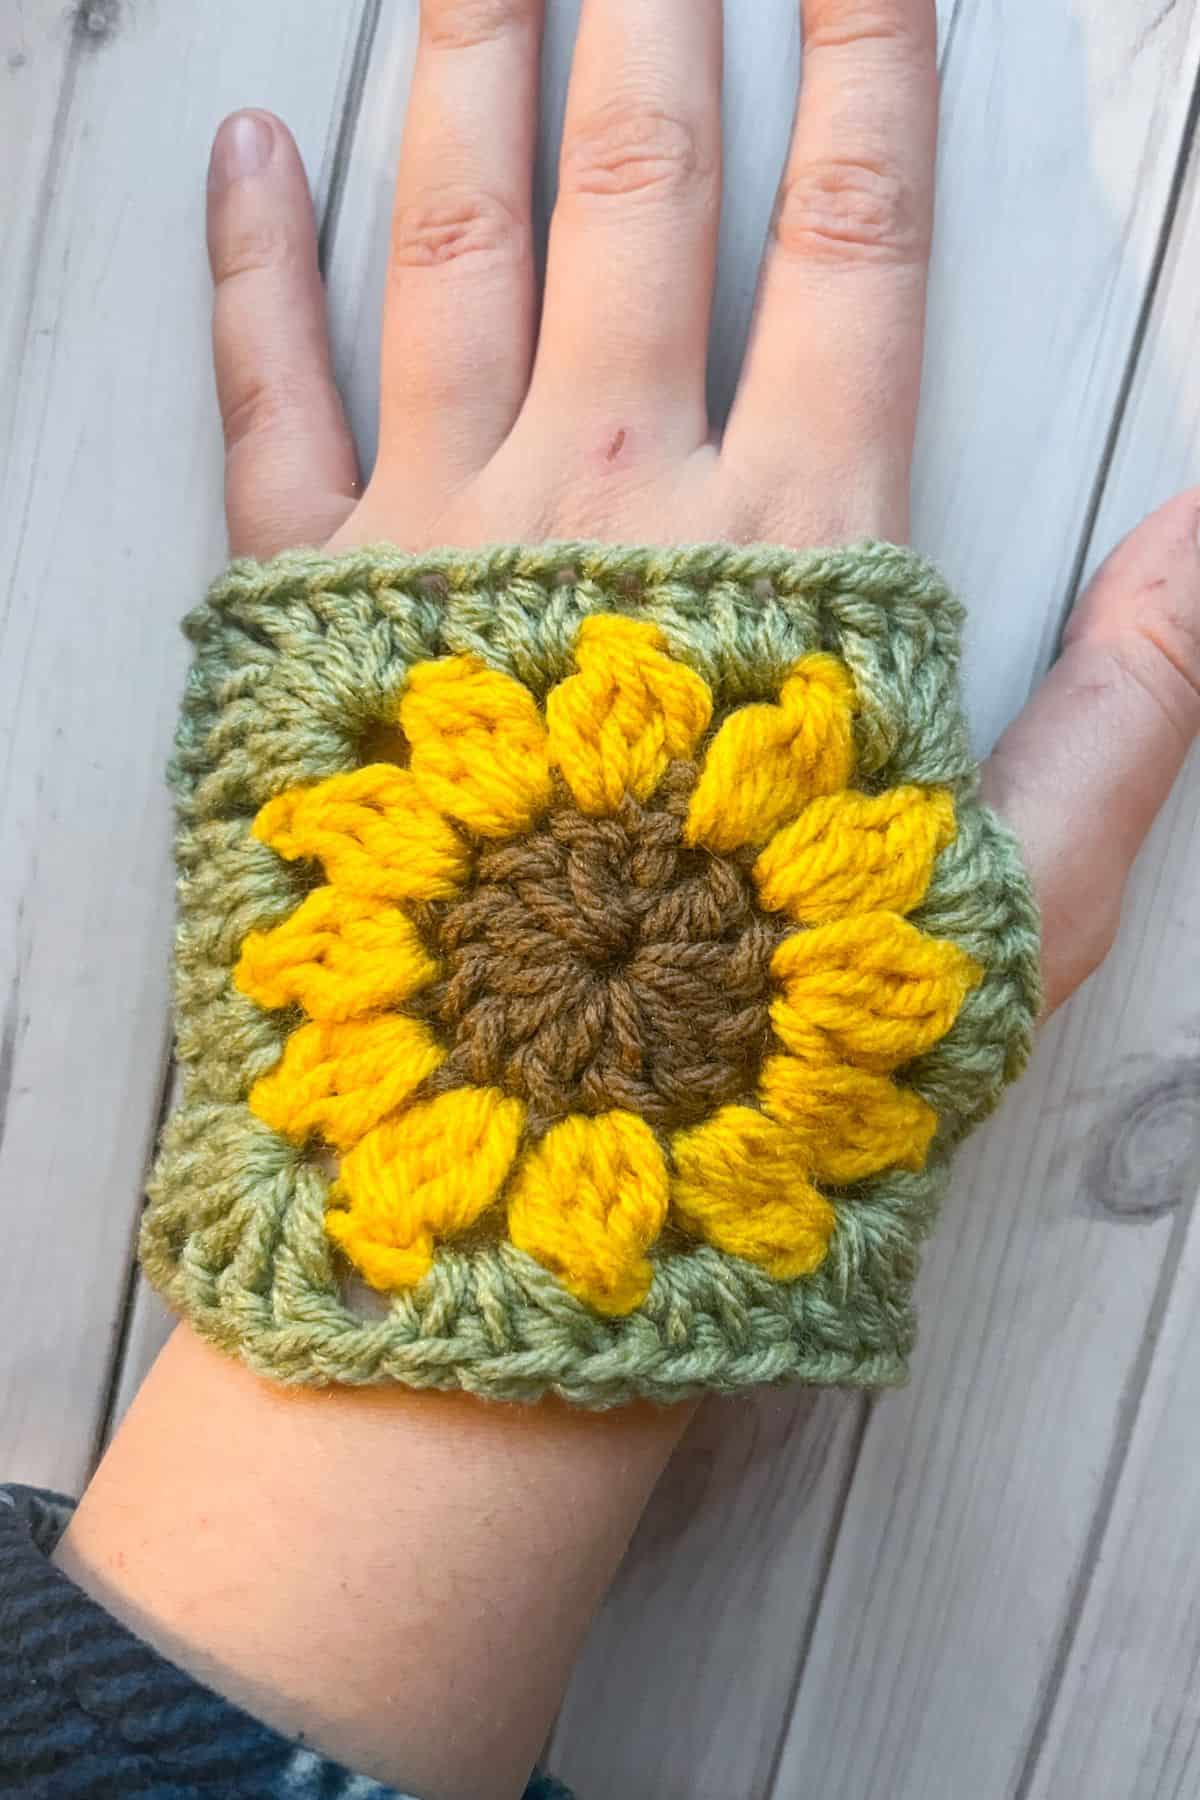
Once the glove is sewn on 2 sides. Flip it inside out. Still using the light green, sc around the thumbhole, 1 sc in each stitch. Then fasten off and weave in any ends.
Top and Bottom Edges of the Glove:
For the top edge of the glove:
Join the darker green yarn anywhere at the top and sc the top edge. Then sl st to the first sc, fasten off and weave in any ends.
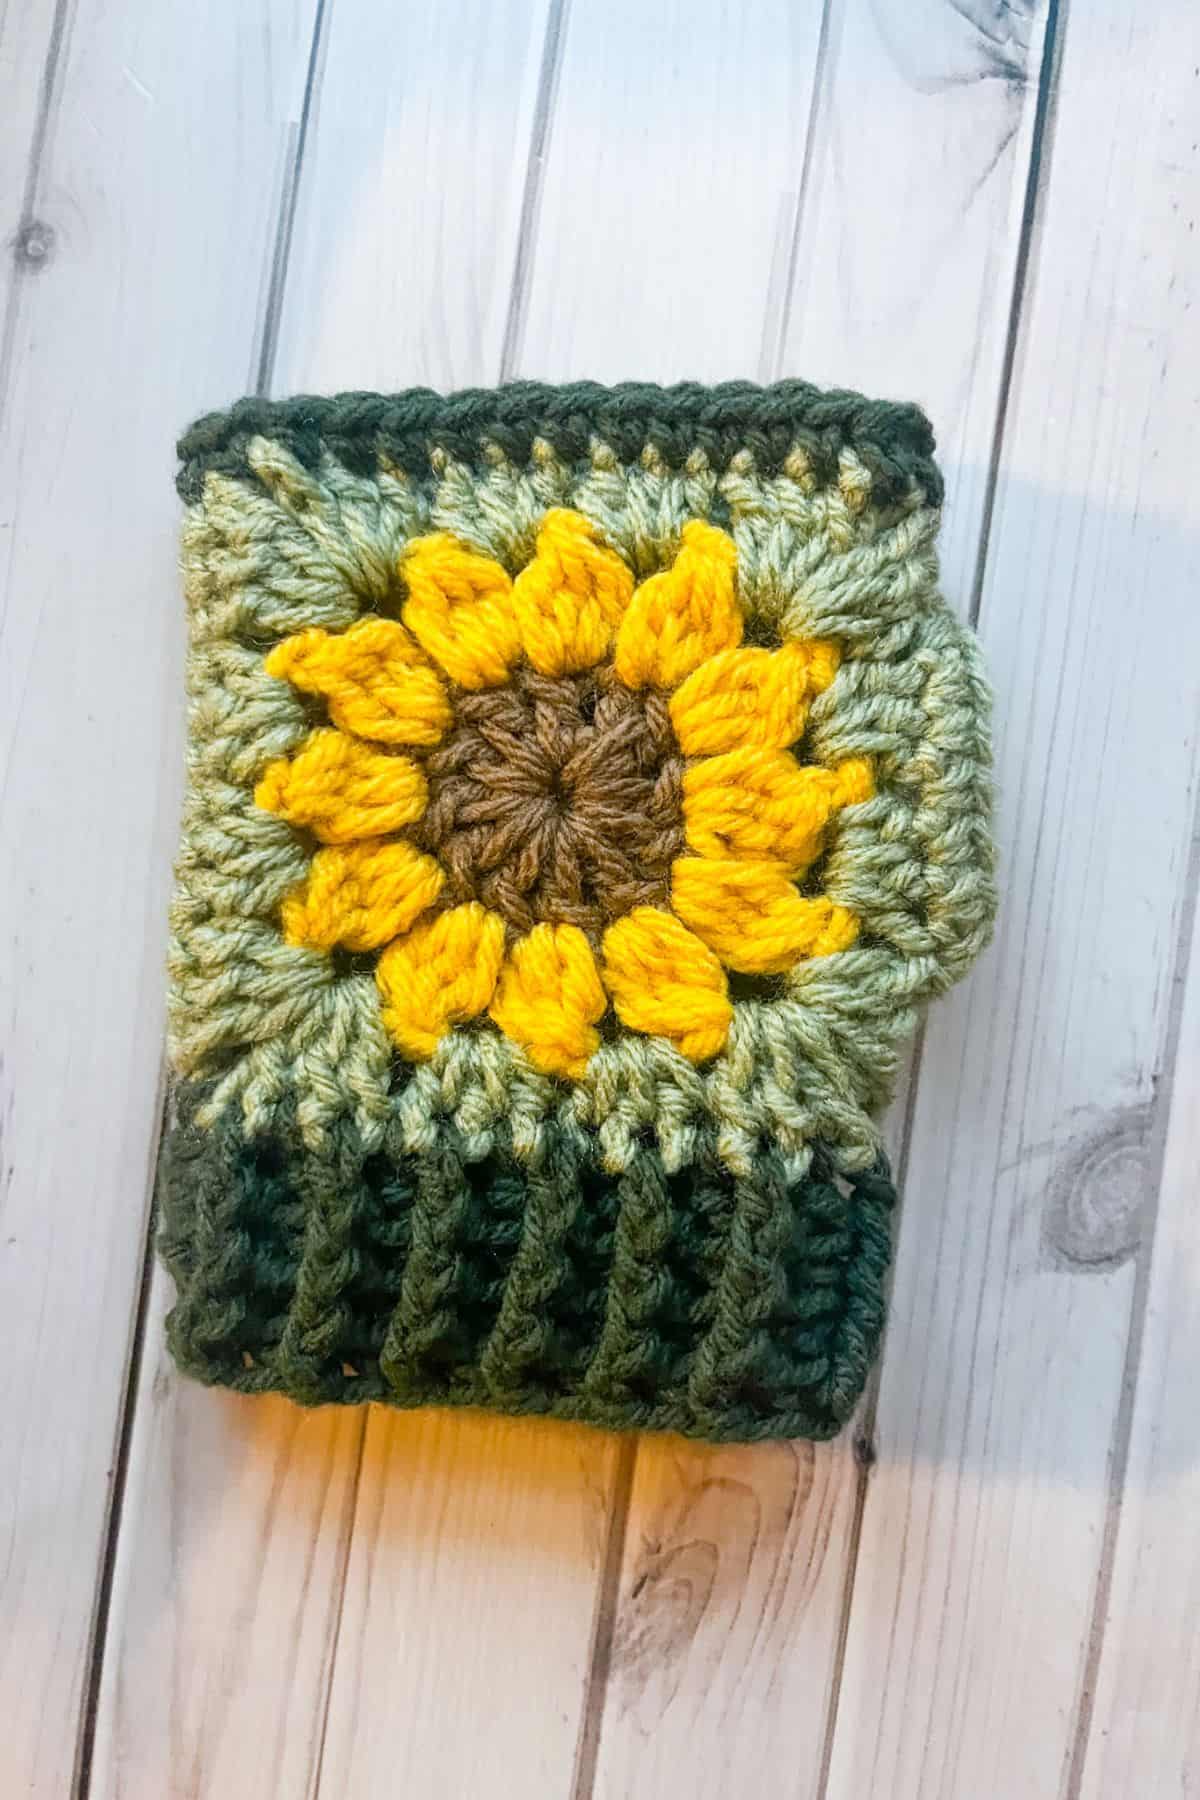
For the bottom edge:
Round 1: Using a 4.5mm hook, join the dark green yarn to anywhere on the bottom edge. Then ch x2. Make dc stitches for this entire round. Then sl st to the beginning chains. You should have 28 dc posts. 26 and even 24 dc posts are fine since this type of ribbing is stretchy. Just make sure the number of dc stitches you have are even.
Round 2: Ch x2 and then alternate fpdc and bpdc for the entire round. Then sl st to the beginning chains.
Round 3 and 4: Repeat round 2, make sure that your fpdc and bpdc stitches are stacked so you create a beautiful ribbed texture. Then fasten off and weave in any ends.
I hope you enjoyed making these super simple and stylish granny square fingerless gloves.
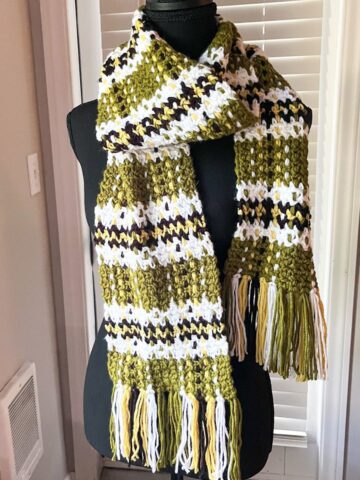
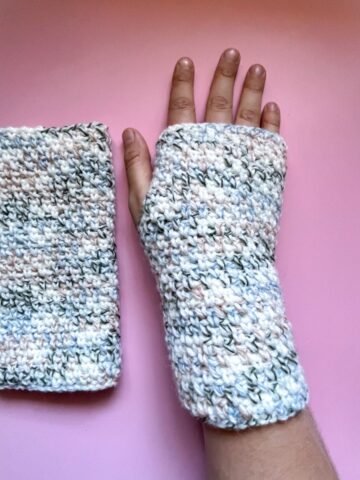
With their easy-to-follow pattern and warm, textured cuff, they’re the perfect fall accessory. Whether you're a beginner or experienced crocheter, this project is a fun and quick way to add some handmade charm to your wardrobe. Don’t forget to explore my crochet moss stitch fingerless glove pattern for even more crochet fun! You can even make the crochet moss stitch scarf to go with it.
If you loved this pattern, be sure to check back for more cozy creations, and feel free to share your finished gloves with me on social media — I’d love to see your beautiful results!
Oh and if you have a lot of extra yarn you can make my crochet sunflower purse pattern!
Happy crocheting, and stay warm out there!
🐌Expert Tips
- Tension Matters: Keep your tension consistent throughout the project to ensure your gloves fit snugly and comfortably. If your stitches are too tight, it might make the gloves too small, and if they’re too loose, they may end up too big.
- Perfecting the Cuff: The front post double crochet and back post double crochet stitches create a textured, stretchy cuff. If you're new to these techniques, take your time and practice on a swatch first to get comfortable with the stitch direction.
- Join the Squares Neatly: When you join the granny squares, make sure to weave in your ends properly to avoid any loose threads. Use a slip stitch or whip stitch for neat seams.
🧵Pattern FAQs
This pattern is designed for an adult size, but it’s easy to adjust. You can modify the width or length of the gloves to suit your hand size or personal preference. The easiest way is to go down in hook size. If you need the glove bigger, just add a round of single crochets to the edge of the granny squares.
These gloves are designed for fall and mild winter days, offering a comfortable fit for chilly weather. However, if you need extra warmth, consider using a thicker yarn or adding a lining for additional insulation.
Definitely! These granny square fingerless mittens make a wonderful gift, especially for fall birthdays or holiday presents. The pattern is easy to customize in different colors, so you can make each pair unique to the recipient’s style.
🧶More Crochet Clothing Patterns

If you tried this Granny Square Fingerless Gloves Pattern (or any other pattern on my website), please let me know how it went in the 📝 comments below. I'd love to hear from you!

Granny Square Fingerless Gloves Pattern
Materials
Abbreviations (US terms)
- Magic ring - mr
- Chains - ch
- Single crochet - sc
- Half double crochet - hdc
- Double crochet - dc
- Front post double crochet (fpdc)
- Back post double crochet (bpdc)
- Slip stitch - sl st
- Increases (inc)
Notes
- Skill Level: This pattern is beginner-friendly! While it’s perfect for new crocheters, it’s also quick and enjoyable for more experienced crafters looking for a simple project.
- Yarn and Hook: For best results, use a yarn weight that suits your comfort level with the stitch work. Typically, a medium-weight yarn (like worsted weight) is ideal for granny square gloves. Pair it with an appropriate hook size, usually a 5.0mm (H) hook.
- Cuff Technique: The front post double crochet and back post double crochet stitches create a lovely texture and secure the glove's fit around your wrist.
Instructions
Granny Square: Make x4
- Round 1: With the brown yarn, make a mr, then ch x2 and dc x11 into the mr. Then you will pull tight and sl st to the top of the chains. The chains act as a dc in this pattern (12). Fasten off the brown yarn and weave in any ends.
- Round 2: With the yellow yarn, Join the yarn to any top of the dc stitches from the round below. Then ch x2. In the same stitch dc 2 together. *Then ch x2. After, dc 3 together in the next stitch (also a granny cluster stitch). Repeat from *. When you get to the end of the round, ch x2 and make a sl st to the first ch space you made. Then fasten off the yarn and weave in any ends.
- Round 3: With the light green yarn, join the yarn on any of the ch x2 spaces from the round below. Then ch x2 and dc x2 into the same space. In the next ch x2 space, hdc x3. Hdc x3 in the next ch space, then in the next ch space we will make a corner. For the corner dc x3, ch x2, and dc x3 again.
- Repeat hdc x3, hdc x3, dc x3 + ch x2 + dc x3 for the rest of the round. After you are done with the last 2 groups of hdc x3, you will work dc x3 and ch x2 in the already half worked corner space. Then sl st to the top of the starting rounds chains. Then fasten off the yarn and weave in any ends.
Assembly:
- Once you have 4 granny squares made you will assemble the main part of the glove.
- Take 2 granny squares and stack them, make sure the wrong sides are facing out. Then sl st or whip stitch (hand sewing) them together on one side. On the opposite side, sew them together about 4-5 stitches on each end leaving a hole in the middle for a thumb to go through.
- Once the glove is sewn on 2 sides. Flip it inside out. Still using the light green, sc around the thumbhole, 1 sc in each stitch. Then fasten off and weave in any ends.
Top and Bottom Edges of the Glove:
- For the top edge of the glove:
- Join the darker green yarn anywhere at the top and sc the top edge. Then sl st to the first sc, fasten off and weave in any ends.
- For the bottom edge:
- Round 1: Using a 4.5mm hook, join the dark green yarn to anywhere on the bottom edge. Then ch x2. Make dc stitches for this entire round. Then sl st to the beginning chains. You should have 28 dc posts. 26 and even 24 dc posts are fine since this type of ribbing is stretchy. Just make sure the number of dc stitches you have are even.
- Round 2: Ch x2 and then alternate fpdc and bpdc for the entire round. Then sl st to the beginning chains.
- Round 3 and 4: Repeat round 2, make sure that your fpdc and bpdc stitches are stacked so you create a beautiful ribbed texture. Then fasten off and weave in any ends.
- I hope you enjoyed making these super simple and stylish granny square fingerless gloves.
Leave a Reply