
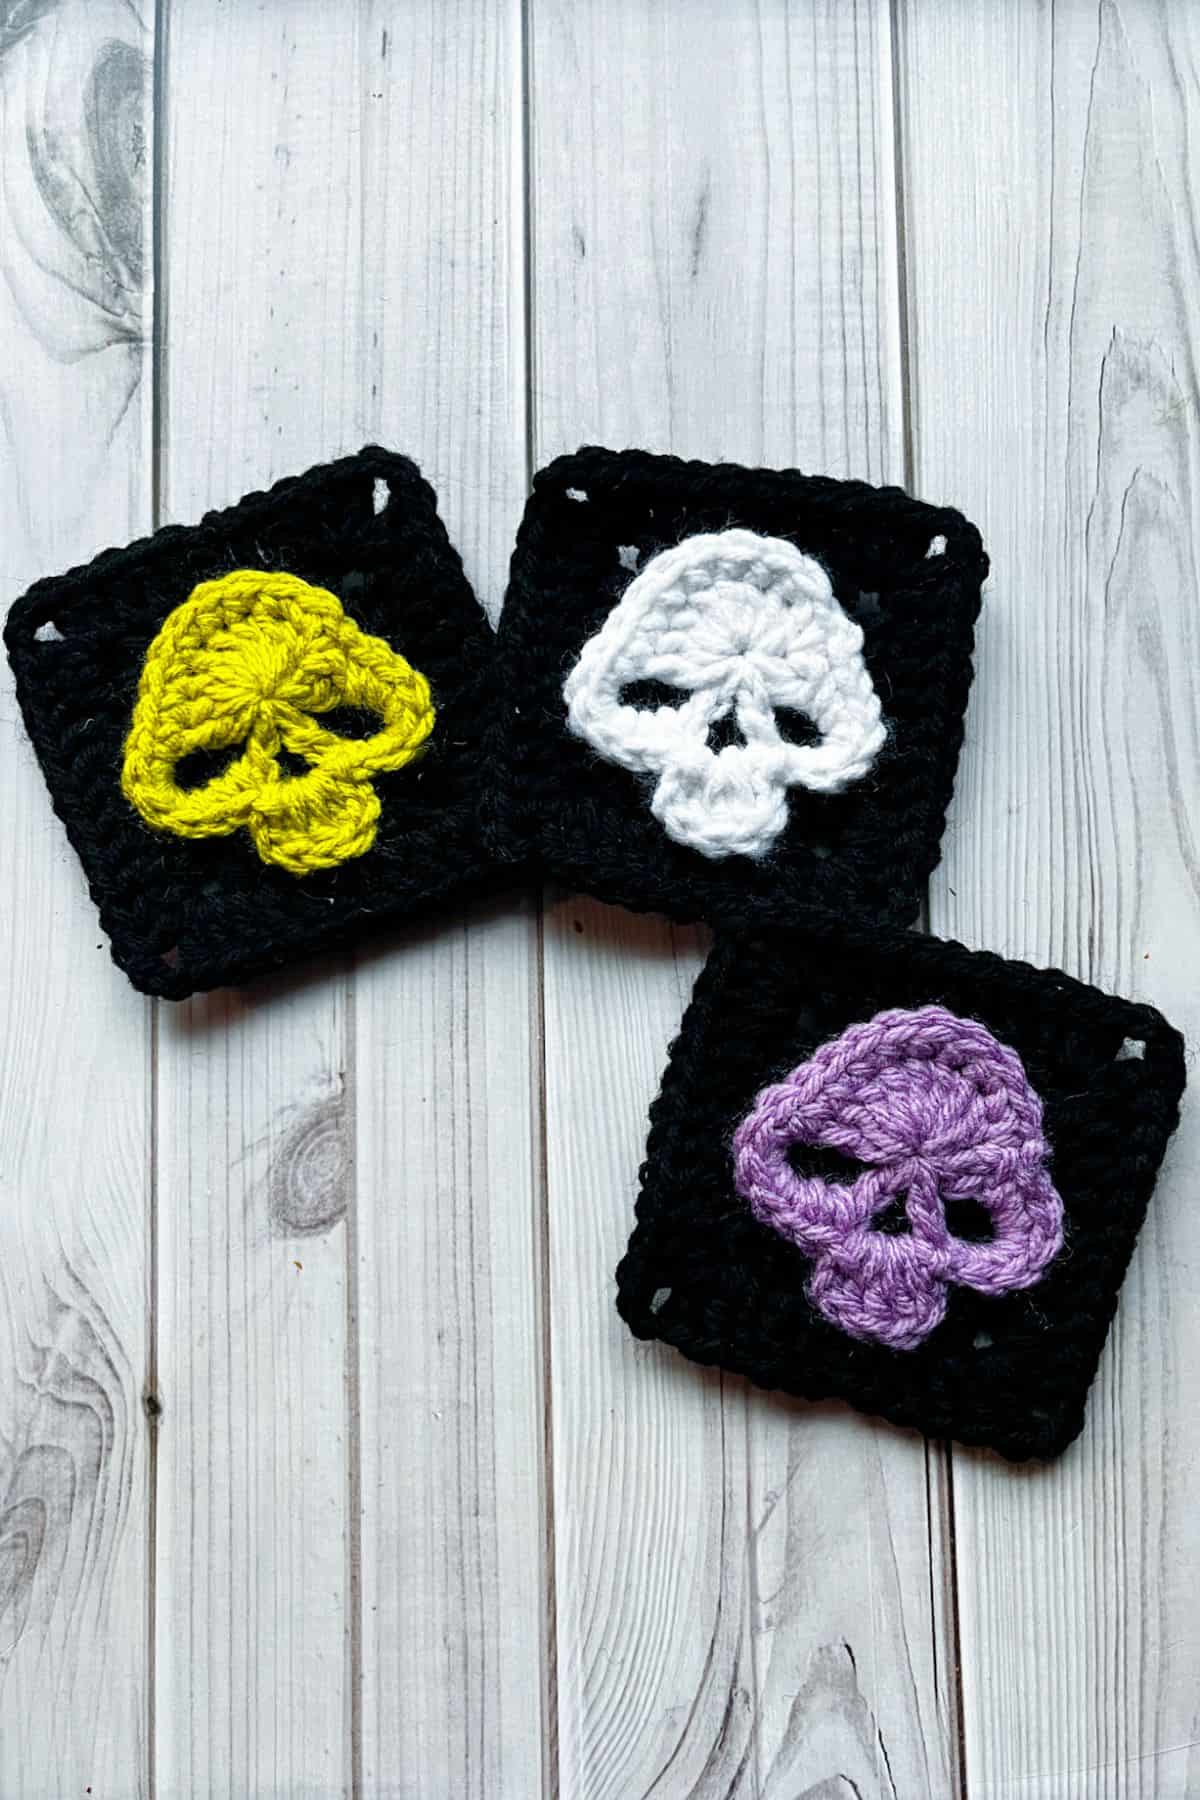
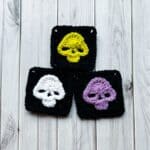
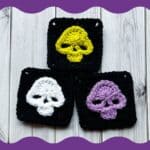
Made with a basic solid granny square and a crochet skull appliqué, this Skull Granny Square Crochet Pattern is easy to master. You can decorate anything with these skull granny squares!
Crochet skull granny squares can seem intimidating, but this pattern is beginner-friendly! As long as you know the basic stitches, you can recreate this skull. This skull granny square pattern is perfect for those who want a little customization in their granny squares.
Unlike granny squares that have the skull built-in, this design allows optimal placement of the skull based on the project since it is an applique and can be added to the square at any angle.
My bat granny square pattern also works this way. The moon is built into the square but the bats are appliques that can be added at your discretion.
I love using appliques because they allow many possible variations to a project. My honeycomb baby blanket pattern looks like has bee appliques facing different directions for some extra added fun!
Enough talking, let's begin the crochet skull granny square pattern!
Jump to:
✏️ Things To Note:
- Yarn Type: I used standard worsted acrylic yarn for the crochet skull appliqué and granny square pattern. Any type of yarn will work, including acrylic, cotton, and chunky yarns.
- Basic Stitches: The base of the pattern only calls for chains (ch), single crochet (sc) and double crochet (dc), making it super easy and perfect for beginners.
- Finished Size: The finished granny square measures about 4 inches in diameter.
🪡 Materials Needed
- 1 small ball of black yarn
- scrap yarn for the skull
- 4mm hook
- Tapestry needle for weaving in the ends and sewing pieces together
💭 Abbreviations to Remember (US Terms)
- Magic ring (mr)
- Chain (ch)
- Single crochet (sc)
- Double crochet (dc)
- Slip stitch (sl st)
🧋 Variations
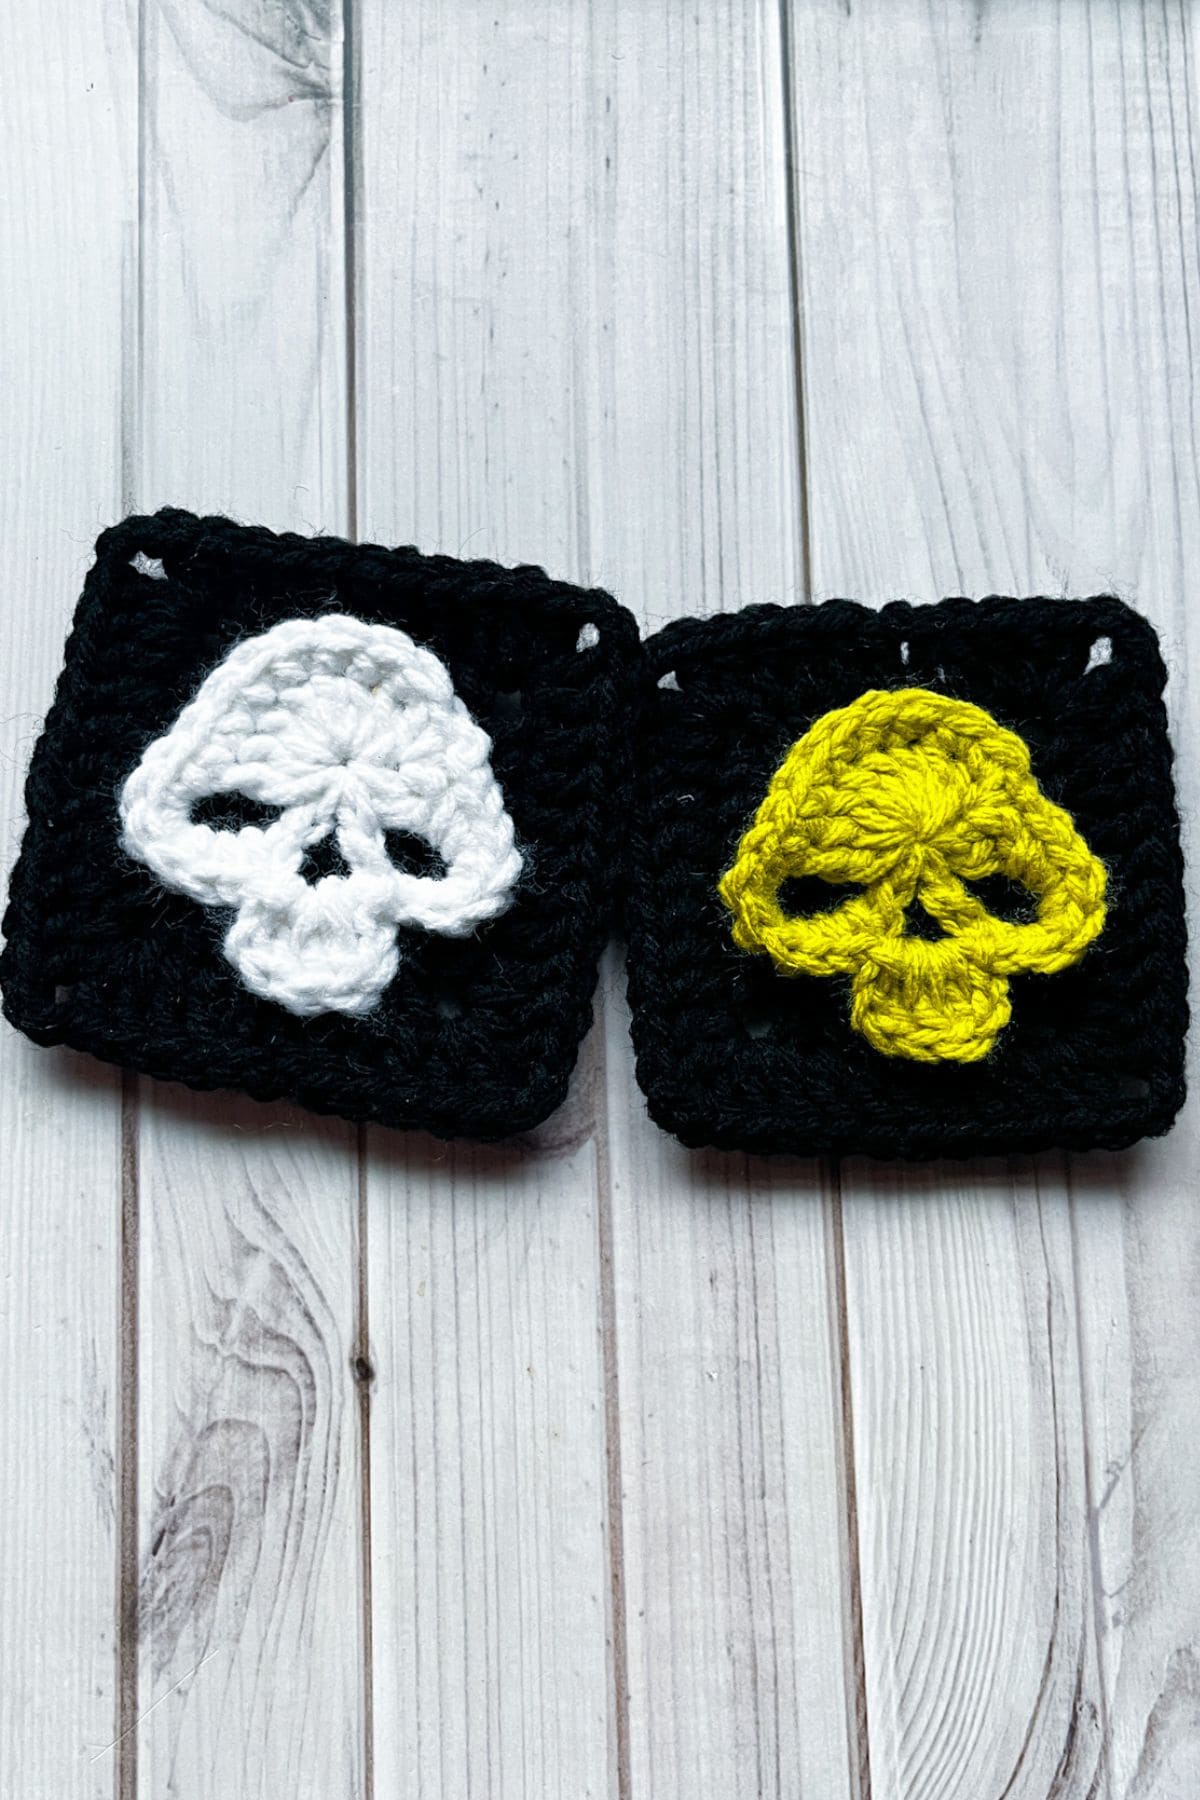
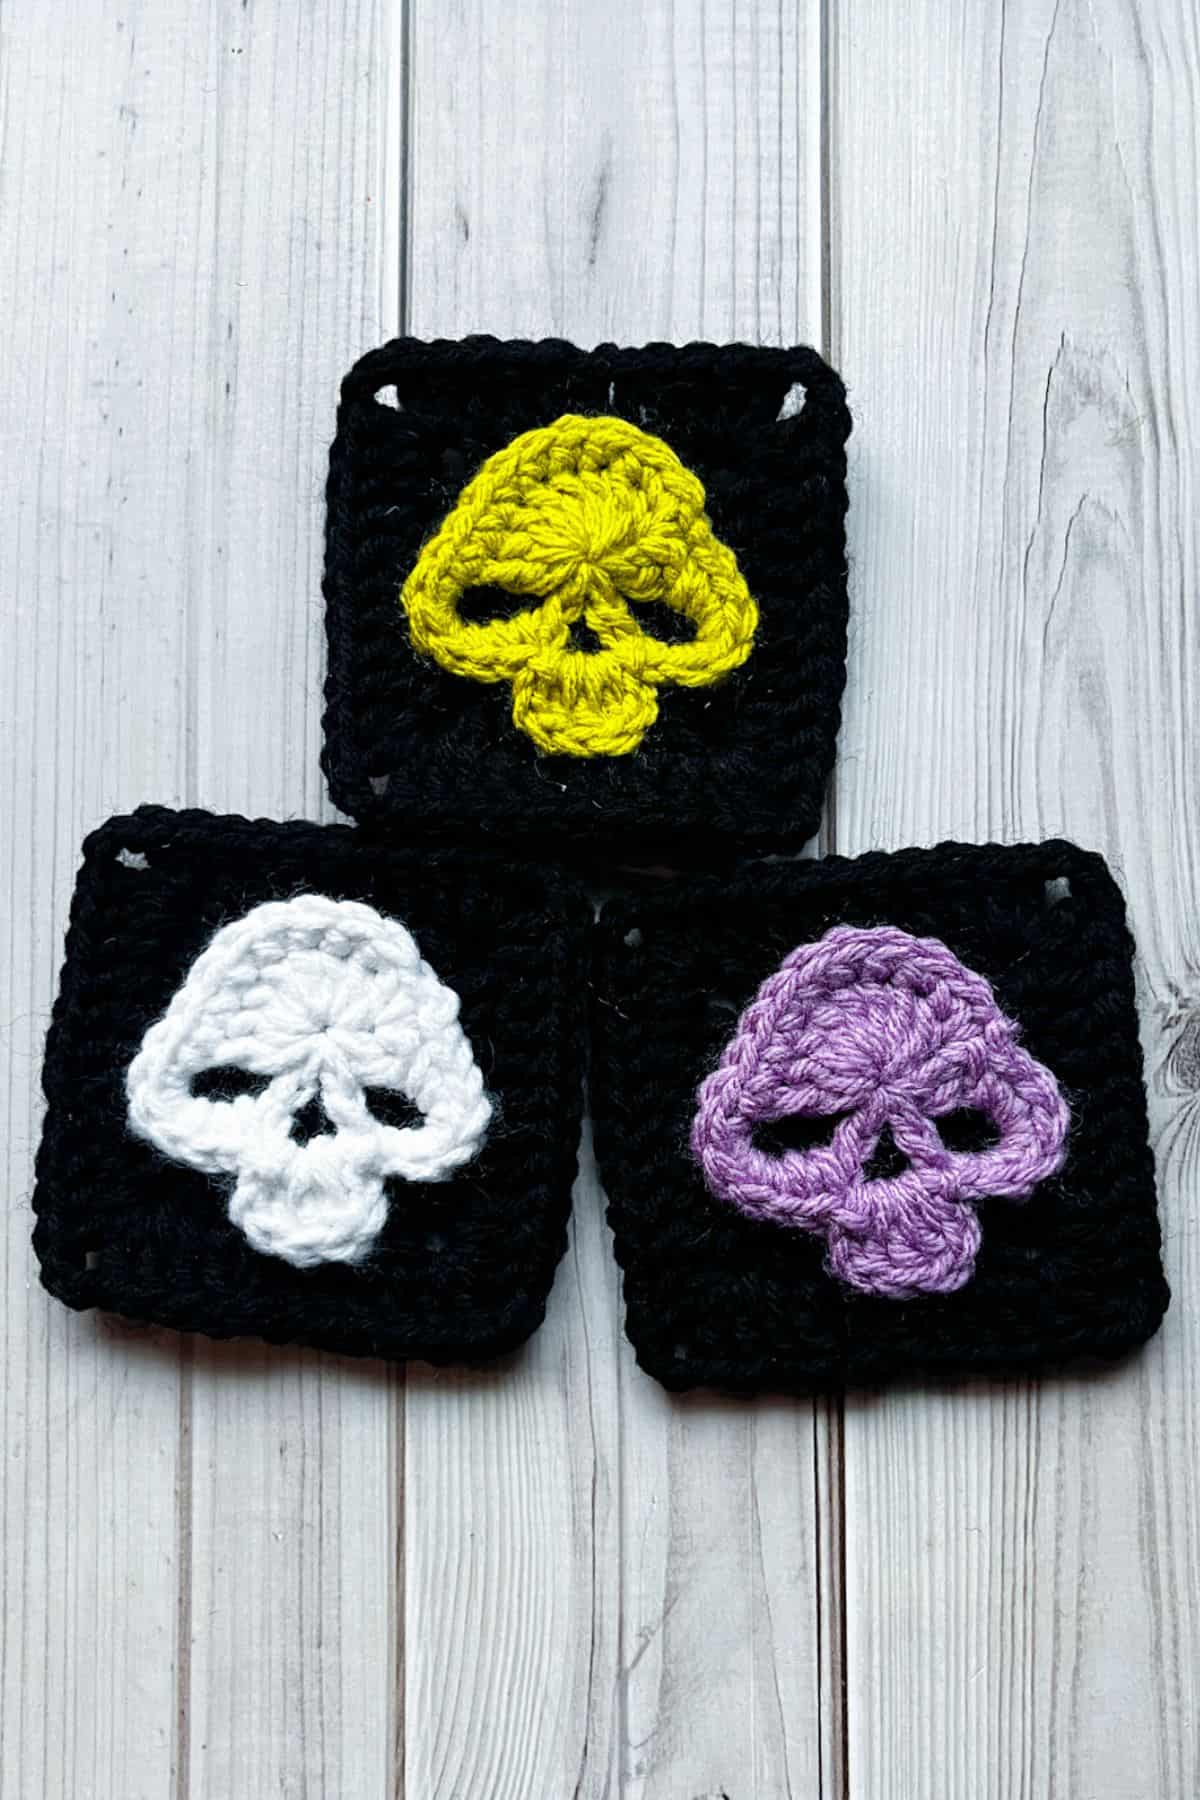
Try switching up the granny square with different colors. You might also crochet a circle for the skull to be attached to. The possibilities are endless!
🍵 Instructions for Skull Granny Square Crochet Pattern
For this pattern, we will be working in rounds for the skull and the granny square.
Solid Granny Square:
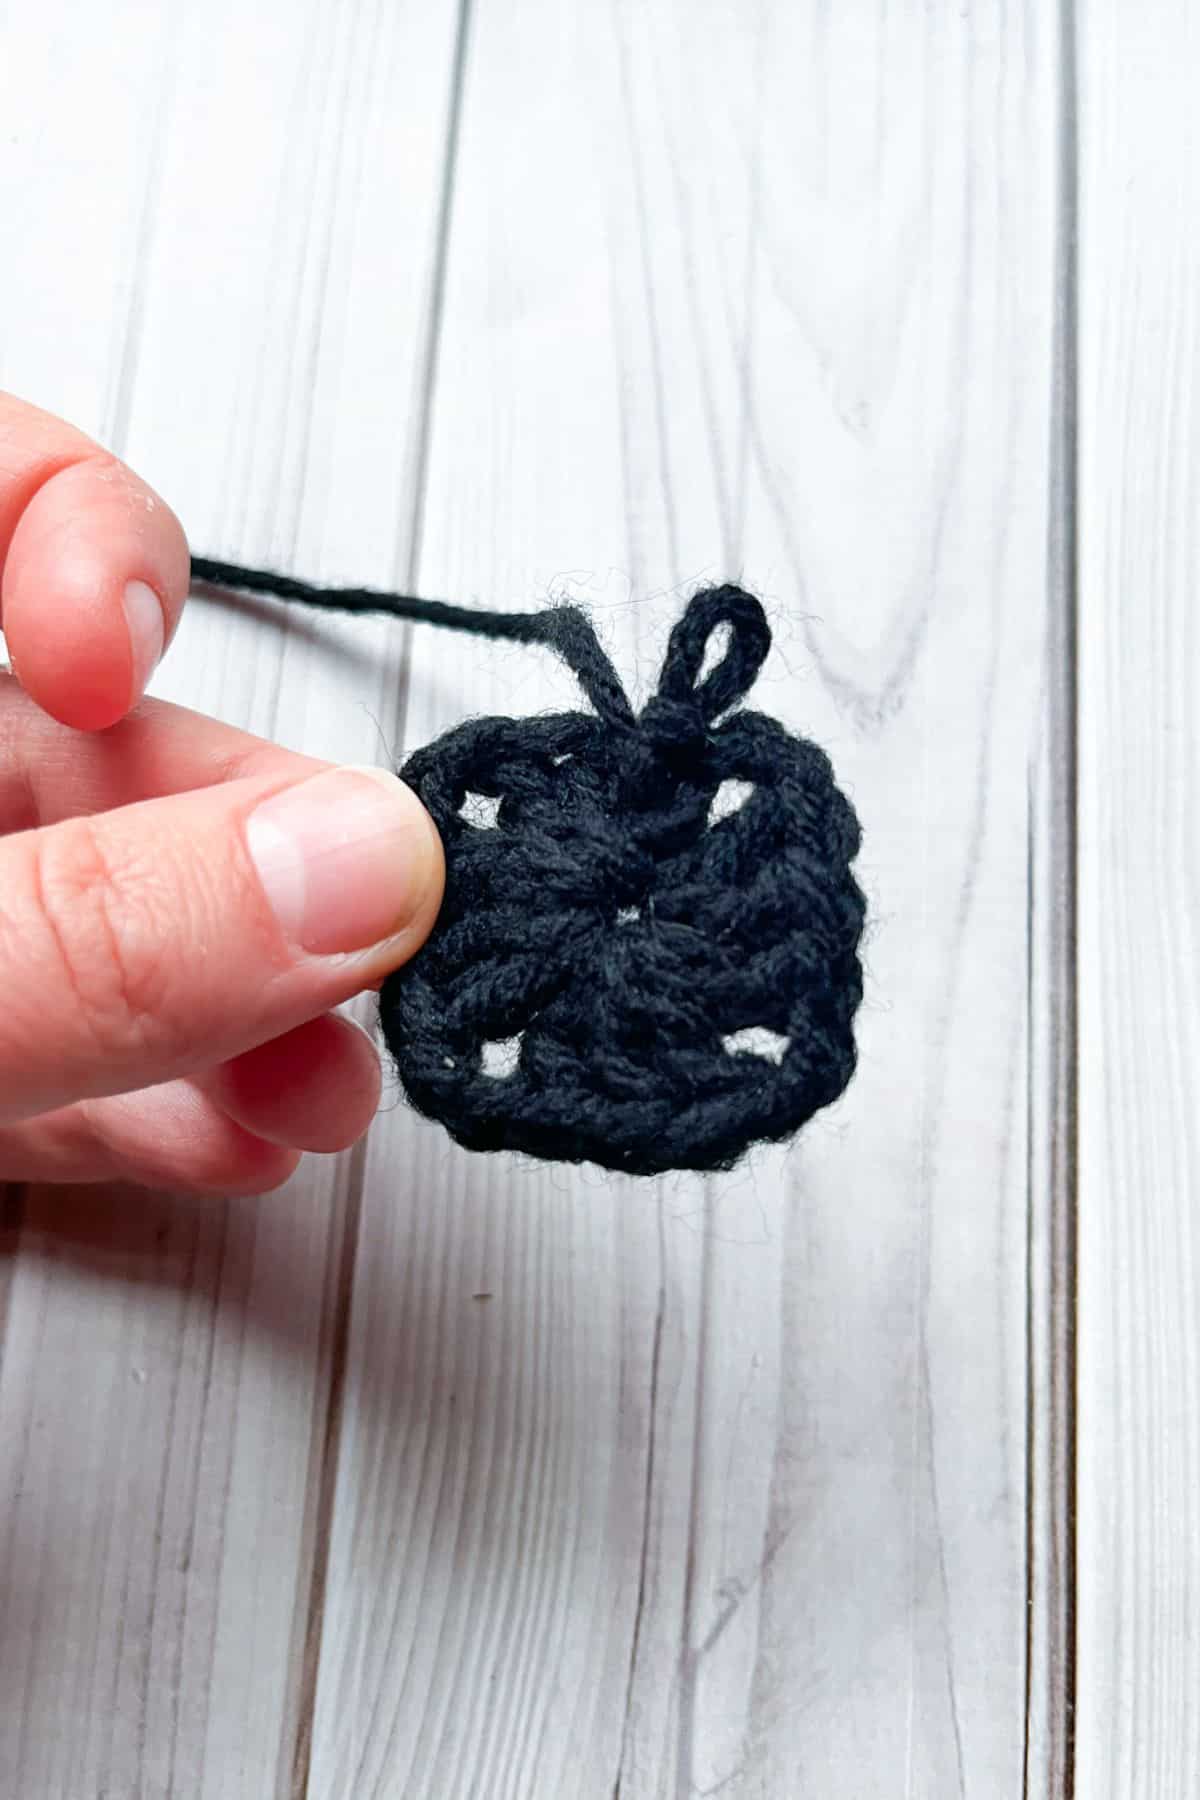
Round 1: Make a mr, ch x3 (counts as a dc) and then dc x2 in the circle.
Ch x2, (dc x3, ch x2) x3. Sl st to the 3rd chain at the beginning of the round.
You should have 4 sides. Pull the magic ring closed and you can see you have a small square.
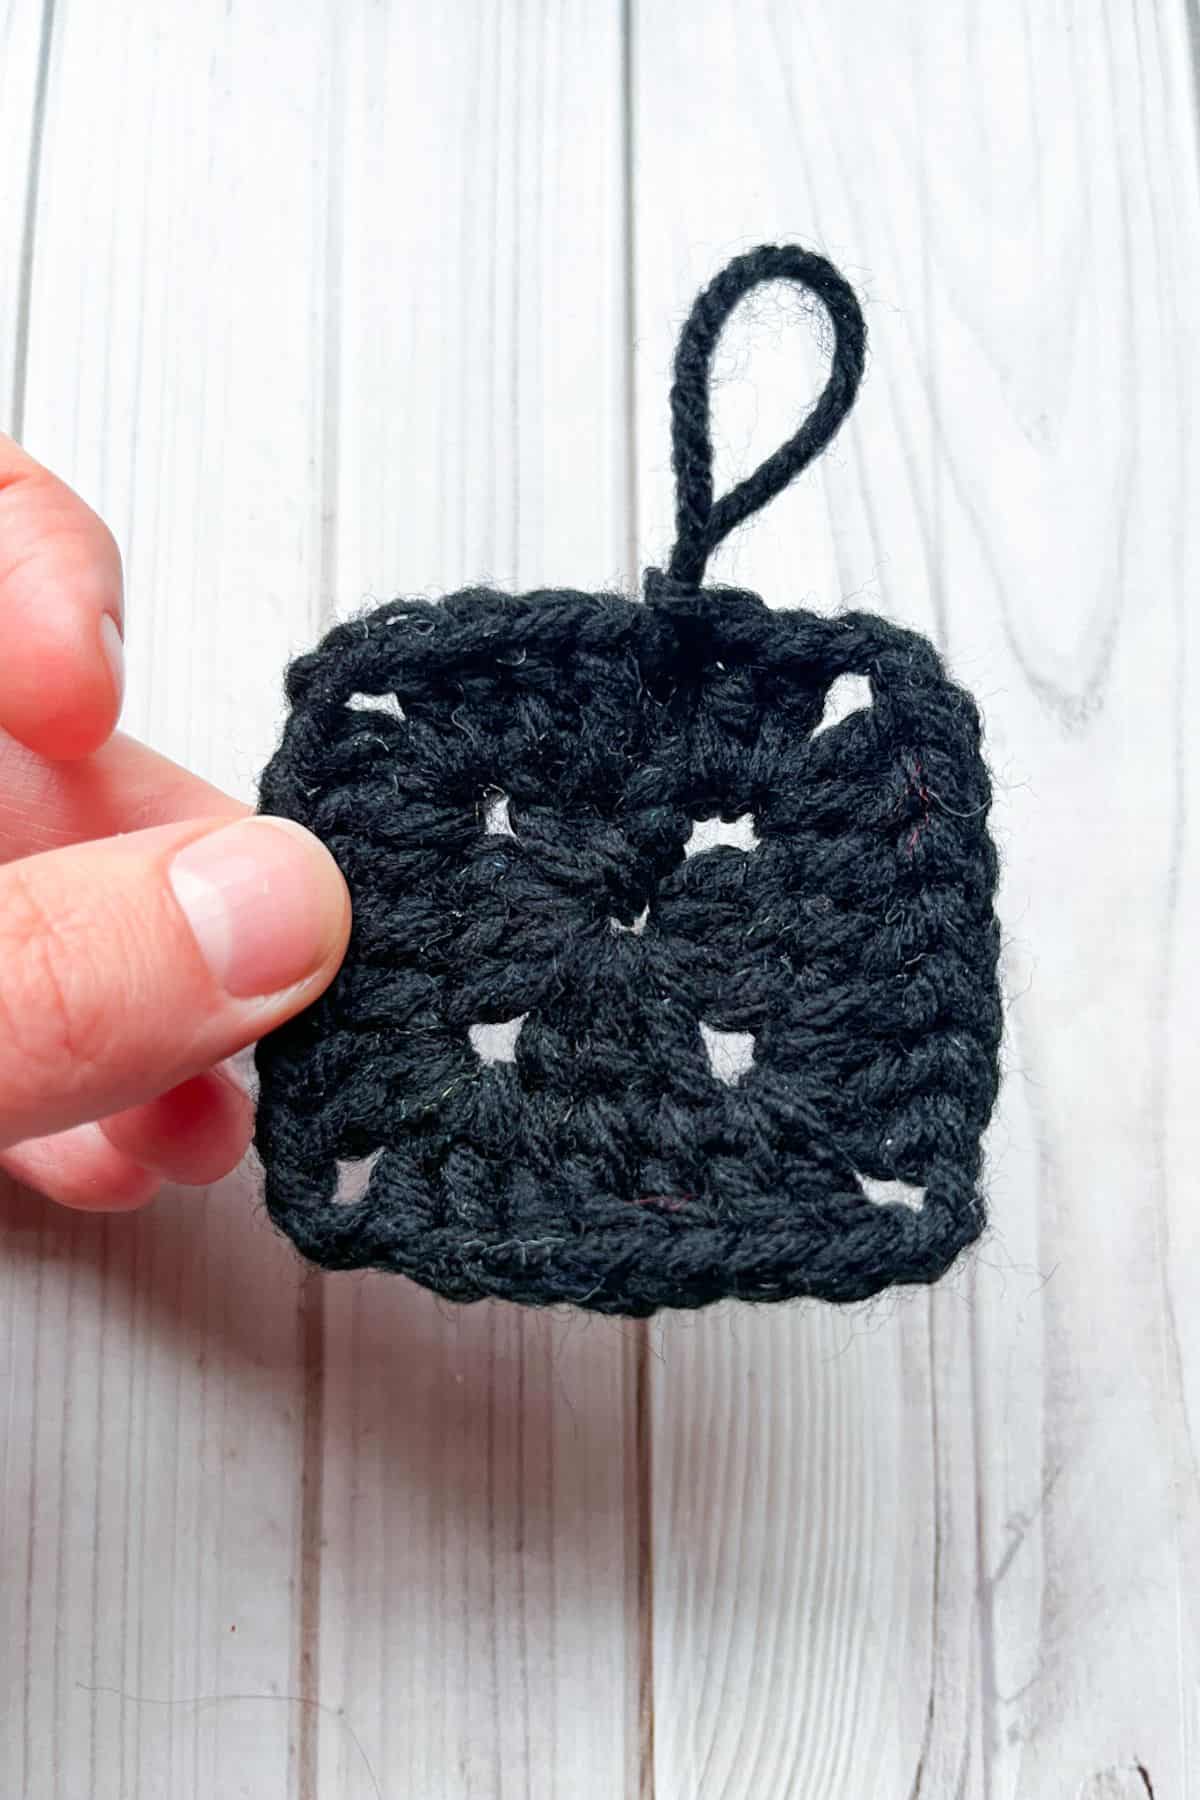
Round 2-3: Ch x3. Dc in each dc stitch from the previous round, (dc x2, ch x2, dc x2) in each ch-2 corner stitch from the previous round. Then sl st to the 3rd chain at the beginning of the round.
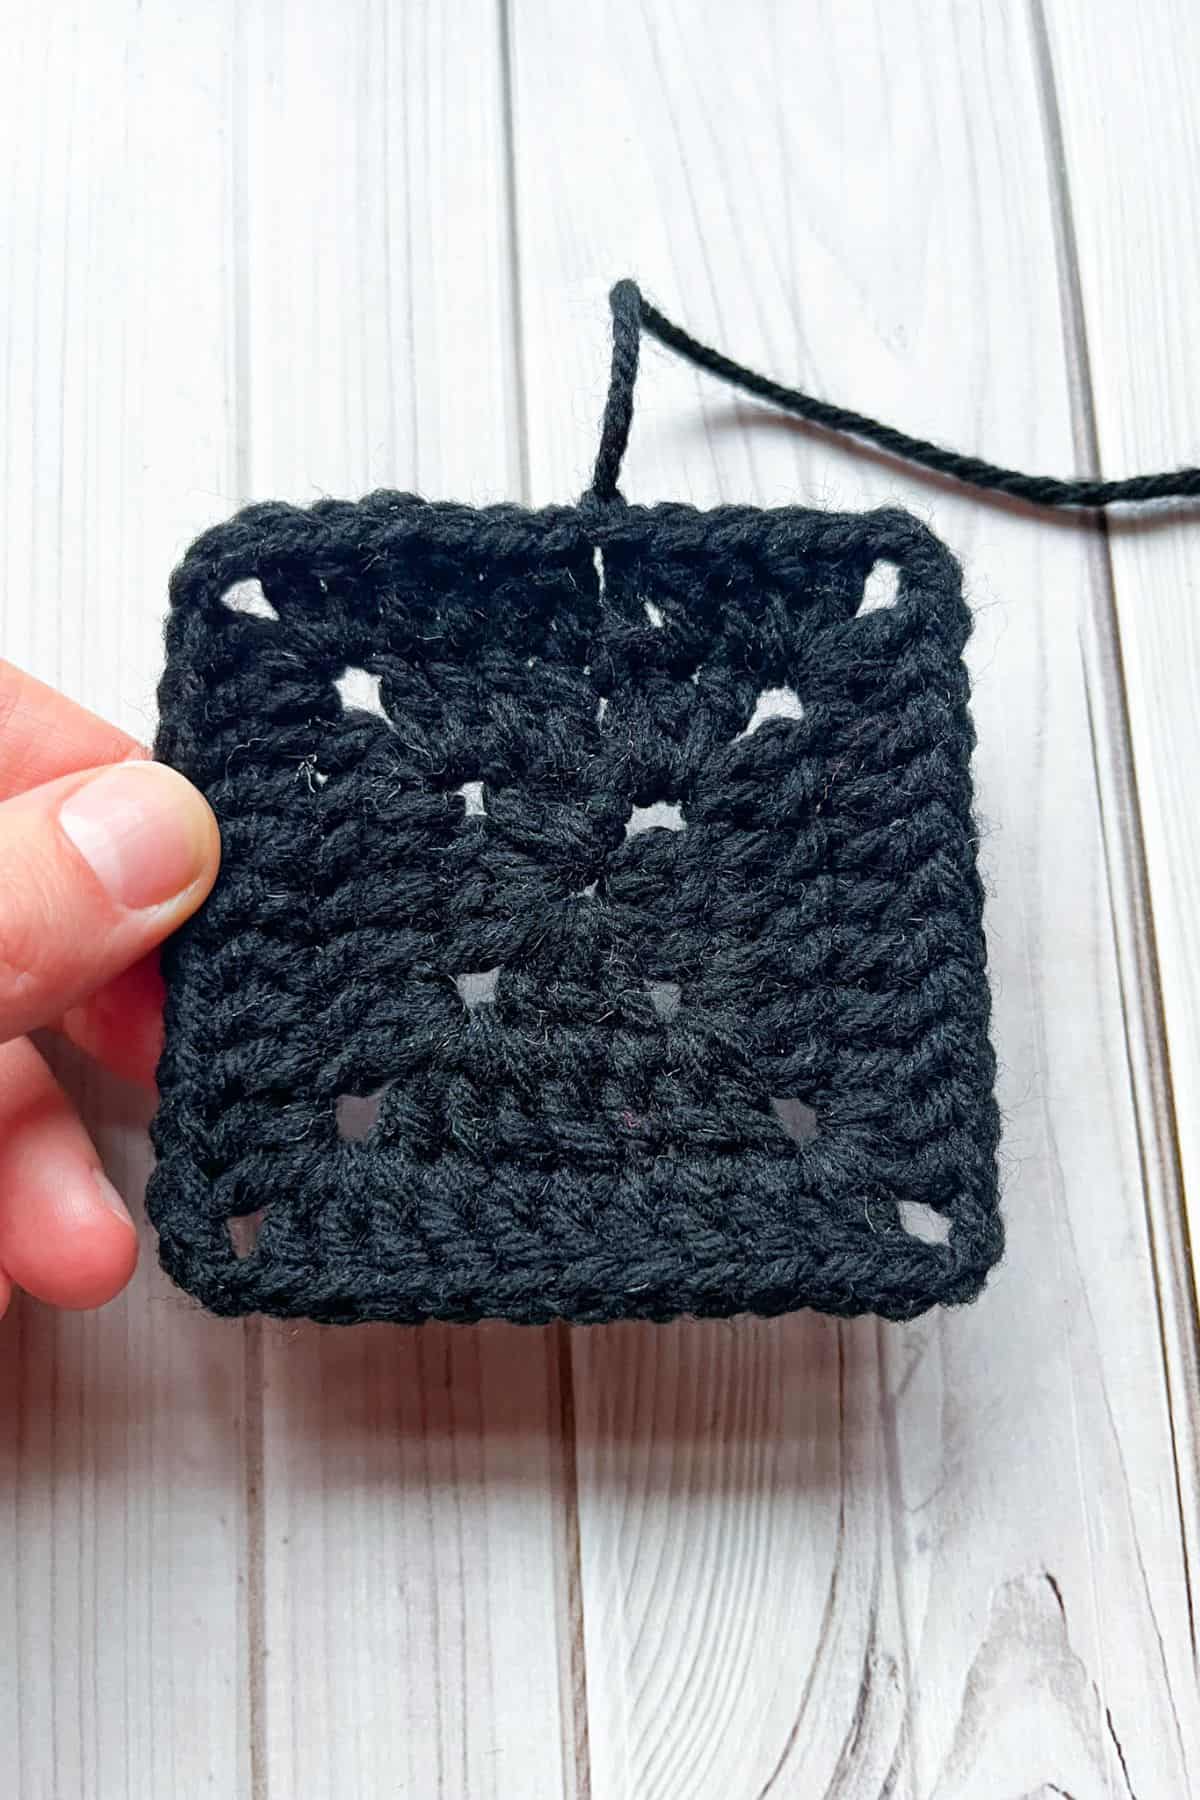
After the 3rd round, fasten off and weave in any tails.
Crochet Skull Applique:
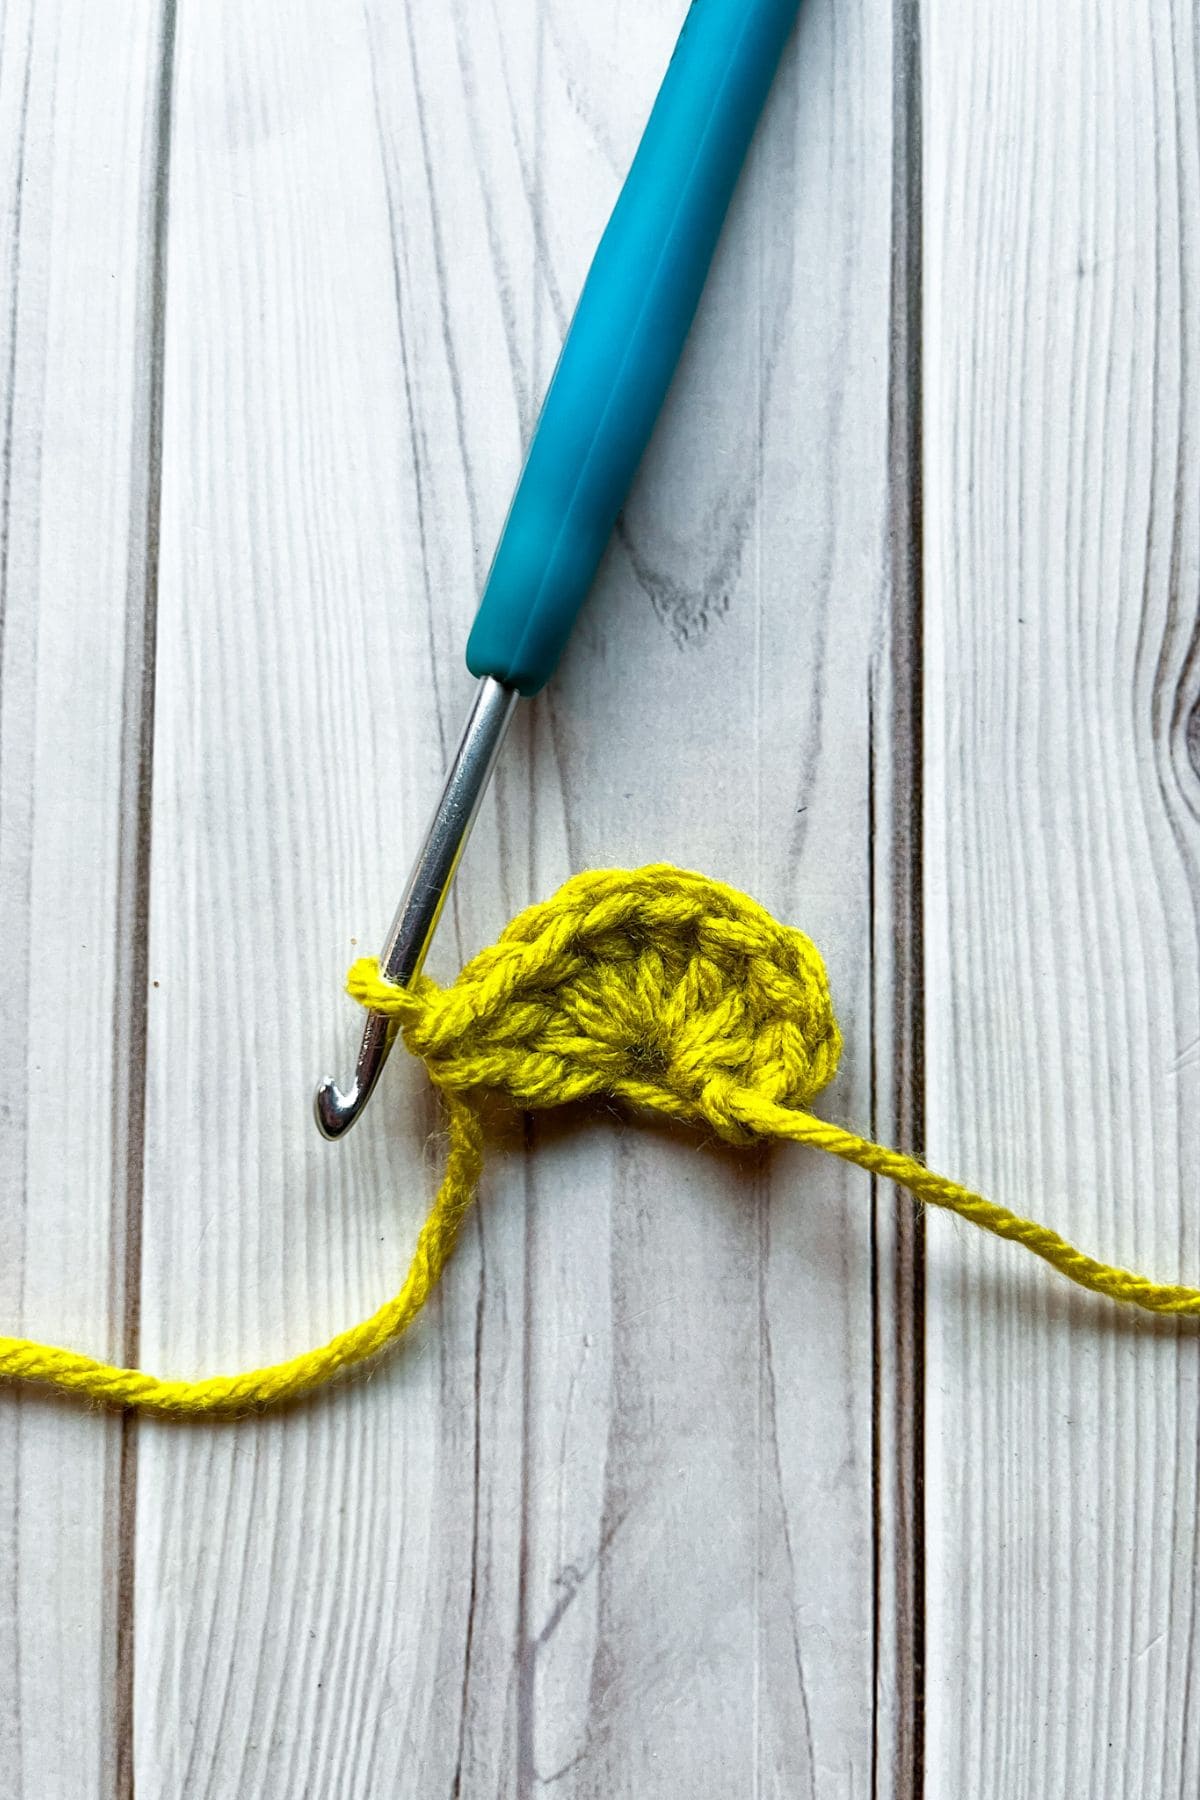
Round 1: Make a mr and ch x3 (counts as a dc). Then dc x8 into the ring (9).
Ch x5, make a dc into the ring, ch x3, make a dc into the ring, ch x5, make a dc into the ring. Sl st to the top of the ch x3 (11 dc are in the ring + a ch space of 5,3,5 in that order).
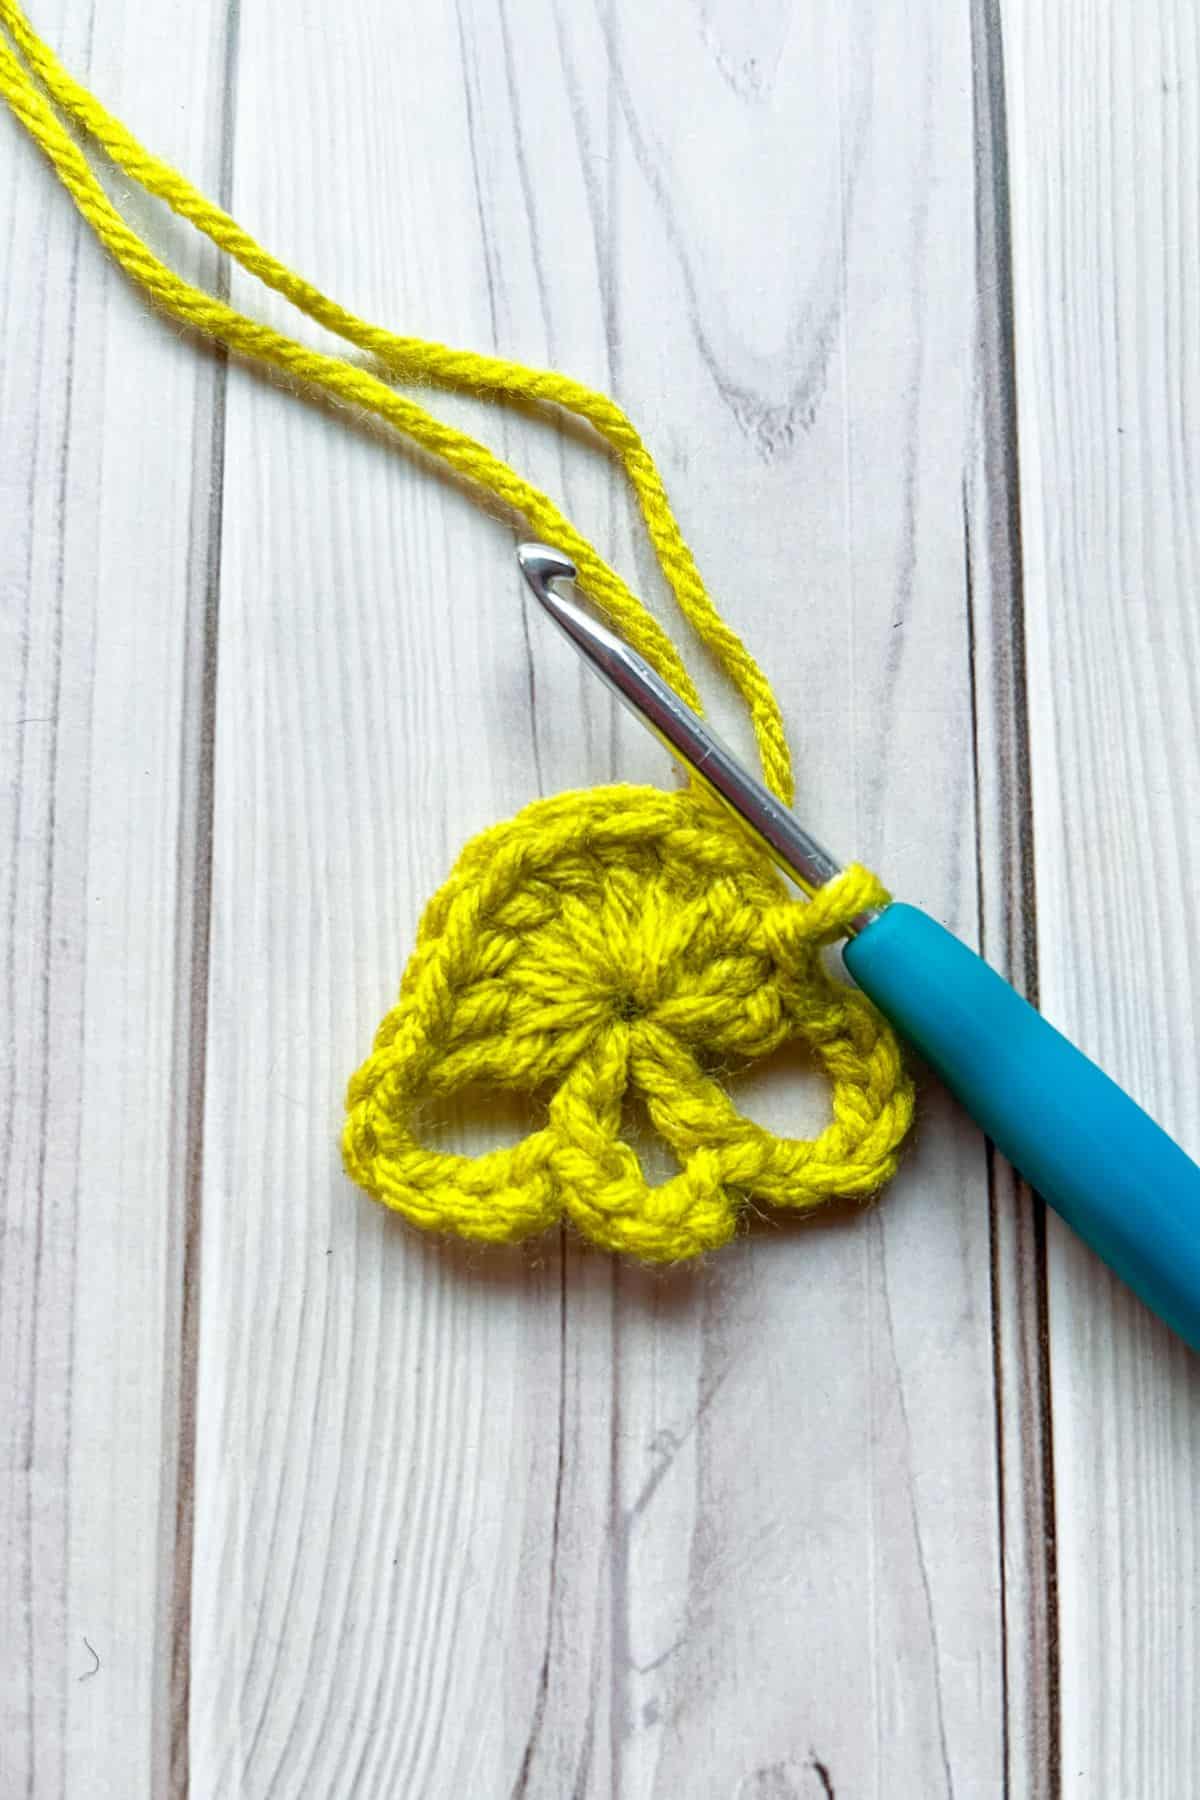
Round 2: Ch x1 (does not count as a stitch), then make a sc right where you made the sl st.
Sc across the top of the next 8 dc stitches (9 sc).
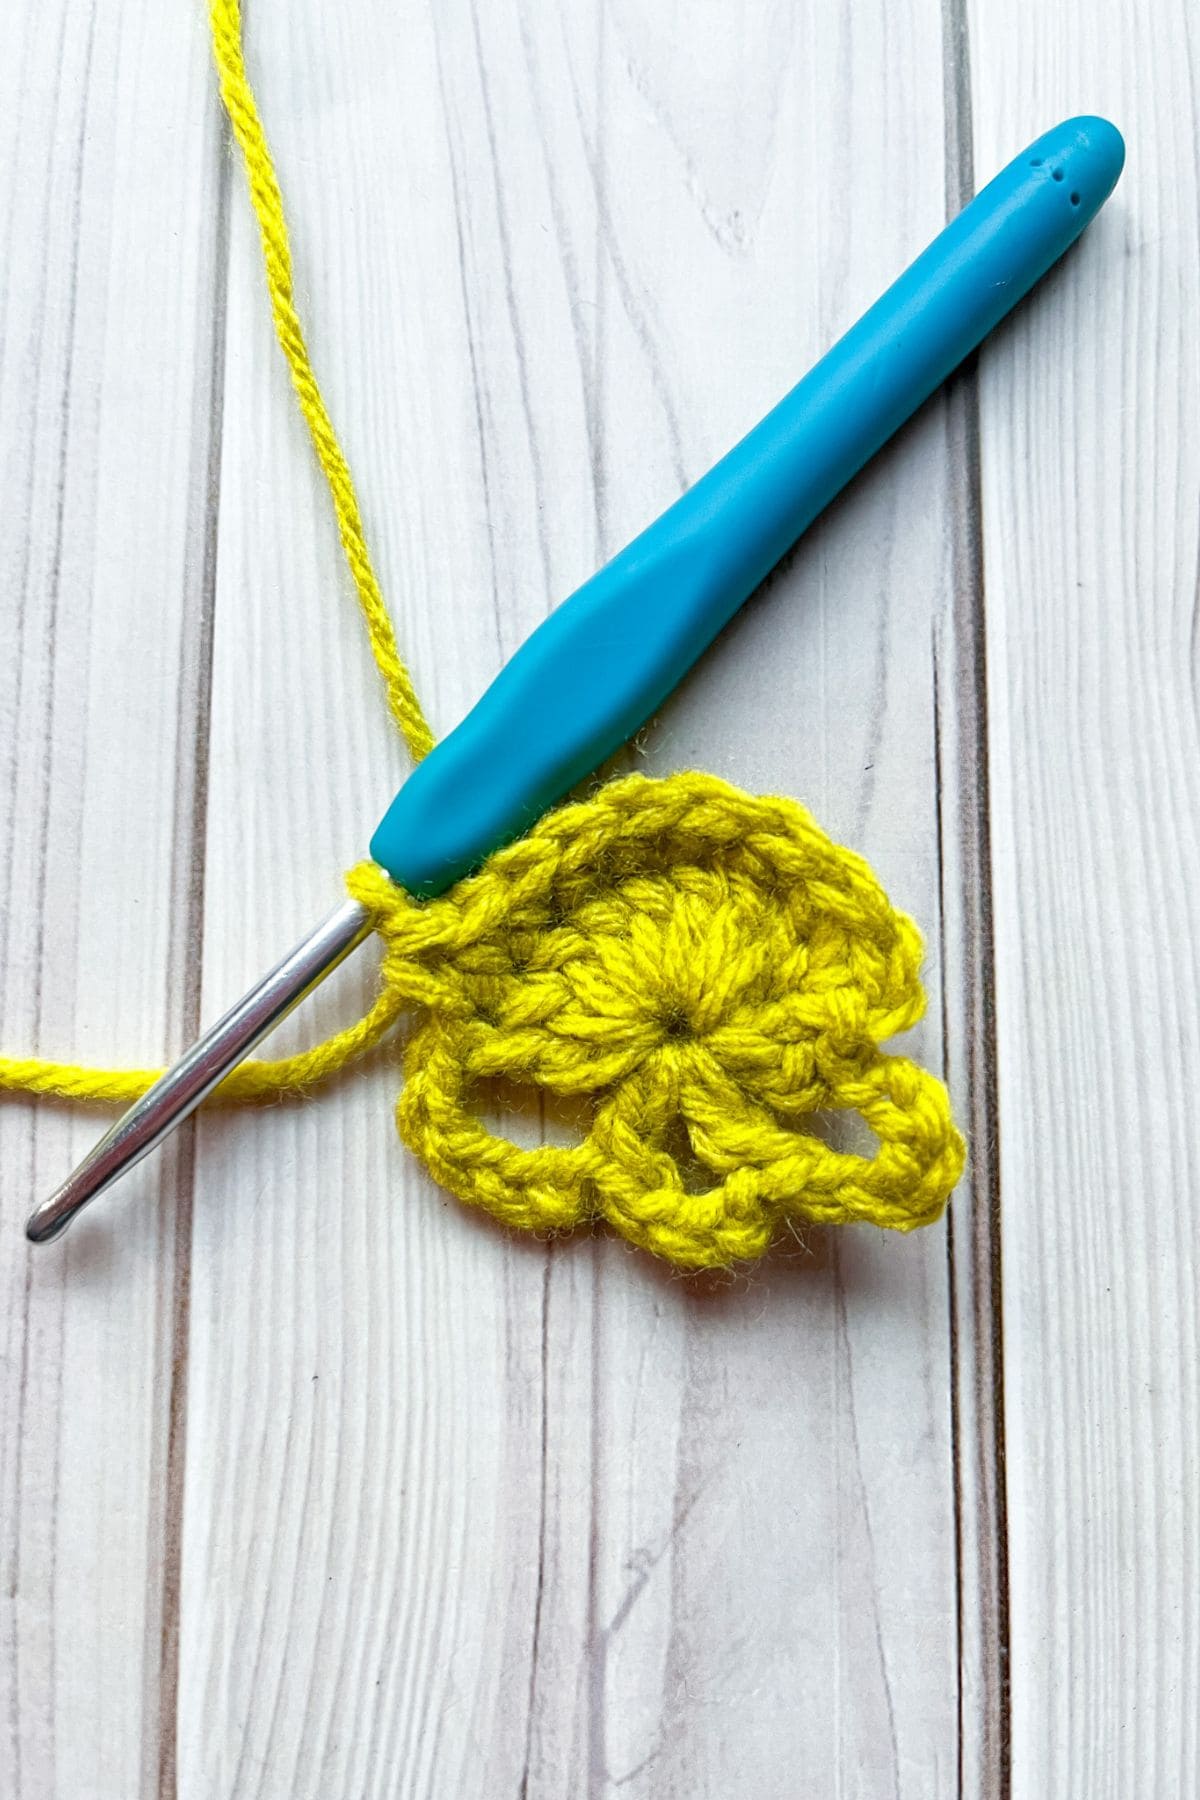
Sc x6 into the ch-5 space, sl st to the ch-3 space and ch x2. Dc x3, ch x2 and sl st back to the ch-3 space. Sc x6 into the last ch-5 space. Sl st to the first sc in the round (not the chain). Fasten off and leave a tail for sewing.
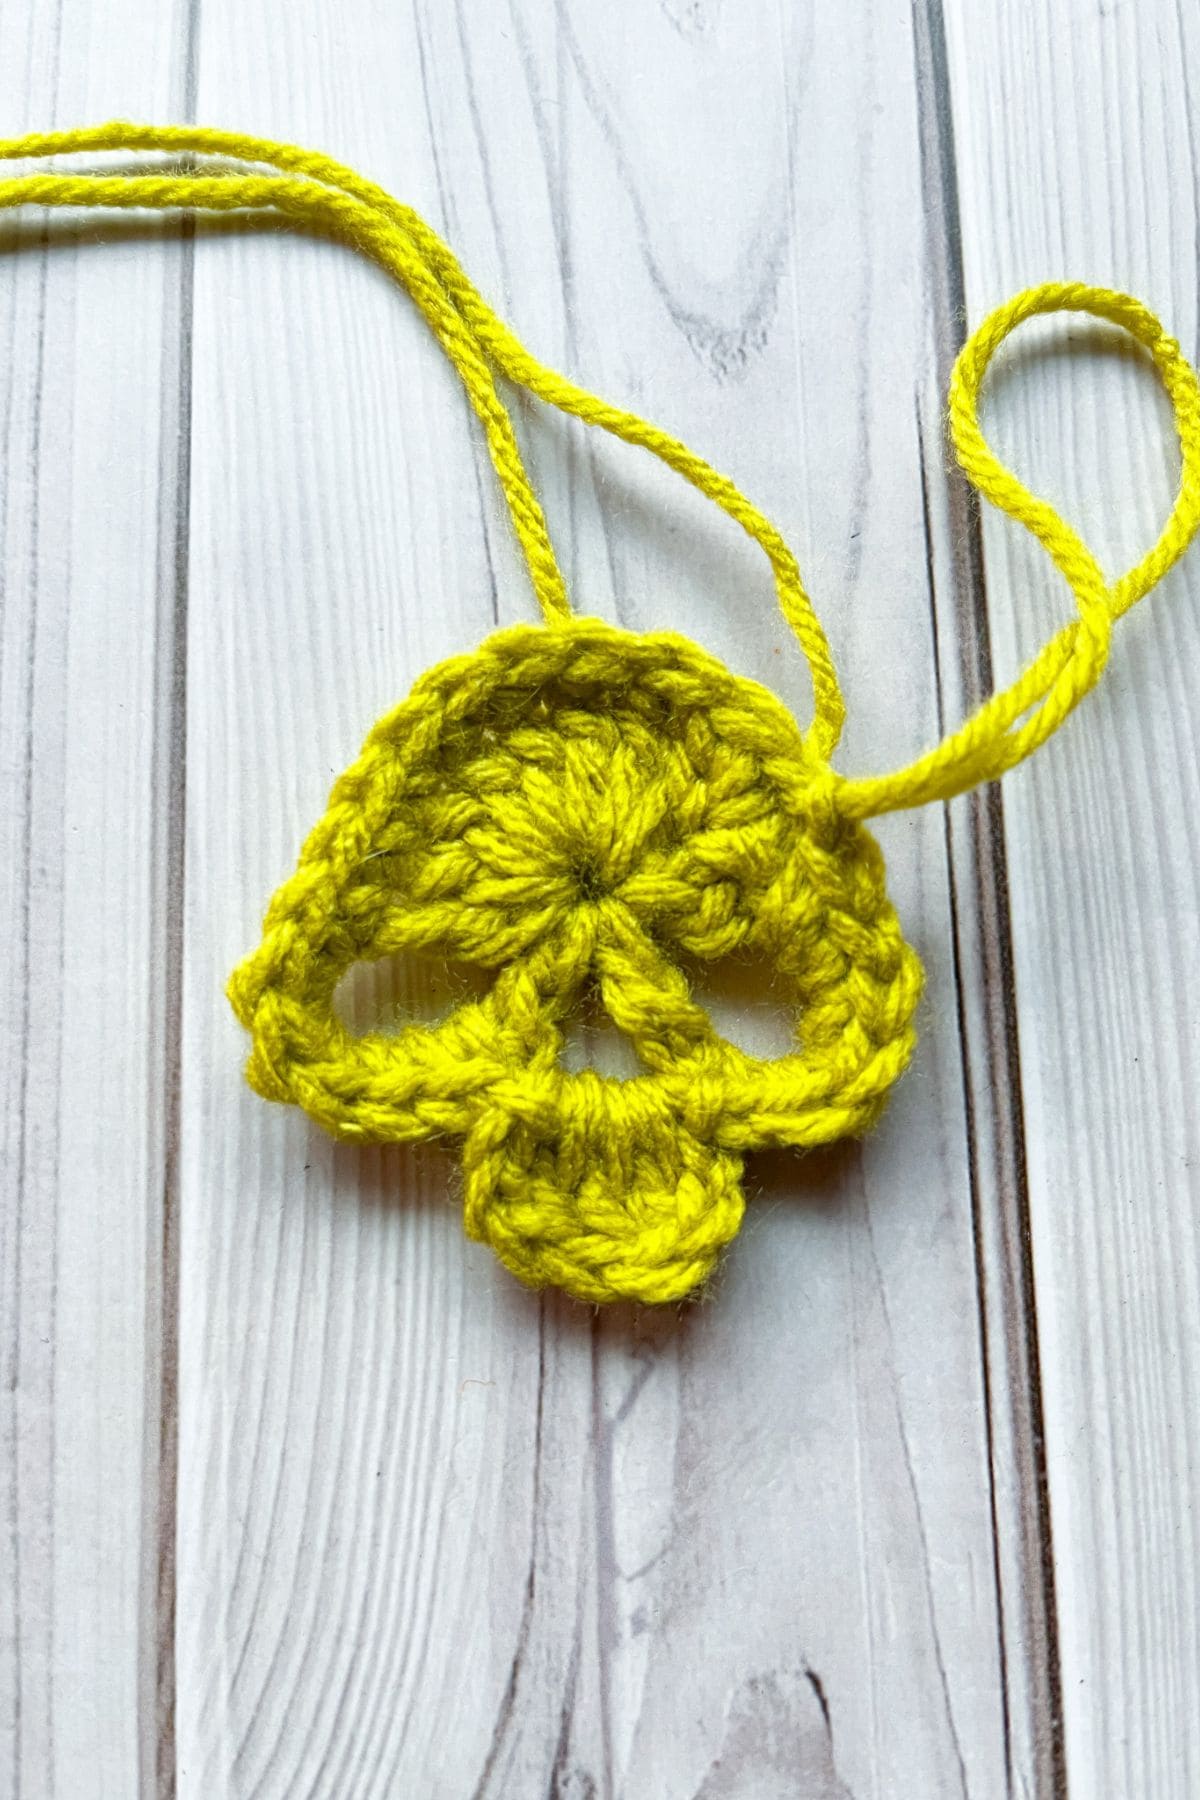
Sewing:
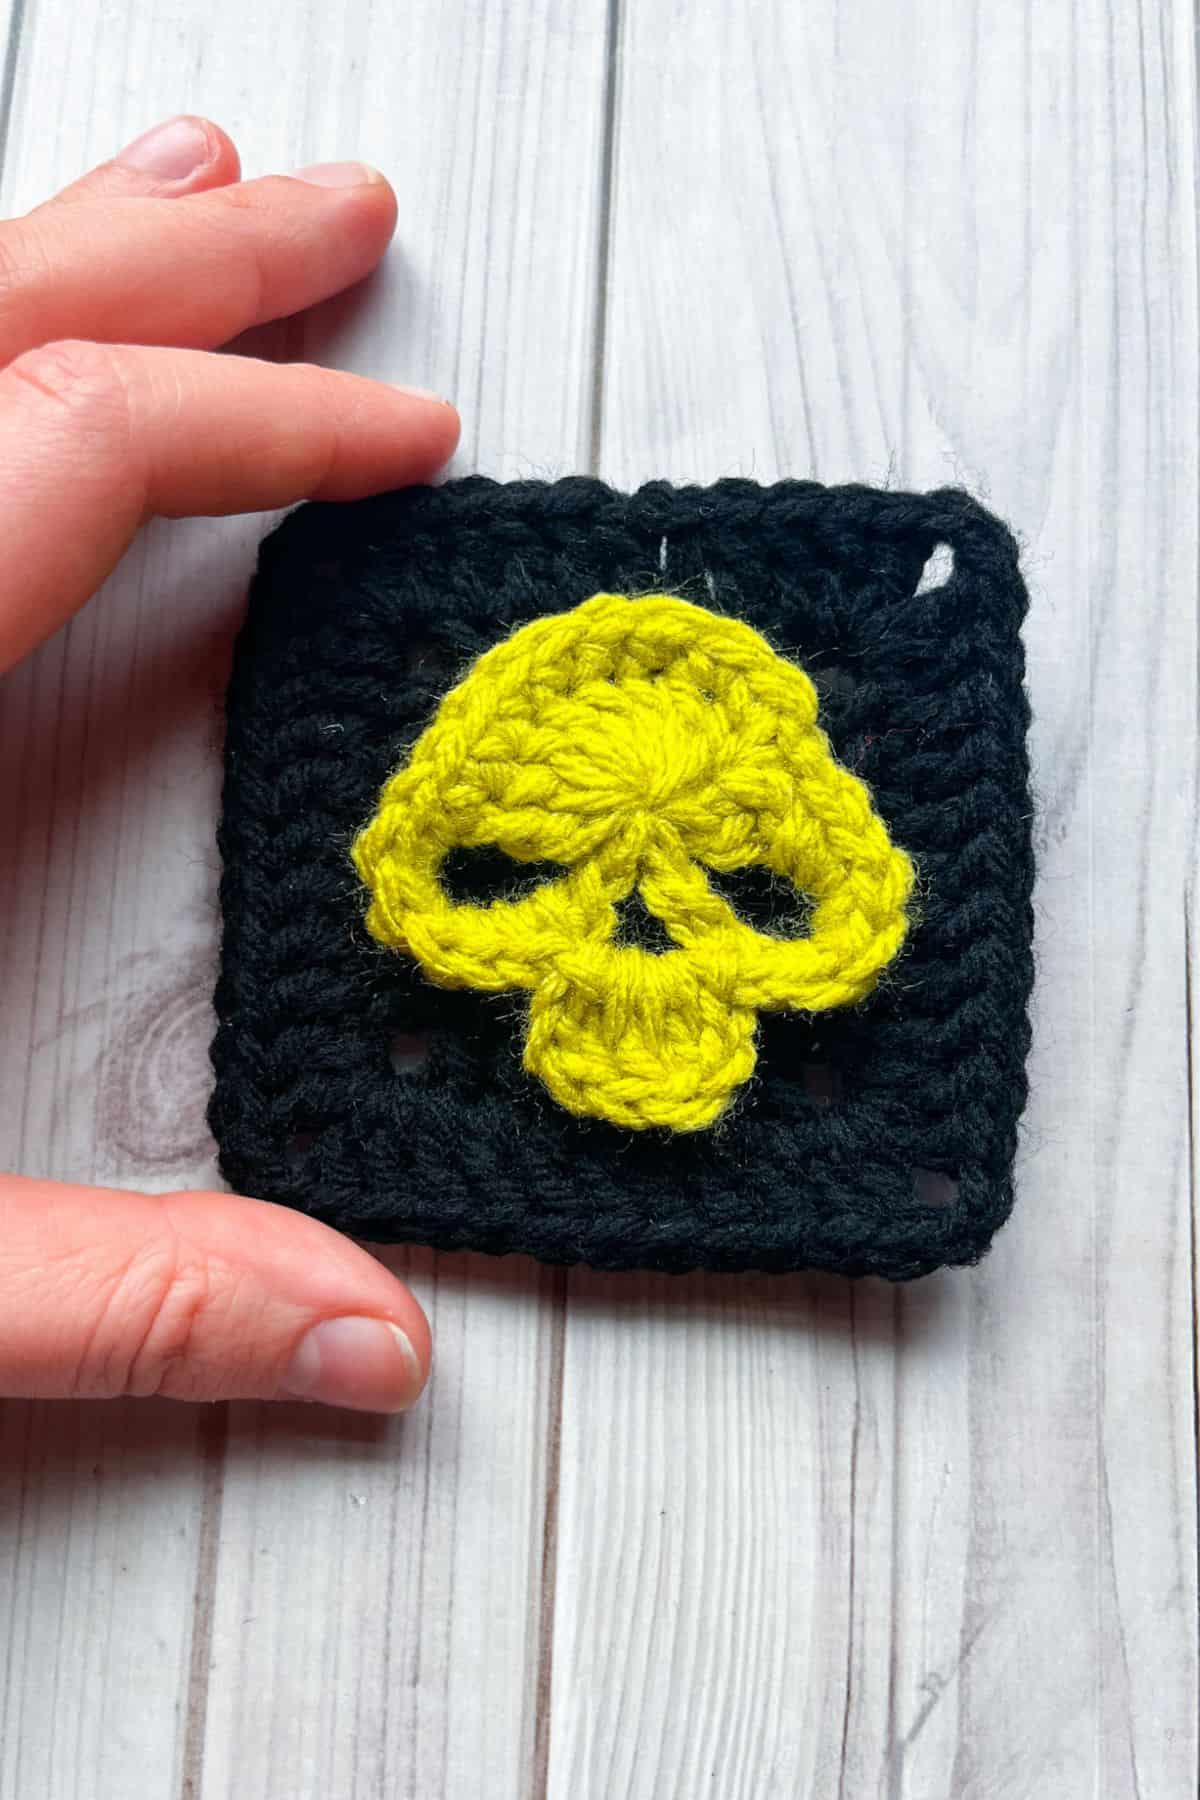
Sew the skull to the middle of the granny square. If needed you can pin the skull in place before sewing.
You are officially done making my skull granny square crochet pattern! I hope you enjoyed the pattern and I can't wait to see and hear what you make with it!
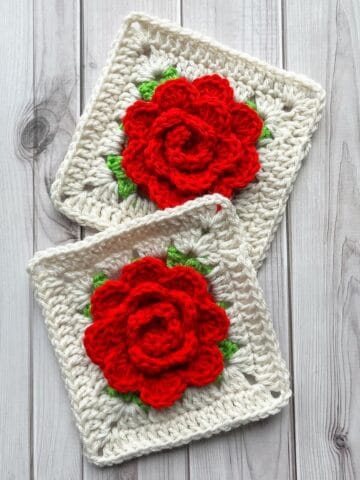
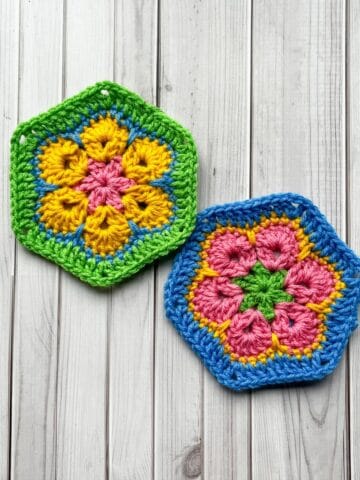
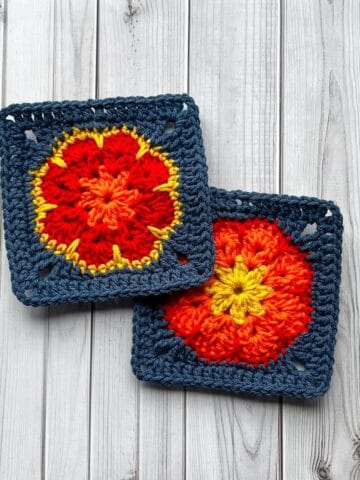
If you liked this pattern, check out a few of my other granny square patterns. If you are interested in a few motifs I have my lemon granny square pattern which I use to make my lemon crochet bag pattern. and my snowflake crochet granny square pattern which would make an awesome blanket.
If you have extra black and white yarn you can make my crochet granny square bag pattern or my crochet Halloween blanket pattern that uses ghost appliques for decoration!
🐌Expert Tips
- Yarn Choices: When choosing yarn, opt for soft options like acrylic or cotton to ensure a cozy, comfortable finish. Chunky yarn is another great choice if you're looking to add texture and depth to your project.
- Color Variations: Feel free to play around with color combinations for your granny square. Using a variety of colors can help you create themed designs, perfect for different seasons, holidays, or events.
- Finishing Touches: Once your crochet skull granny square is complete, take the time to finish it carefully. Weave in any loose ends securely to prevent fraying, and consider blocking the finished square to enhance its shape. Blocking can help even out stitches and give your work a more polished, professional look.
🧵 Pattern FAQs
You can use the granny square pattern on cardigans, pillows, blankets, bags—you name it!
Yes, you can. Just ensure you adjust the stitches from sc, dc, and tr for even sides on the granny square.
Absolutely!
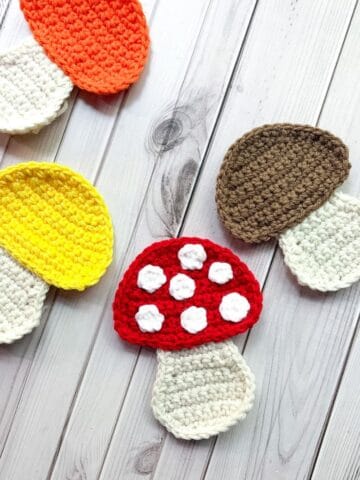
🧶More Embellishment Patterns

If you tried this Skull Granny Square Crochet Pattern (or any other pattern on my website), please let me know how it went in the 📝 comments below. I'd love to hear from you!
Skull Granny Square Crochet Pattern
Materials
- 1 small ball of black yarn
- scrap yarn for the skull
- 4 mm hook
- Tapestry needle
Abbreviations (US terms)
- Magic ring - mr
- Chain - ch
- Single crochet - sc
- Double crochet - dc
- Slip stitch - sl st
Notes
- Yarn Type: I used standard worsted acrylic yarn for the crochet skull appliqué and granny square pattern. Any type of yarn will work, including acrylic, cotton, and chunky yarns.
- Basic Stitches: The base of the pattern only calls for chains (ch), single crochet (sc) and double crochet (dc), making it super easy and perfect for beginners. Finished
- Size: The finished skull granny square measures about 4 inches in diameter.
Instructions
- For this pattern, we will be working in rounds for the skull and the granny square.
Solid Granny Square:
- Round 1: Make a mr, ch x3 (counts as a dc) and then dc x2 in the circle.
- Ch x2, (dc x3, ch x2) x3. Sl st to the 3rd chain at the beginning of the round.
- You should have 4 sides. Pull the magic ring closed and you can see you have a small square.
- Round 2-3: Ch x3. Dc in each dc stitch from the previous round, (dc x2, ch x2, dc x2) in each ch-2 corner stitch from the previous round. Then sl st to the 3rd chain at the beginning of the round.
- After the 3rd round, fasten off and weave in any tails.
Crochet Skull Applique:
- Round 1: Make a mr and ch x3 (counts as a dc). Then dc x8 into the ring (9).
- Ch x5, make a dc into the ring, ch x3, make a dc into the ring, ch x5, make a dc into the ring. Sl st to the top of the ch x3 (11 dc are in the ring + a ch space of 5,3,5 in that order).
- Round 2: Ch x1 (does not count as a stitch), then make a sc right where you made the sl st.
- Sc across the top of the next 8 dc stitches (9 sc).
- Sc x6 into the ch-5 space, sl st to the ch-3 space and ch x2. Dc x3, ch x2 and sl st back to the ch-3 space. Sc x6 into the last ch-5 space. Sl st to the first sc in the round (not the chain). Fasten off and leave a tail for sewing.
Sewing:
- Sew the skull to the middle of the granny square. If needed you can pin the skull in place before sewing.
- You are officially done making my skull granny square crochet pattern! I hope you enjoyed the pattern and I can't wait to see and hear what you make with it!
Leave a Reply