
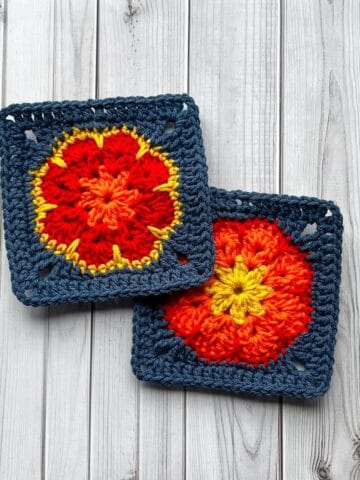
Lemon squares anyone? How about my Lemon Granny Square Crochet Pattern? A perfect crochet pattern to bring summer right into your next yarn project.
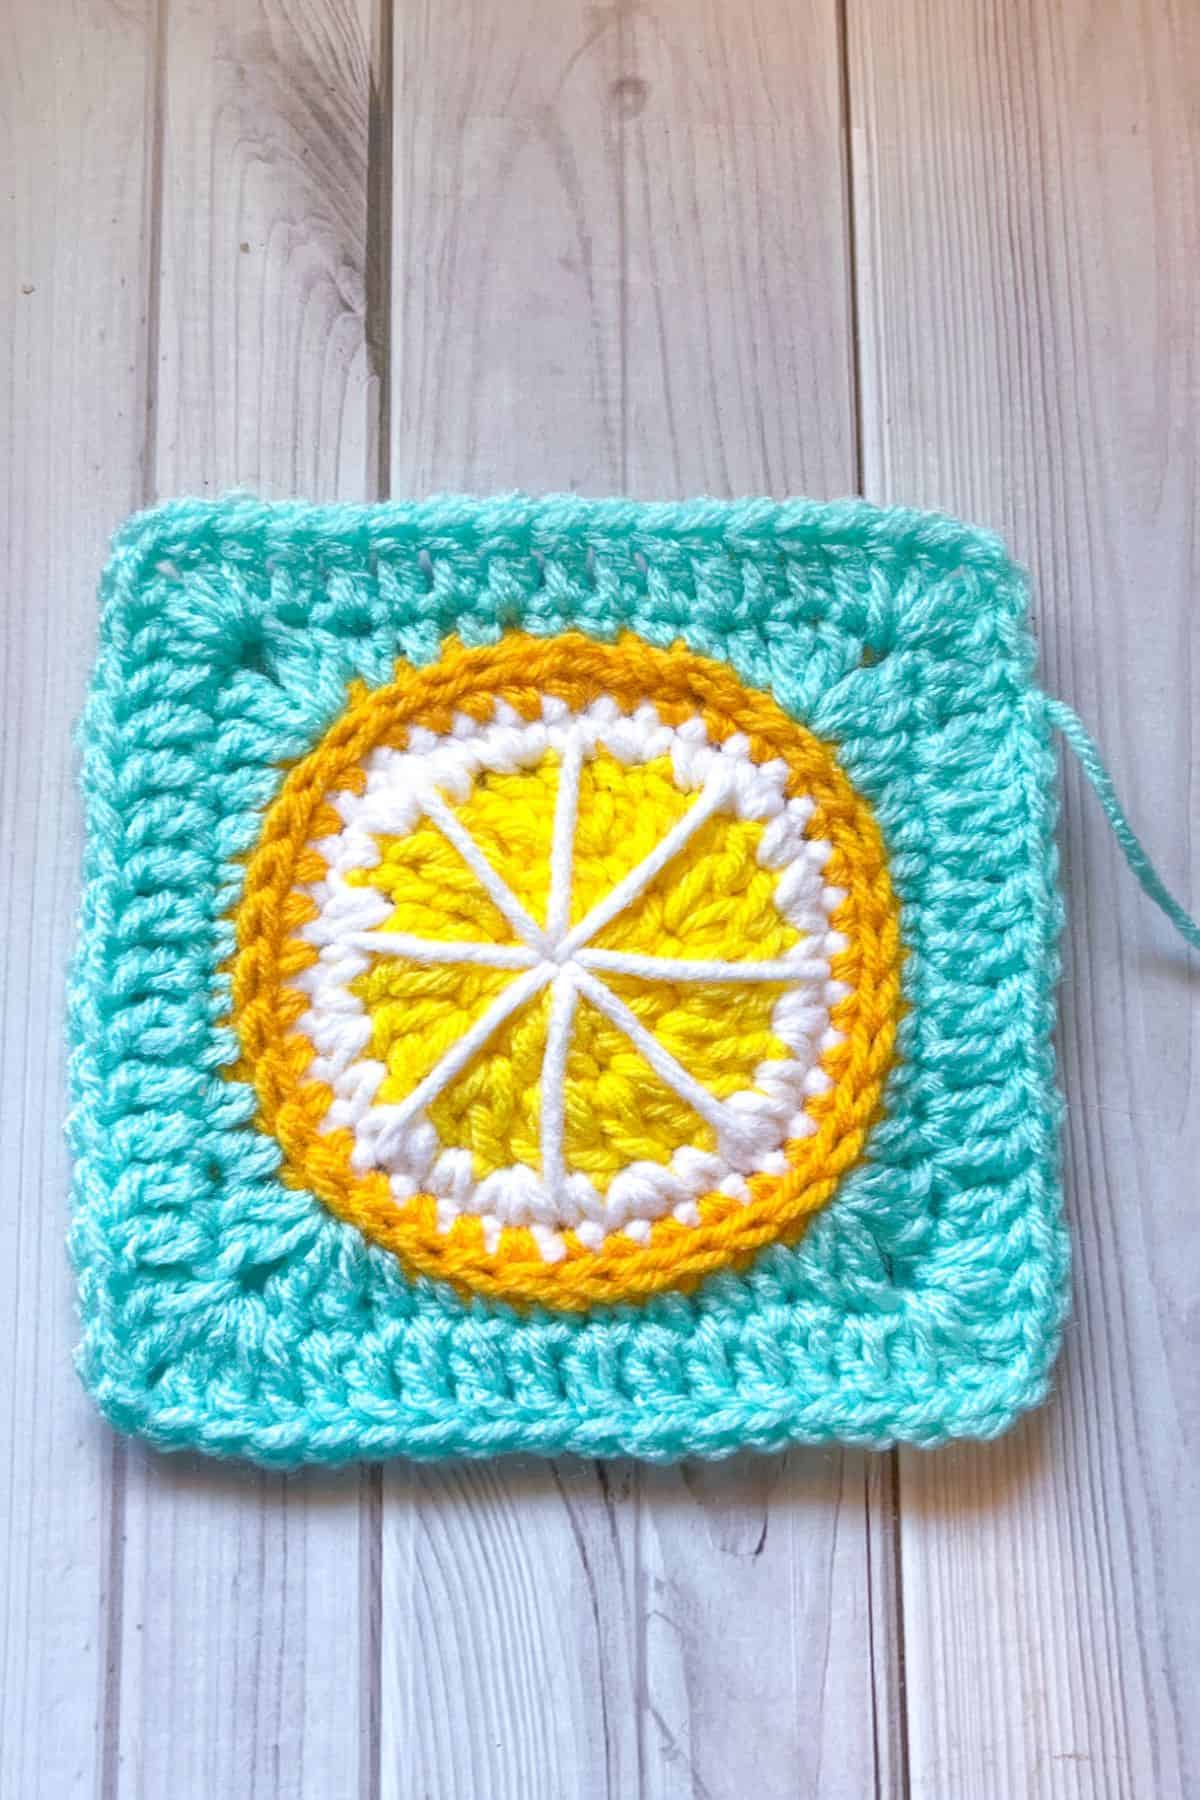
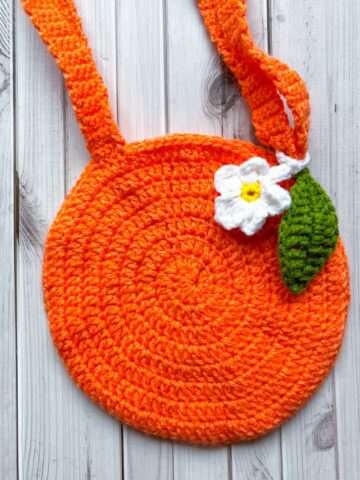
My lemon granny square crochet pattern is easy to make and can be used for various projects, including blankets, cardigans, hats, and even my Crochet Lemon Bag Pattern. The possibilities are endless!
I chose to make the crochet lemon granny square as a starting place for my crochet lemon bag pattern because it reminded me of the time I spent living in Italy. I lived in Rome for 2 years in my early 20s and the amount of citrus being brought in from the southern region was some of the best citrus I have ever had in my life. I can't wait to go back and visit!
I personally love summer. Things are fresh and bright, which is why I enjoy crocheting summer patterns! Some of my favorite summer crochet patterns, besides my lemon granny square, are my crochet boba plushie pattern and crochet strawberry bag, for their own summery reasons!
If you want to continue the lemon theme, I also have a cute Crochet Lemon Pattern available!
So, let's begin!
Jump to:
✏️ Things To Note:
- Yarn Usage: I made crochet lemon granny squares from this pattern, but you can create any type of citrus slice with it.
- Surface Crochet: If you do not know how to surface crochet, you can skip it or crochet through the back loops of the single crochet row; however, this may give a different finish.
- Size Adjustments: The finished lemon granny square crochet pattern is roughly 6 inches big. If you want it smaller, omit the second round when squaring off the lemon slice.
💭Abbreviations to Remember (US terms)
- Magic ring - mr
- Chain - ch
- Single crochet - sc
- Double crochet - dc
- Half double crochet - hdc
- Slip stitch - sl st
- Increase - inc (either written as dc inc or sc inc)
- Surface crochet - no abbreviation but you will need to know how to do this stitch.
🧋Variations
Citrus Change: Change the lemon slice into orange or lime! You can even do grapefruit or switch it to another round fruit like watermelon or kiwi.
Omit Surface Crochet: You can also omit the surface crocheting and crochet in the back loop for a round when starting to square off the circle with the blue.
🍵Instructions for Lemon Granny Square Crochet Pattern
The lemon granny square crochet pattern is made in the round.
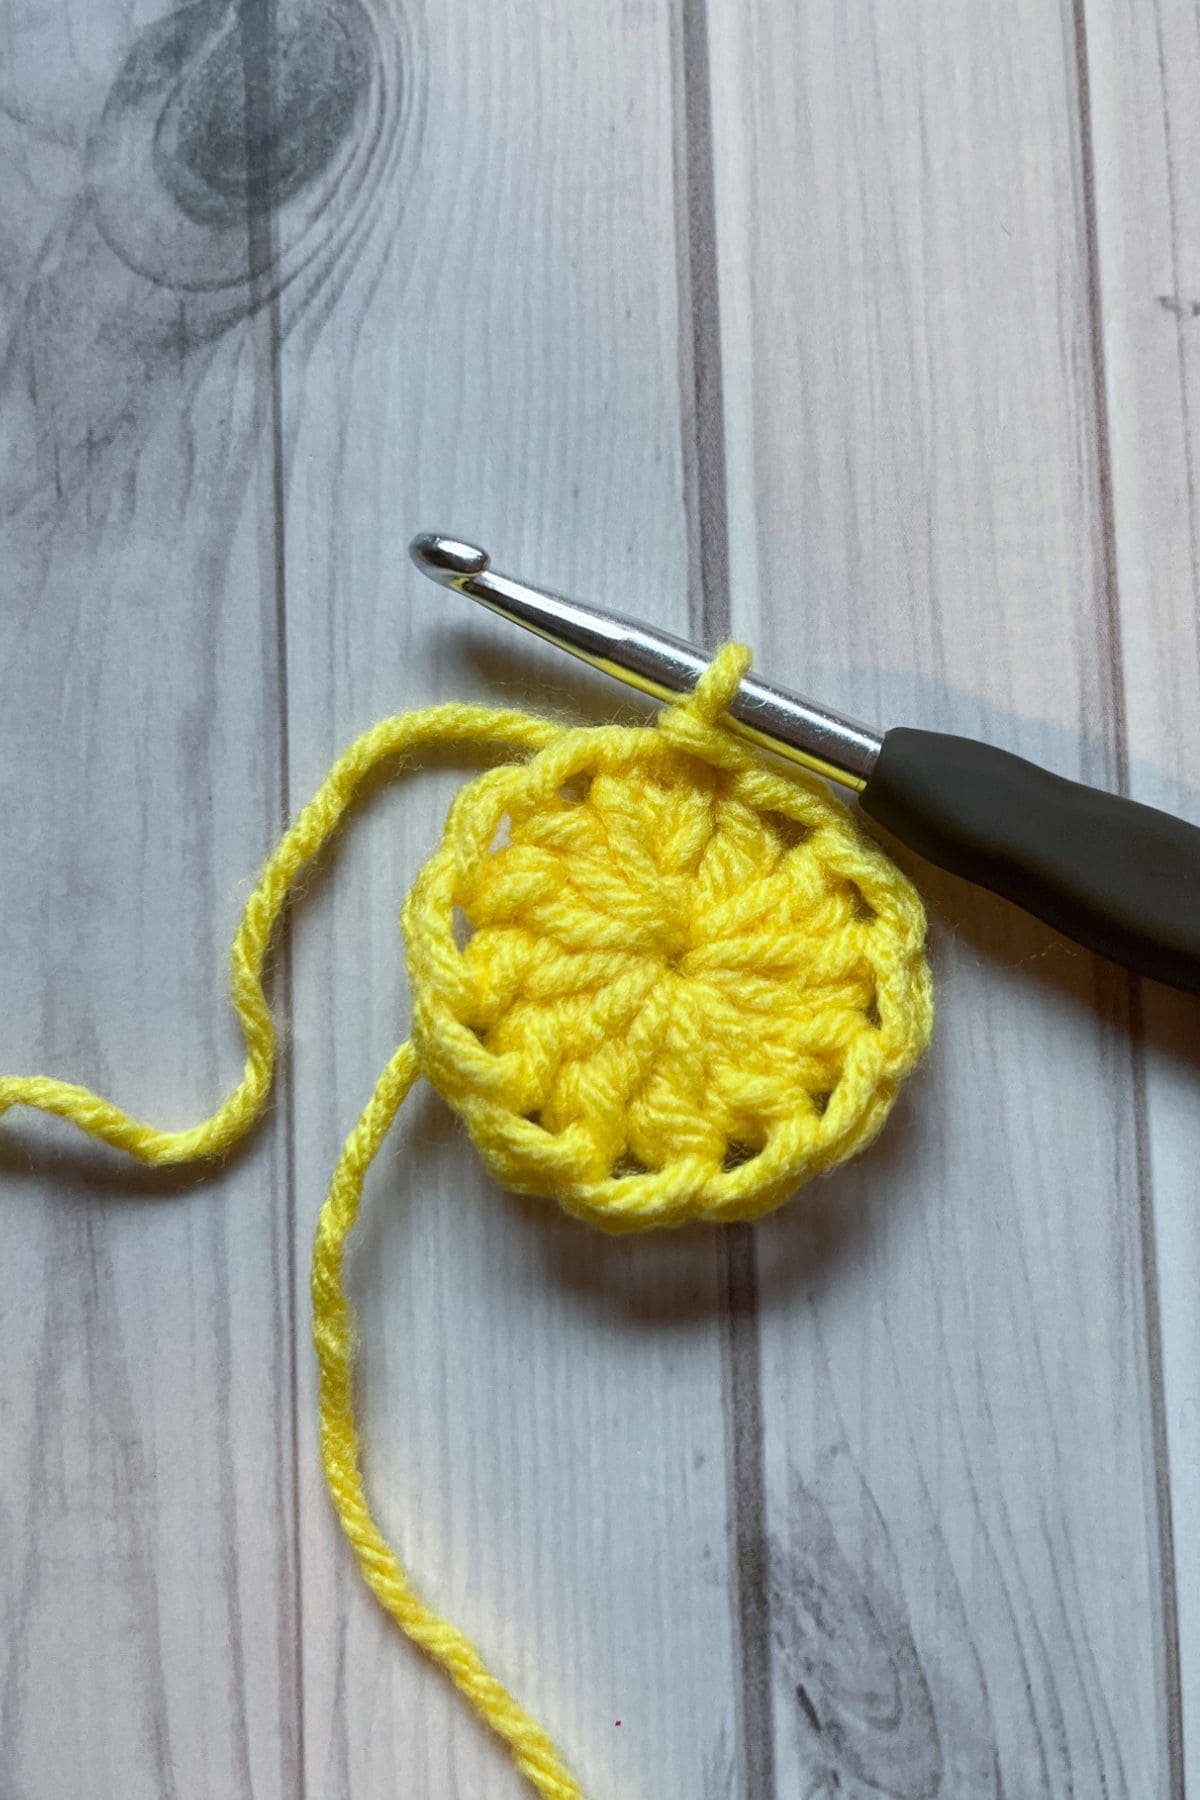
Round 1: With the yellow yarn, make a mr, ch x2 (DOES NOT COUNT AS A STITCH) and dc x12 into the mr. Sl st to the first dc (12).
If you find it difficult making a magic ring you can chain 4, slip stitch it together, and then in the newly formed circle, ch x2 and dc x12 in the hole, then sl st to first dc. (12)
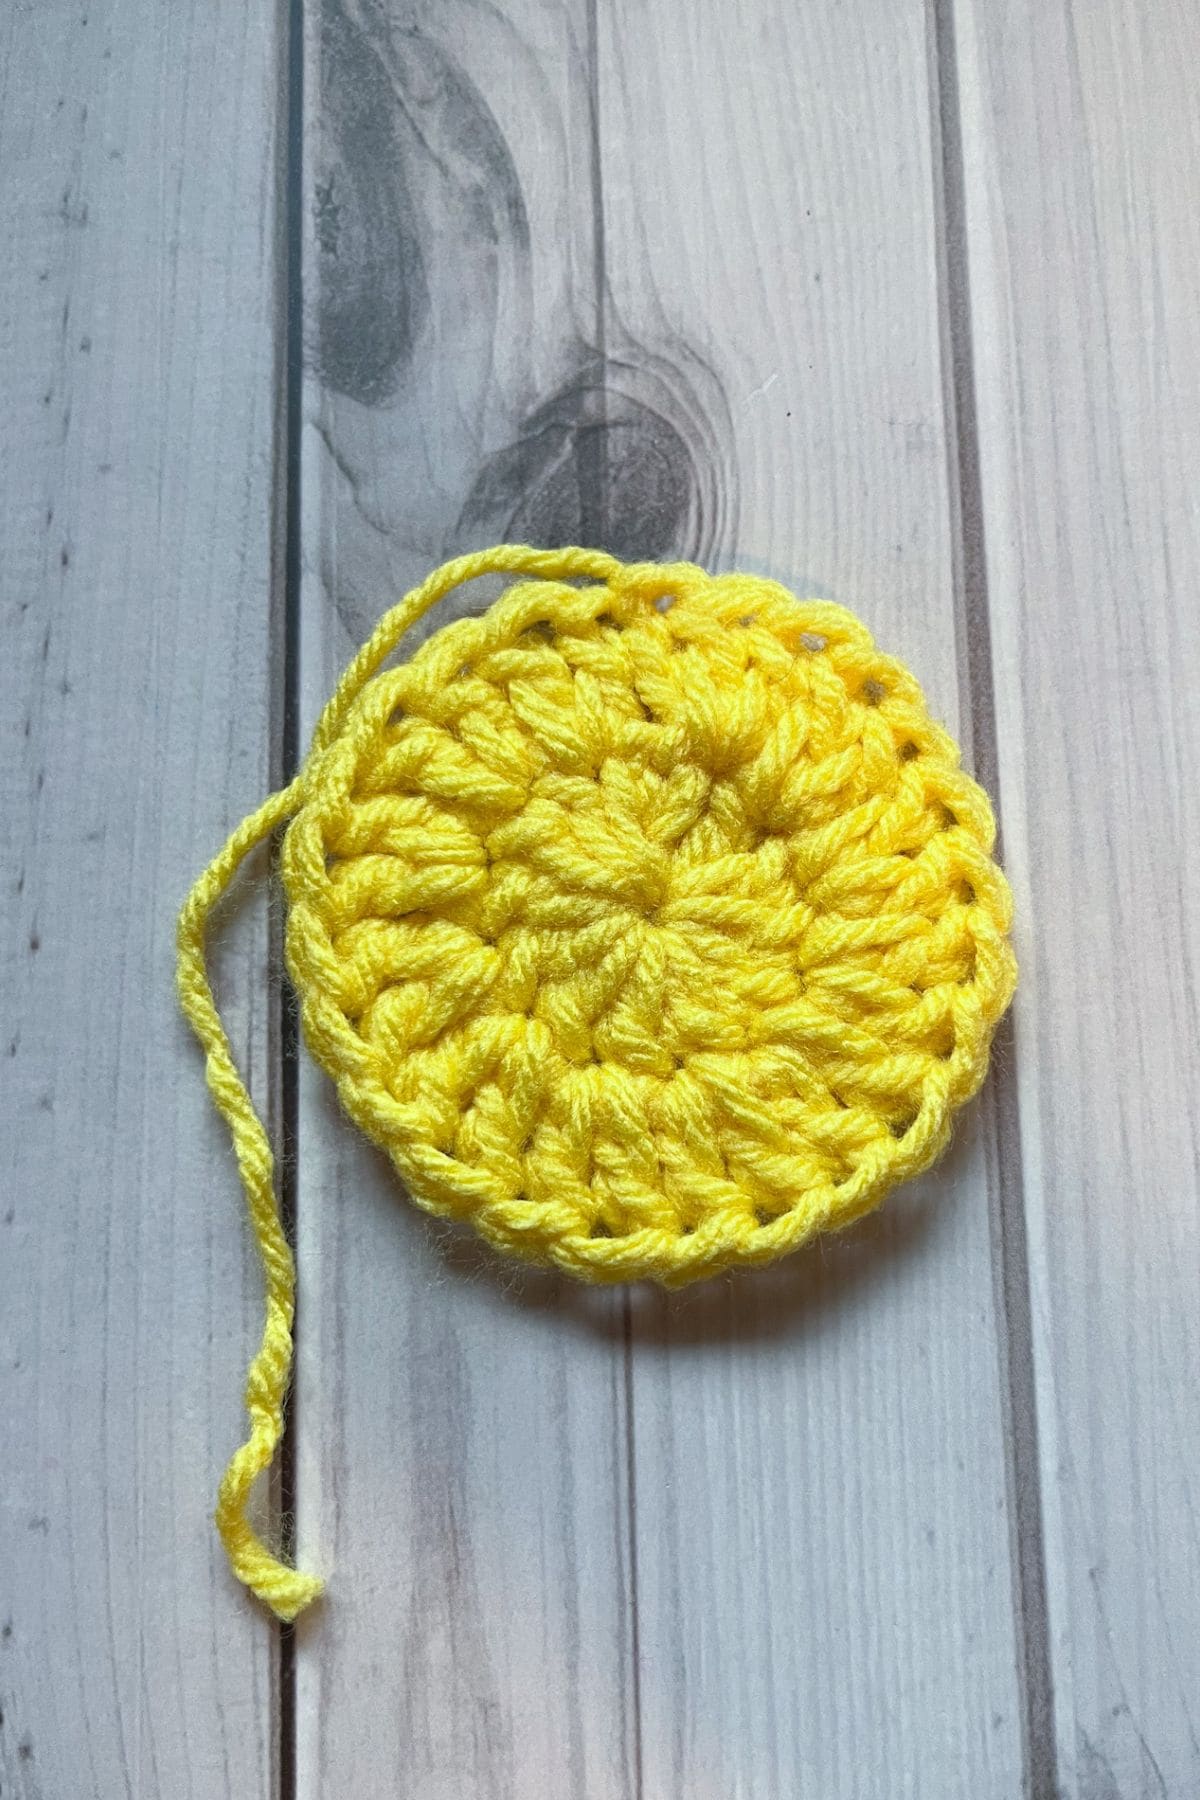
Round 2: Ch x2, dc inc in every stitch, sl st to first dc. (24) Then change the color to white.
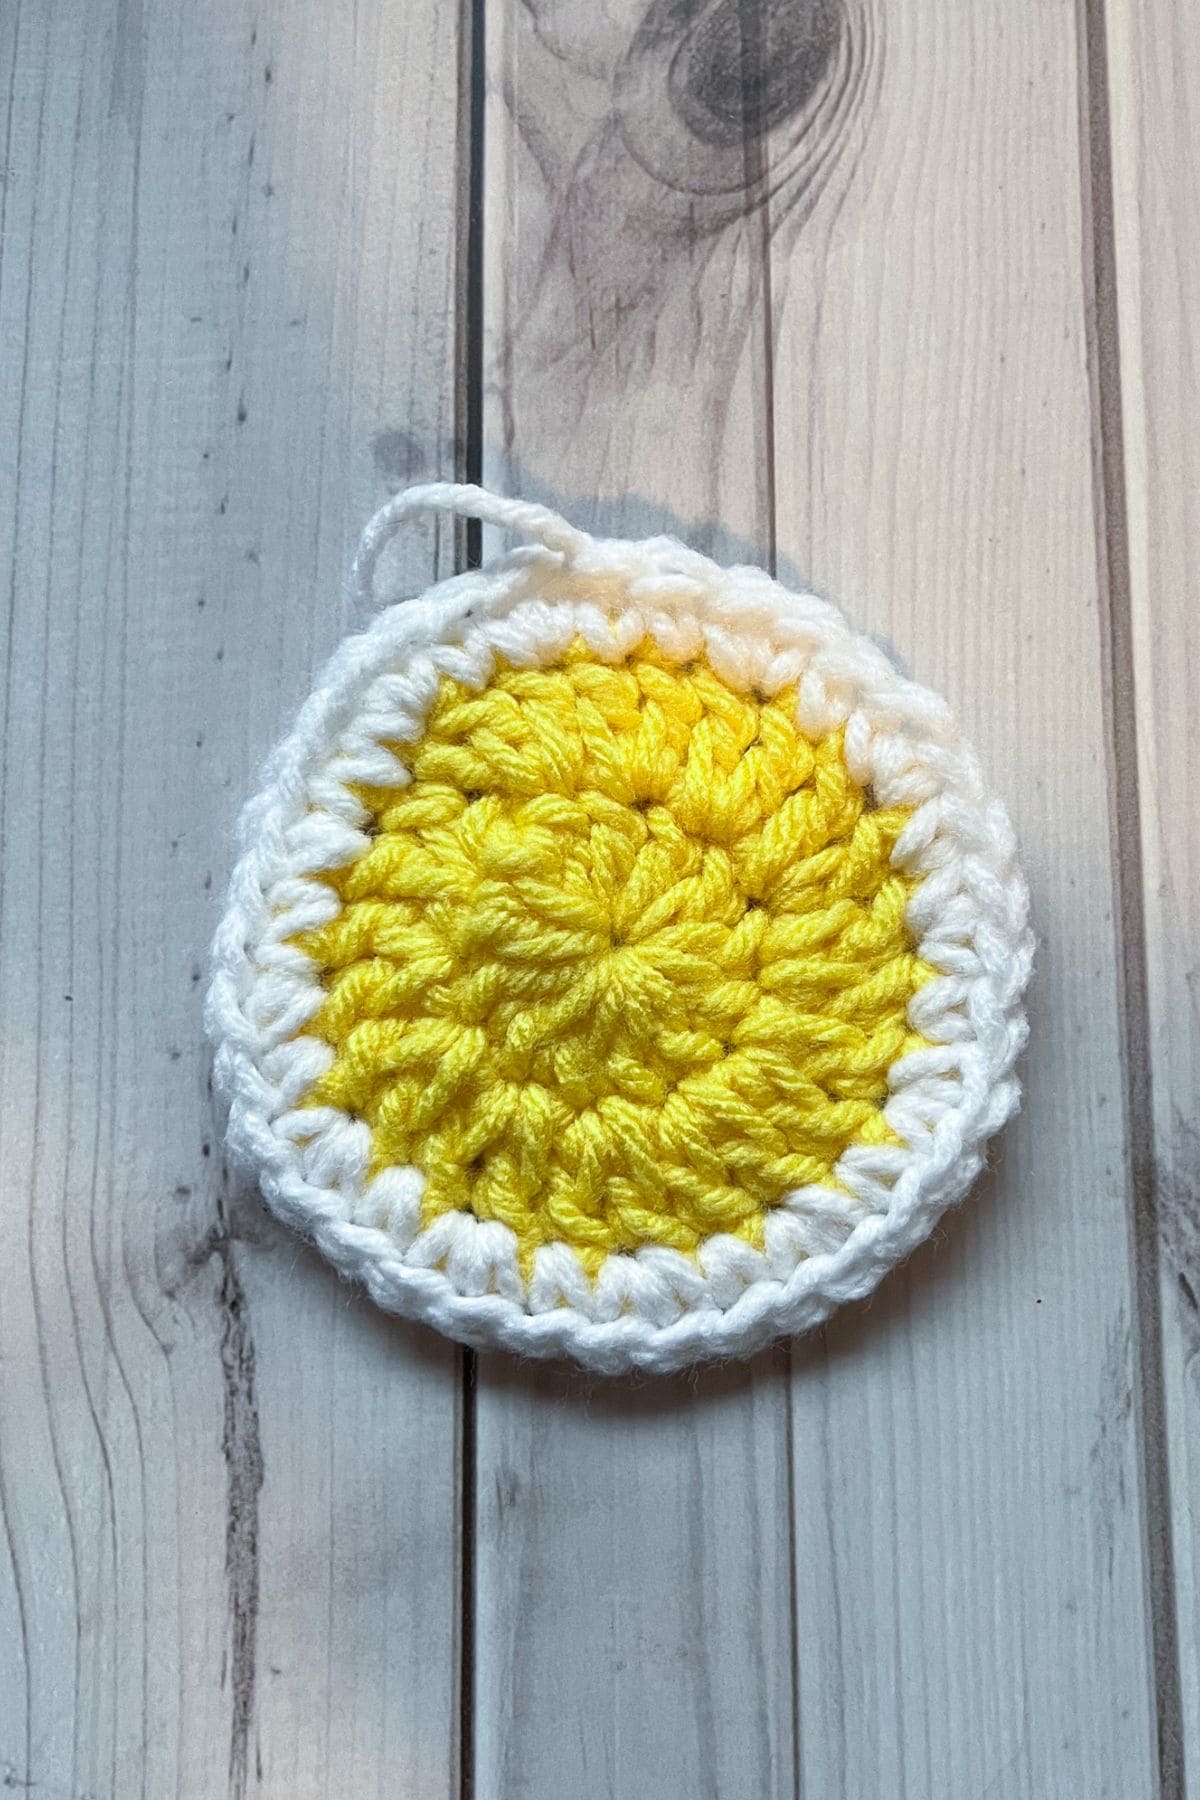
Round 3: With the white yarn, ch x1 (also does not count as a stitch), then (sc inc, sc) and repeat what is in parenthesis for the rest of the round then sl st to first sc (36). Then change the color to the darker yellow yarn.

Round 4: With the darker yellow, ch x1 and then sc around the entire round with no increases, then sl st to the first sc. (36). Because the last sc round increased by 12 instead of 6 which is more normal for sc stitches in the round, we don't have to increase this round, which also makes it easier to surface crochet later on.
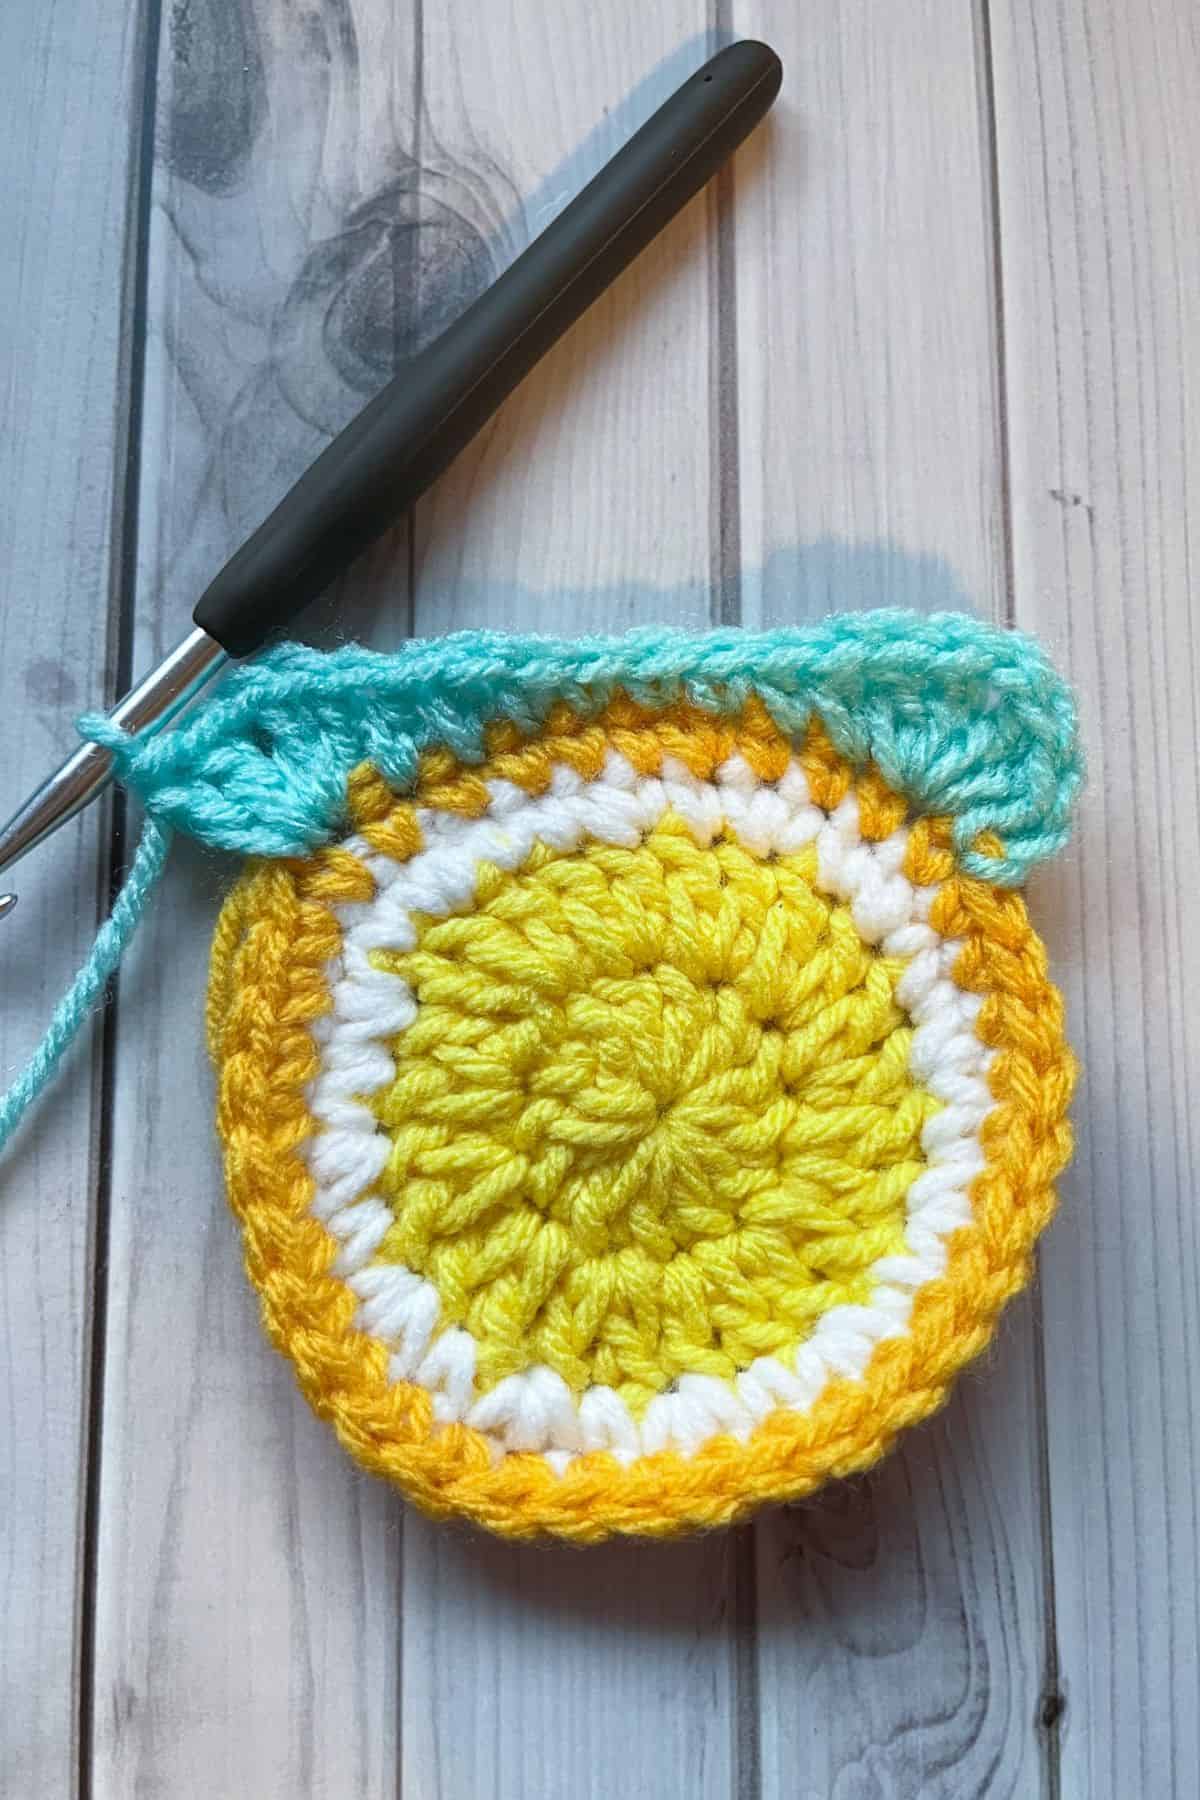
Switch the color to teal yarn.
Round 5: The lemon slice rounds are done and now we will start turning the circle into a square.
Ch x2, (dc inc + ch + dc inc) in the following stitch. This is the first corner.
*Make a hdc in the next 2 stitches, then a sc in the next 4 stitches, follow that with hdc stitches in the next 2 stitches and then finally make the corner stitch again (dc inc, ch x1, dc inc).
Repeat from *3 more times. Sl st to the first dc of the round. (48 stitches with 4 chain spaces)


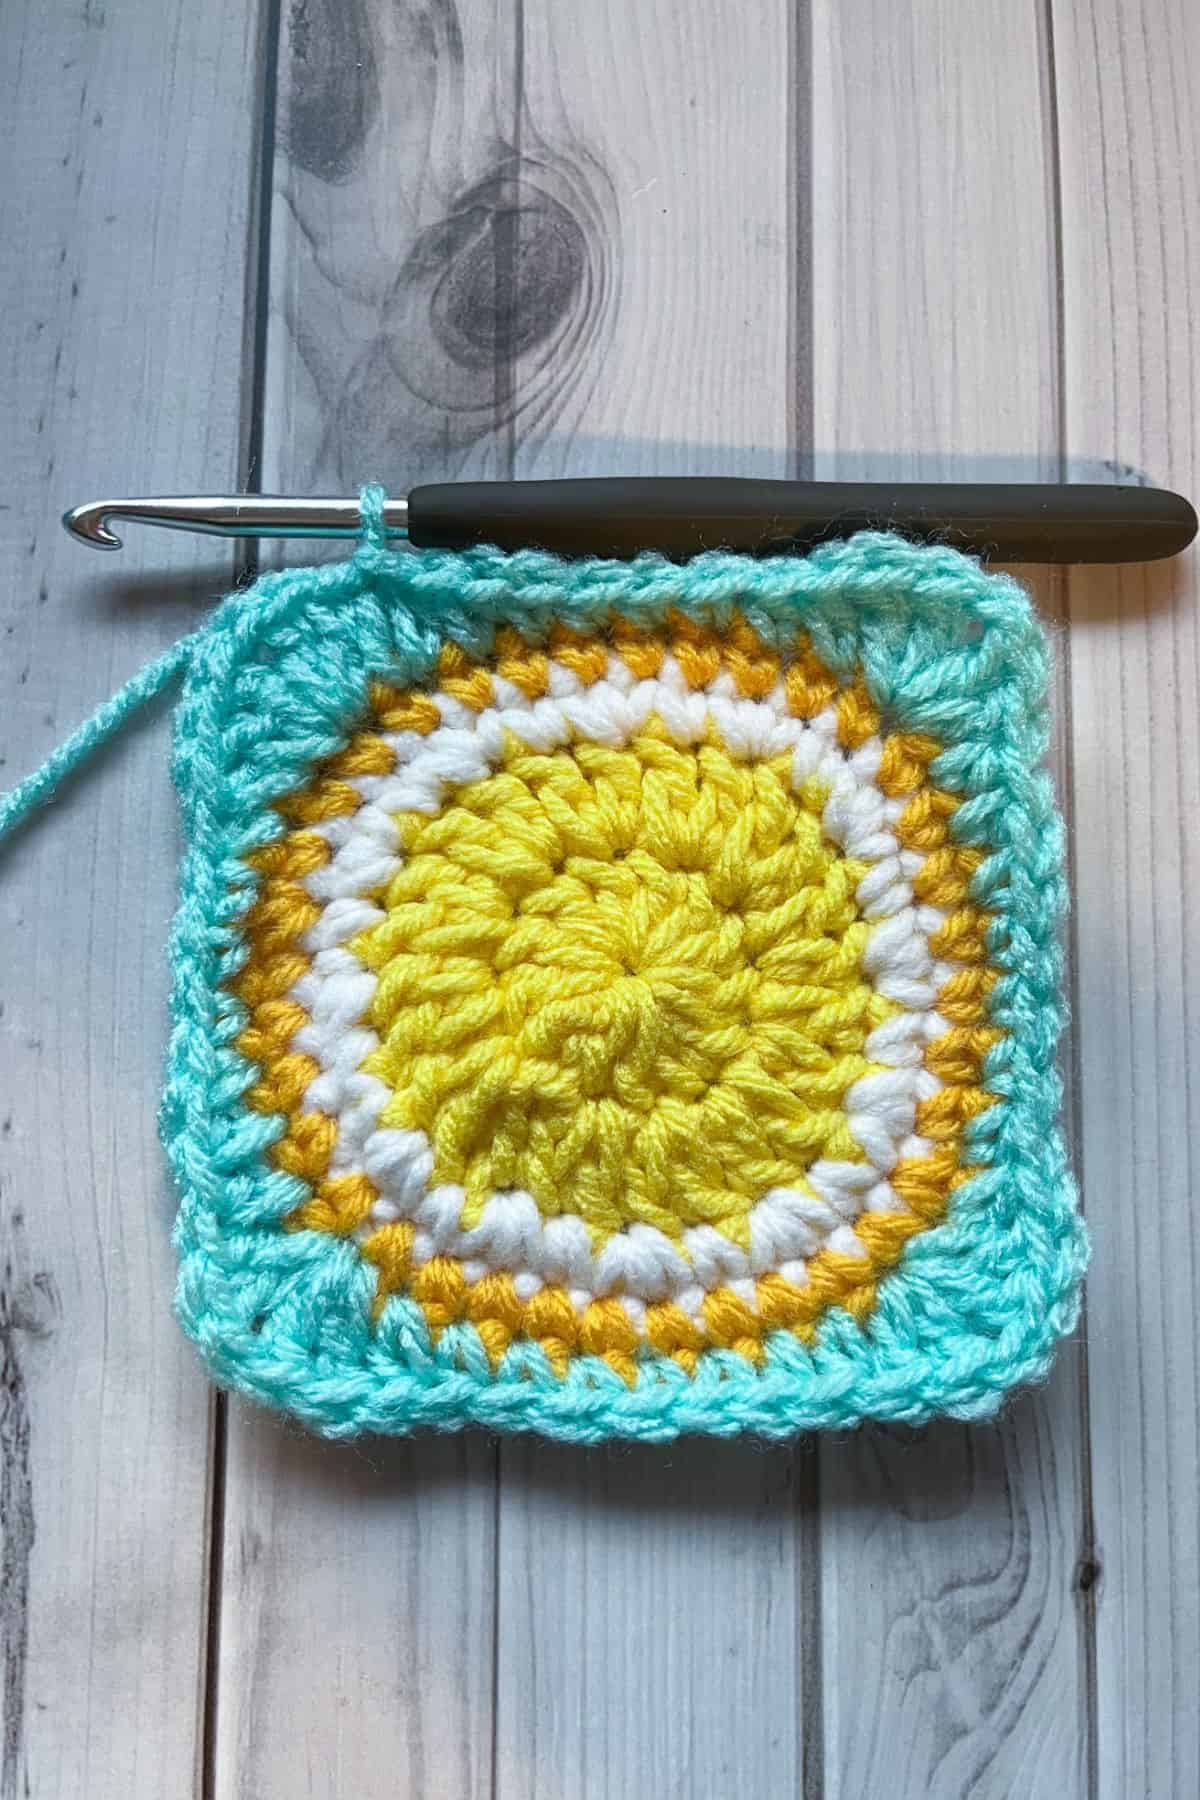
Round 6: Ch x2, then dc in the next stitch. When you get to the chain space in the corner make a *(dc inc + ch x2 + dc inc).
Then dc the side of the square (12 per side without the corners). Repeat from *3 more times.
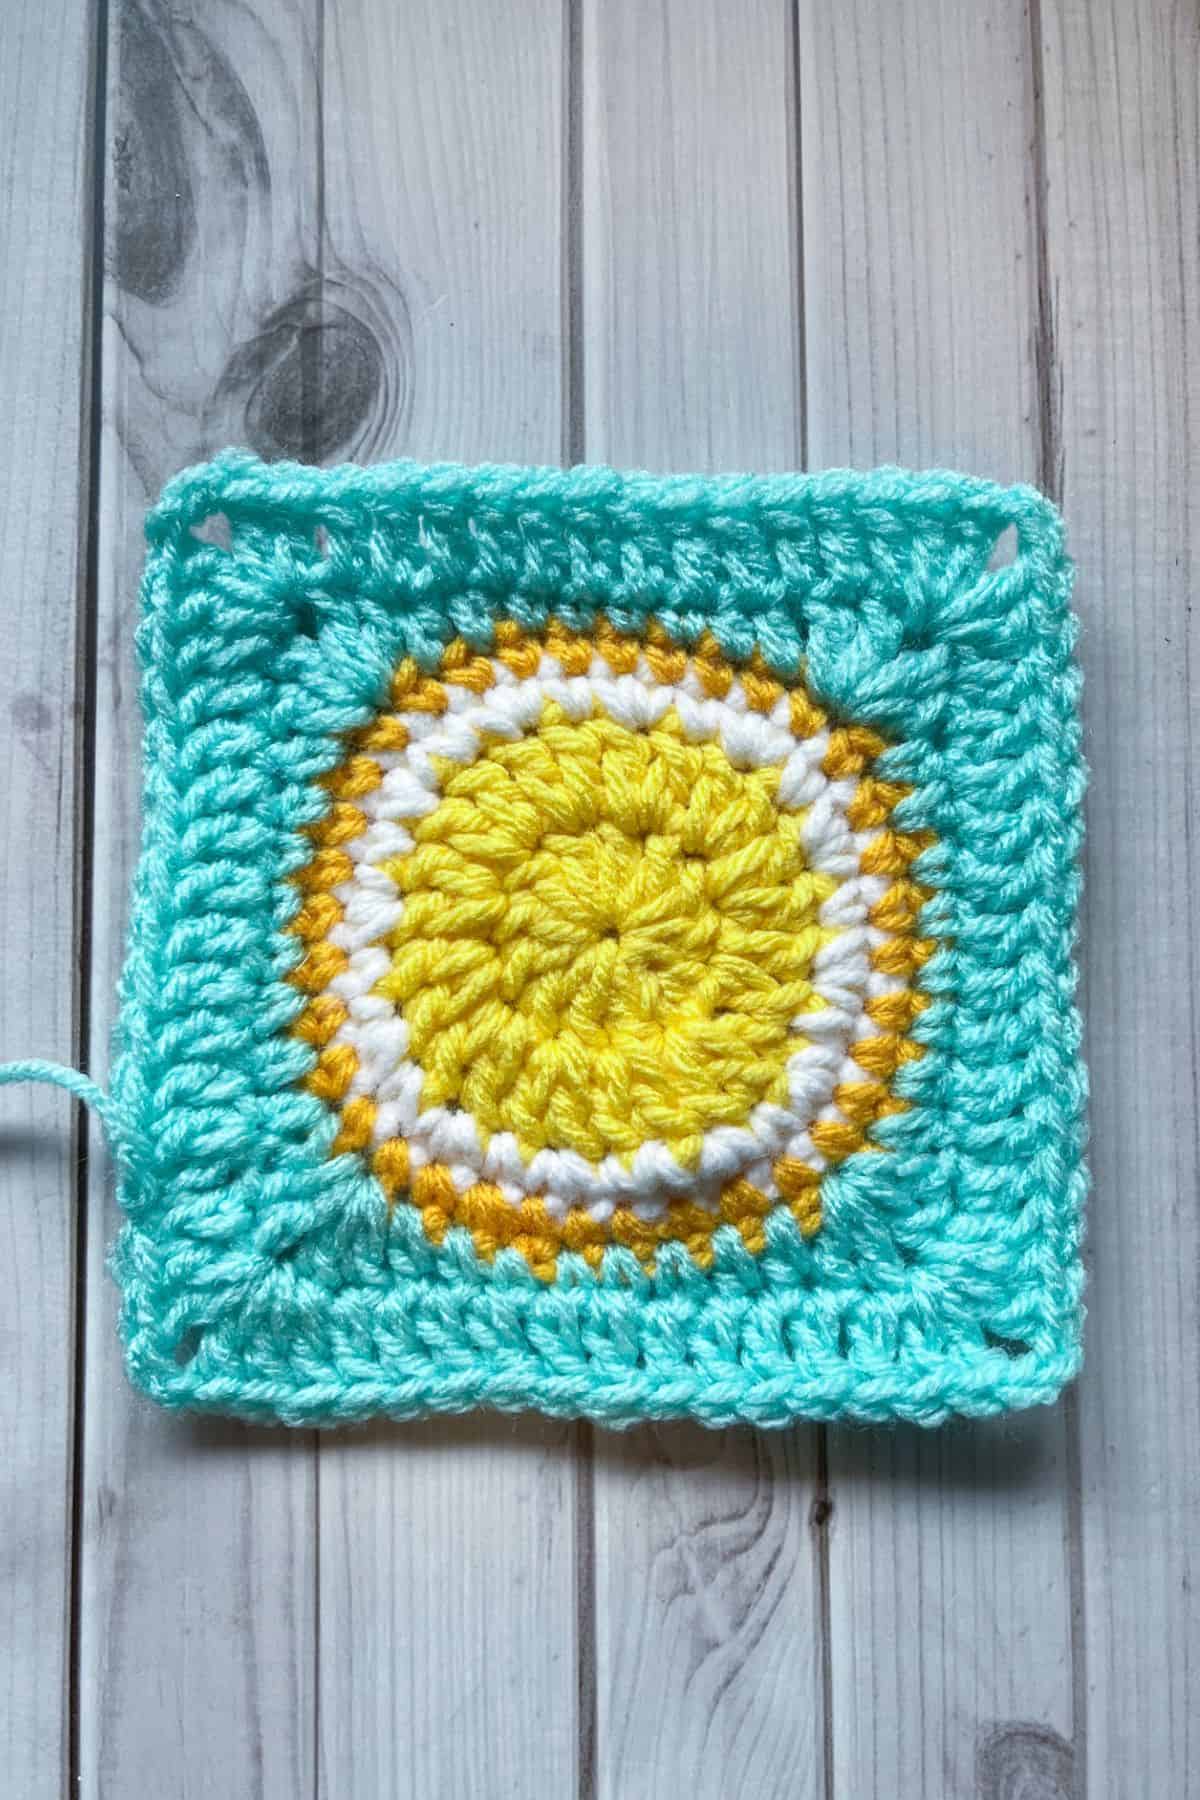
Once you make the last dc in the round, sl st to the first dc. Then fasten off the yarn.
Surface Crocheting:
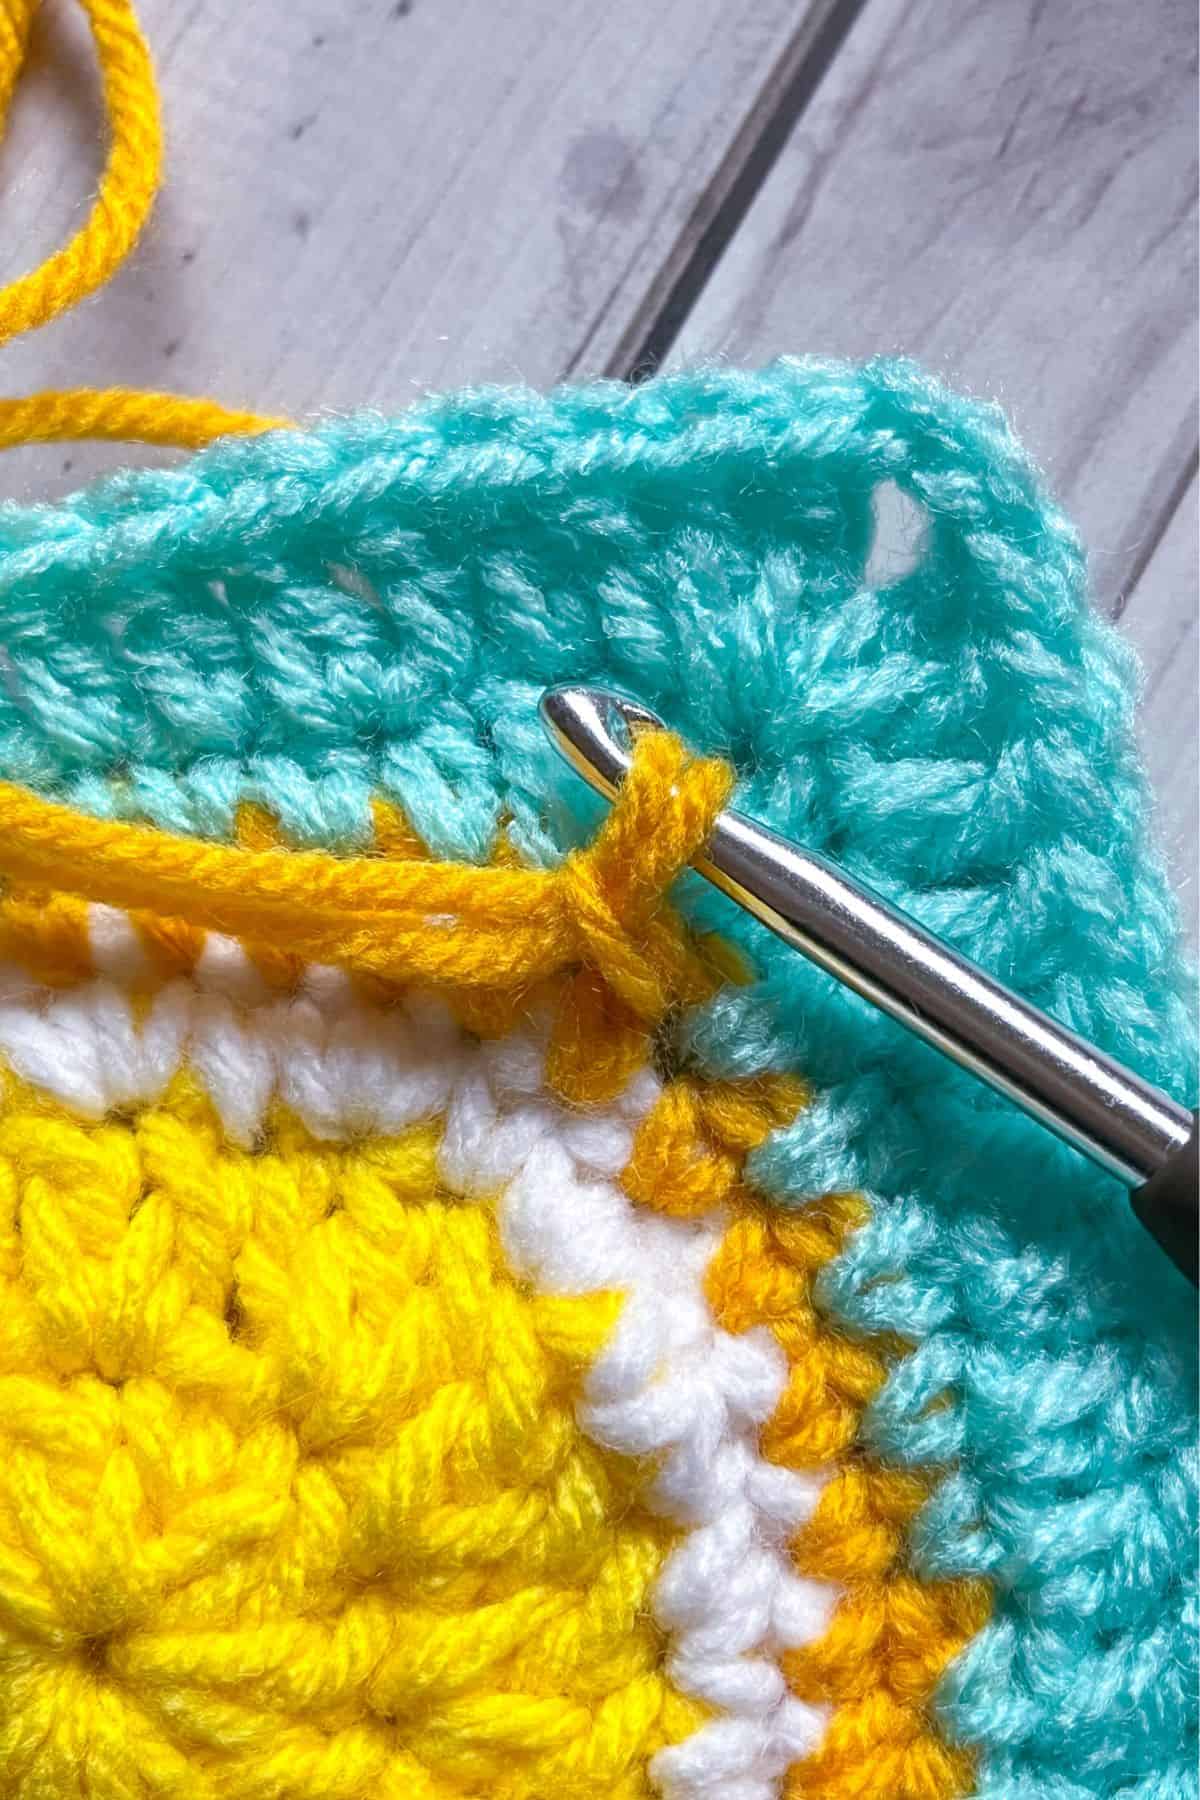
Insert your crochet hook into the lemon peel round by going around one of the sc posts. Then loop the yarn over and make a sl st. Go under the next sc post and make a sl st.
This is slip stitching the surface or surface crocheting. Make the slip stitches loose otherwise your lemon granny square will dip. You can use a slightly larger hook (by 1-2 sizes) if it helps you make looser sl st for the surface.
Finish surface crocheting the rest of the lemon rind by repeating the above process. Sl st to the first stitch then fasten off. Weave in any ends.
Embroidery:

Take a long piece of white yarn and thread the yarn onto your tapestry needle, secure the yarn to the back of your lemon square and make lemon segments into your crochet lemon slice. I made 8 segments by going from the outer edge to the center and repeating the process 7 times.
Weave in any loose ends and now you have completed the lemon granny square crochet pattern!
If you enjoyed making this square and have leftover yarn, you can try your hand at making the crochet sun granny square.
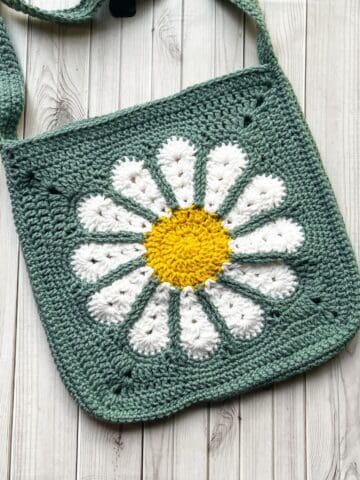
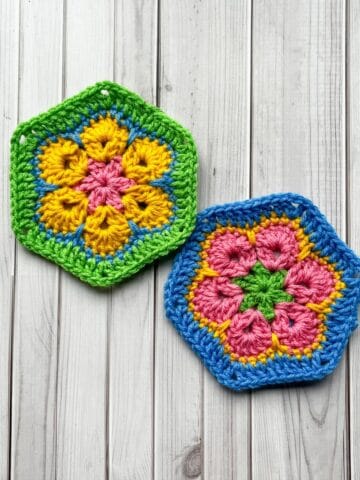
If you like this style of crochet bag, check out some of my other crochet bag patterns that uses the same layout, like my crochet emoji bag pattern and my crochet African flower bag pattern.

🐌Expert Tips
- Batch Making: If you are making multiple crochet lemon granny squares, it will be faster to batch make them. Try crocheting all the middles first, then move on to the next step, completing that before starting the next, rather than completing each granny square fully before going on to the next.
- Loosen Your Tension: When surface crocheting, ensure your tension is loose enough to avoid puckering. If needed, use a larger hook for the surface crochet to maintain a loose fit.
🧵Pattern FAQs
Absolutely! In fact, if you use super chunky blanket yarn you can probably make a pillow from just 1 square for each side.
You can make blankets, cardigans, hats, pillowcases, purses, and bags - you name it!
You can make oranges, grapefruit, and limes!
🧶More Crochet Fruit Patterns


If you tried this Lemon Granny Square Crochet Pattern (or any other pattern on my website), please let me know how it went in the 📝 comments below. I'd love to hear from you!

Lemon Granny Square Crochet Pattern
Materials
Abbreviations (US terms)
- Magic ring - mr
- Chain - ch
- Single crochet - sc
- Double crochet - dc
- Half double crochet - hdc
- Slip stitch - sl st
- Increase - inc
- Surface crochet - no abbreviation but you will need to know how to do this stitch.
Notes
- I made crochet lemon granny squares, but you can use this pattern for any citrus slices.
- If you don't know surface crochet, skip it or crochet through the back loops for a different finish.
- Finished lemon granny squares are about 6 inches; omit the second round for a smaller size.
Instructions
- This pattern is made in the round.
- Round 1: With the yellow yarn, make a mr, ch x2 (DOES NOT COUNT AS A STITCH) and dc x12 into the mr. Sl st to the first dc (12). If you find it difficult making a magic ring you can chain 4, slip stitch it together, and then in the newly formed circle, ch x2 and dc x12 in the hole, then sl st to first dc. (12)
- Round 2: Ch x2, dc inc in every stitch, sl st to first dc. (24) Then change the color to white.
- Round 3: With the white yarn, ch x1 (also does not count as a stitch), then (sc inc, sc) and repeat what is in parenthesis for the rest of the round then sl st to first sc (36). Then change the color to the darker yellow yarn.
- Round 4: With the darker yellow, ch x1 and then sc around the entire round with no increases, then sl st to the first sc. (36). Because the last sc round increased by 12 instead of 6 which is more normal for sc stitches in the round, we don't have to increase this round, which also makes it easier to surface crochet later on.
- Switch the color to teal yarn.Round 5: The lemon slice rounds are done and now we will start turning the circle into a square. Ch x2, (dc inc + ch + dc inc) in the following stitch. This is the first corner.*Make a hdc in the next 2 stitches, then a sc in the next 4 stitches, follow that with hdc stitches in the next 2 stitches and then finally make the corner stitch again (dc inc, ch x1, dc inc). Repeat from *3 more times. Sl st to the first dc of the round. (48 stitches with 4 chain spaces)
- Round 6: Ch x2, then dc in the next stitch. When you get to the chain space in the corner make a *(dc inc + ch x2 + dc inc).Then dc the side of the square (12 per side without the corners). Repeat from *3 more times.
- Once you make the last dc in the round, sl st to the first dc. Then fasten off the yarn.
Finishing:
- Insert your crochet hook into the lemon peel round by going around one of the single crochet posts. Then loop the yarn over and make a sl st. Go under the next sc post and make a sl st. This is slip stitching the surface or surface crocheting. Make the slip stitches loose otherwise your lemon granny square will dip. You can use a slightly larger hook (by 1-2 sizes) if it helps you make looser sl st for the surface.
- Finish surface crocheting the rest of the lemon rind by repeating the above process. Sl st to the first stitch then fasten off. Weave in any ends.
Embroidery:
- Take a long piece of white yarn and thread the yarn onto your tapestry needle, secure the yarn to the back of your lemon square and make lemon segments into your crochet lemon slice. I made 8 segments by going from the outer edge to the center and repeating the process 7 more times. Weave in any loose ends and now you have a complete lemon granny square crochet pattern!

Lakshitha NM says
What should I do to increase the size of the square? How can I add more rows to increase size.
Kimberly Arenas says
To make the square bigger (and not the lemon motif), you can start the next round by chaining x2, then dc in every stitch from the last round, when you get to the corners double crochet x 2, chain x2, double crochet x2. Then sl st to the beginning. You can do this for as many rounds as you would like.
LISA CONRAD says
My round 3 is only coming up with 32 stiches instead of 36. If you have 24 in the row 2 and your doing mulitples of 4 you can't get 36. You would need 27 stiches in round 2.
Can you please tell me where I'm off?
Kimberly Arenas says
Round 3 says to increase and then a single crochet in the next stitch, since the 1st 2 rounds were double crochet I wrote the pattern to specifically say sc inc, a single crochet increase instead of a double crochet increase like we did in the previous round. We are increasing by 12 in this round still because in the next round you single crochet a round with zero increases - so the increasing evens out.