
Add a pop of fun to your mornings and coffee breaks with these adorable crochet strawberry coasters! Explore my free Crochet Strawberry Coaster Pattern below.

One of the best gifts you can crochet quickly for someone is a small coaster set. So why not make them super cute! The best part is that a strawberry crochet coaster only takes about 20 minutes to make!
Strawberries are currently trending and are a part of many aesthetic vibes—cottagecore, kawaii, etc. I personally love strawberries because they are one of my favorite summer fruits. So delicious and cute!
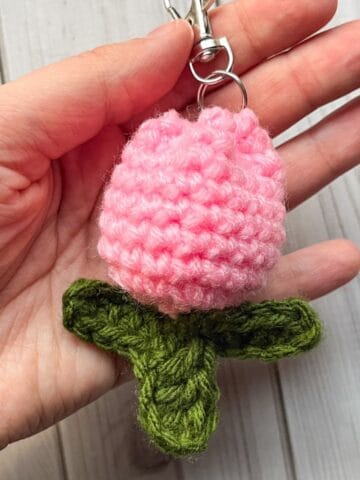
Crochet strawberries are actually easy to make; as long as you have a pointy end and a rounded top, you're basically good to go—just add leaves and white lines! If you're looking for crochet strawberry patterns, I highly suggest checking out my crochet strawberry pillow pattern, crochet strawberry keychain, and crochet strawberry bag.
Now let's get started learning how to crochet a strawberry coaster!
Jump to:
✏️ Things To Note:
- Use Cotton Yarn: The crochet strawberry coaster pattern uses cotton yarn because it is excellent at absorbing moisture and is heat-resistant. Avoid using acrylic yarn; it is made of plastic, which can melt under high heat and does not absorb liquids well. if you used acrylic yarn, you could turn it into an applique for the crochet strawberry crochet blanket pattern.
- Stick to Worsted Weight or Thinner Yarns: Choose size 4 worsted weight yarn or thinner. Chunkier yarns create more texture and tend to be puffy, which can make cups unstable and more likely to tip over.
- Adjusting the Coaster Size: The strawberry crochet coaster pattern makes a coaster roughly 4.5 inches tall and about 4 inches wide, perfect for most cup sizes. If you need a larger coaster, add another row of increases before continuing with the regular stitch count.
💭Abbreviations to Remember (US terms)
- Chain - ch
- Single Crochet - sc
- Increase - inc
- Decrease - dec
- Slip Stitch - sl st
🧋Variations
You can change the red out for light pink or white to add some color variety to the strawberries.
🍵Instructions for the Crochet Strawberry Coaster pattern
The crochet strawberry coaster pattern is made in rows. This is a smaller coaster for standard 8oz cups or smaller. You can easily adjust the size for bigger coasters or go up a hook size.

Row 1: Ch x2 and turn.
Row 2: In the second chain from the hook, make an inc. (2) Then ch x1 and turn (for this next row and every row afterwards you will make a turning chain, but do not work in it. It’s to help turn your work).

Row 3: Inc x2 (4). Then ch x1 and turn.

Row 4: Inc, sc x2, inc (6). Then ch x1 and turn.
Row 5: Sc in every stitch (6). Then ch x1 and turn.
Row 6: Inc, sc x4, inc (8). Then ch x1 and turn.

Row 7: Sc in every stitch (8). Then ch x1 and turn.
Row 8: Inc, sc x6, inc (10). Then ch x1 and turn.


Row 9: Sc in every stitch (10). Then ch x1 and turn.
Row 10: Inc, sc x8, inc (12). Then ch x1 and turn.
Row 11-14: Sc in every stitch (12). Then ch x1 and turn.
Row 15: Dec, sc x8, dec (10). Then ch x1 and turn.
Row 16: Dec, sc x6, dec (8). Then ch x1 and turn.
Row 17: Dec, sc x4, dec (6). Then ch x1 and turn.
After your last row, fasten off your yarn and weave in the ends.
Optionally you can also crochet around the edges of your strawberry if you want a neater finish and a slightly bigger strawberry. Then fasten off and weave in the ends.
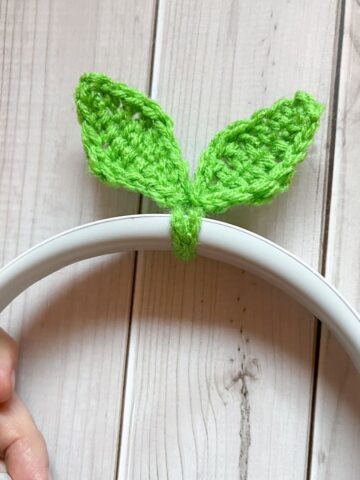
Crochet Strawberry Stem and Leaves:
This pattern is made one stem/leaf at a time.

Step 1: Ch x3,

then in the second ch from the hook make a sc, then make a sc in the following stitch. This is the stem.

Step 2: Ch x4

and in the second ch from the hook make a sc. Then sc in the following 2 chains. Then sl st back to the stitch where you broke off and made chains for the first leaf.
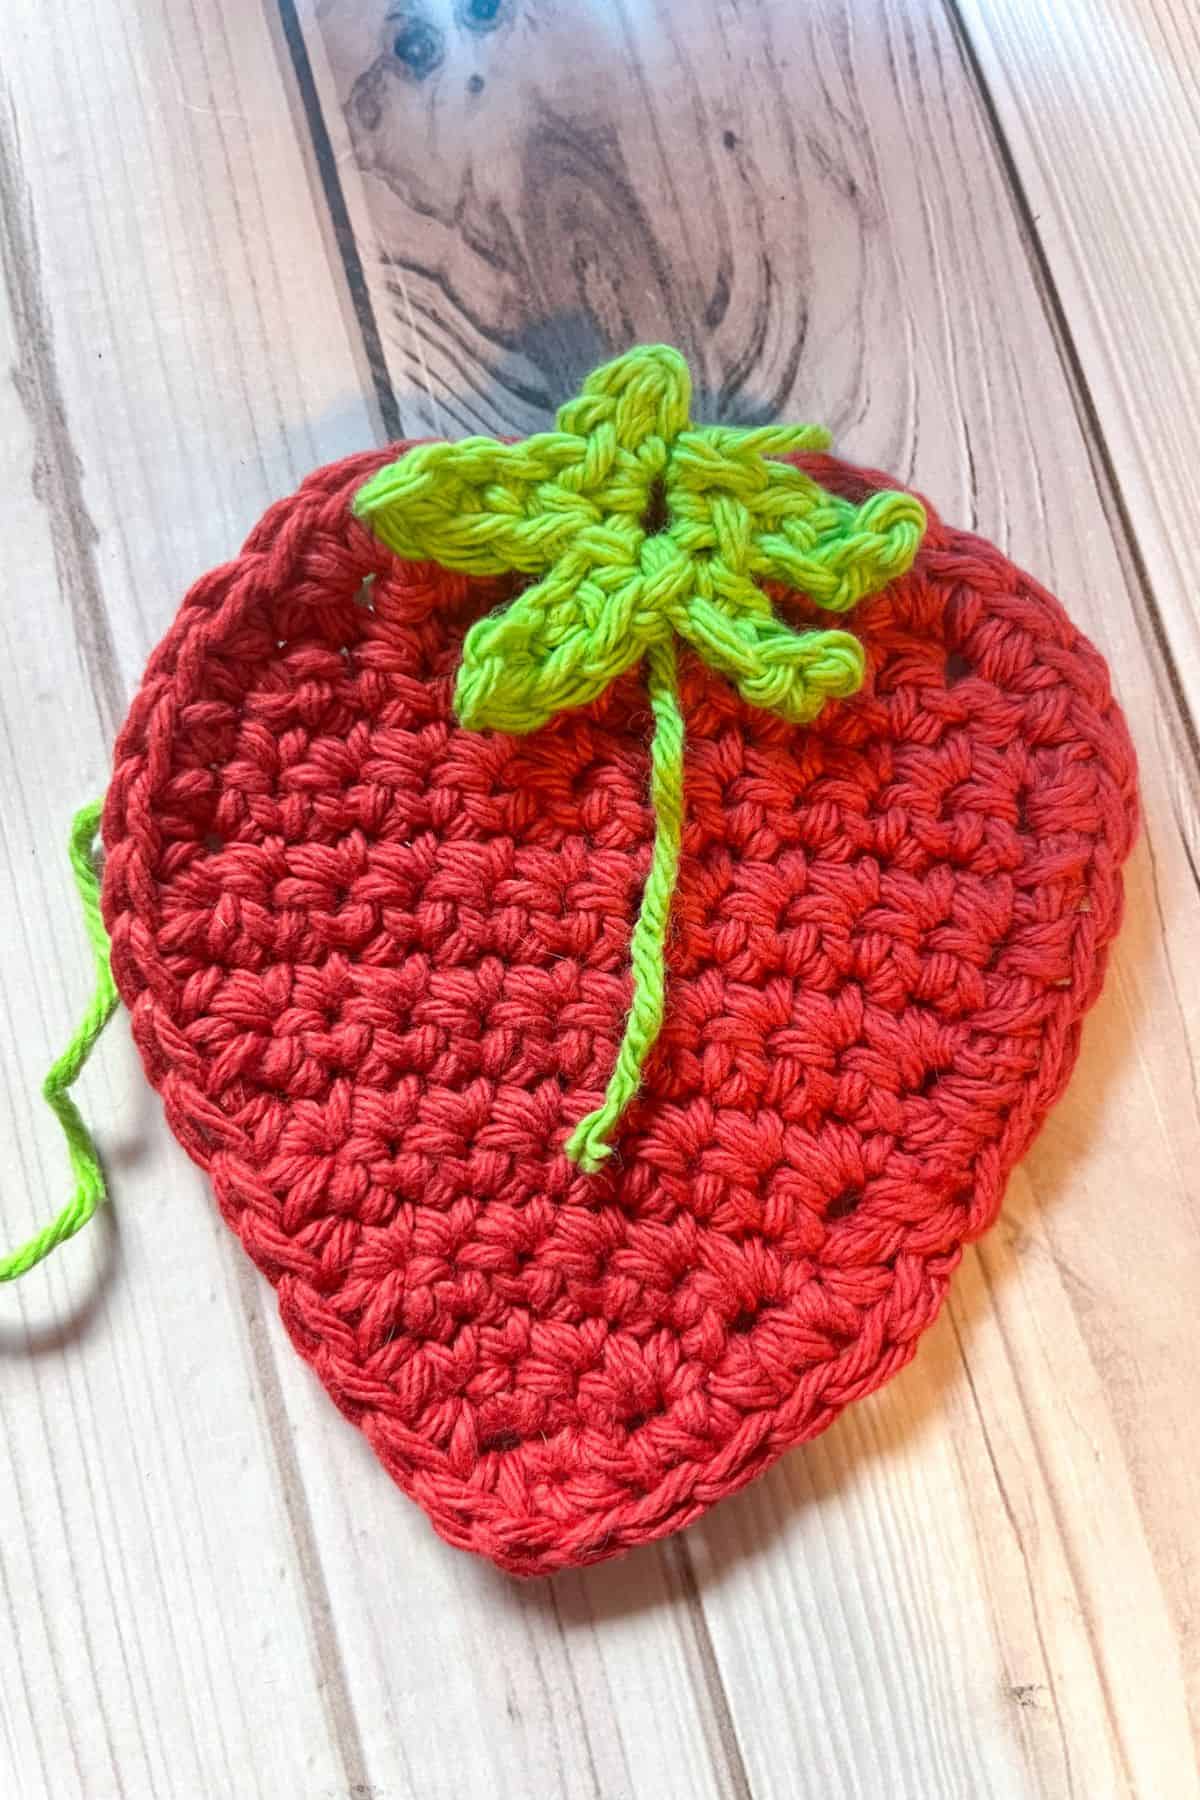
Step 3: Repeat step 2, 3 more times.
Fasten off and leave a long tail for sewing.
Finishing:
Sew the strawberry stem and leaves to the top part of the strawberry.
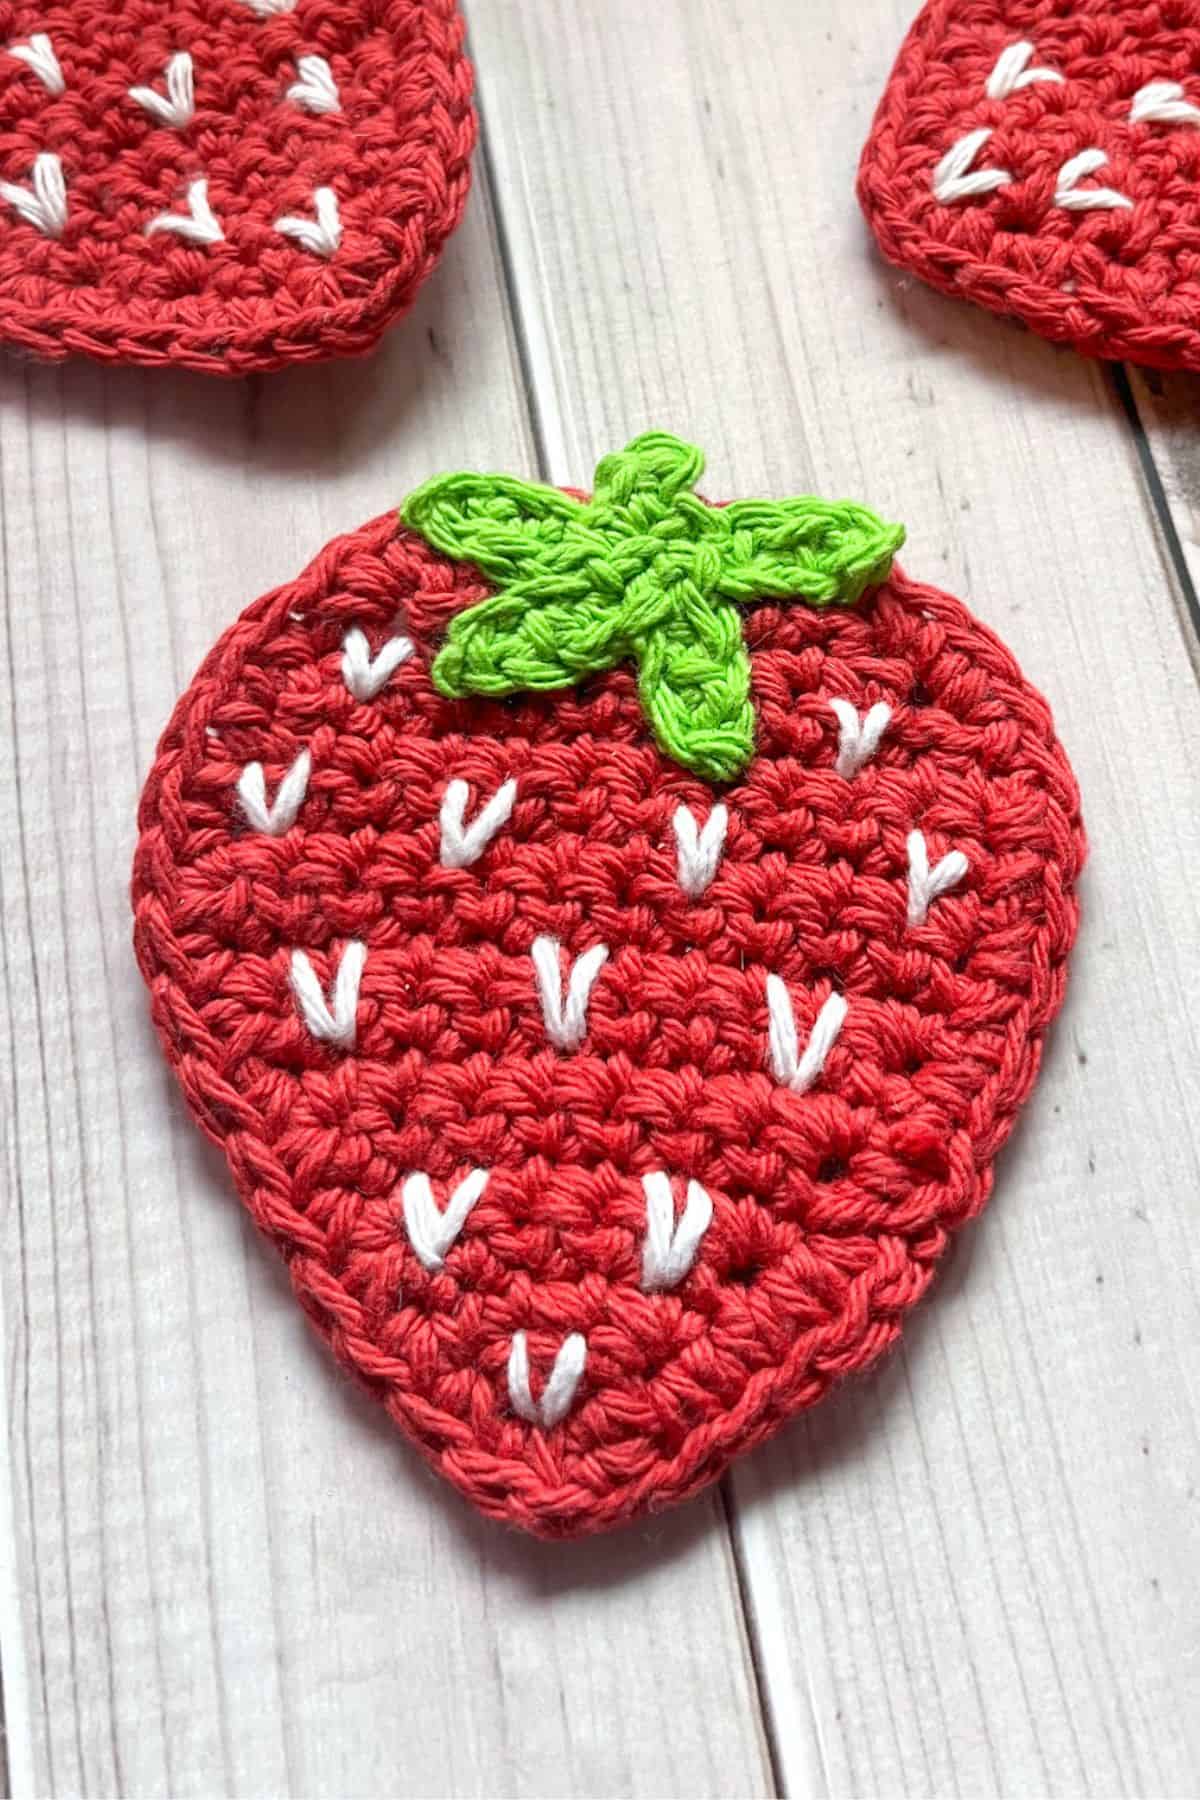
With white yarn and tapestry needle, crochet little v’s onto the strawberry. They look like little hearts which add additional cuteness to the coaster!
Weave in any loose ends.
And now you have an adorable crochet strawberry coaster made from my crochet strawberry coaster pattern! A perfect coaster for placing coffee and tea mugs!
If you have extra red and white cotton yarn, you can make my crochet apple coaster pattern. If you have extra green, you can also make the crochet frog coaster pattern!
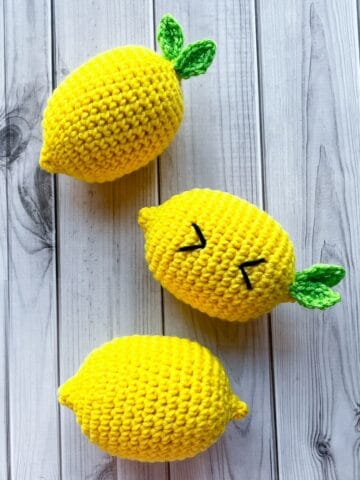
Needing some extra fruit coaster ideas? My crochet lemon coaster pattern would be perfect! Especially for summer - strawberry lemonade vibes all day every day!

🐌Expert Tips
- Choose the Right Yarn: For the best results, use 100% cotton yarn, as it is absorbent and heat-resistant. Avoid acrylic yarn, which may melt under hot mugs.
- Secure Embroidery First: Sew on the stem and leaves before adding the white embroidery to avoid covering up any of your decorative work.
- Consider Blocking: If your coasters come out wavy or uneven, dampen them lightly and use blocking pins to stretch them to the desired shape. Let them dry to maintain a flat, neat finish.
- Add Stability: To prevent the coaster from slipping on smooth surfaces, consider adding a non-slip backing like felt.
🧵Pattern FAQs
Wool is a good alternative since it is heat resistant, water absorbent, and antimicrobial.
It isn’t necessary to do so, but if you feel like it would help your crochet strawberry coasters from slipping around on your desk give it a shot!
You can use them as appliques for totes, cardigans, blankets, pillows etc!
🧶More Crochet Spring Patterns
If you tried this Crochet Strawberry Coaster Pattern (or any other pattern on my website), please let me know how it went in the 📝 comments below. I'd love to hear from you!

Crochet Strawberry Coaster Pattern
Materials
Abbreviations (US terms)
- ch = Chain
- sc = Single crochet
- inc = Increase
- dec = Decrease
- sl st = Slip Stitch
Notes
- Use cotton yarn for absorbency and heat resistance; avoid acrylic.
- Choose size 4 worsted weight yarn or thinner for stability.
- Strawberry coaster size: approx. 4.5 inches tall and 4 inches wide.
- Increase size with an extra row of increases if needed.
- Experiment with colors like light pink or white for different strawberries.
Instructions
- This pattern is made in rows.
- Row 1: Ch x2 and turn.
- Row 2: In the second chain from the hook, make an inc. (2) Then ch x1 and turn (for this next row and every row afterwards you will make a turning chain, but do not work in it. It’s to help turn your work).
- Row 3: Inc x2 (4). Then ch x1 and turn.
- Row 4: Inc, sc x2, inc (6). Then ch x1 and turn.
- Row 5: Sc in every stitch (6). Then ch x1 and turn.
- Row 6: Inc, sc x4, inc (8). Then ch x1 and turn.
- Row 7: Sc in every stitch (8). Then ch x1 and turn.
- Row 8: Inc, sc x6, inc (10). Then ch x1 and turn.
- Row 9: Sc in every stitch (10). Then ch x1 and turn.
- Row 10: Inc, sc x8, inc (12). Then ch x1 and turn.
- Row 11-14: Sc in every stitch (12). Then ch x1 and turn.
- Row 15: Dec, sc x8, dec (10). Then ch x1 and turn.
- Row 16: Dec, sc x6, dec (8). Then ch x1 and turn.
- Row 17: Dec, sc x4, dec (6). Then ch x1 and turn.
- After your last row, fasten off your yarn and weave in the ends. Optionally you can also crochet around the edges of your strawberry if you want a neater finish and a slightly bigger strawberry. Then fasten off and weave in the ends.
Strawberry Stem and Leaves:
- This pattern is made one stem/leaf at a time.
- Step 1: Ch x3, then in the second ch from the hook make a sc, then make a sc in the following stitch. This is the stem.
- Step 2: Ch x4 and in the second ch from the hook make a sc. Then sc in the following 2 chains. Then sl st back to the stitch where you broke off and made chains for the first leaf.
- Step 3: Repeat step 2 x3.
- Fasten off and leave a long tail for sewing.
Finishing:
- Sew the strawberry stem and leaves to the top part of the strawberry.
- With white yarn and tapestry needle, crochet little v’s onto the strawberry. They look like little hearts which add additional cuteness to the coaster!
- Weave in any loose ends.
- And now you have an adorable crochet strawberry coaster! A perfect coaster for placing coffee and tea mugs!


Leave a Reply