
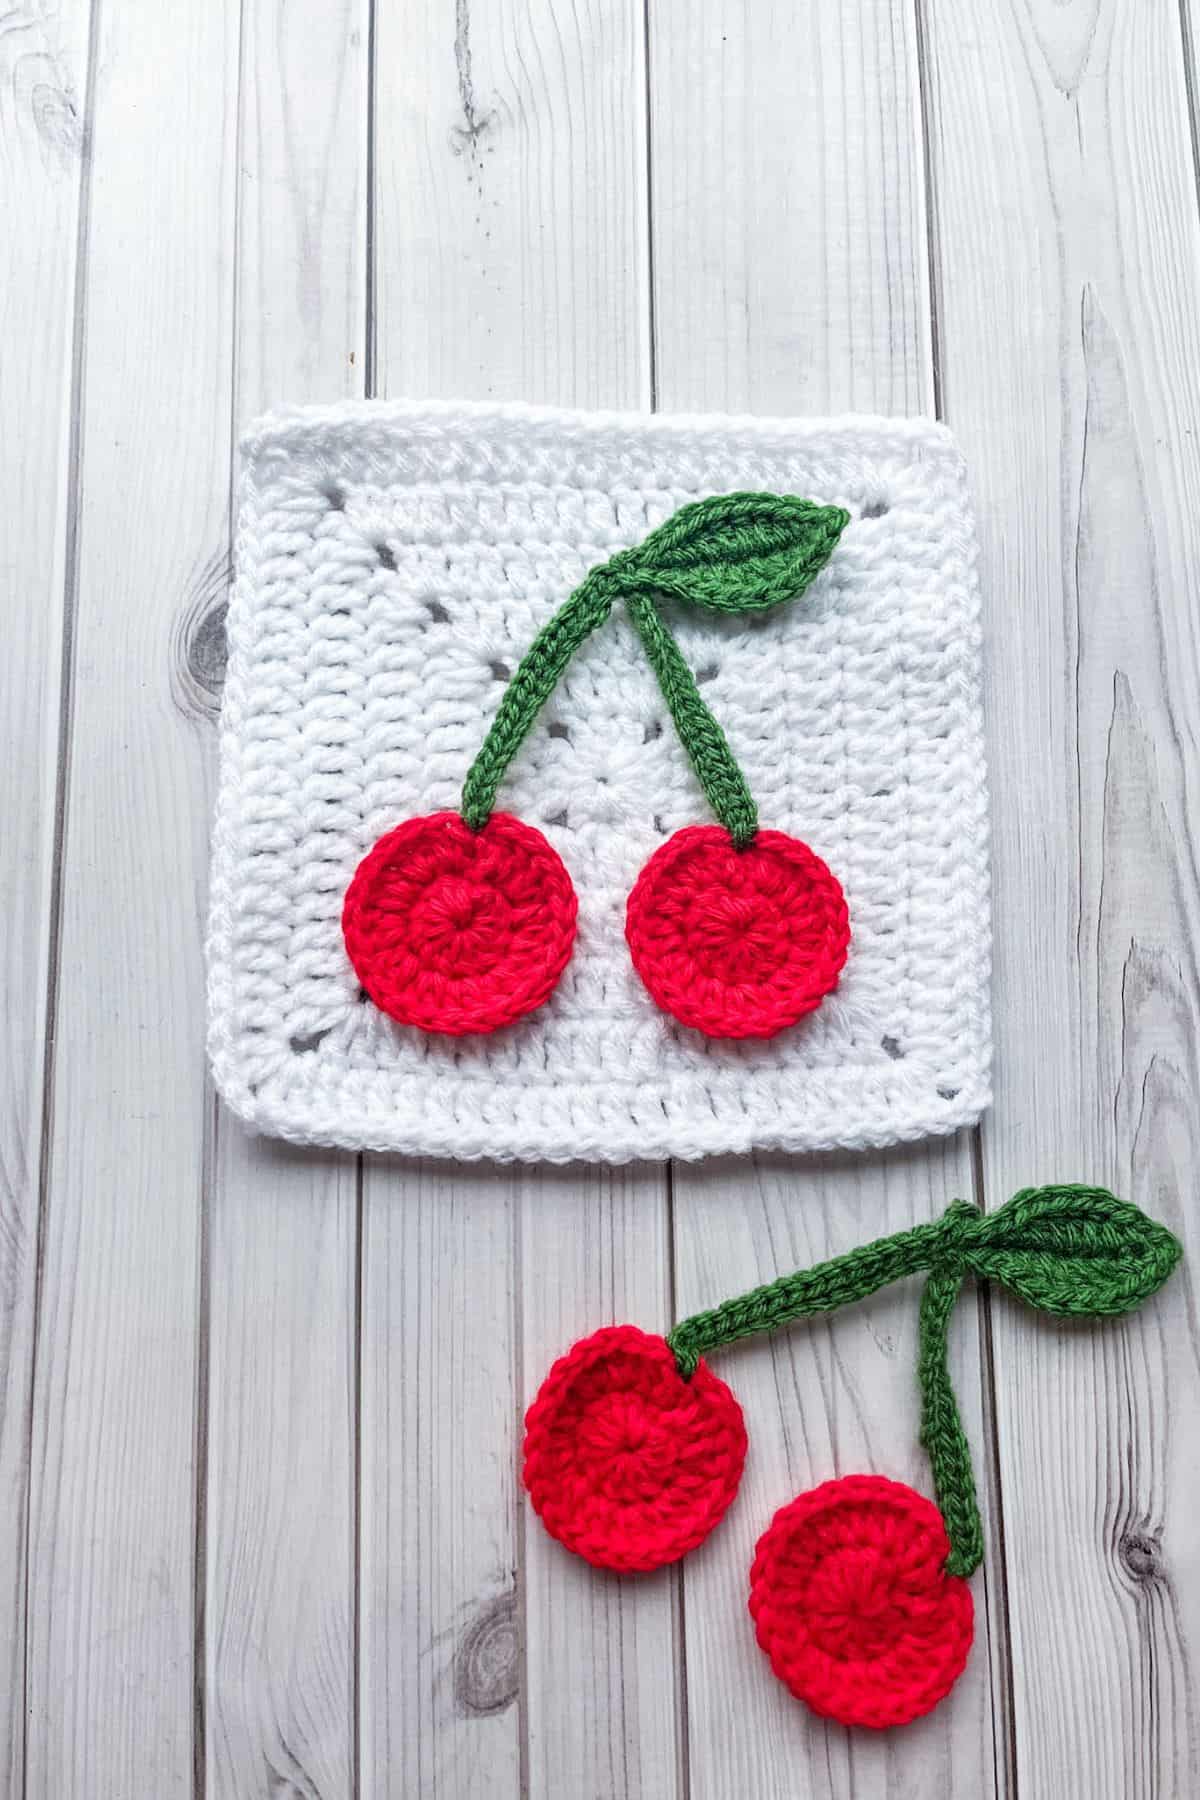
This crochet cherry applique pattern is a fun and quick project that adds a sweet touch to any item. It’s perfect for both beginners and experienced crocheters, and would look absolutely adorable on bags and blankets.
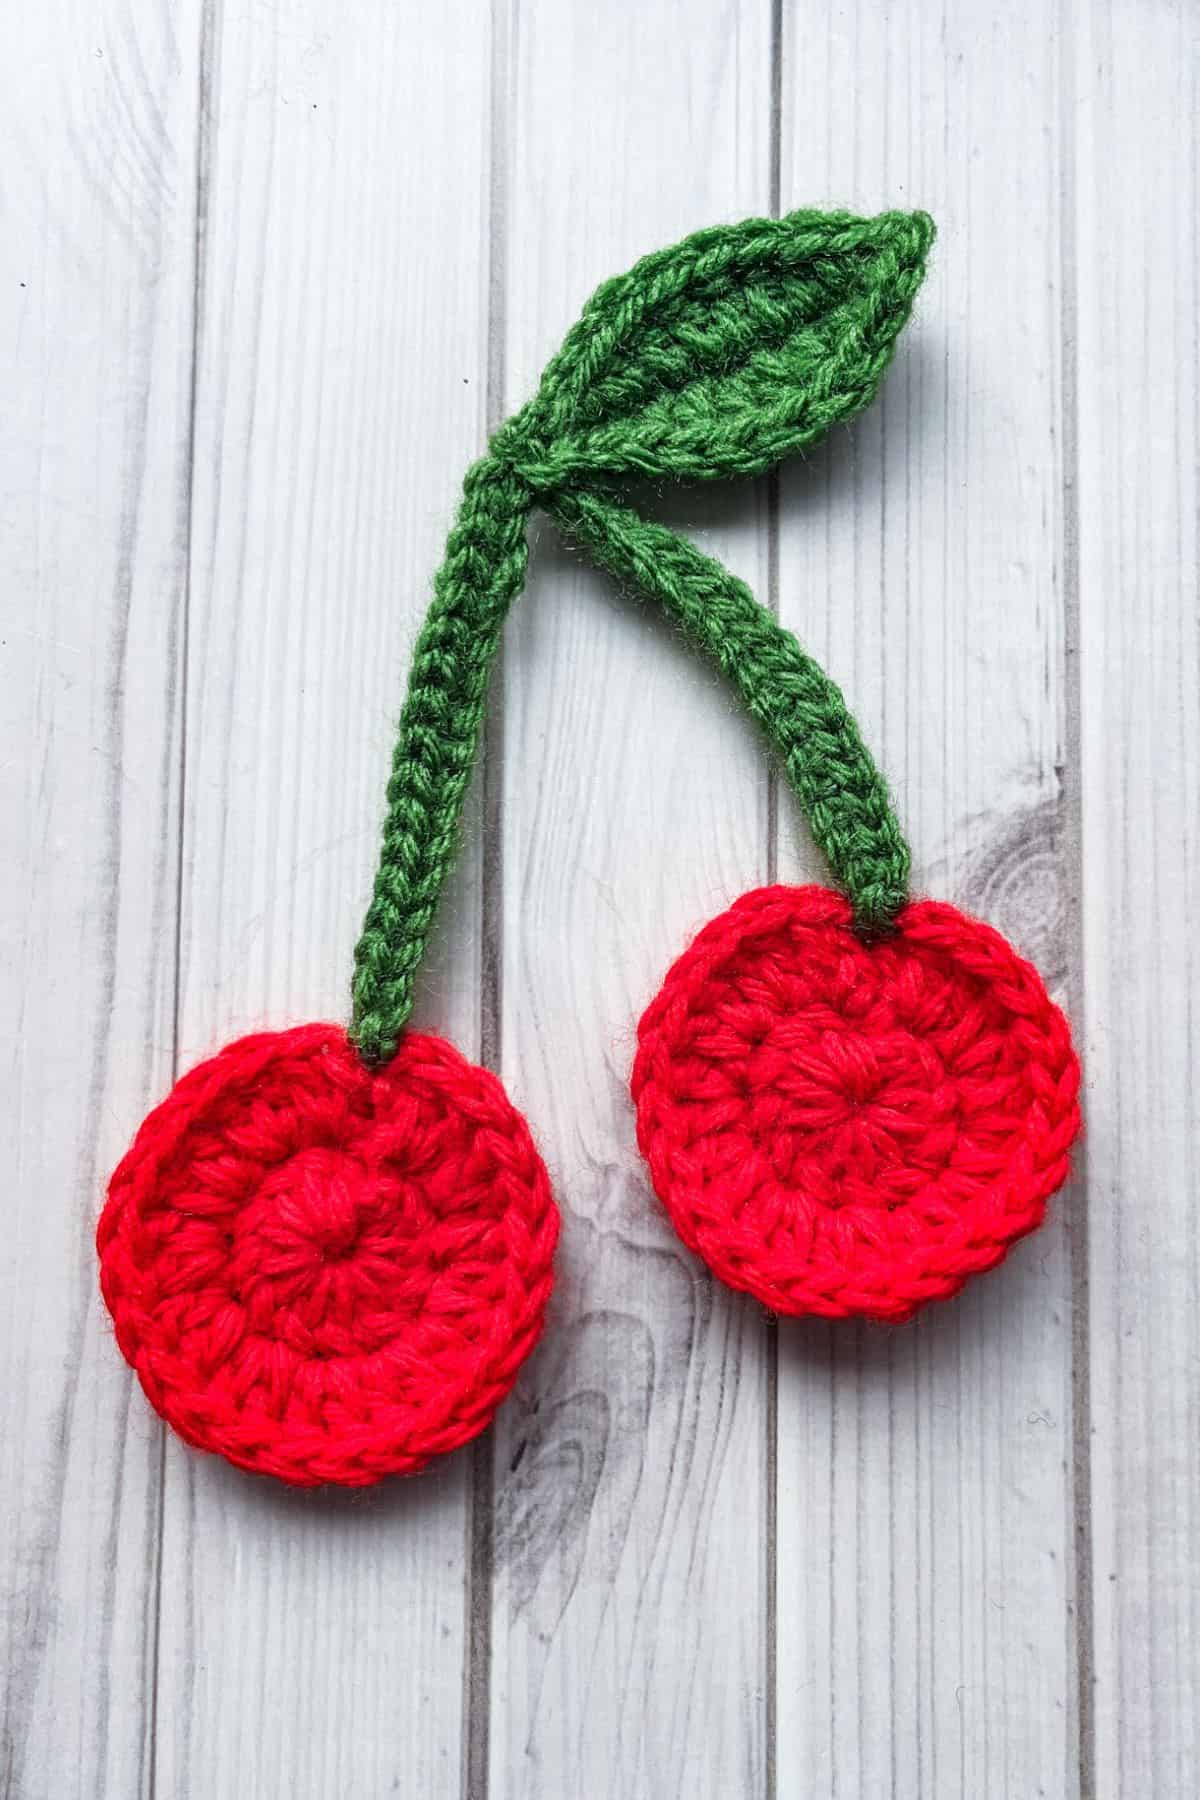
The crochet cherry applique is perfect for anyone looking for a fast and easy way to make adorable cherries. The pattern allows for versatility, as you can choose to make a single cherry or a pair. If you prefer a single cherry, simply complete half of the stem pattern, which makes this project even quicker! For the cherry top, you can choose between one or two leaves, giving you the freedom to personalize the look to suit your project.
Not only is this crochet cherry pattern quick and simple, but it's also lightweight and fun to make, giving you a chance to experiment with different color combinations or sizes. The compact size of the cherries makes them perfect for adding a playful, colorful element to your crochet work, whether you use them as an embellishment on a hat, scarf, bag, or even as a decorative piece for your home.
If you enjoy this crochet cherry applique, be sure to check out my other crochet applique patterns! The crochet strawberry applique pattern offers another fruity design that pairs perfectly with these cherries. For something whimsical, the crochet crown applique pattern is a great way to add a bit of royalty to your work. Or, if you prefer something more delicate, the crochet butterfly applique pattern will bring a light and airy feel to your creations. Each of these patterns is designed to be easy to follow and full of charm, just like the cherry applique!
This crochet applique pattern will quickly become a favorite in your crochet collection!
Let’s get started!
Jump to:
✏️ Things To Note:
- Yarn Choice: For the best results for the crochet cherry applique pattern, use a medium weight yarn (worsted weight, or yarn weight #4) for both the cherries and the leaves. You can use different colors for the fruit and leaves to make your cherries stand out. Red or dark red works wonderfully for the cherry itself, and green for the leaves gives it that perfect pop of color!
- Size: The finished crochet cherry applique pattern is small and compact, making it ideal for embellishing accessories or home decor. The size of the cherry depends on your crochet tension and yarn, but typically, each cherry will be about 1-2 inches wide, and the leaves will be around 1 inch long. Adjust the size of the stitches or yarn to create the size that suits your project. The overall size is roughly 4-5 inches big.
- Sewing the Pieces Together: After crocheting the cherry, leaves, and stem, you’ll need to sew them together to form the complete cherry applique. Be sure to use a yarn needle and matching yarn to carefully stitch the stem to the cherry, and attach the leaves to the top of the cherry. You can add a single leaf or two for a more full look, depending on your preference. This step allows for unique customization of your cherry applique!
🪡 Materials Needed
💭Abbreviations to Remember (US terms)
- Magic ring (mr)
- Chains (ch)
- Single crochet (sc)
- Half double crochet (hdc)
- Double crochet (dc)
- Slip stitch (sl st)
- Increase (inc)
* The ch x2 at the beginning of each round does not count as a stitch. Skip over it and sl st to the first dc you made.
* If you see a stitch abbreviation with "x" after it, it means how many times you do that stitch in the following amount of stitches. For example: sc x6 would mean you make a single crochet in the next 6 stitches. Inc x2 means you make an inc in the next 2 stitches.
🧋Variations
- Size Adjustments: You can adjust the size of the cherry by using thicker or thinner yarn, or changing your stitch size. A smaller cherry using embroidery thread will work great for tiny accessories like earrings, while a larger cherry can be perfect for bold, oversized appliques on bags or blankets.
- Tiny Cherry Blossoms: For a more floral look, create crochet cherry blossoms from my crochet Japanese knot bag pattern to accompany your cherries. Use a simple flower pattern and attach it next to the cherry to create a cute fruit-and-flower design that’s perfect for springtime projects. For larger cherry blossoms, use my crochet cherry blossom coaster pattern.
🍵Instructions for Crochet Cherry Applique Pattern
For this Crochet Cherry Applique Pattern, we will be working in the rows.
Crochet Cherry:

Round 1: Make a magic ring with the red yarn, then ch x2 (does not count as a stitch) and dc x12. Then sl st to the first dc in the round (12).
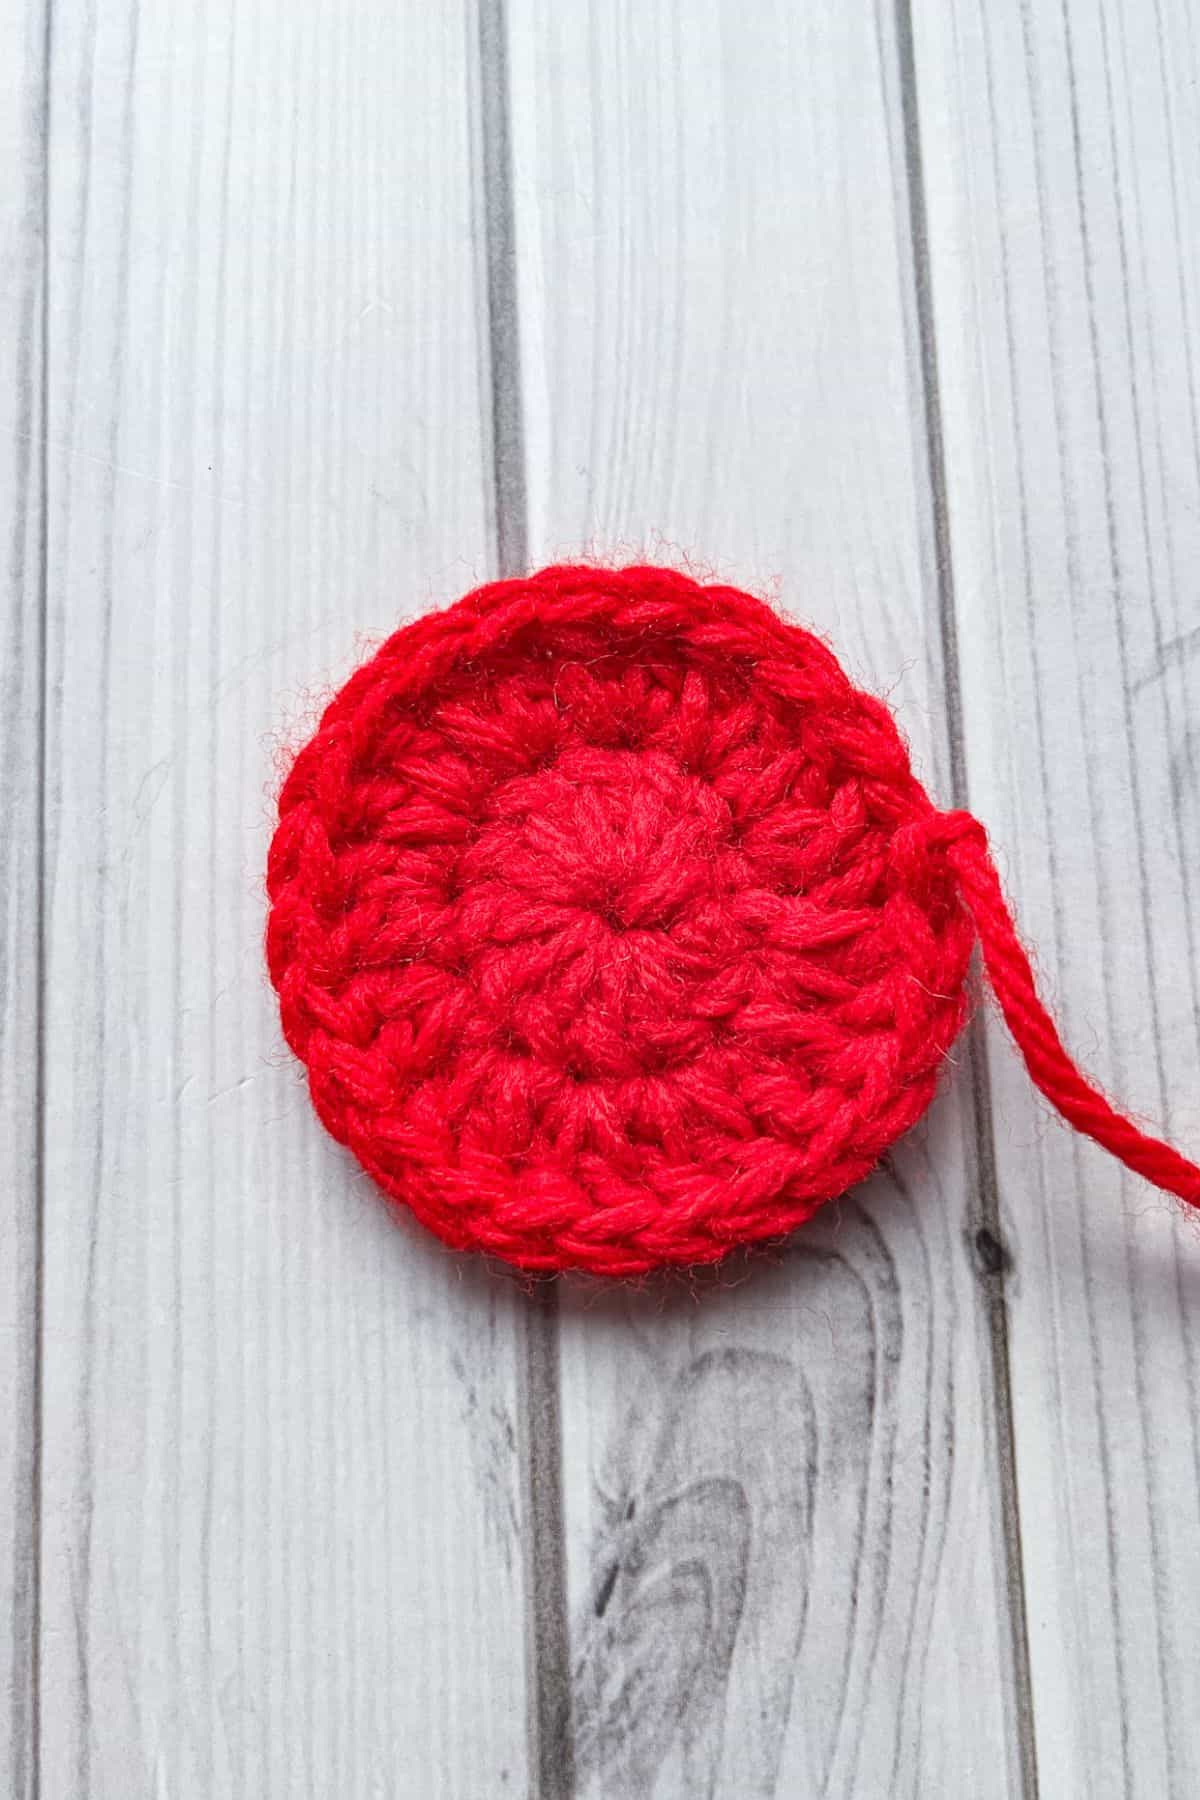
Round 2: Ch x2 and dc inc in every stitch (24). Then sl st to the first dc and fasten off. Weave in any yarn tail, unless sewing it to another crochet item - then leave a tail for sewing.
Crochet Cherry Stem:

Row 1: With the green yarn, ch x32.
Row 2: In the second stitch from the hook make a sl st. Sl st x14 more times down the chain (you can also vary this amount if you want uneven cherry stems).
In the next ch, sc x3 - this will bend the chain into a wishbone shape. Then sl st down the rest of the ch.
When you get to the bottom of the chain, fasten off and leave a tail for sewing.
Crochet Leaf:

You can make 1 or 2 for each cherry stem.
With the green yarn, ch x10.
Then on one side of the ch starting in the second ch from the hook make a: sl st, sc, hdc, dc, dc inc, dc, hdc, sc, sl st. Then ch x1 and turn to the other side of the foundation chain. Sl st, sc, hdc, dc, dc inc, dc, hdc, sc, sl st. Then fasten off and leave a tail for sewing.
Sewing:

Sew the stem to the cherries, and then the leaf to the top of the stem. Once everything has been sewn together, you can sew it to your project!
I hope you enjoy making the crochet cherry applique pattern! Whether you're adding it to bags, blankets, or any other creation, these sweet cherries will bring a playful touch to your work.
And remember, if you're looking to make more fruity designs, you can also check out my crochet coaster patterns. Turn them into fun applique designs like the crochet lemon coaster pattern or the crochet watermelon coaster pattern for even more colorful, summer-inspired projects. Happy crocheting!

🐌Expert Tips
- Use the Right Tension: Maintaining consistent tension is key to achieving even, neat stitches for the crochet cherry applique pattern. If your stitches are too tight, it can make the applique stiff and hard to sew together. On the other hand, too-loose stitches may lead to gaps between the parts of the cherry. Practice to find a tension that works for you, ensuring a smooth and even texture.
- Customize with Yarn Types: Feel free to experiment with different types of yarn for varied textures. For example, a soft, velvety yarn for the cherry or a cotton yarn for the leaves can add a different feel and look to your appliques.
🧵Pattern FAQs
An applique is a decorative design made with crochet that is sewn or attached to a larger piece, like a blanket, sweater, or bag. It adds texture, color, and personality to your projects.
You can attach an applique by either whip-stitching or using a slip stitch through the back loops of the stitches. You can also use a yarn needle to sew it into place securely. Make sure to block both the applique and the project before attaching for a neat finish!
Any yarn that works with the weight and texture of your main project will work for crochet appliques. For example, if your project is made with worsted weight yarn, you should use a similar weight yarn for the applique. Use the same fiber content for best results, but mixing fibers can also create fun effects!
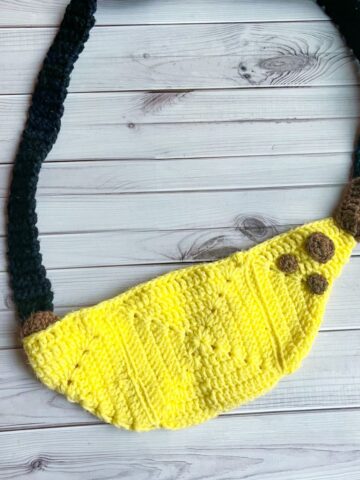
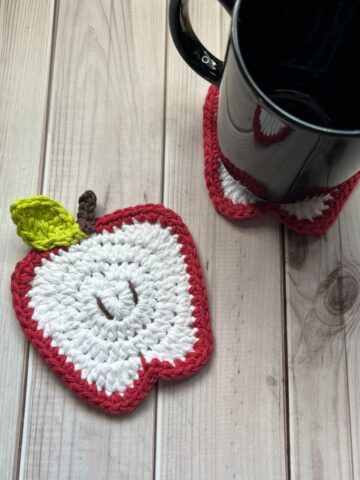
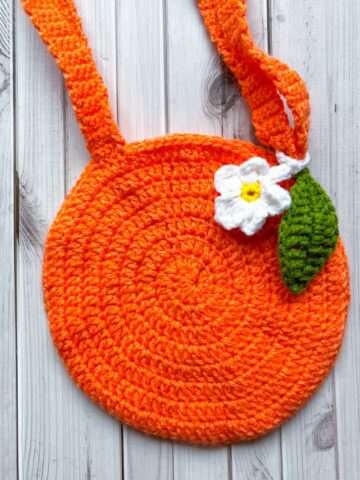
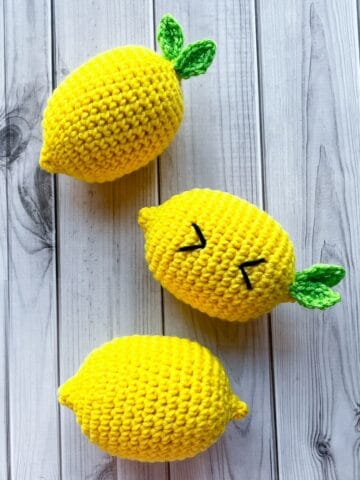
🧶More Crochet Fruit Patterns
If you tried this Crochet Cherry Applique Pattern (or any other pattern on my website), please let me know how it went in the 📝 comments below. I'd love to hear from you!

Crochet Cherry Applique Pattern
Abbreviations (US terms)
- Magic ring - mr
- Chains - ch
- Single crochet - sc
- Half double crochet - hdc
- Double crochet - dc
- Slip stitch - sl st
- Increase - inc
Notes
- Yarn Choice: For the best results, use a medium weight yarn (worsted weight, or yarn weight #4) for both the cherries and the leaves. You can use different colors for the fruit and leaves to make your cherries stand out. Red or dark red works wonderfully for the cherry itself, and green for the leaves gives it that perfect pop of color!
- Size: The finished crochet cherry applique is small and compact, making it ideal for embellishing accessories or home decor. The size of the cherry depends on your crochet tension and yarn, but typically, each cherry will be about 1-2 inches wide, and the leaves will be around 1 inch long. Adjust the size of the stitches or yarn to create the size that suits your project. The overall size is roughly 4-5 inches big.
- Sewing the Pieces Together: After crocheting the cherry, leaves, and stem, you’ll need to sew them together to form the complete cherry applique. Be sure to use a yarn needle and matching yarn to carefully stitch the stem to the cherry, and attach the leaves to the top of the cherry. You can add a single leaf or two for a more full look, depending on your preference. This step allows for unique customization of your cherry applique!
Instructions
Crochet Cherry:
- Round 1: Make a magic ring with the red yarn, then ch x2 and dc x12. Then sl st to the first dc in the round (12).
- Round 2: Ch x2 and dc inc in every stitch (24). Then sl st to the first dc and fasten off. Weave in any yarn tail, unless sewing it to another crochet item - then leave a tail for sewing.
Crochet Cherry Stem:
- Row 1: With the green yarn, ch x32.
- Row 2: In the second stitch from the hook make a sl st. Sl st x14 more times down the chain (you can also vary this amount if you want uneven cherry stems). In the next ch, sc x3 - this will bend the chain into a wishbone shape. Then sl st down the rest of the ch. When you get to the bottom of the chain, fasten off and leave a tail for sewing.
Crochet Leaf:
- You can make 1 or 2 for each cherry stem.
- With the green yarn, ch x10. Then on one side of the ch starting in the second ch from the hook make a: sl st, sc, hdc, dc, dc inc, dc, hdc, sc, sl st. Then ch x1 and turn to the other side of the foundation chain. Sl st, sc, hdc, dc, dc inc, dc, hdc, sc, sl st. Then fasten off and leave a tail for sewing.
Sewing:
- Sew the stem to the cherries, and then the leaf to the top of the stem. Once everything has been sewn together, you can sew it to your project!
- I hope you enjoy making your crochet cherry applique! Whether you're adding it to bags, blankets, or any other creation, these sweet cherries will bring a playful touch to your work.


Leave a Reply