

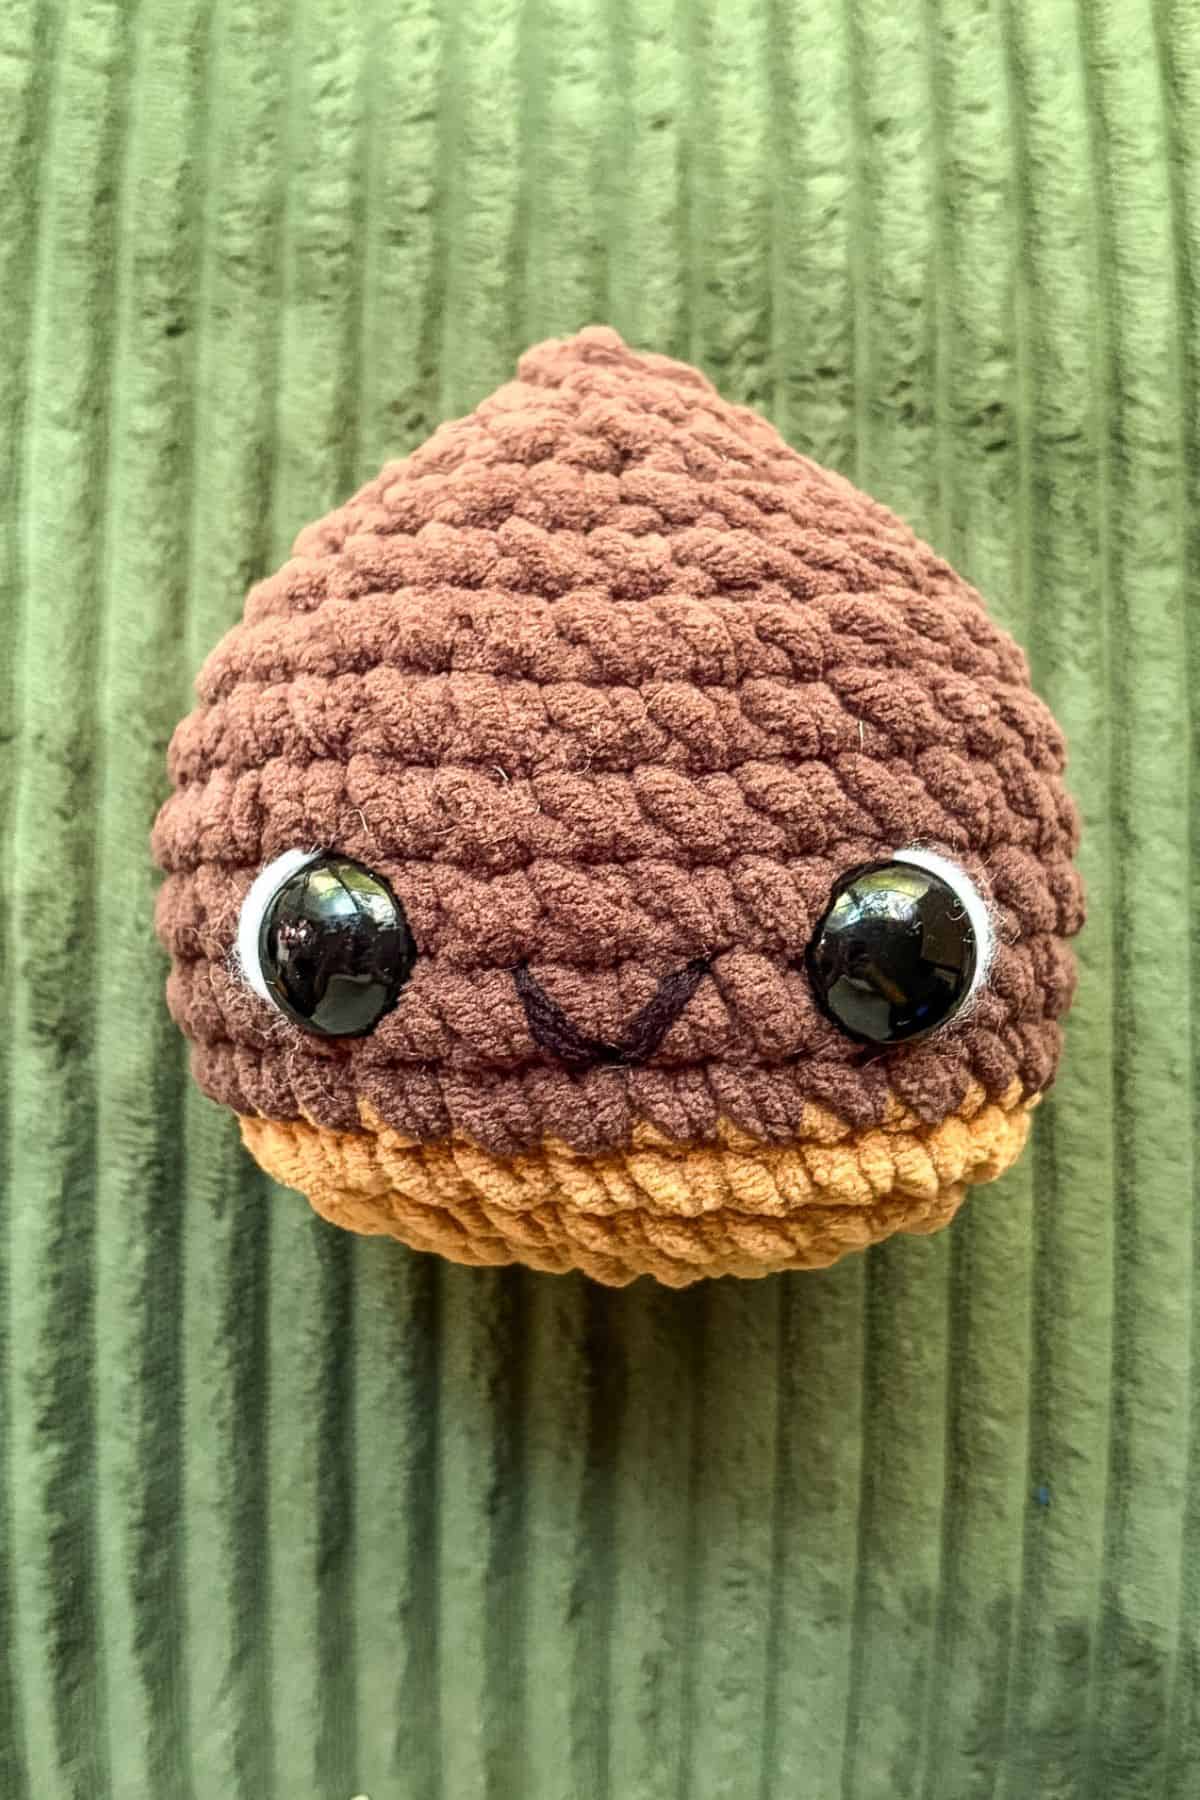
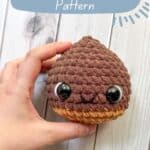
Chestnuts are my favorite nut and I am so happy I made a crochet chestnut pattern! Now I have a cute cuddly chestnut plush next to me while I crochet the day away.
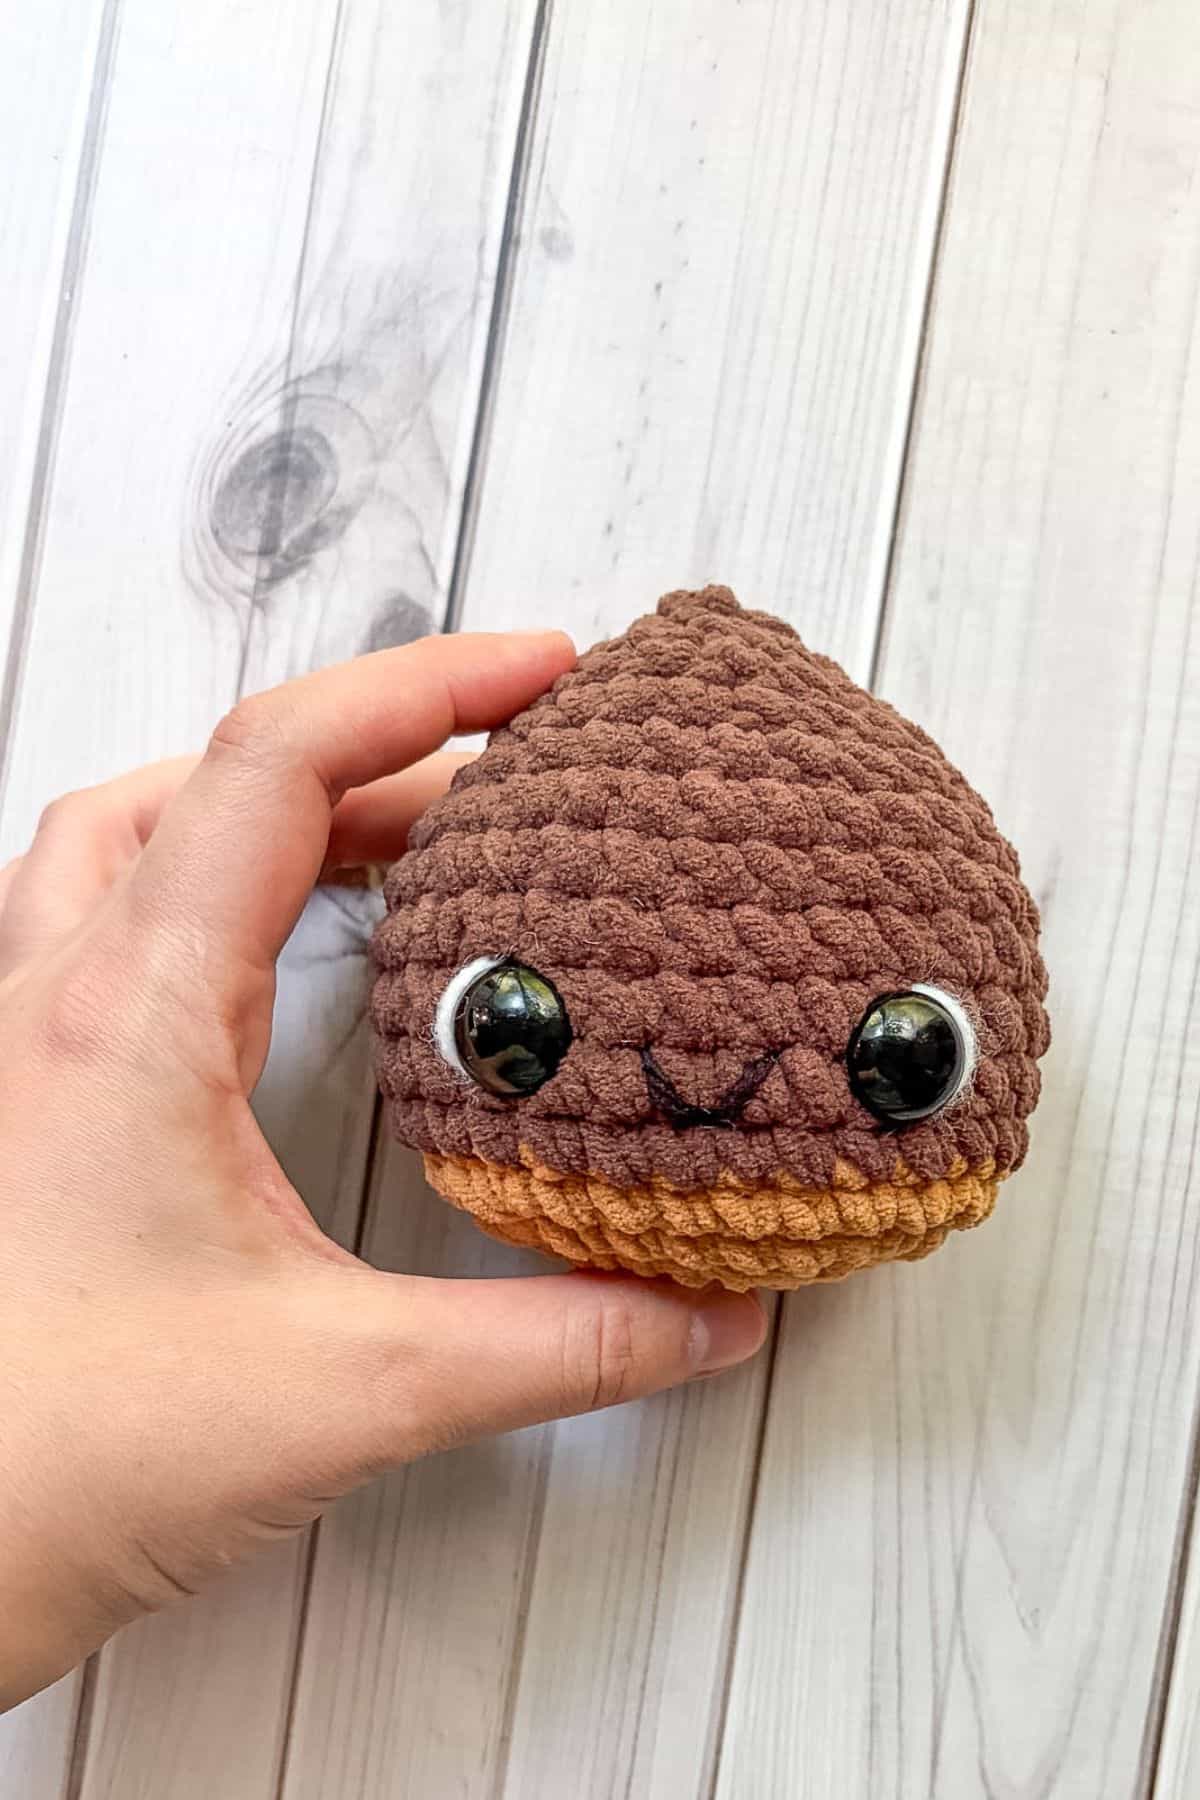
I love chestnuts, they are my favorite nut hands down, and I only get to eat them once or twice during the holiday season. They actually bring me a ton of joy and memories of being in Rome, Italy for college. I lived in Italy for 2 years for college and when walking out and about during winter time there would be these chestnut vendors set up who would sell you a small bag of chestnuts for 5Euros. I never had chestnuts before, but one day I stopped, bought a bag and proceeded to eat them while gazing at the Spanish Steps.
It is a food memory engrained into my soul. I always dream that I'll be back to Italy one day, eating those chestnuts over at the Spanish Steps. Although that is a few years away at this point, I decided to crochet this chestnut to fill the void. Well until chestnuts are back in season!
Other patterns I made inspired by my love of Italy are my Crochet Lemon Pattern and Crochet Lemon Bag Pattern. Another pattern inspired by my travels (not Italy) is my Crochet Christmas Pudding Pattern. Which is inspired by my week trip to Malta, not England (where these are popular), when I visited over Christmas when I couldn't afford going back to the states.
Jump to:
✏️ Things To Note:
- Yarn: I use chenille plush yarn for the crochet chestnut pattern, but any yarn will do. Worsted, chunky, acrylic, cotton etc.
- Size: It is only a few inches big once it is all completed but can change its size based on yarn size.
- Markets: because it is small you can crochet these real fast and make them for fall markets!
🪡 Materials Needed
- 1 Chunky Chenille Baby Blanket Yarn - Coffee - this is size 5 chenille yarn, but the balls are small and the yarn is a bit thin.
- 1 Chunky Chenille Baby Blanket Yarn - Brown - this is size 5 chenille yarn, but the balls are small and the yarn is a bit thin.
- Polyfill
- ½ inch safety eyes
- 5mm hook
- Tapestry needle
- 12 inches - black and white yarn for details - optional
💭Abbreviations to Remember (US terms)
- Chains - ch
- Single crochet - sc
- Increase - inc
- Decrease - dec
🍵Instructions for Crochet Chestnut Pattern
The chestnut pattern will be made in rounds not rows, but it WILL start with a chain.
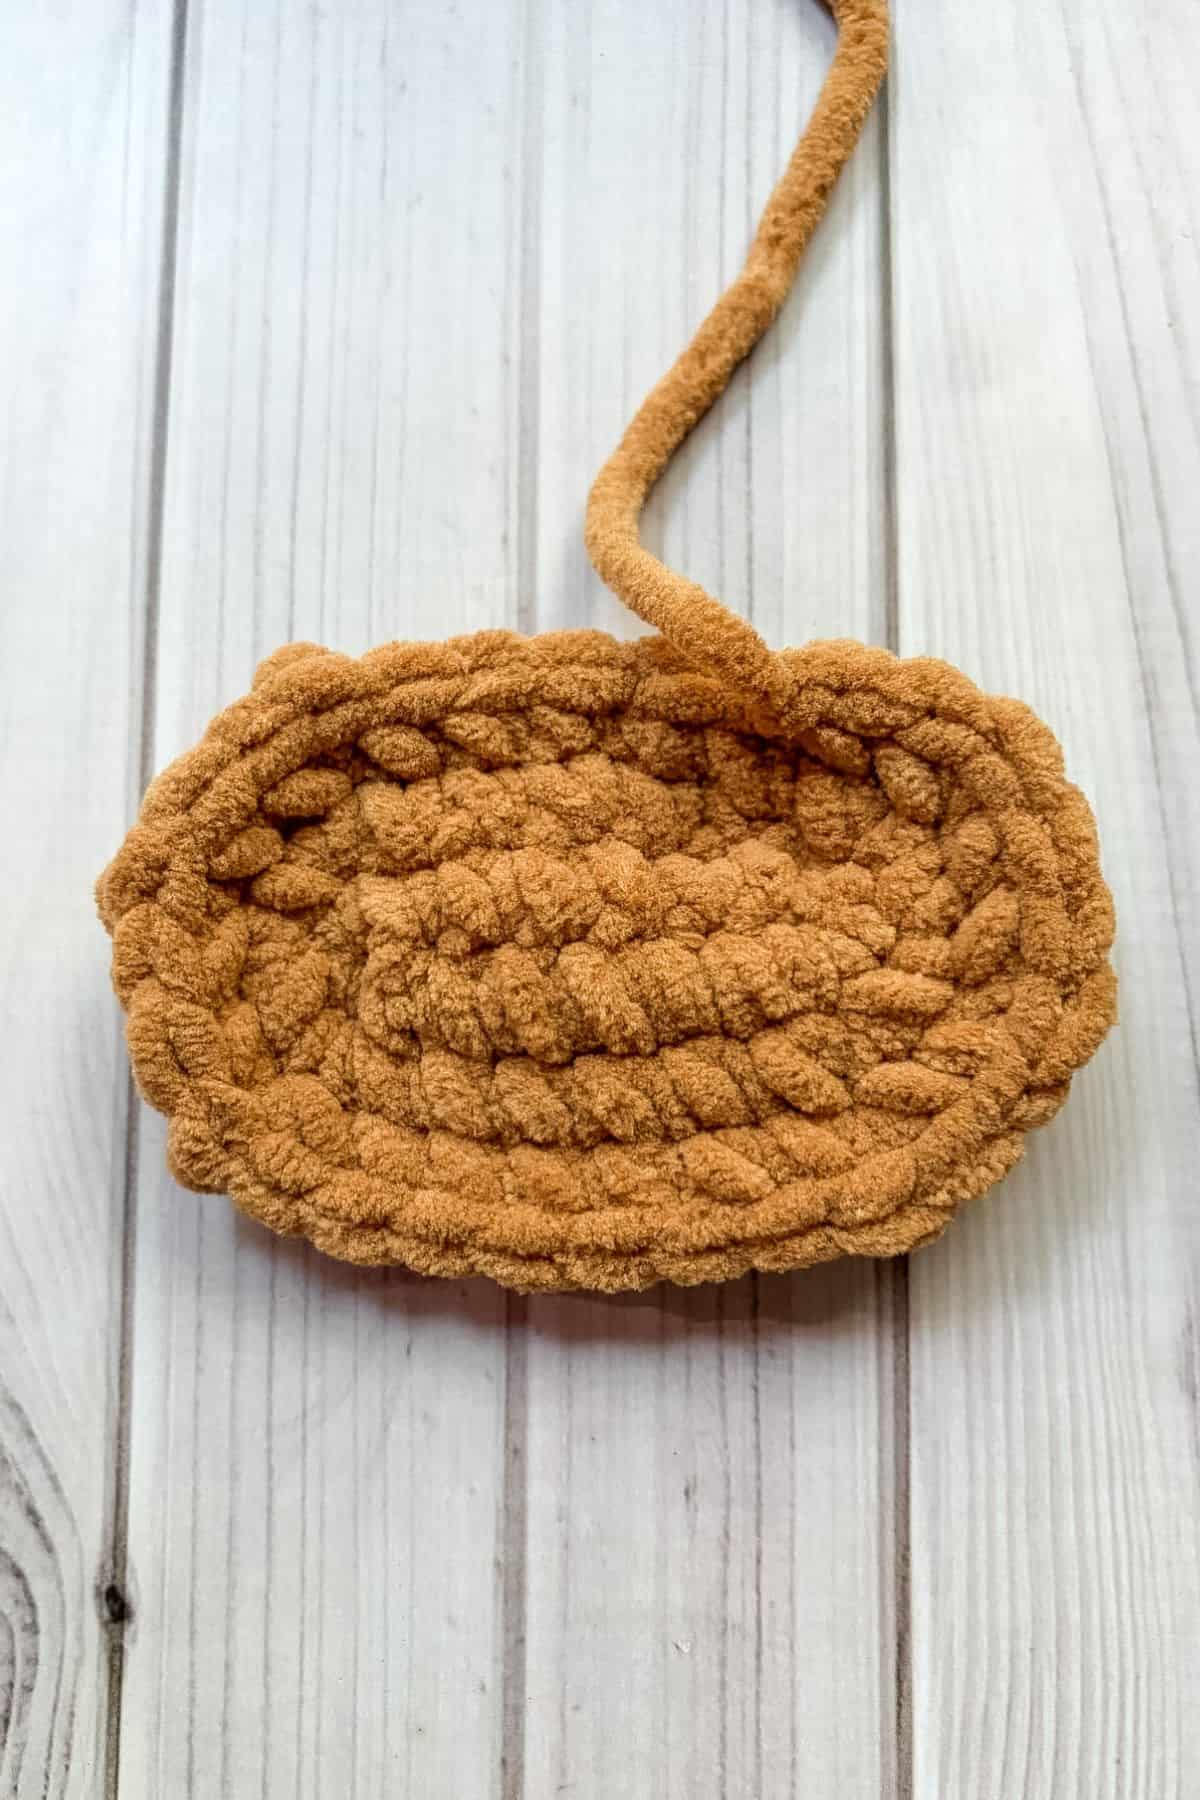
Round 1: With the lighter brown yarn, ch x8. Then in the 2nd ch from the hook make a sc. Sc in the next 5 chains. In the last stitch sc x3, all the while turning to the underside of the chain. Now working on the unworked side of the chain, sc x5. Sc inc in the last stitch. Then sl st to the next stitch. This sl st marks the end of the round (16).
Round 2: Sc x5. Inc x3 (in the 3 stitches you made at the end), sc x5, inc x3 (22).
Round 3: Sc x5, (inc, sc) x3. Then repeat for the other side of the round (28). Then fasten off the yarn and join the darker brown yarn.
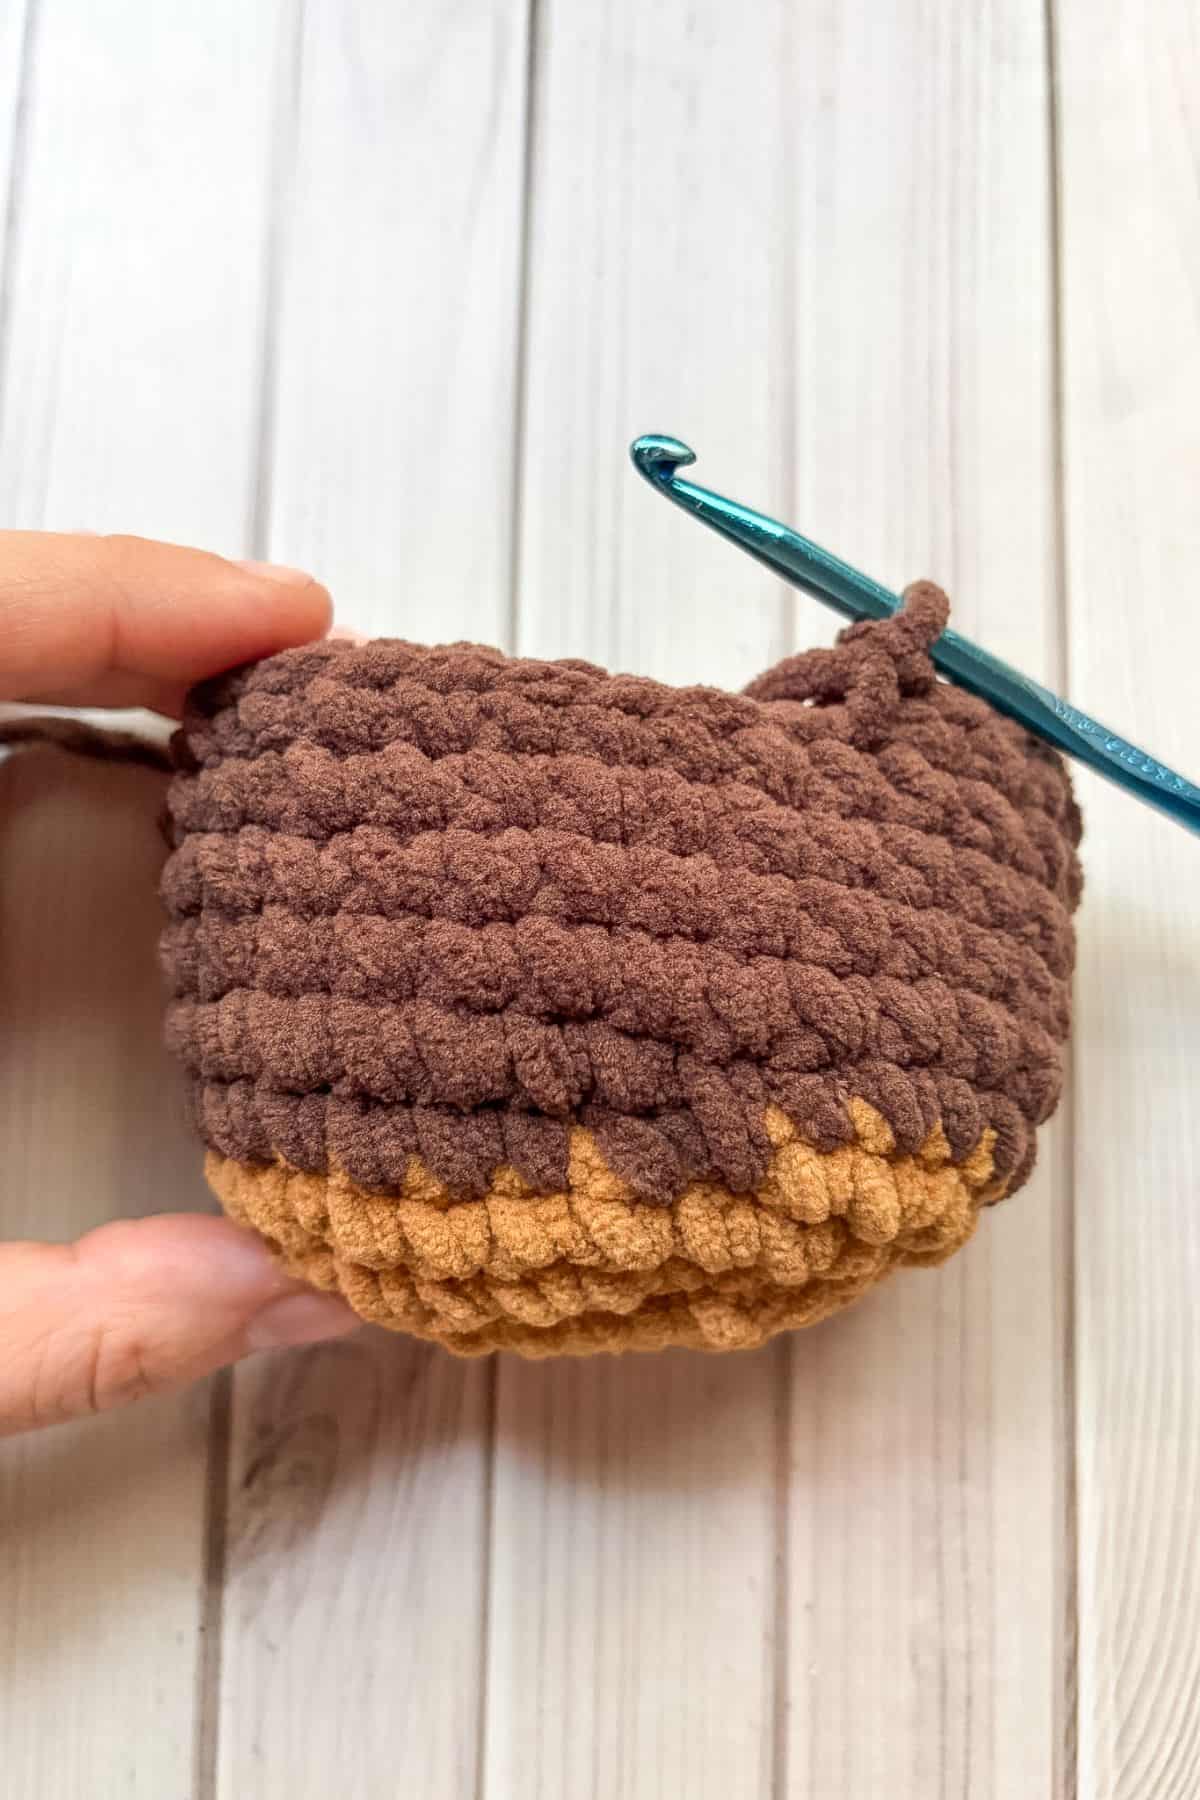
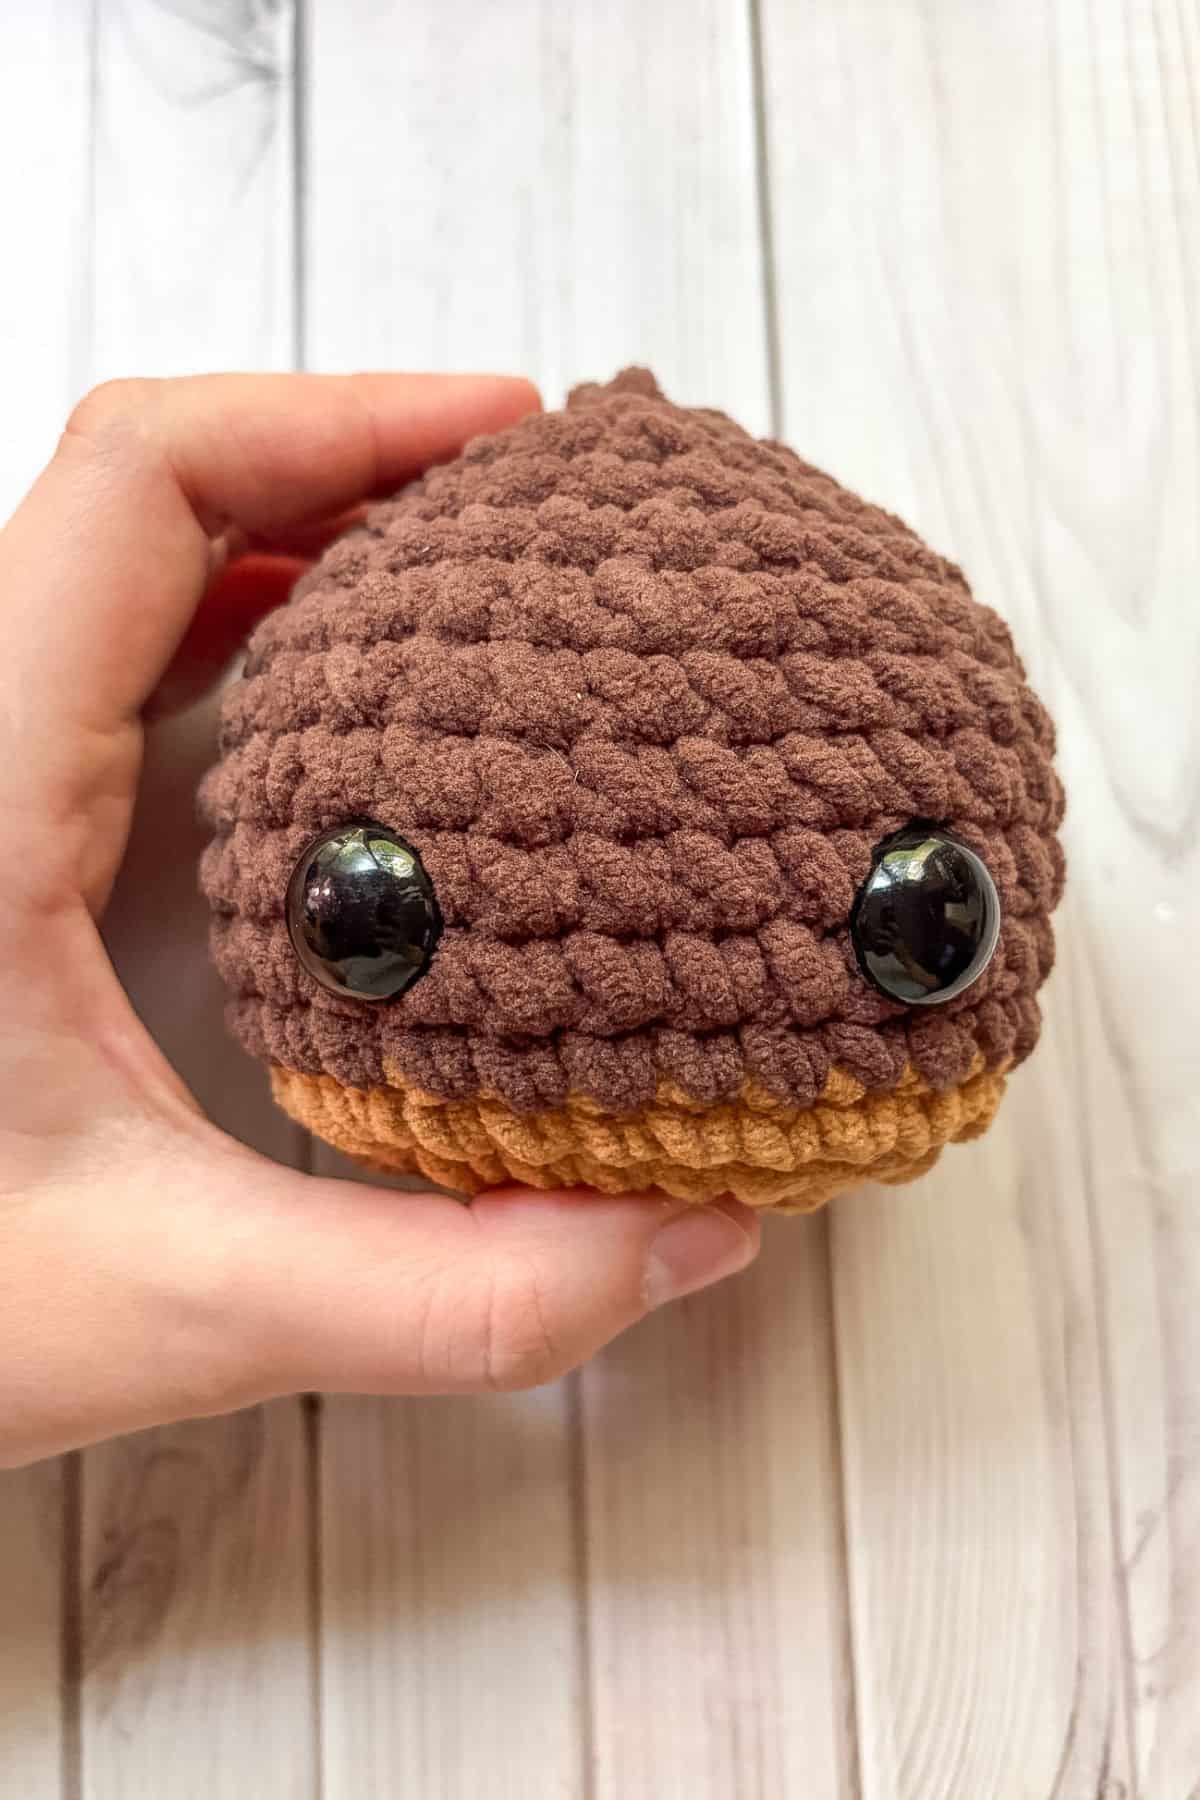
Round 4-9: Sc in every stitch (28).
Round 10: Dec, sc x5. Then repeat for the rest of the round (24).
Round 11: Dec, sc x4. Then repeat for the rest of the round (20). Add the eyes between rounds 5-6 roughly 6 stitches apart.
Round 12: Dec, sc x3. Then repeat for the rest of the round (16). Begin to stuff the chestnut.
Round 13: Dec, sc x2. Then repeat for the rest of the round (12).
Round 14: Dec, then repeat for the rest of the round (6).
Round 15: Sc in every stitch (6). Then fasten off and sew the top closed.
Finishing:
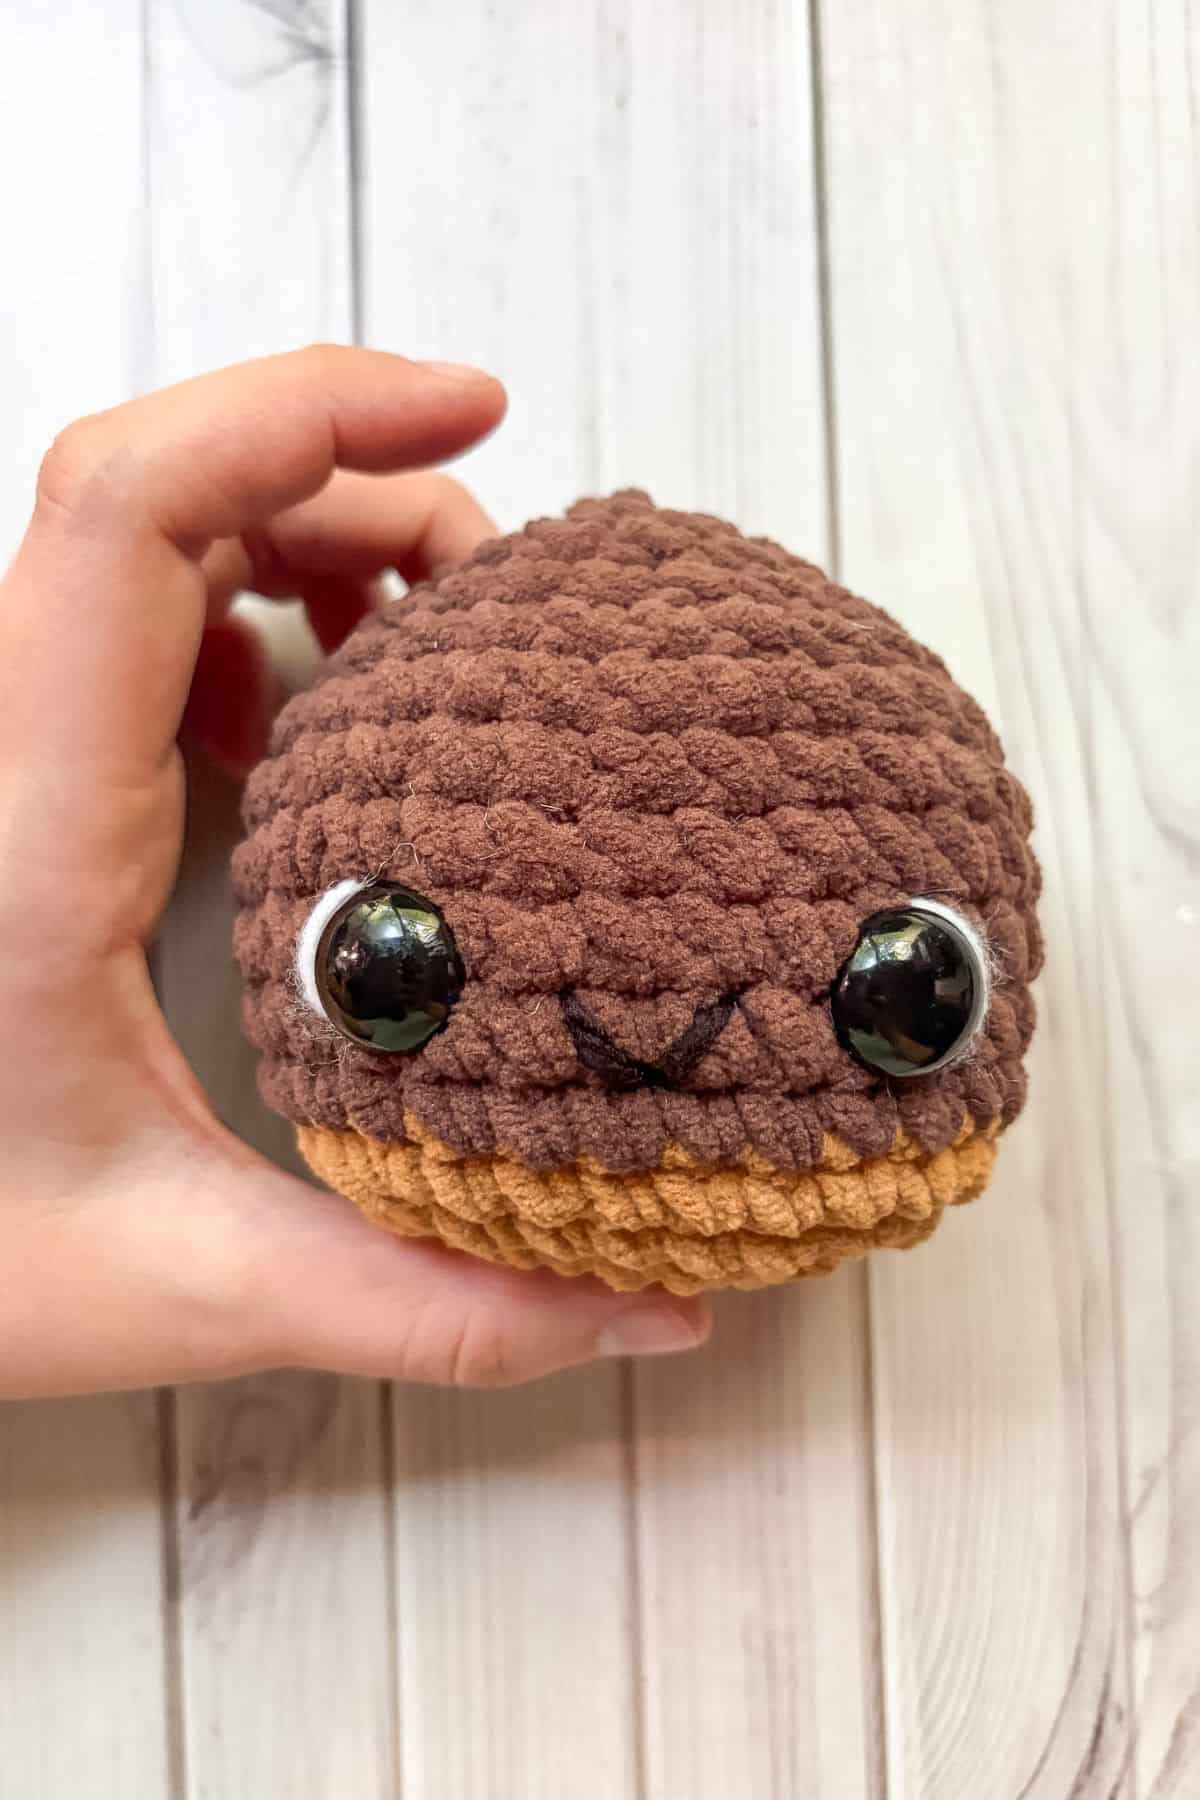
- With white yarn (I used worsted weight) you can add a little white shine to the eyes by inserting the yarn to the top half and bottom half of the eye.
- With black yarn (I used worsted weight) make a little mouth by making a little v about 1 stitch inward from the eyes.
And now the crochet chestnut pattern is done! I hope you enjoy your new fall friend! If you are looking for other fall patterns checkout my Crochet Pumpkin Pattern with Leaves or Crochet Sunflower Keychain Pattern for some simple patterns to make.
If you want to make more complicated fall patterns, I suggest my Patchwork Pumpkin Crochet Pattern or if you want something more Halloween inspired my Crochet Potion Bottle Pattern.
🐌Expert Tips
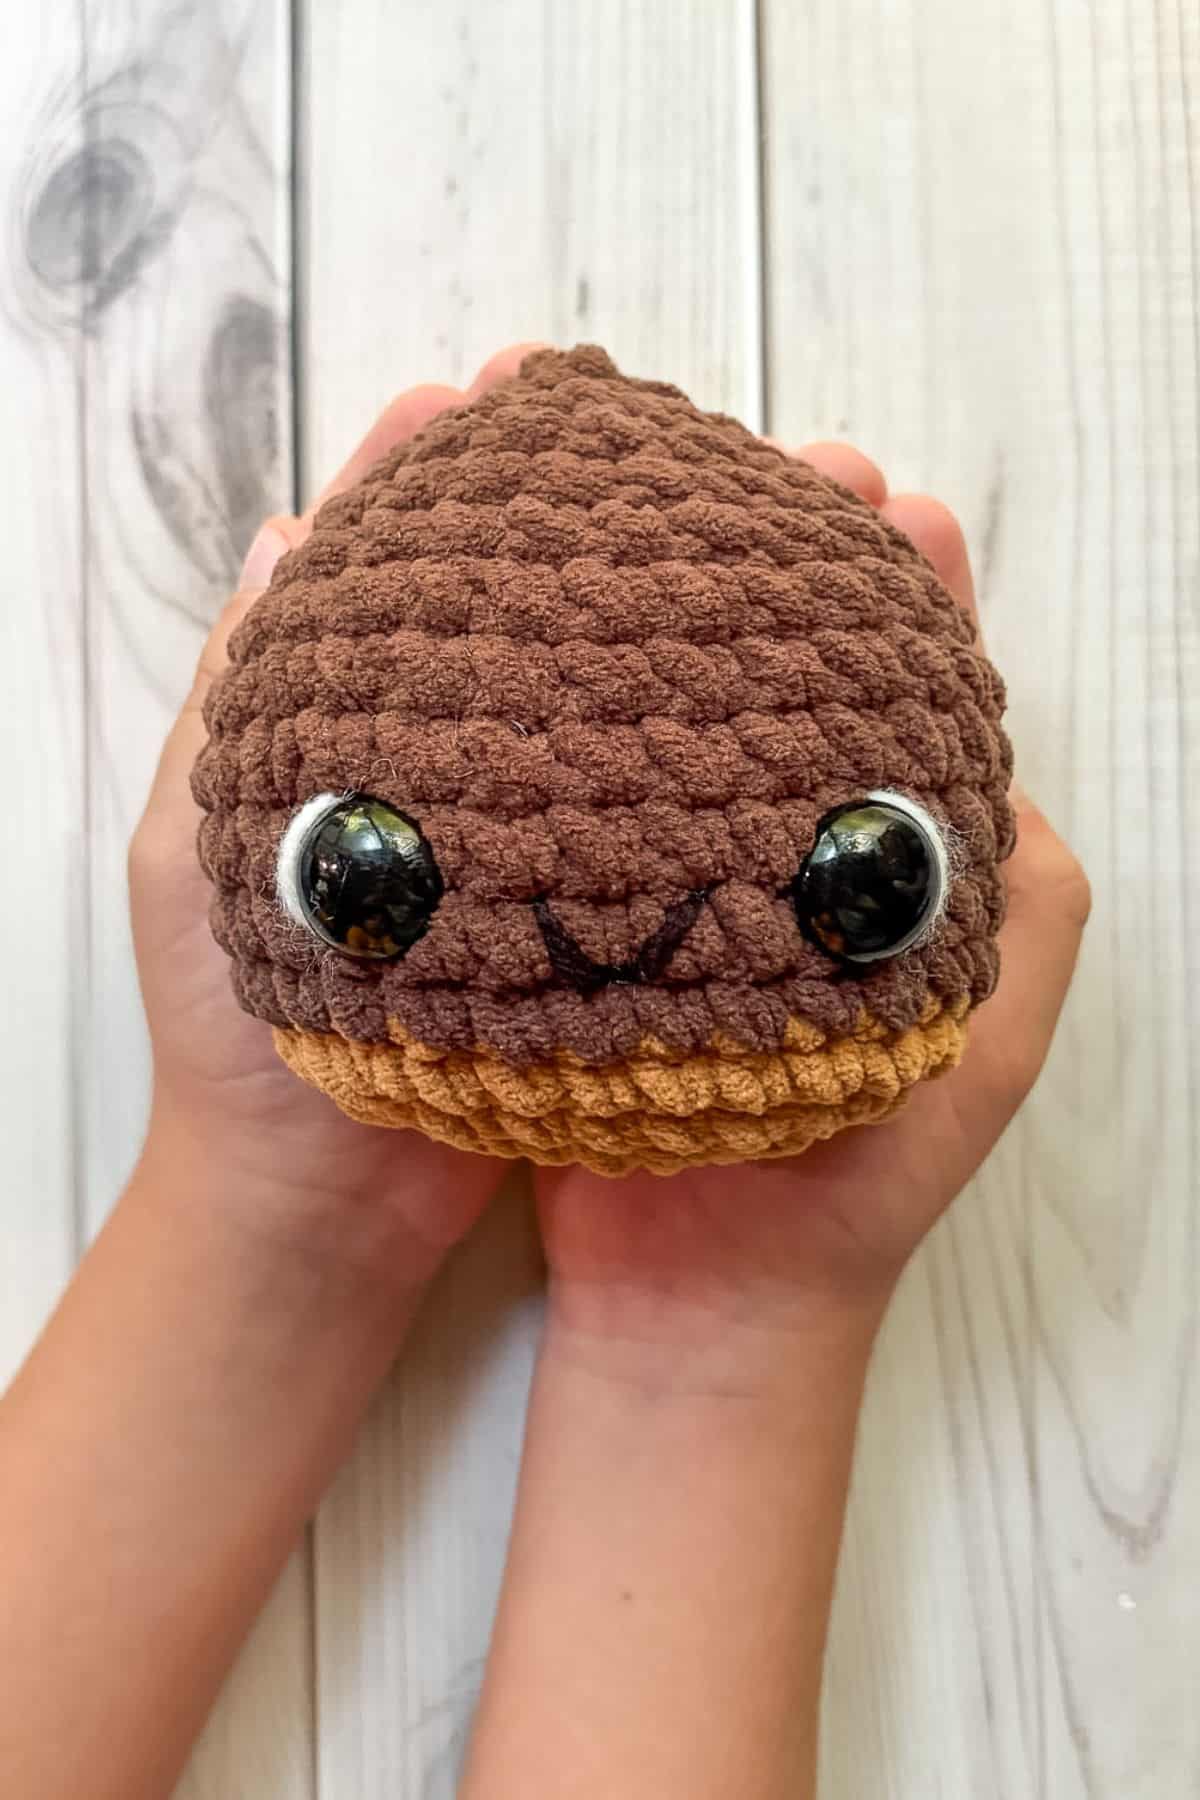
- Stuffing: make sure you stuff the amigurumi well. If its overstuffed it will poke through the stitches, too light of stuffing can cause the crochet chestnut to be misshaped.
- Stitches: If your stitches are too loose you can go down in hook size to compensate. Vice versa is true if you are a tight crocheter.
🧵Pattern FAQs
Yes, its perfect for beginners since there is no magic ring which can be hard for some beginners and it also only uses single crochet, increase and decreases.
Absolutely! This project can be completed in a variety of yarns to create different sizes.
When I go to make the last stitch, I pull up a loop like normal but then yarn over with the new color.
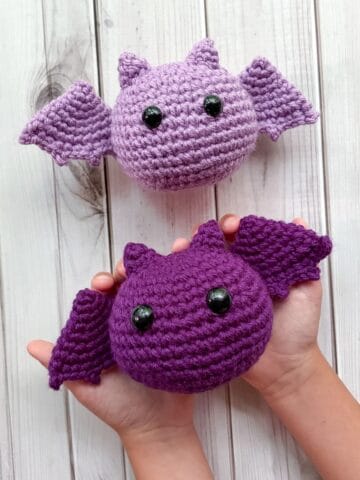
🧶More Amigurumi Patterns
If you tried this Crochet Chestnut Pattern (or any other pattern on my website), please let me know how it went in the 📝 comments below. I'd love to hear from you!
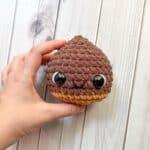
Crochet Chestnut Pattern
Materials
- partial skein Chunky Chenille Baby Blanket Yarn - Coffee Roughly size 5 chenille yarn
- partial skein Chunky Chenille Baby Blanket Yarn - Brown Roughly size 5 chenille yarn
- Polyfill
- ½ inch safety eyes
- 5 mm hook
- Tapestry needle
- 12 inches black and white worsted yarn - optional
Abbreviations (US terms)
- Chains - ch
- Single crochet - sc
- Increase - inc
- Decrease - dec
Notes
- Yarn: I use chenille plush yarn, but any yarn will do. Worsted, chunky, acrylic, cotton etc.
- Size: It is only a few inches big once it is all completed but can change its size based on yarn size.
- Markets: because it is small you can crochet these real fast and make them for fall markets!
Instructions
- The chestnut pattern will be made in rounds not rows, but it WILL start with a chain.
- Round 1: With the lighter brown yarn, ch x8. Then in the 2nd ch from the hook make a sc. Sc in the next 5 chains. In the last stitch sc x3, all the while turning to the underside of the chain. Now working on the unworked side of the chain, sc x5. Sc inc in the last stitch. Then sl st to the next stitch. This sl st marks the end of the round (16).
- Round 2: Sc x5. Inc x3 (in the 3 stitches you made at the end), sc x5, inc x3 (22).
- Round 3: Sc x5, (inc, sc) x3. Then repeat for the other side of the round (28). Then fasten off the yarn and join the darker brown yarn.
- Round 4-9: Sc in every stitch (28).
- Round 10: Dec, sc x5. Then repeat for the rest of the round (24).
- Round 11: Dec, sc x4. Then repeat for the rest of the round (20). Add the eyes between rounds 5-6 roughly 6 stitches apart.
- Round 12: Dec, sc x3. Then repeat for the rest of the round (16). Begin to stuff the chestnut.
- Round 13: Dec, sc x2. Then repeat for the rest of the round (12).
- Round 14: Dec, then repeat for the rest of the round (6).
- Round 15: Sc in every stitch (6). Then fasten off and sew the top closed.
Finishing:
- With white yarn (I used worsted weight) you can add a little white shine to the eyes by inserting the yarn to the top half and bottom half of the eye.
- With black yarn (I used worsted weight) make a little mouth by making a little v about 1 stitch inward from the eyes.
- And now the crochet chestnut pattern is done! I hope you enjoy your new fall friend!


Leave a Reply