
Here is my take on a Japanese knot bag crochet pattern. It's designed to resemble Mount Fuji in the spring, complete with crochet Sakura (cherry blossom) trees.
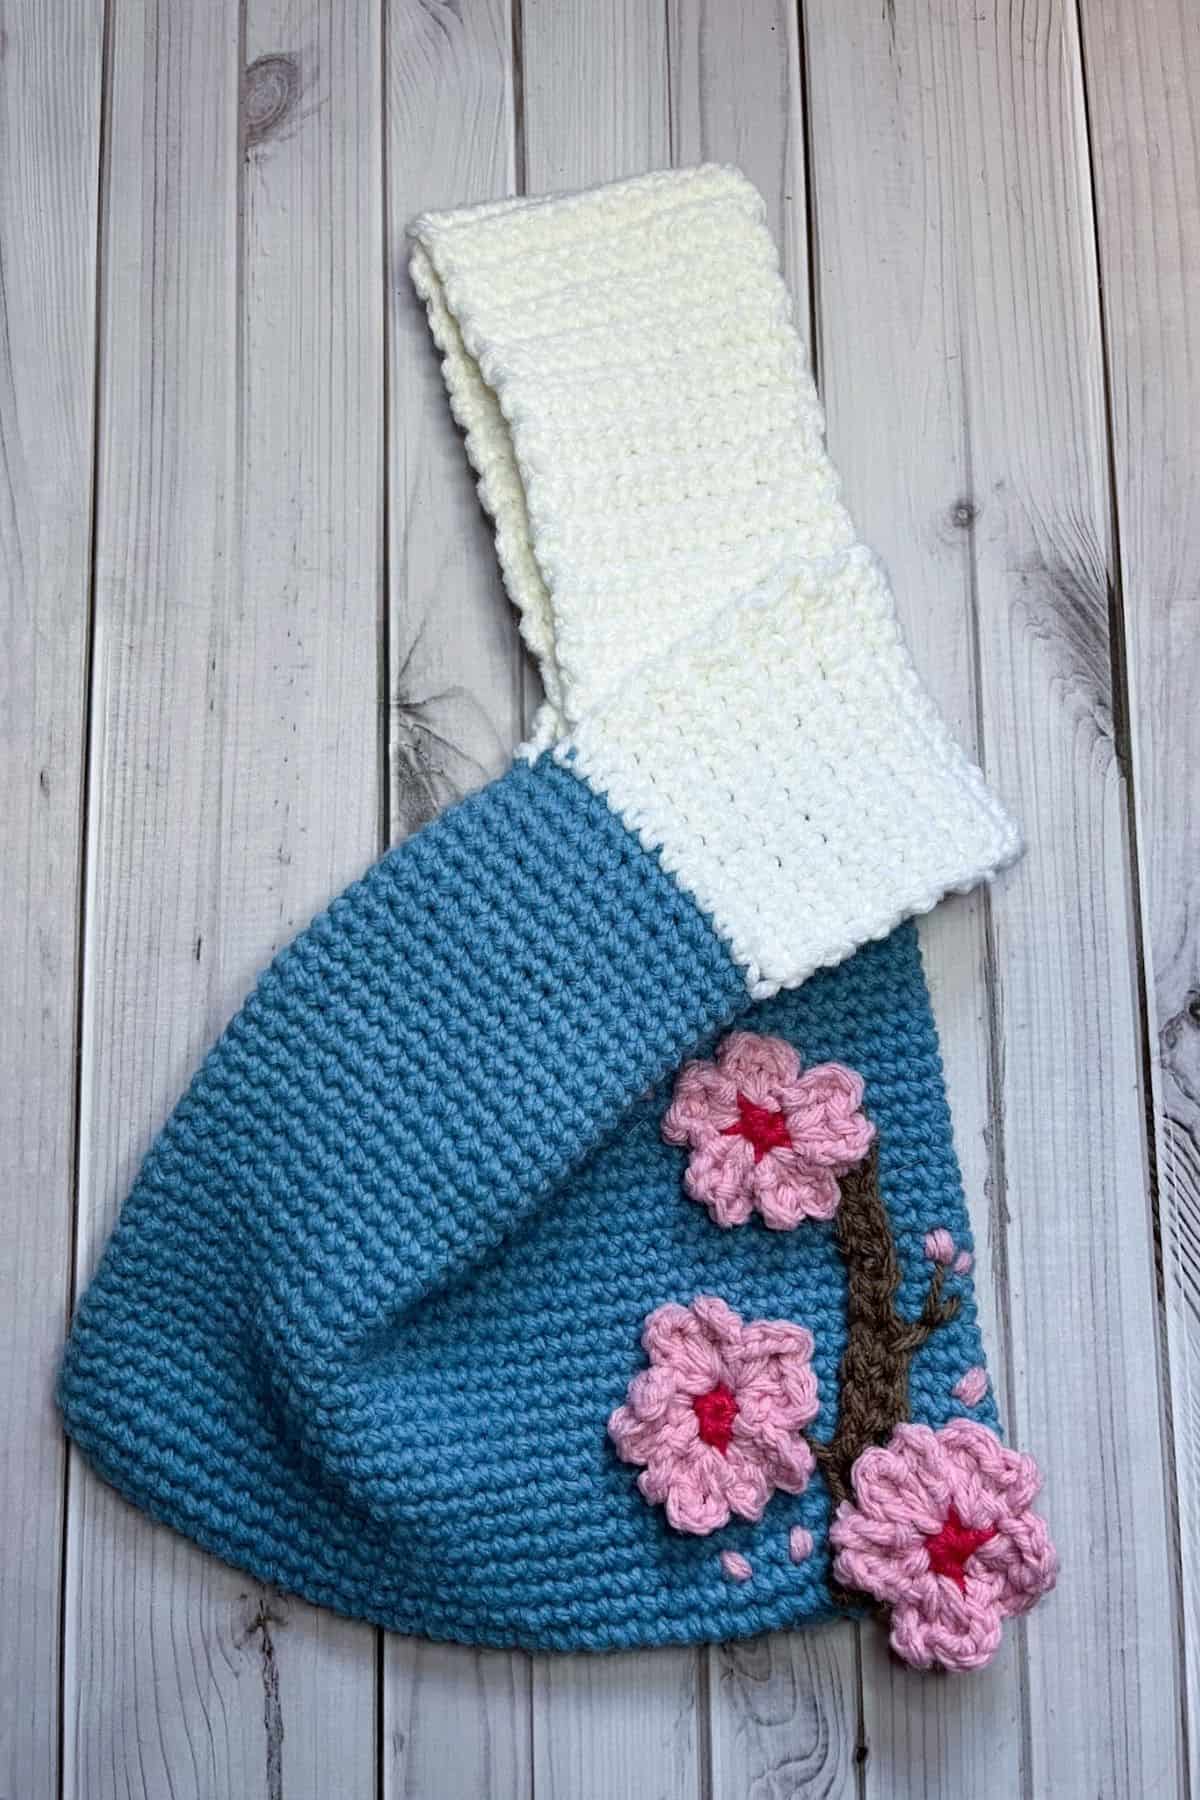
A Japanese knot bag is a self-closing bag that can be worn on your wrist or in the crook of your arm. You can carry small items like a phone, wallet, bento box, or snacks. It's versatile and functional!
I love Japanese knot bags because the opening closes naturally when worn; the smaller handle covers it, eliminating the need for clasps, zippers, or traditional closures.
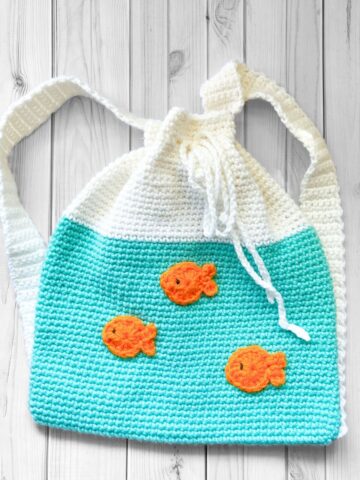
I've had many cute ideas for novelty crochet bags, like my crochet frog bag and crochet orange bag, but I wanted to make a something more akin to a tote bag this time, just not an actual tote lol. Designing a Japanese knot bag crochet pattern has been on my list, and I'm thrilled with how it turned out! It works well with my Cherry Blossom Coaster Pattern too! You can sew 2 coasters together and create a little pouch that hangs off the side for your ear buds!
I aimed to create a look inspired by Mount Fuji with a small crochet cherry blossom tree, and I think the inspiration is clearly visible!
Jump to:
✏️ Things To Note:
- Versatile Design: I made my crochet Japanese knot bag pattern to look like Mount Fuji, but you can customize it by using different colors or patterns for a completely different look.
- Stitch Choice: I used single crochet for the Japanese knot bag crochet pattern, but feel free to use any stitch you like.
- Size: The finished Japanese knot bag crochet pattern measures roughly 8x9 inches for the base, excluding the straps.
💭Abbreviations to Remember (US terms)
- Magic ring - mr
- Slip stitch - sl st
- Chain - ch
- Single crochet - sc
- Half double crochet - hdc
- Double crochet - dc
- Triple crochet - tr
- Increase - inc
🧋Variations
Adjusting Size: To change the bag's size, modify the starting chain length. You can also change the colors, the number of cherry blossoms, or even the stitch type. This pattern is highly adaptable.
Experiment with Stitch Types: Want a different texture? Try using the moss stitch, alternating single crochets with chains, for more stretch and movement.
🍵Instructions for Japanese Knot Bag Crochet Pattern
This Japanese knot bag crochet pattern is worked in the round. Then the handles are made in rows.

Ch x31 (if you want the bag wider or skinnier, add/subtract chains)

Round 1: In the second chain from the hook make an sc. Then sc in each of the next 28 chains. When you get to the last stitch in the corner, make 3 sc. The 3 sc will help you go to the other side of the chain. Sc x28 for this side of the chain as well. Then in the last stitch sc x2 (62).

Round 2: Inc, sc x28, then in the corner of the other side, inc x3, sc x28, inc x2. (68)
Round 3: (Inc, sc), sc x28, (inc, sc) x3, sc x28, (inc, sc) x2. (74)
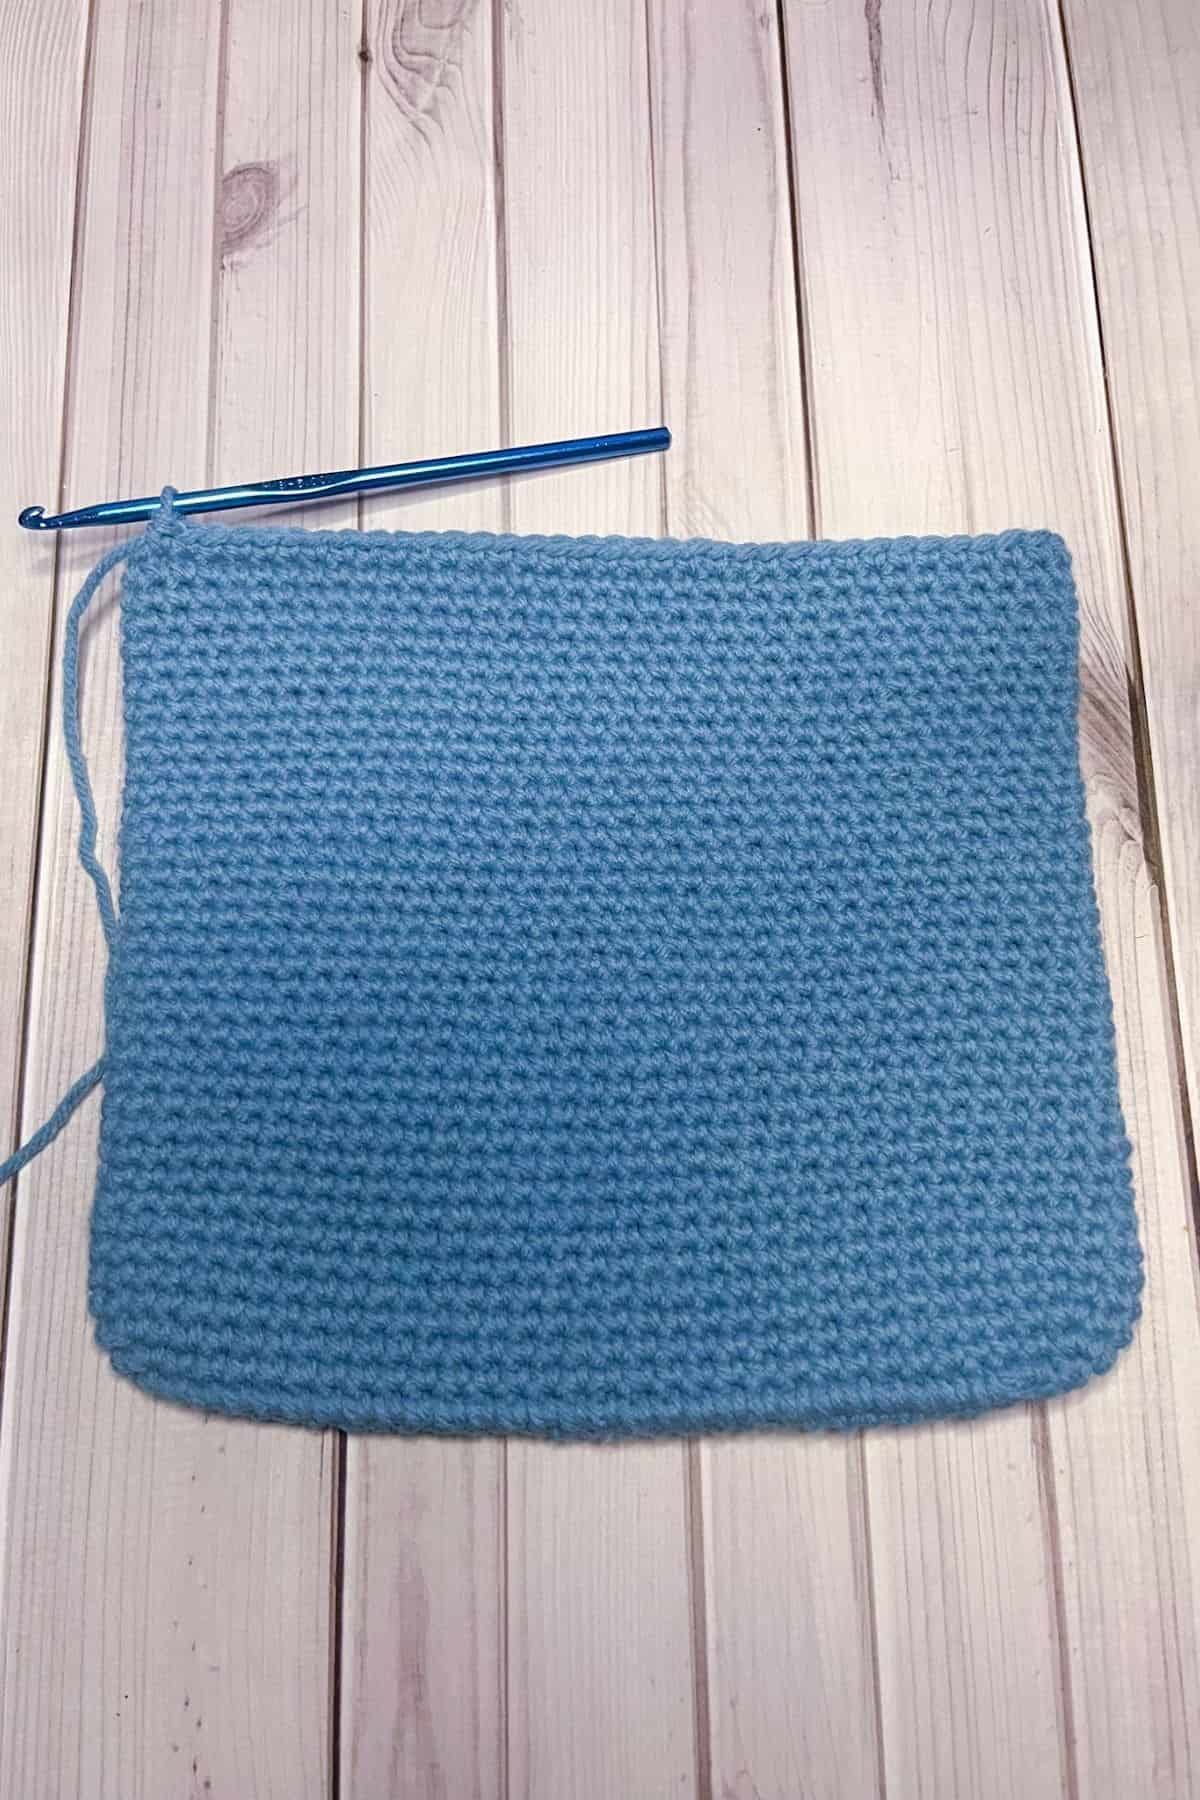
Round 4-40: Sc in every stitch. (74)
Fasten off the blue yarn. Now the base of your crochet knot bag is done.
Crochet Handles:


This part of the pattern is made in rows.
Short Handle:
Row 1: Join the white yarn to the corner of the bag, and then sc x12 towards the center of the bag. (12).
Ch x1 and turn.
Row 2-30: Sc x 12 (12). Then ch x1 and turn. When all the rows are completed fasten off and leave a long tail for sewing.
Sew the strap to the other side of the bag. Then weave in any ends.

Longer Handle:
Row 1: Join the white yarn to the corner of the bag, and sc x12 towards the center of the bag. (12).
Ch x1 and turn.
Row 2-50: Sc x 12 (12). Then ch x1 and turn. When all the rows are completed fasten off and leave a long tail for sewing. Then sew the strap to the other side of the bag. Weave in any ends.

This is how the bag should sit when constructed.
The short handle goes over the longer handle as a closure to the opening of the bag.
Crochet Cherry Blossom Pattern:
The crochet cherry blossoms are made in the round.

Round 1: With the berry red yarn, make a mr and then sc x5 in it, then sl st to the first sc made (5). Fasten off the red and join the light raspberry yarn where you left off.

Round 2: With the newly joined pink yarn, ch x3, then in the same stitch you just made the ch x3 from, tr + sc + tr + ch x3 and sl st into the same stitch

You just completed your first crochet cherry blossom petal.

For the other 4 petals you will do the following: ch x3, and then in the next stitch: tr + sc + tr + ch x3 and then sl st into the same stitch.
When all 5 petals have been made, sl st back to the base of the first petal.
Fasten off but leave a tail for sewing. I made 3 crochet Sakura blossoms, but feel free to make more.
Crochet Cherry Blossom Tree Pattern:
This pattern is made in only 2 rows.

Row 1: With the coffee brown yarn, ch x20.

Row 2: In the second ch from the hook, make a sl st. For the next 9 chains, make a sl st in each one. Then sc in each of the next 4 chains, then hdc in the last 5 chains. Fasten off and leave a long tail for sewing.
Sewing:

Sew the little tree trunk onto the tree making little embroidered branches along the way.
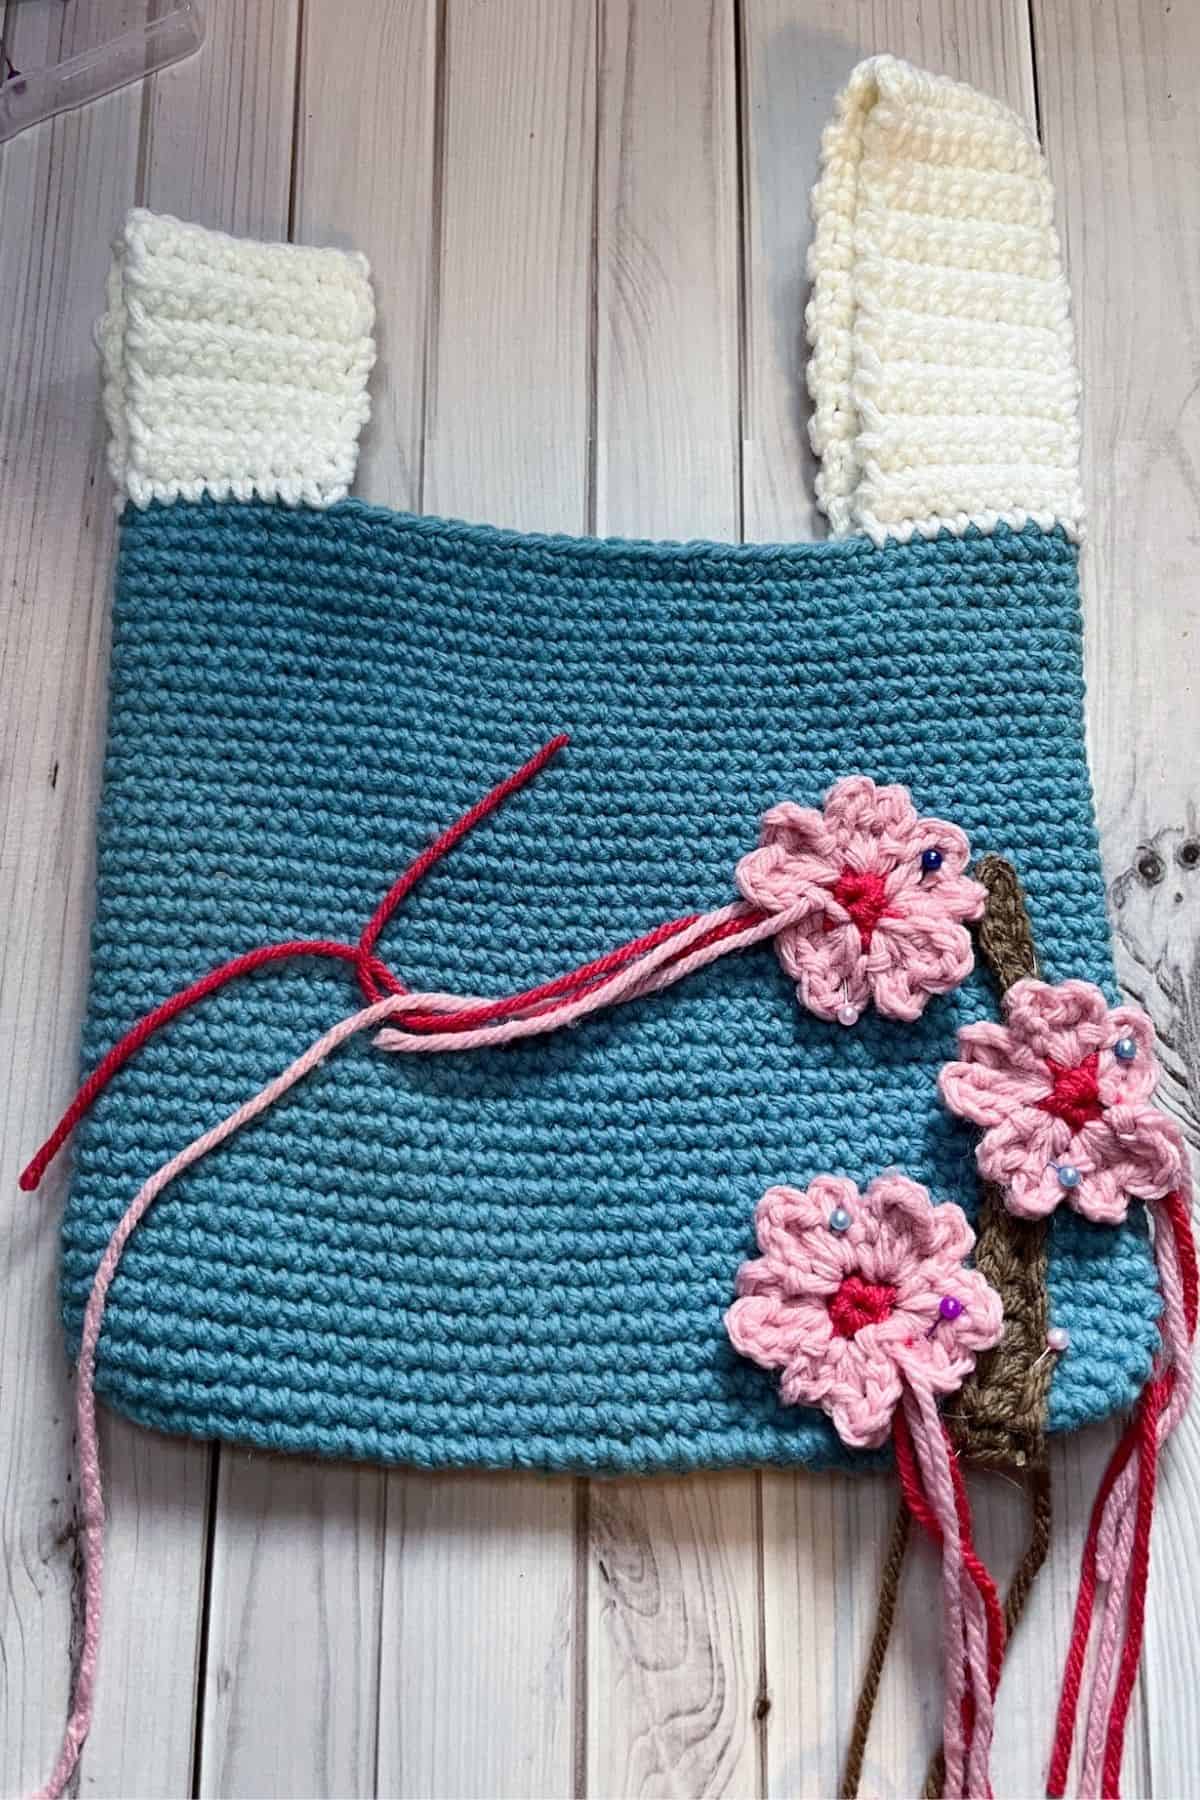
Then sew the crochet cherry blossoms on to the branches, I also added little embroidered petals around a few of the blossoms for added texture. (the petals are just small, embroidered lines)
Once all the sewing is done and the tails are weaved in, then your crochet Japanese knot bag that looks like Mount Fuji with cherry blossom trees is done!
I hope you enjoyed my Japanese knot bag crochet tutorial!
If you have any extra yarn, think about making my Crochet Bunny Keychain Pattern as a little accessory. Or you can turn my Crochet Onigiri Pattern into a crochet keychain accessory for the bag if bunnies aren't your thing!

🐌Expert Tips
- Leave Long Tails for Embellishments: Keep your yarn tails long when adding details; it's easier to work with extra yarn than to create unnecessary knots.
- Line the Bag for Added Strength: If the inside looks messy after adding embellishments, consider lining the bag with fabric for extra durability. This also gives it a clean, polished finish.
- Securing the Handles Firmly: When sewing the handles, make sure they are securely attached, especially if you plan to carry heavier items. You can also use this more like a tote bag if you change the handles to handles made in my crochet possum bag pattern.
🧵Pattern FAQs
Lay your bag flat over the fabric and cut out a matching square, leaving a 1-inch seam allowance. Sew the pieces together and then attach them to the inside of your bag.
Yes! Using the moss stitch can give the bag more movement and stretch. Alternate sc and chains for a unique texture.
Absolutely! Choose cotton, acrylic, or even wool. Using lighter yarns (like DK or sock yarn) will create a smaller, more delicate bag, while chunkier yarns will make it larger. Adjust based on your desired size.

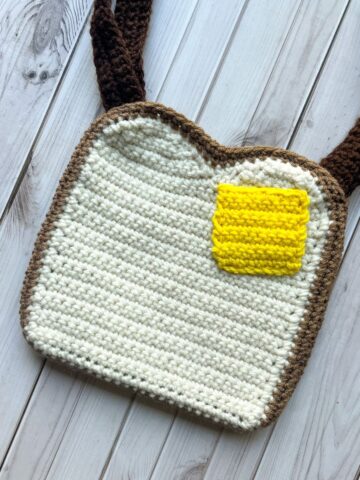
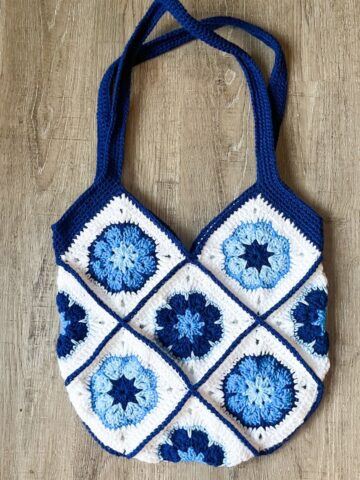
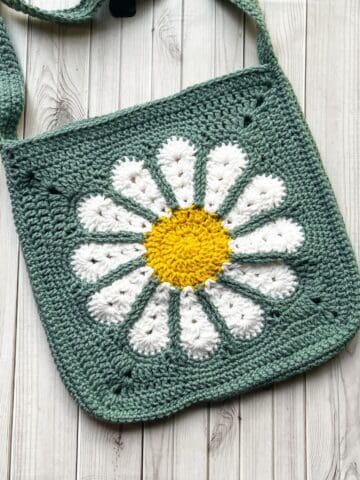
🧶More Crochet Bag Patterns

If you tried this Japanese Knot Bag Crochet Pattern (or any other pattern on my website), please let me know how it went in the 📝 comments below. I'd love to hear from you!

Japanese Knot Bag Crochet Pattern
Materials
- 1 skein Red Heart white yarn partial
- 1 skein Red Heart country blue yarn
- 1 skein Red Heart coffee yarn partial
- 1 skein Red Heart light raspberry yarn partial
- 1 skein Red Heart berry red yarn partial
- 5mm crochet hook
- Tapestry needle
Abbreviations (US terms)
- mr = Magic ring
- sl st = Slip Stitch
- ch = Chain
- sc = Single crochet
- hdc = Half Double Crochet
- tr = Triple Crochet
- inc = Increase
Notes
- Crocheted Japanese knot bag resembling Mount Fuji.
- Made with single crochet; size approximately 8x9 inches (excluding straps).
- Adjust size by modifying the starting chain.
- Versatile: change colors, add cherry blossoms, or alter stitches.
- Forgiving design for easy crocheting.
Instructions
- This Japanese knot bag crochet pattern is worked in the round. Then the handles are made in rows.
- Ch x31 (if you want the bag wider or skinnier, add/subtract chains)
- Round 1: In the second chain from the hook make an sc. Then sc in each of the next 28 chains. When you get to the last stitch in the corner, make 3 sc. The 3 sc will help you go to the other side of the chain. Sc x28 for this side of the chain as well. Then in the last stitch sc x2 (62).
- Round 2: Inc, sc x28, then in the corner of the other side, inc x3, sc x28, inc x2. (68)
- Round 3: (Inc, sc), sc x28, (inc, sc) x3, sc x28, (inc, sc) x2. (74)
- Round 4-40: Sc in every stitch. (74)
- Fasten off the blue yarn. Now the base of your crochet knot bag is done.
Handles:
- This part of the pattern is made in rows.
- Short Handle: Row 1: Join the white yarn to the corner of the bag, and sc x12 towards the center of the bag. (12).
- Ch x1 and turn.
- Row 2-30: Sc x 12 (12). Then ch x1 and turn. When all the rows are completed fasten off and leave a long tail for sewing. Sew the strap to the other side of the bag. Weave in any ends.
- Longer Handle: Row 1: Join the white yarn to the corner of the bag, and sc x12 towards the center of the bag. (12).
- Ch x1 and turn.
- Row 2-50: Sc x 12 (12). Then ch x1 and turn. When all the rows are completed fasten off and leave a long tail for sewing. Sew the strap to the other side of the bag. Weave in any ends.
Sakura Blossoms:
- The crochet cherry blossoms are made in the round.
- Round 1: With the berry red yarn, make a mr and then sc x5 in it, then sl st to the first sc made (5). Fasten off the red and join the light raspberry yarn where you left off.
- Round 2: With the newly joined pink yarn, ch x3, then in the same stitch you just made the ch x3 from, tr + sc + tr + ch x3 and sl st into the same stitch You just completed your first crochet cherry blossom petal.
- For the other 4 petals you will do the following: ch x3, and then in the next stitch: tr + sc + tr + ch x3 and sl st into the same stitch.
- When all 5 petals have been made, sl st back to the base of the first petal.
- Fasten off but leave a tail for sewing. I made 3 crochet sakura blossoms, but feel free to make more.
Cherry Blossom Tree Pattern:
- This pattern is made in only 2 rows.
- Row 1: With the coffee brown yarn, ch x20.
- Row 2: In the second ch from the hook, make a sl st. For the next 9 chains, make a sl st in each one. Sc in each of the next 4 chains, then hdc in the last 5 chains. Fasten off and leave a long tail for sewing.
- Sewing: Sew the little tree trunk onto the tree making little embroidered branches along the way.
- Then sew the crochet cherry blossoms on to the branches, I also added little embroidered petals around a few of the blossoms for added texture. (the petals are just small embroidered lines)
- Once all the sewing is done and the tails are weaved in your crochet Japanese knot bag that looks like Mount Fuji with cherry blossom trees is done!
- I hope you enjoyed my Japanese knot bag crochet pattern!

Frustrated Hoojer says
I am having fits with this! I'm at the end of row 2 for the 5th time in a row!, having had to rip it that many times.
Every time my stitches aren't matching. At the end of row 2 there are stitches left!! I get the proper count of stitches on the previous row...and at the end of row 2 they're correct too.
My last stitch in row 2 is NOT ending in the previous row increase. I have no idea what's happening and I'm fif to be tied!!
Kimberly Arenas says
Hi, I am sorry you are frustrated with round 2. I just re-crocheted rounds 1-4 to double check if they are written correctly and I didn't find any written errors. I did change the language in round 2 to say that the last single crochet is made in the same CHAIN as the increase as it said STITCH and that could be confusing thinking that the single crochet is supposed to be made on top of the increase stitch. The tote bag pattern is very forgiving if there is a mistake - as long as you are increasing each corner of the bag 3x each round for an additional 6 stitches per round - you should be good to go 🙂 You only add increases through round 4 so it doesn't throw off the bag at all.
sk says
Hey I'm loving this pattern. I'm almost finished. I'm making it as a gift for my sister but I didn't really understand how to make the flowers. I'm a bit stuck at that part so could you please explain it more detailed because I'm really confused at that part. But other than that, I didn't find anything else like this and I love this unique pattern. Thank you!
Kimberly Arenas says
Hi I edited that part of the pattern to read clearer! Hope that helps!
sk says
thank you
Mike says
I have been having a problem with Row 4. There are 4 increases that are added from row 3 to row 4. That would bring the total to 72 stitches not 74. I think there is a mistake in the way the row is written to get the additional 6 stitches for an increase of 6.
Kimberly Arenas says
Thanks for catching my error, I have updated round 4 to reflect the changes. The corners of the bag should alternate an increase and single stitch 3 times in the corner before moving on to the sides of the bag.
Kari says
Hi! I love your pattern! Can I sell this? With credit to you of course. The finished bag, not the pattern.
Kimberly Arenas says
Yes! Finished projects can be sold, not the pattern like you mentioned 🙂 Thanks for asking!
Kaylee says
Would you prefer we give credit to you for the pattern? Just want to clarify before I mass produce lol
Kimberly Arenas says
If you want 🙂 , as long as you aren't selling the actual pattern.
Jane says
Just finished the Japanese knot bag! It’s beautiful!
Thanks you 🙂
Kimberly Arenas says
Im glad you liked it!