
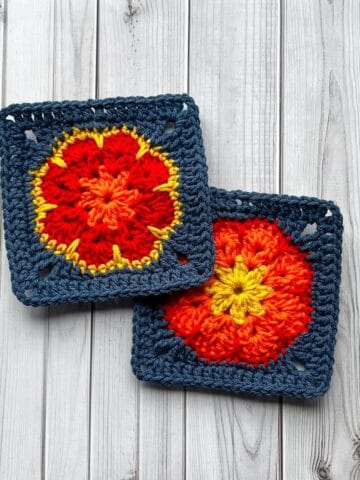
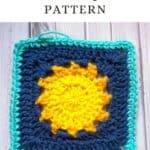
Add a cheerful touch to your next crochet project with my adorable Crochet Sun Granny Square Pattern! It's sure to bring warmth and brighten any creation you have in mind.
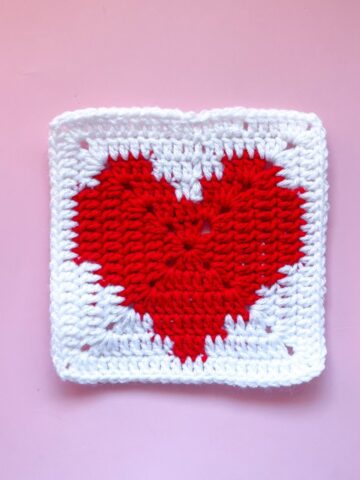
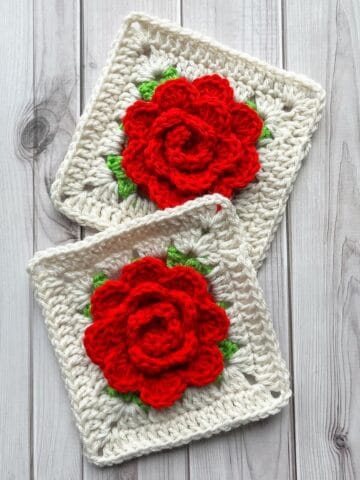
I love making different and unique granny squares like my bat granny square and heart granny square!
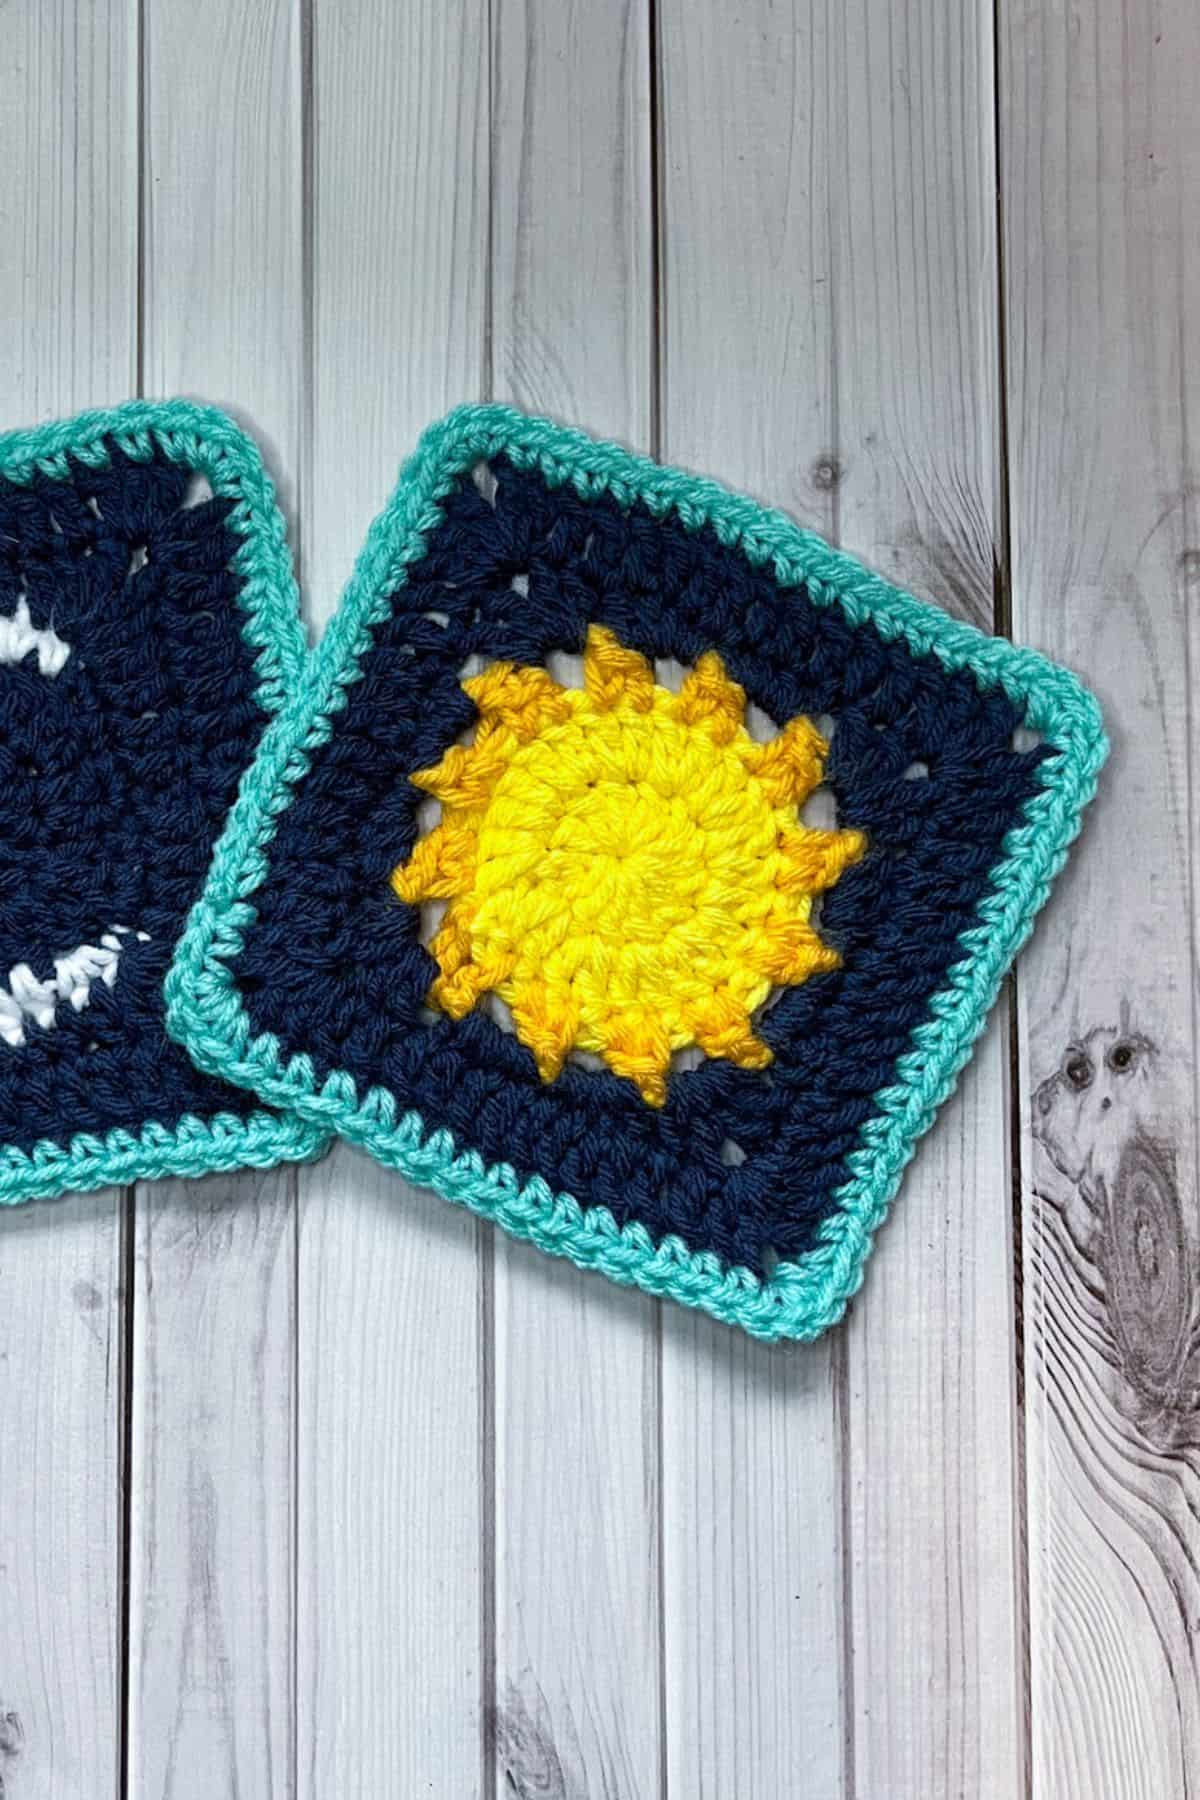
The sun granny square came to be when I was inspired to make my celestial friend a hexi cardi and wanted to create some unique pockets. I knew I wanted to design a crochet sun granny square pocket, and a crochet moon granny square pocket so I got to work. It took a few tries, but I think I got it right!
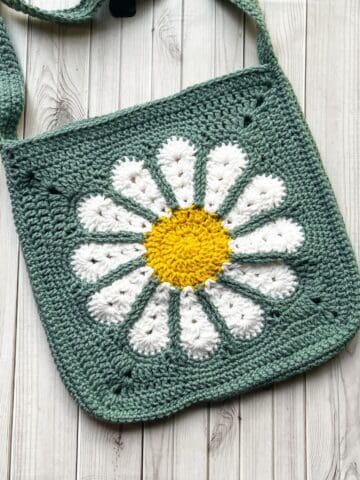
The crochet sun granny square pattern is easy to make and can be transformed into many different items—bags, blankets, granny square coasters, cardigans, etc.
So, let's begin!
Jump to:
✏️ Things To Note:
- Yarn Usage: I made crochet sun granny squares with new skeins, but you can use scrap yarn if you only make a few—they really don’t use up that much yarn.
- Skill Level: The crochet sun granny square is fairly simple and beginner-friendly.
- Size Adjustments: The finished sun granny square pattern is roughly 6 inches big. If you want it smaller, omit the last round or the single crochet round for squaring off the sun. Or use a smaller hook.
💭Abbreviations to Remember (US terms)
- Magic ring - mr
- Chain - ch
- Single crochet - sc
- Double crochet - dc
- Half double crochet - hdc
- Slip stitch - sl st
- Increase - inc (seen as dc inc for most of the pattern - 2 dc stitches in 1 stitch)
🍵Instructions for Sun Granny Square Pattern:
This pattern is made in the round.
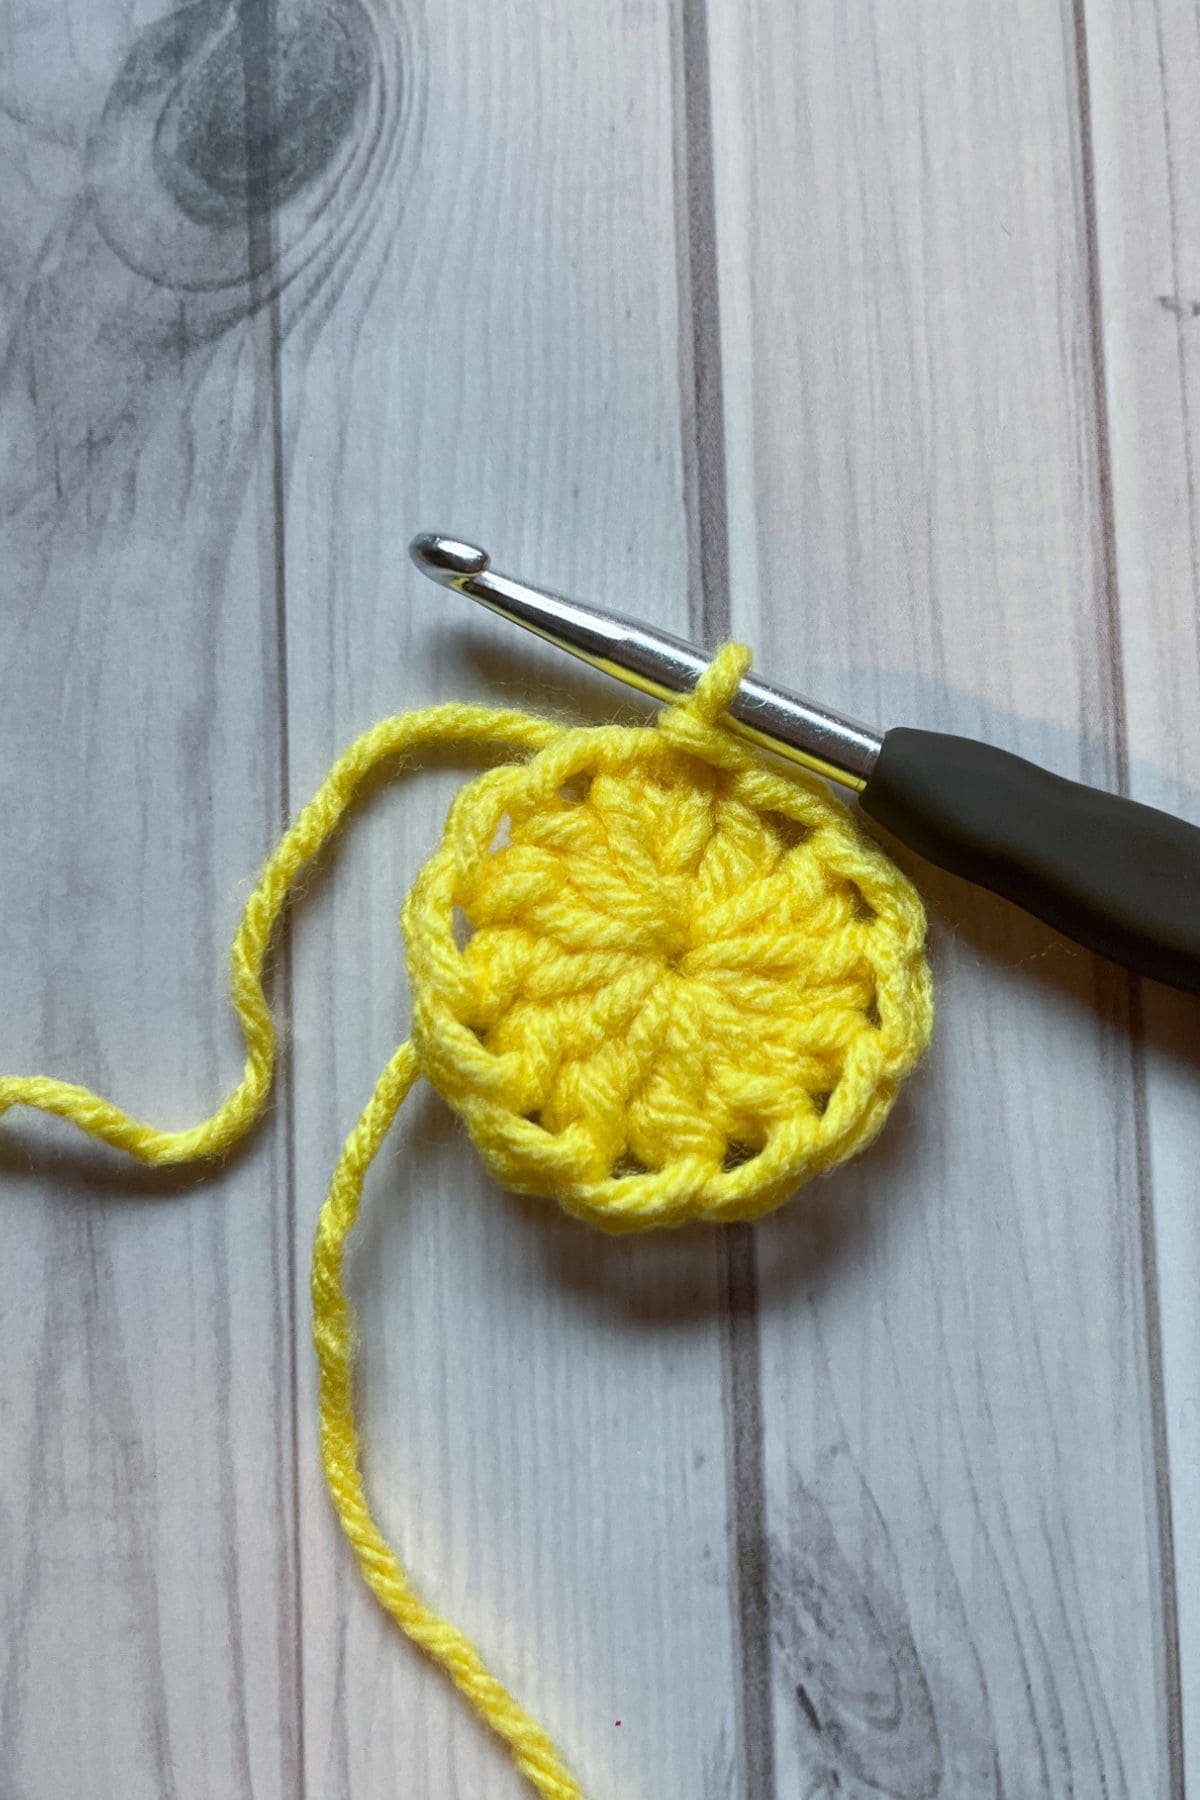
Round 1: With the yellow yarn, make a mr, next ch x2 (does not count as a stitch) and then dc x12 into the mr, sl st to first dc (12). If you find it difficult making a magic ring you can chain 4, slip stitch it together, and then in the newly formed circle, ch x2 and dc x12 in the hole, then sl st to first dc. (12)
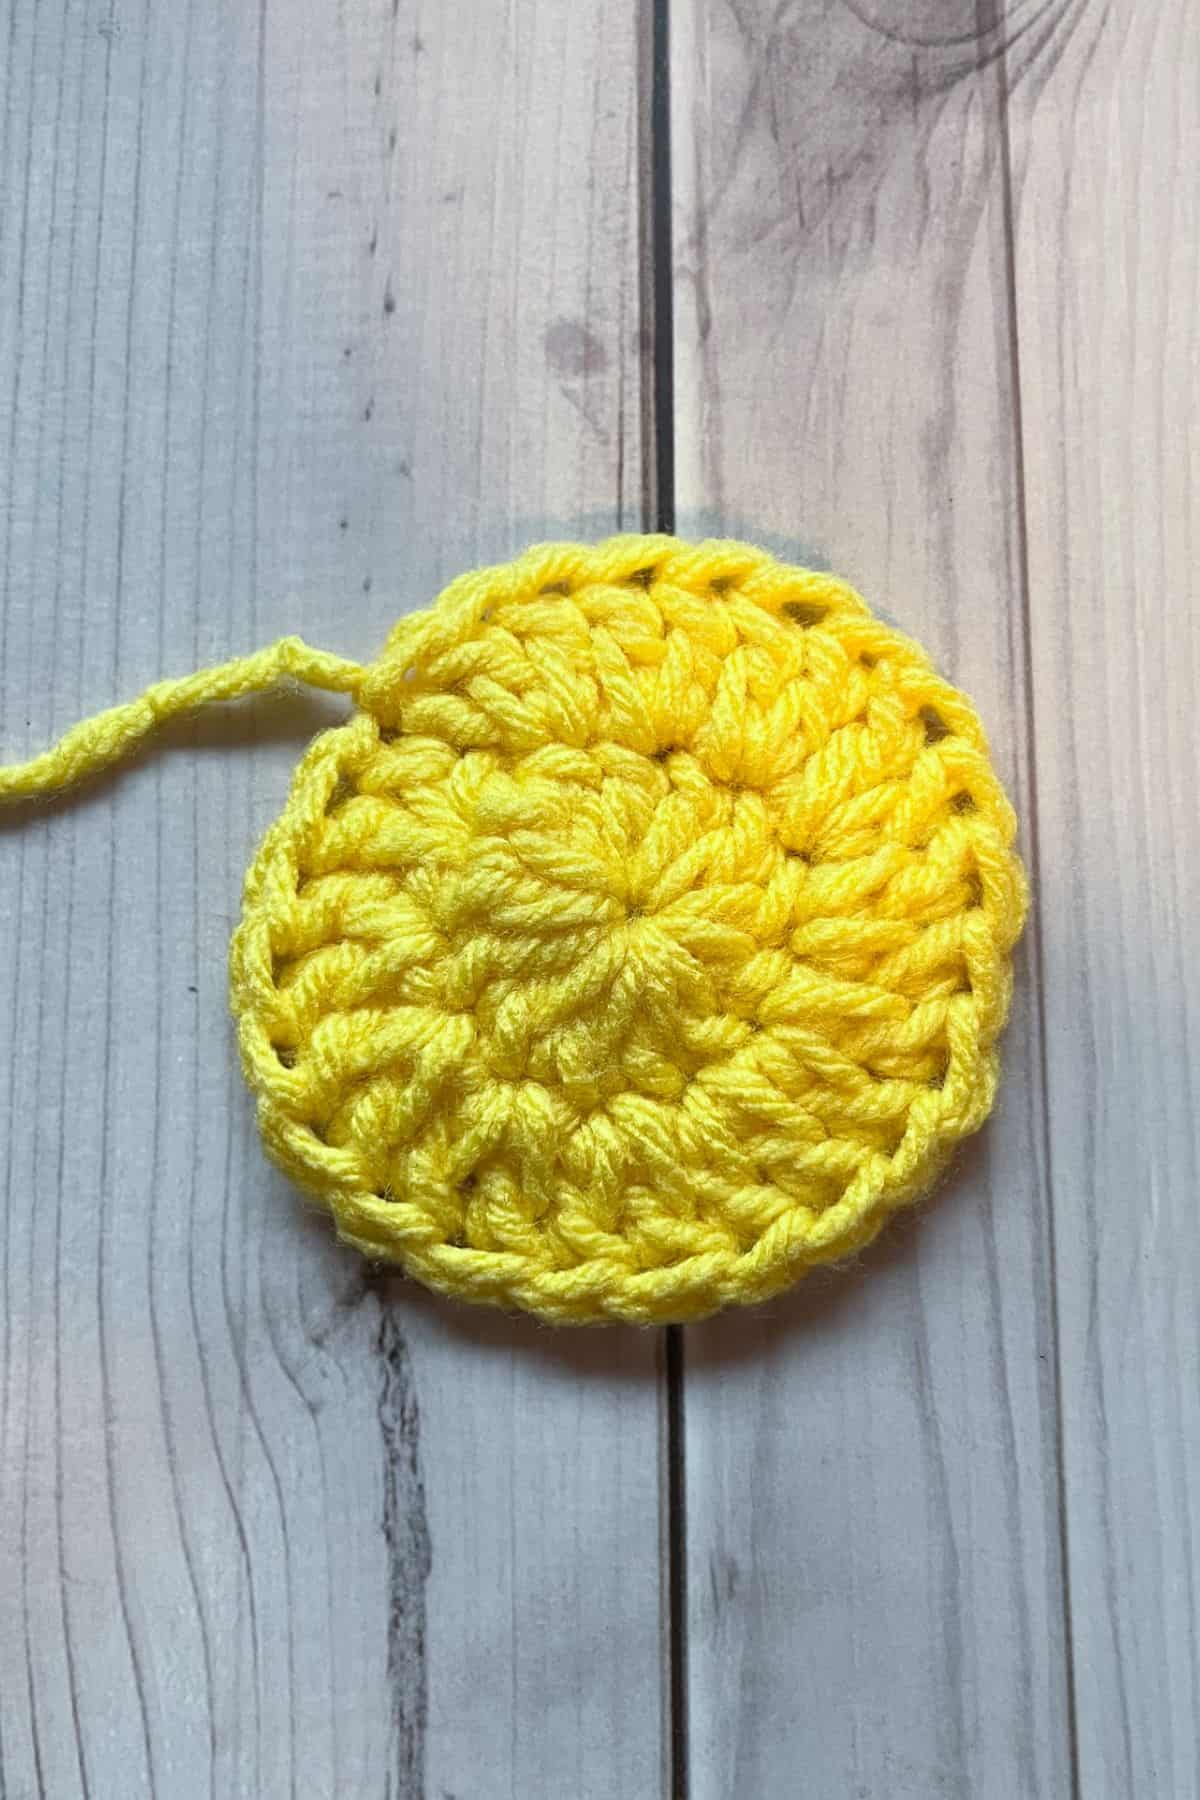
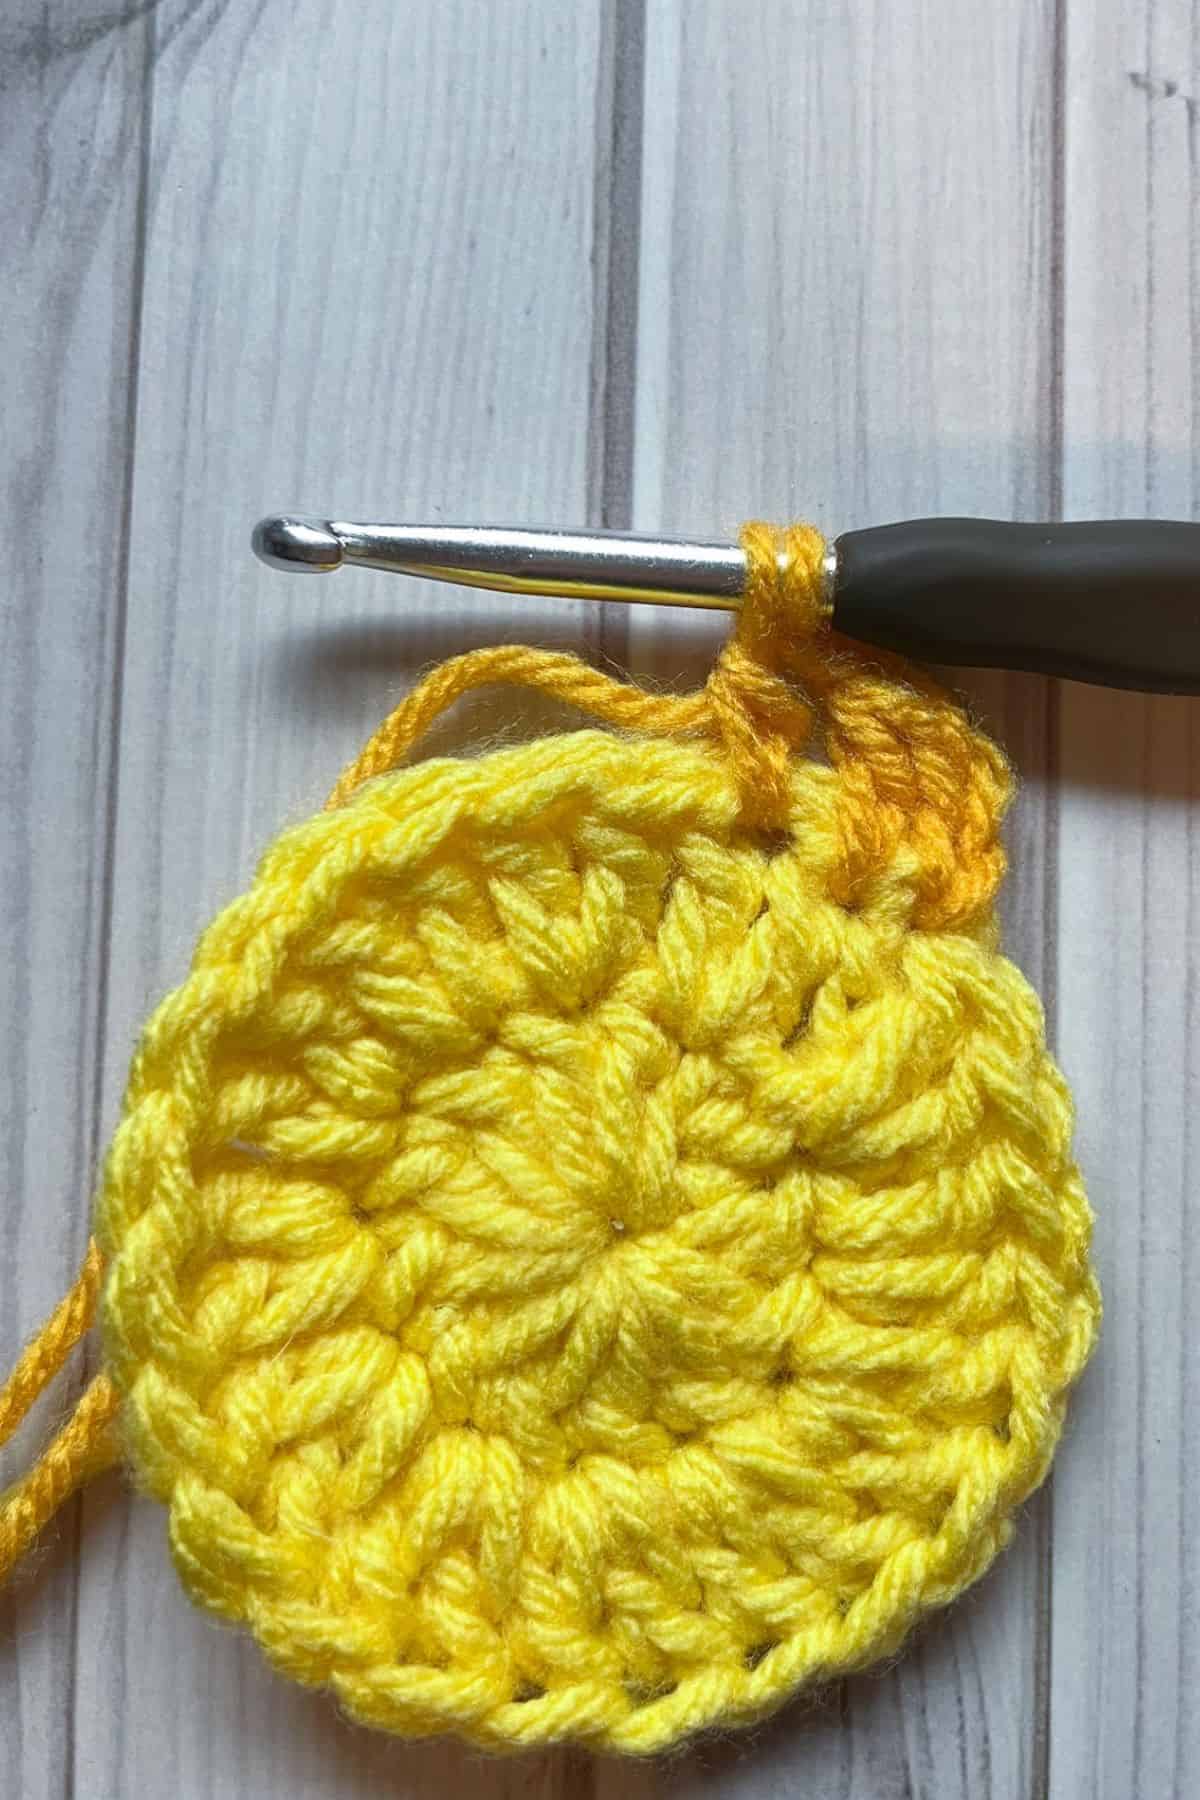
Round 2: Ch x2, dc inc in every dc, sl st to first dc. (24) Then change the color to gold.
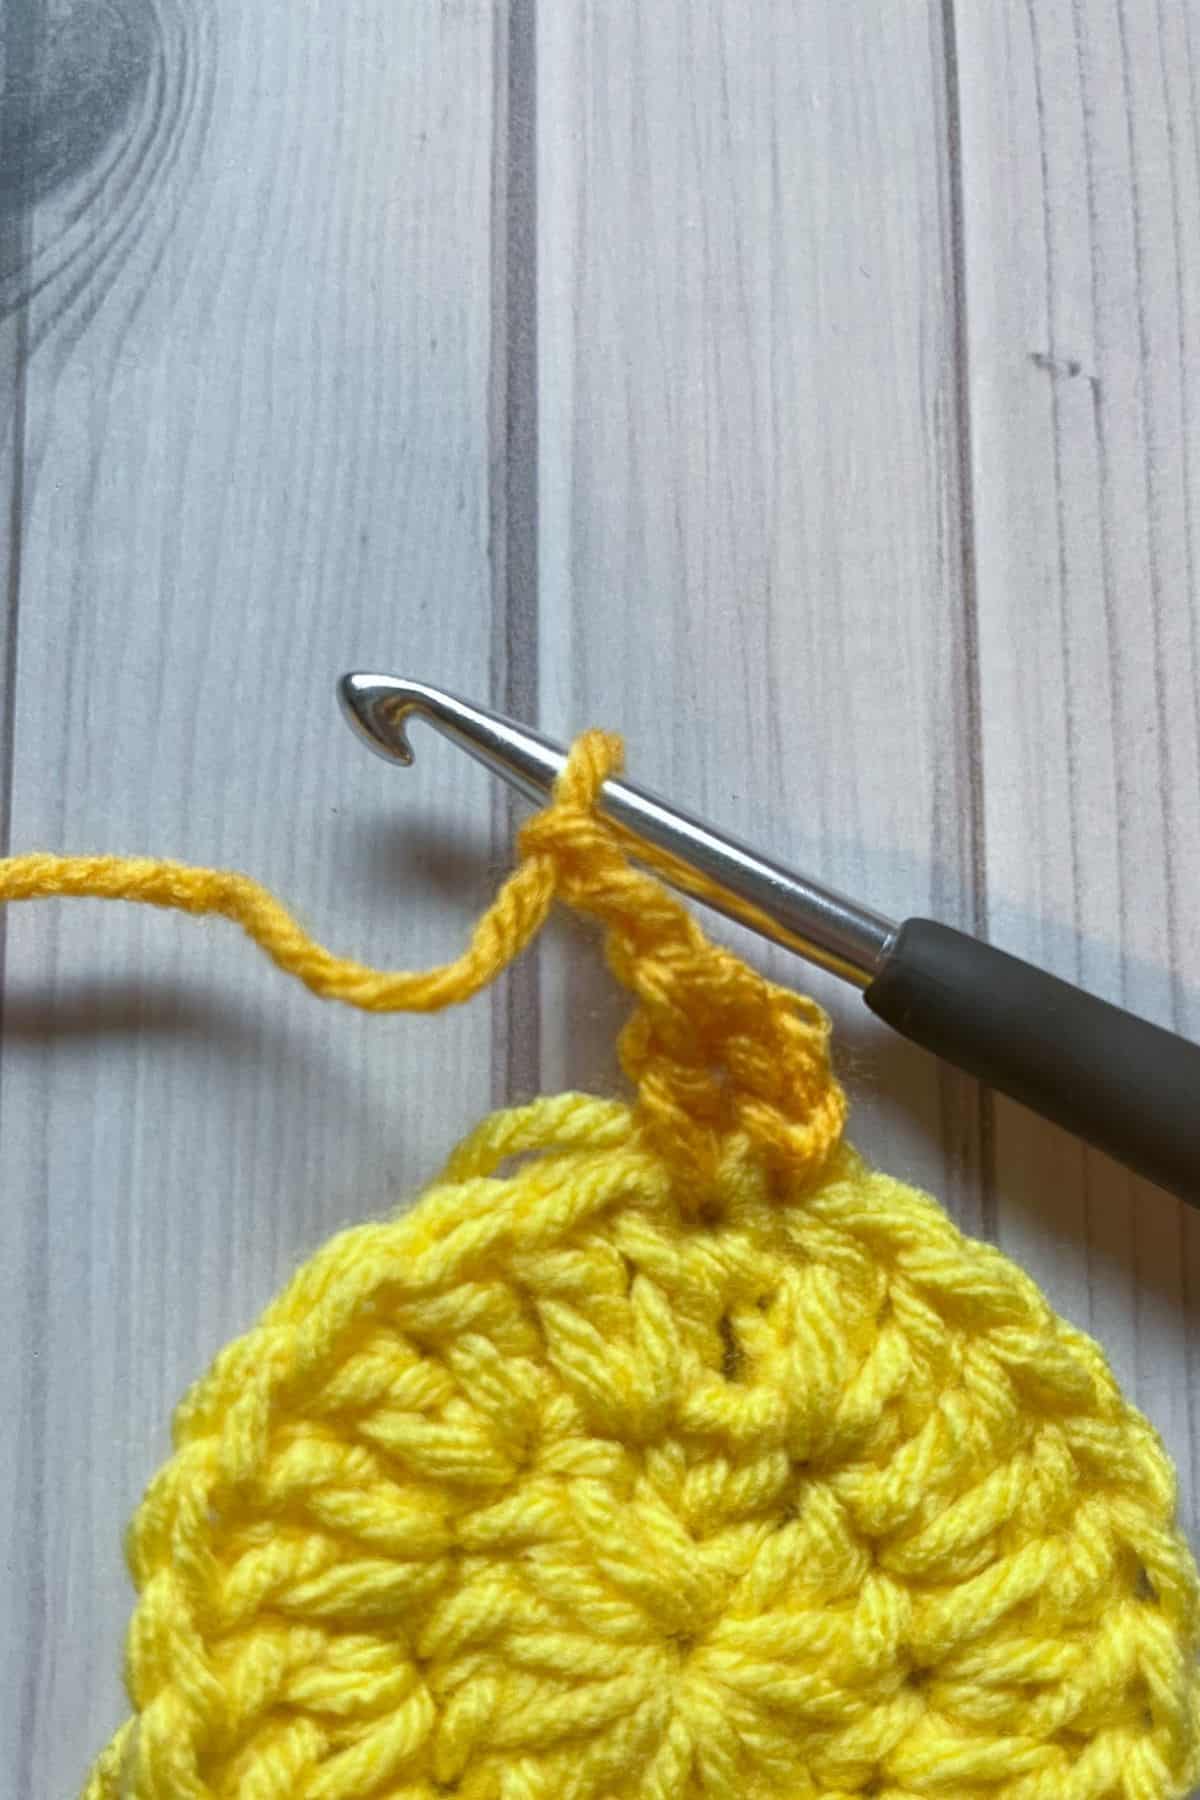
Round 3: With the gold yarn, ch x1 and then in the next stitch make a dc.
Then ch x2
*In the NEXT stitch make a dc, but don't go through the last 2 loops on the hook when you are finishing the stitch.
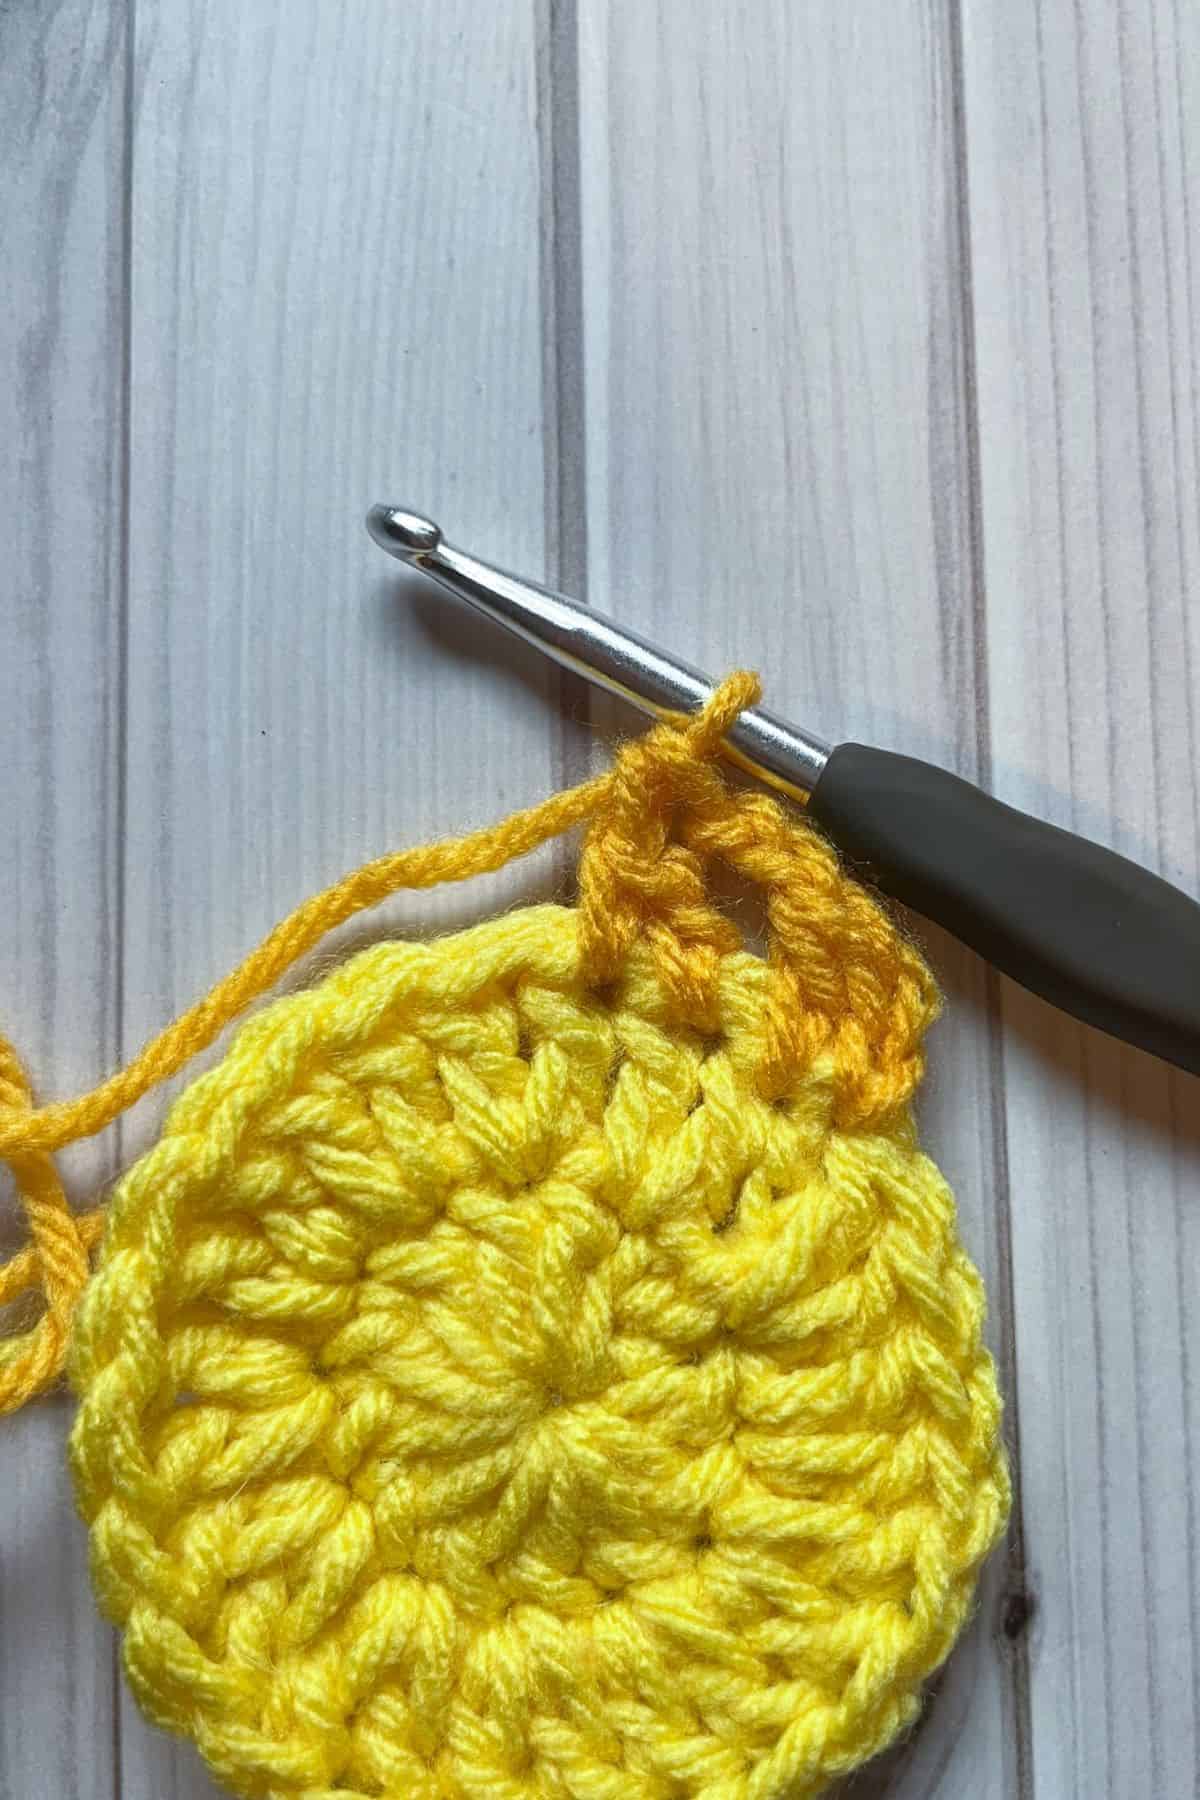
Instead with your halfway done dc, go into the next stitch and pull up a loop. Finish that stitch like a dc. Now you have 2 stitches merged into 1 and it makes the stitches look like an upside-down V. Ch x2 then repeat from * for the rest of the round.
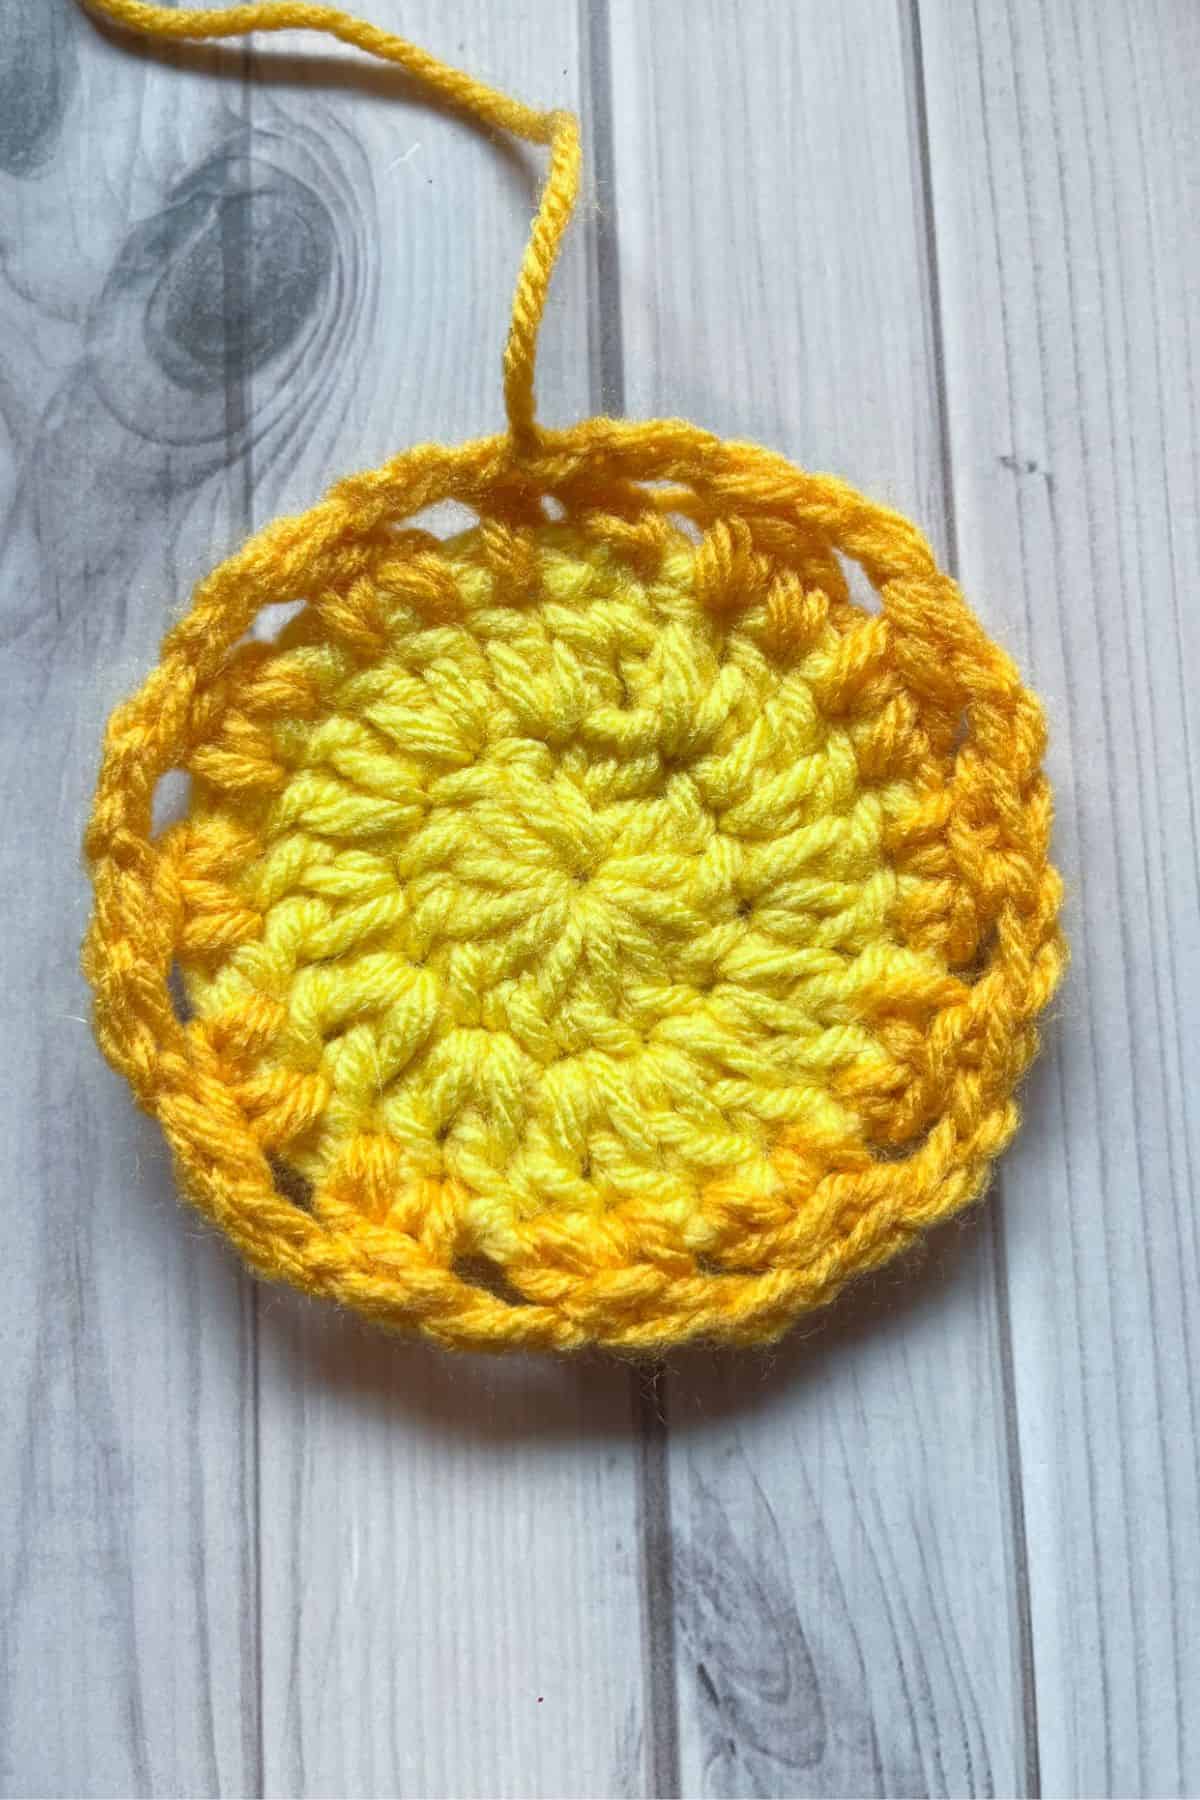
When you get to the end of the round sl st to the first dc.
Fasten off the gold and switch the color to navy.
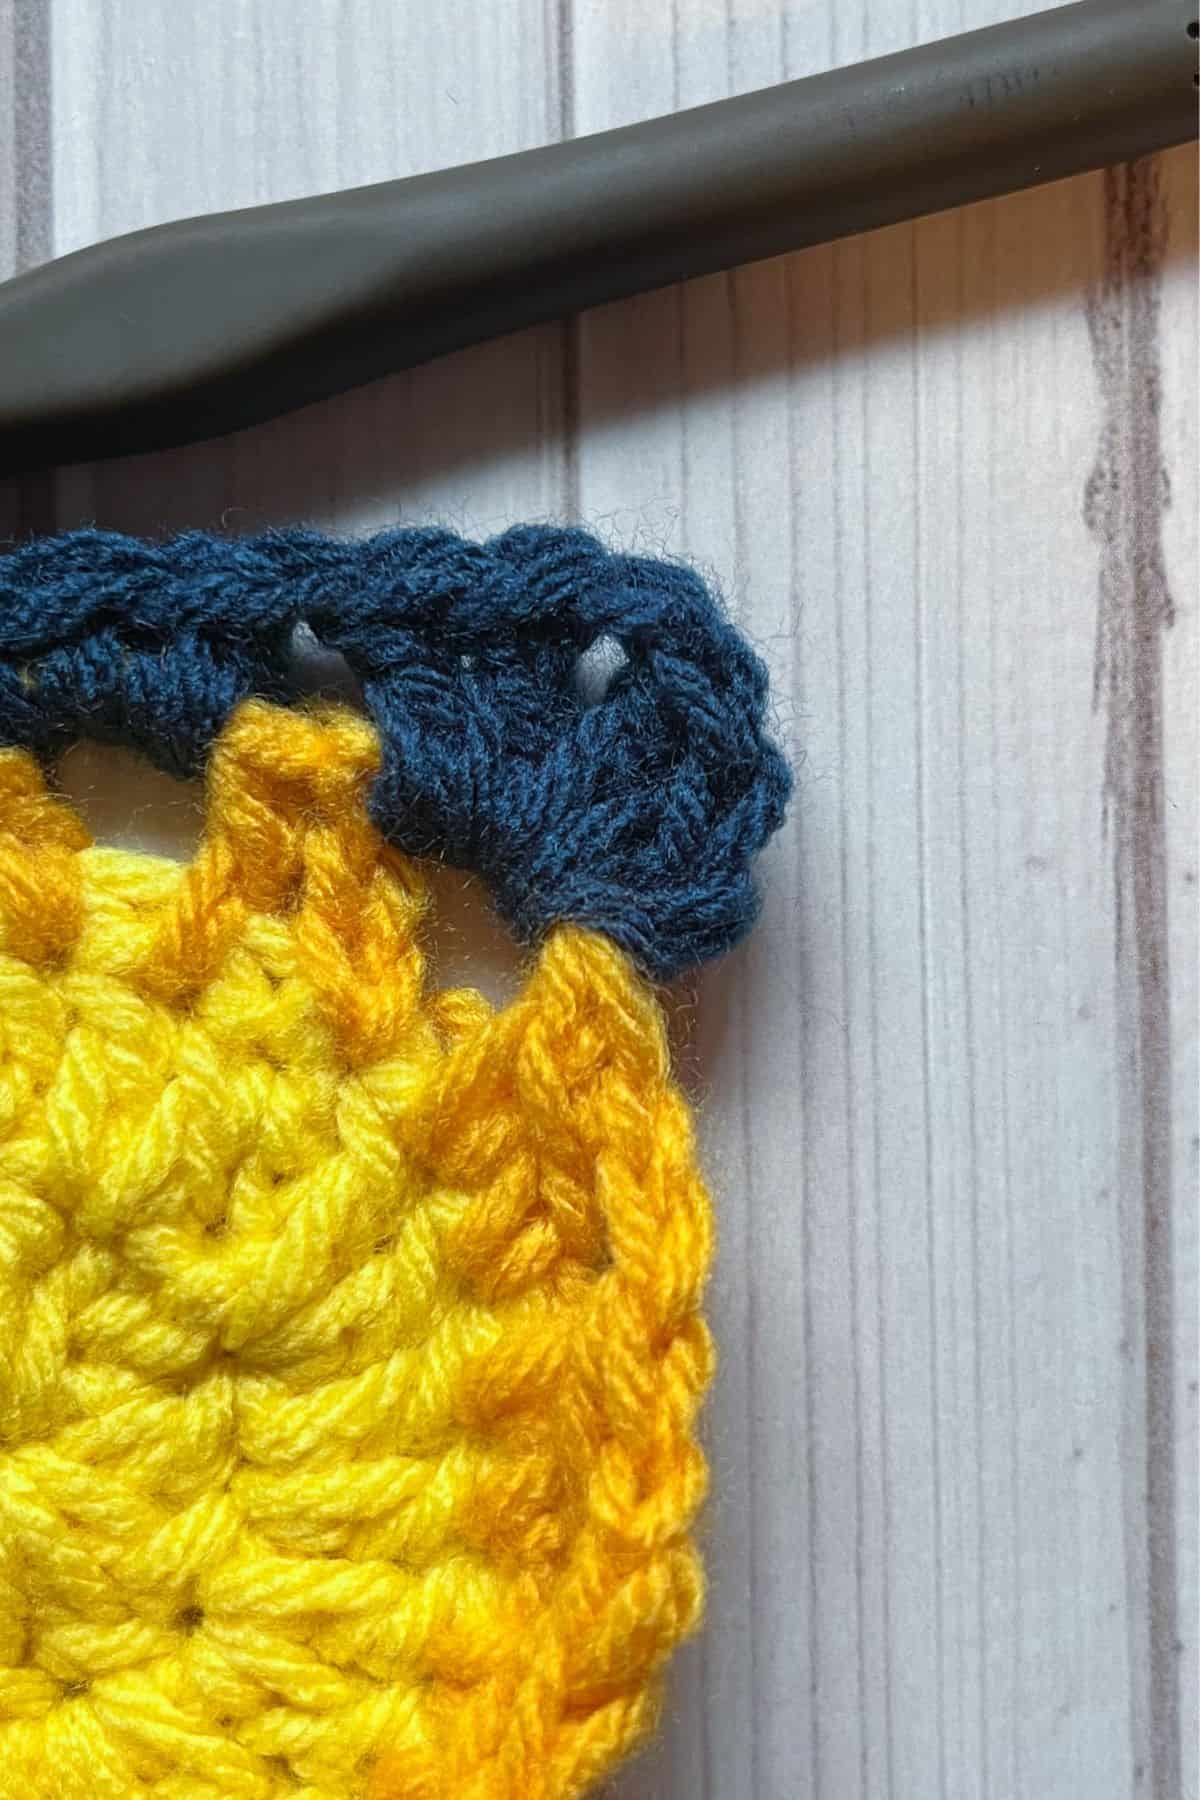
Round 4: The sun rounds are done and now we will start turning the circle into a square.
Ch x2, dc inc + ch + dc inc in the closest chain space. This is the first corner.
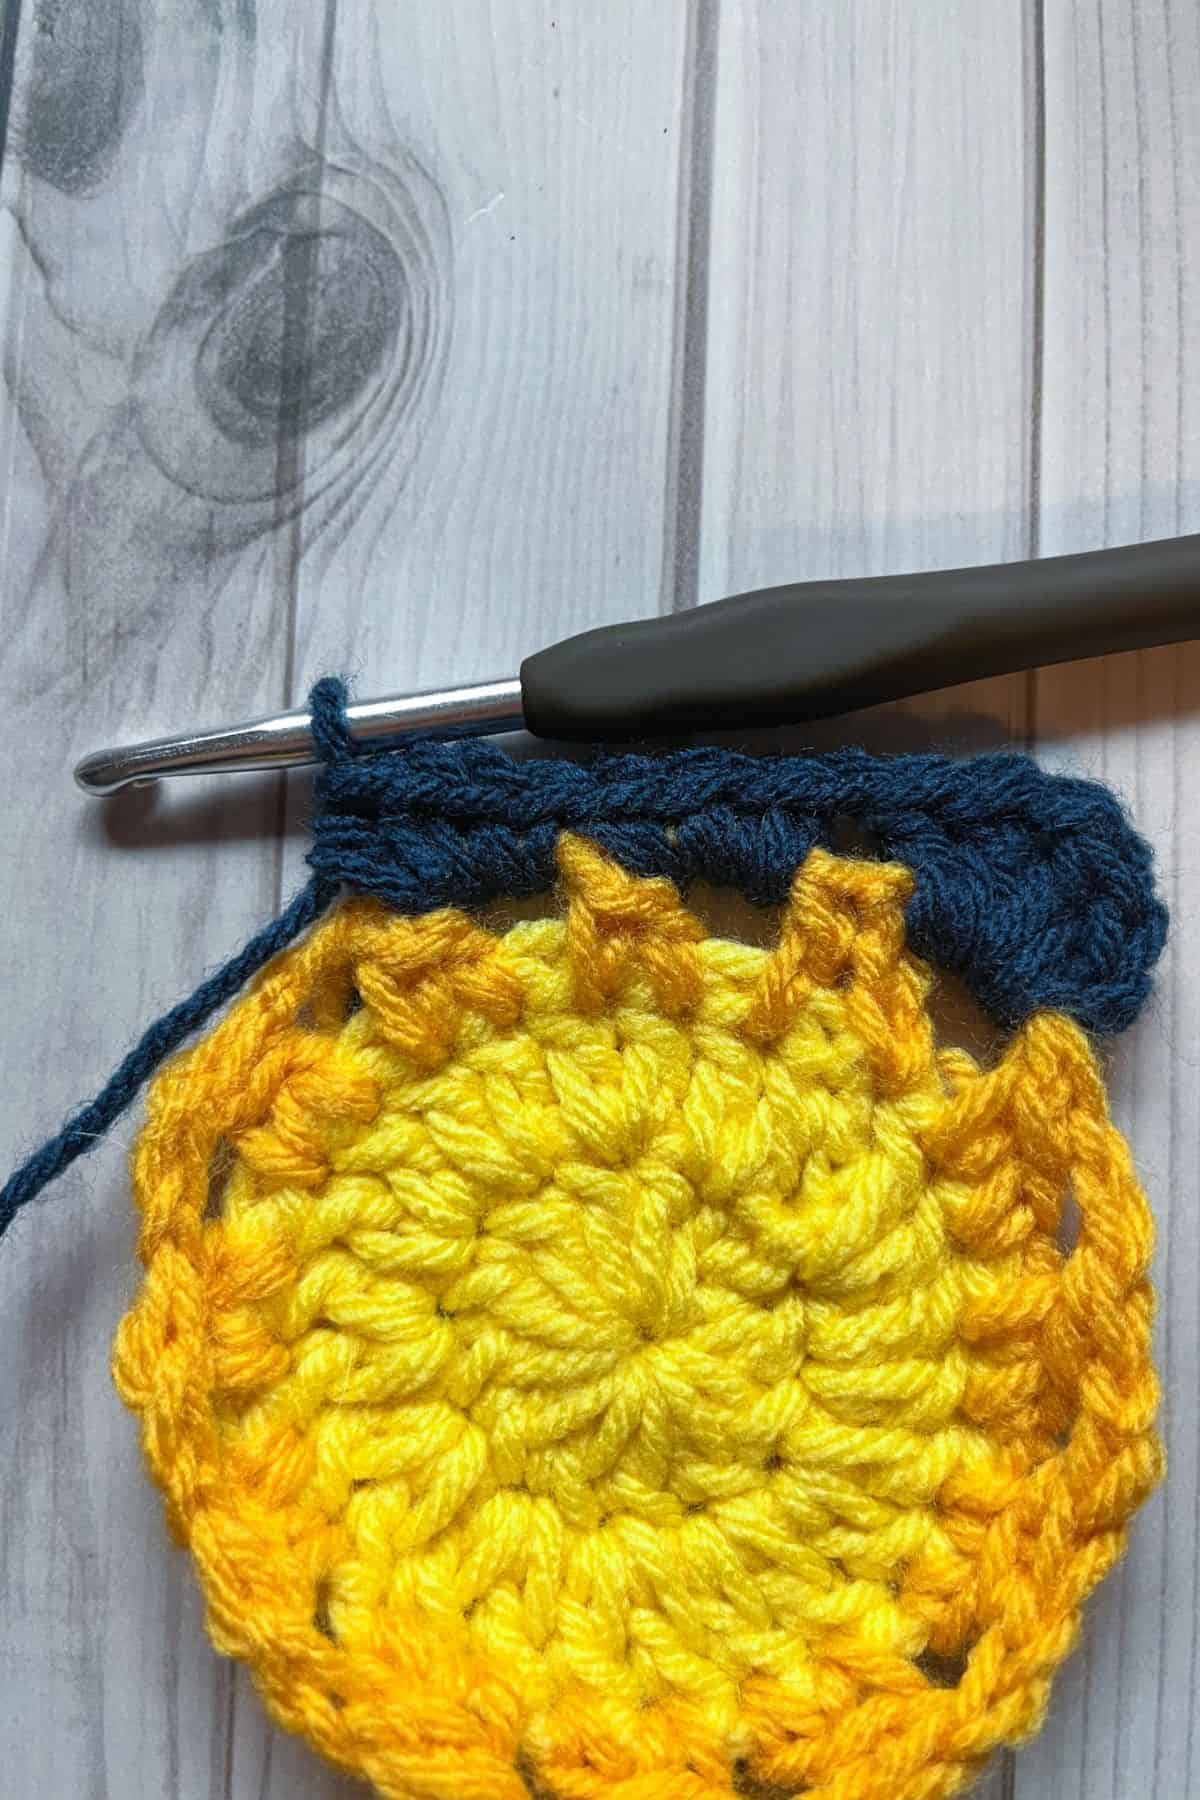
In the next chain space, hdc x2 and sc x2.
In the next chain space, sc x2 and hdc x2.
Now repeat the above 3 chain space stitch sequences 3 more times.
After the last hdc in the round, sl st to the first dc of the round. (48 stitches with 4 chain spaces)
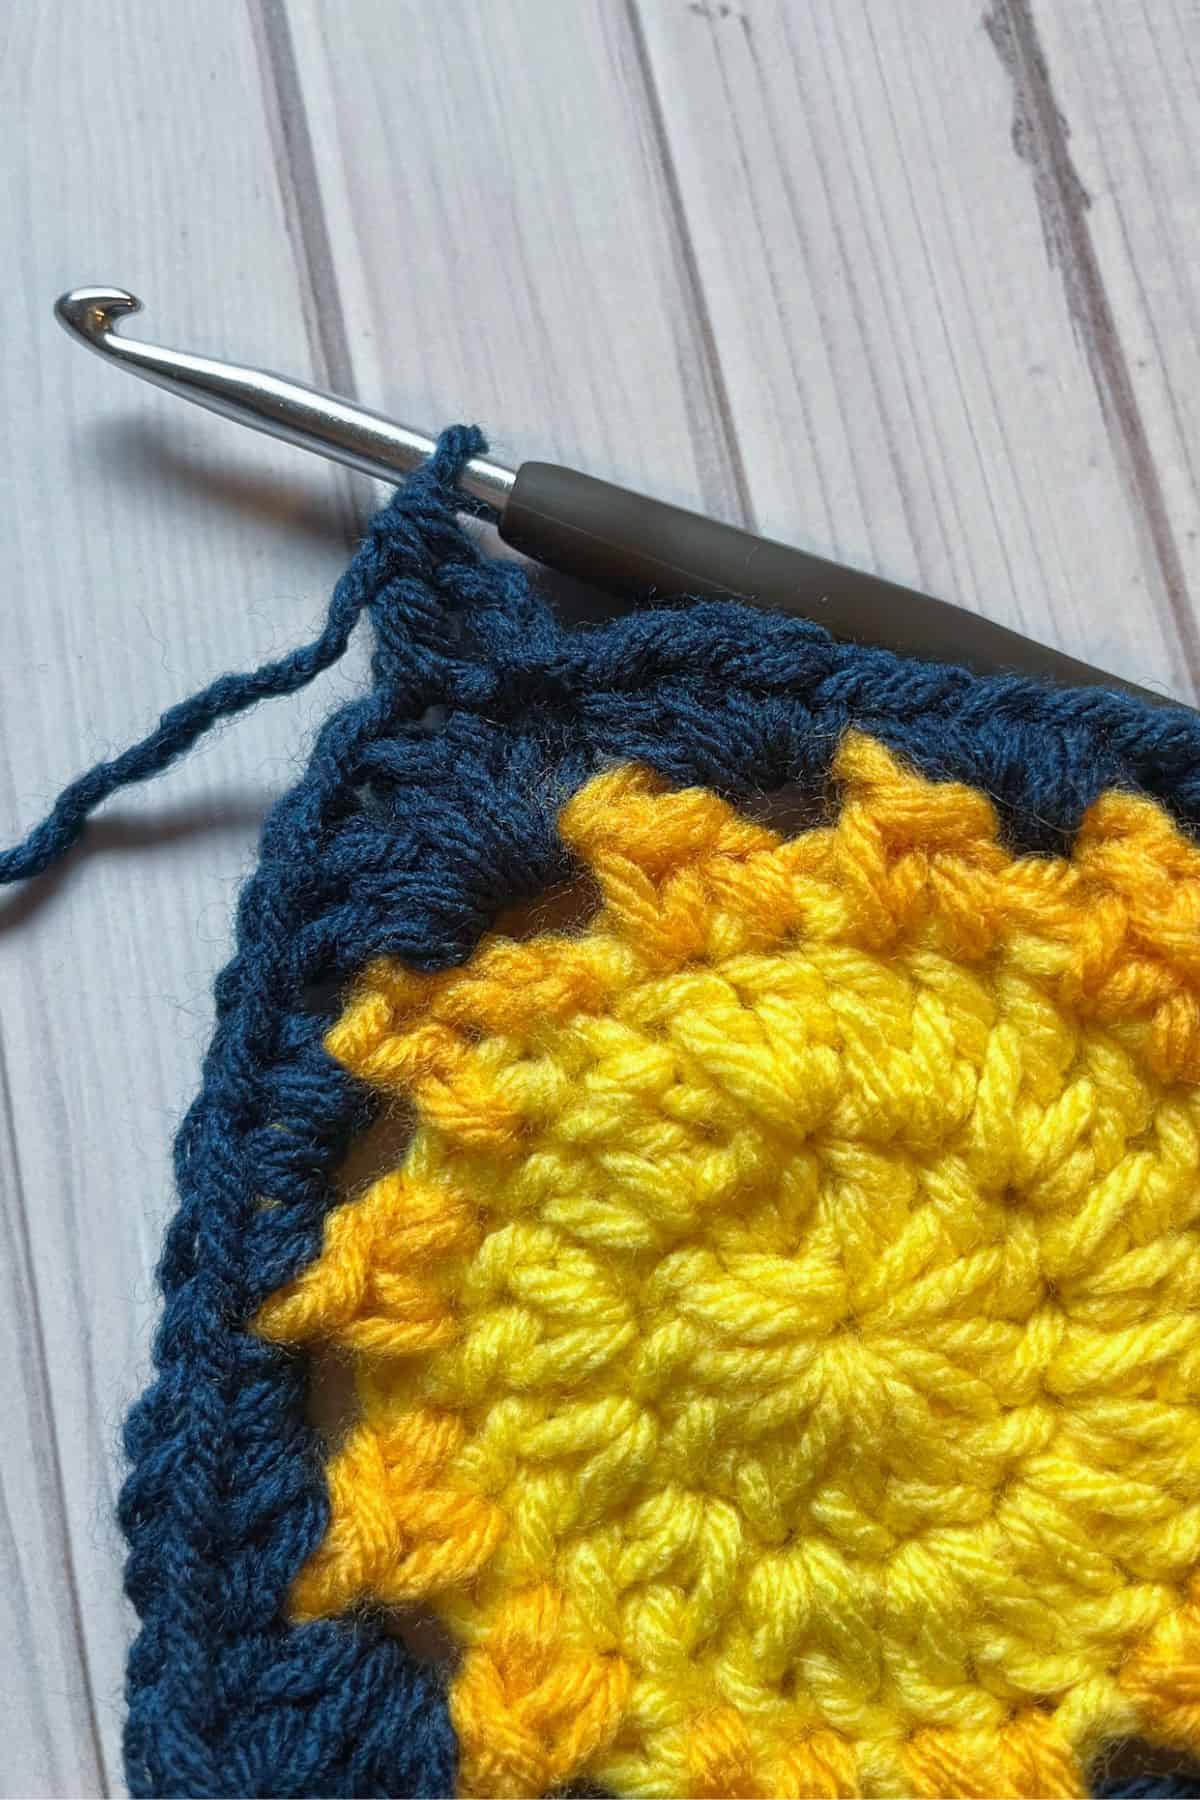
Round 5: Ch x2, then dc in the next stitch.
When you get to the chain space in the corner make a dc inc + ch x2 + dc inc. Then dc the side of the square (12 per side without the corners). Repeat 3 more times for the rest of the round.
Once you make the last dc in the round, sl st to the first dc. Then fasten off the yarn and switch the color to teal.
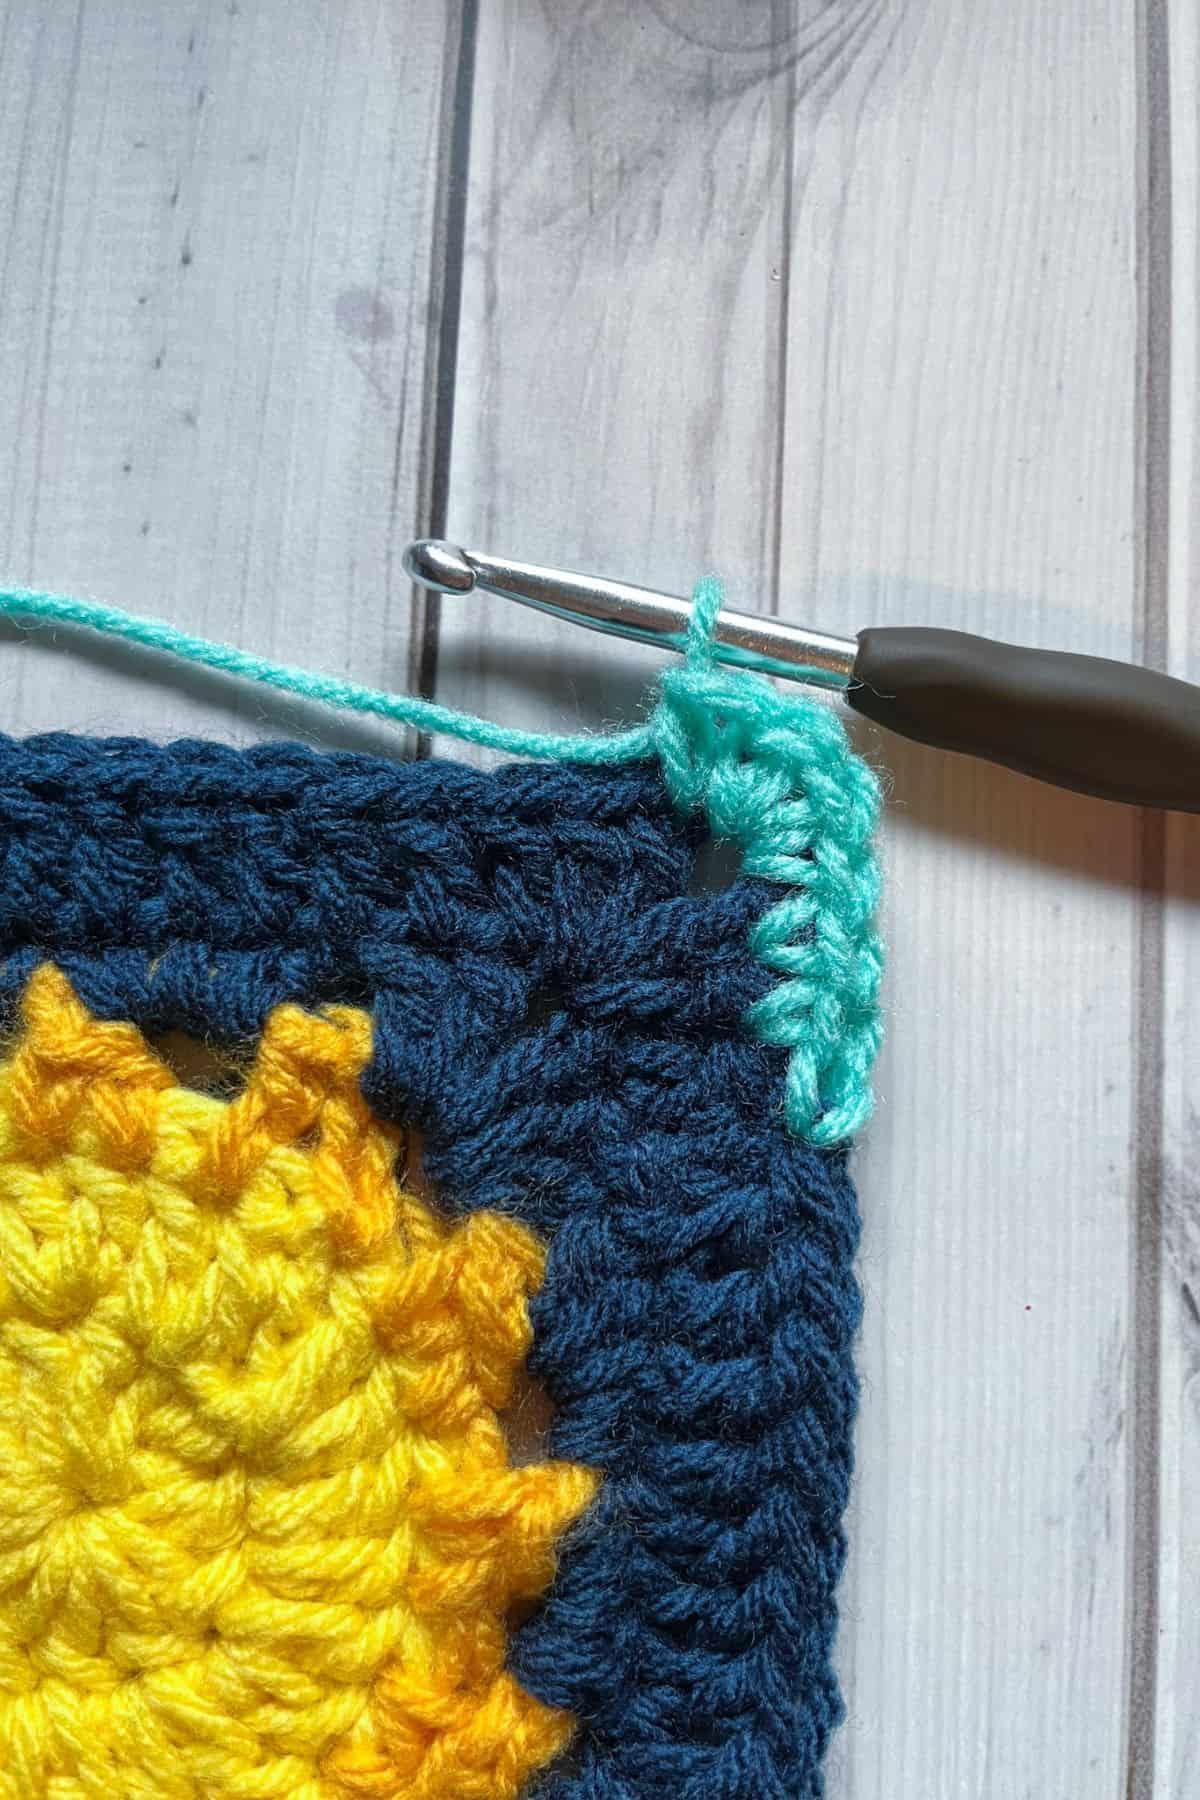
Round 6 (optional): Ch x1, then sc then entire round and make 3 sc in each corner. Sl st to the first sc in the round when you get to the end.
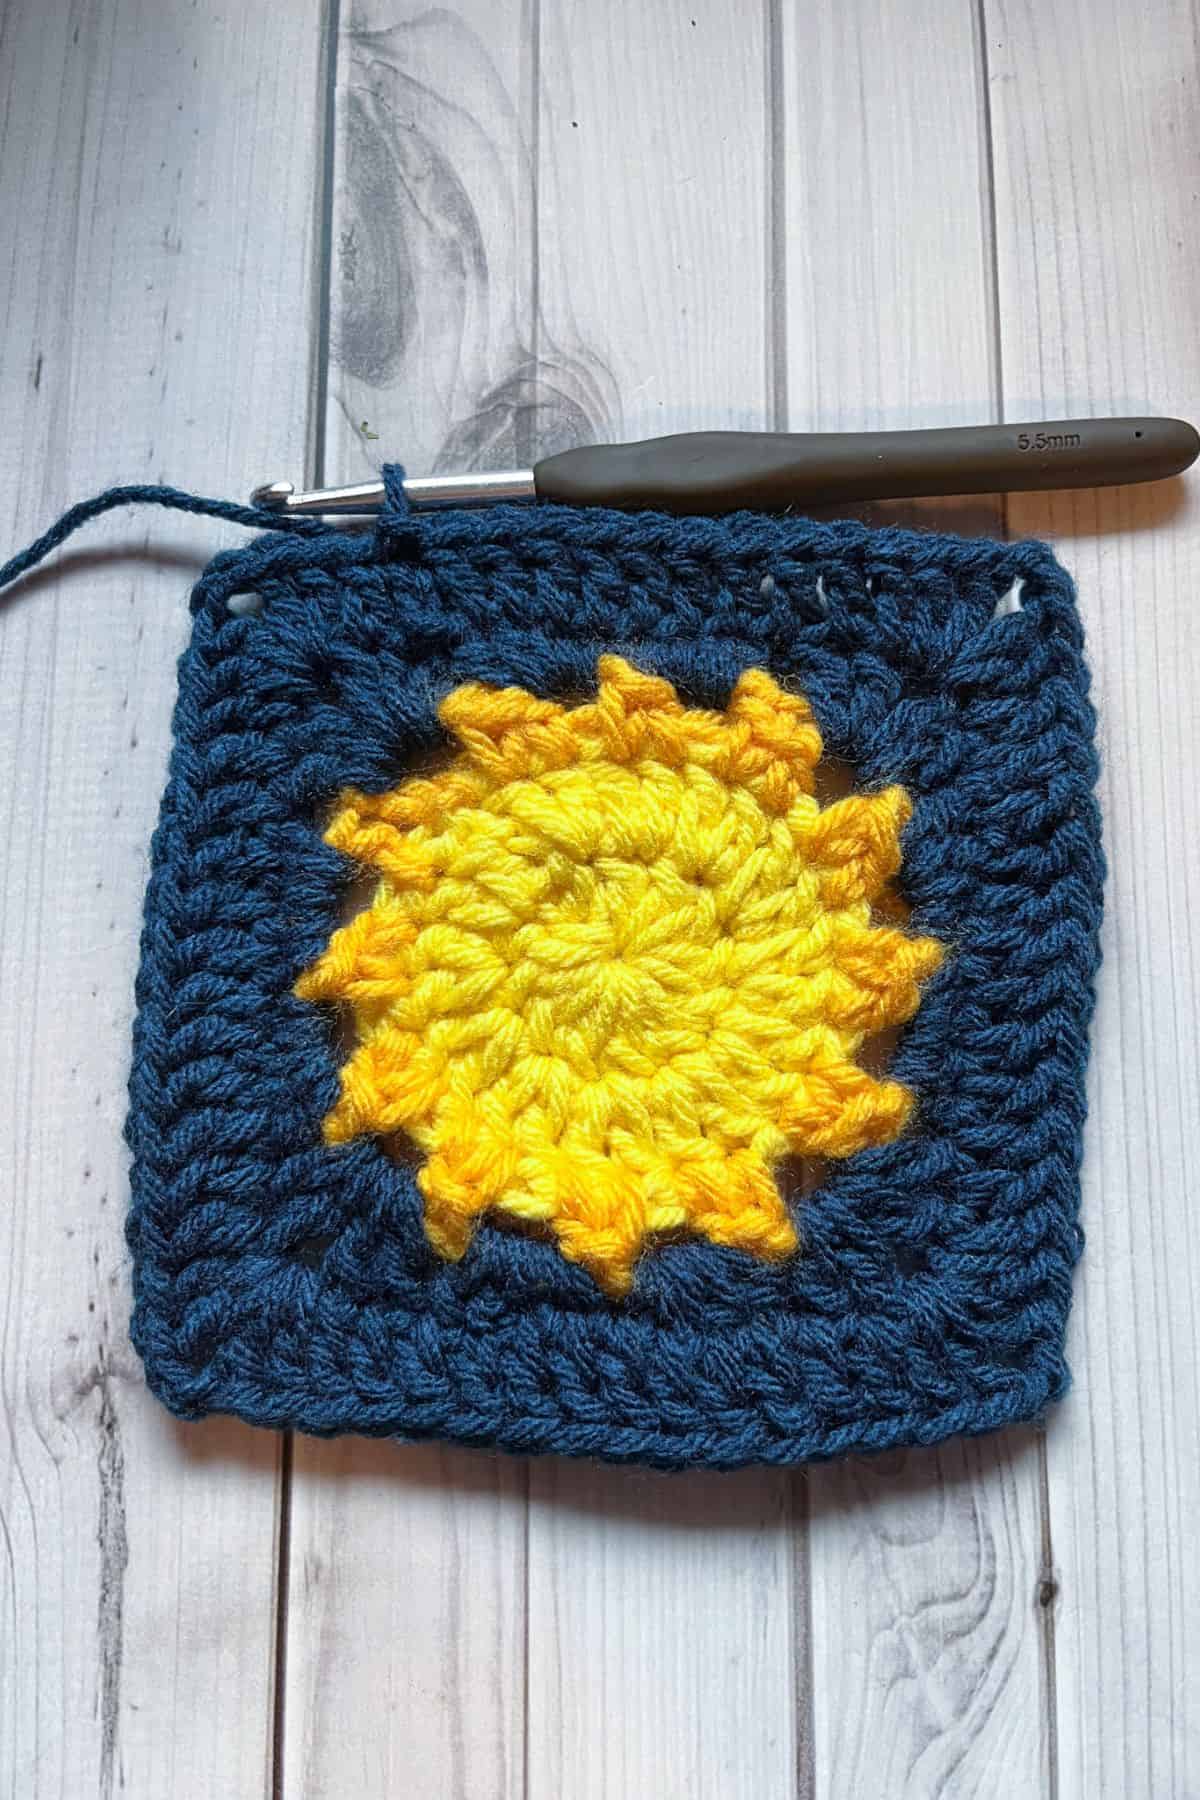
Weave in any ends.
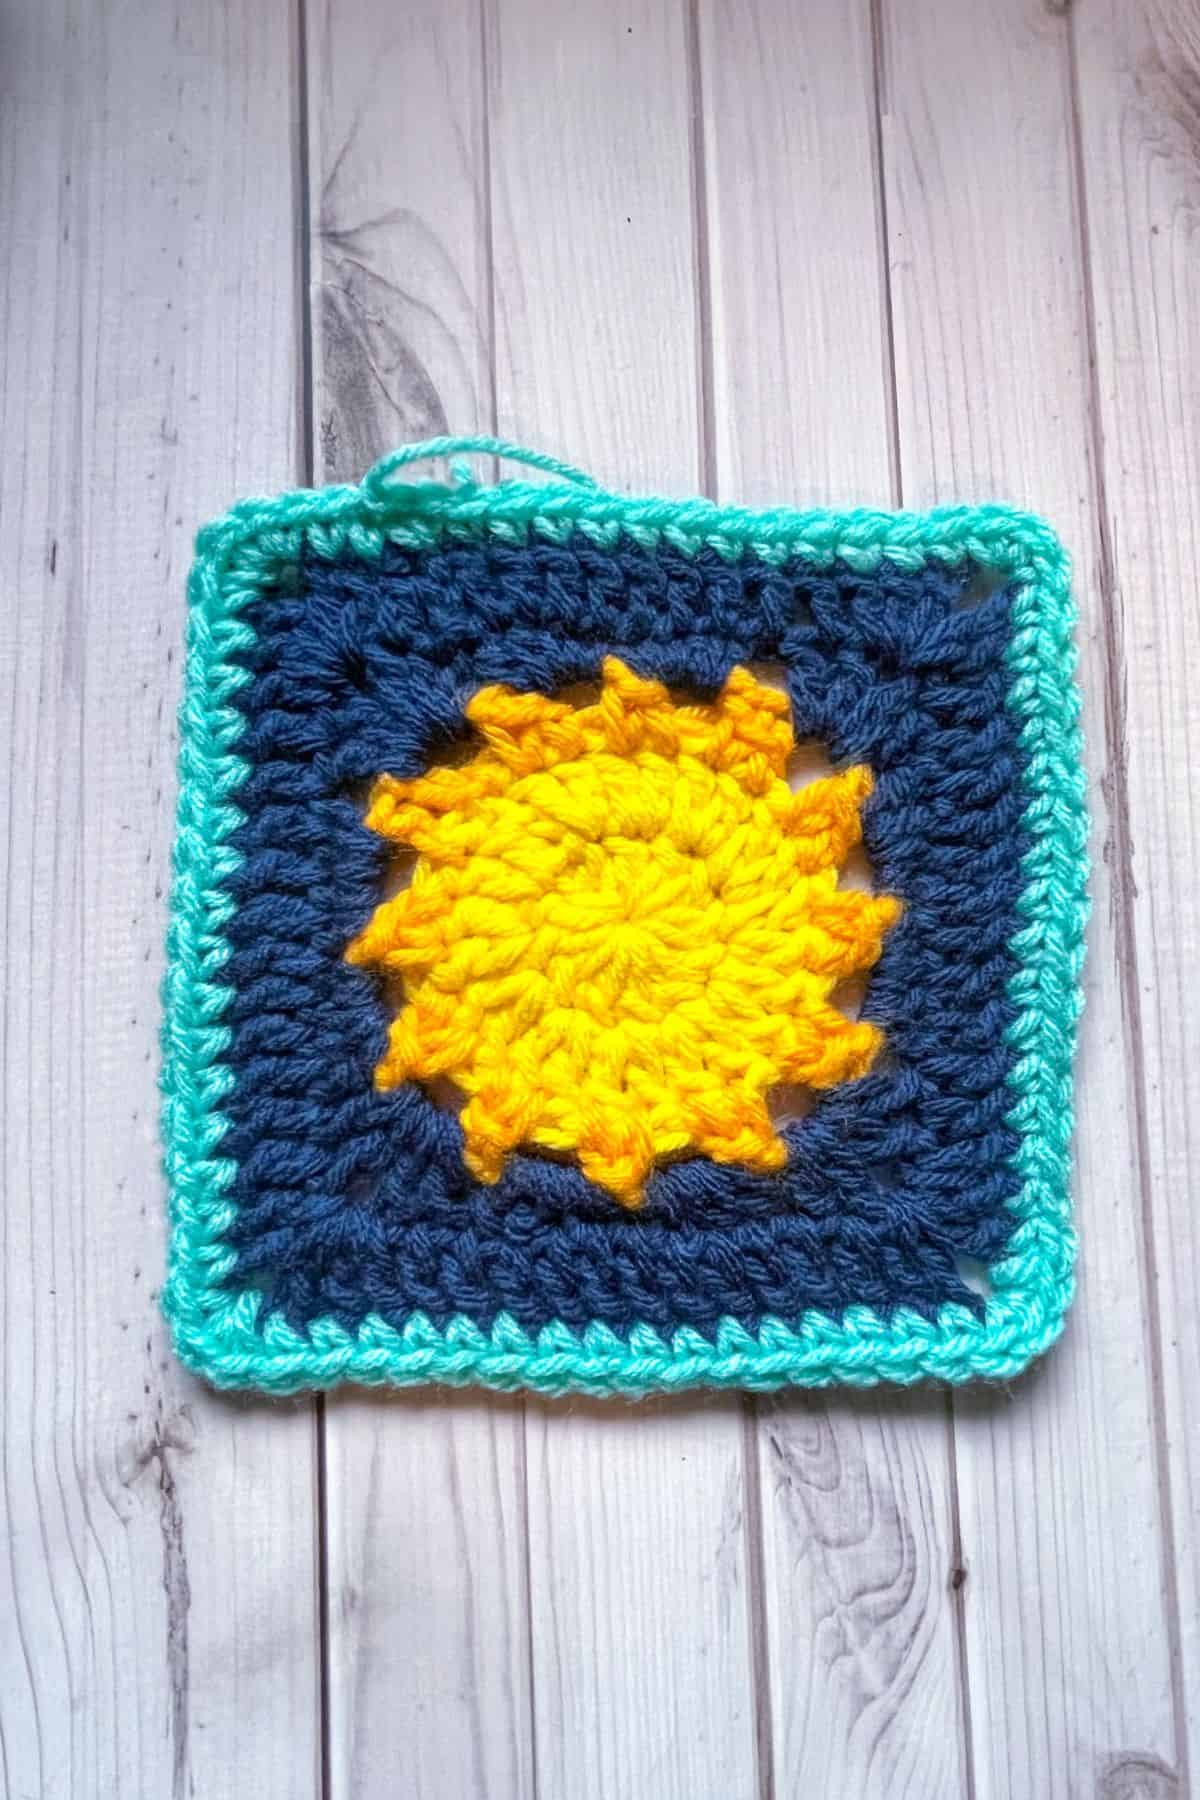
Now you have a finished sun granny square perfect for any celestial crochet project!
If you are wanting to make more celestial inspired items, check out my crochet moon pillow or crochet star garland. They can both be made with leftover yellow yarn if you have any.
You can also use the sun granny square in my crochet coin purse pattern.
🐌Expert Tips
- Tension Matters: When making the sun rays, ensure the chains aren't too tight; otherwise, the granny square might buckle upwards.
- Color Combinations: Experiment with different color combinations for a unique look—try using variegated yarn or contrasting shades.
- Block Your Square: To achieve a neat finish, consider blocking your finished square. This helps to even out the stitches and enhance the overall appearance.
🧵Pattern FAQs
Absolutely! In fact, if you use super chunky blanket yarn, you can probably make a pillow from just 1 square for each side.
You can make blankets, cardigans, hats, pillowcases, purses, and bags - you name it!
I find this to be the easiest way to make the sun's rays, but if you want to experiment a different way go for it!
🧶More Granny Stitch Patterns


If you tried this Sun Granny Square Pattern (or any other pattern on my website), please let me know how it went in the 📝 comments below. I'd love to hear from you!

Sun Granny Square Pattern
Materials
Abbreviations (US terms)
- Magic ring - mr
- Chain - ch
- Single crochet - sc
- Double crochet - dc
- Half double crochet - hdc
- Slip stitch - sl st
- Increase - inc
Notes
- Yarn Usage: I made crochet sun granny squares with new skeins, but you can use scrap yarn if you only make a few—they really don’t use up that much yarn.
- Skill Level: The crochet sun granny square is fairly simple and beginner-friendly.
- Size Adjustments: The finished sun granny square pattern is roughly 6 inches big. If you want it smaller, omit the last round or the single crochet round for squaring off the sun. Or use a smaller hook.
Instructions
- This pattern is made in the round.
- Round 1: With the yellow yarn, make a mr, next ch x2 (does not count as a stitch) and then dc x12 into the mr, sl st to first dc (12). If you find it difficult making a magic ring you can chain 4, slip stitch it together, and then in the newly formed circle, ch x2 and dc x12 in the hole, then sl st to first dc. (12)
- Round 2: Ch x2, dc inc in every dc, sl st to first dc. (24) Then change the color to gold.
- Round 3: With the gold yarn, ch x1 and then in the next stitch make a dc.
- Then ch x2
- *In the NEXT stitch make a dc, but don't go through the last 2 loops on the hook when you are finishing the stitch.
- Instead with your halfway done dc, go into the next stitch and pull up a loop. Finish that stitch like a dc. Now you have 2 stitches merged into 1 and it makes the stitches look like an upside-down V. Ch x2 then repeat from * for the rest of the round.
- When you get to the end of the round sl st to the first dc.
- Fasten off the gold and switch the color to navy.
- Round 4: The sun rounds are done and now we will start turning the circle into a square.
- Ch x2, dc inc + ch + dc inc in the closest chain space. This is the first corner.
- In the next chain space, hdc x2 and sc x2.
- In the next chain space, sc x2 and hdc x2.
- Now repeat the above 3 chain space stitch sequences 3 more times.
- After the last hdc in the round, sl st to the first dc of the round. (48 stitches with 4 chain spaces)
- Round 5: Ch x2, then dc in the next stitch.
- When you get to the chain space in the corner make a dc inc + ch x2 + dc inc. Then dc the side of the square (12 per side without the corners). Repeat 3 more times for the rest of the round.
- Once you make the last dc in the round, sl st to the first dc. Then fasten off the yarn and switch the color to teal.
- Round 6 (optional): Ch x1, then sc then entire round and make 3 sc in each corner. Sl st to the first sc in the round when you get to the end.
- Weave in any ends.
- Now you have a finished sun granny square perfect for any celestial crochet project!
Linda Pinch says
Hi Kim just wanted t to say as I’m new to crochet I’ve been delighted with your patterns and the instructions are brilliant for a newbie thanks Lin
Kimberly Arenas says
Im glad you like the patterns!