
The crochet chicken coaster pattern is a fun and silly way to start your morning! Pair it with a cup of coffee or tea and your day will automatically start out on a good note!

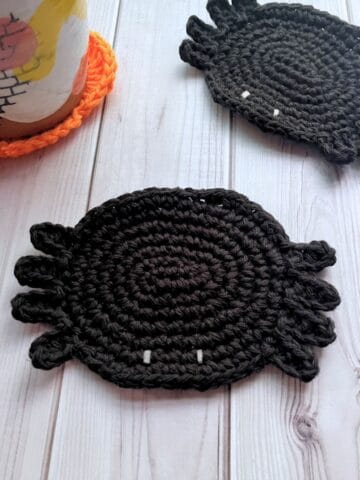
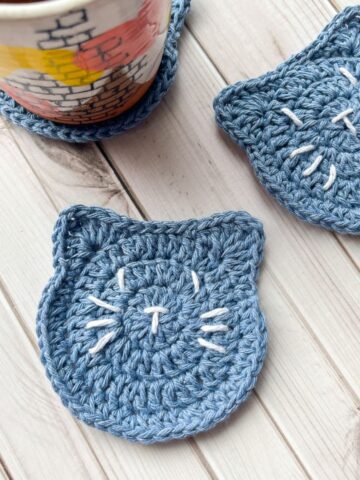
This tutorial will go over how to crochet a chicken coaster. I love making crochet animal coasters so it is only natural for me to make a crochet chicken coaster at some point. Some of my other animal coasters I have made are my crochet axolotl coaster and crochet frog coaster.
What I love about my newest crochet animal coaster is that it takes on a different shape then my other ones, it looks like a heart! I used a heart shaped coaster as the base and built the chicken elements near the end. Making it a great base for also making crochet heart coasters.
If you love my crochet chicken coaster, you can pair it with my crochet egg coaster as well!
So let's get started making my newest crochet coffee coaster pattern!
Jump to:
✏️ Things To Note:
- Time: The crochet chicken coaster pattern is made in single crochet, so it does take some time to complete, but each one can be completed in less than half an hour!
- Size: The finished crochet chicken coaster is 5 inches in height and width. Making it perfect for large cups of coffee.
- Beginner friendly: This specific crochet chicken coaster pattern is perfect for beginners because it uses single crochet stitches, and only in rows. No magic circle is needed!
🪡 Materials Needed
- Lily sugar n cream - white
- Lily sugar n cream - sunshine yellow
- Lily sugar n cream - country red
- Lily sugar n cream - potpourri print
- Lily sugar n cream - black
- 4.5mm hook
- Tapestry needle
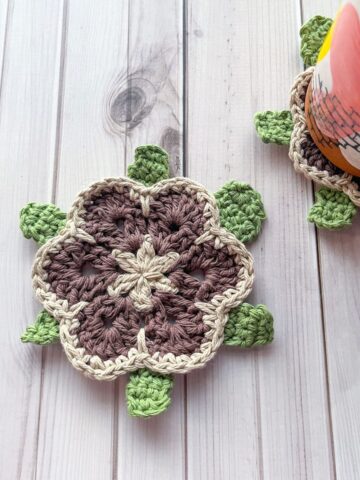
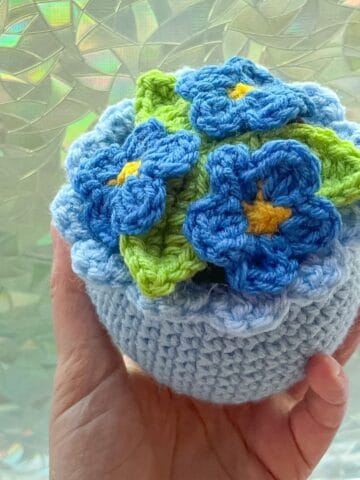
- As a side note, if you have extra yarn leftover, you can make my crochet daisy coasters, or my 6 petal crochet flower coaster.
- As a side note, if you have extra yarn leftover, you can make my crochet daisy coasters, or my 6 petal crochet flower coaster.
💭Abbreviations to Remember (US terms)
- Chains - ch
- Slip stitch - sl st
- Decrease - dec
- Single crochet - sc
- Half double crochet - hdc
- Increase - inc
* If you see a stitch abbreviation with "x" after it, it means how many times you do that stitch in the following amount of stitches. For example: sc x6 would mean you make a single crochet in the next 6 stitches. Inc x2 means you make an inc in the next 2 stitches.
🧋Variations
- You can change the color of the chicken to add a variety of chickens to your stash! I chose white, and a light speckled color, but you can choose black, brown, gray etc.
- This pattern can also double as a crochet heart coaster, just minus the chicken elements!
🍵Instructions for Crochet Chicken Coaster Pattern
This crochet chicken coaster pattern is made in rows.


Row 1: With your main chicken color, ch x15. Then in the second ch from the hook make a sc. Continue to make sc stitches for the rest of the chain length (14).
Row 2: Inc, sc x13 (15). Then ch x1 and turn.
Row 3: Sc x14, inc (16). Then ch x1 and turn.
Row 4: Inc, sc x15 (17). Then ch x1 and turn.
Row 5-8: Sc in every stitch (17). Then ch x1 and turn.
Row 9: Sc x15, dec (16). Then ch x1 and turn.
Row 10: Dec, sc x14 (15). Then ch x1 and turn.
Row 11: Sc x13, dec (14). Then ch x1 and turn.
Row 12: Sc in every stitch (14). Then ch x1 and turn.
Row 13: Now we will make the head of the chicken, so we will be making shorter rows. Sc x10, then ch x1 and turn (10).
Row 14-16: Sc in every stitch (10). Then ch x1 and turn.
Row 17: Dec, sc x6, dec (8). Then ch x1 and turn.
Row 18: Dec, sc x4, dec (6). Then ch x1 and turn.
Row 19: Dec, sc x2, dec (4). Then ch x1 and turn.


After making the heart shape, we will crochet around the heart to add the chicken tail and give it an overall cleaner finish.
This is a looser portion of the pattern as it is based on tension - the rule of thumb is 1 sc in each row or top of the stitch - just make sure you go through both sides. Now if it is curling - you will need to add extra stitches, and if it is starting to wave - you need to make less.
KEY STITCHES FOR CROCHETING THE OUTSIDE:
- Where the back of the head and body meet, sc3tog (single crochet 3 together).
- At the end of the top of the body (where you would put the tail feathers) make sl st, *ch x3 and then in the second ch from the hook make a sc. In the next ch make another sc. Then sl st to the same stitch you made the first sl st in. Then repeat from * 2 more times.
- At the point of the heart shape, make 2 sc.


Crochet Chicken Comb:
Join the red yarn to the top right of the chickens head - placement isn't too crucial just start near the last rows decrease. *In the next stitch hdc x4, then sl st into the next stitch. Repeat from * 3 more times. Then fasten off and weave in the ends.
Crochet Chicken Beak:
The beak has a more specific row that it is made in.
Look at the chicken's head right where the body connects. Join your yarn to the 1st short row up from where the head and body connect. This should be done on the right side of the chicken since it is facing out.
Ch x3, in the second stitch from the hook make a sl st, then hdc in the following. Sl st to the next sc. Then fasten off and weave in the ends.
Embroidered Eye:
With black yarn, embroider an eye in the 3rd and 4th row, roughly 2 stitches inward. I went around the row 3 times in order to make a bolder eye. Secure the ends, fasten off and weave in any tails.
And now you have a crochet chicken coaster! I hope you enjoyed my easy crochet chicken coaster pattern! If you want matching potholders, check out my crochet chicken potholder pattern. Or if you have a lot of yarn leftover, check out my crochet market bag pattern - perfect for hauling groceries, or even use as a day bag for the beach!

🐌Expert Tips
- Warping: If it starts to warp as you are crocheting the pieces together, remember to use less or more stitches as outlined above.
- Stitches: Make sure your stitches are tight, if your tension is loose - go down to a smaller hook. You don’t want holes in the potholder.
- Block Your Coasters for a Neat Finish: For that perfect, crisp look, don’t forget to block your coasters after you’ve finished crocheting. Blocking will help your crochet coaster pattern lay flat and look even more polished, especially when you’re working with stiff stitches like single crochet.
🧵Pattern FAQs
For coasters, it’s important to use a yarn that is both durable and heat-resistant. Cotton yarn is the best choice because it’s absorbent, sturdy, and holds its shape well. Avoid acrylic yarn for potholders, as it can melt under high heat and isn't very absorbent.
The key is to maintain consistent tension. If your stitches are too tight, your coaster might turn out small and stiff; if they’re too loose, it might not be as sturdy. Aim for a medium tension for flexibility and durability.
Absolutely! The base pattern is actually a heart so you can use this as a heart coaster as well.

🧶More Crochet Coaster Patterns

If you tried this Crochet Chicken Coaster Pattern (or any other pattern on my website), please let me know how it went in the 📝 comments below. I'd love to hear from you!

Crochet Chicken Coaster Pattern
Materials
Abbreviations (US terms)
- Chains - ch
- Slip stitch - sl st
- Decrease - dec
- Single crochet - sc
- Half double crochet - hdc
- Increase - inc
Notes
- Time: The crochet chicken coaster pattern is made in single crochet, so it does take some time to complete, but each one can be completed in less than half an hour!
- Size: The finished crochet chicken potholder is 5 inches in height and width. Making it perfect for large cups of coffee.
- Beginner friendly: This specific crochet chicken coaster is perfect for beginners because it uses single crochet stitches, and only in rows. No magic circle is needed!
Instructions
- This crochet chicken coaster pattern is made in rows.
- Row 1: With your main chicken color, ch x15. Then in the second ch from the hook make a sc. Continue to make sc stitches for the rest of the chain length (14).
- Row 2: Inc, sc x13 (15). Then ch x1 and turn.
- Row 3: Sc x14, inc (16). Then ch x1 and turn.
- Row 4: Inc, sc x15 (17). Then ch x1 and turn.
- Row 5-8: Sc in every stitch (17). Then ch x1 and turn.
- Row 9: Sc x15, dec (16). Then ch x1 and turn.
- Row 10: Dec, sc x14 (15). Then ch x1 and turn.
- Row 11: Sc x13, dec (14). Then ch x1 and turn.
- Row 12: Sc in every stitch (14). Then ch x1 and turn.
- Row 13: Now we will make the head of the chicken, so we will be making shorter rows. Sc x10, then ch x1 and turn (10).
- Row 14-16: Sc in every stitch (10). Then ch x1 and turn.
- Row 17: Dec, sc x6, dec (8). Then ch x1 and turn.
- Row 18: Dec, sc x4, dec (6). Then ch x1 and turn.
- Row 19: Dec, sc x2, dec (4). Then ch x1 and turn.
- After making the heart shape, we will crochet around the heart to add the chicken tail and give it an overall cleaner finish.
- This is a looser portion of the pattern as it is based on tension - the rule of thumb is 1 sc in each row or top of the stitch - just make sure you go through both sides. Now if it is curling - you will need to add extra stitches, and if it is starting to wave - you need to make less.
KEY STITCHES FOR CROCHETING THE OUTSIDE:
- Where the back of the head and body meet, sc3tog (single crochet 3 together).
- At the end of the top of the body (where you would put the tail feathers) make sl st, *ch x3 and then in the second ch from the hook make a sc. In the next ch make another sc. Then sl st to the same stitch you made the first sl st in. Then repeat from * 2 more times.
- At the point of the heart shape, make 2 sc.
Crochet Chicken Comb:
- Join the red yarn to the top right of the chickens head - placement isn't too crucial just start near the last rows decrease. *In the next stitch hdc x4, then sl st into the next stitch. Repeat from * 3 more times. Then fasten off and weave in the ends.
Crochet Chicken Beak:
- The beak has a more specific row that it is made in.
- Look at the chicken's head right where the body connects. Join your yarn to the 1st short row up from where the head and body connect. This should be done on the right side of the chicken since it is facing out.
- Ch x3, in the second stitch from the hook make a sl st, then hdc in the following. Sl st to the next sc. Then fasten off and weave in the ends.
Embroidered Eye:
- With black yarn, embroider an eye in the 3rd and 4th row, roughly 2 stitches inward. I went around the row 3 times in order to make a bolder eye. Secure the ends, fasten off and weave in any tails.
- And now you have a crochet chicken coaster! I hope you enjoyed my easy crochet chicken coaster pattern!


Monica says
Hi! Do you happen to have a video for this tutorial? Super new to crochet and would love to watch it while I follow the pattern! Thanks so much, I’m looking forward to trying it out!
Kimberly Arenas says
I don't have a video yet, but I will be making one soon!
Marla says
I would love to see a video as well. I'm not new to crochet but I'm lost where to put the tail feathers. I've made 2 and they don't look like this picture. I'm a visual learner.
Kimberly Arenas says
I'll add it to my list of videos to make, but you add the tail feathers when you are about to curve down the other side of the heart.
Jeanette says
Thank you so much for such great ideas and patterns that just make me smile!
Such cuteness!!! Thank you and I wish you well!!!
Kimberly Arenas says
I'm glad you like my patterns! 🙂