

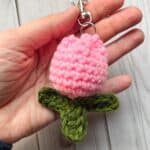
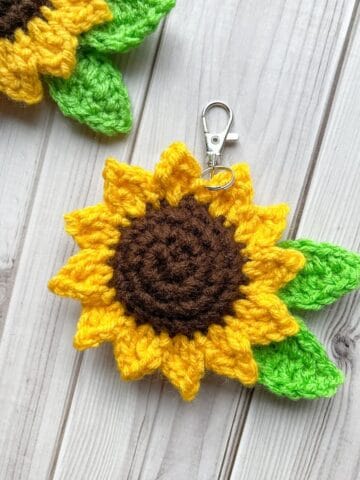
Spruce up your backpack, bag, or keyring with my free and adorable Crochet Tulip Keychain Pattern! Perfect for any occasion and season.

I usually crochet large items, but I've recently discovered a love for creating cute, tiny things, like keychains! I've already created a few keychain patterns like my crochet strawberry keychain and crochet flower keychain patterns! Completing something small and charming in a short amount of time is very rewarding.
Flowers have always been something I wanted to crochet, and the tulip keychain—along with the large tulip crochet pattern—are some of my first attempts. I hope to create more flower patterns in the future! This pattern is super simple and can be completed in less than half an hour.
Now that I have enticed you to make a tulip keychain or two, let's get started!
Jump to:
✏️ Things To Note:
- Yarn Options: While it’s perfectly fine to use new skeins for this pattern, using scrap yarn is an excellent choice. Since the tulips are quite small and don’t require much yarn, scrap yarn is both a practical and economical option. This makes it a great way to use up any leftover yarn from previous projects, especially if you only need small amounts of different colors for the tulips. My crochet fidget toy pattern also uses scrap yarn!
- Yarn Weight: For this project, I used worsted weight yarn, which worked perfectly, but feel free to use any yarn you prefer! Whether you go with a lighter or heavier yarn, the tulips will still turn out beautifully. However, it's important to note that if you opt for yarn that is size 5 or larger, the tulip flower will naturally become larger as well.
- Size: The crochet tulip is small and delicate, measuring no more than 2 inches in height. This size makes it the perfect accessory for keychains, as it’s compact and lightweight. Despite its small size, the tulip is still very charming and eye-catching, making it a fun and versatile project for any crocheter. Whether you’re gifting it or keeping it for yourself, this tiny crochet tulip is sure to bring a touch of spring to your keys or bag.
💭Abbreviations to Remember (US terms)
- Magic ring - mr
- Single crochet - sc
- Increase - inc
- Chain - ch
- Half Double Crochet - hdc
- Double Crochet - dc
🧋Variations
Color Customization: Feel free to change colors as you like.
Hookless Option: To avoid the keychain hook, make the stem longer with a loop, allowing you to hook the flower through the loop around a bag handle for a keychain-free bag charm.
🍵Instructions for Crochet Tulip Keychain Pattern
The flower part of the crochet tulip keychain pattern is made in rounds.

Round 1: Using the yarn you want the petals to be made out of, make a mr and then make sc x6 in the circle. If you find it difficult making a magic ring you can chain 2 and then crochet sc x6 in the second chain from the hook. (6)
Round 2: Inc in every sc. (12)
Round 3: Inc, sc, and then repeat until end of round (18)
Round 4-9: Sc in every stitch. (18) At the end, fasten off and leave a long tail for sewing.
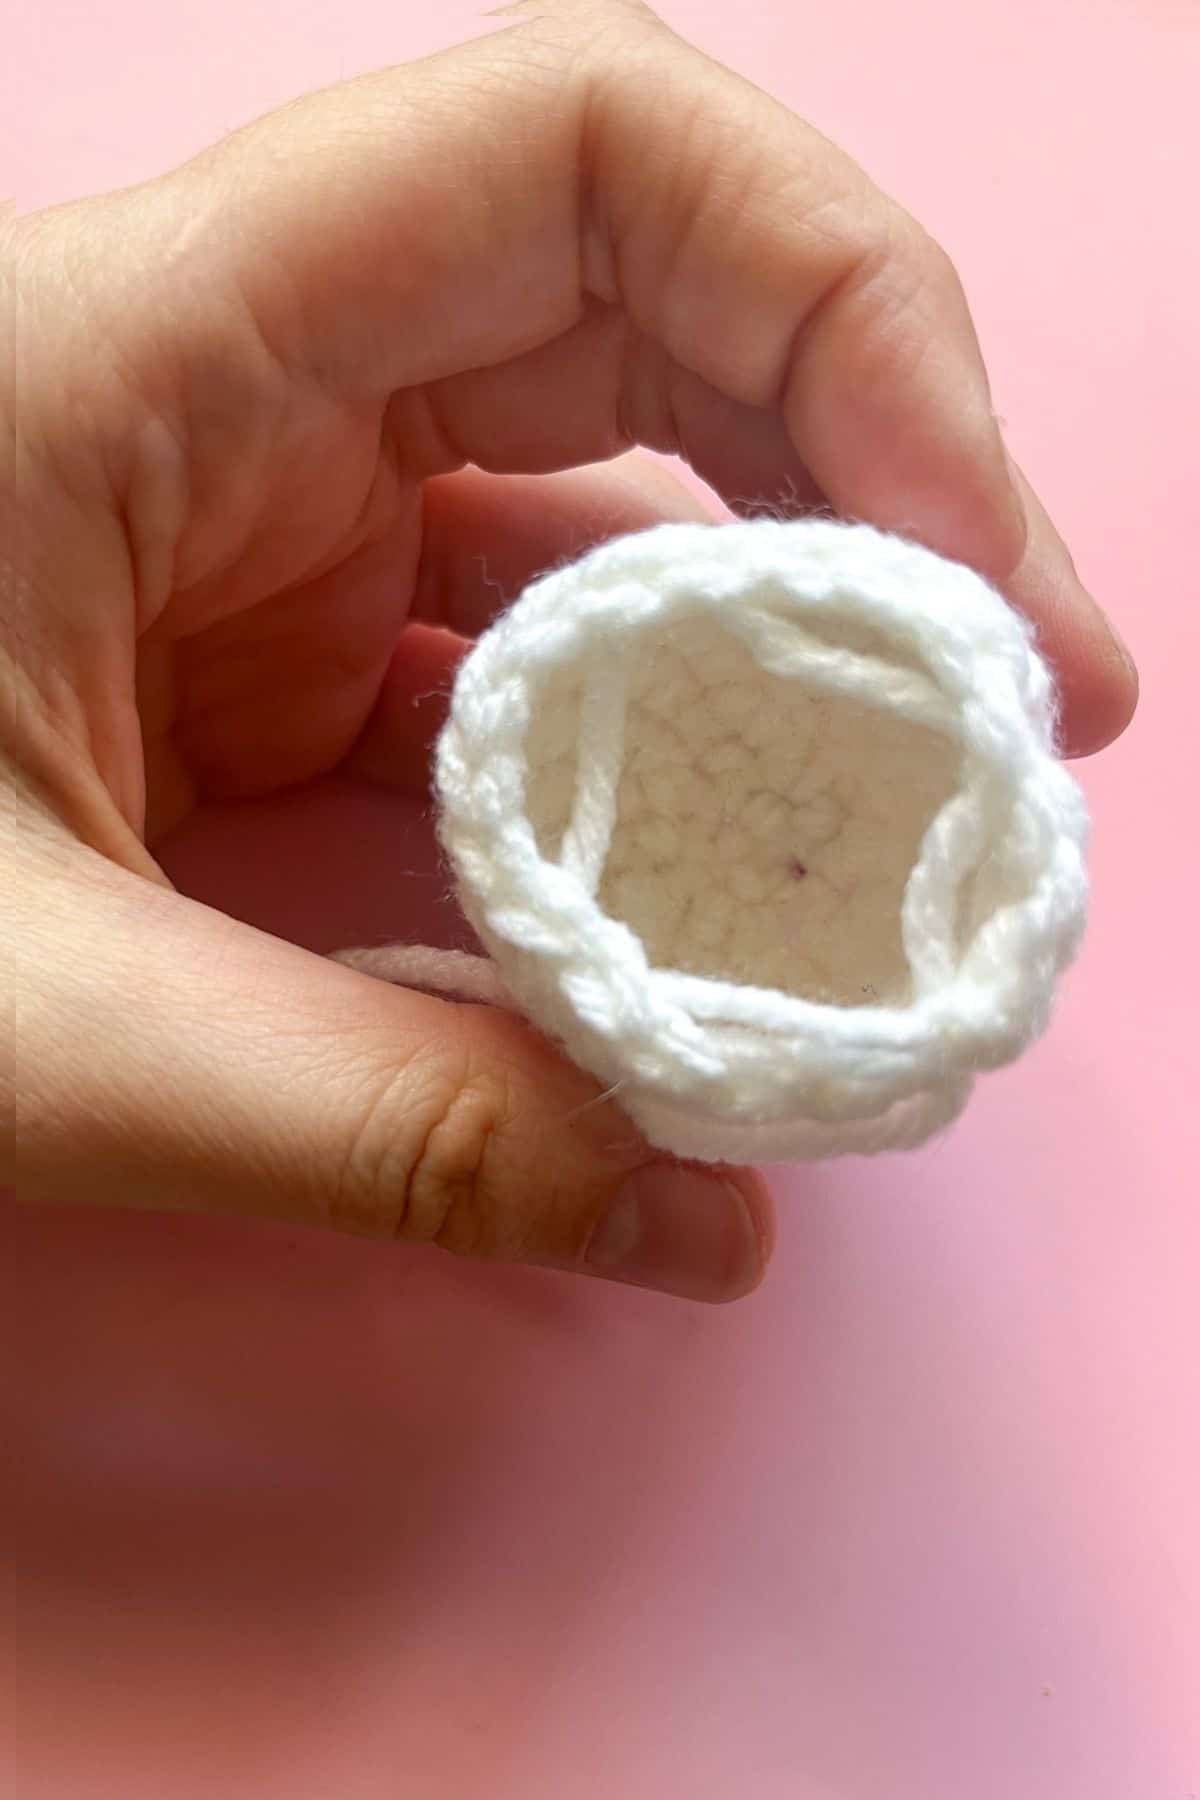
Finishing off the flower portion: You want to stuff the flower with polyfill, then with your needle and long yarn tail sew the top of the tulip shut by stitching a square into the middle. (Like in the photo) Then pull tight to close the tulip. Sew the top sections of the tulip closed so no polyfill can escape and you are done.
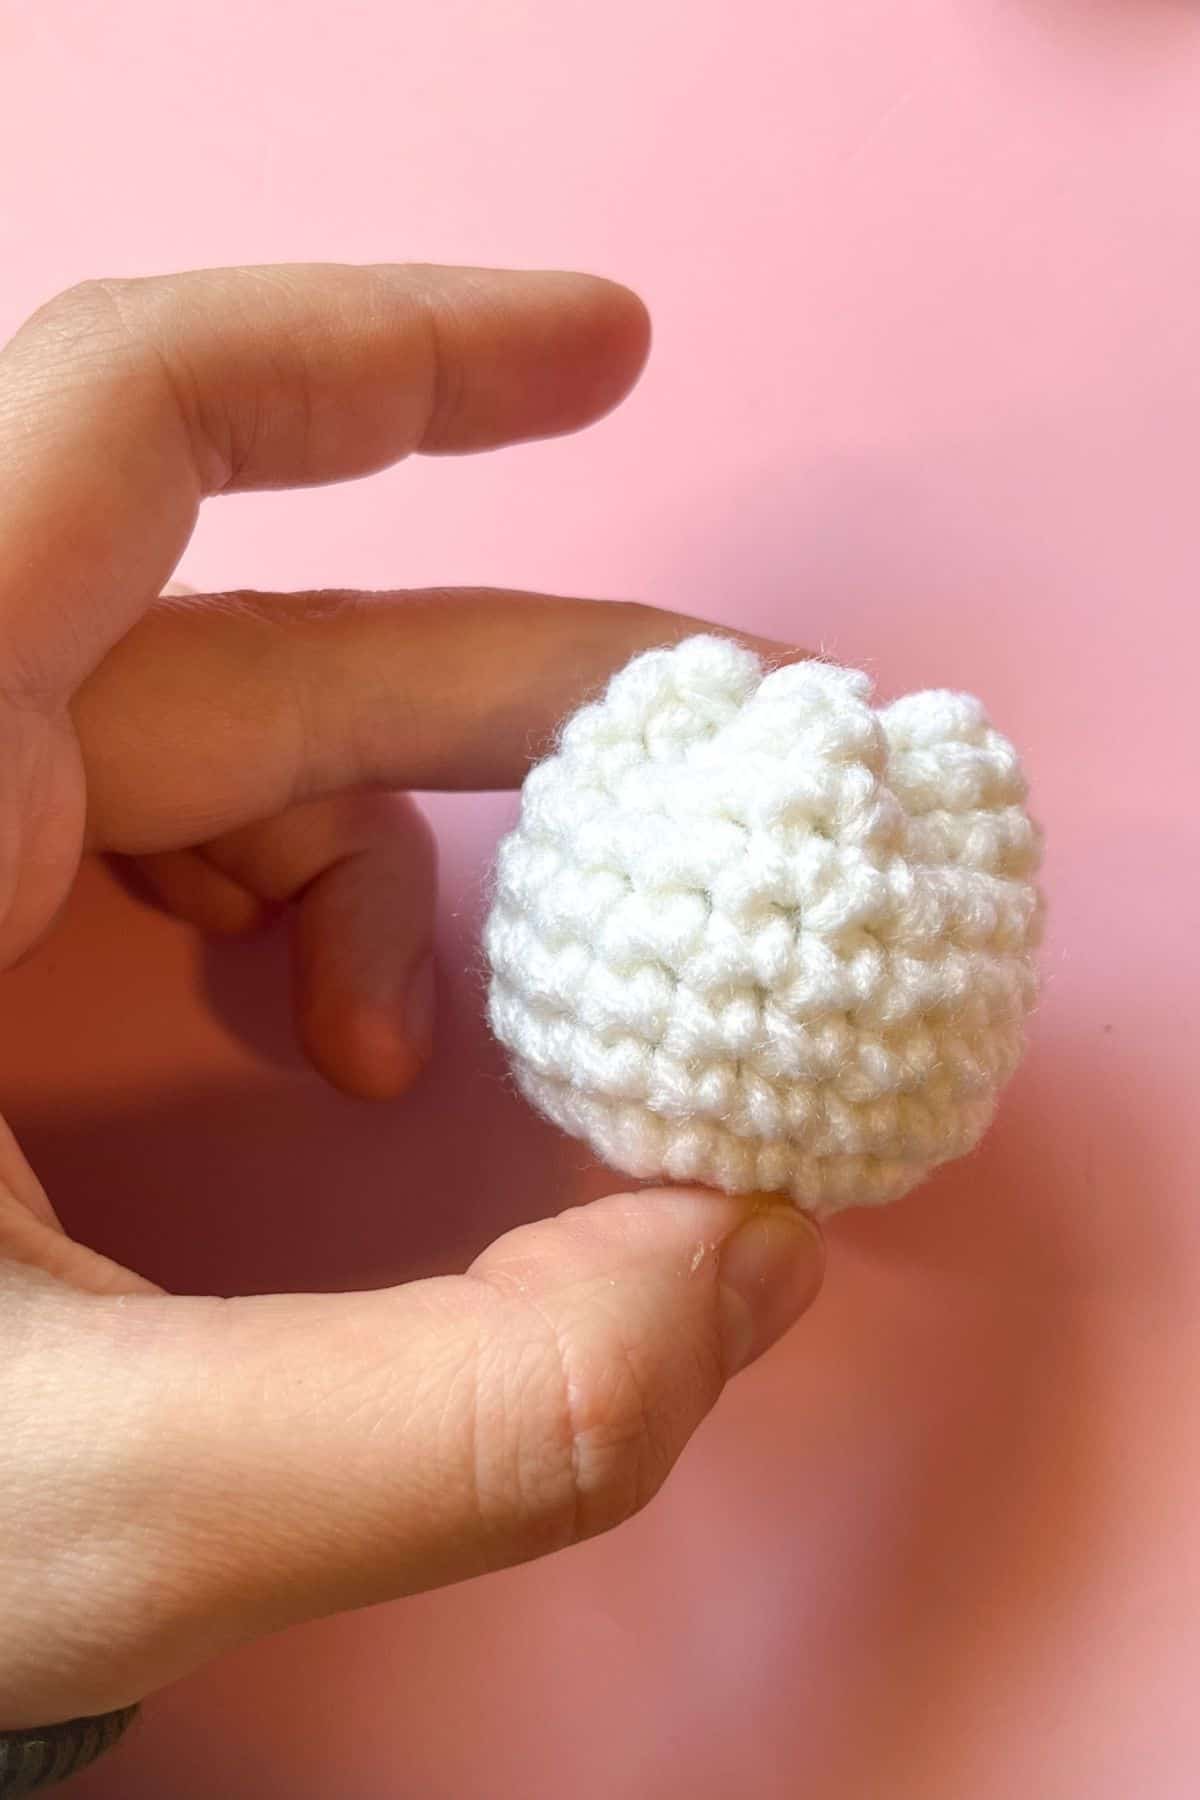
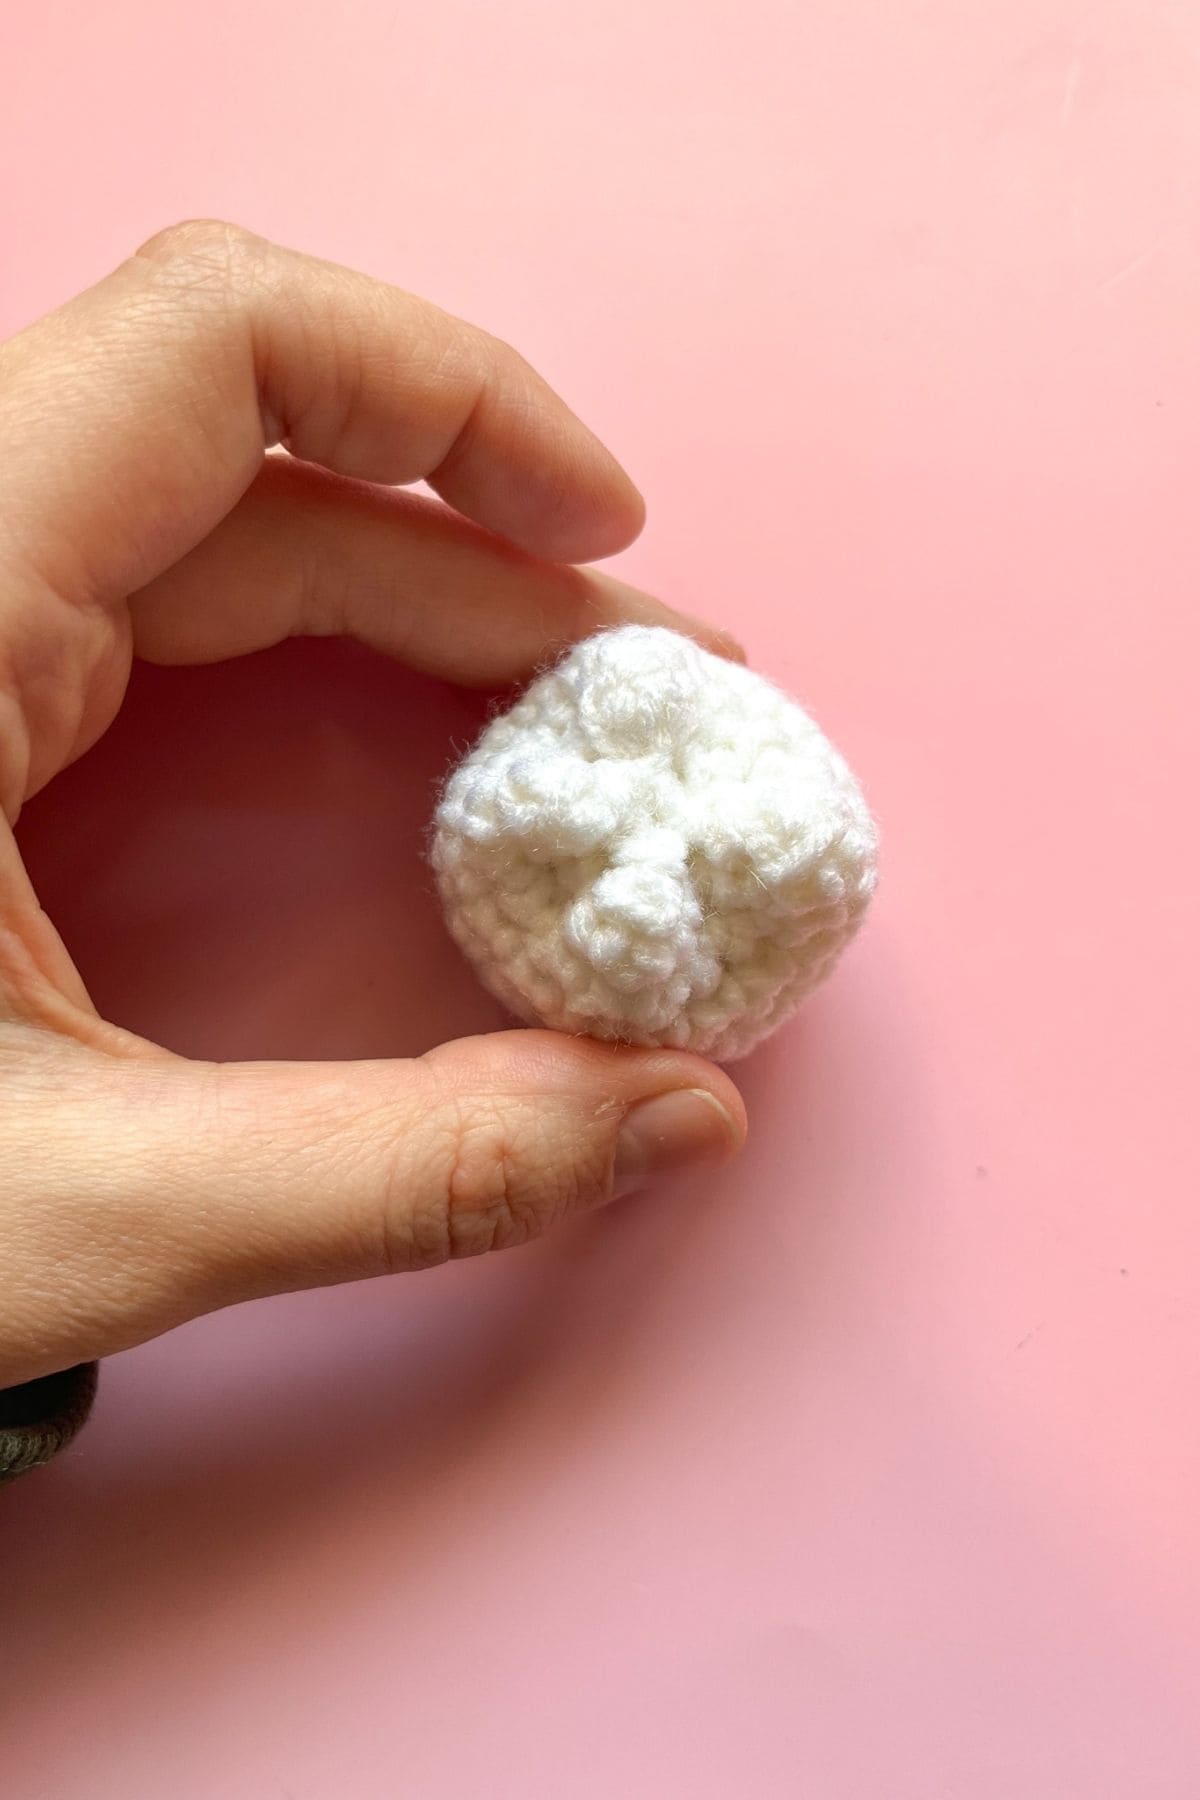
Crochet Leaves and stem:
The leaves and stem are all made in one piece. Trust the process.
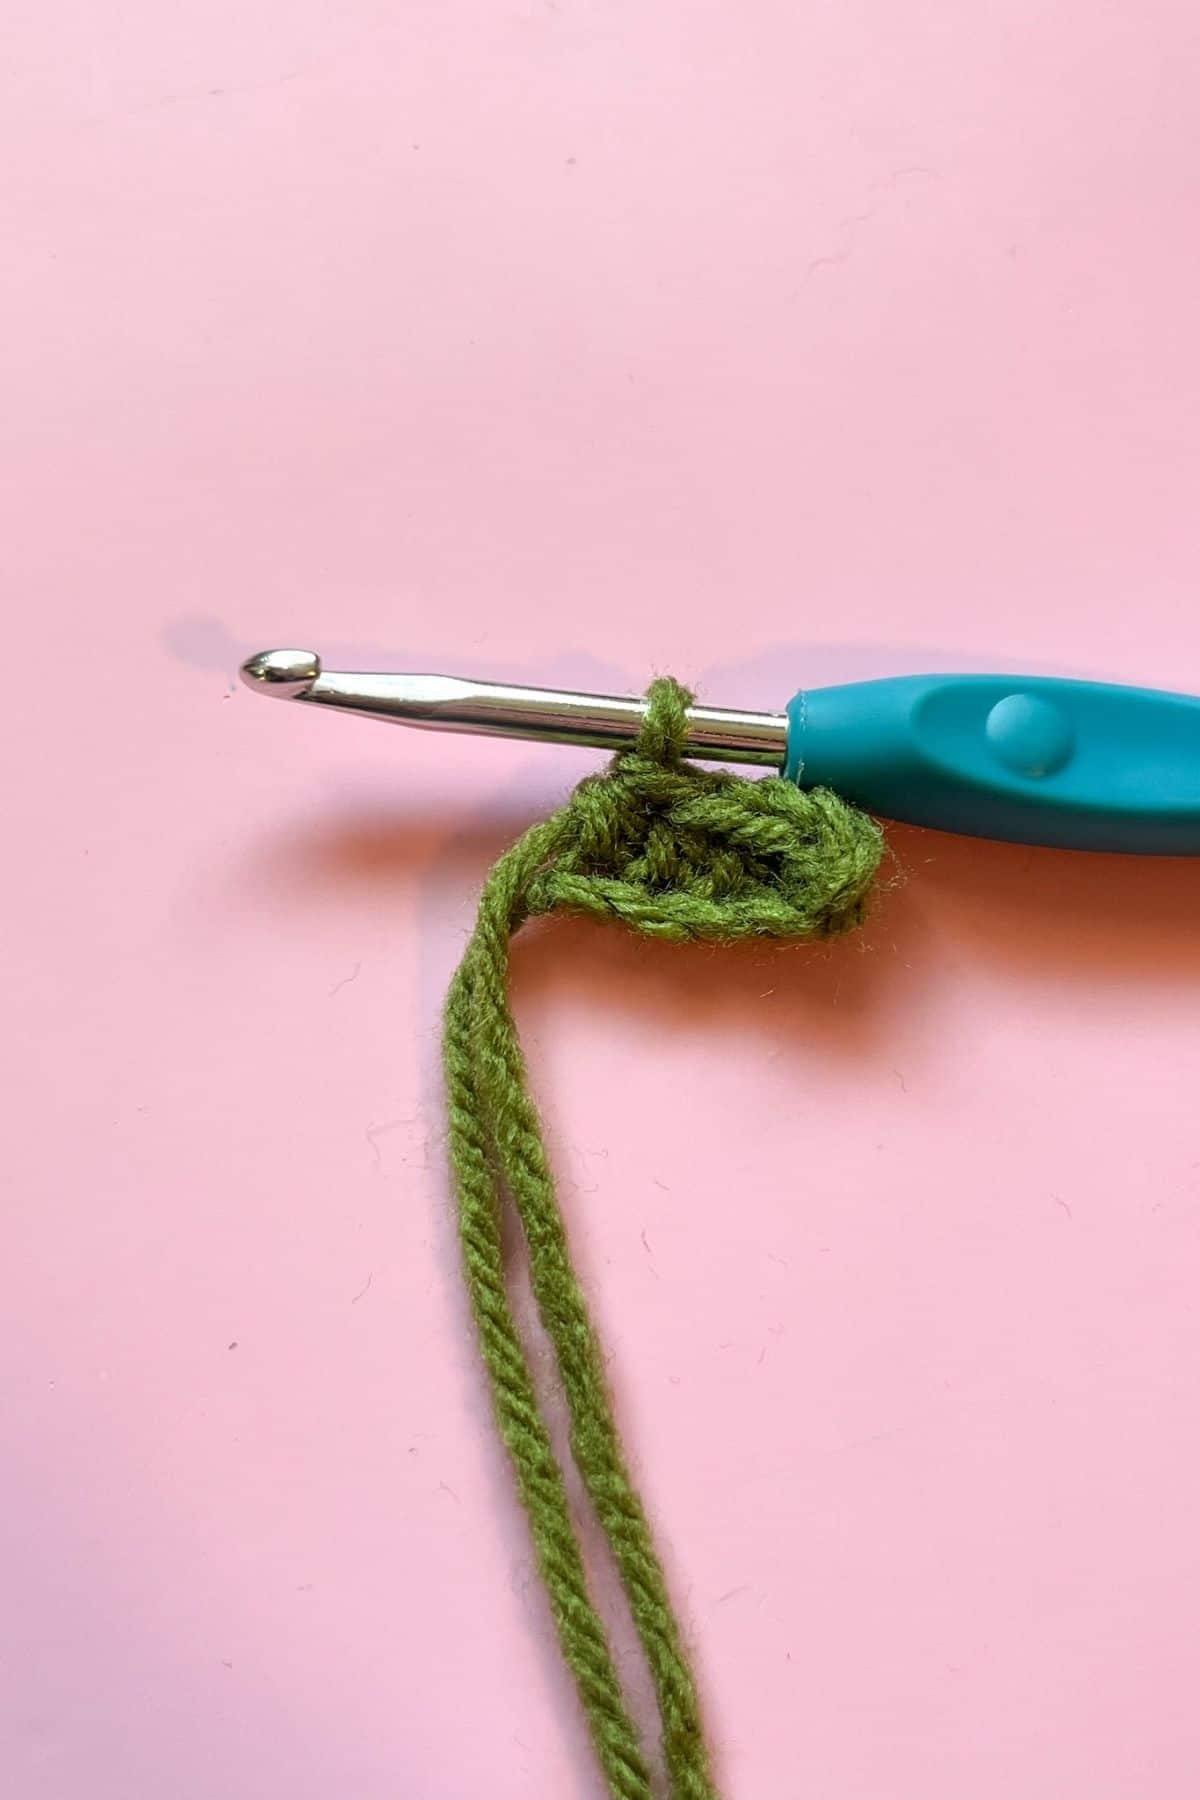
Ch x5, and then in the second chain from the hook make a hdc, proceed to make 3 more hdc in the remainder of the chains.
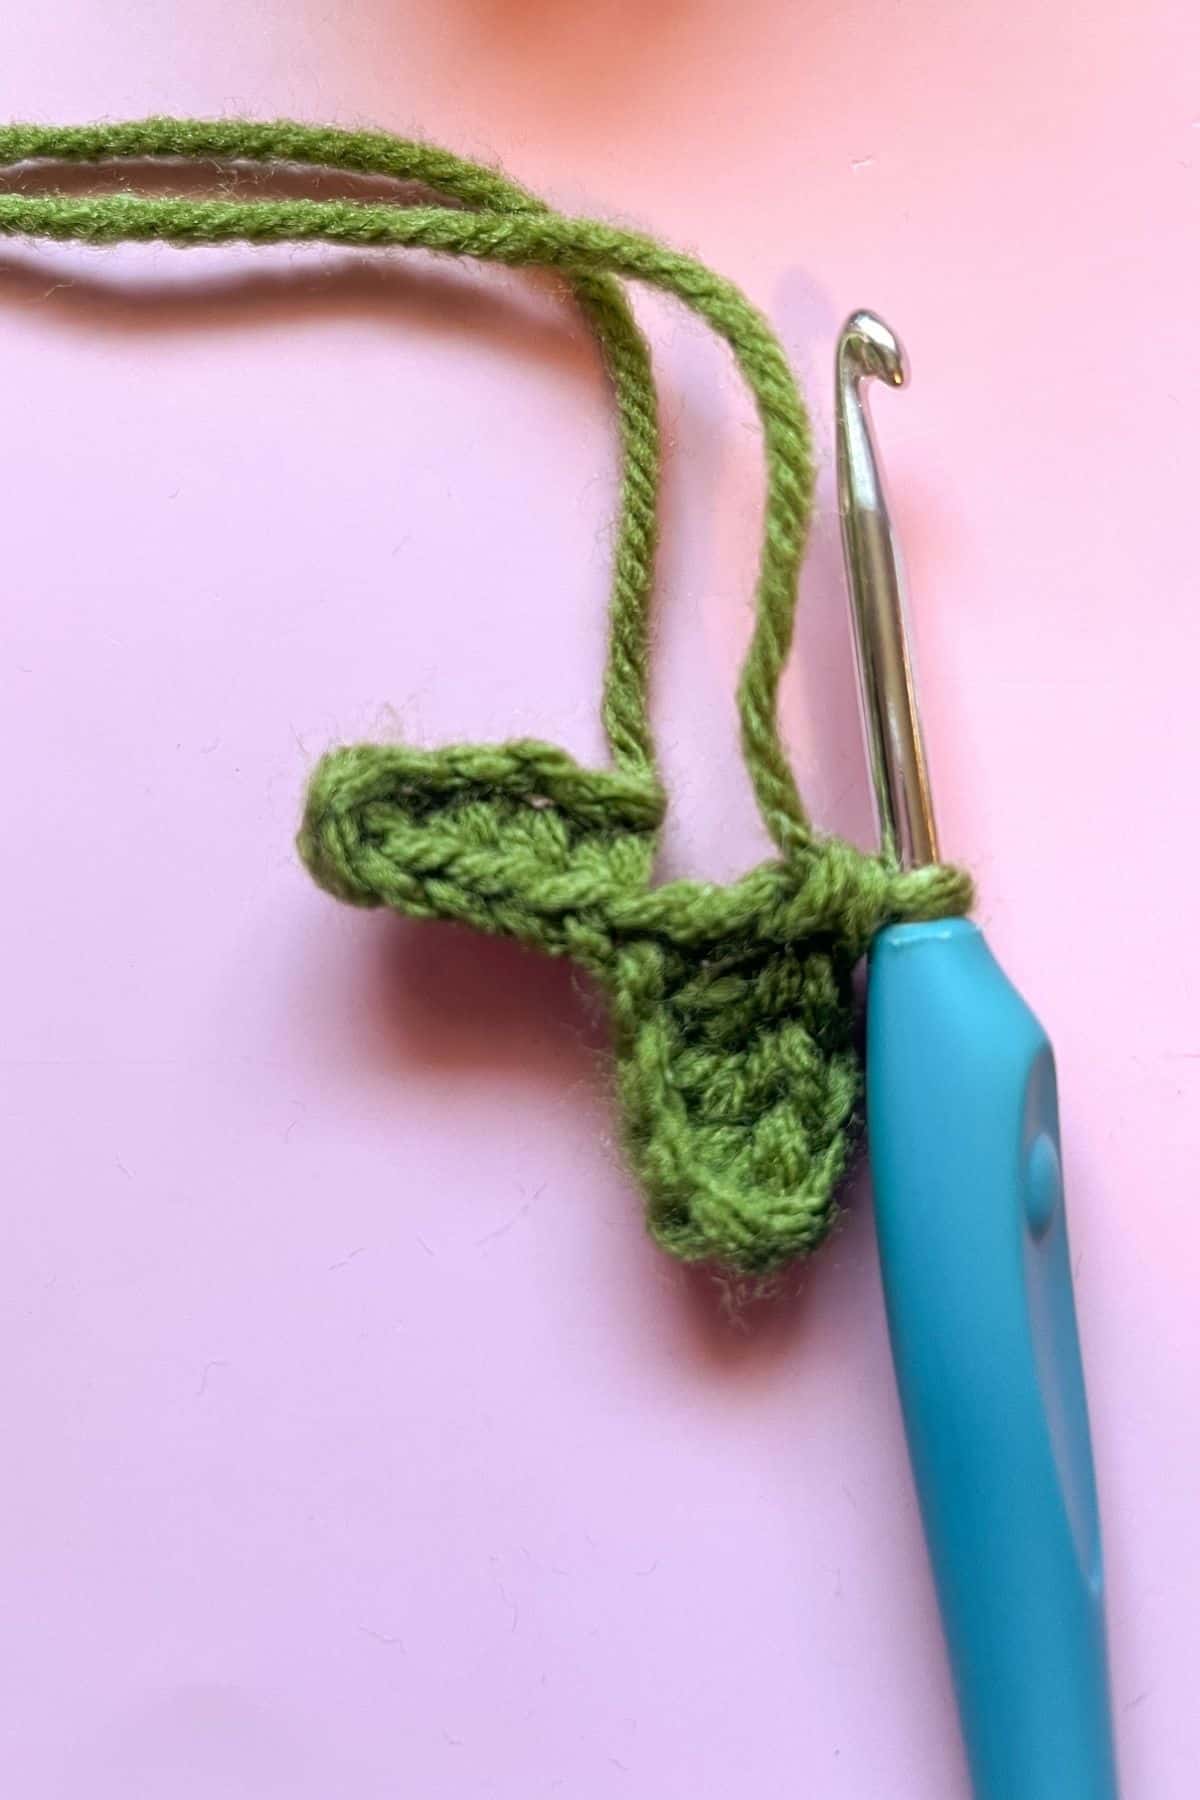
Then ch x6 and in the third chain from the hook make a dc. Continue making 3 more dc in the remainder of the chains.

Then ch x5, and then in the second chain from the hook make a hdc, proceed to make 3 more hdc in the remainder of the chains. Fasten off and then leave a tail for sewing.

With the tapestry needle and yarn tail left from the leaves and stem sew a v shape where the leaves and stem parts meet like in the picture shown. Then Pull tight.

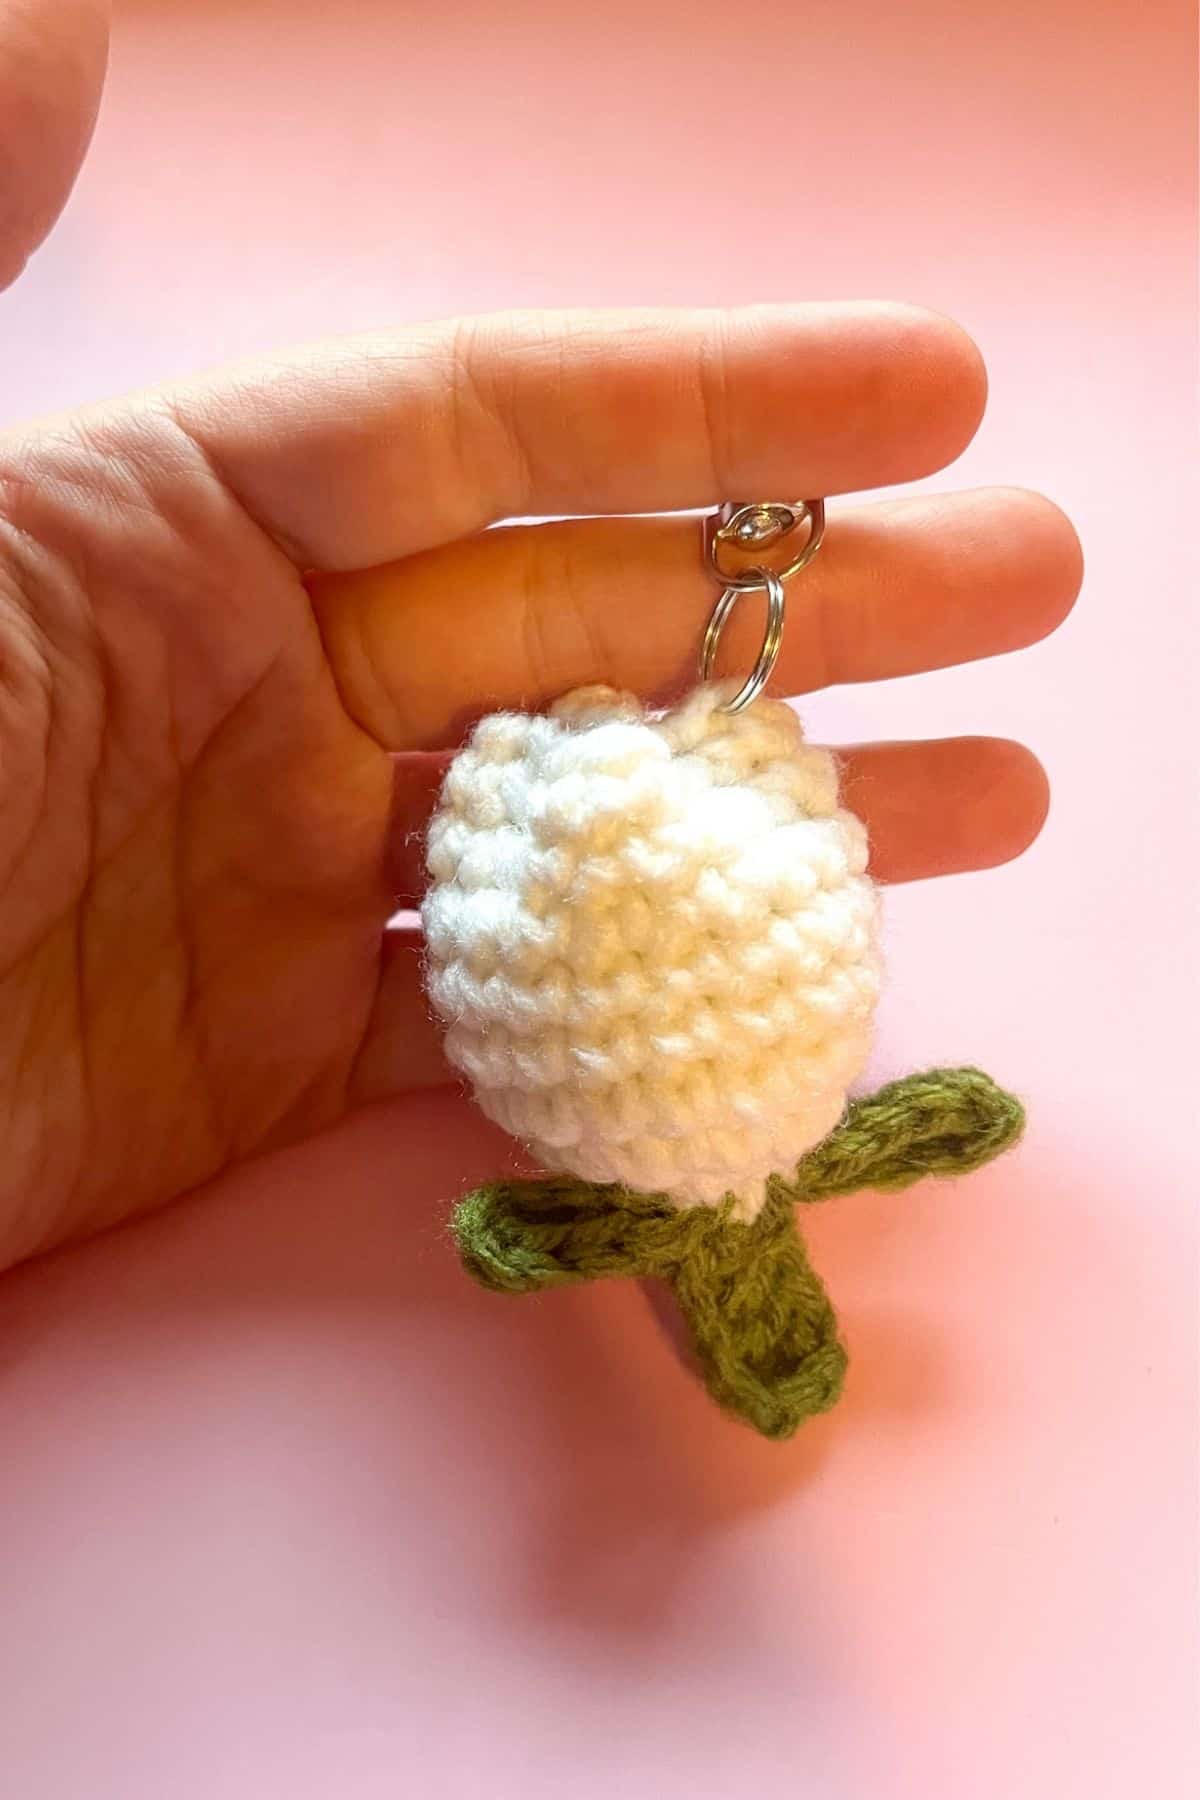
After that sew the leaves and stem to the keychain and add a keyring to the top of the flower.
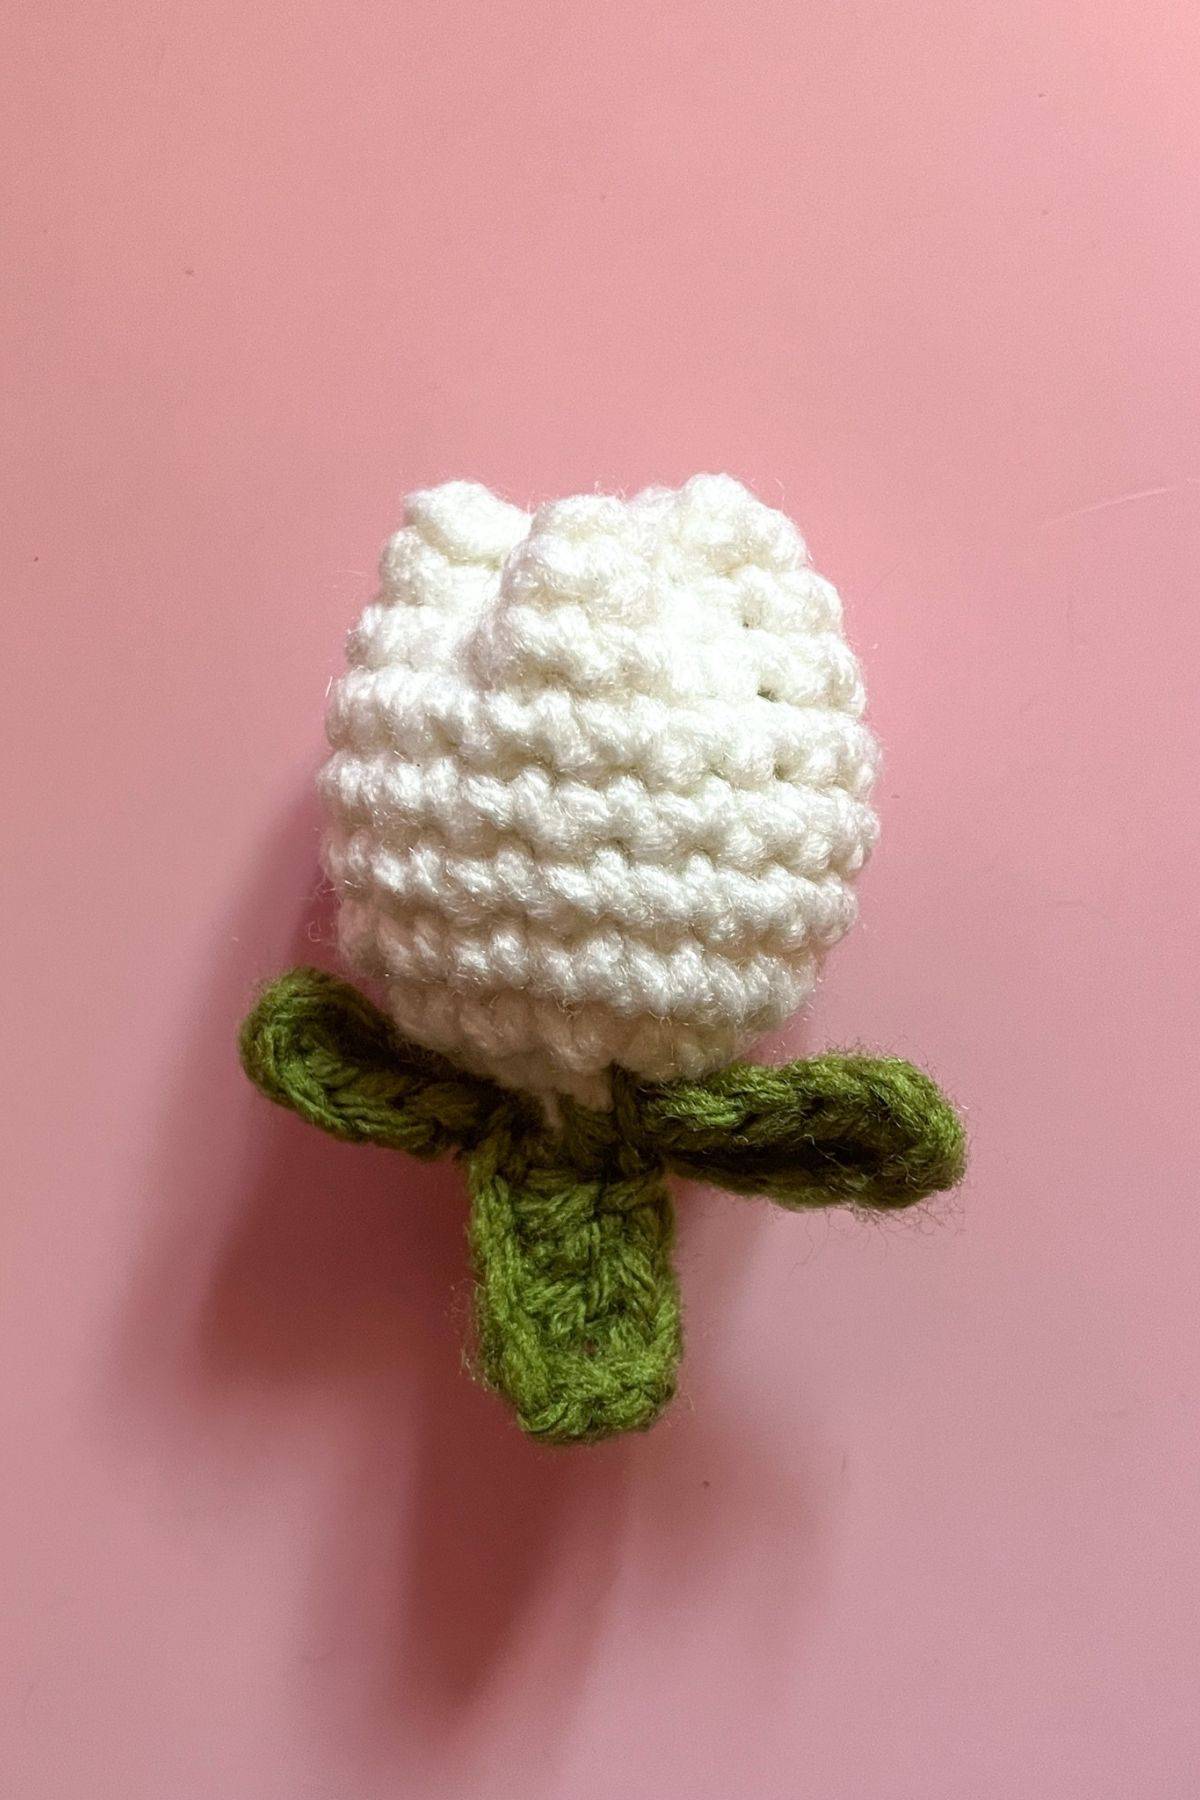
And now you have a tulip keychain made from my crochet tulip keychain pattern!
If you have extra pink yarn, try making my crochet heart keychain pattern!
If you are wanting to make more flower patterns check out my crochet daisy blanket pattern or my crochet cherry blossom coaster pattern!
🐌Expert Tips
- Keychain Attachment: If you don’t want to join the keychain directly to the flower, you can rejoin the yarn and make a chain, slip the keyring over the chain, and slip stitch back to the beginning of the chain.
- Stuffing Options: If you want the tulip to have a more defined shape, stuff it with more polyfill before closing it up.
- Finishing Touches: For added stability, consider using a small bead or button at the base of the flower before attaching the keychain.
🧵Pattern FAQs
Of course! It will just result in an extra-large tulip keychain.
Absolutely! It also uses very little materials, so if you do make a mistake you didn’t waste too much as far as yarn goes.
I have linked the ones I used in the materials section of this post, but you can use any keyrings you prefer!
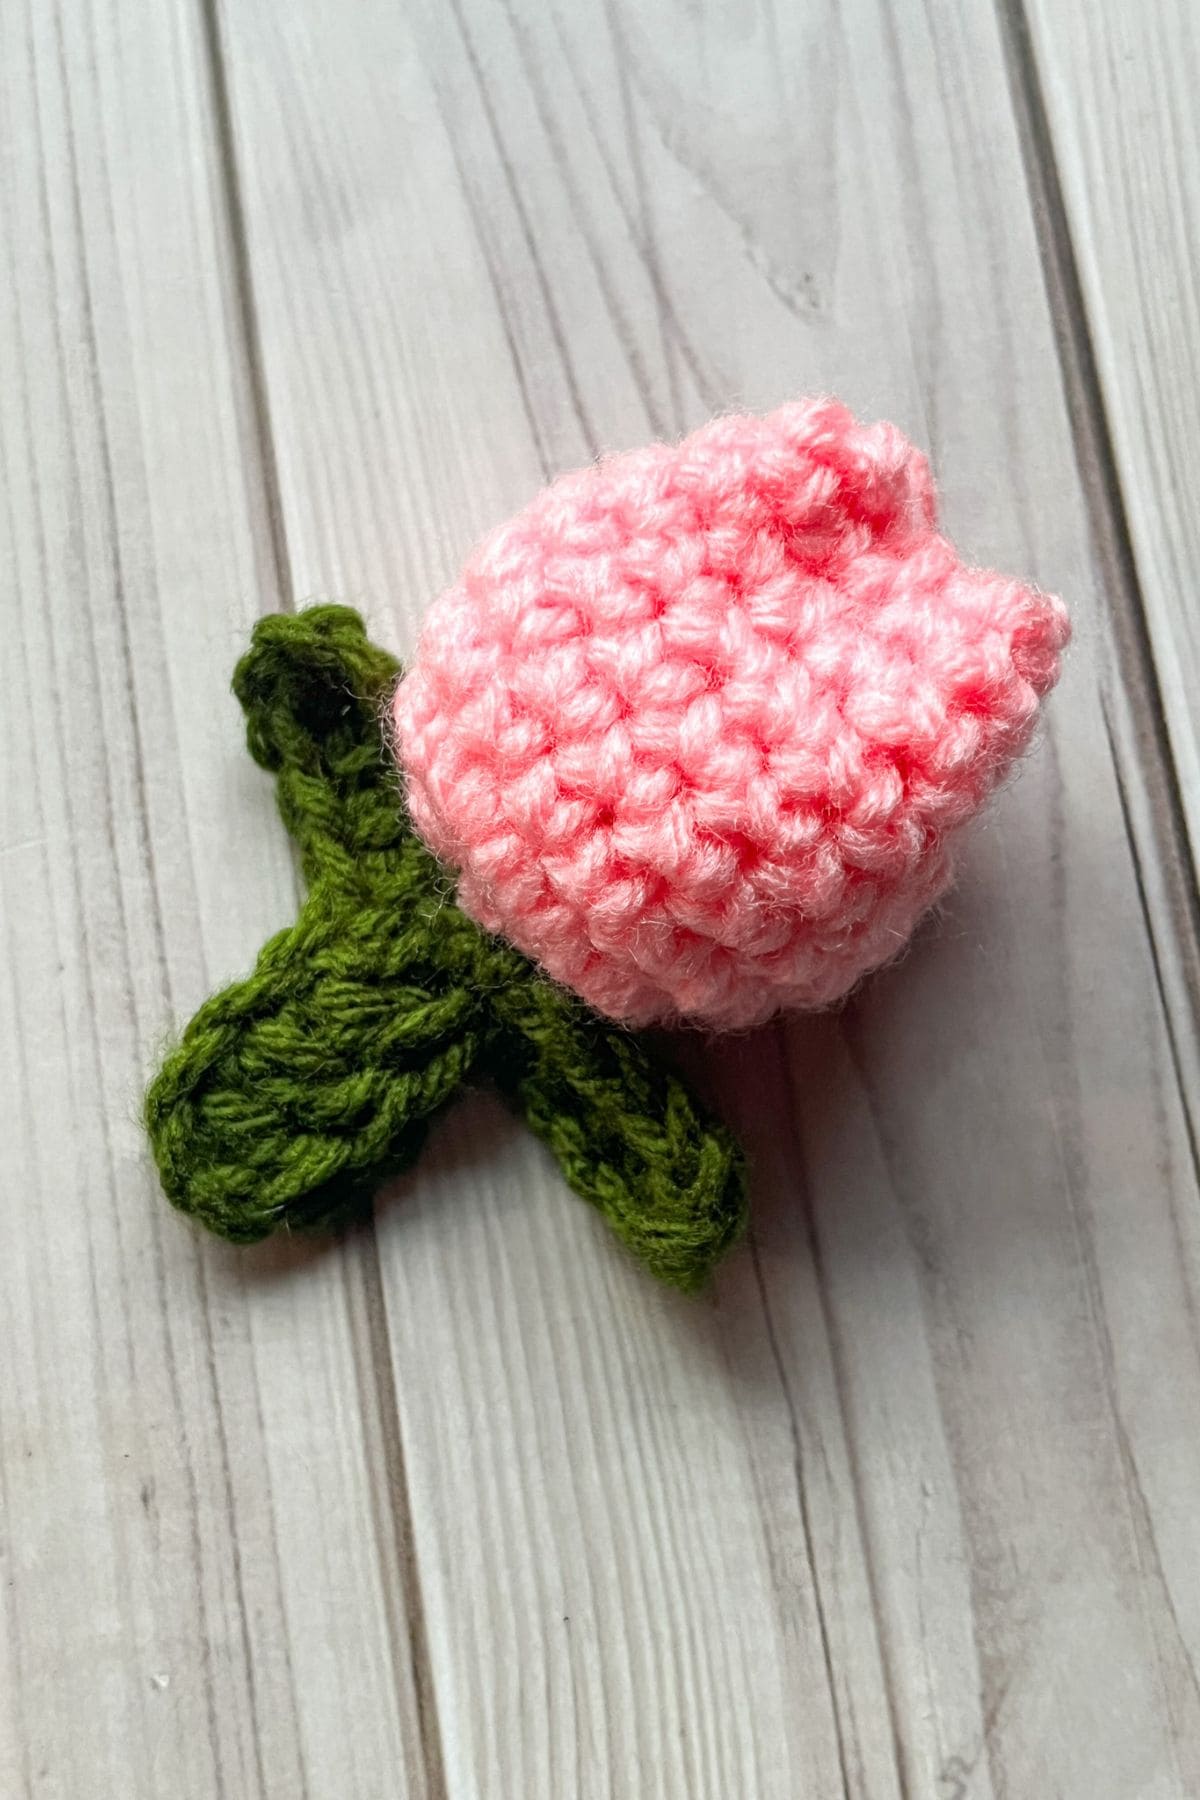
🧶More Crochet Flower Patterns


If you tried this Crochet Tulip Keychain Pattern (or any other pattern on my website), please let me know how it went in the 📝 comments below. I'd love to hear from you!
Crochet Tulip Keychain Pattern
Materials
Abbreviations (US terms)
- mr = Magic ring
- sc = Single crochet
- inc = Increase
- hdc = Half Double Crochet
- dc = Double Crochet
Notes
- Use scrap yarn for small tulips; any yarn type works.
- Worsted weight yarn is recommended; larger yarn (size 5 or above) results in a bigger keychain.
- Crochet tulip measures no bigger than 2 inches.
- Change colors freely; for a hookless bag charm, make the stem longer and create a loop to hook around a bag handle.
Instructions
Tulip:
- The flower part of this pattern is made in rounds.
- Round 1: Using the yarn you want the petals to be made out of, make a mr and then make sc x6 in the circle. If you find it difficult making a magic ring you can chain 2 and then crochet sc x6 in the second chain from the hook. (6)
- Round 2: Inc in every sc. (12)
- Round 3: Inc, sc, and then repeat until end of round (18)
- Round 4-9: Sc in every stitch. (18) At the end, fasten off and leave a long tail for sewing.
- Finishing off the flower portion: You want to stuff the flower with polyfill, then with your needle and long yarn tail sew the top of the tulip shut by forming it into a square (for mental referencing) then insert your hook into a stitch on each top side of the square so you have a diamond formed from the sewing, then pulltight to close the tulip. Then sew the top sections of the tulip closed so no polyfill can escape and you are done.
Leaves and stem:
- The leaves and stem are all made in one piece. Trust the process.
- Ch x5, and then in the second chain from the hook make a hdc, proceed to make 3 more hdc in the remainder of the chains.
- Then ch x6 and in the third chain from the hook make a dc. Continue making 3 more dc in the remainder of the chains.
- Then ch x5, and then in the second chain from the hook make a hdc, proceed to make 3 more hdc in the remainder of the chains. Fasten off and then leave a tail for sewing.
- With the tapestry needle and yarn tail left from the leaves and stem sew a v shape where the leaves and stem parts meet like in the picture shown. Then pull tight.
- After that sew the leaves and stem to the keychain and add a keyring to the top of the flower.
- And now you have a tulip keychain made from my crochet tulip keychain pattern!


Leave a Reply