
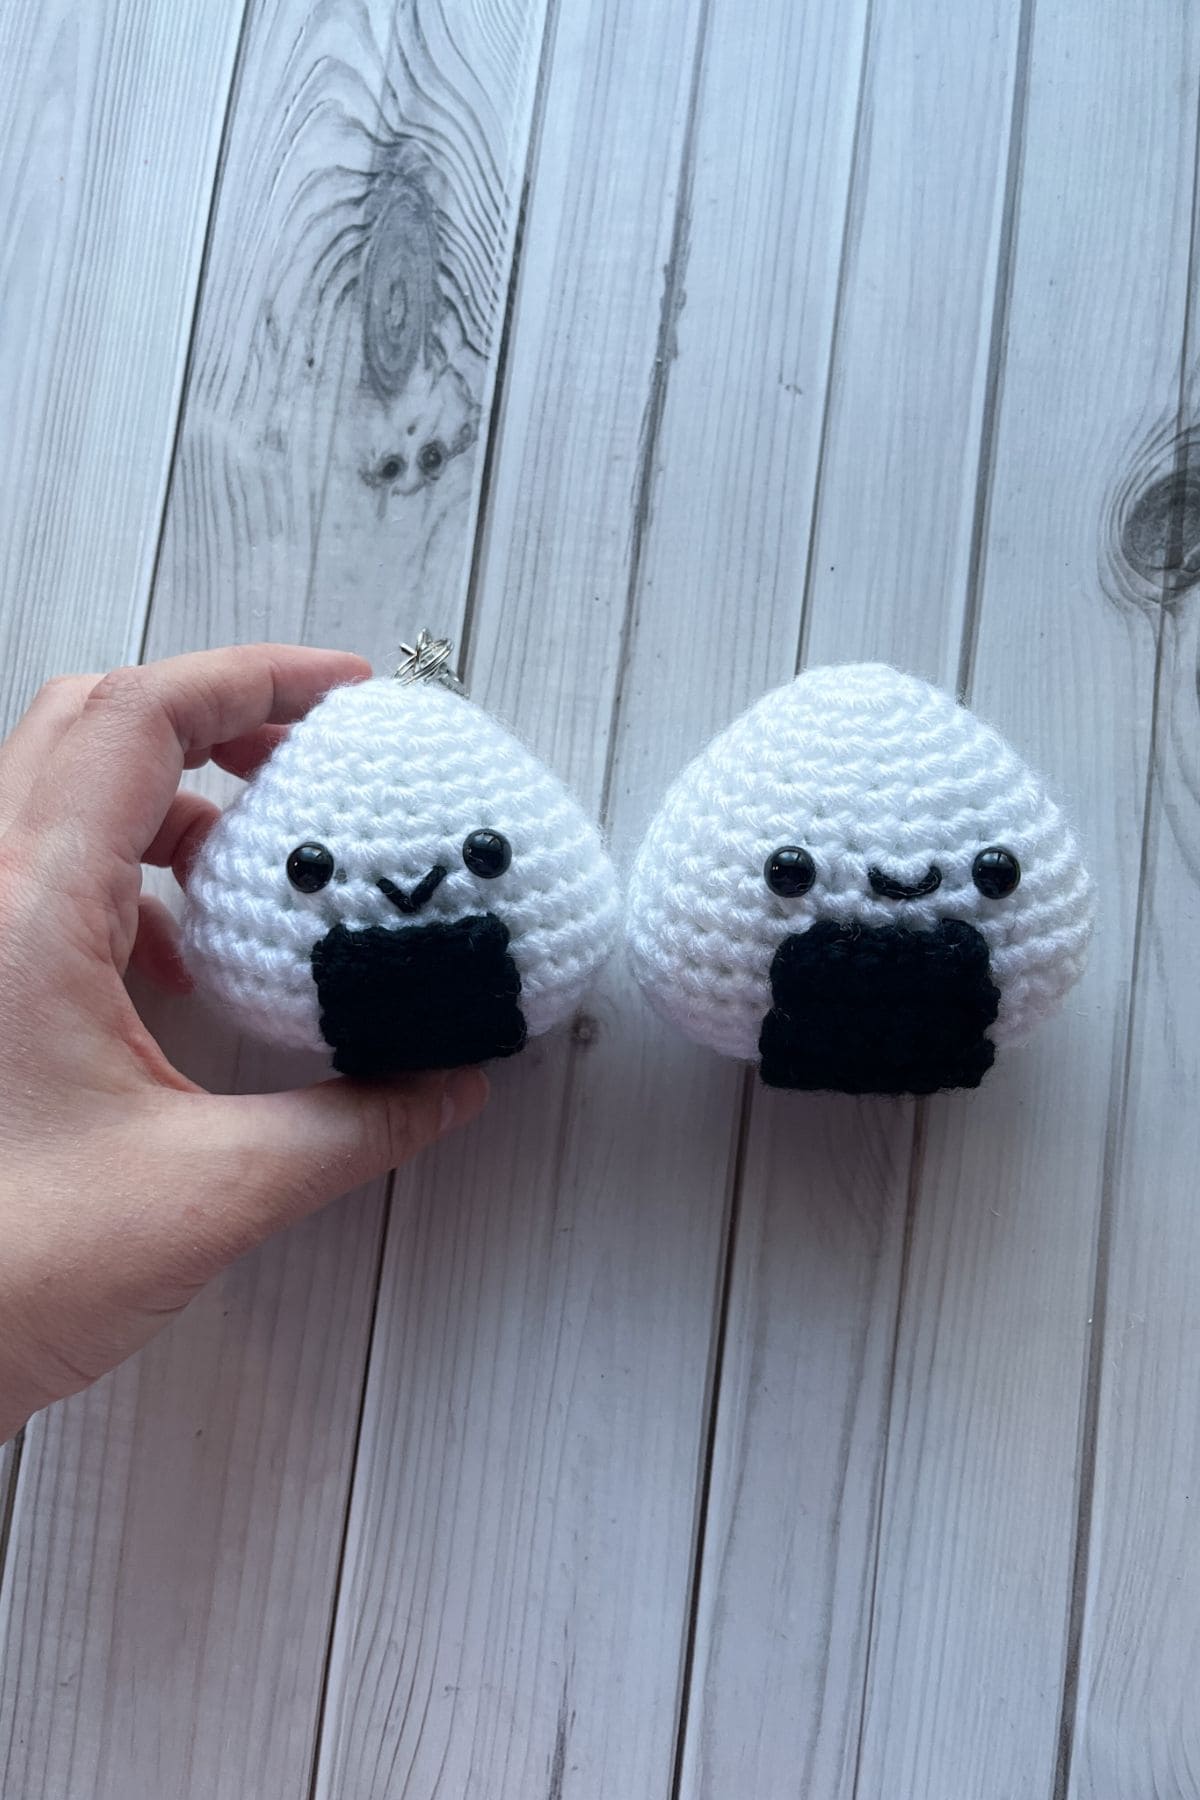
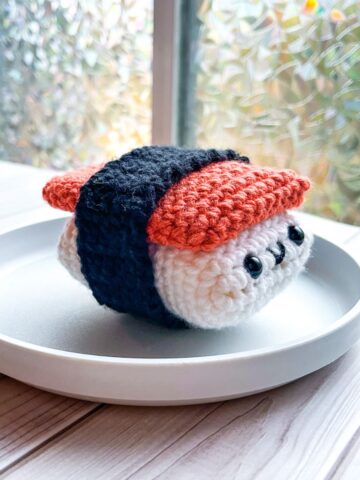
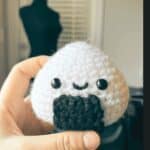
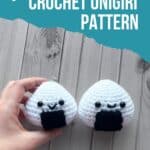
Looking for a cute, quick, and versatile crochet project? Look no further than this crochet onigiri pattern! This small and easy-to-make crochet rice ball is perfect for beginners and seasoned crocheters alike.
Whether you're looking to create a thoughtful gift or sell at markets, this little onigiri is sure to charm anyone who sees it. It’s also a fantastic option for adding fun, handmade touches to food-themed play sets, making it a great addition to any child's toy collection.
The best part? This crochet rice ball pattern is incredibly adaptable! Turn it into a keychain to carry a bit of handmade whimsy with you wherever you go, or create a whole set of crochet amigurumi food to complete your own miniature Japanese street food collection. In fact, if you love this onigiri, be sure to check out my crochet dumpling pattern and crochet bao pattern—they pair perfectly with the onigiri to create an adorable spread that’s sure to impress.
If you like the crochet onigiri pattern and love all things Japan, check out how to make my crochet Japanese knot bag pattern which looks like Mt. Fuji, a perfect bag for anyone who loves all things Japan.
So grab your hook and some yarn, and let’s make this delightful crochet sushi pattern together—whether it’s for a gift, a market sale, or just for fun!
Jump to:
✏️ Things To Note:
- Skill Level: The crochet onigiri pattern is beginner-friendly, so it’s perfect for those new to crochet or anyone looking for a quick project. Basic stitches like single crochet (sc) and increase/decrease are used throughout.
- Size: The crochet onigiri pattern creates a small onigiri (about 2–3 inches in height), which makes it ideal for keychains or small gifts.
- Customization: Feel free to adjust the size or add extra embellishments to make your onigiri unique. You can experiment with different yarn colors or textures to add more visual interest.
🪡 Materials Needed
- Red Heart Yarn - white
- Red Heart Yarn - black
- Polyfill
- 10mm safety eyes
- 5mm hook
- Keychain
- Tapestry needle
💭Abbreviations to Remember (US terms)
- Chains (ch)
- Magic ring (mr)
- Single crochet (sc)
- Slip stitch (sl st)
- Increase (inc)
- Decrease (dec)
* The ch x1 at the end of each row does not count as a stitch in the row, it is a turning chain.
* If you see a stitch abbreviation with "x" after it, it means how many times you do that stitch in the following amount of stitches. For example: sc x6 would mean you make a single crochet in the next 6 stitches. Inc x2 means you make an inc in the next 2 stitches.
🧋Variations
- Different Toppings: While traditional onigiri is often wrapped in nori (seaweed), you can make your onigiri extra special by adding crochet toppings like a small salmon piece, pickled plum, or even a tiny fried egg! These can be made using simple embroidery or small crochet shapes sewn onto the top of your rice ball.
- Size Variations: Adjust the size of your crochet onigiri pattern to suit your needs. Create larger onigiri for display pieces, or make mini versions to use as charms or keychains. You can easily modify the number of stitches or rows to change the size.
- Color Variations: While the classic onigiri is white with a dark nori wrap, feel free to play with colors! Try pastel-colored rice for a cute, modern twist or experiment with different shades of green or black for the nori wrap. You could even make a rainbow onigiri!
🍵Instructions for Crochet Onigiri Pattern
For this Crochet Onigiri Pattern, we will be working in the round.
Crochet Rice Ball:
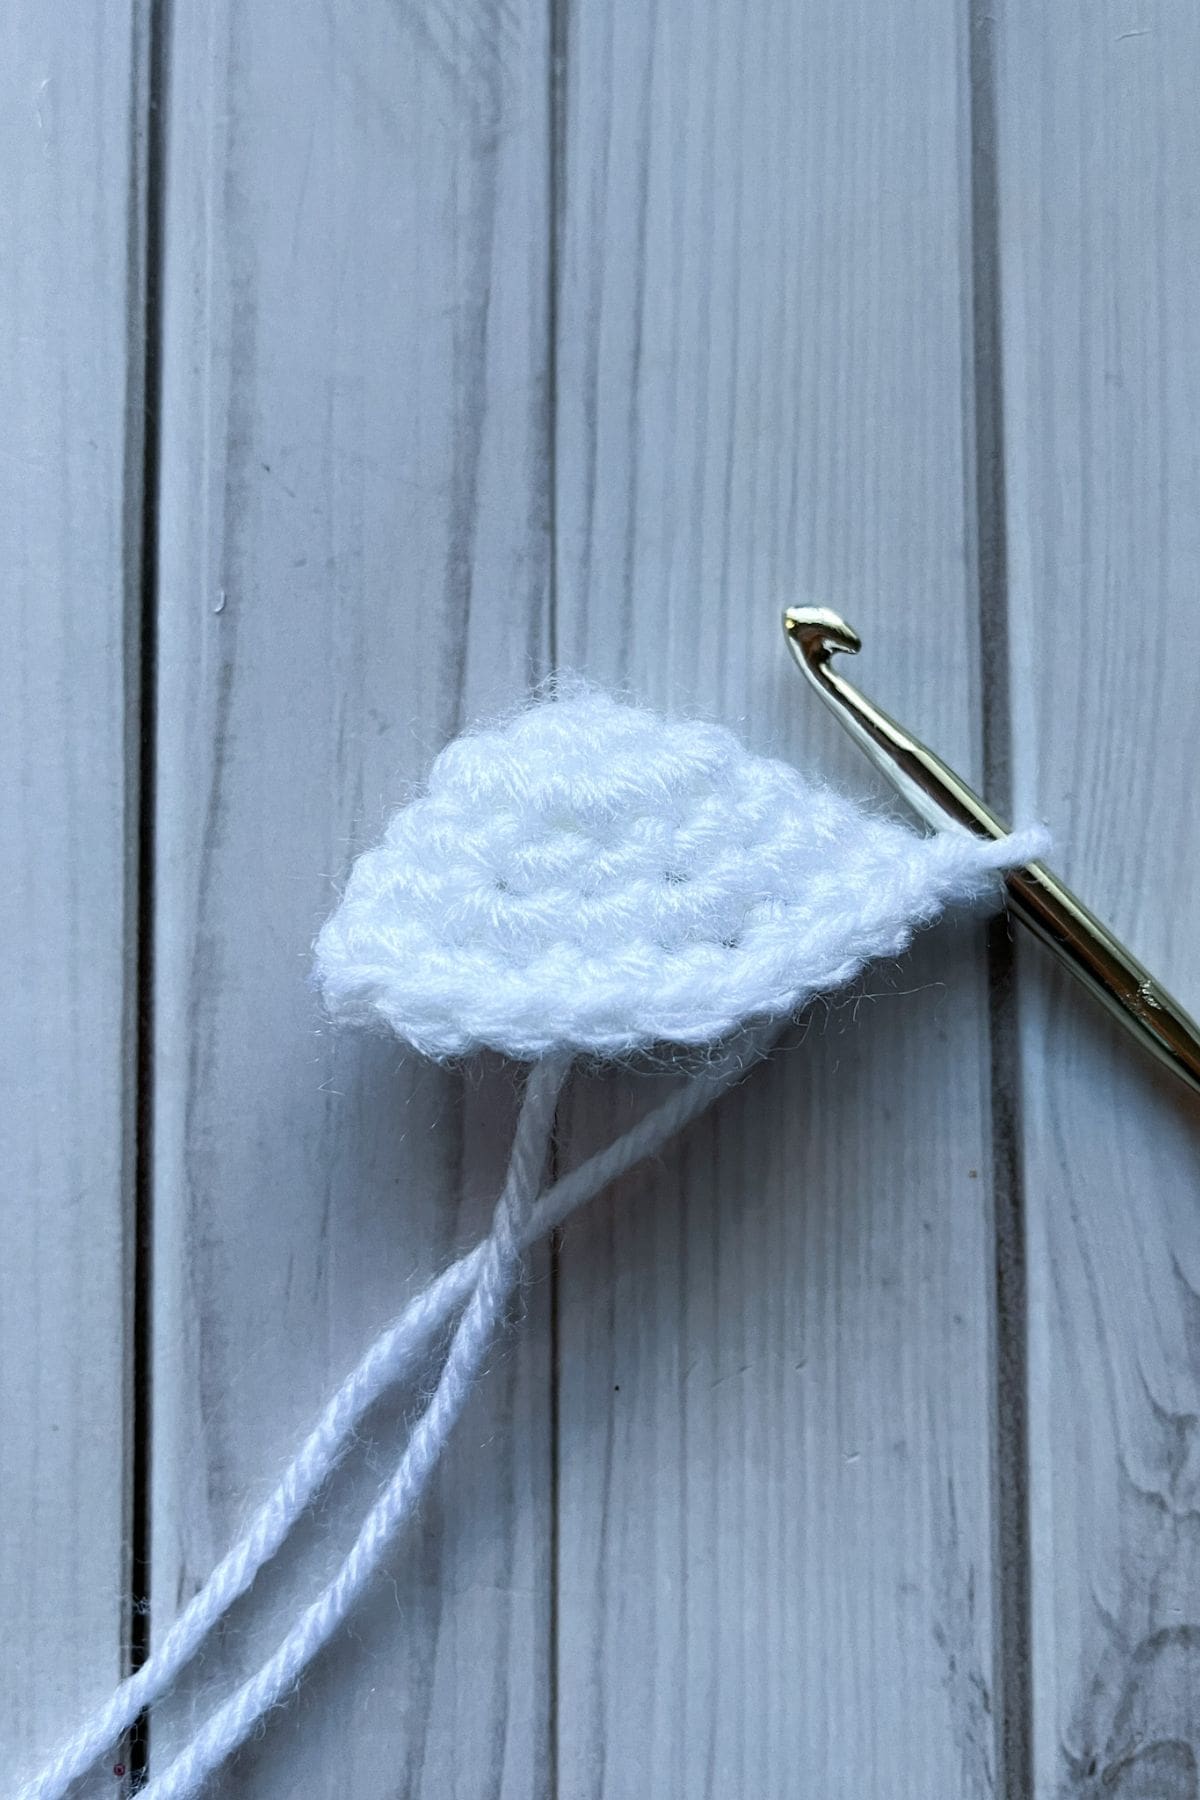
Round 1: Using the white yarn, make a mr and make sc x6 in the circle. If you find it difficult making a magic ring you can chain 2 and then crochet sc x6 in the second chain from the hook. (6)
Round 2: Sc inc in every sc. (12)
Round 3: Sc in every stitch (12).
Round 4: Inc, sc. Then repeat until the end of round (18).
Round 5: Sc in every stitch (18).
Round 6: Inc, sc x2. Then repeat until the end of round (24).
Round 7: Sc in every stitch (24).
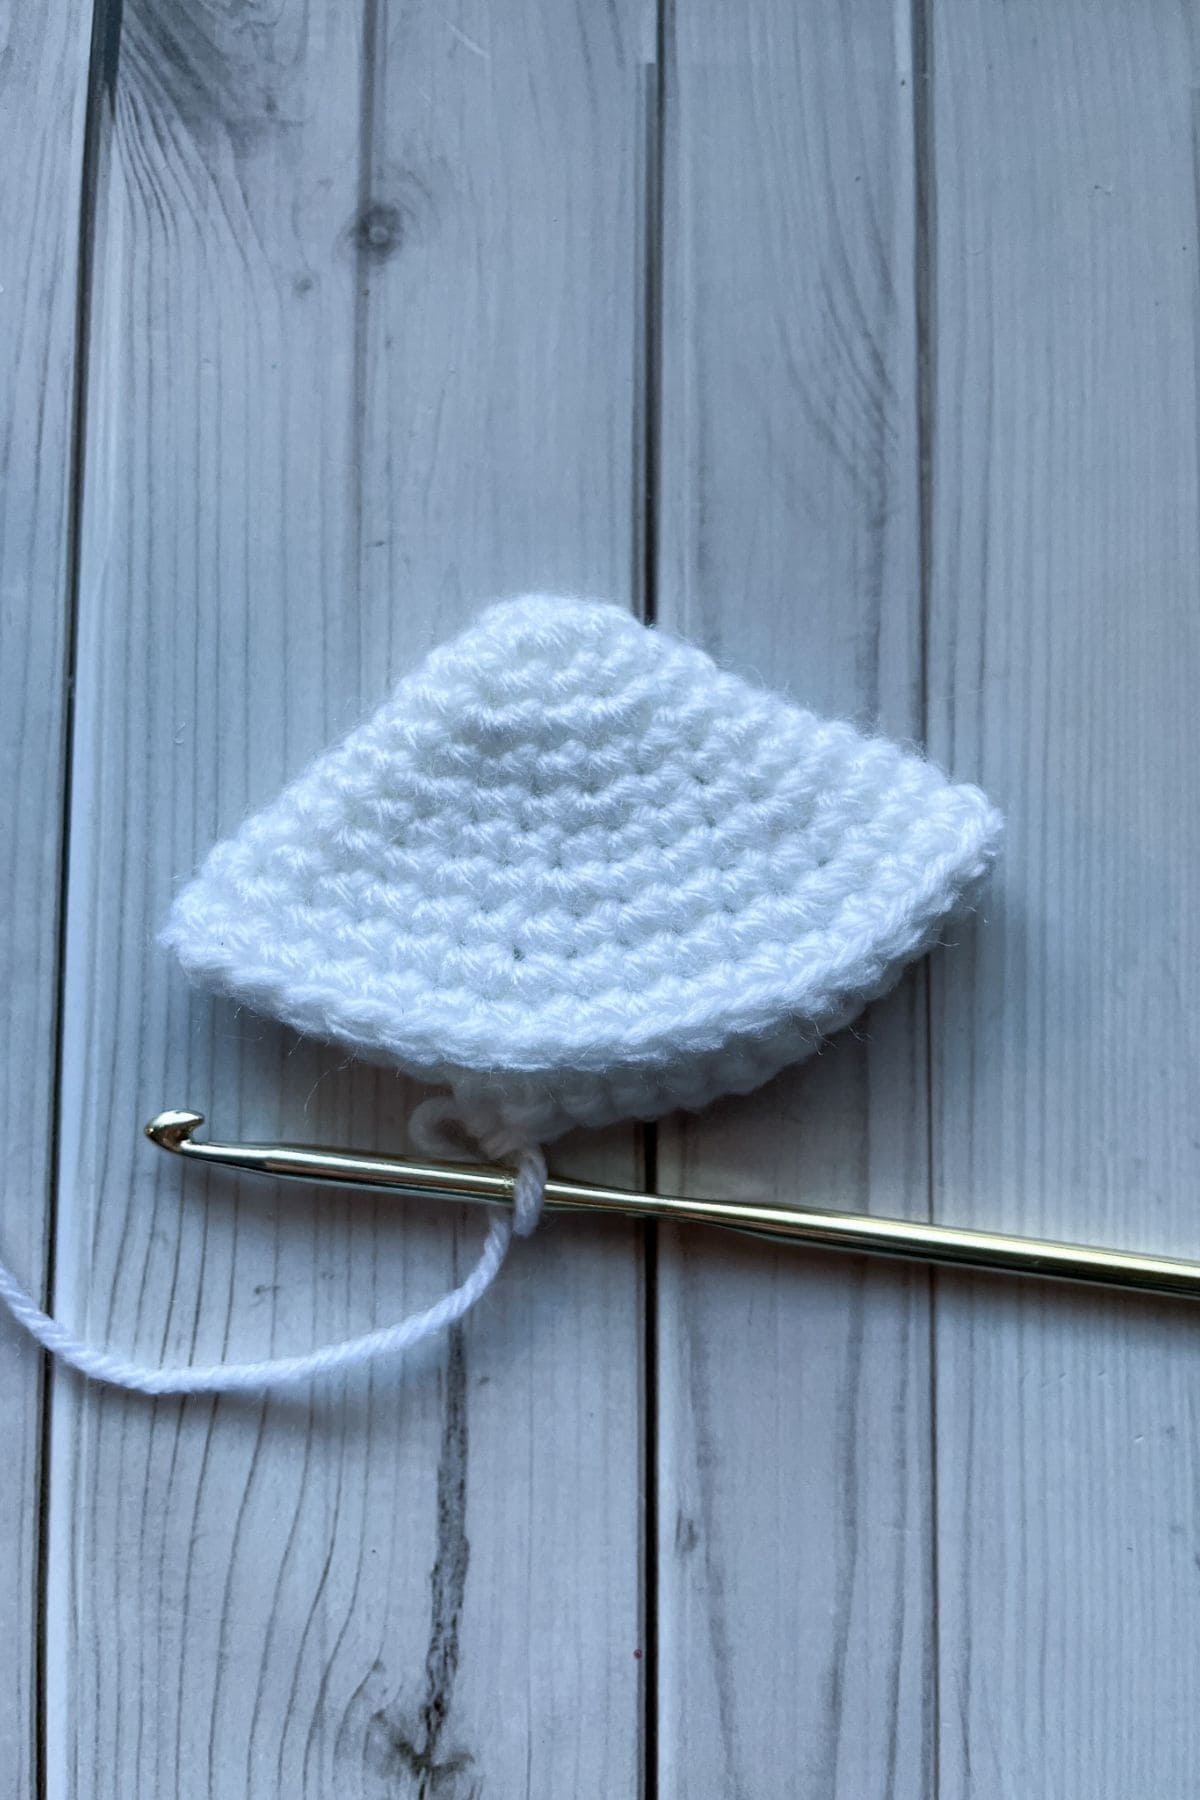
Round 8: Inc, sc x3. Then repeat until the end of round (30).
Round 9: Sc in every stitch (30).
Round 10: Inc, sc x4. Then repeat until the end of round (36).
Round 11: Sc in every stitch (36).
Round 12: Inc, sc x5. Then repeat until the end of round (42).
Round 13: Dec, sc x5. Then repeat until the end of the round (36).
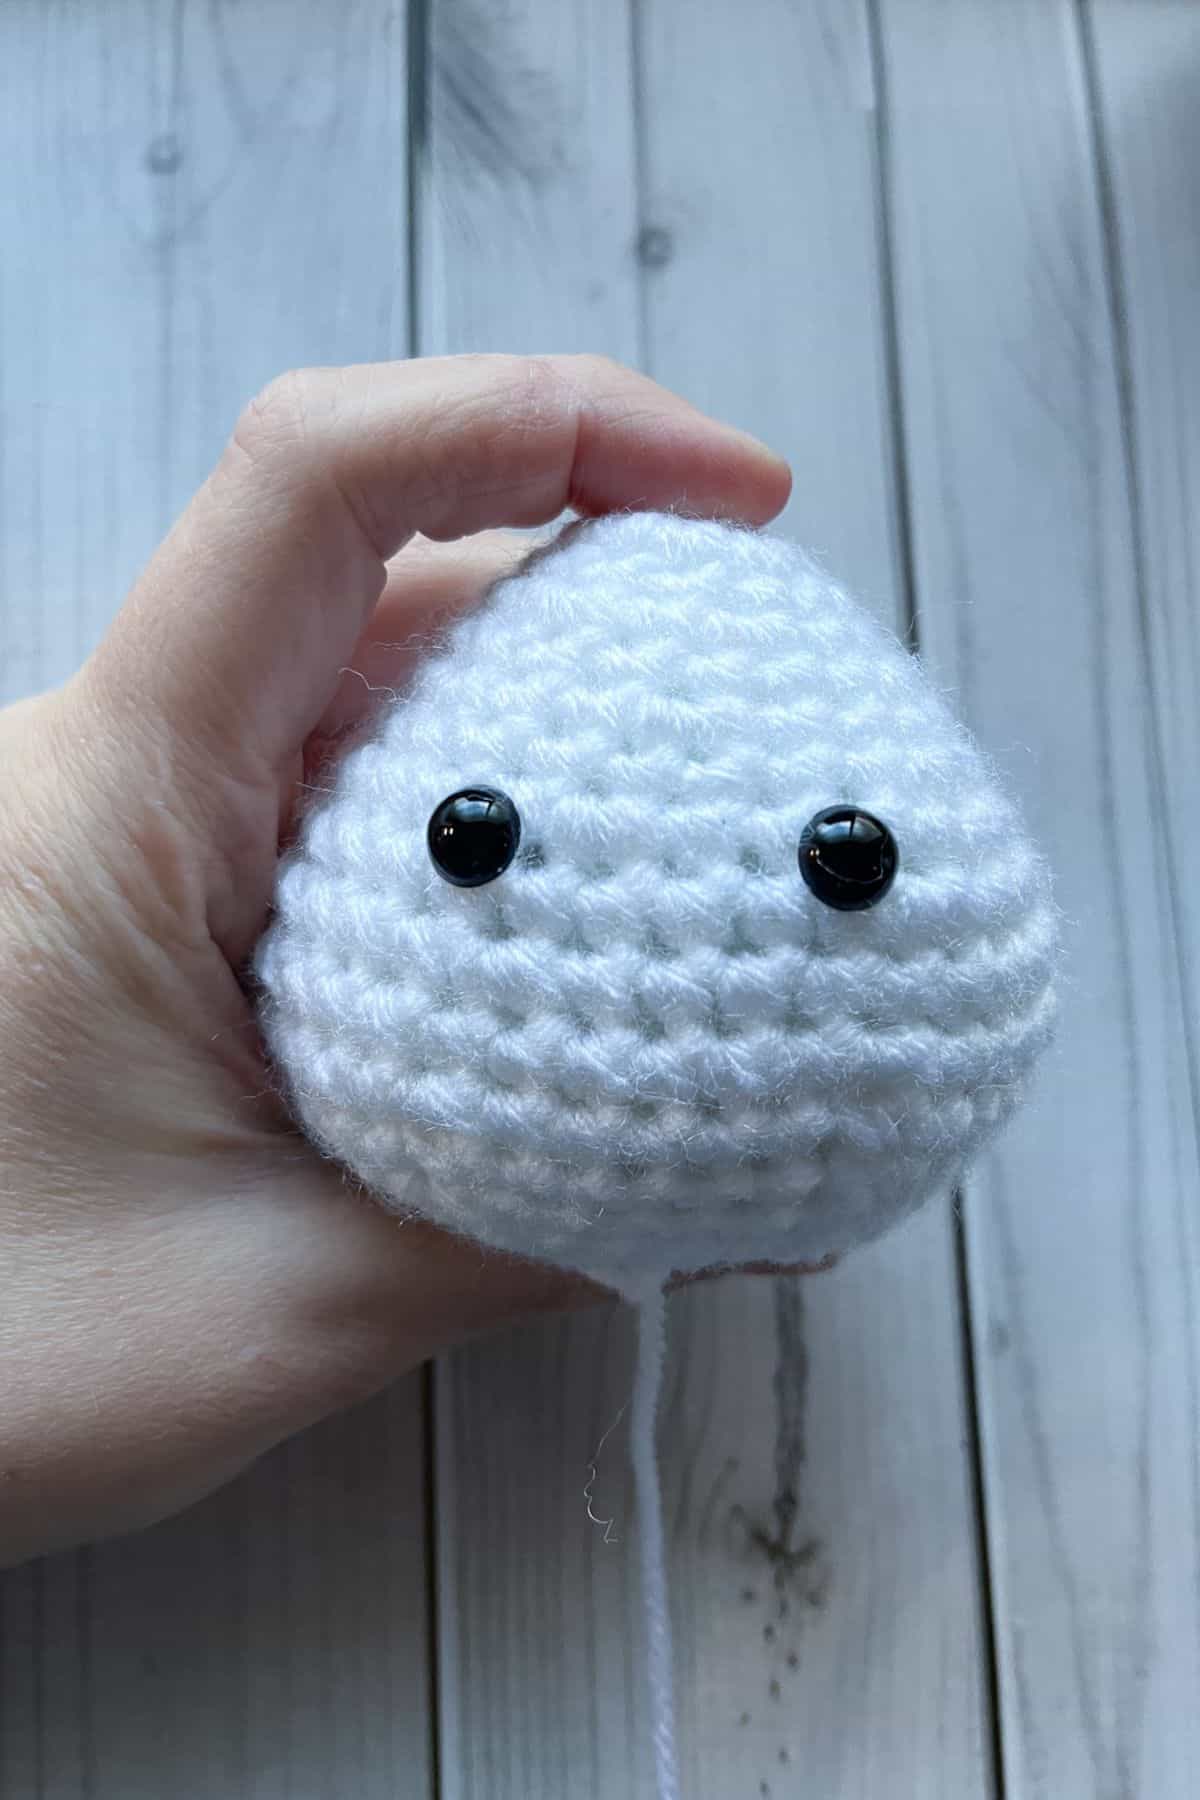
Round 14: Dec, sc x4. Then repeat until the end of the round (30). Add safety eyes between rounds 8 and 9 about 4 stitches apart. Then begin to stuff the onigiri.
Round 15: Dec, sc x3. Then repeat until the end of the round (24).
Round 16: Dec, sc x2. Then repeat until the end of the round (18).
Round 17: Dec, sc. Then repeat until the end of the round (12). If you haven't finished stuffing the crochet onigiri, you should do so now.
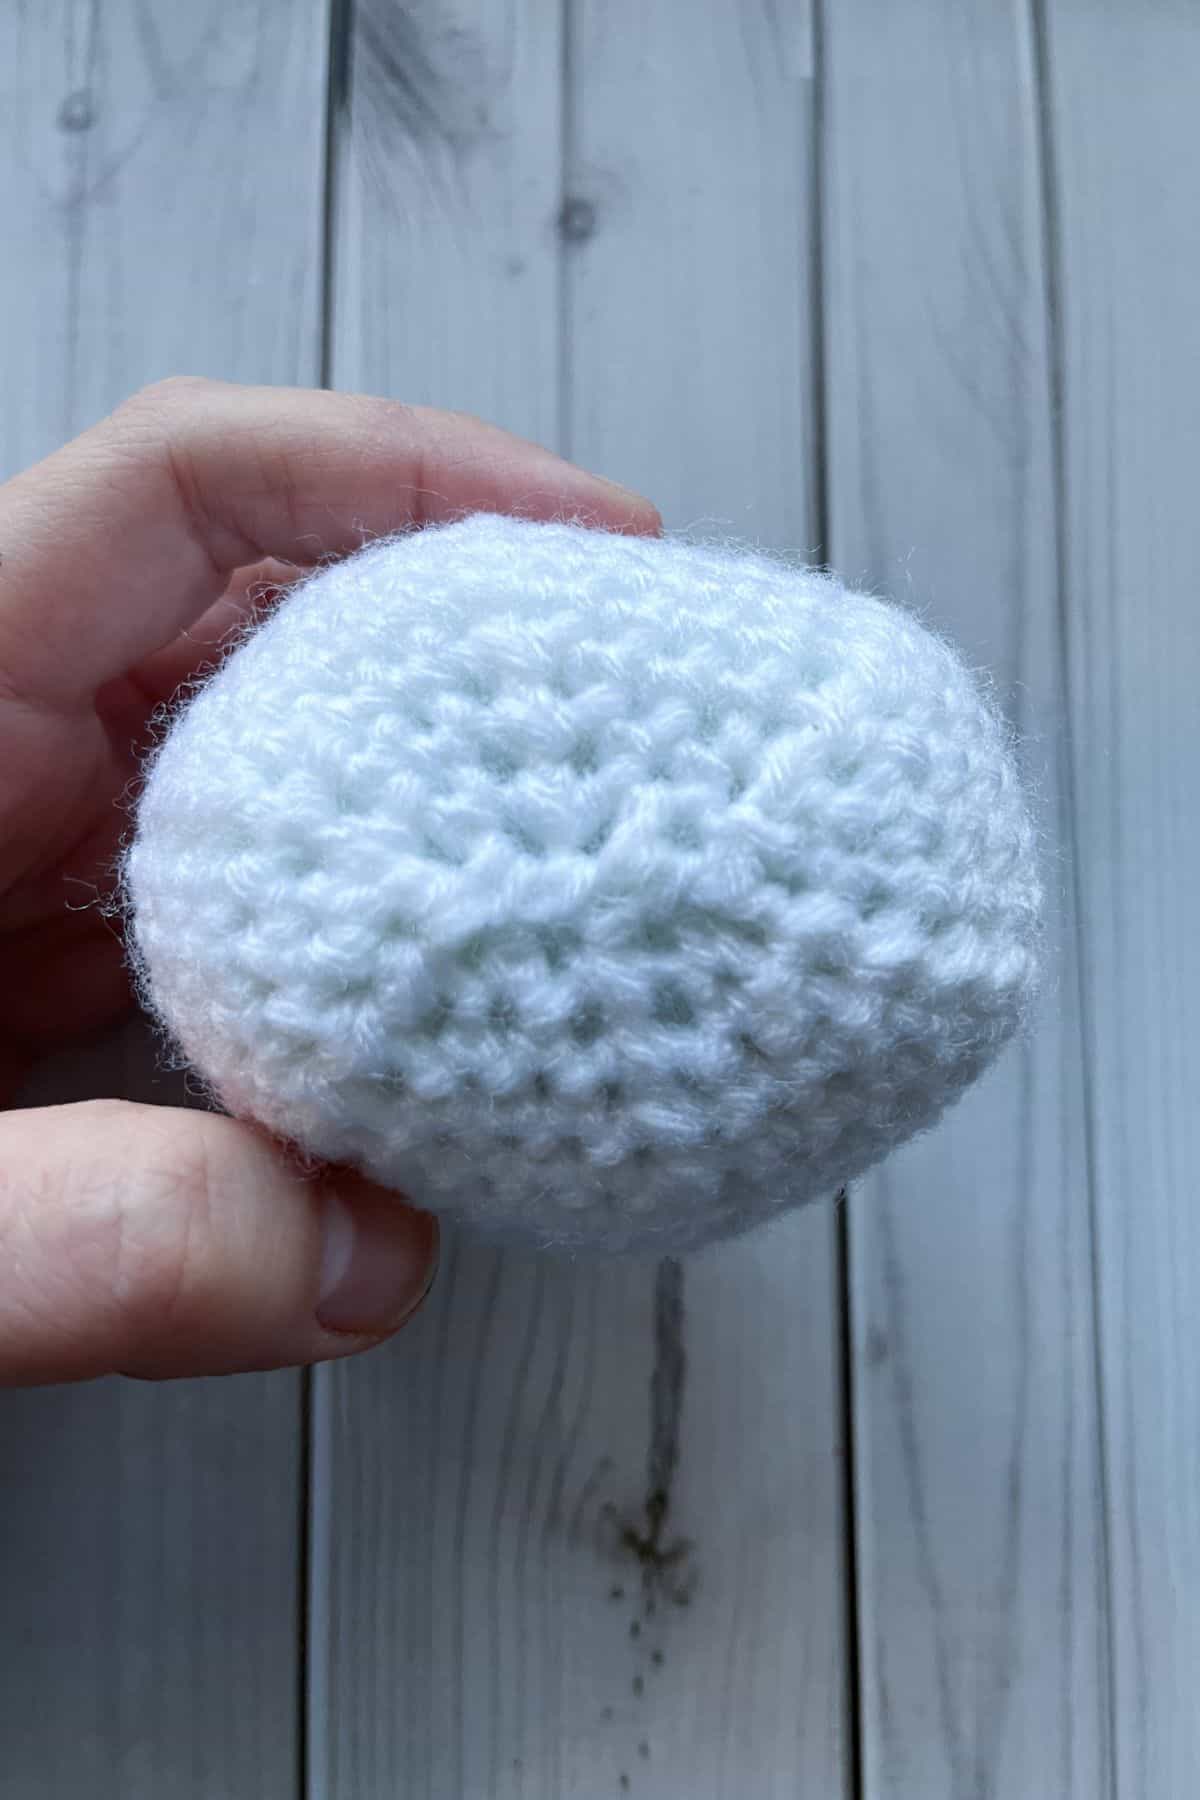
Fasten off the yarn and leave a tail for sewing. Then sew the onigiri closed by squeezing the bottom together to form a line and whip stitch it closed. This is the best way to get the rice ball to look more triangular and flat.
Crochet Nori:
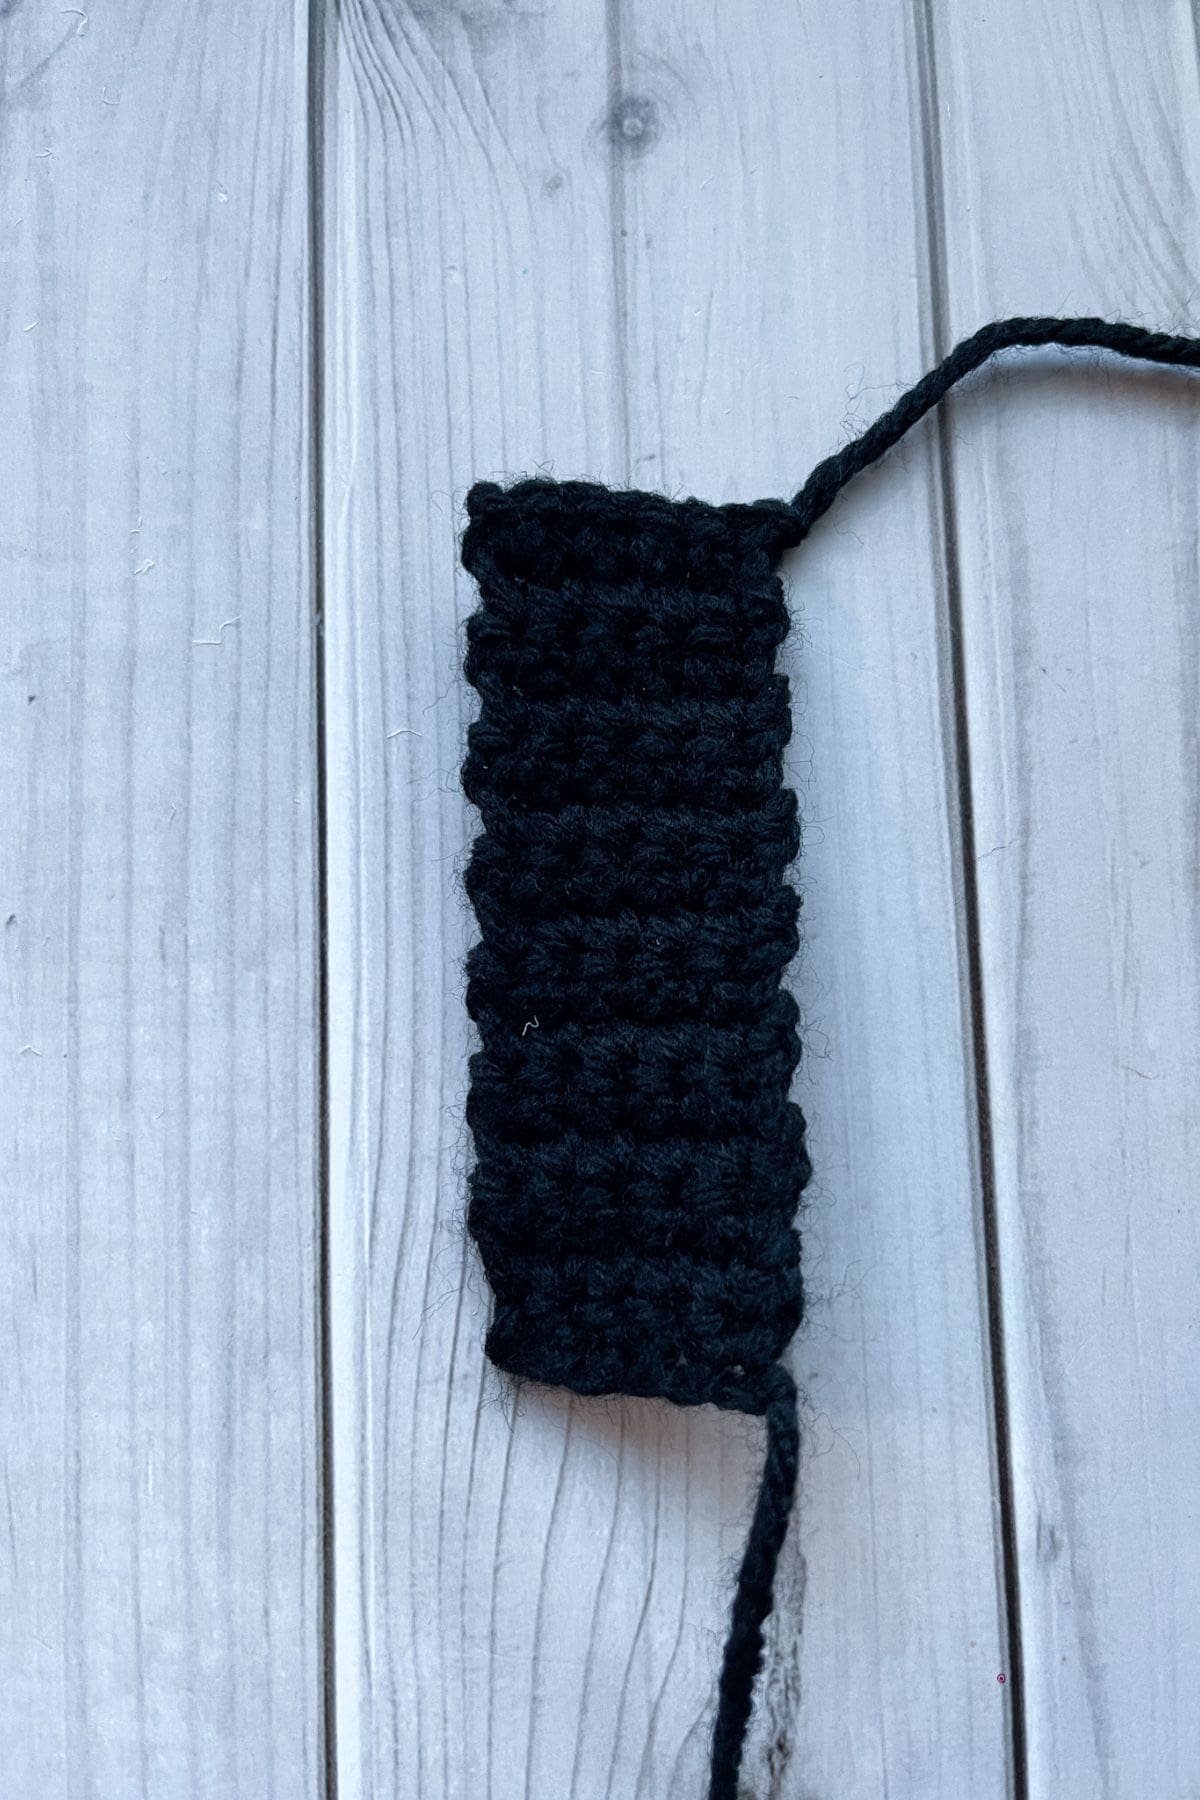
Row 1: With the black yarn ch x6 and turn.
Row 2: In the second ch from the hook make a sc. Continue making sc for the rest of the chain length (5).
Row 3-16: Sc in every stitch (5). Then after the last row, fasten off and leave a long tail for sewing.
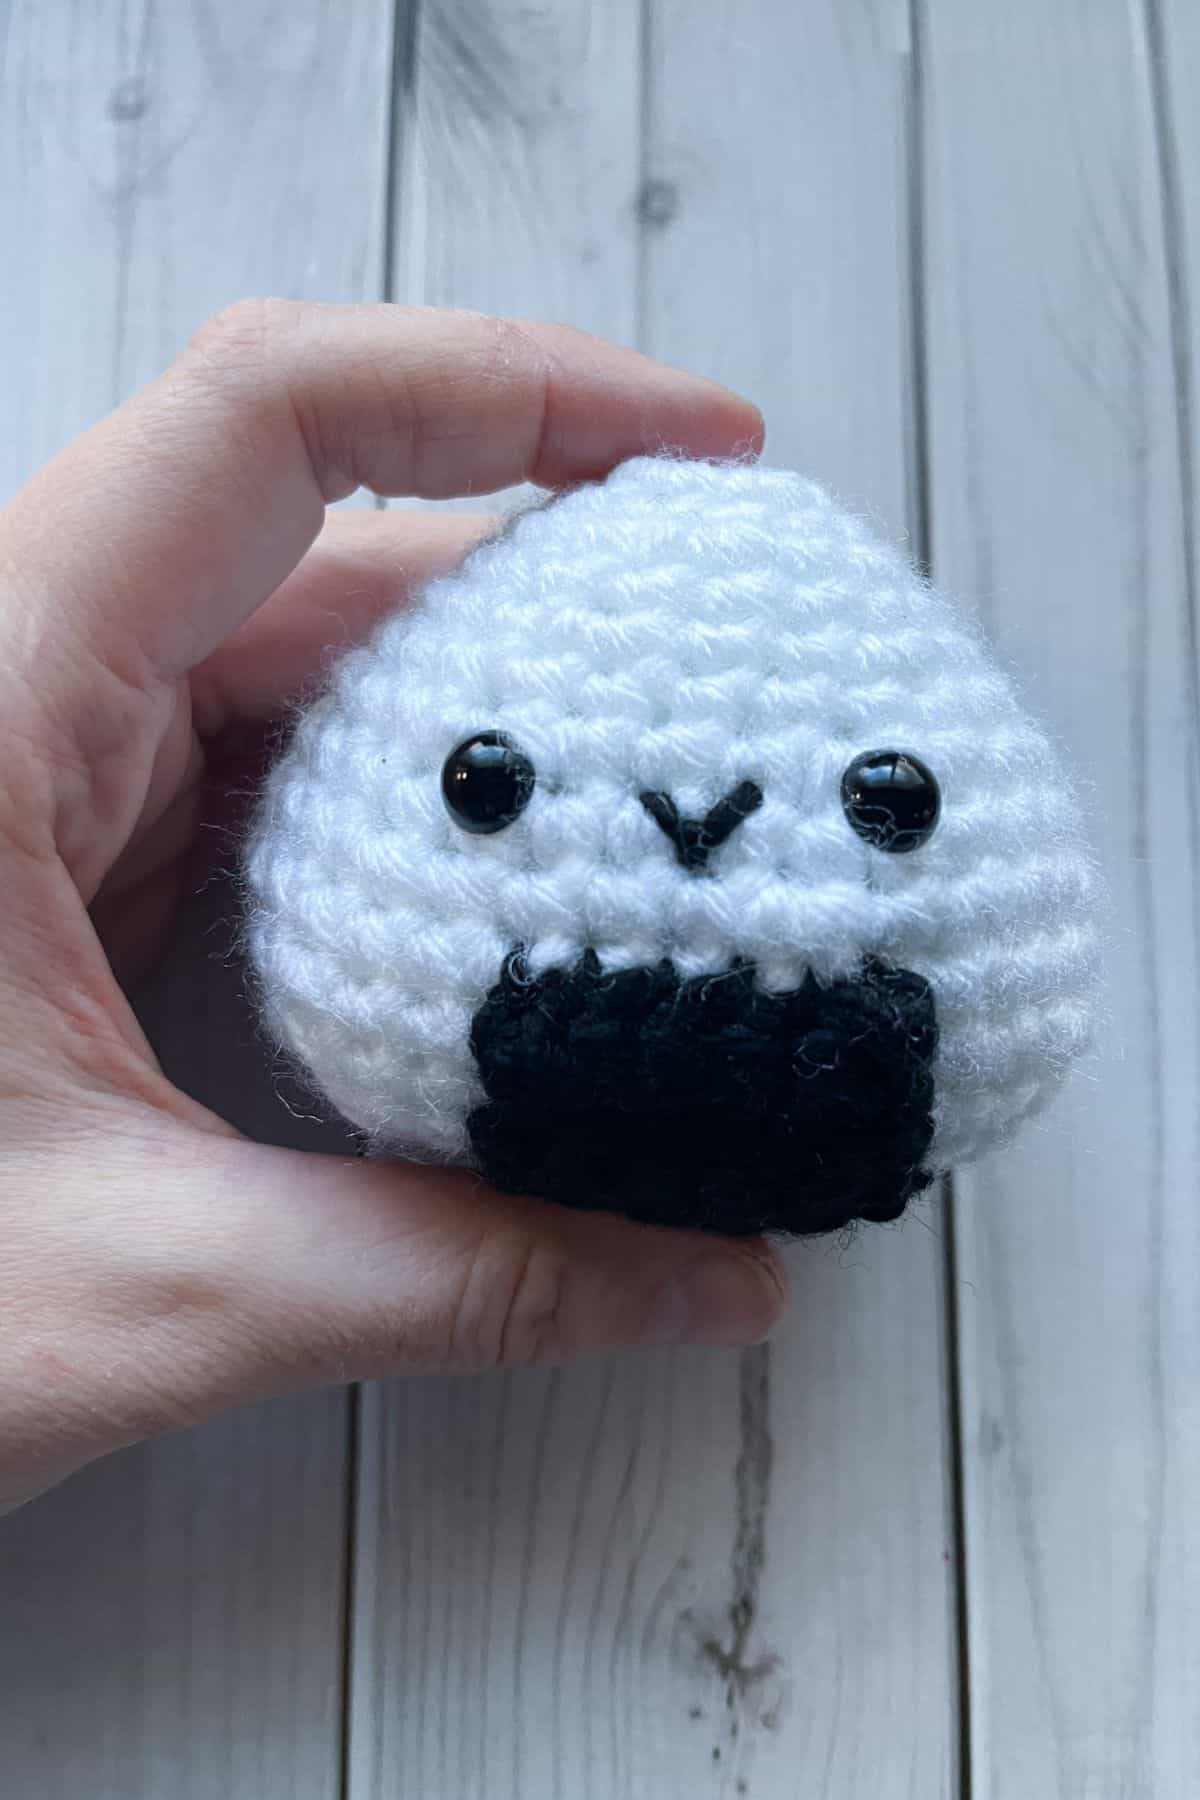
Finishing:
Sew the nori to the bottom middle of the crochet onigiri. Then, embroider a mouth in between the eyes.
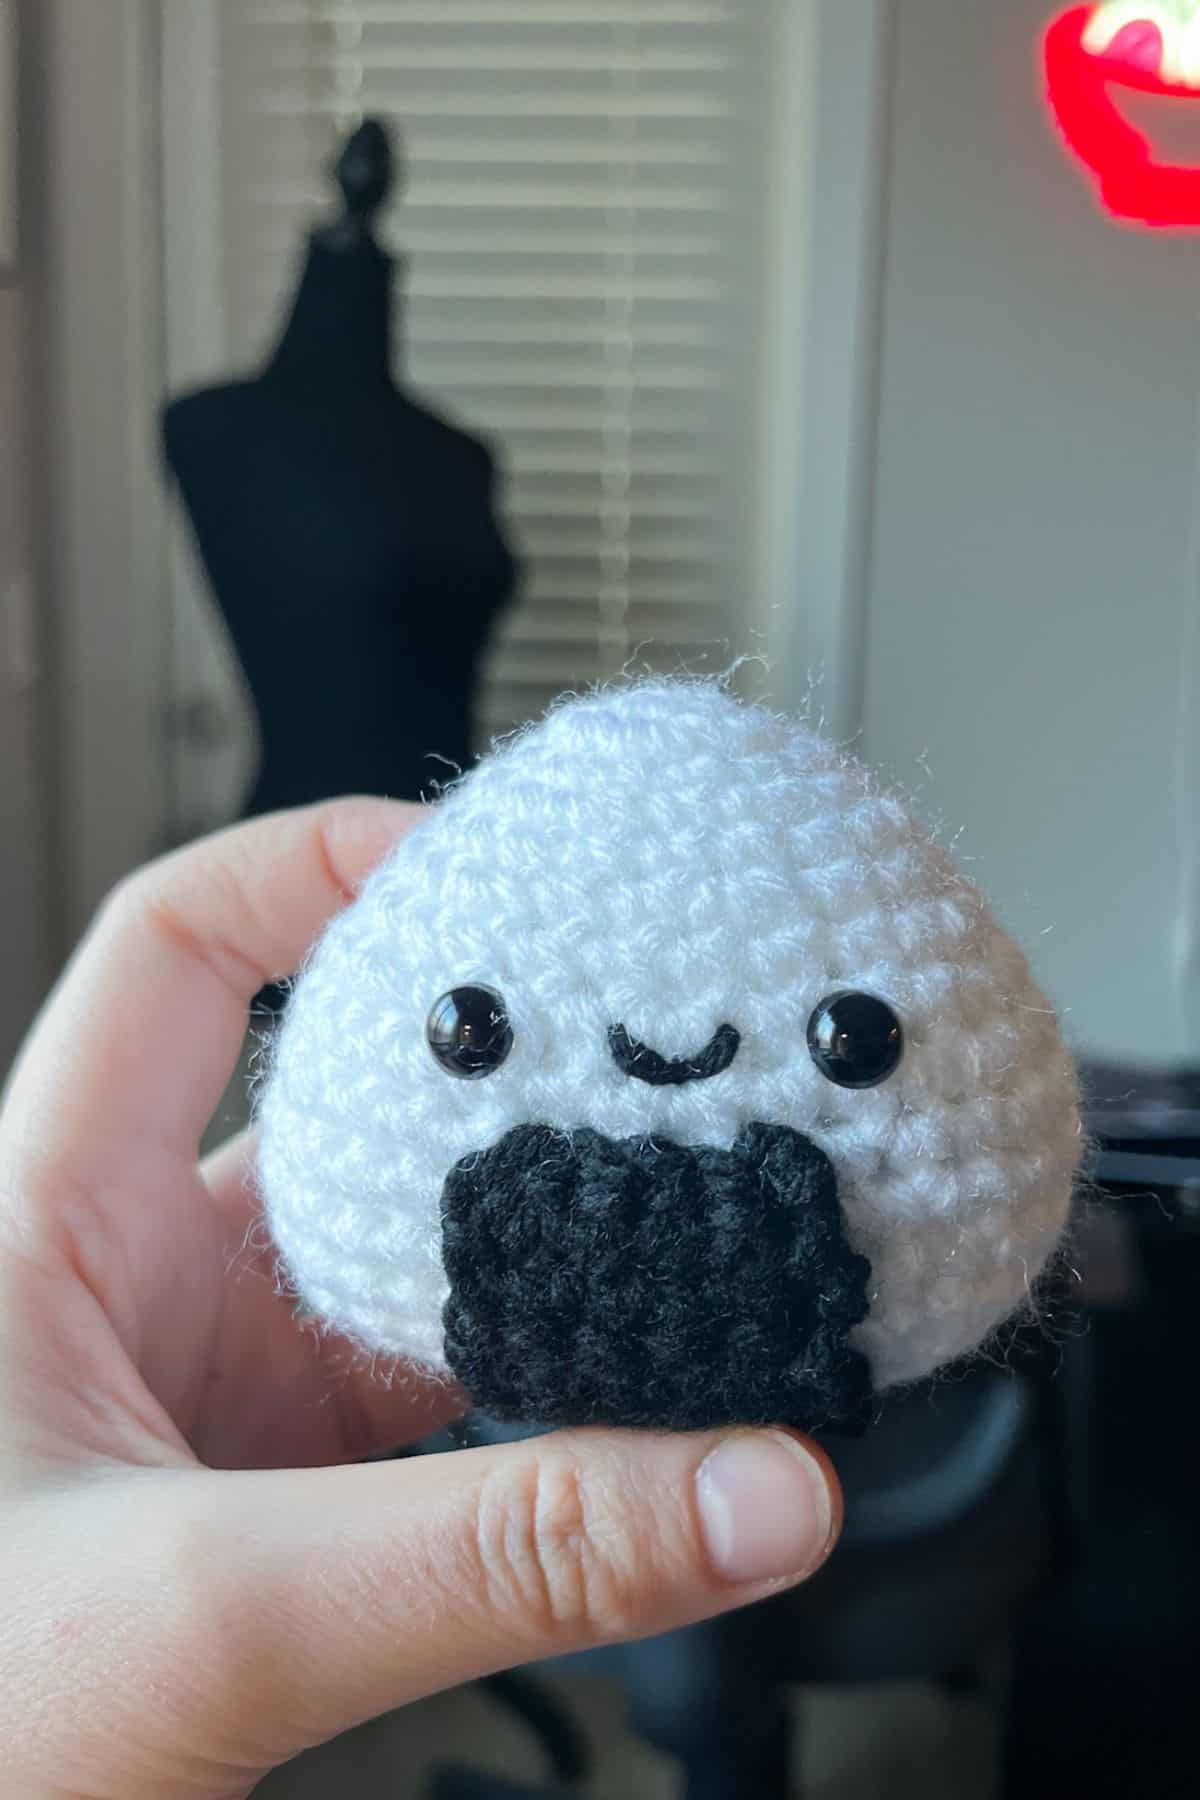
I hope you’ve enjoyed making this adorable crochet onigiri pattern!
Whether you decided to turn it into a keychain, gift, or part of a bigger crochet amigurumi food set, I’m sure it’s brought a touch of handmade charm to your crochet collection. Don’t forget to experiment with different variations, from adding fun toppings to customizing the size or colors.
If you are looking at other fun crochet food patterns to try, check out my crochet bubble tea pattern, a large plushie to snuggle with. Or check out my crochet egg coaster, crochet toast coaster, or crochet strawberry coaster to make into cute bag charm pouches to turn into additional bag accessories.
Happy crocheting, and remember, the possibilities are endless when you let your creativity shine. Keep making, and enjoy the process!
🐌Expert Tips
- Use Stitch Markers: Since the crochet onigiri pattern is worked in rounds, using a stitch marker to mark the beginning of your round can make a big difference in keeping track of your stitches. This helps avoid any confusion, especially when working with small pieces.
- Stuff Firmly, But Not Too Tight: When stuffing your onigiri, aim for a firm, smooth finish, but don’t overstuff it. You want it to hold its shape but still have a soft, squishy feel. This will also help your onigiri maintain its shape when added to play sets or keychains.
- Make the Nori Wrap Secure: If you're adding the nori (seaweed) wrap, use a whip stitch or slip stitch method to attach it around the bottom of the rice ball.
🧵Pattern FAQs
For a soft, squishy feel, I recommend using worsted-weight yarn in your choice of colors. Acrylic, cotton, or wool yarns will all work well, depending on your preference. A small amount of white yarn for the rice and optional green or black for the nori will be enough for this project.
Yes! You can modify the size by adjusting the number of stitches or rows in the pattern. For a larger onigiri, add a few extra rounds, or for a mini version, reduce the stitch count. Just remember to adjust your stuffing accordingly to maintain the right shape.
The nori wrap is added by crocheting a separate strip and attaching it around the bottom of the rice ball. You can sew it on with a whip stitch or slip stitch for a clean finish, and you can either stitch it tightly or leave a little slack for a more relaxed look.
🧶More Crochet Food Patterns


If you tried this Crochet Onigiri Pattern (or any other pattern on my website), please let me know how it went in the 📝 comments below. I'd love to hear from you!
Crochet Onigiri Pattern
Materials
Abbreviations (US terms)
- Chains - ch
- Magic ring - mr
- Single crochet - sc
- Slip stitch - sl st
- Increase - inc
- Decrease - dec
Notes
- Skill Level: The crochet onigiri pattern is beginner-friendly, so it’s perfect for those new to crochet or anyone looking for a quick project. Basic stitches like single crochet (sc) and increase/decrease are used throughout.
- Size: This pattern creates a small onigiri (about 2–3 inches in height), which makes it ideal for keychains or small gifts.
- Customization: Feel free to adjust the size or add extra embellishments to make your onigiri unique. You can experiment with different yarn colors or textures to add more visual interest.
Instructions
Crochet Rice Ball:
- Round 1: Using the white yarn, make a mr and make sc x6 in the circle. If you find it difficult making a magic ring you can chain 2 and then crochet sc x6 in the second chain from the hook. (6)
- Round 2: Sc inc in every sc. (12)
- Round 3: Sc in every stitch (12).
- Round 4: Inc, sc. Then repeat until the end of round (18).
- Round 5: Sc in every stitch (18).
- Round 6: Inc, sc x2. Then repeat until the end of round (24).
- Round 7: Sc in every stitch (24).
- Round 8: Inc, sc x3. Then repeat until the end of round (30).
- Round 9: Sc in every stitch (30).
- Round 10: Inc, sc x4. Then repeat until the end of round (36).
- Round 11: Sc in every stitch (36).
- Round 12: Inc, sc x5. Then repeat until the end of round (42).
- Round 13: Dec, sc x5. Then repeat until the end of the round (36).
- Round 14: Dec, sc x4. Then repeat until the end of the round (30). Add safety eyes between rounds 8 and 9 about 4 stitches apart. Then begin to stuff the onigiri.
- Round 15: Dec, sc x3. Then repeat until the end of the round (24).
- Round 16: Dec, sc x2. Then repeat until the end of the round (18).
- Round 17: Dec, sc. Then repeat until the end of the round (12). If you haven't finished stuffing the crochet onigiri, you should do so now.
- Fasten off the yarn and leave a tail for sewing. Then sew the onigiri closed by squeezing the bottom together to form a line and whip stitch it closed. This is the best way to get the rice ball to look more triangular and flat.
Crochet Nori:
- Row 1: With the black yarn ch x6 and turn.
- Row 2: In the second ch from the hook make a sc. Continue making sc for the rest of the chain length (5).
- Row 3-16: Sc in every stitch (5). Then after the last row, fasten off and leave a long tail for sewing.
Finishing:
- Sew the nori to the bottom middle of the crochet onigiri. Then, embroider a mouth in between the eyes.
- I hope you’ve enjoyed making this adorable crochet onigiri pattern!


Suzzy says
Hello,
I look forward to trying this adorable onigiri pattern out, I was just wondering what type of yarn you recommend? Would it be double knit or Aran? ( Sorry uk resident here 😅)
Kimberly Arenas says
Aran 🙂