
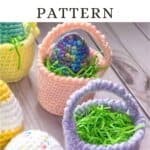
Easter will soon be here so why not hop on making a mini Easter basket with my Crochet Mini Easter Basket Pattern for some Easter decoration! The crochet Easter baskets make for great table pieces and can be completed in under an hour.

There is something special about creating your own holiday decor. It makes everything feel cozy, and you can achieve the exact look you want in your chosen colors. That’s how I feel about every holiday in my house; there’s always something I made to fill the void of what I couldn't find at the store.
These mini crochet Easter baskets are just that! I couldn’t find anything resembling mini baskets—only pails—so I decided to make my own. I even created my own crochet Easter eggs because I wanted full control over my holiday decor.
Since I started making these crochet mini Easter baskets, my child has been stealing them! I’ve had to make closer to eight because he kept taking them and my crochet Easter eggs to play “Easter Bunny egg hunt.” It’s adorable to watch, and I always know a crochet toy pattern is a success by how much he enjoys playing with it. And let me tell you—this one is a success!
So, let's begin making crochet mini Easter baskets!
Jump to:
✏️ Things To Note:
- Basket Size. The Crochet Easter Basket Pattern is designed for a mini crochet Easter basket, ideal for small treats or decorative use. If you'd like to create a larger basket, you can follow the same pattern but opt for a size 7 yarn to achieve a bigger result.
- Yarn. While I used a fresh skein of yarn for the Crochet Mini Easter Basket Pattern, you’re welcome to use scrap yarn if you have some on hand. This project requires very little yarn, so even small amounts will go a long way, making it an excellent way to use up leftover yarn. The crochet creme egg cover pattern is also a great way to use scrap yarn.
- Finished Size. The completed crochet Easter basket will measure approximately 3 to 3.5 inches in size, making it perfect for small Easter eggs or as a charming mini gift holder. The crochet bunny keychain can also fit into the little crochet Easter baskets.
🪡 Materials Needed
💭Abbreviations to Remember (US terms)
- Magic ring - mr
- Chain - ch
- Single crochet - sc
- Increase - inc
- Decrease - dec
- Back loop only - blo
- Crab stitch - crab stitch (no abbreviation)
🧋Variations
If the crab stitch is too challenging for the handle, you can make a row of single crochets on the chain instead. Additionally, you can add some flair by embroidering or crocheting a design on the front of each crochet mini Easter basket. The crochet flower applique pattern would make for a cute embellishment to the basket pattern.
🍵Instructions for Crochet Mini Easter Basket Pattern
This pattern is made in rounds.
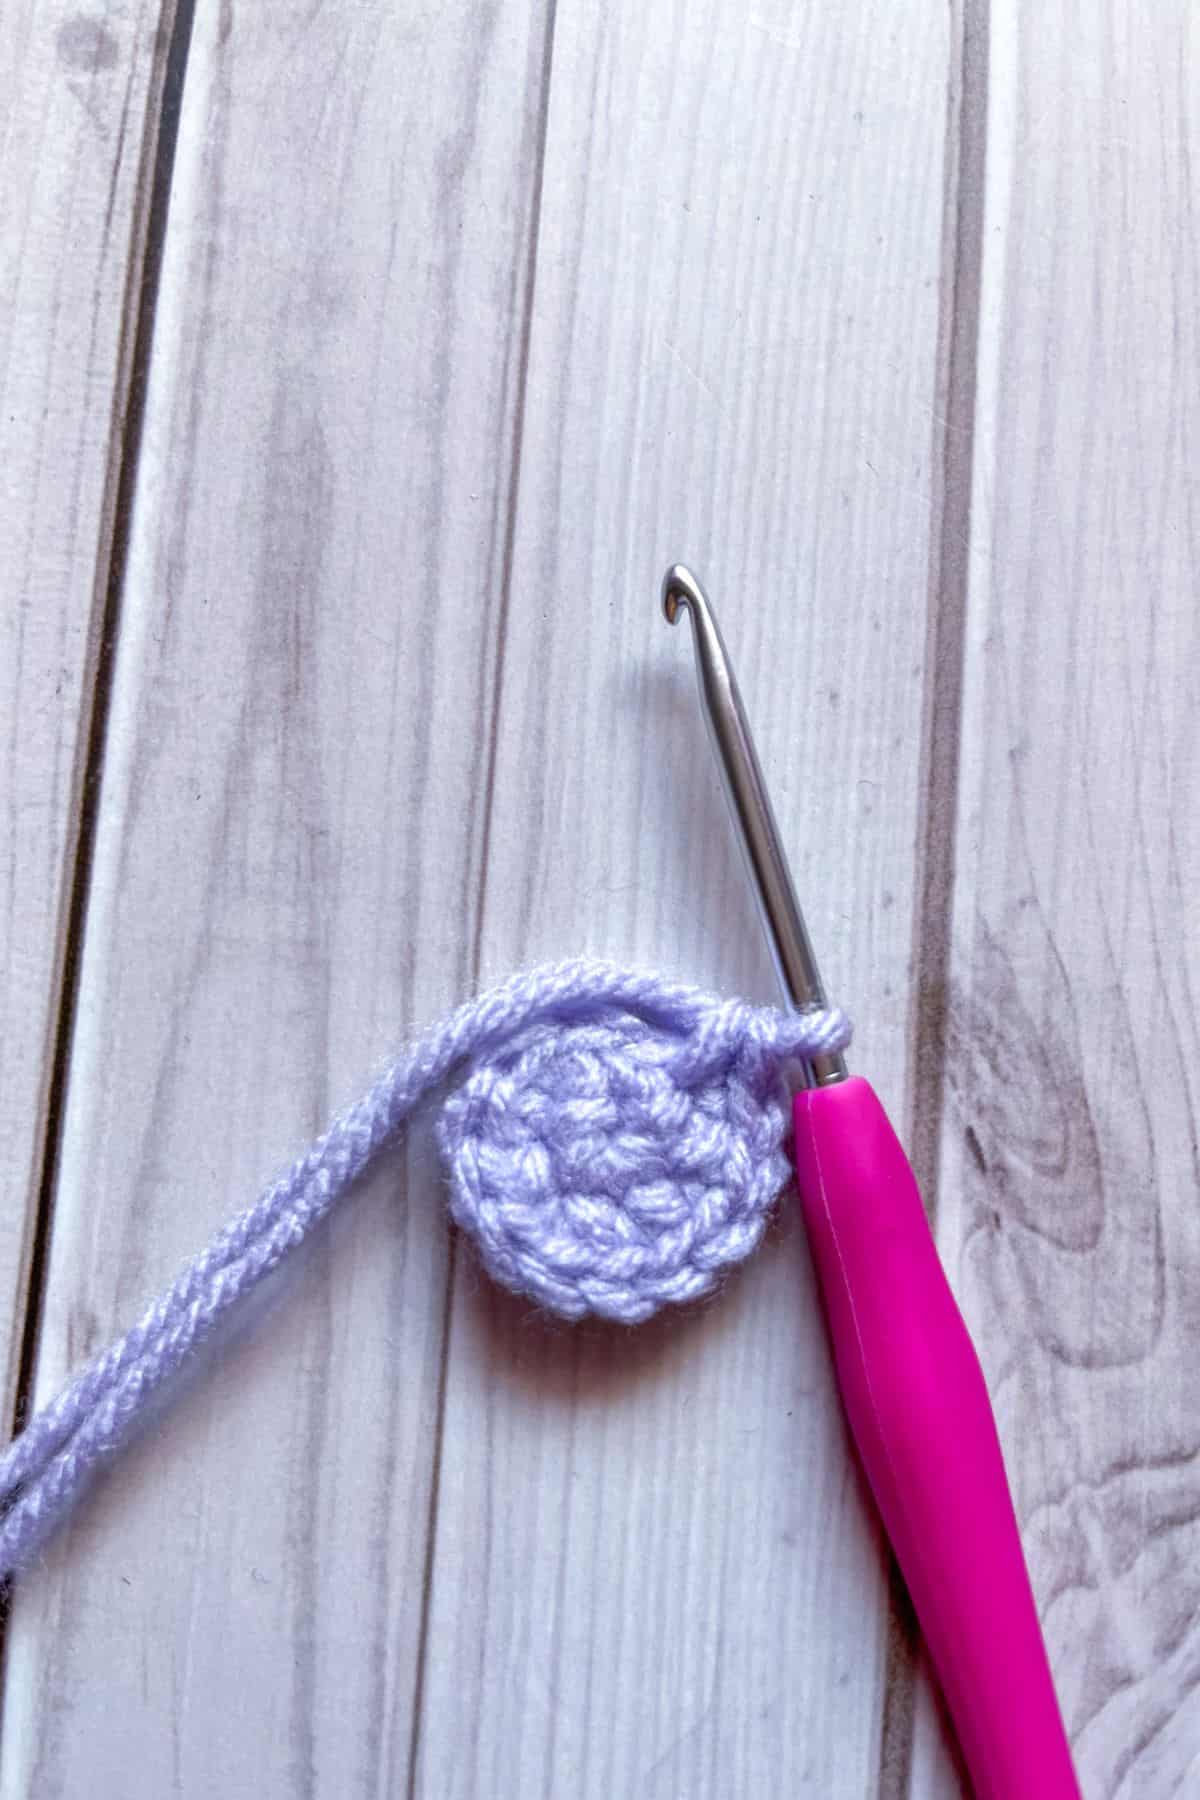
Round 1: Make a mr and then sc x6 in the circle. If you find it difficult making a magic ring you can chain 2 and then crochet sc x6 in the second chain from the hook. (6)
Round 2: Inc in every sc. (12)

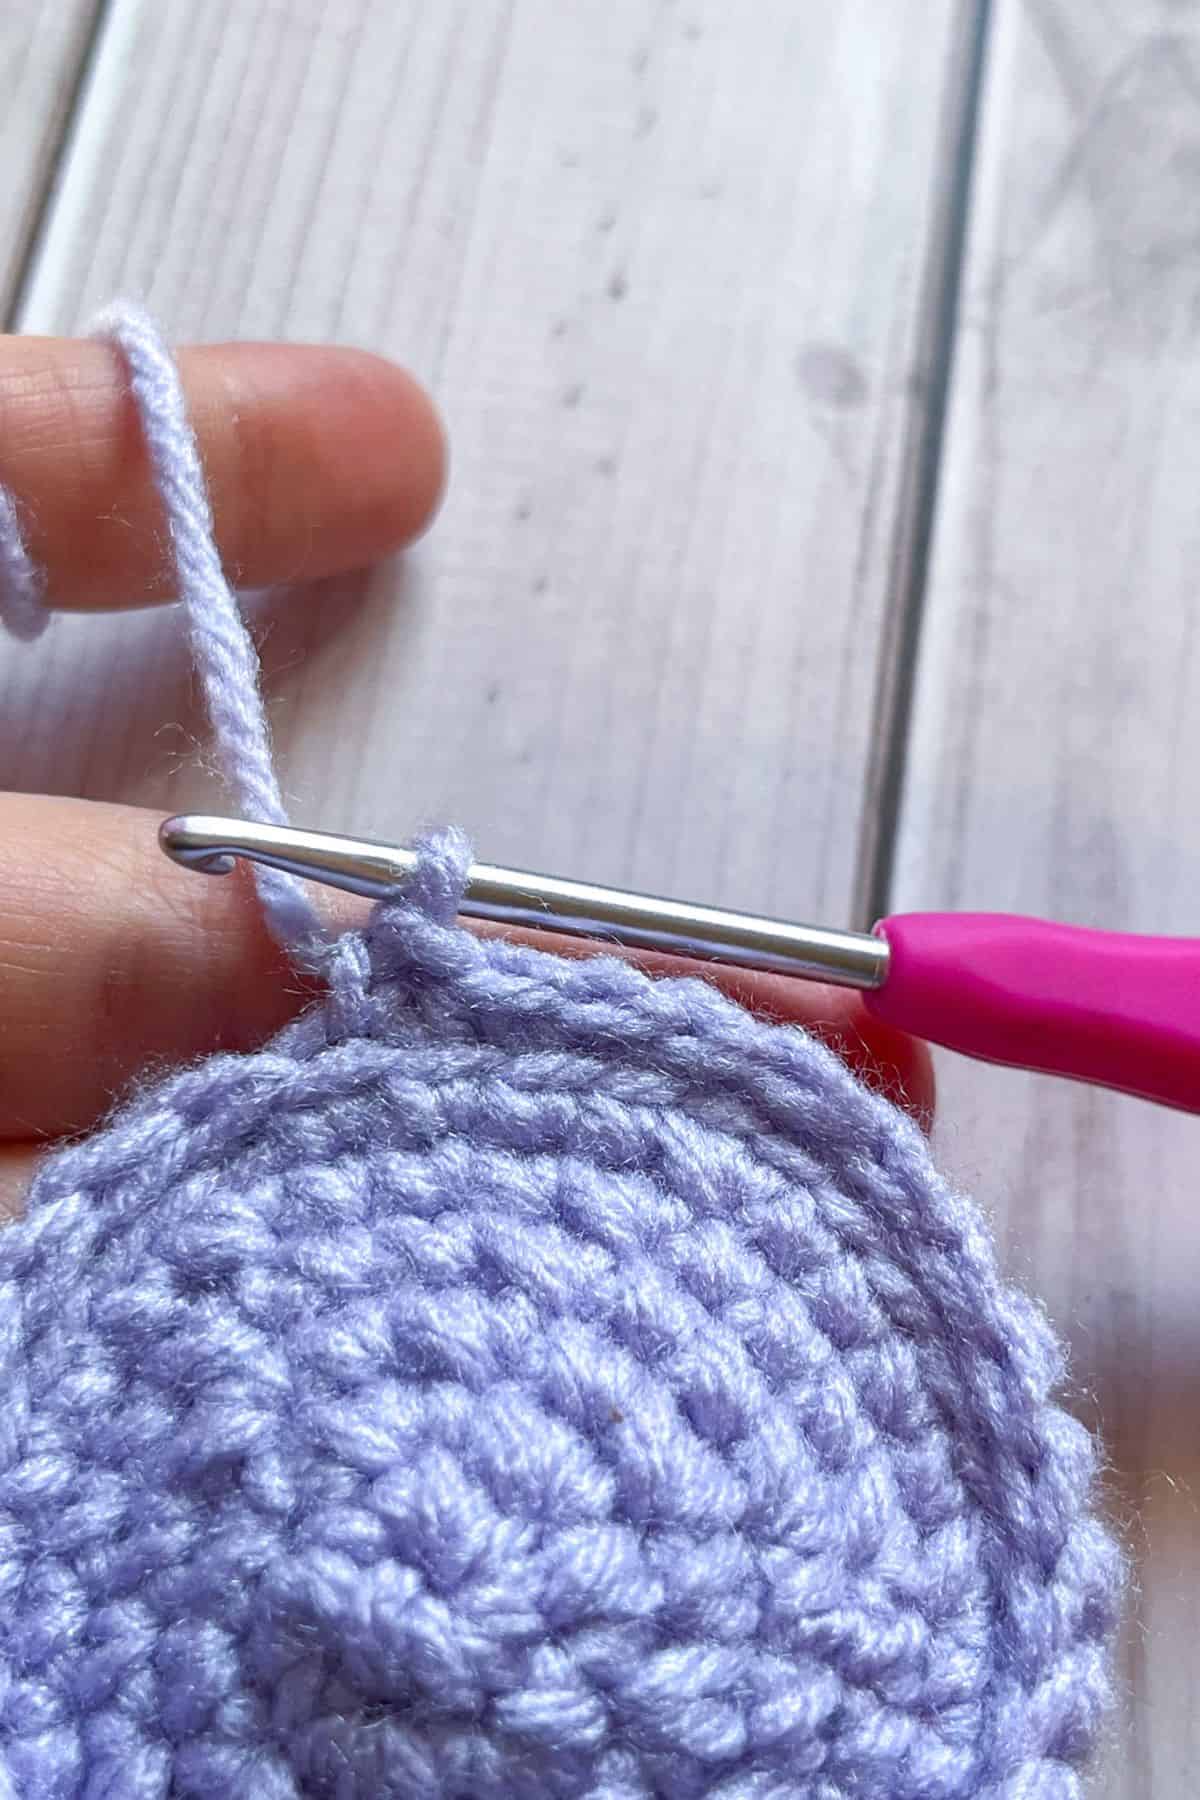
Round 3: Inc, sc. Then repeat until end of round (18)
Round 4: Inc, sc x2. Then repeat until end of round (24)

Round 5: Inc, sc x3. Then repeat until end of round (30)
Round 6: Inc, sc x4. Then repeat until end of round (36)
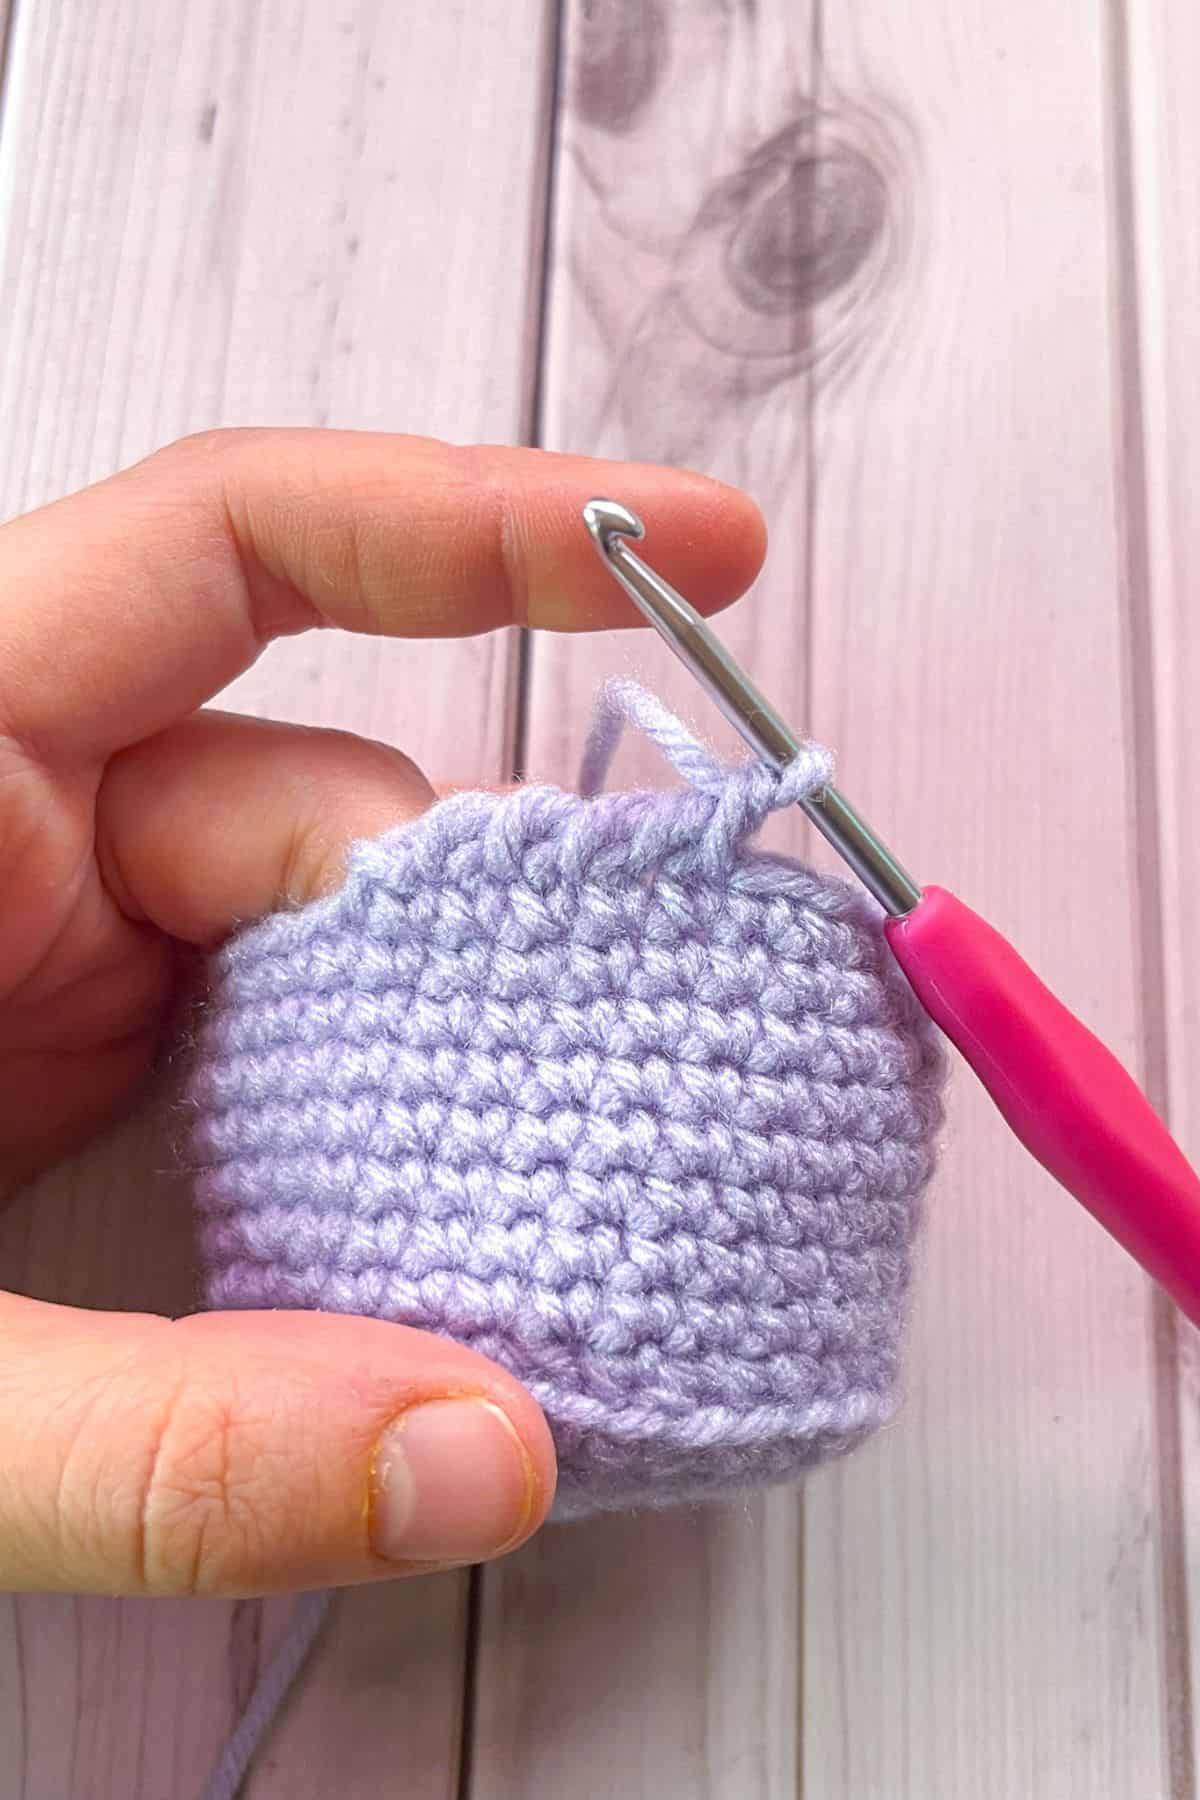
Round 7: In BLO dec, sc x4. Then repeat until the end of the round. (30)
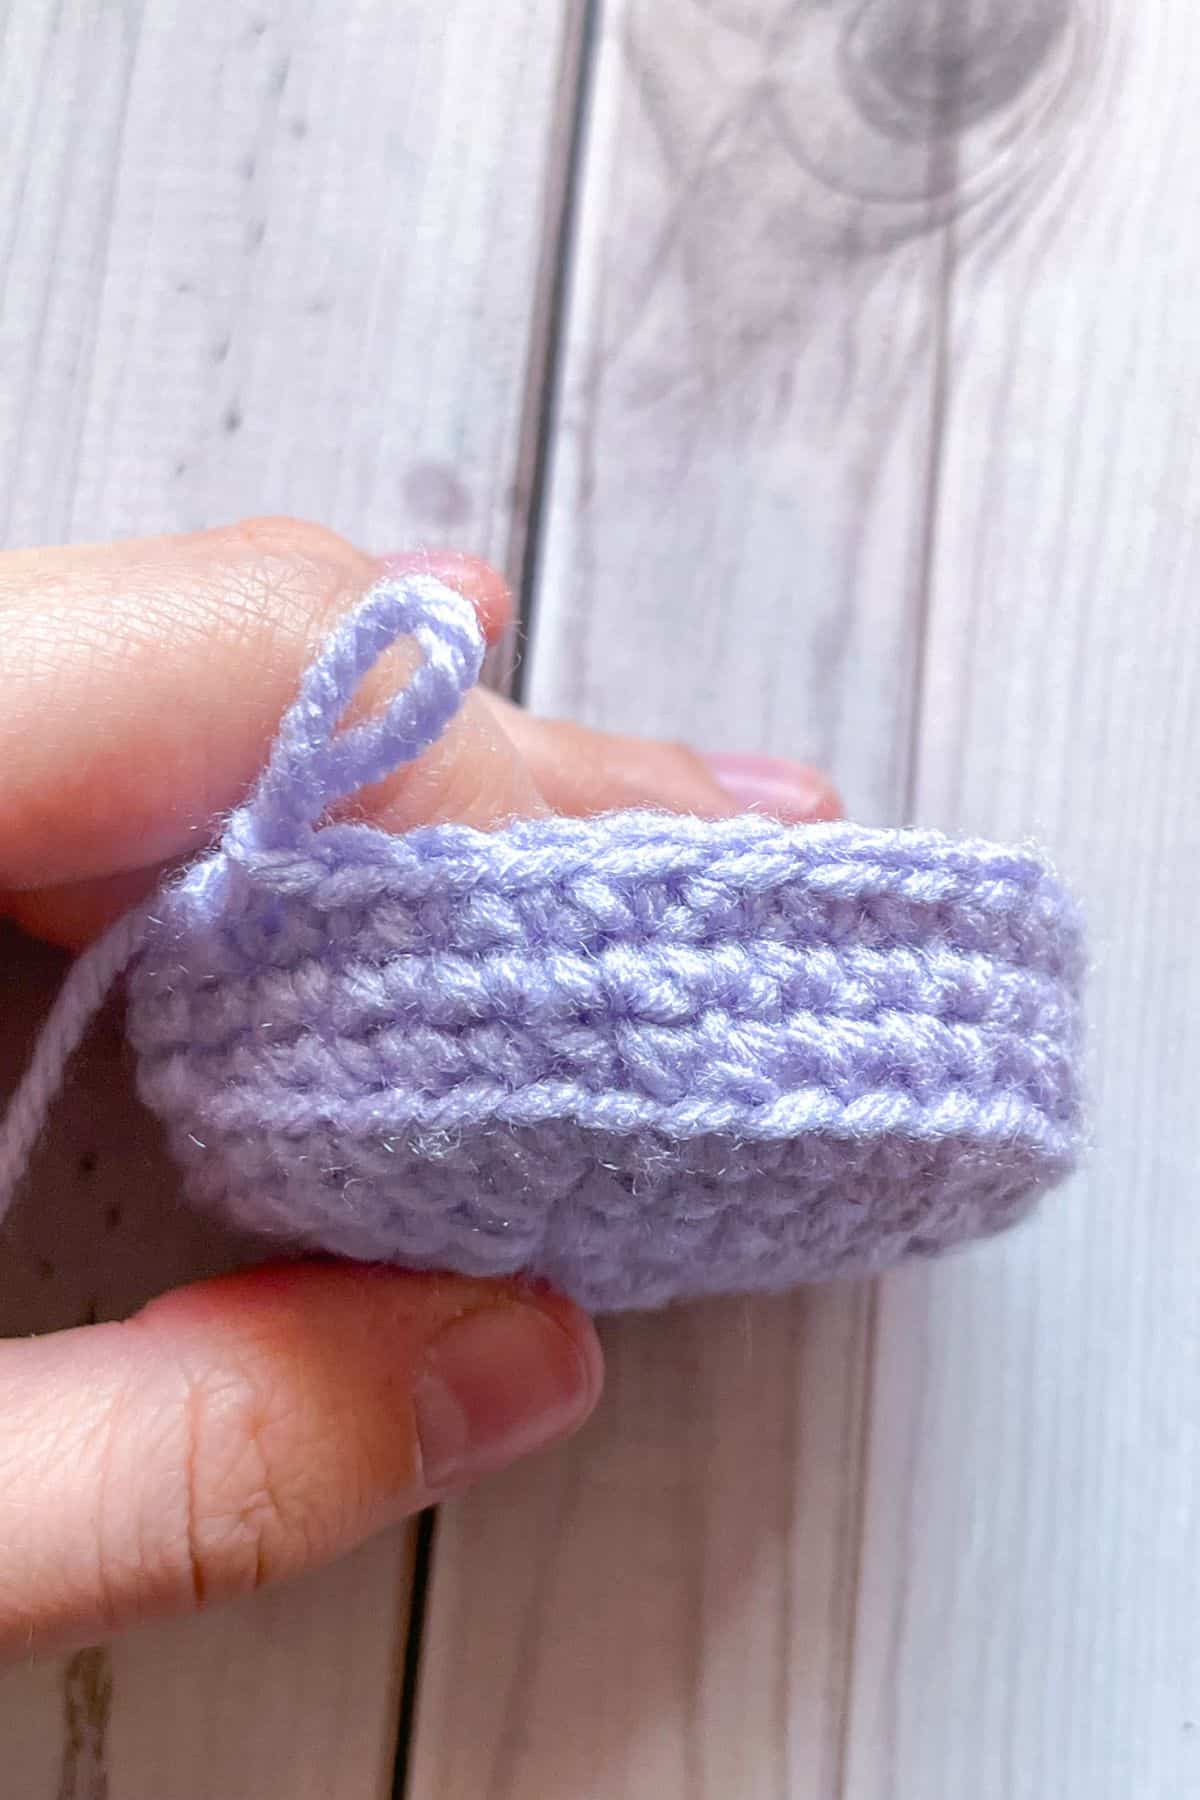
Round 8-9: Sc in both front and back loops. (30)
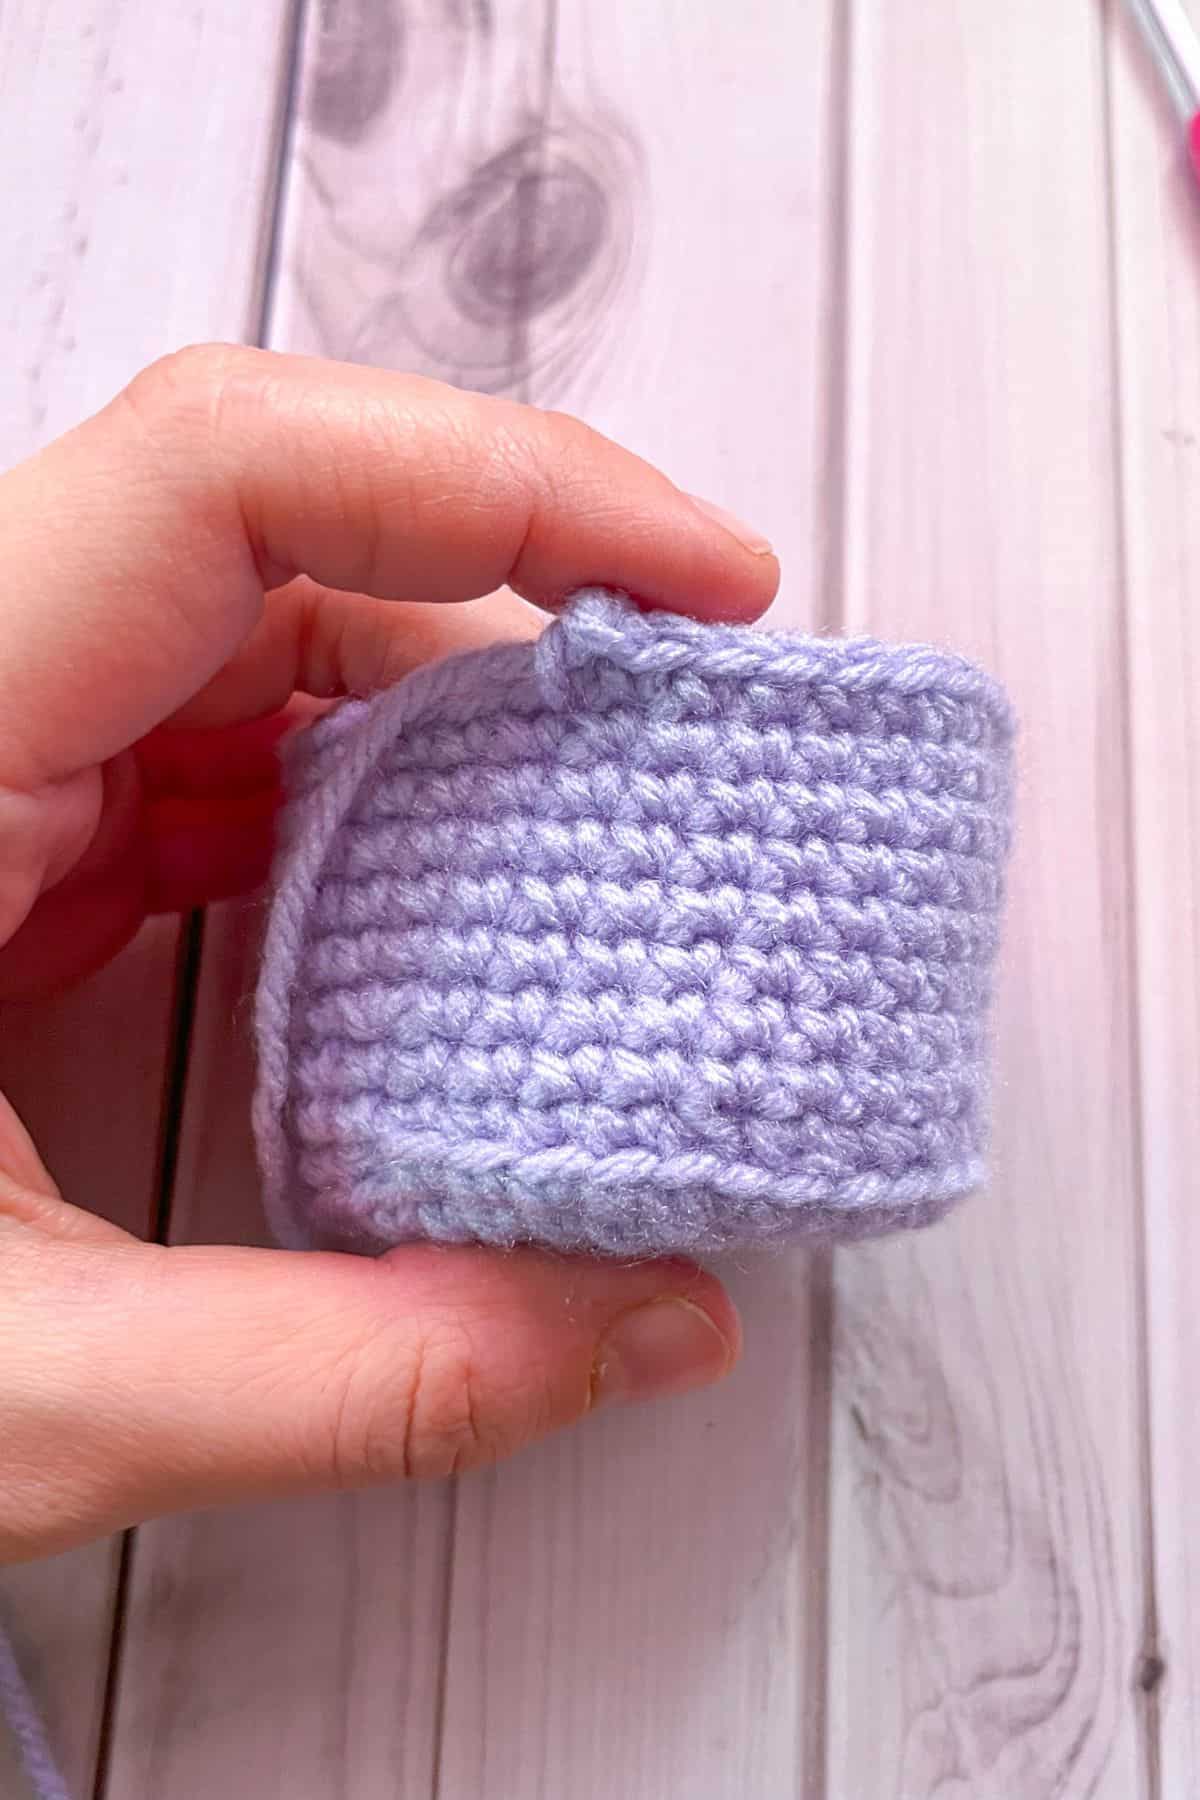
Round 10: Inc, sc x9. Then repeat for the rest of the round. (33)
Round 11-15: Sc in every stitch (33).

Round 16: Ch x1,
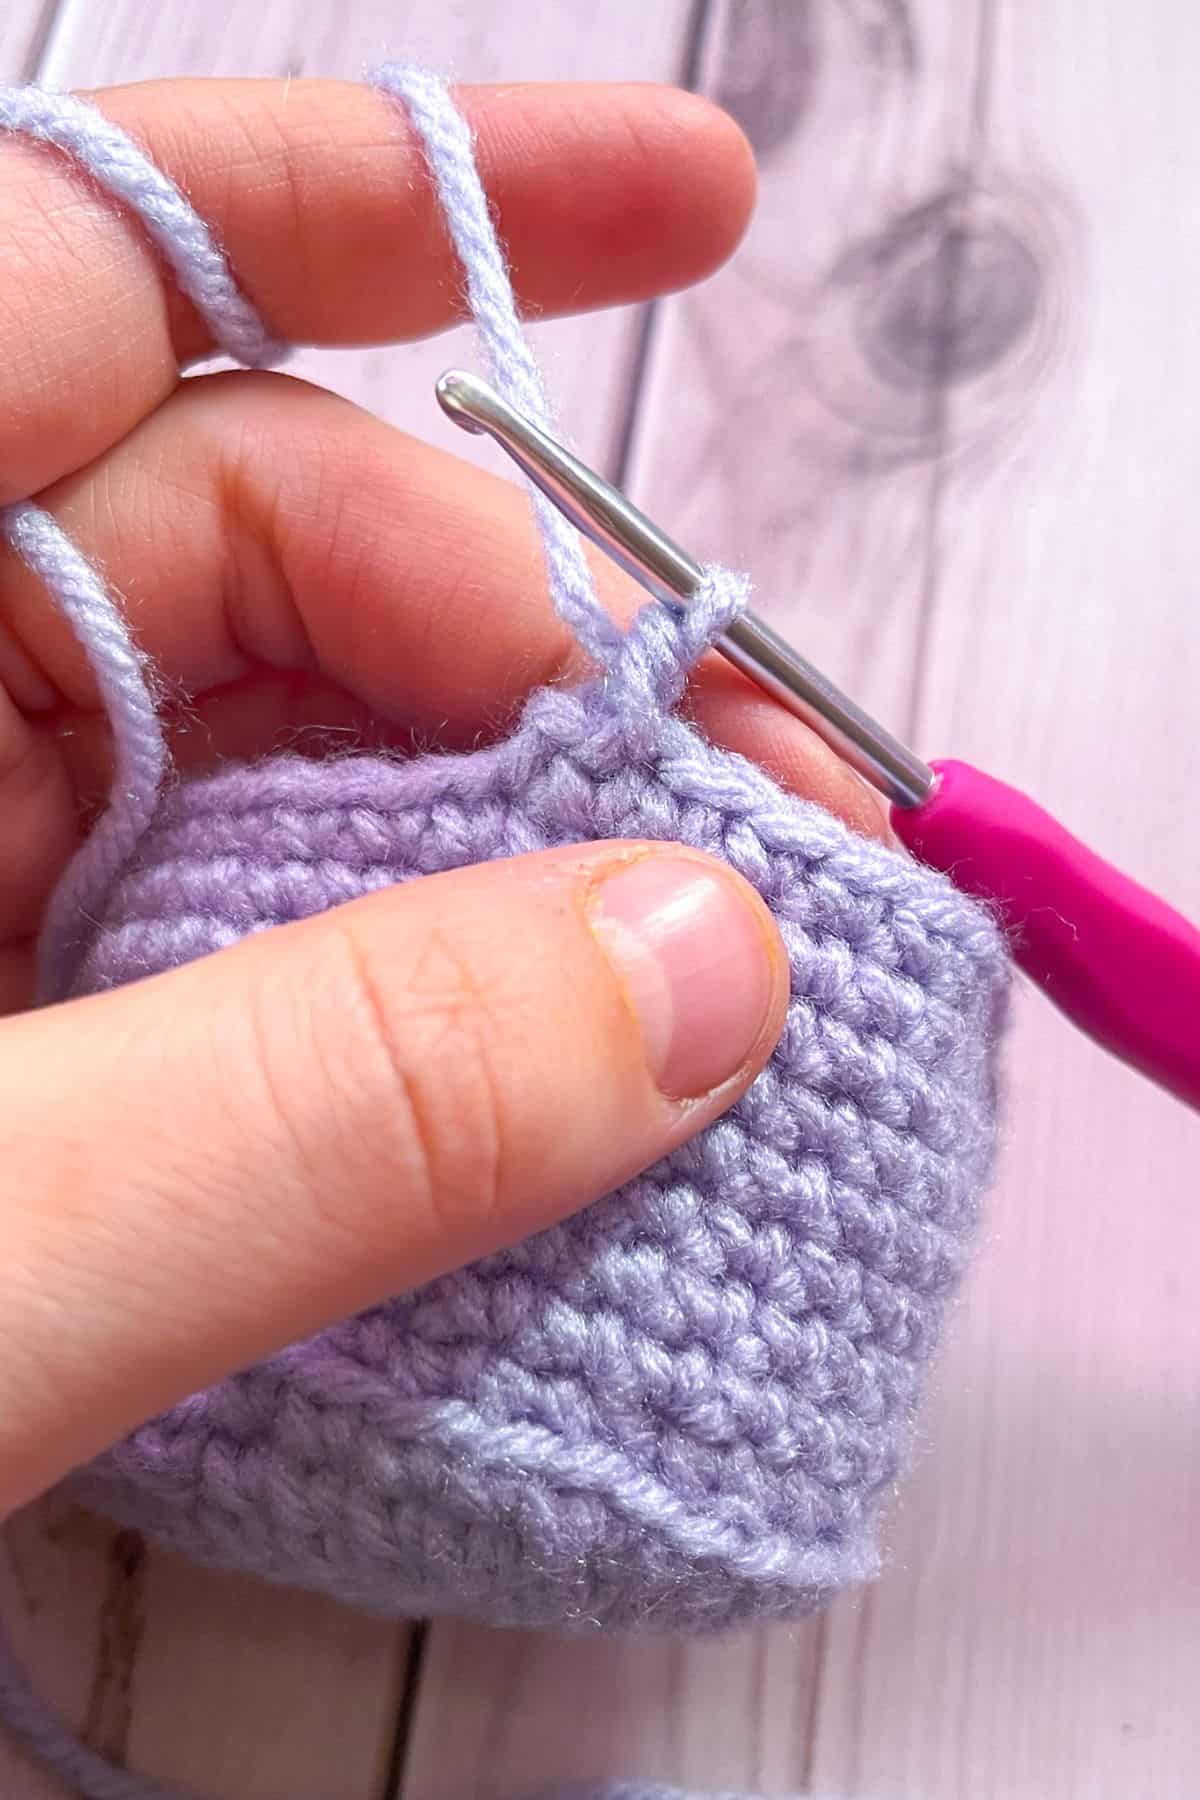
then going BACKWARDS, make a sc in the next stitch. Then make a sc in the following stitch again going BACKWARDS.
Making sc in the reverse direction will make a thick edge called the crab stitch border. It feels a bit weird going backwards in direction, but you get used to it after some time.

Once the border is done, slip stitch to the first crab stitch in the round and ch x22.

Then attach the chain to the opposite side of the basket with a slip stitch.

Ch x1 and either make a crab stitch on the chain going backwards, or flip to the other side of the chain and make normal single crochets for the chain length.
After the handle is completed, slip stitch to the starting chain, fasten off and weave in the ends.
Thank you so much for following along with my crochet mini Easter egg basket pattern! I hope you enjoyed making this adorable little basket and that it adds a special touch to your Easter celebrations. Whether you’ve created it for yourself, as a gift, or to display at a spring market, I’m sure it will bring plenty of smiles.
The beauty of this mini basket is in its versatility. It’s perfect for holding small treats, crochet Easter eggs, or as a charming decoration. If you wanted a larger basket, don’t forget you can adjust the pattern with a bigger yarn size for a different look.
If you want to make some extra Easter decorations and toys, check out my crochet sheep pattern that is like a pillow pet! And my crochet carrot pattern for some quick fun!
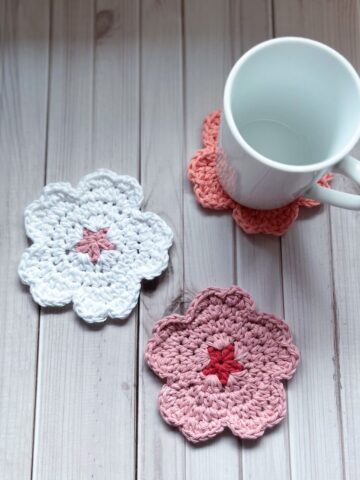
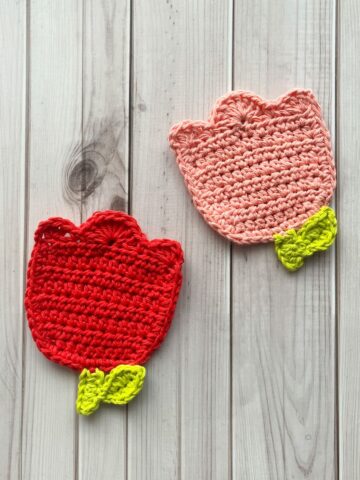
If you just want to continue the spring theme, my crochet tulip coaster pattern is something that can be enjoyed all spring long!
Thank you again for crafting with me, and I hope this crochet mini Easter egg basket brings extra joy to your Easter festivities. Wishing you lots of happy crocheting and a wonderful holiday season ahead!

🐌Expert Tips
- Stabilizing the Handle. If you're finding it difficult to keep the handle of the basket upright, try starching it or crocheting a thin wire through it for additional support. This will help maintain the shape and ensure the handle stays sturdy.
- Adding Personal Touches. To make your mini basket even more unique, consider using variegated yarn for a colorful, multi-toned effect or adding decorative buttons to give it a personalized flair. These little touches will give your basket a distinctive look that’s all your own.
- Storage Solution. While these mini baskets are perfect for Easter, they also make wonderful small storage solutions around the house. You can use them to hold trinkets, candy, or even other tiny crochet creations. Their small size and cute design make them versatile enough to be used in a variety of ways, not just for seasonal occasions.
🧵Pattern FAQs
Absolutely! The size of the chunky yarn will determine the finished size, so remember that thicker yarn will result in a larger project.
Use a tapestry needle and split your yarn into thinner pieces, or use an embroidery needle and embroidery floss for finer details.
It can comfortably hold one egg.

🧶More Crochet Spring Patterns


If you tried this Crochet Mini Easter Basket Pattern (or any other pattern on my website), please let me know how it went in the 📝 comments below. I'd love to hear from you!

Crochet Mini Easter Basket Pattern
Materials
Abbreviations (US terms)
- mr = Magic ring
- ch = Chain
- sc = Single crochet
- inc = Increase
- dec = Decrease
- blo = Back Loop Only
- Crab Stitch (no abbreviation)
Notes
- This pattern is for a mini Easter basket, not full-sized.
- Use size 7 yarn for a larger version.
- Scrap yarn works well due to minimal usage.
- Finished basket size is approximately 3-3.5 inches.
- Substitute single crochets for crab stitching on the handle.
- Embroider or crochet a design on the front for added flair.
Instructions
- This pattern is made in rounds.
- Round 1: Make a mr and then sc x6 in the circle. If you find it difficult making a magic ring you can chain 2 and then crochet sc x6 in the second chain from the hook. (6)
- Round 2: Inc in every sc. (12)
- Round 3: Inc, sc. Then repeat until end of round (18)
- Round 4: Inc, sc x2. Then repeat until end of round (24)
- Round 5: Inc, sc x3. Then repeat until end of round (30)
- Round 6: Inc, sc x4. Then repeat until end of round (36)
- Round 7: In BLO dec, sc x4. Then repeat until the end of the round. (30)
- Round 8-9: Sc in both front and back loops. (30)
- Round 10: Inc, sc x9. Then repeat for the rest of the round. (33)
- Round 11-15: Sc in every stitch (33).
- Round 16: Ch x1, then going BACKWARDS, make a sc in the next stitch. Then make a sc in the following stitch again going BACKWARDS.
- Making sc in the reverse direction will make a thick edge called the crab stitch border. It feels a bit weird going backwards in direction, but you get used to it after some time.
- Once the border is done, slip stitch to the first crab stitch in the round and ch x22.
- Then attach the chain to the opposite side of the basket with a slip stitch. Ch x1 and either make a crab stitch on the chain going backwards, or flip to the other side of the chain and make normal single crochets for the chain length.
- After the handle is completed, slip stitch to the starting chain, fasten off and weave in the ends.


Leave a Reply