
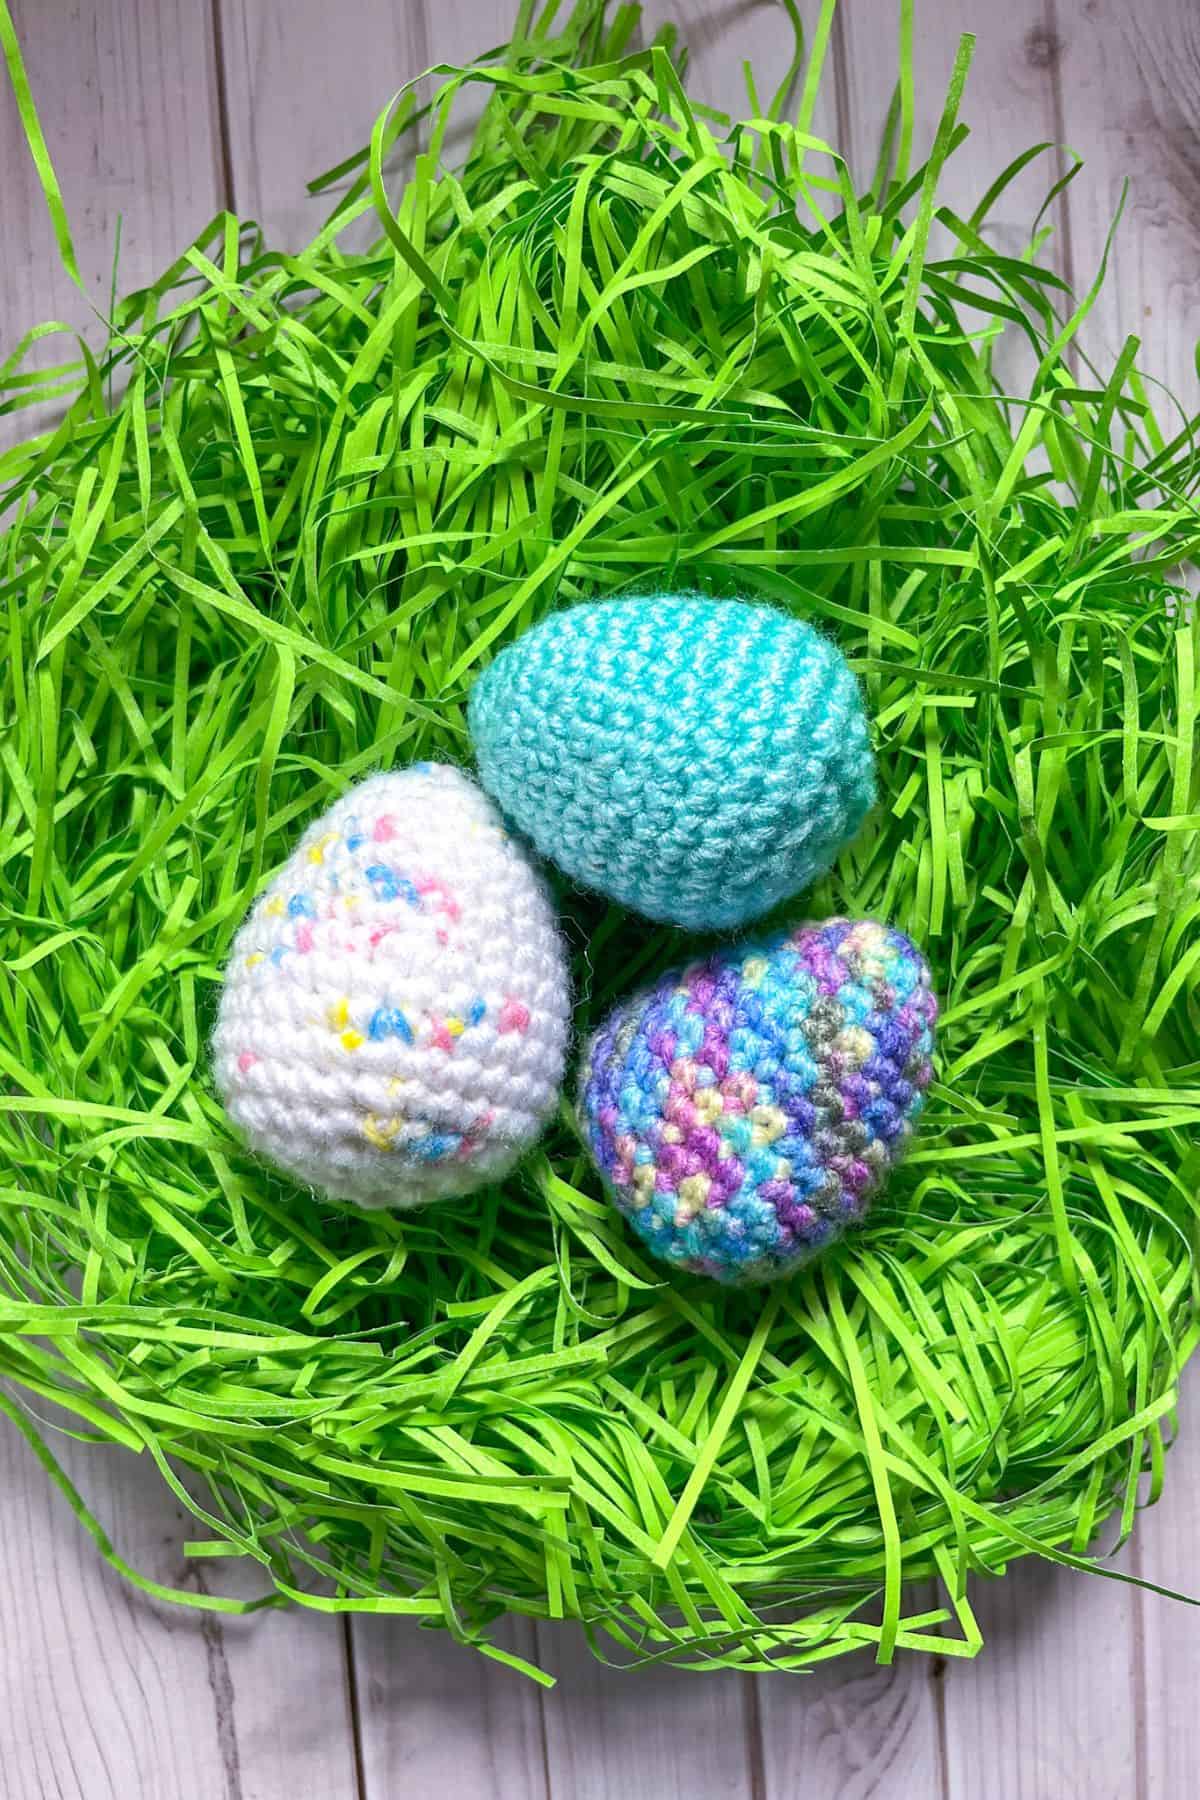
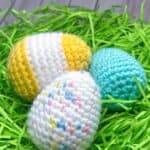
Have a simple homemade Easter this year by making your own Easter eggs with my Crochet Easter Egg Pattern. A gradual number of increases and decreases give this crochet egg its shape.

Easter doesn’t have to be complicated, nor do you need to buy plastic eggs. Instead, make your own crochet Easter eggs! Creating crochet Easter eggs has several benefits: you can design them to fit your Easter theme, use them year after year, and your kids can easily use them for pretend play—no worries about breaking or sharp edges.
I personally like to make crochet eggs for decoration around my house, and for handing out as random acts of crochet kindness. They are quick and easy to make - you can probably make them into sets and sell them for spring markets.
My crochet egg pattern can be made by themselves, or you can pair them with my crochet mini easter basket pattern. The pattern is able to fit 1 egg inside of it. If you plan on using the eggs for an Easter egg hunt, pair it with my crochet creme egg covers!
So, let's begin making this Easter egg crochet pattern!
Jump to:
✏️ Things To Note:
- Yarn. For these crochet eggs, I used scrap yarn, making this project an excellent way to use up any leftover yarn you may have! My crochet rainbow keychain pattern also uses scrap yarn if you have a lot of little bits of yarn! Since the eggs are small and don’t require much yarn, it’s a perfect opportunity to repurpose those scraps that are too small for other projects.
- Hook Size. In terms of hook size, I used a 3.5mm hook to achieve a tighter stitch and a neat finish. However, if you’d like to create larger eggs, feel free to switch to a larger hook while following the same pattern. Adjusting the hook size will give you more flexibility to make eggs in different sizes, whether you want a bigger or smaller look.
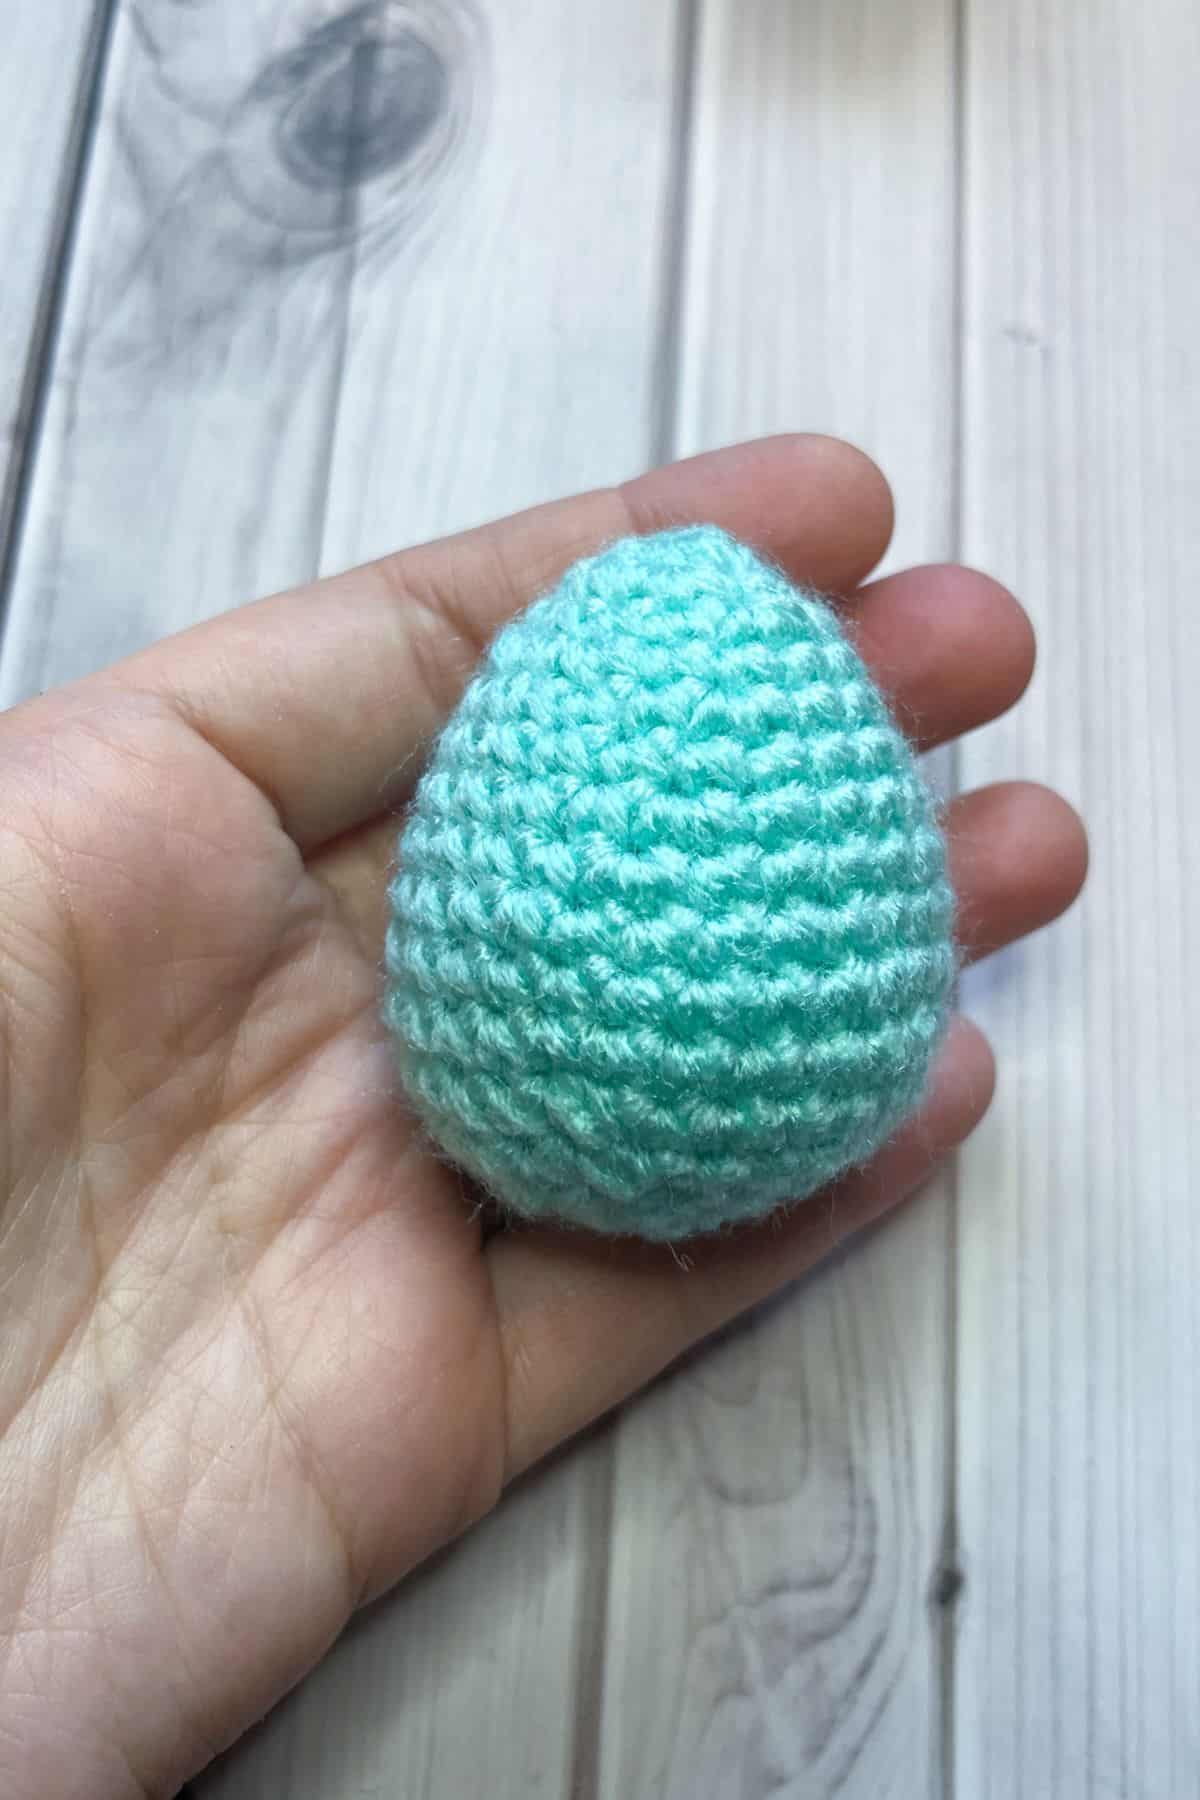
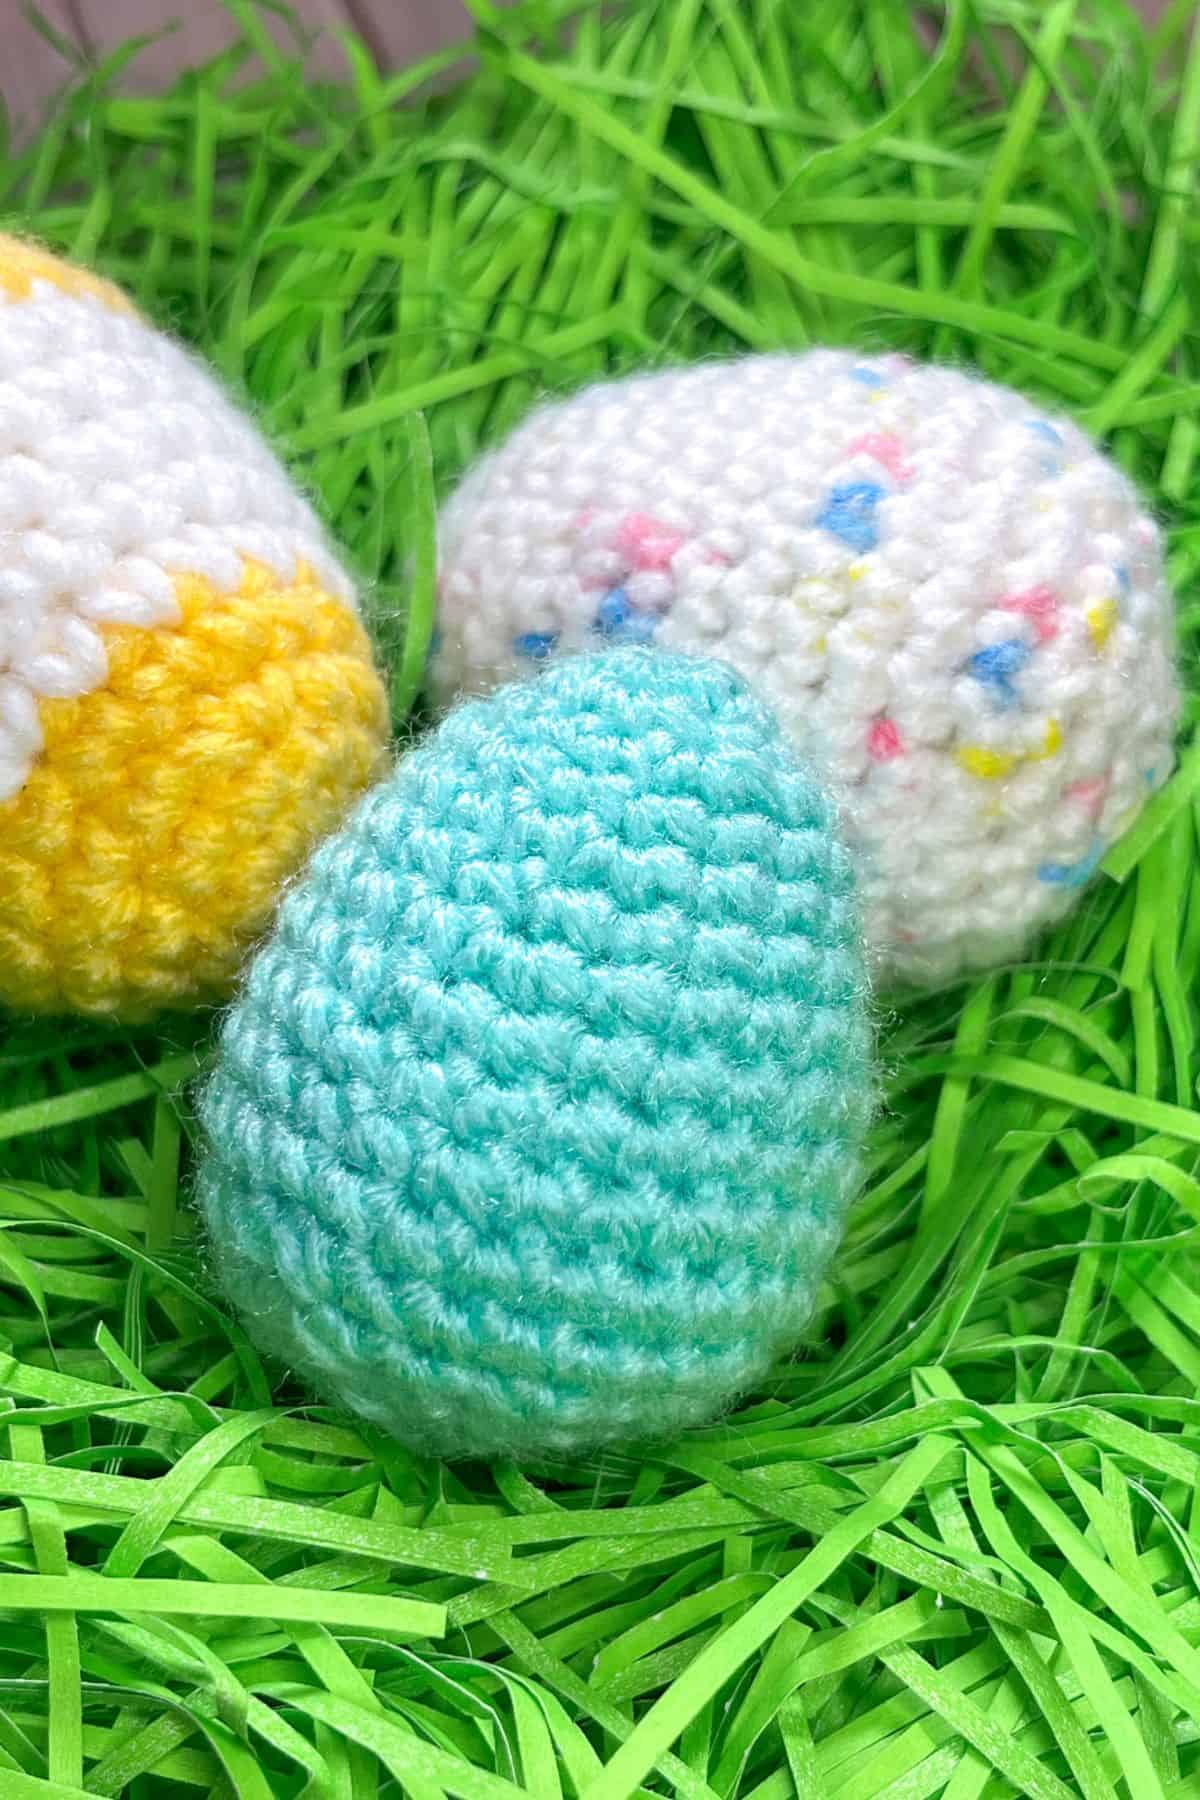
- Finished Size. The finished egg size is approximately 3 inches tall, which makes it just the right size for an Easter decoration or a fun, miniature gift. Or turn it into a keychain like my crochet bunny keychain pattern! The small size is also great for adding details like faces or accessories without overwhelming the design. No matter how you choose to customize your crochet eggs, this pattern is versatile and fun to make, whether you're using scraps or planning a specific color scheme.
🪡 Materials Needed
- Scrap yarn
- 3.5mm hook
- Tapestry needle
- Polyfill
💭Abbreviations to Remember (US terms)
- Chain - ch
- Single crochet - sc
- Increase - inc
- Decrease - dec
🧋Variations
You can get creative with this design by:
- Striped Eggs: Alternate colors for a fun striped effect.
- Embroidered Details: Add embroidery work for small details.
- Closeable Eggs: Split the pattern in half, working top down and bottom up, to create eggs that can be filled with candy and small treats.
🍵Instructions for Crochet Easter Egg Pattern
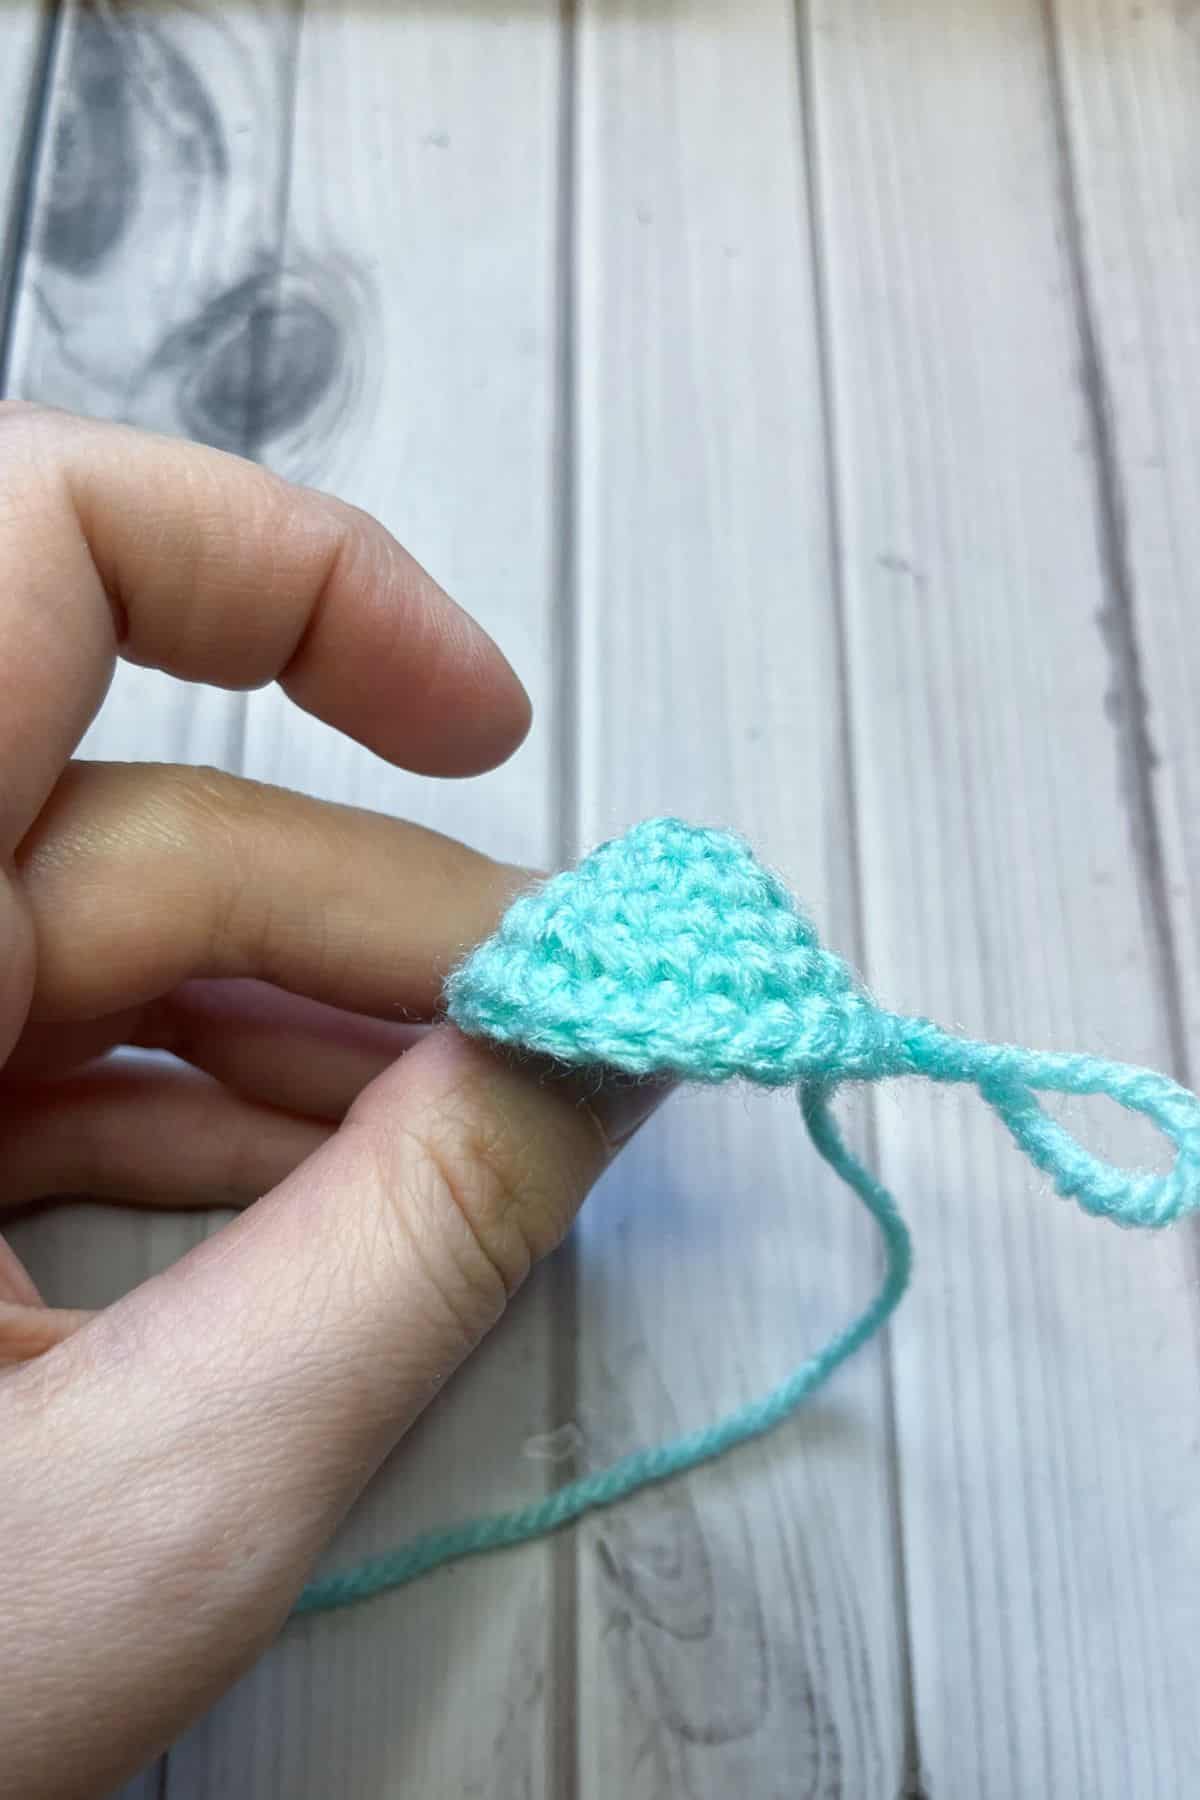
This crochet Easter egg pattern is made in the round.

Round 1: Ch x2 and then in the second ch from the hook sc x6. (6)
Round 2: Inc in every stitch. (12).
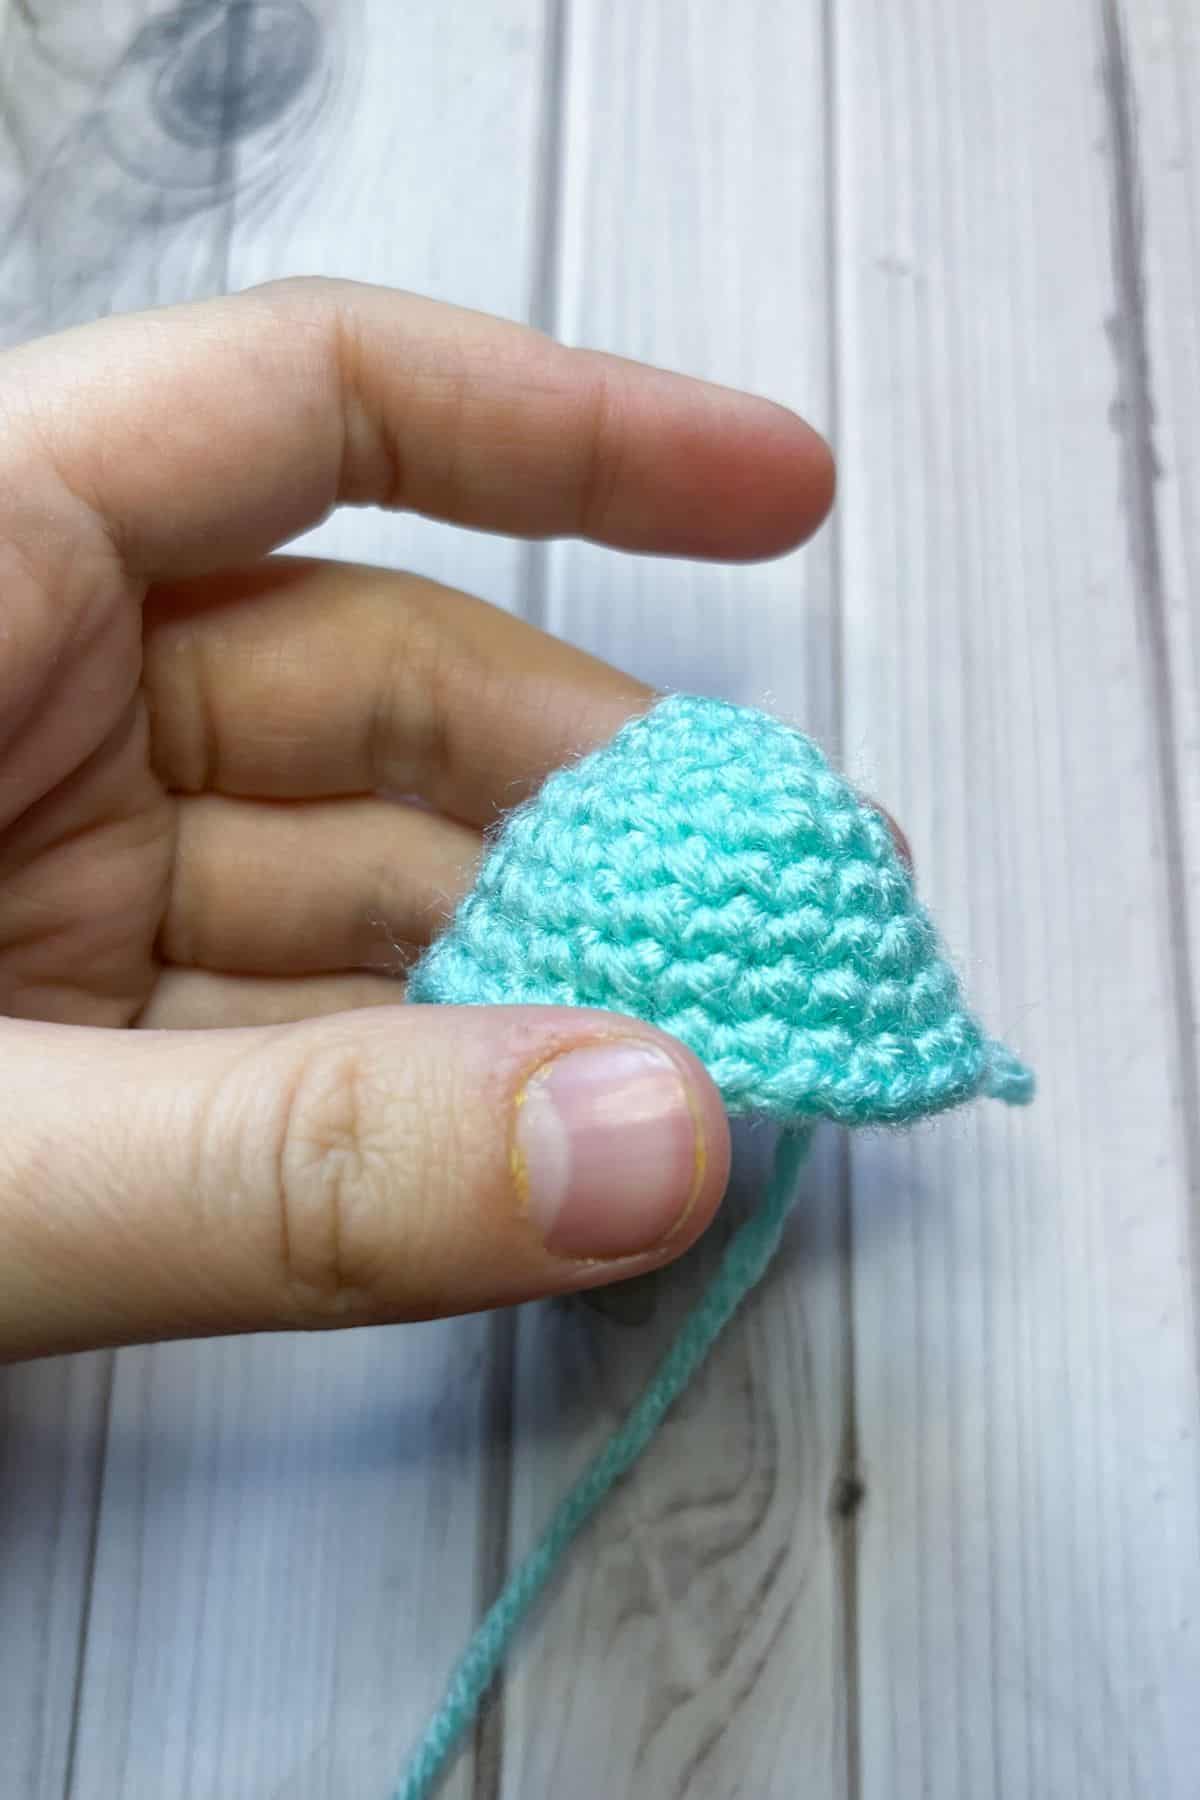
Round 3: Sc in every stitch. (12).
Round 4: Inc, sc and then repeat. (18).
Round 5: Sc in every stitch (18).
Round 6: Inc, sc x5 and then repeat. (21).
Round 7: Sc in every stitch (21)
Round 8: Inc, sc x6 and then repeat. (24).
Round 9: Inc, sc x7 and then repeat. (27).
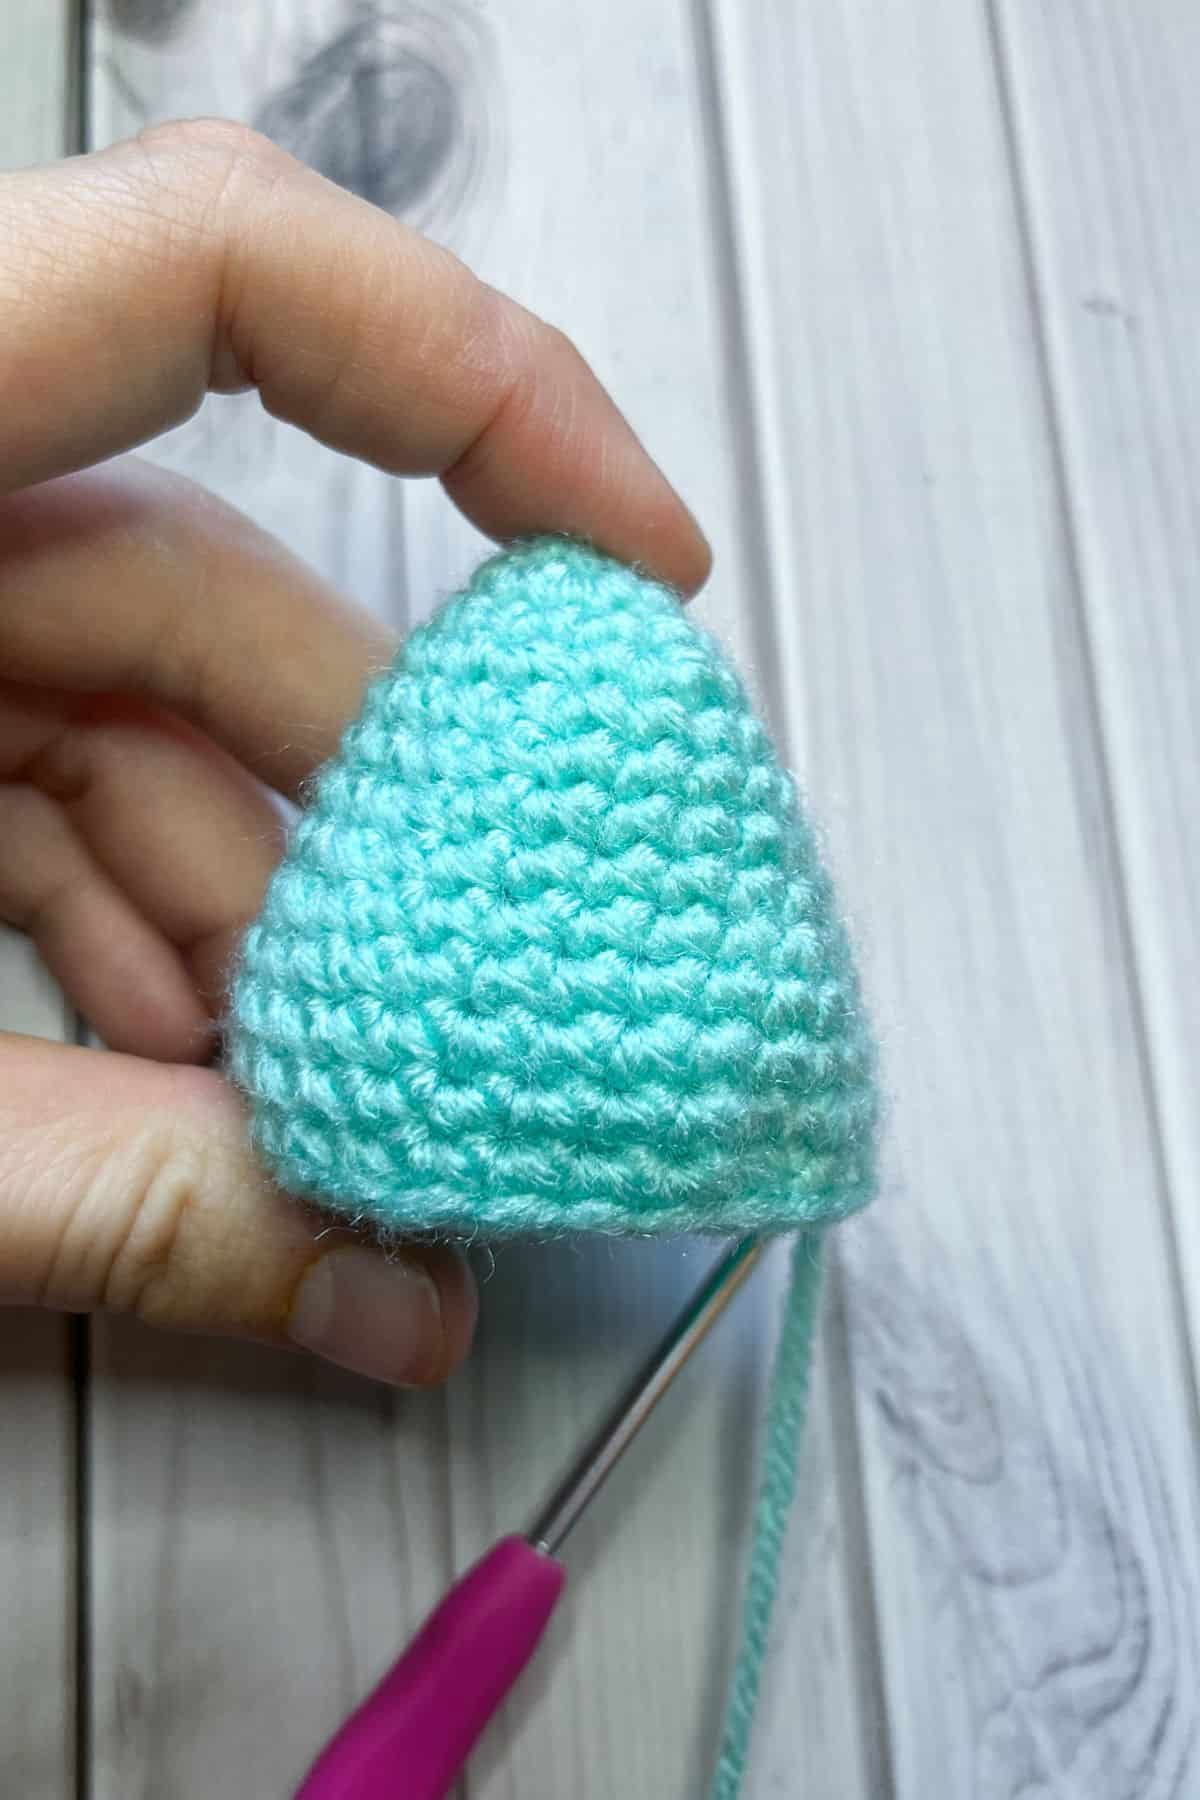
Round 10-12: Sc in every stitch (27).
Round 13: Dec, sc x7 and then repeat. (24).
Round 14: Dec, sc x2 and then repeat. (18). Stuff the egg if you haven't already.
Round 15: Dec, sc and then repeat. (12).
Round 16: Dec and then repeat. (6). Fasten the yarn off and sew the egg shut. Then weave in any ends.
Thank you so much for following along with my Easter egg pattern! I hope you enjoyed learning how to crochet easter eggs! Whether you made them for yourself, as gifts, or for a market display, I’m sure they’ll be a hit.
The best part of this pattern is how easy it is to customize. From using up scrap yarn to experimenting with different colors and sizes, these eggs offer endless possibilities. I’d love to see how your creations turn out, so feel free to share your finished eggs with me!
You can also turn it into a garland like how I do with my crochet fall garland pattern!
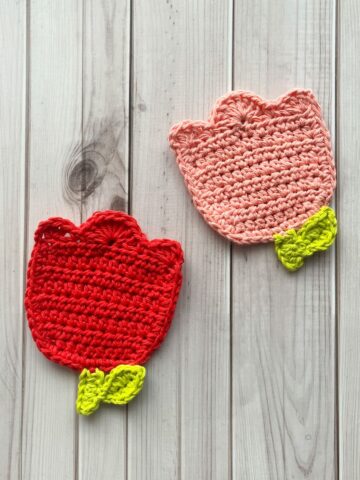
Want to add a spring touch to the festivities? try my crochet flower coaster pattern and my crochet tulip pattern!
Happy crocheting, and I hope these Easter eggs bring extra cheer to your spring season. Thank you again for joining me in this fun project, I hope you enjoyed learning how to crochet an egg!
🐌Expert Tips
- Embroidery: If you choose to add embroidery to the crochet Easter egg pattern, such as lazy daisies or leaves, it’s best to do so after completing the egg. This allows for easier access and a more convenient working space to add your details.
- Yarn Choices: Feel free to experiment with various types and textures of yarn to achieve a one-of-a-kind look. Different yarns can add depth, interest, and variety to your crochet eggs, giving each one its own unique personality.
- Color Changes: To ensure a seamless color transition and avoid any tangling, it’s a good idea to plan your color changes ahead of time. By mapping out your design before you start, you can keep everything neat and organized, making the process more enjoyable and efficient.
🧵Pattern FAQs
Absolutely! Just make sure you change the hook size too!
I switched from yellow to white after the 2nd row of 18, and back to yellow after the 3rd row of 27.
Yes! Depending on the hook size you use, they can fit perfectly into egg cartons, making them great crochet egg toys.
🧶More Crochet Spring Patterns


If you tried this Crochet Easter Egg Pattern (or any other pattern on my website), please let me know how it went in the 📝 comments below. I'd love to hear from you!

Crochet Easter Egg Pattern
Materials
- Scrap yarn
- 3.5mm hook
- Tapestry needle
- Polyfill
Abbreviations (US terms)
- ch = Chain
- sc = Single crochet
- inc = Increase
- dec = Decrease
Notes
- Yarn: For these crochet eggs, I used scrap yarn, making this project an excellent way to use up any leftover yarn you may have! Since the eggs are small and don’t require much yarn, it’s a perfect opportunity to repurpose those scraps that are too small for other projects.
- Hook Size: In terms of hook size, I used a 3.5mm hook to achieve a tighter stitch and a neat finish. However, if you’d like to create larger eggs, feel free to switch to a larger hook while following the same pattern. Adjusting the hook size will give you more flexibility to make eggs in different sizes, whether you want a bigger or smaller look.
- Finished Size: The finished egg size is approximately 3 inches tall, which makes it just the right size for an Easter decoration or a fun, miniature gift. The small size is also great for adding details like faces or accessories without overwhelming the design. No matter how you choose to customize your crochet eggs, this pattern is versatile and fun to make, whether you're using scraps or planning a specific color scheme.
Instructions
- This crochet Easter egg pattern is made in the round.
- Round 1: Ch x2 and then in the second ch from the hook sc x6. (6)
- Round 2: Inc in every stitch (12).
- Round 3: Sc in every stitch (12).
- Round 4: Inc, sc and then repeat. (18).
- Round 5: Sc in every stitch (18).
- Round 6: Inc, sc x5 and then repeat. (21).
- Round 7: Sc in every stitch (21)
- Round 8: Inc, sc x6 and then repeat. (24).
- Round 9: Inc, sc x7 and then repeat. (27).
- Round 10-12: Sc in every stitch (27).
- Round 13: Dec, sc x7 and then repeat. (24).
- Round 14: Dec, sc x2 and then repeat. (18). Stuff the egg if you haven't already.
- Round 15: Dec, sc and then repeat. (12).
- Round 16: Dec and then repeat. (6). Fasten the yarn off and sew the egg shut. Then weave in any ends.Thank you so much for following along with my Easter egg pattern! I hope you enjoyed learning how to crochet easter eggs! Whether you made them for yourself, as gifts, or for a market display, I’m sure they’ll be a hit.


Leave a Reply