
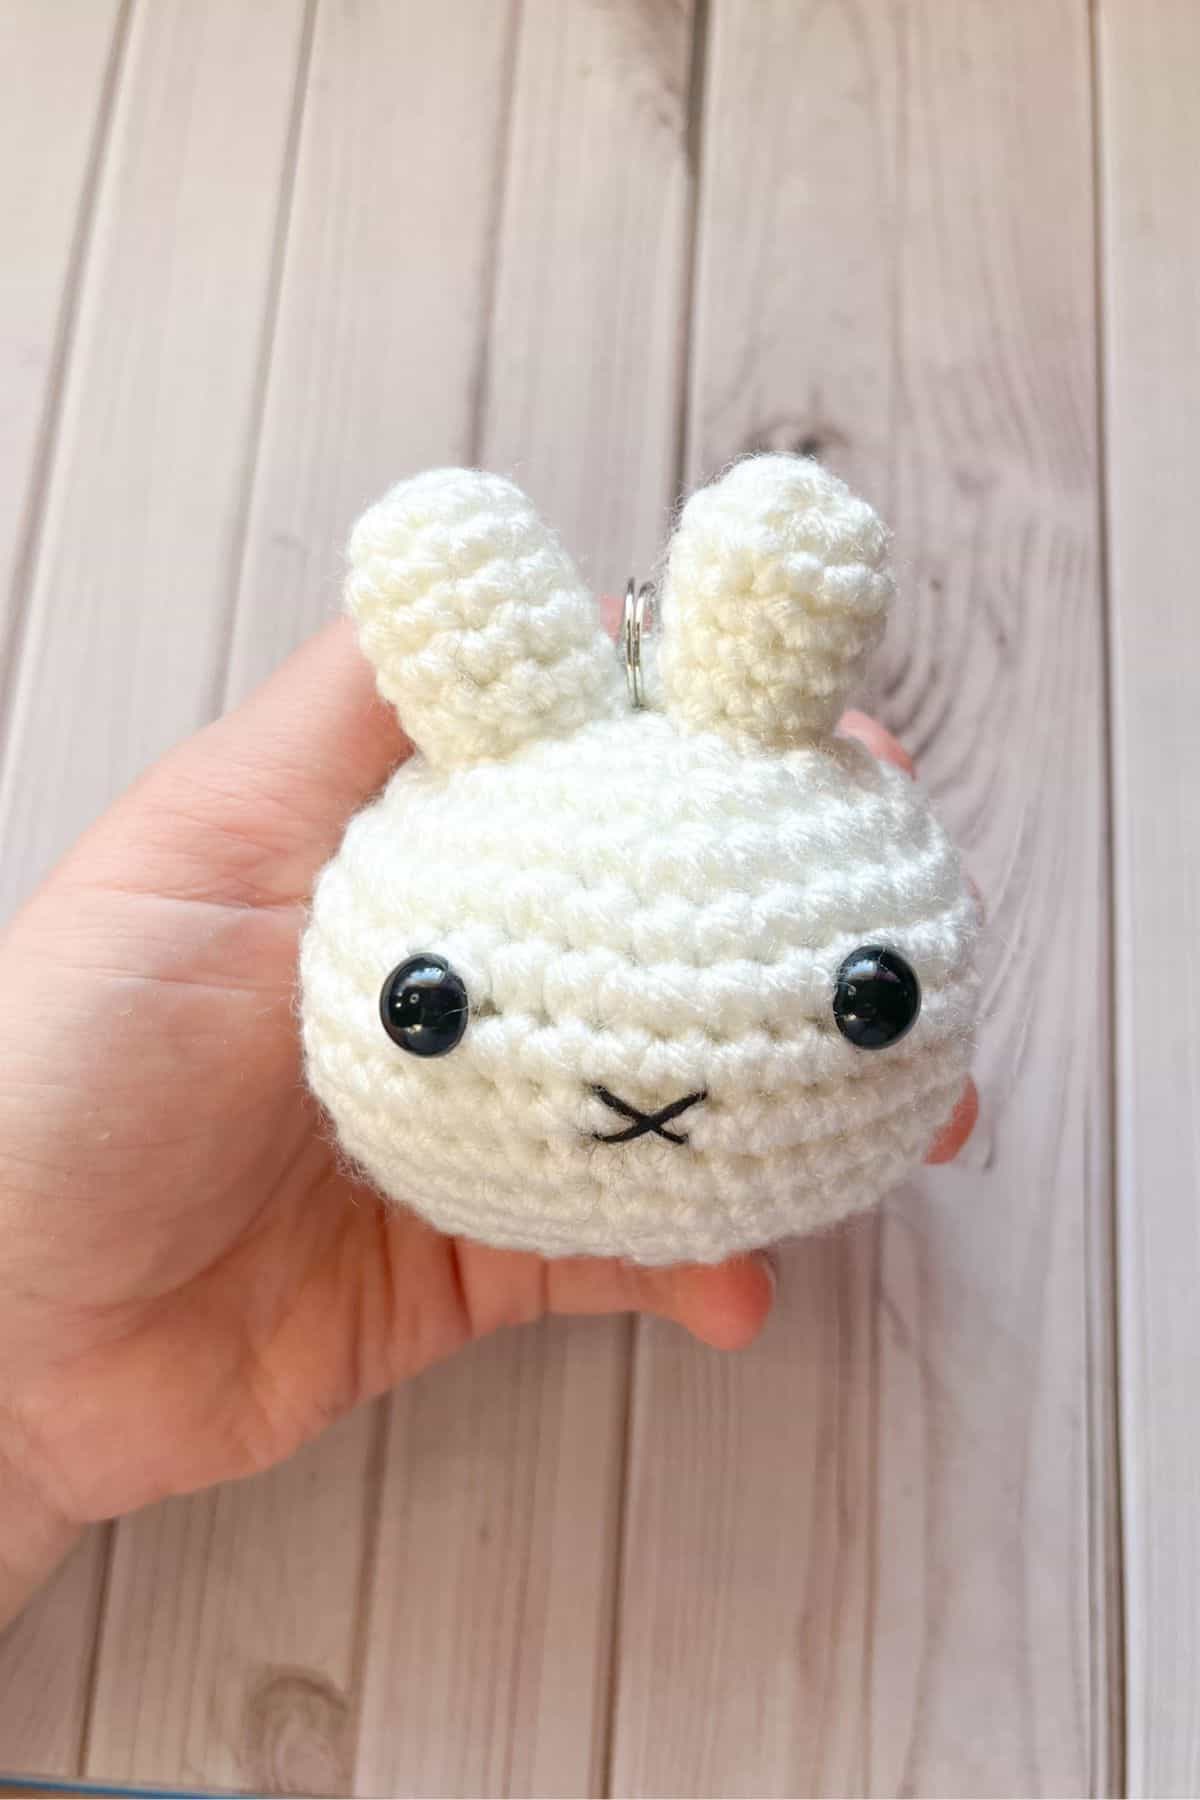
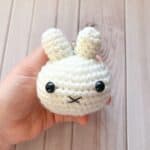
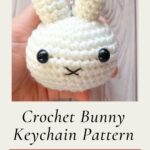
Hop on into spring with my adorable Crochet Bunny Keychain Pattern! Made in the round with minimal sewing, this crochet bunny pattern is perfect for beginners!
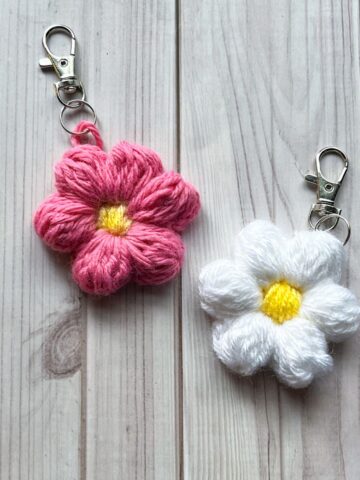
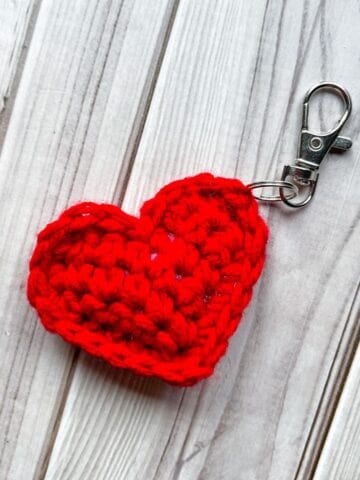
Crochet keychains are an easy way to make a unique and absolutely adorable statement. I actually have a few keychain patterns which are some of my favorite things to make, like my crochet strawberry keychain, crochet rainbow keychain, and crochet heart keychain.
I also love making bag charms which can be seen on my crochet orange bag pattern.
This crochet bunny keychain is a perfect addition to Easter baskets. They are quick to make, so you can have many ready in no time—ideal for when you have a lot of giftees or if you plan to sell them at markets. Plus, it uses hardly any materials!
Let's begin making the cute bunny crochet keychain!
Jump to:
✏️ Things To Note:
- Yarn Options: For the crochet bunny keychain pattern, I used acrylic yarn, but feel free to choose any yarn type you prefer. Acrylic is soft, lightweight, and available in many colors, but other yarns like cotton, wool, or bamboo can give the bunny a different texture and look. Keep in mind that the type of yarn you choose may affect the final size and feel of the keychain.
- Adjusting Size: To adjust the size of your crochet bunny, consider using thicker yarn or a larger crochet hook. If you opt for chunky or super chunky yarn, you can create a larger, plushie version of the bunny instead of a keychain. This allows for more flexibility in the finished product, whether you want a cute little plush or a keychain.
- Finished Size: The standard finished size for this crochet rabbit keychain is about 4 inches tall, making it ideal for attaching to keys, bags, or zippers. However, by changing the yarn thickness or hook size, you can easily customize the size of your bunny to suit your preferences. Whether you prefer a smaller keychain or a larger plushie, adjusting these elements allows for a unique and personalized result.
🪡 Materials Needed
💭Abbreviations to Remember (US terms)
- Magic ring - mr
- Single crochet - sc
- Increase - inc
- Decrease - dec
🧋Variations
You can always add more personality to the crochet keychain by giving it a hat or a bow on its head by adding little embellishments.
🍵Instructions for Crochet Bunny Keychain Pattern
How to crochet a bunny keychain:

Round 1: Using the white yarn, make a mr and then sc x6 into the mr. (6)
Round 2: Inc in every sc. (12)
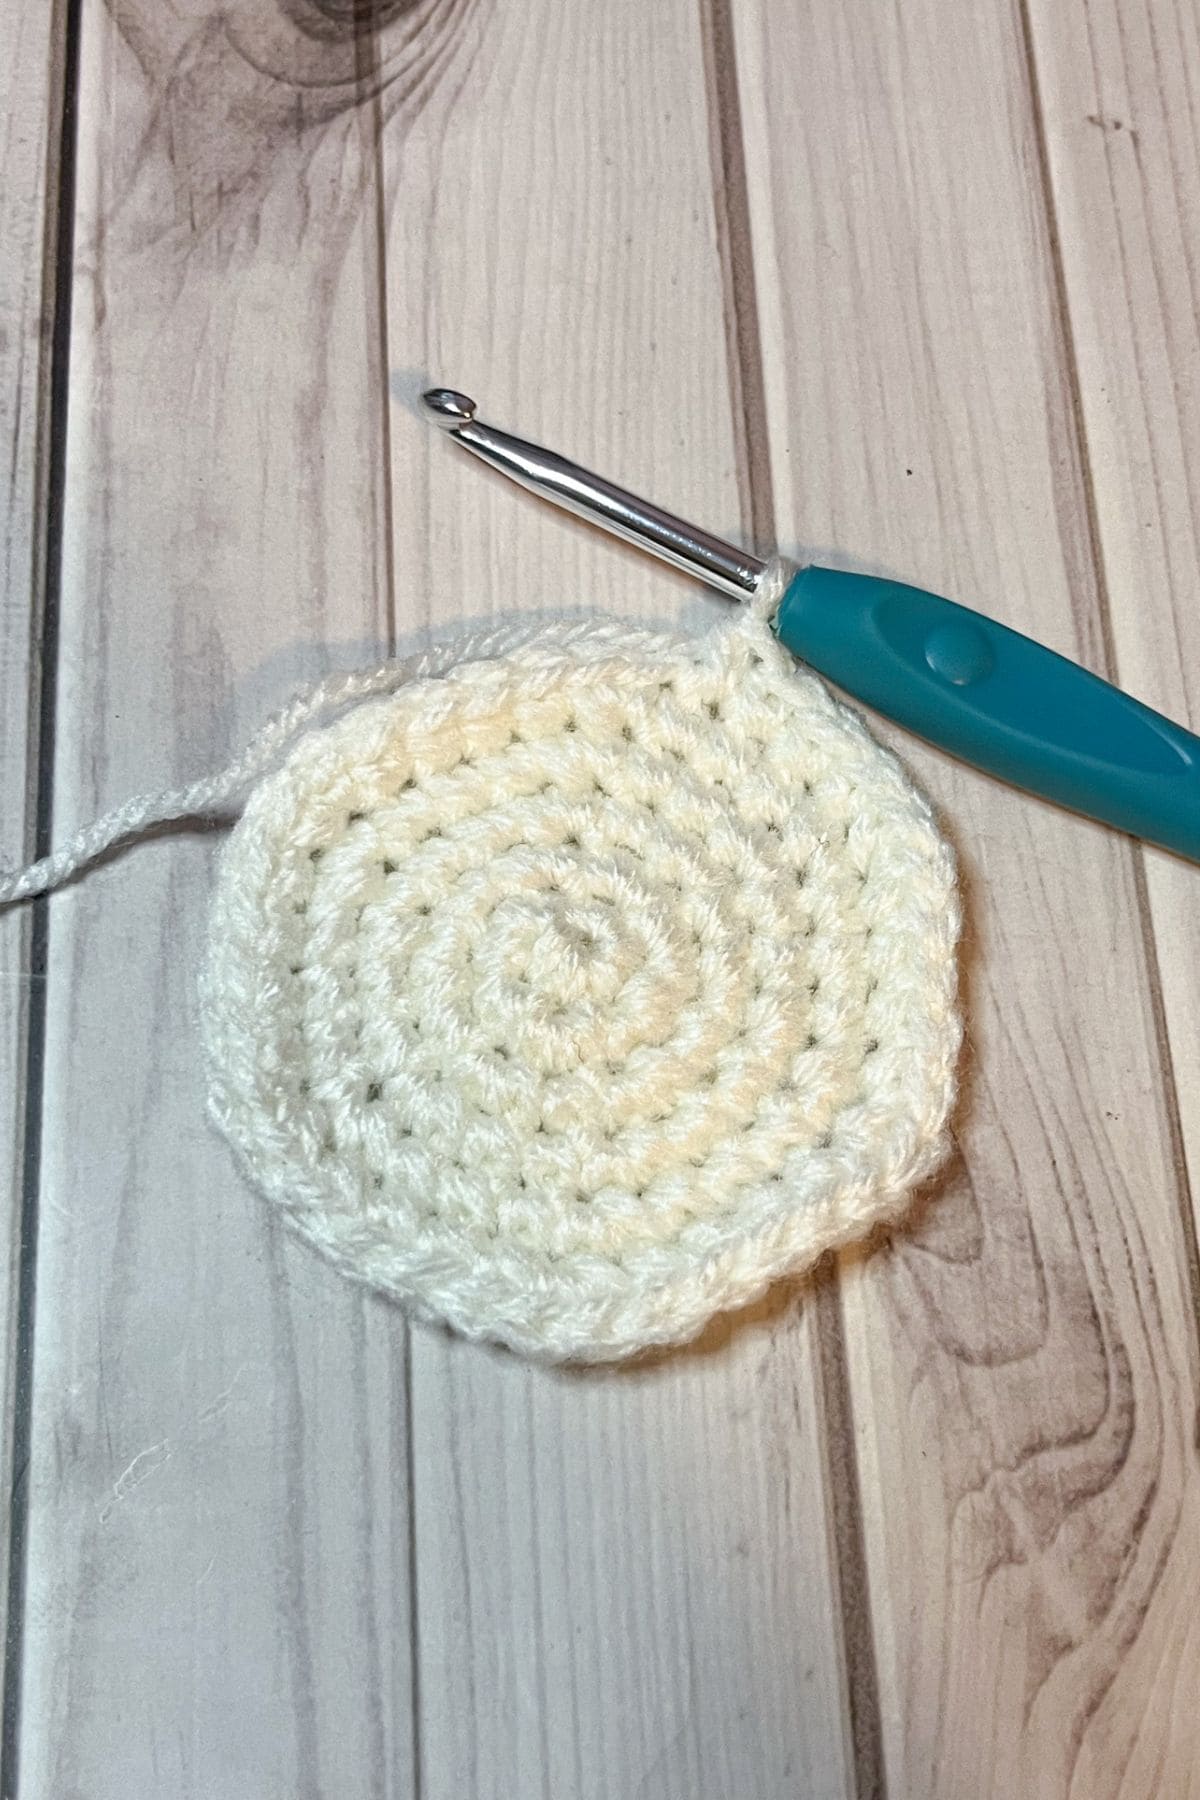
Round 3: Inc, sc. Then repeat until end of round (18)
Round 4: Inc, sc x2. Then repeat until end of round (24)
Round 5: Inc, sc x3. Then repeat until end of round (30)
Round 6: Inc, sc x4. Then repeat until end of round (36)
Round 7: Sc in every stitch (36)
Round 8: Inc, sc x5. Then repeat until end of round (42)
Round 9-10: Sc in every stitch (42)
Round 11: Dec, sc x5. Then repeat until end of round (36)
Round 12: Dec, sc x4. Then repeat until end of round (30)
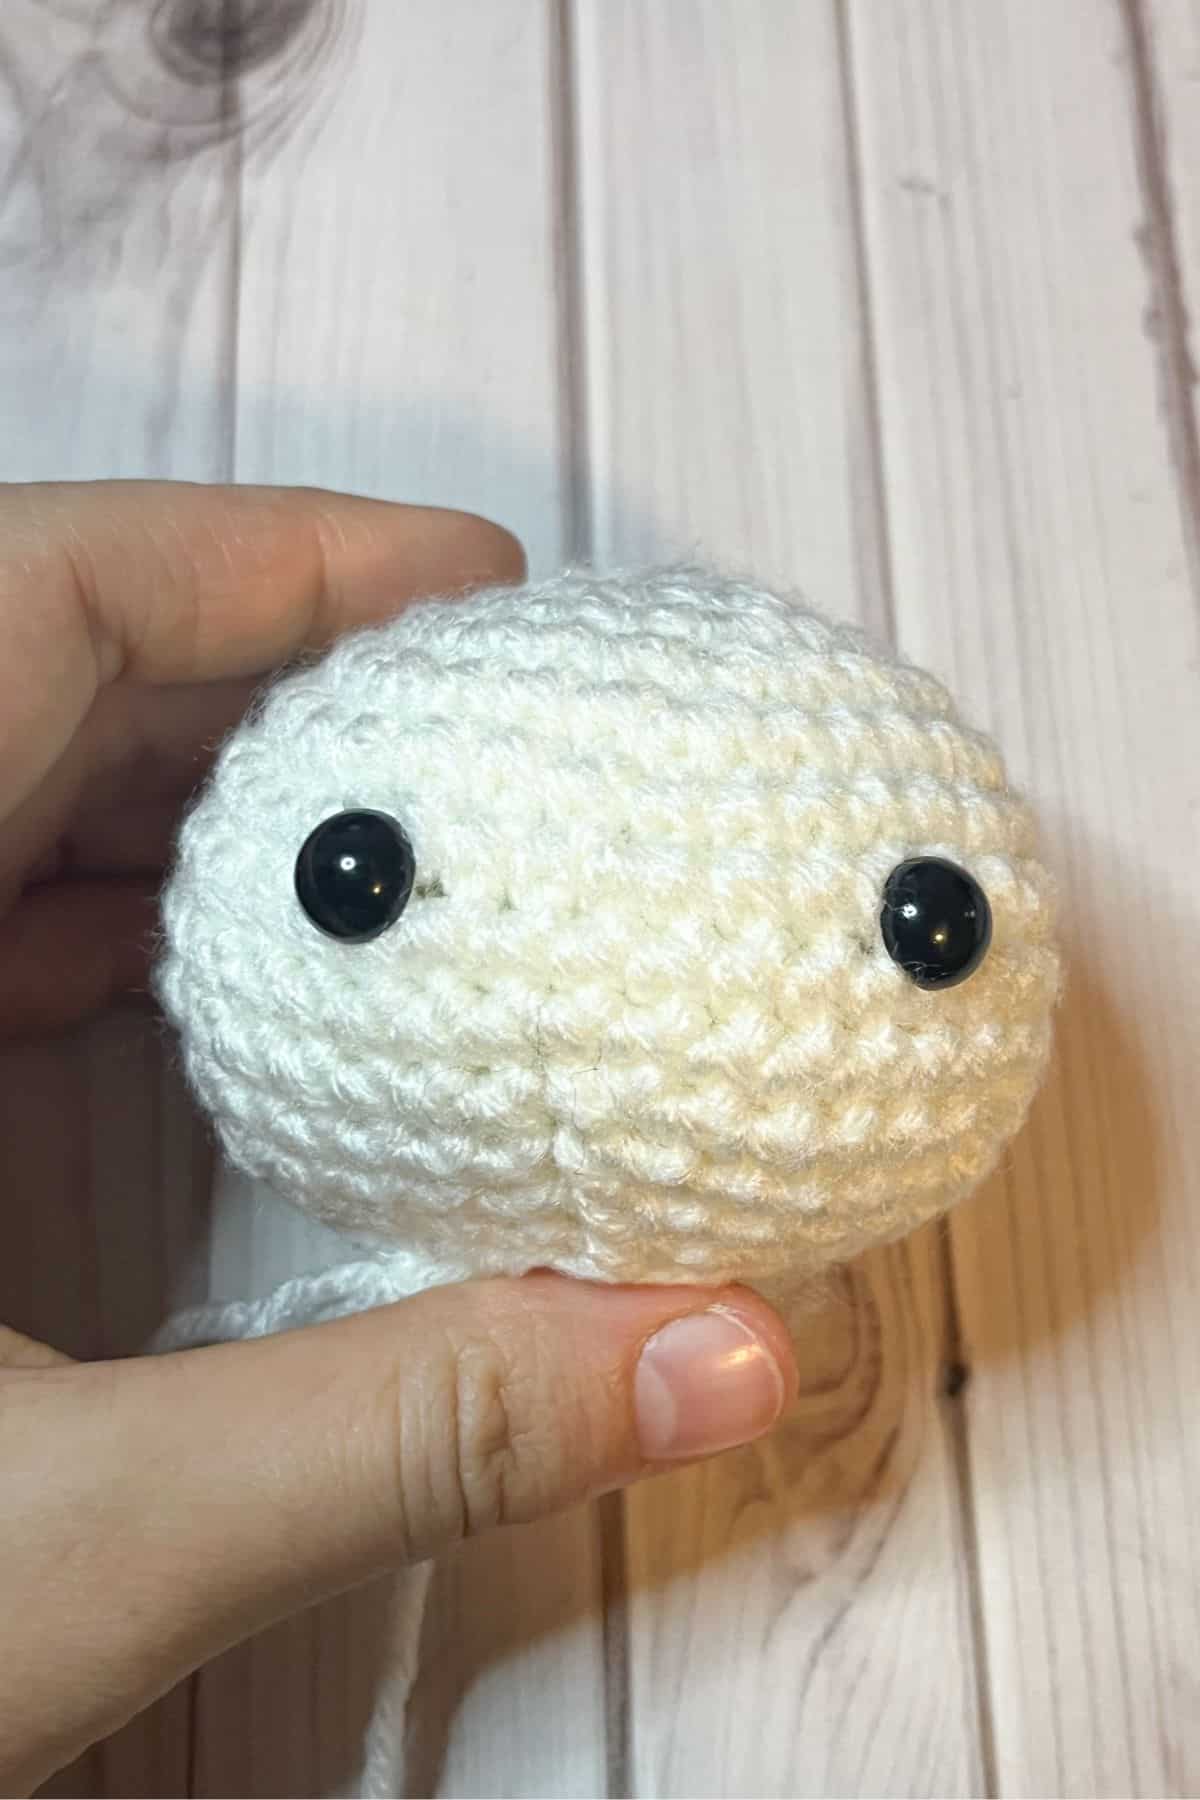
Round 13: Dec, sc x3. Then repeat until the end of round (24) (Should probably insert eyes and stuff the bunny if you haven't already.)
Round 14: Dec, sc x2. Then repeat until end of round (18)
Round 15: Dec, sc. Then repeat until end of round (12)
Round 16: Dec and repeat until end of round (6). Fasten off and weave in any ends.
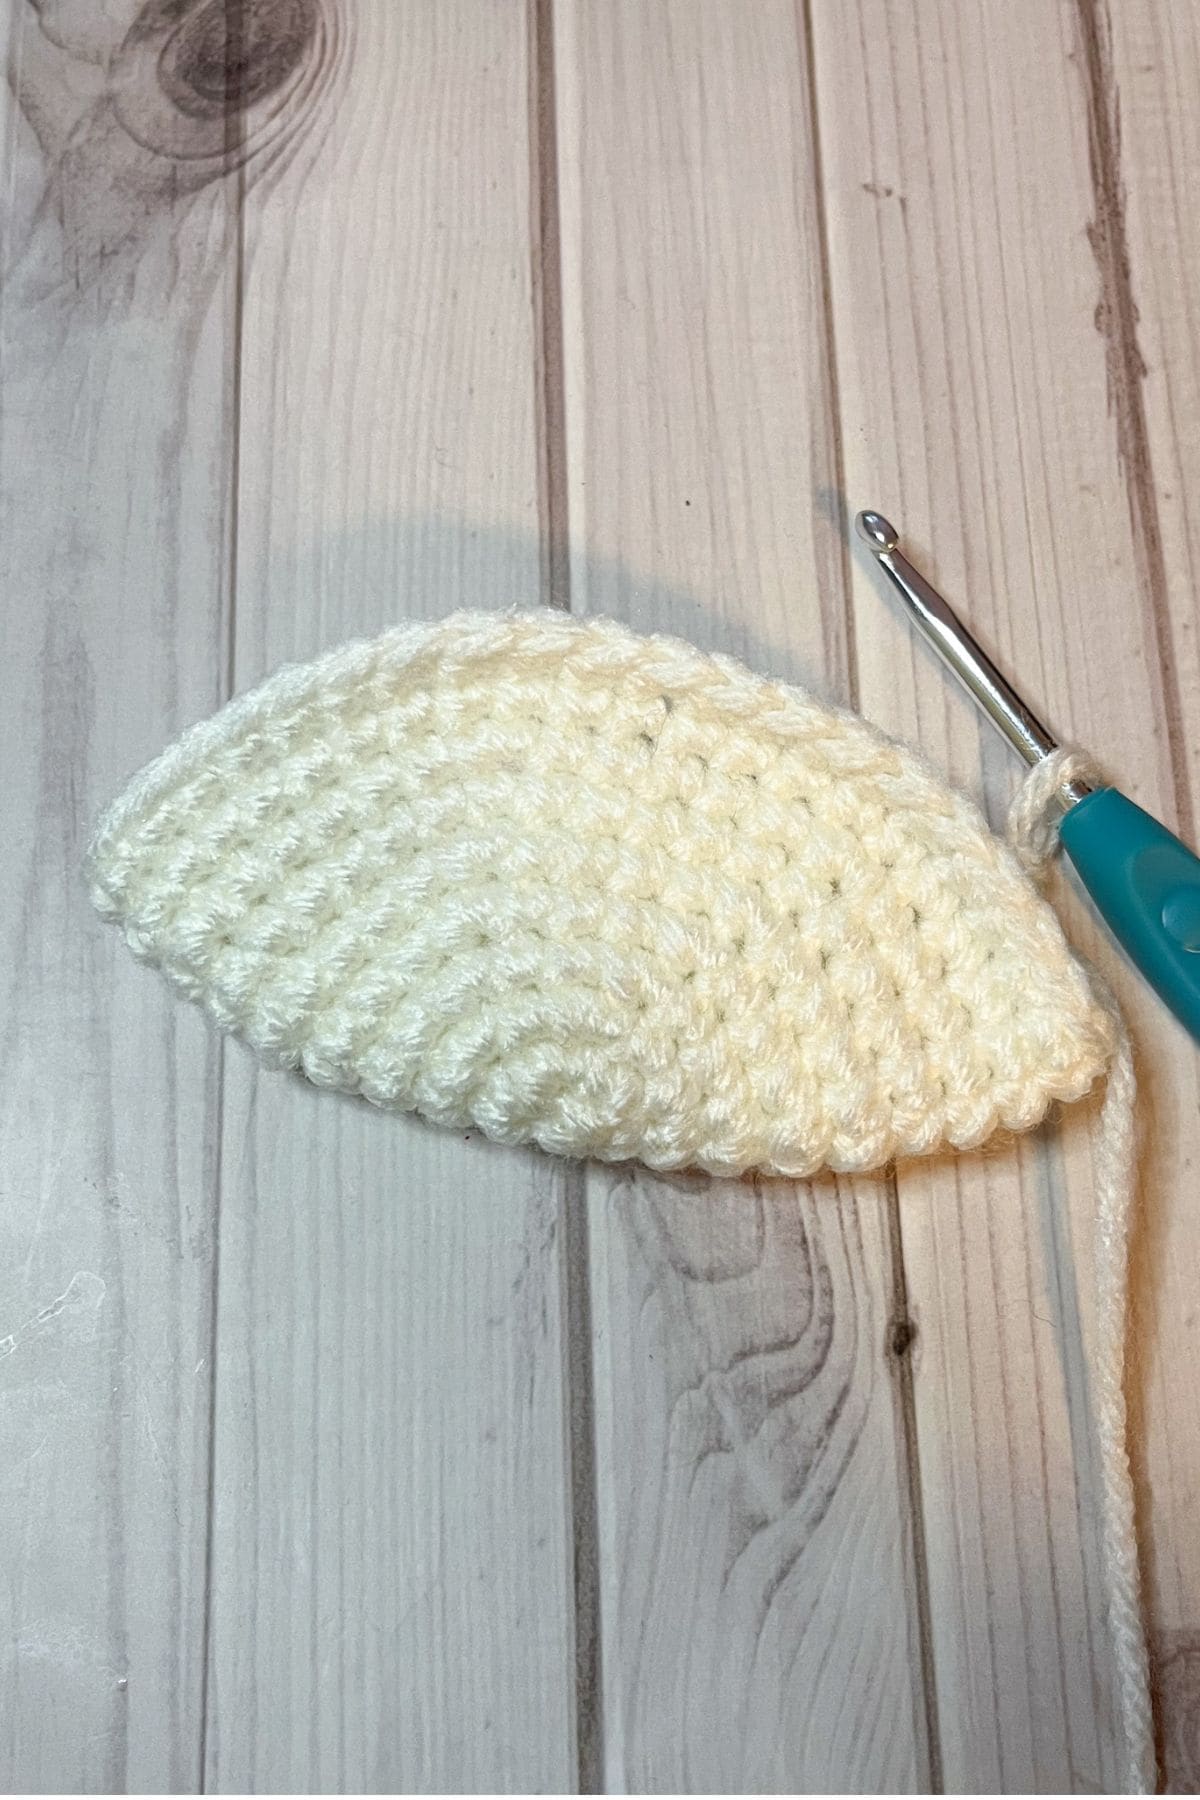
Crochet Bunny Ears:
Make 2 ears.
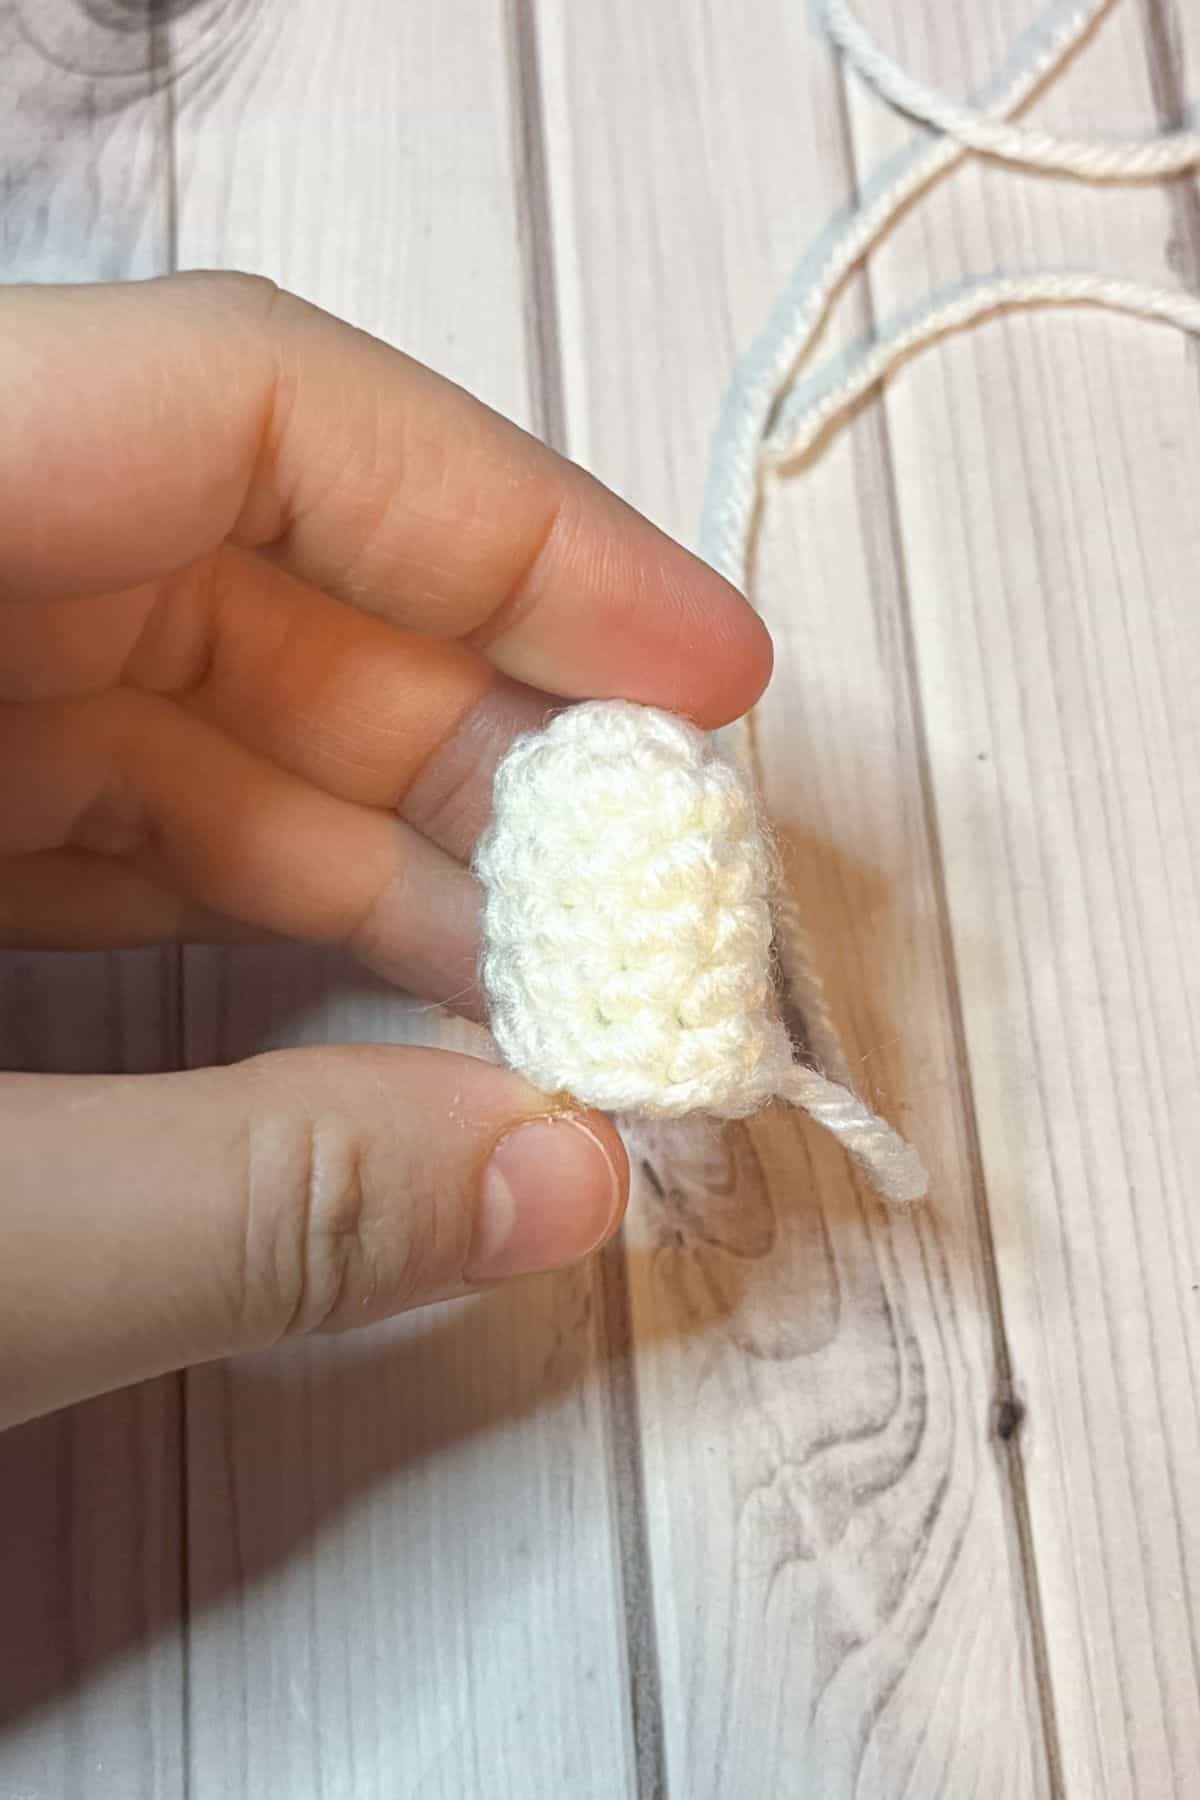
Round 1: Using the white yarn, make a mr and then sc x6 into the mr. (6)
Round 2: Inc, sc. Then repeat until end of round (9)
Round 3-6: Sc in every stitch (9).
After the last row fasten off the yarn and leave a tail to sew the ears to the head.
Finishing:
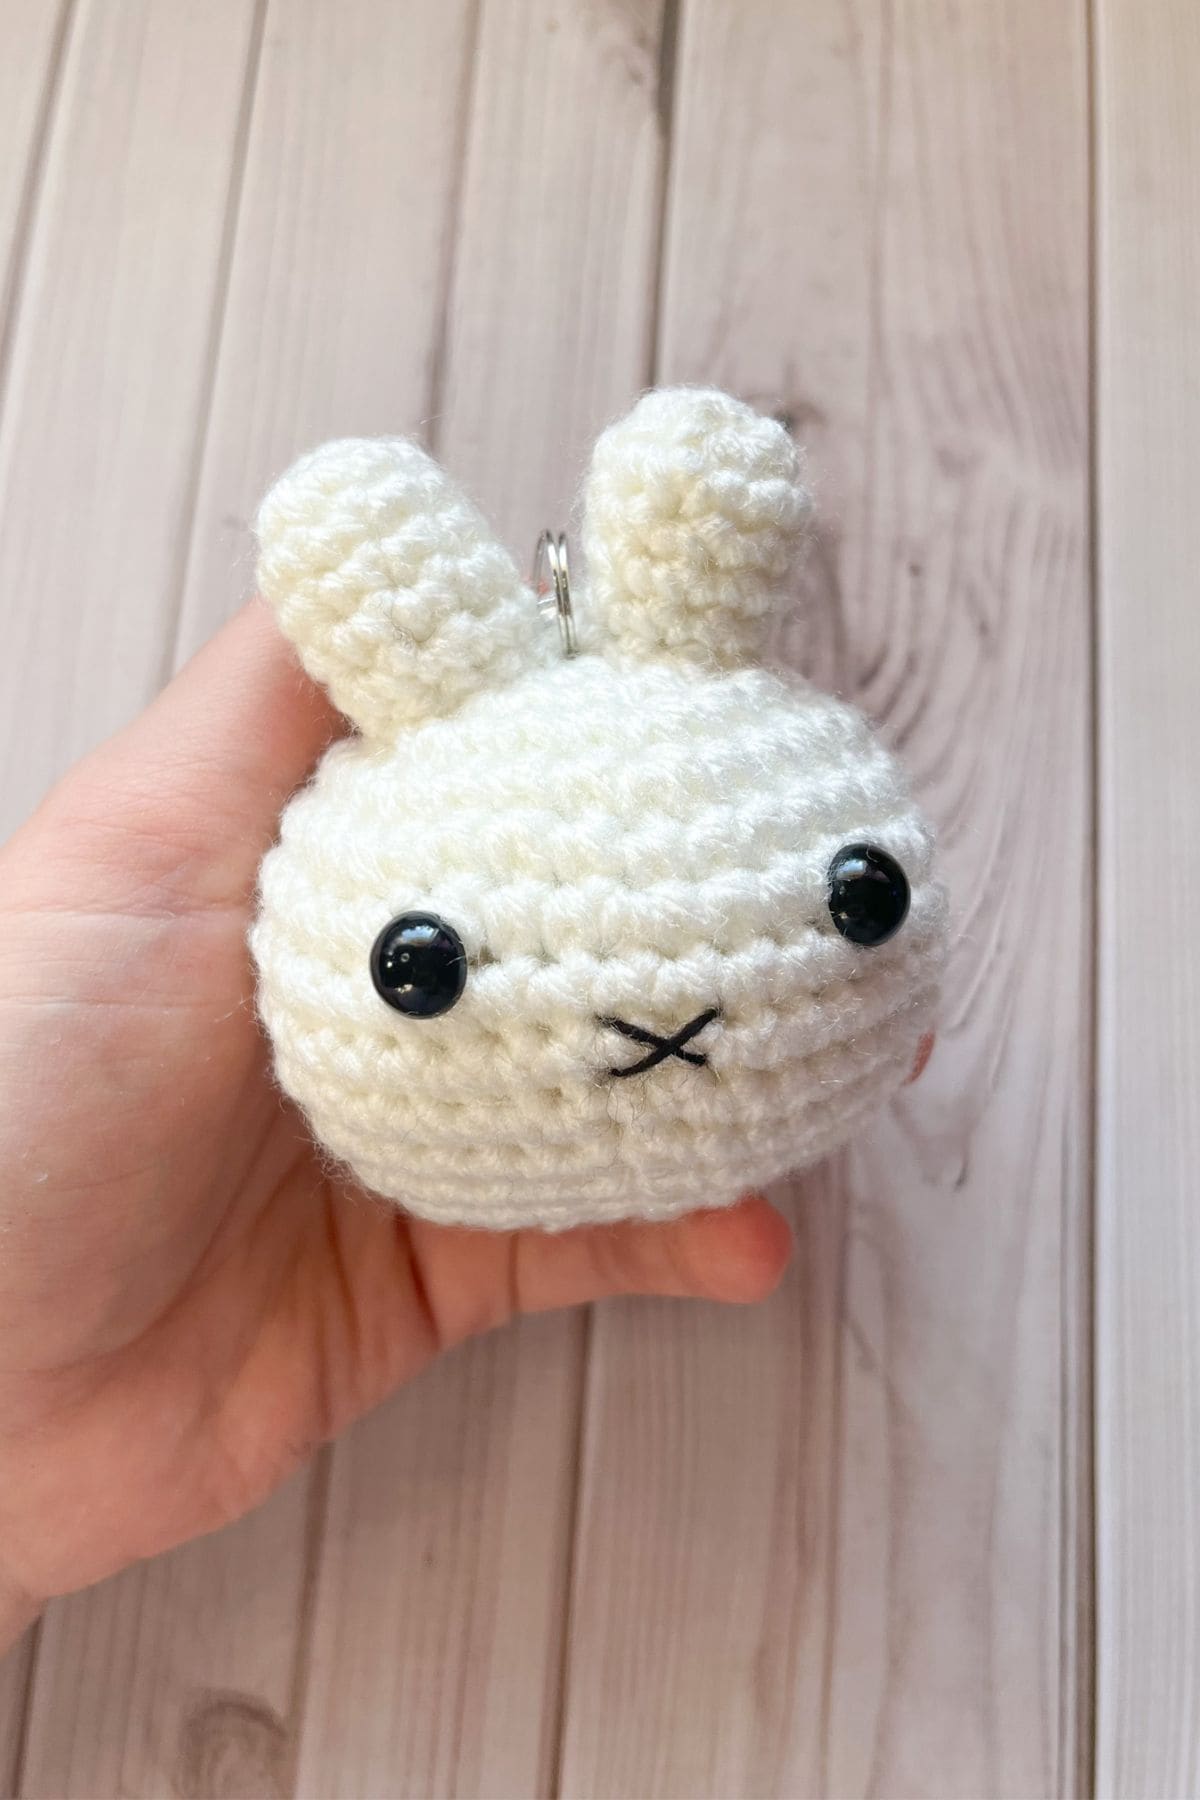
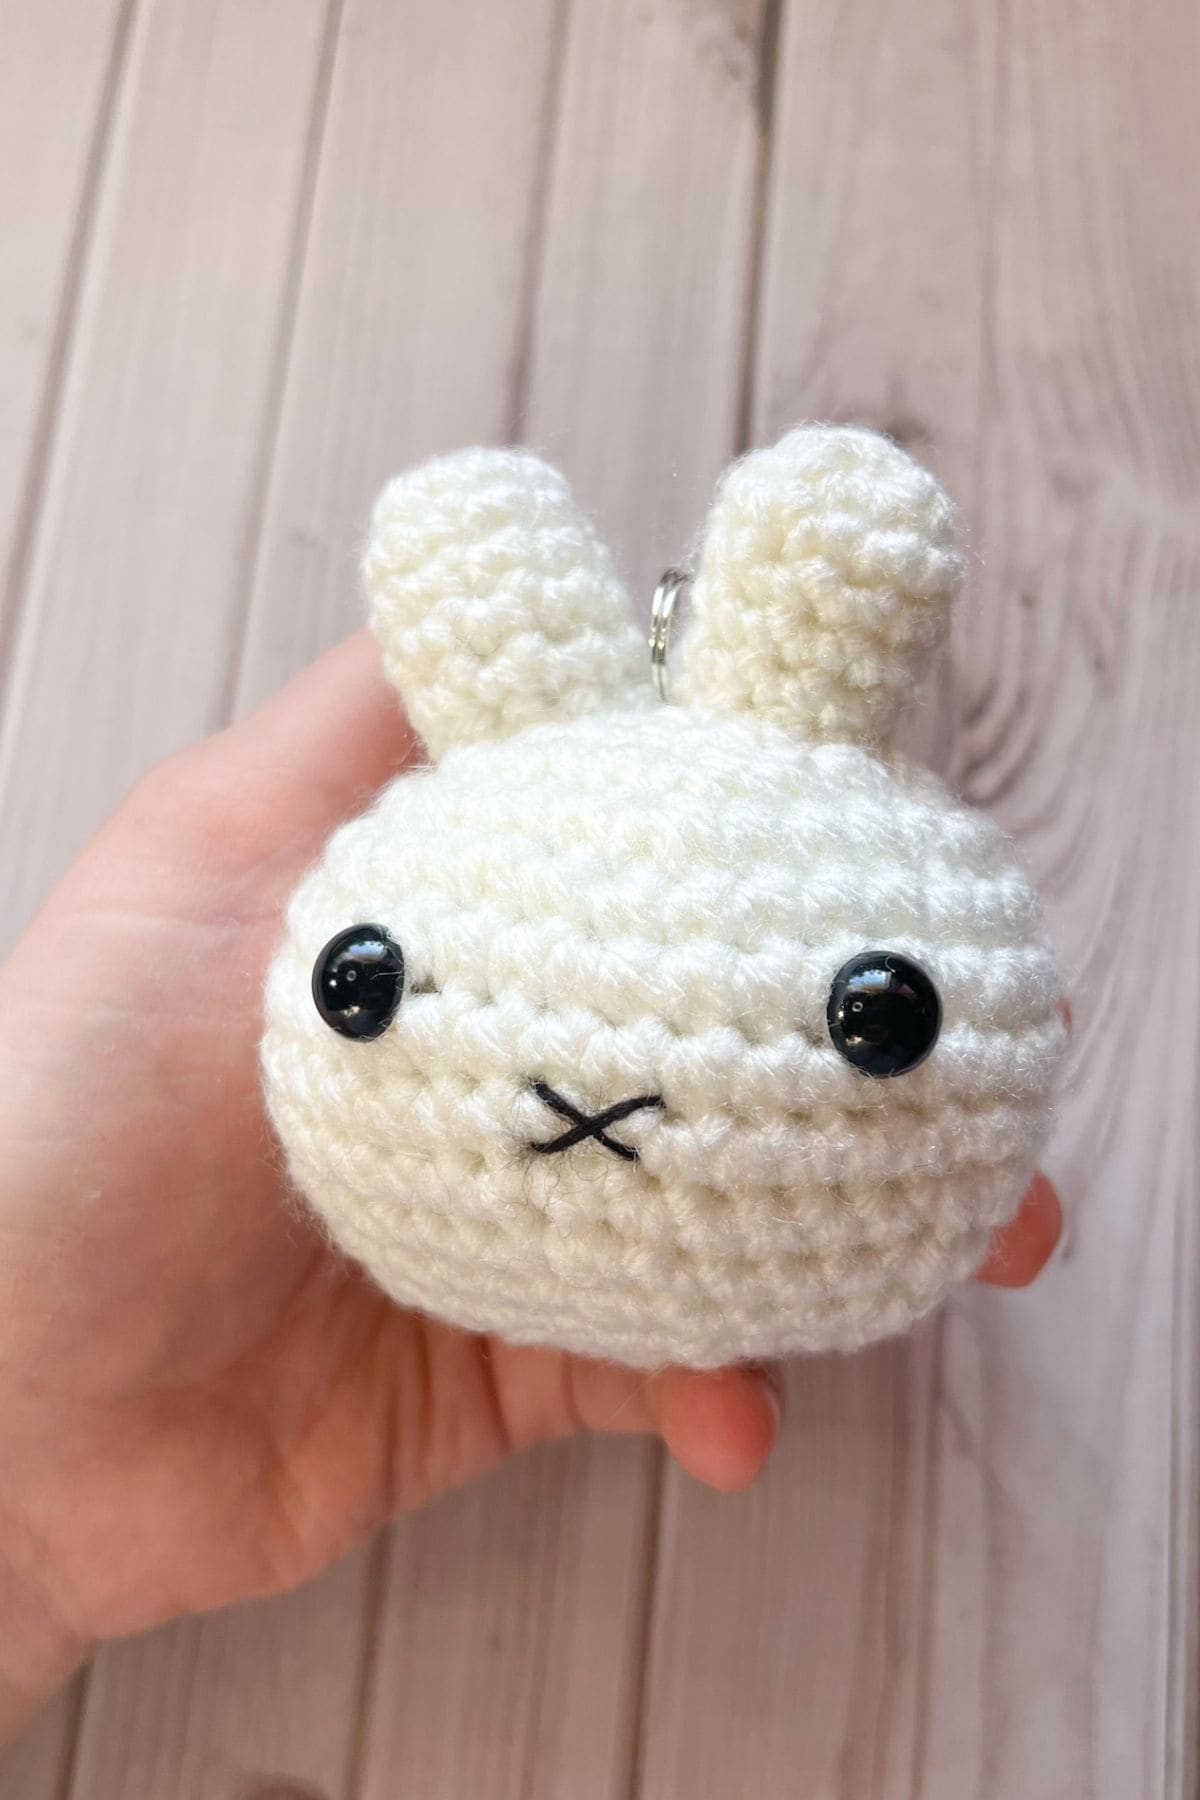
Stuff the ears gently and then sew them to the top of the head. I have my ears slightly touching at the base of the head.
After that, with spare embroidery floss or a piece of unraveled black yarn, embroider an x for the nose.
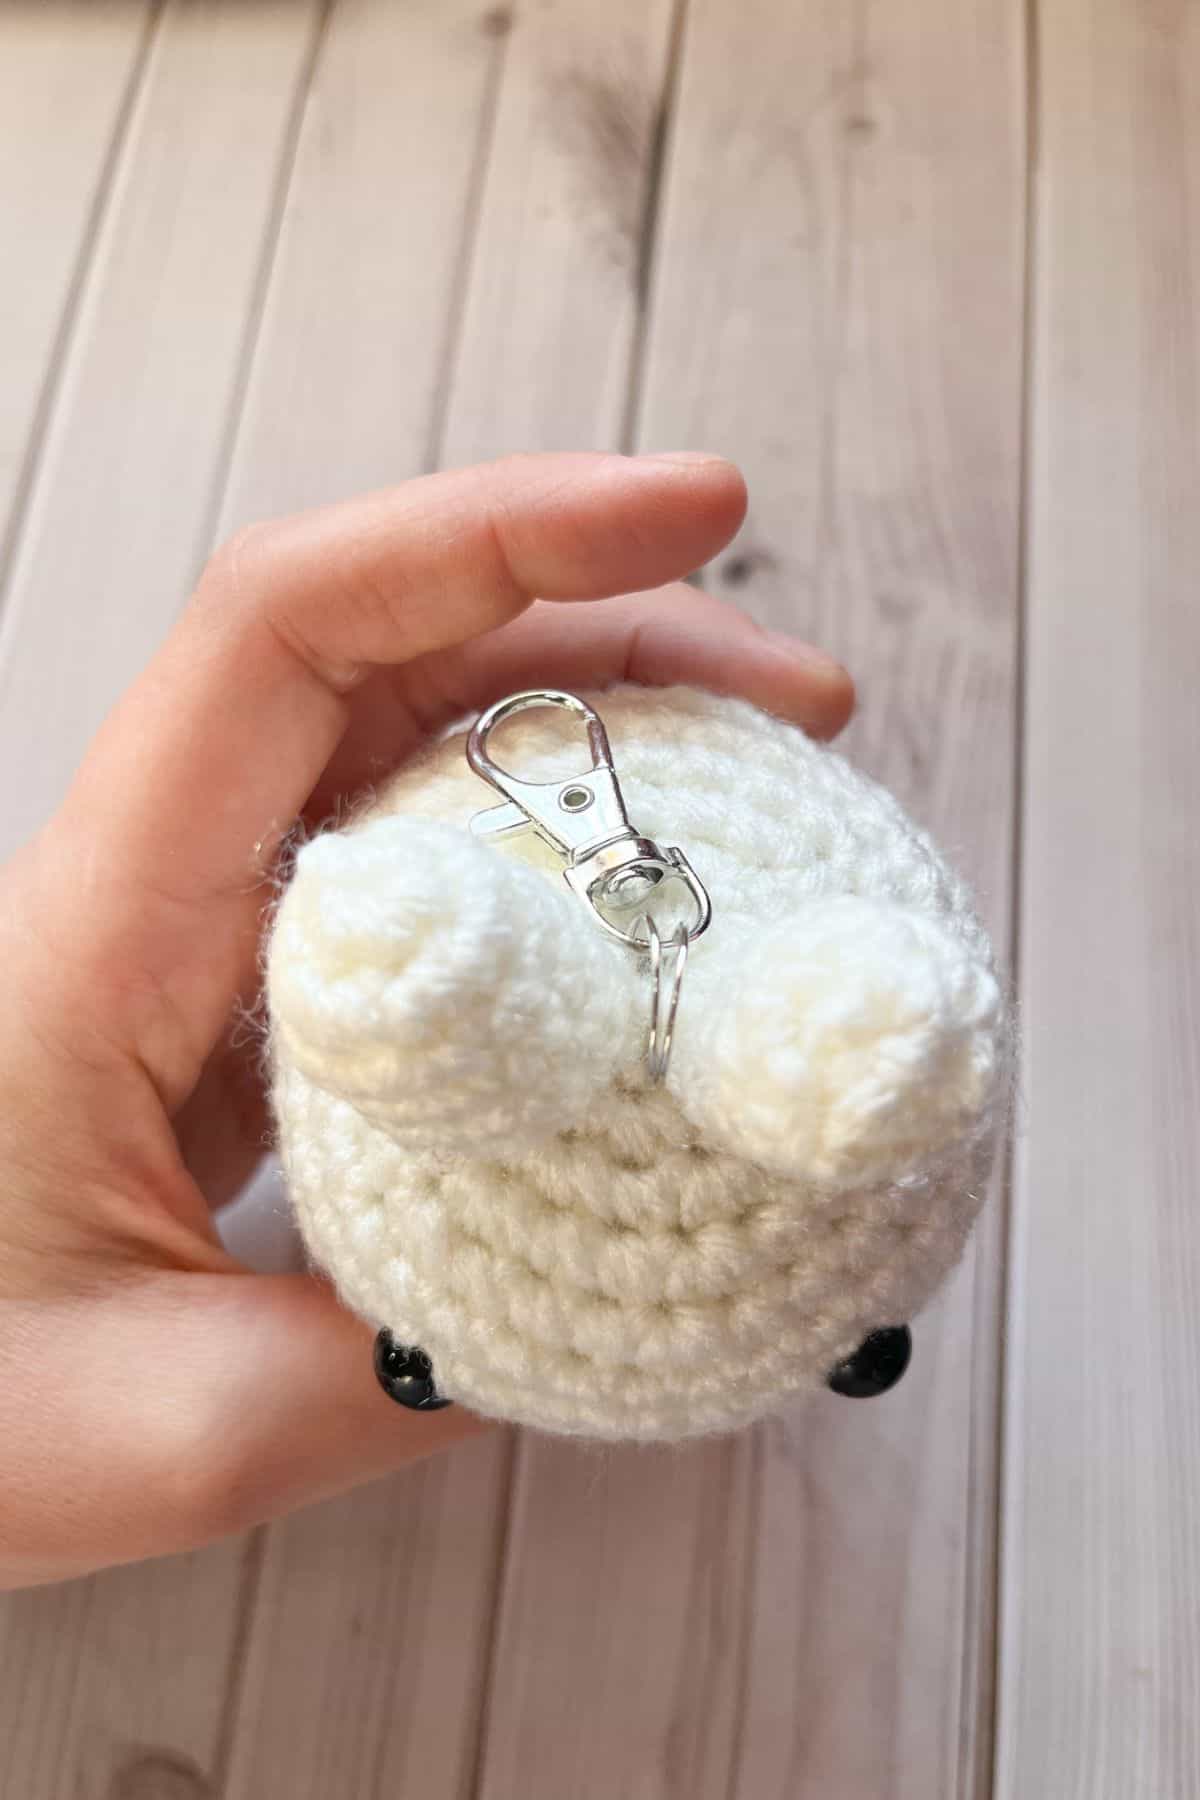
Attach a keychain through the head in between the ears.
And now you have a cute crochet bunny keyring a fast and simple project to do. I hope you enjoyed my crochet bunny keychain pattern!
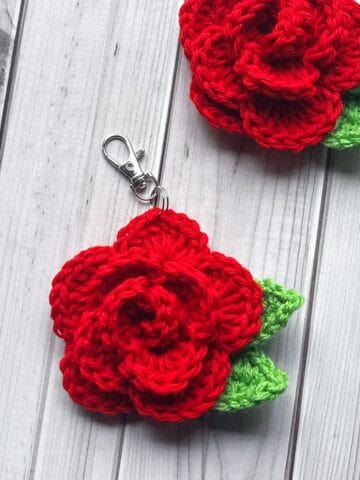
If you have left over yarn you can make my crochet tulip keychain! Otherwise feel free to make more animal keychains using my crochet bear keychain pattern and my crochet cat keychain pattern.
🐌Expert Tips
- Placing Eyes: Make sure to place the eyes before closing or stuffing the hole in the bunny head; otherwise, it gets a bit difficult.
- Avoid Overstuffing: When stuffing the bunny, be gentle to maintain its shape without making it too bulky.
🧵Pattern FAQs
Absolutely! You can also use felt if you prefer that.
You can use a smaller hook or use dk yarn.
You can embroider bows, carrots, or flowers onto the bunny, or even crochet miniature items like a hat.
🧶More Crochet Keychain Patterns


If you tried this Crochet Bunny Keychain Pattern (or any other pattern on my website), please let me know how it went in the 📝 comments below. I'd love to hear from you!
Crochet Bunny Keychain Pattern
Materials
Abbreviations (US terms)
- Magic ring - mr
- Single crochet - sc
- Increase - inc
- Decrease - dec
Notes
- I used acrylic yarn, but you can use any yarn type for the keychain.
- If using chunky or super chunky yarn, you can make a small to medium plushie instead of a keychain.
- The finished crochet rabbit keychain is about 4 inches tall.
Instructions
- Round 1: Using the white yarn, make a mr and then sc x6 into the mr. (6)
- Round 2: Inc in every sc. (12)
- Round 3: Inc, sc. Then repeat until end of round (18)
- Round 4: Inc, sc x2. Then repeat until end of round (24)
- Round 5: Inc, sc x3. Then repeat until end of round (30)
- Round 6: Inc, sc x4. Then repeat until end of round (36)
- Round 7: Sc in every stitch (36)
- Round 8: Inc, sc x5. Then repeat until end of round (42)
- Round 9-10: Sc in every stitch (42)
- Round 11: Dec, sc x5. Then repeat until end of round (36)
- Round 12: Dec, sc x4. Then repeat until end of round (30)
- Round 13: Dec, sc x3. Then repeat until the end of round (24) (Should probably insert eyes and stuff the bunny if you haven't already.)
- Round 14: Dec, sc x2. Then repeat until end of round (18)
- Round 15: Dec, sc. Then repeat until end of round (12)
- Round 16: Dec, and repeat until end of round (6). Fasten off and weave in any ends.
Bunny Ears: Make x2
- Round 1: Using the white yarn, make a mr and then sc x6 into the mr. (6)
- Round 2: Inc, sc. Then repeat until end of round (9)
- Round 3-6: Sc in every stitch (9).
- After the last row fasten off the yarn and leave a tail to sew the ears to the head.
Finishing:
- Stuff the ears gently and then sew them to the top of the head. I have my ears slightly touching at the base of the head.
- After that, with spare embroidery floss or a piece of unraveled black yarn, embroider an x for the nose.
- Attach a keychain through the head in between the ears.
- And now you have a cute crochet bunny keyring.

Laura says
I am not a beginner when it comes to crochet, but this was my first time making any type of plush, and I think it came out really well! It’s super cute!!! I also plan to embroider pink spots on the cheeks.
The pattern was very straight forward and easy to read, and I was able to finish in a couple hours.
I do have one question, was I supposed to chain one at the beginning of each round and the slip stitch at the end of the round? I’ve seen that for nearly every “flat” pattern I’ve made, and wasn’t sure if it was the same for a plush? After years of making granny squares it felt wrong to leave it out, but as I said I’m brand new to this type of crochet 😩
Kimberly Arenas says
You can if you want to make distinct rounds, but normally when I do simple plushies I just do it in a continuous spiral so that step isn't necessary here. I know some other pattern makers for plush items do it.
Laura says
Okay, thank you, that makes lots of sense! I plan to make another in pink!