
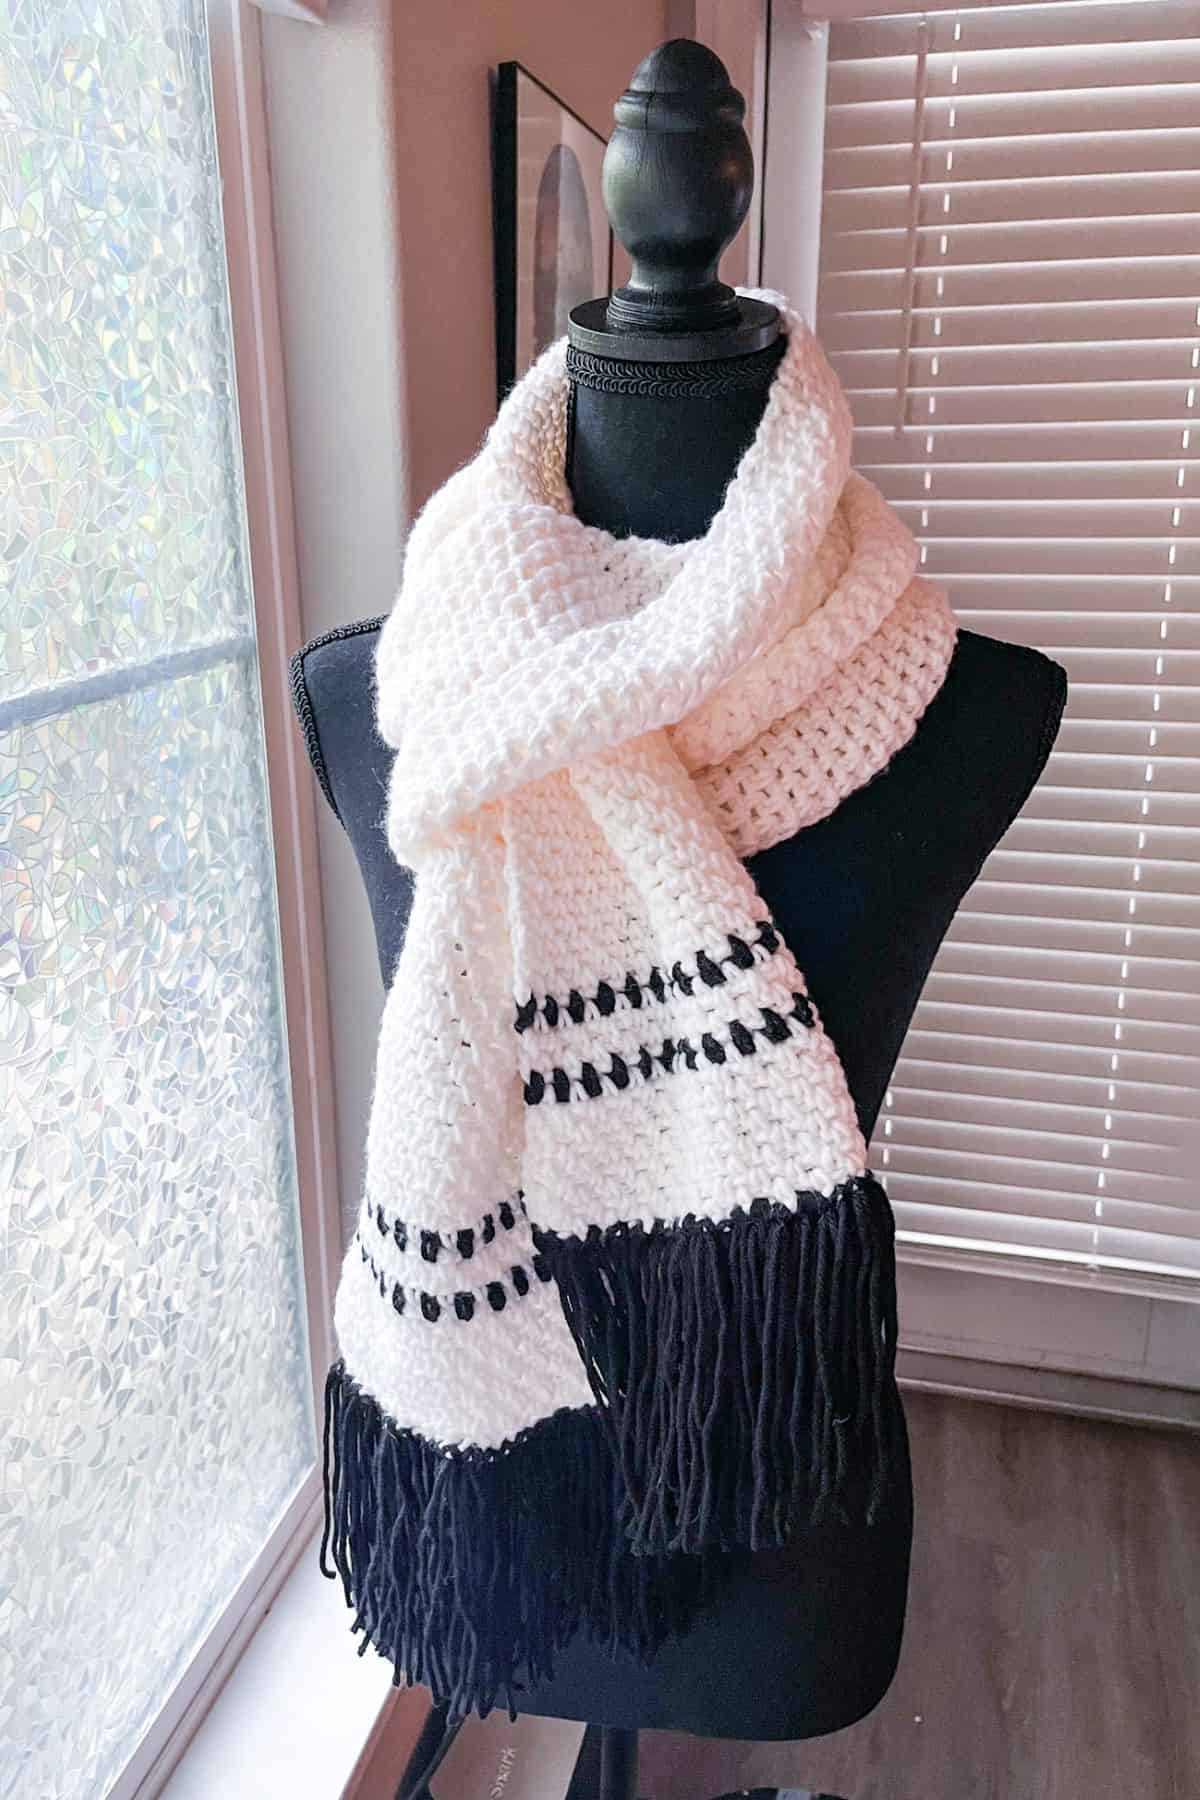
Look modern and sophisticated with this easy Crochet Linen Stitch Scarf Pattern. Perfect for creating a stylish, modern crochet scarf.
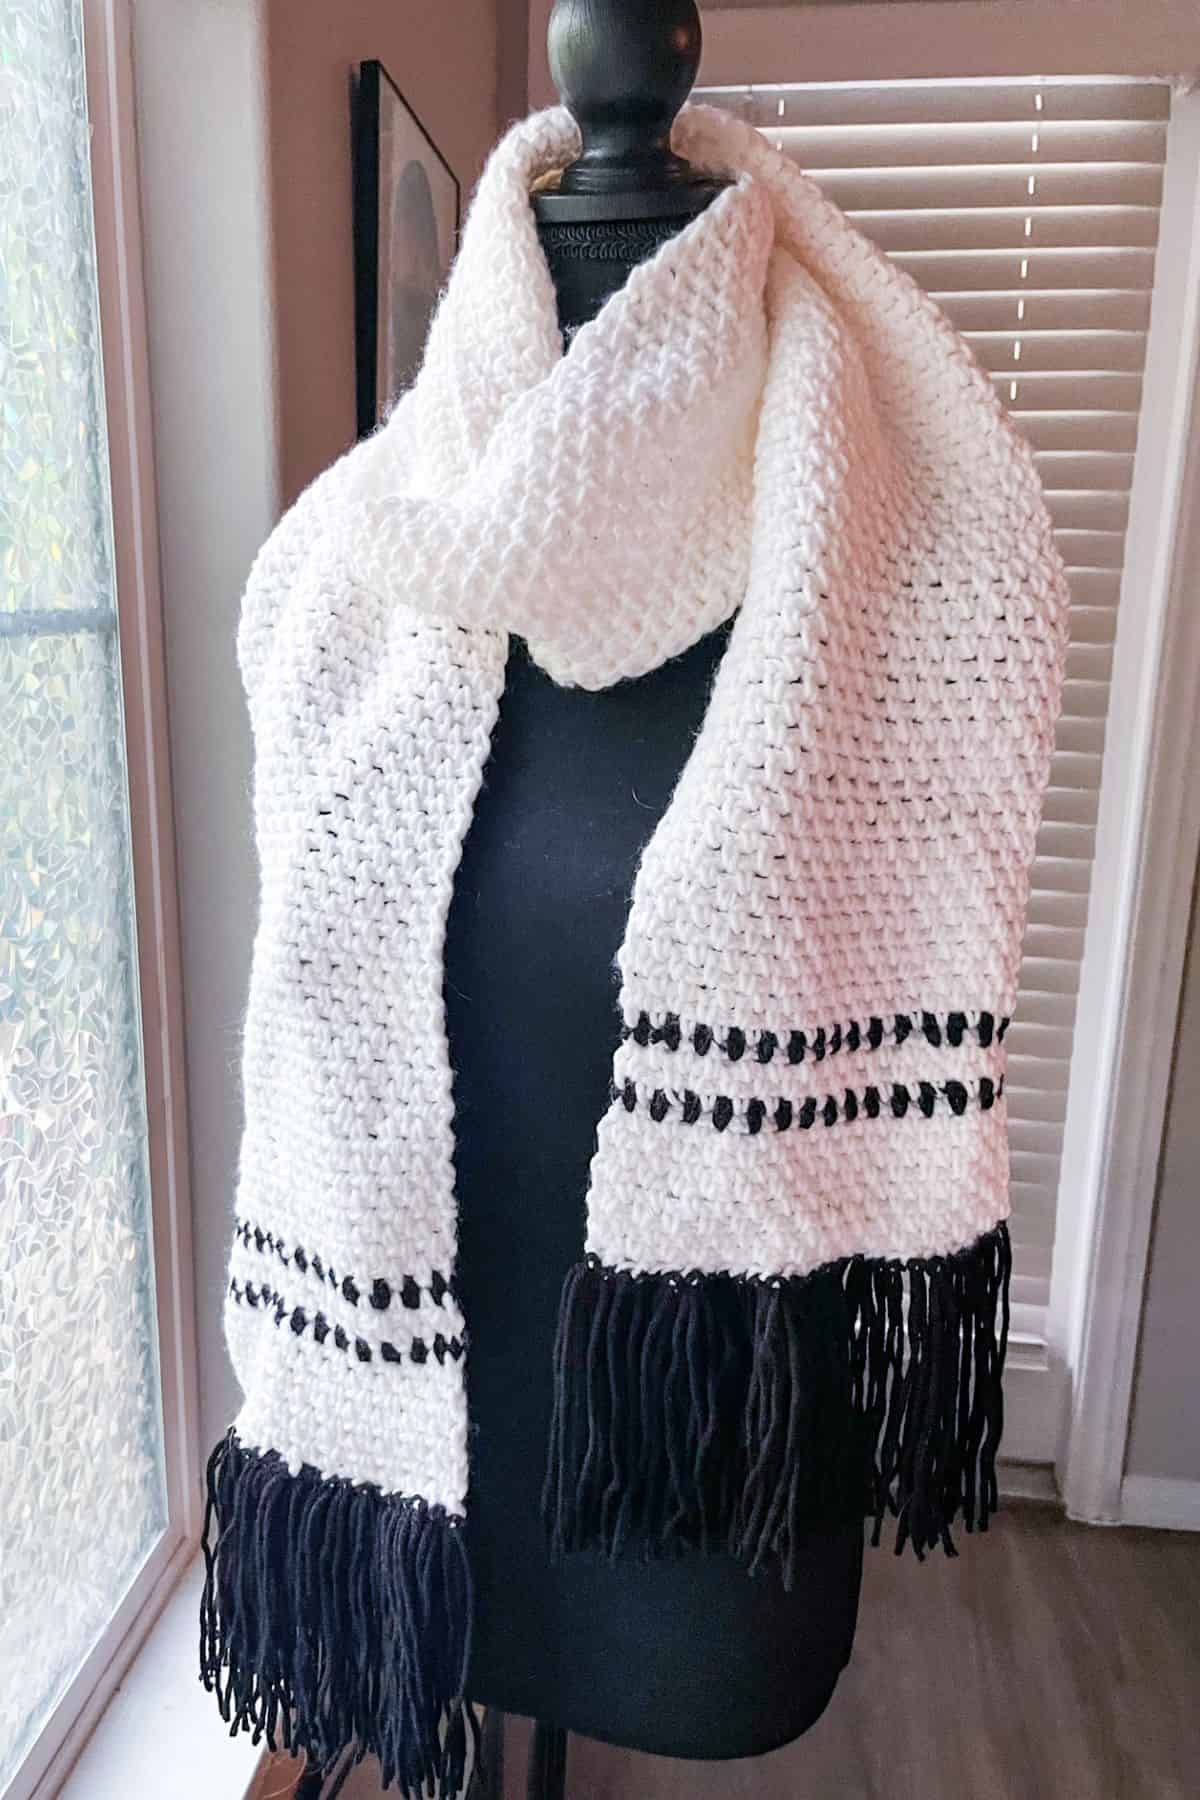
While crocheting has become a fashion trend, some people still think crochet items look too "homemade" or like something a grandma would wear. But that is not the case with this modern crochet scarf pattern!
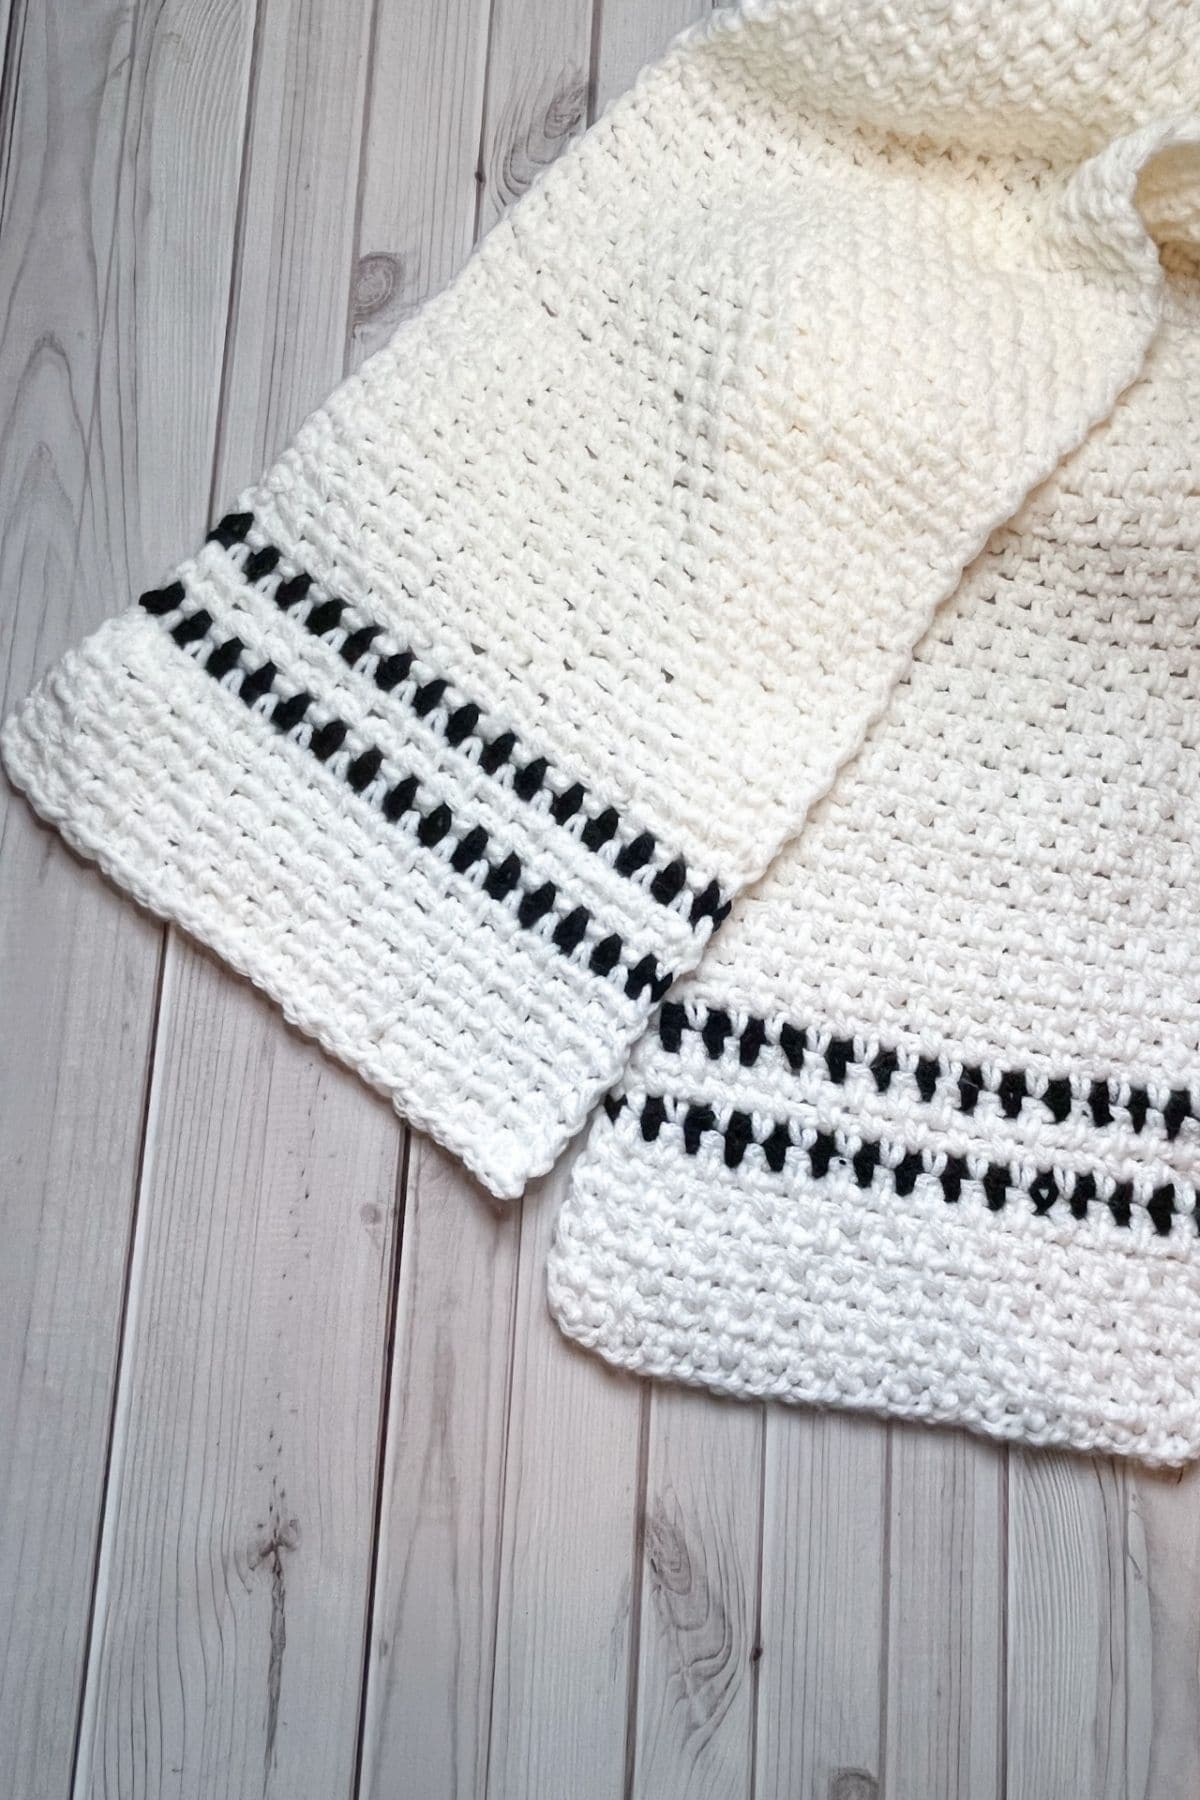
This black-and-white linen stitch scarf crochet pattern is a classic and will have everyone wondering where you bought it. The benefit of using the classic linen stitch is that it looks like woven fabric when crocheted.
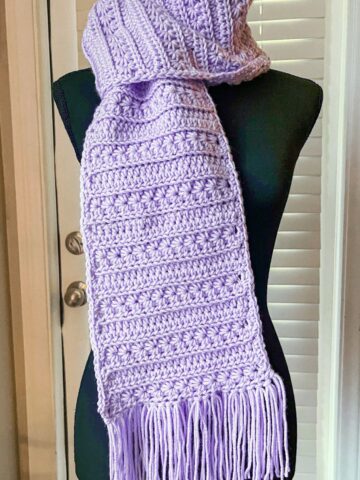
The crochet linen stitch scarf pattern is an easy project suitable for beginners. It uses the linen stitch, also known as the moss stitch, which only requires single crochets and chains.
My crochet tartan scarf and crochet moss stitch scarf are also simple patterns using only single crochets and chains, demonstrating how versatile this stitch combination can be.
Jump to:
✏️ Things To Note:
- Short Rows vs. Long Rows: The linen stitch scarf crochet pattern is worked in short rows, not long rows. I usually prefer making scarves in long rows, as seen in my crochet houndstooth pattern, but short rows can create a different, yet beautiful effect, as in my crochet bean stitch pattern.
- Adjusting Width: If you want to adjust the width of the crochet linen stitch scarf pattern, make sure to start with an even number of chains. This ensures the linen stitch pattern will be consistent across the scarf.
- Length Customization: This crochet linen stitch scarf is roughly 6 feet long. After making the starting chain, check to see if you need to adjust the length. You can always make it longer by adding more rows to the body of the scarf.
🪡 Materials Needed
💭Abbreviations to Remember (US terms)
- Chain - ch
- Single crochet - sc
* The ch x1 at the end of each row does not count as a stitch in the row, it is a turning chain.
* If you see a stitch abbreviation with "x" after it, it means how many times you do that stitch in the following amount of stitches. For example: sc x6 would mean you make a single crochet in the next 6 stitches. Inc x2 means you make an inc in the next 2 stitches.
🧋Variations
- Color, Width, and Length Customization: You can easily customize this linen stitch scarf crochet pattern by changing the color scheme, adjusting the width, or modifying the length. You can also add additional stripes for a different look.
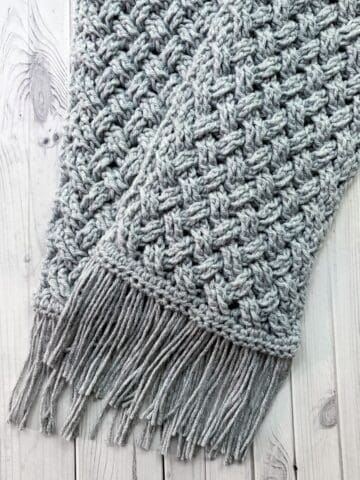
- Fringe Options: Feel free to omit the fringe at the ends if you prefer a simpler look. However, the fringe adds a touch of luxury to the scarf, giving it a more finished, sophisticated appearance.
- Adapting to a Blanket: You can easily adapt this pattern into a linen stitch blanket by extending the starting chain. Just make the chain length long enough to fit your desired blanket width.
🍵Instructions for the Crochet Linen Stitch Scarf Pattern
The crochet linen stitch scarf pattern is worked in short rows, not long rows or in the round.
How to do the linen stitch:
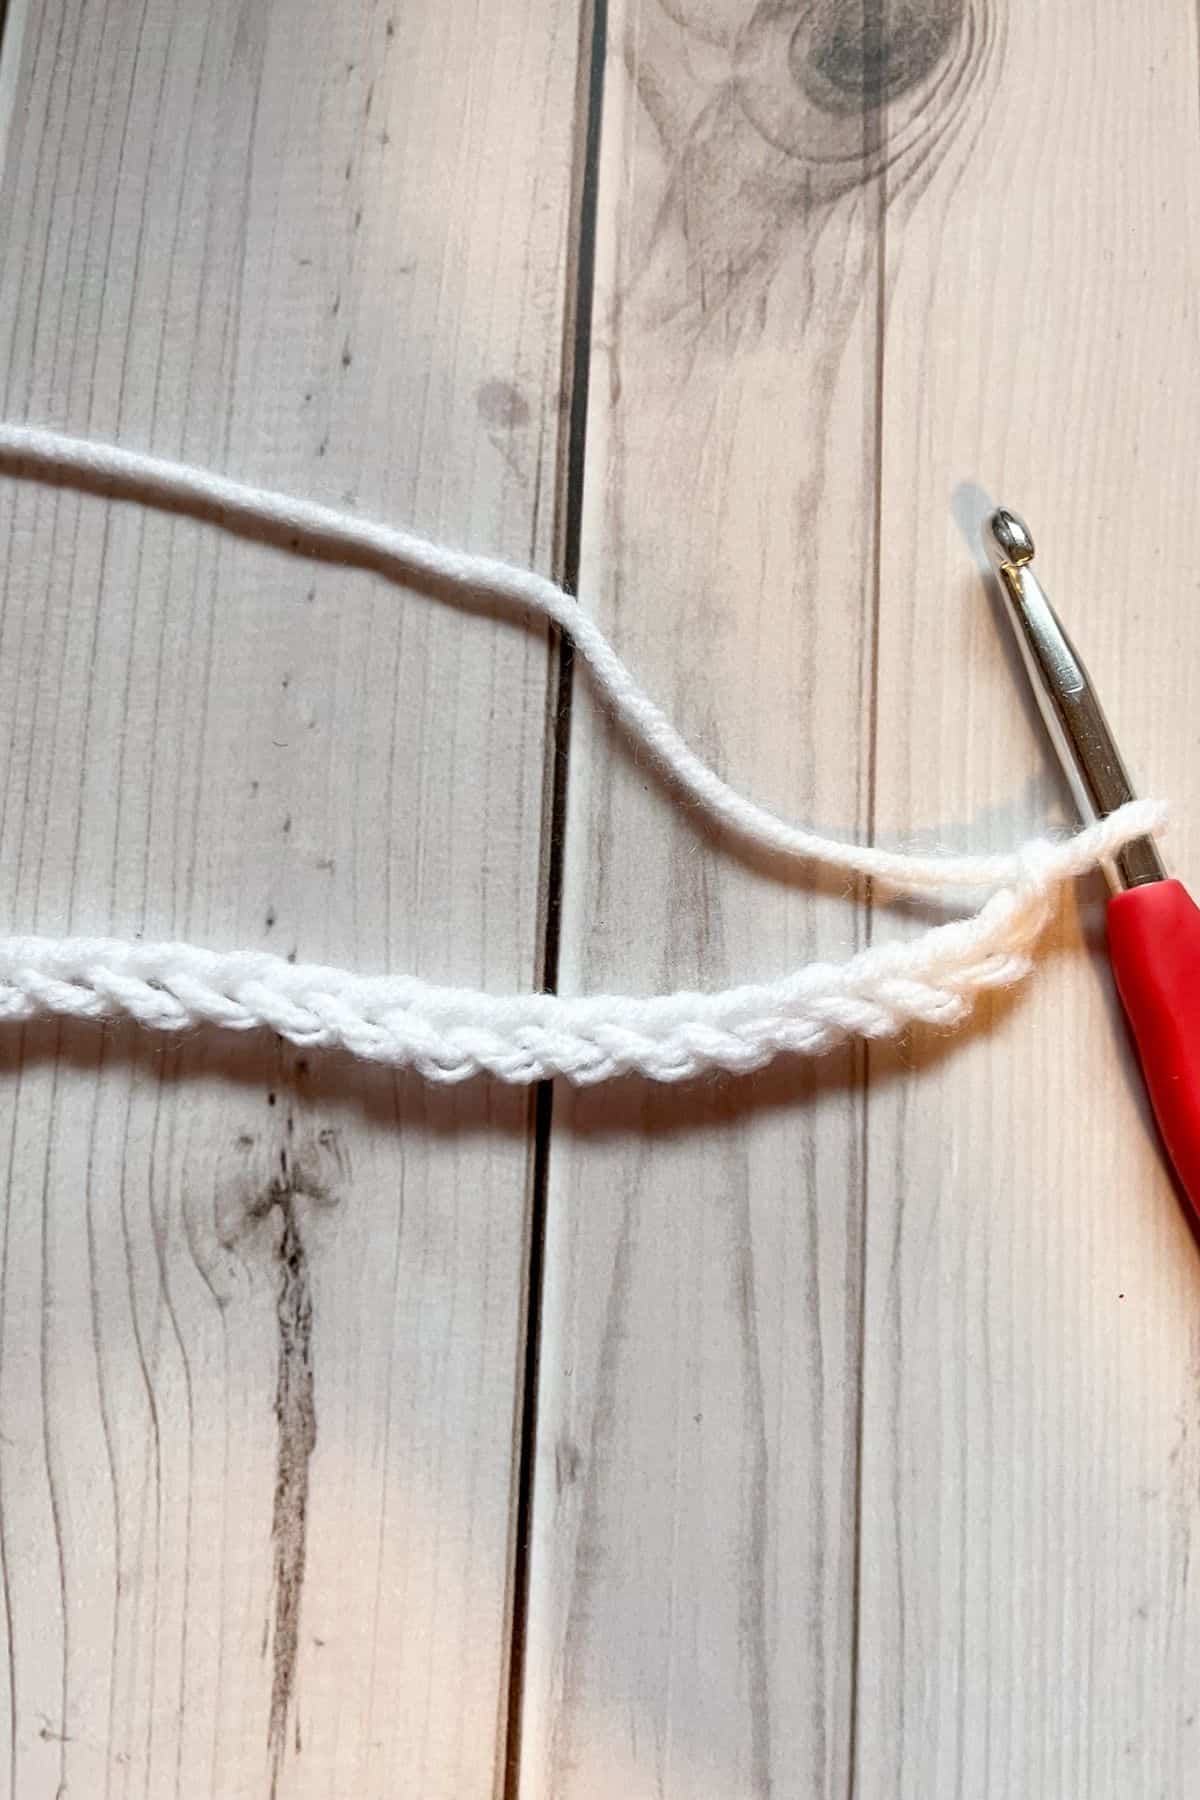
Row 1: With white, Ch x30
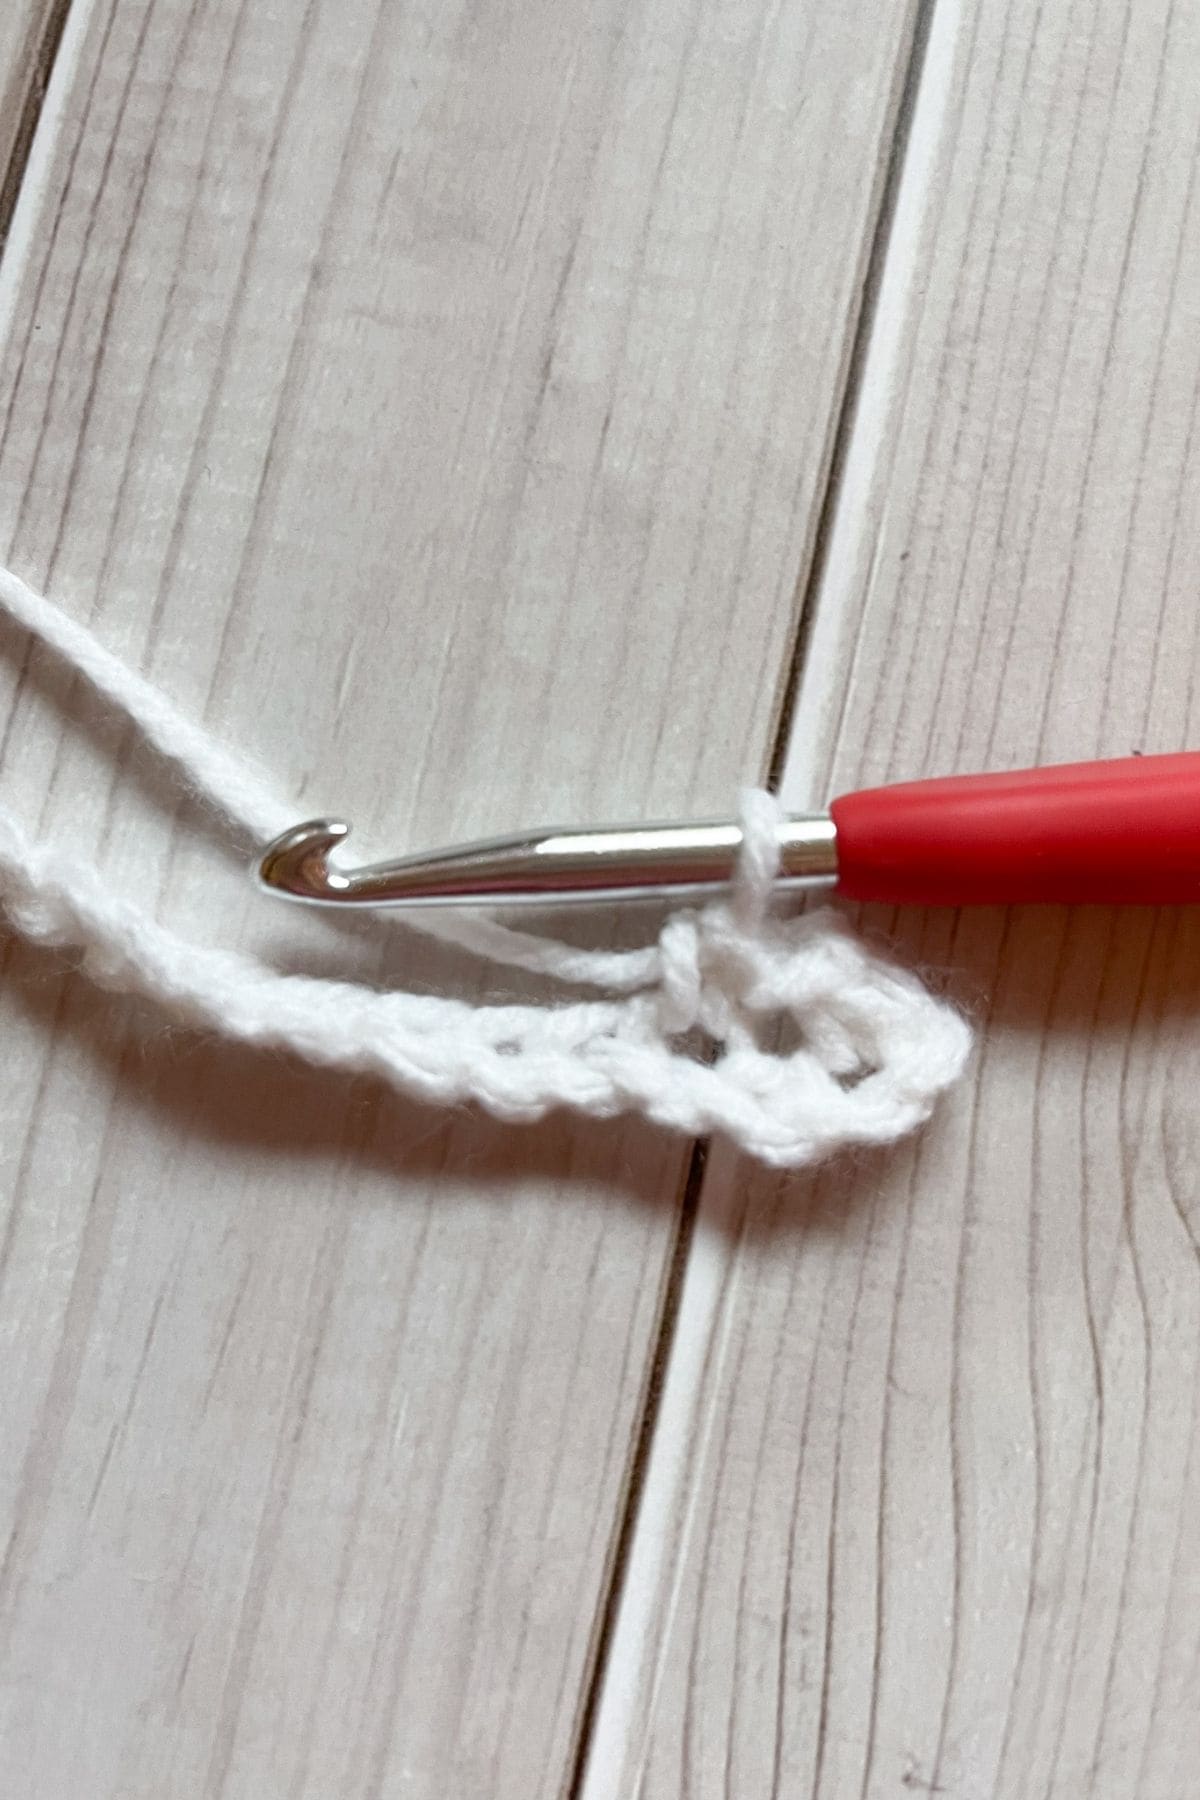
Row 2: In the second ch from hook, make a sc, ch + skip the chain below, and make a sc into the next chain.
Repeat for the rest of the row. (29) Then Ch x1 and turn. You know you have the correct number of chains if you end on a sc, you do not want to end the row with a foundation ch untouched.
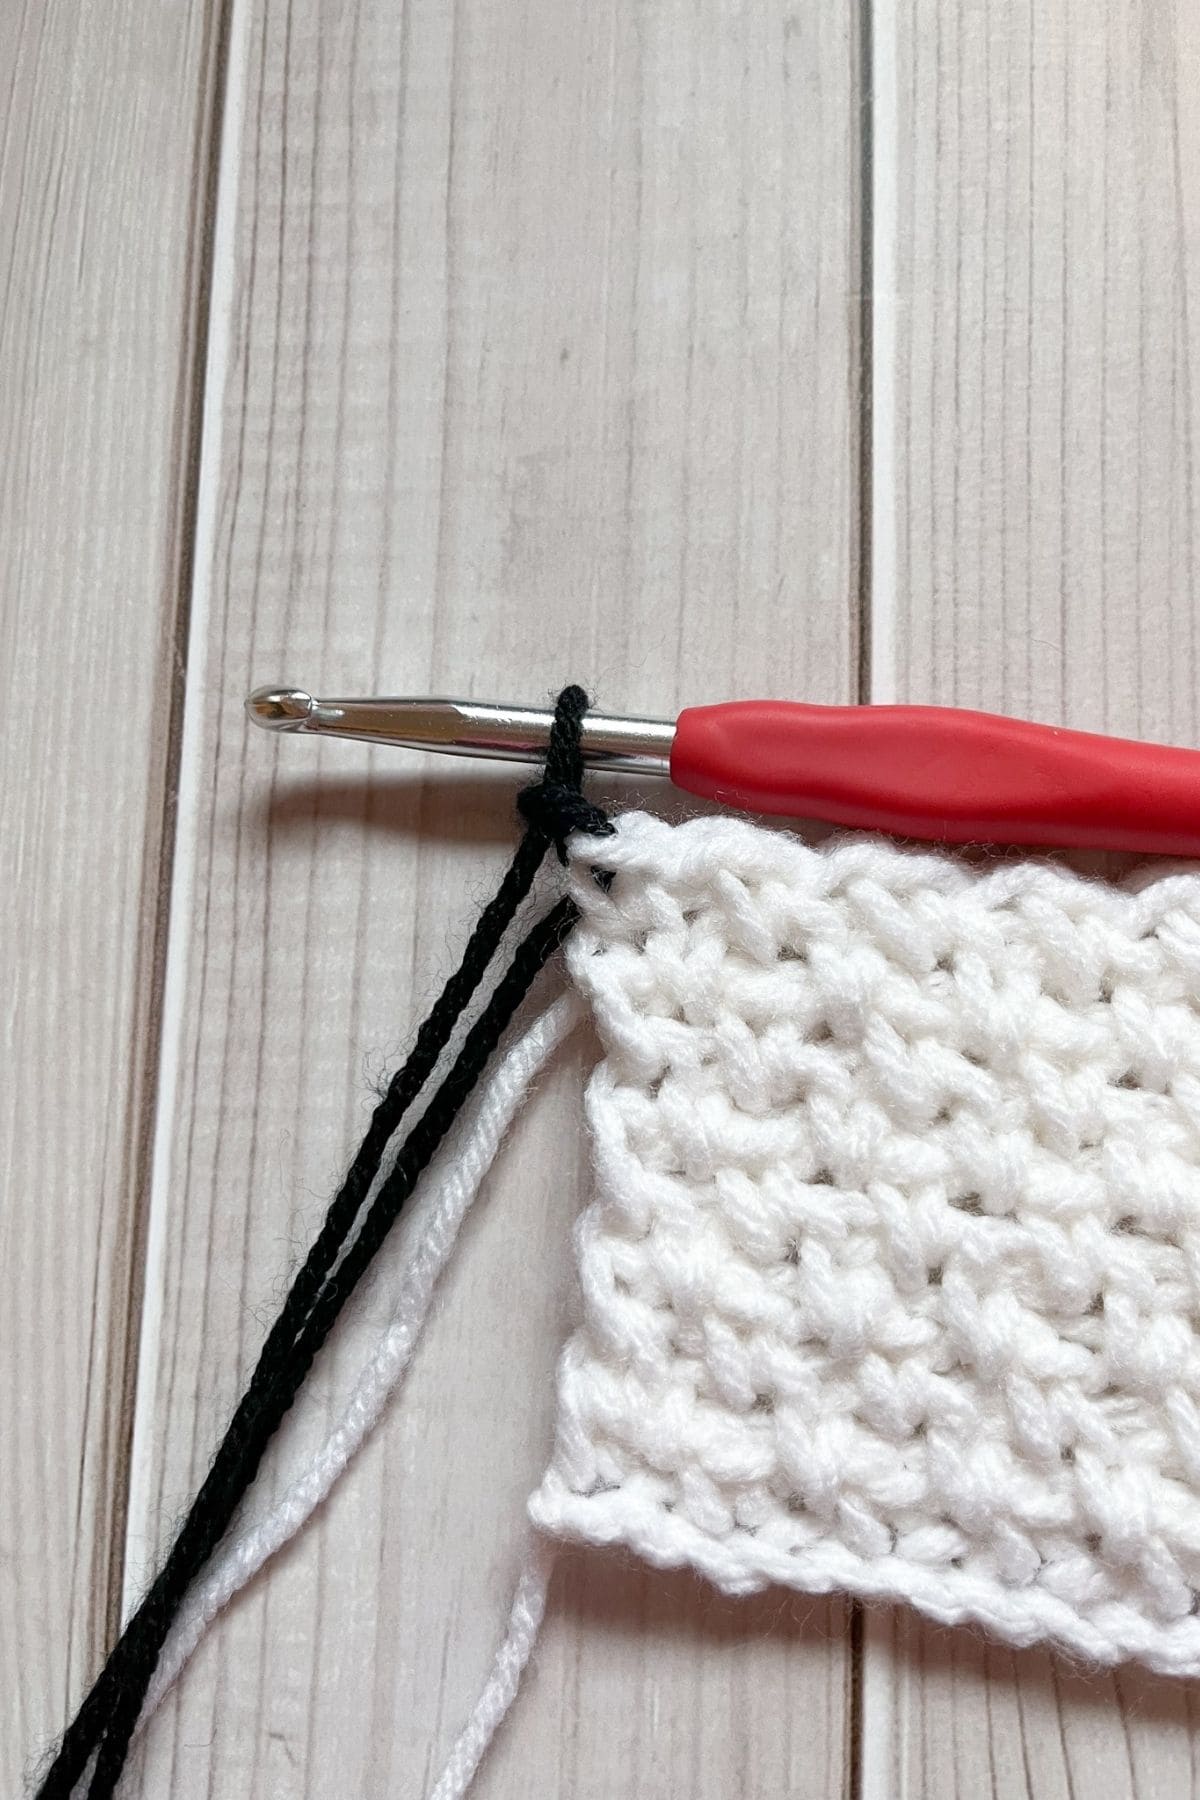
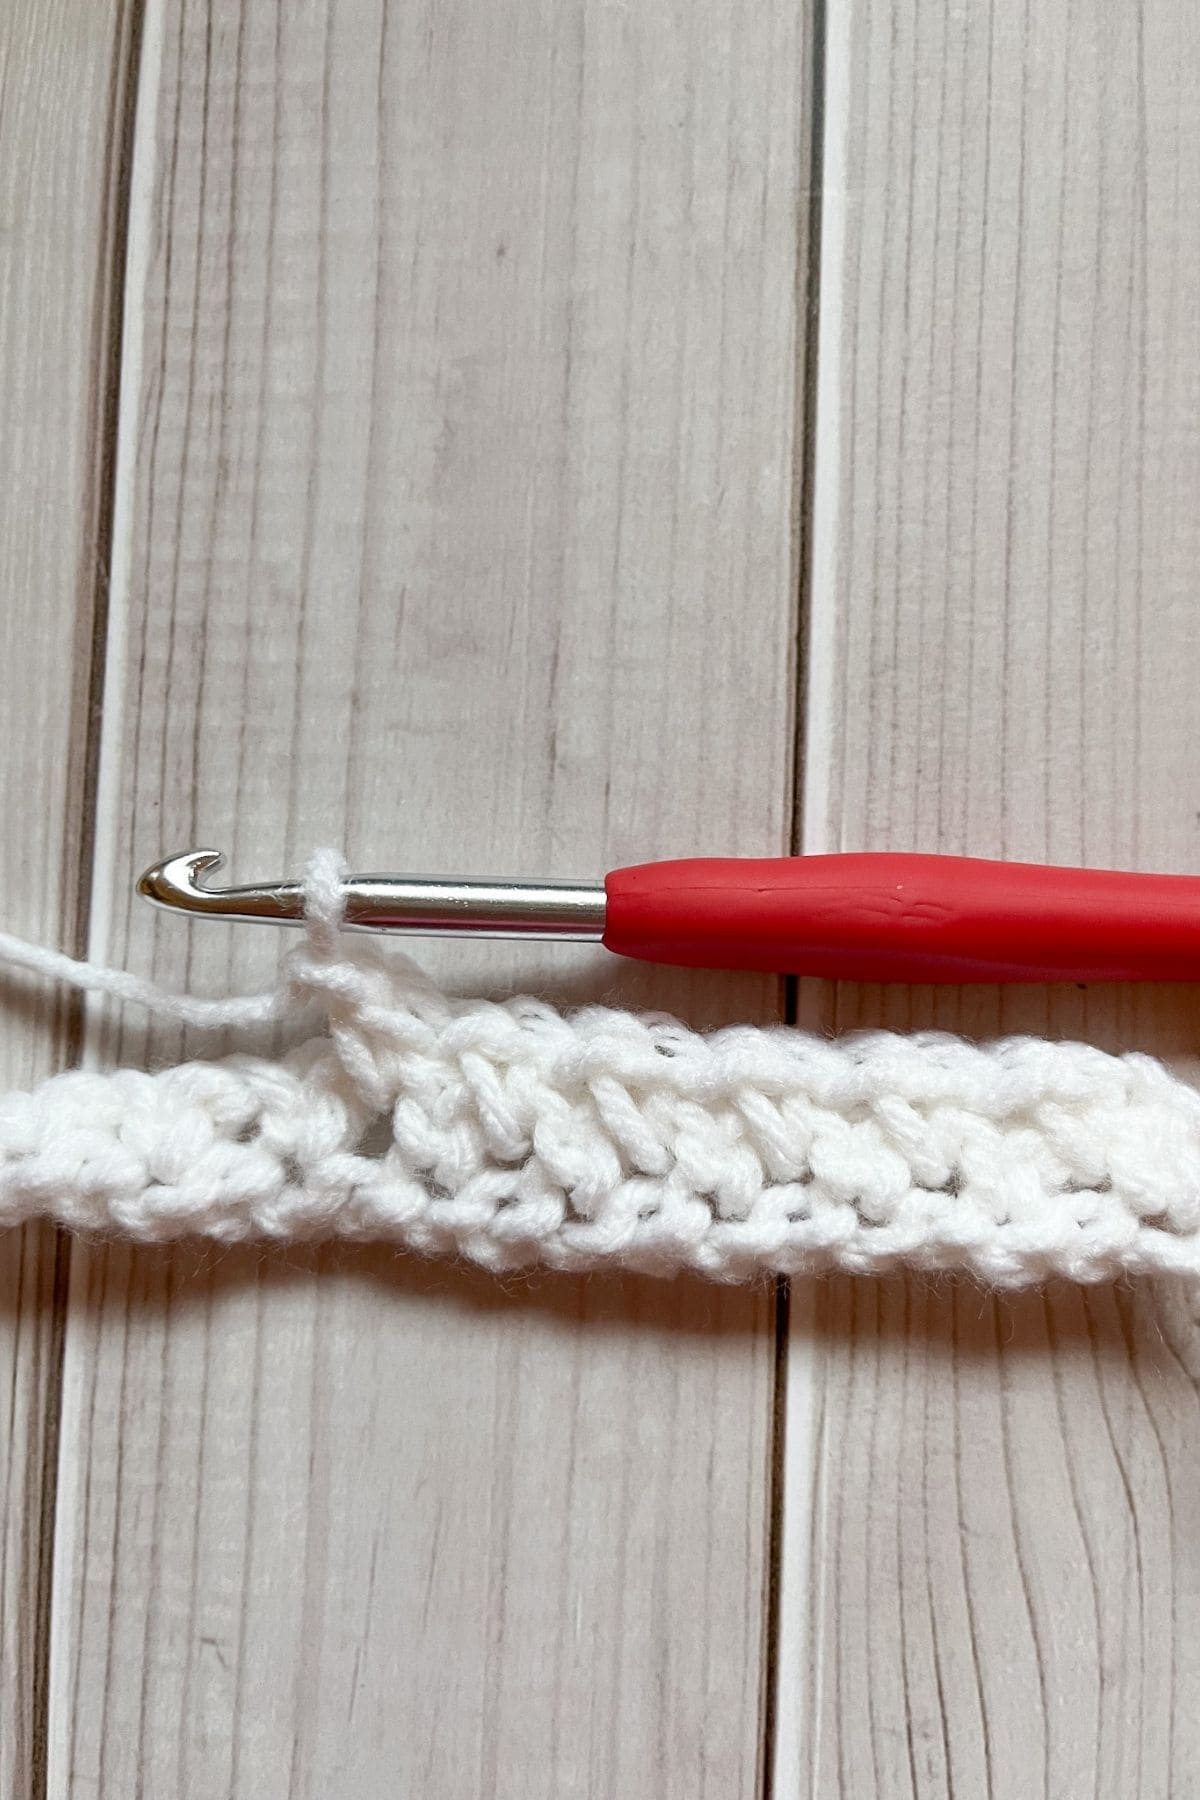
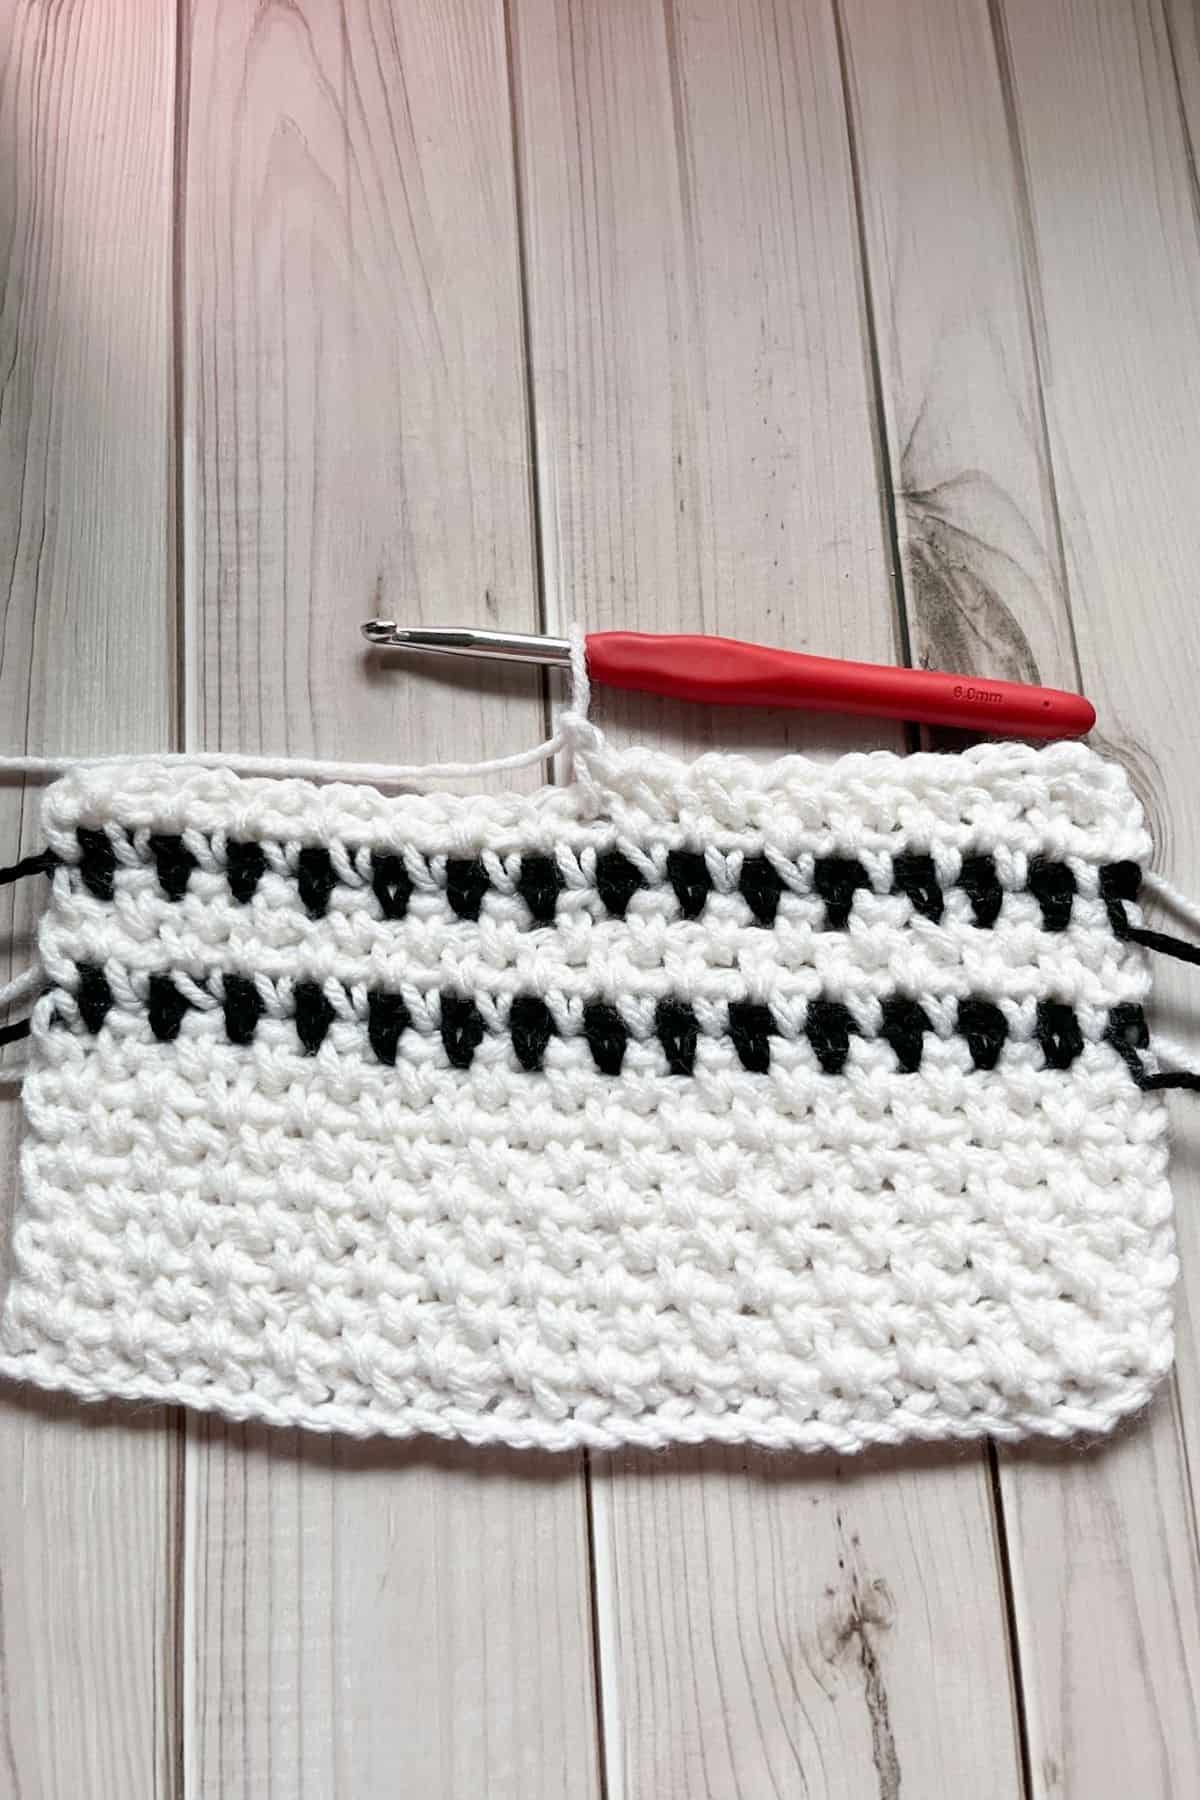
Row 3-9: Sc into the chain space from the row below, ch over the last rows sc, and sc into the next chain space again. While you are completing more rows, make sure you are crocheting into the chain spaces from the previous row, do not make a single crochet into the chain directly. Crochet around it. (29) Then Ch 1 and turn after every row, except row 9 - at the end of that row, change the color to black.
Ch x1 in black then turn.
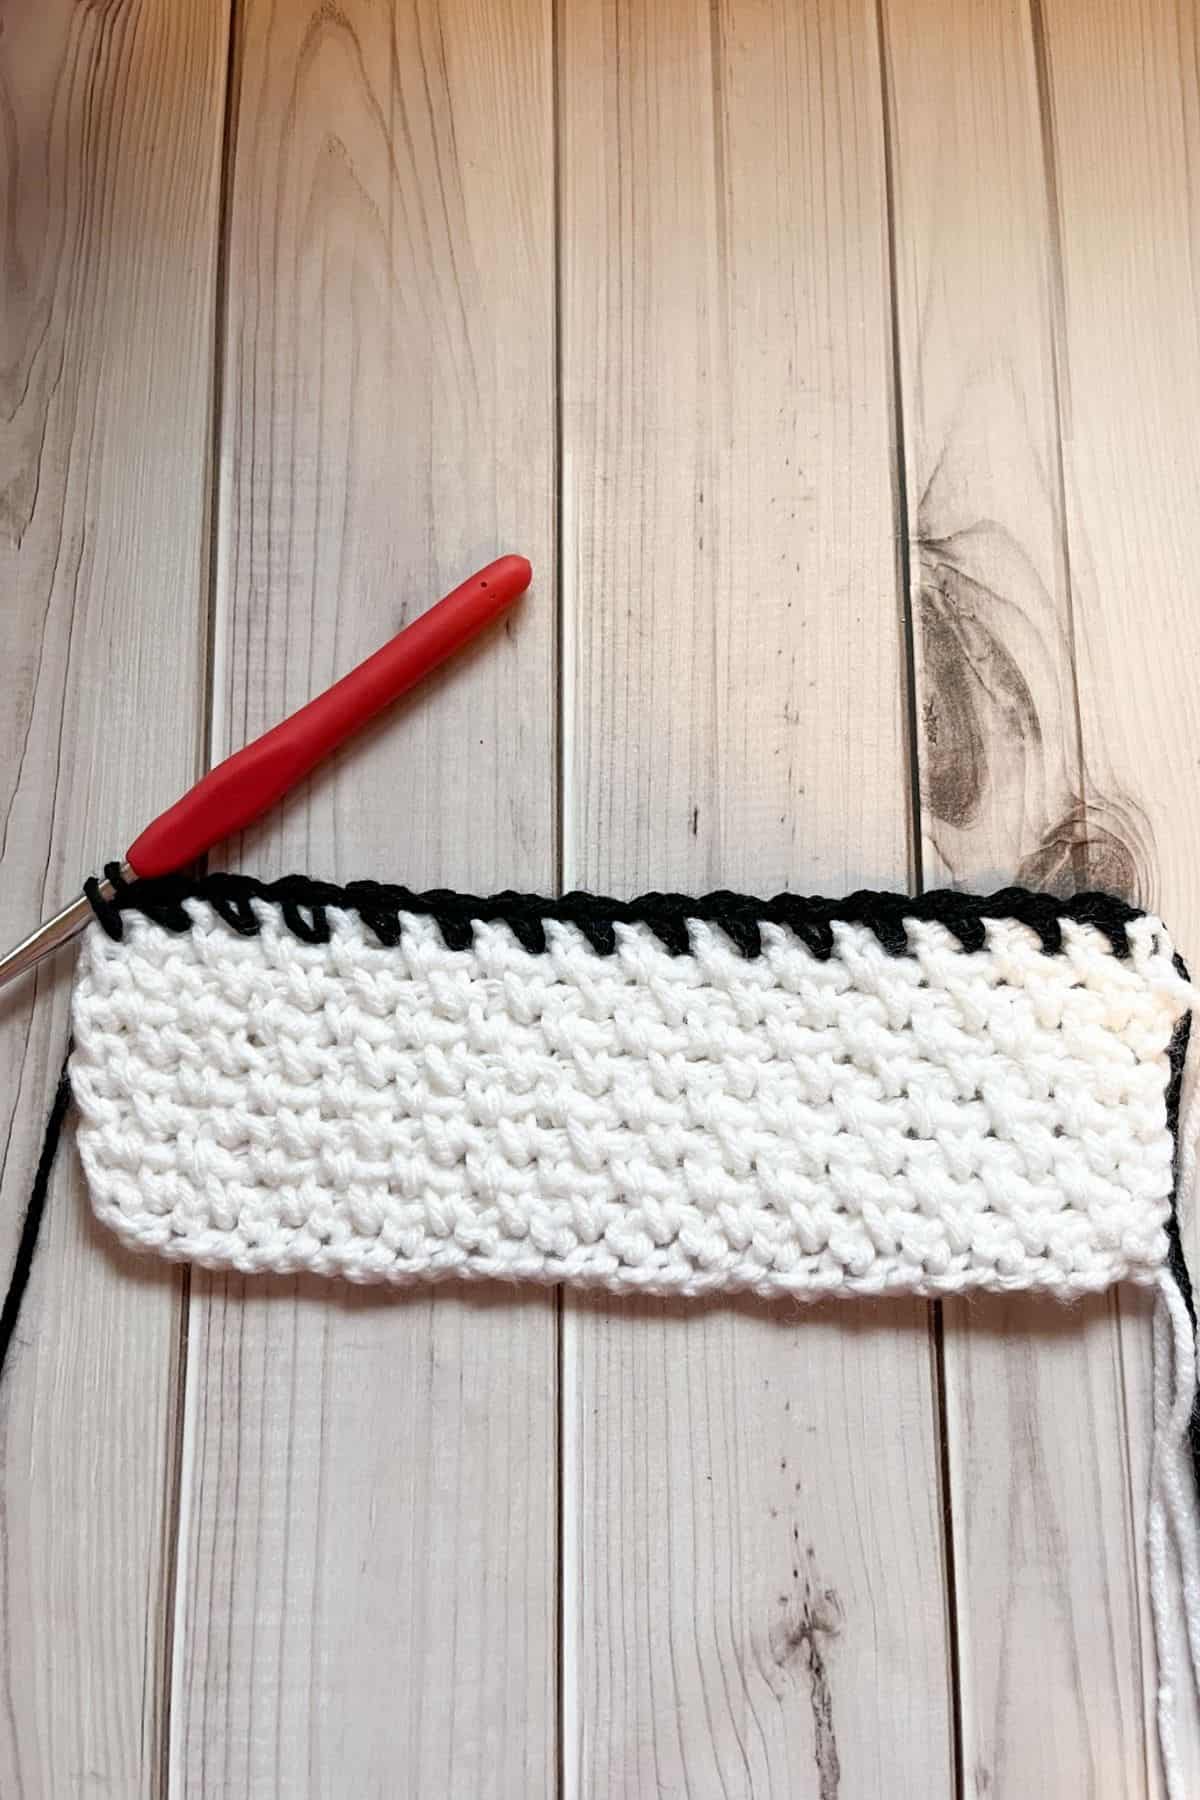
Row 10: Repeat row 3.
Fasten off the black row and switch to white at the end of the row. Then Ch x1.
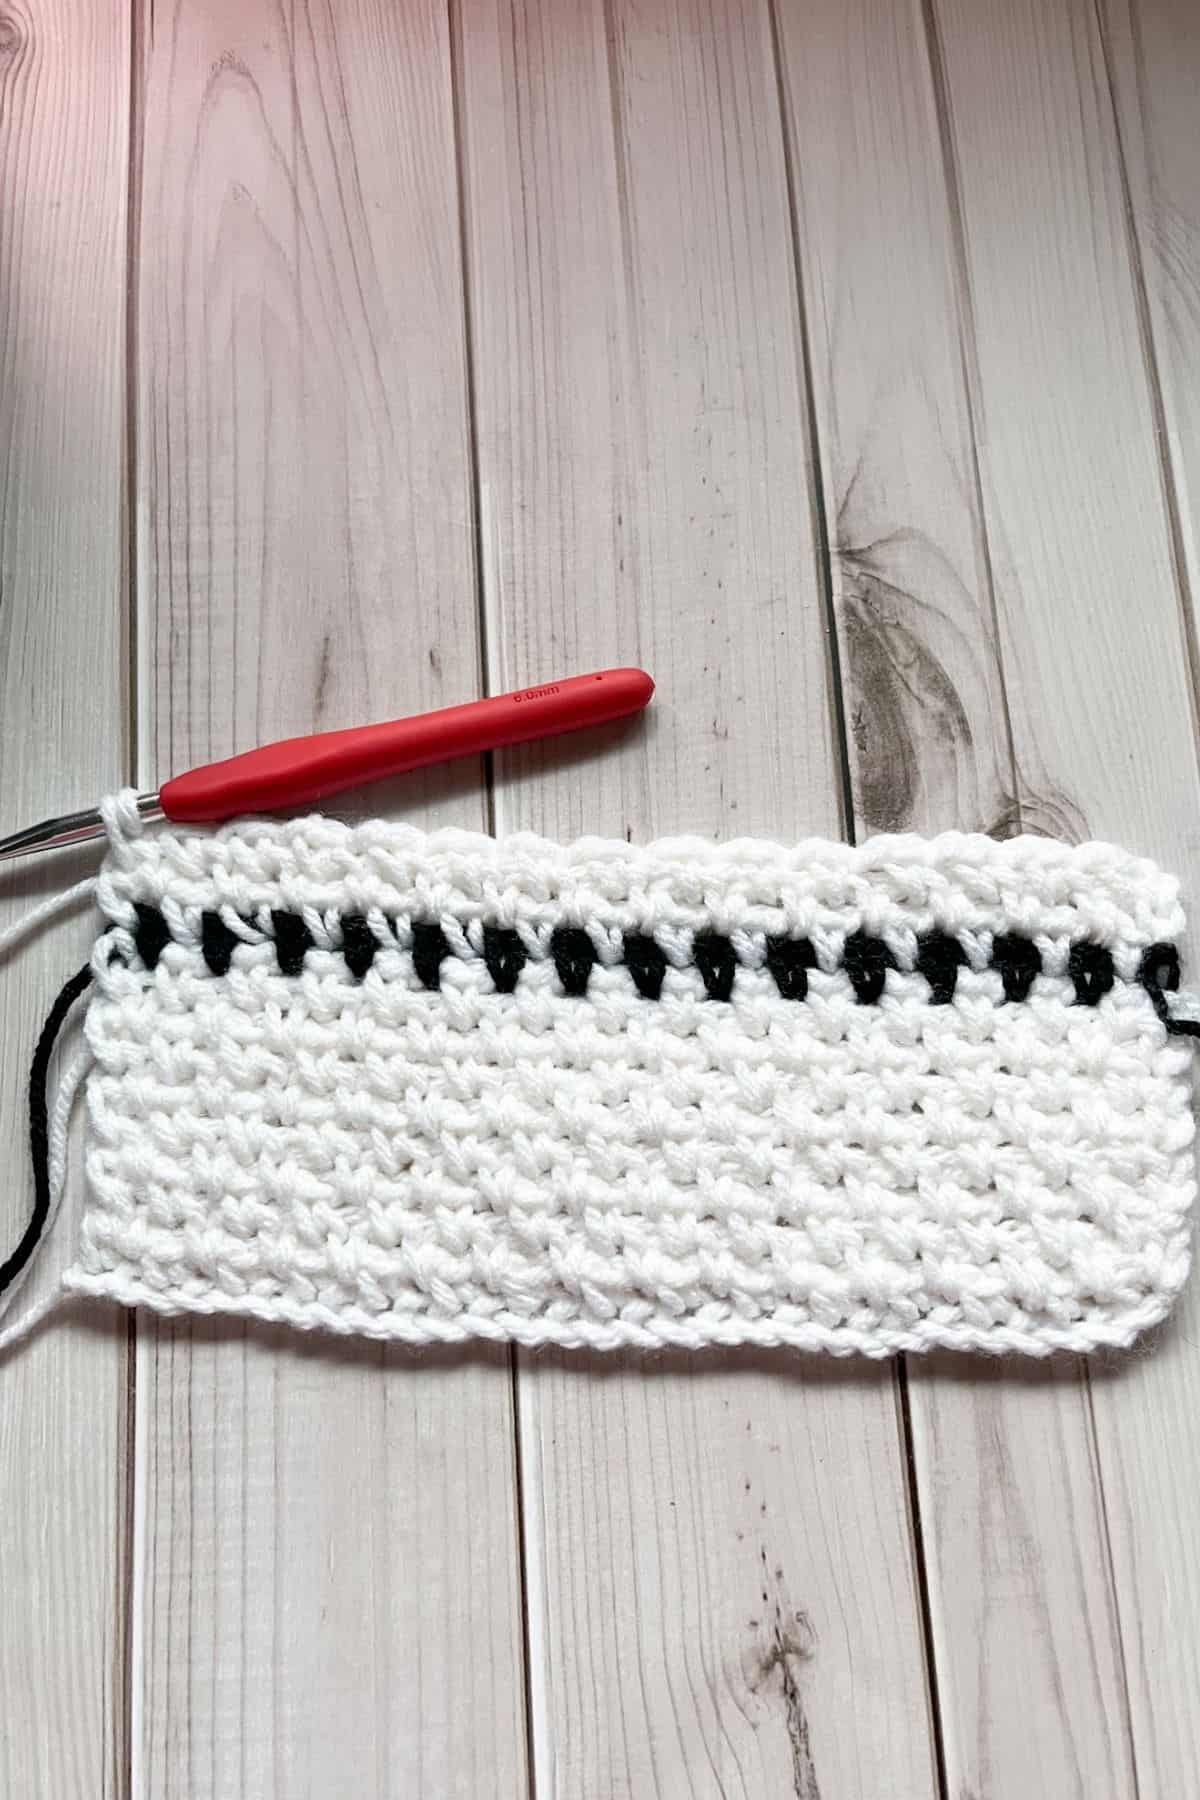
Row 11-13: Repeat row 3.
Fasten off the last white row and switch to black at the end of the row. Then Ch x1.
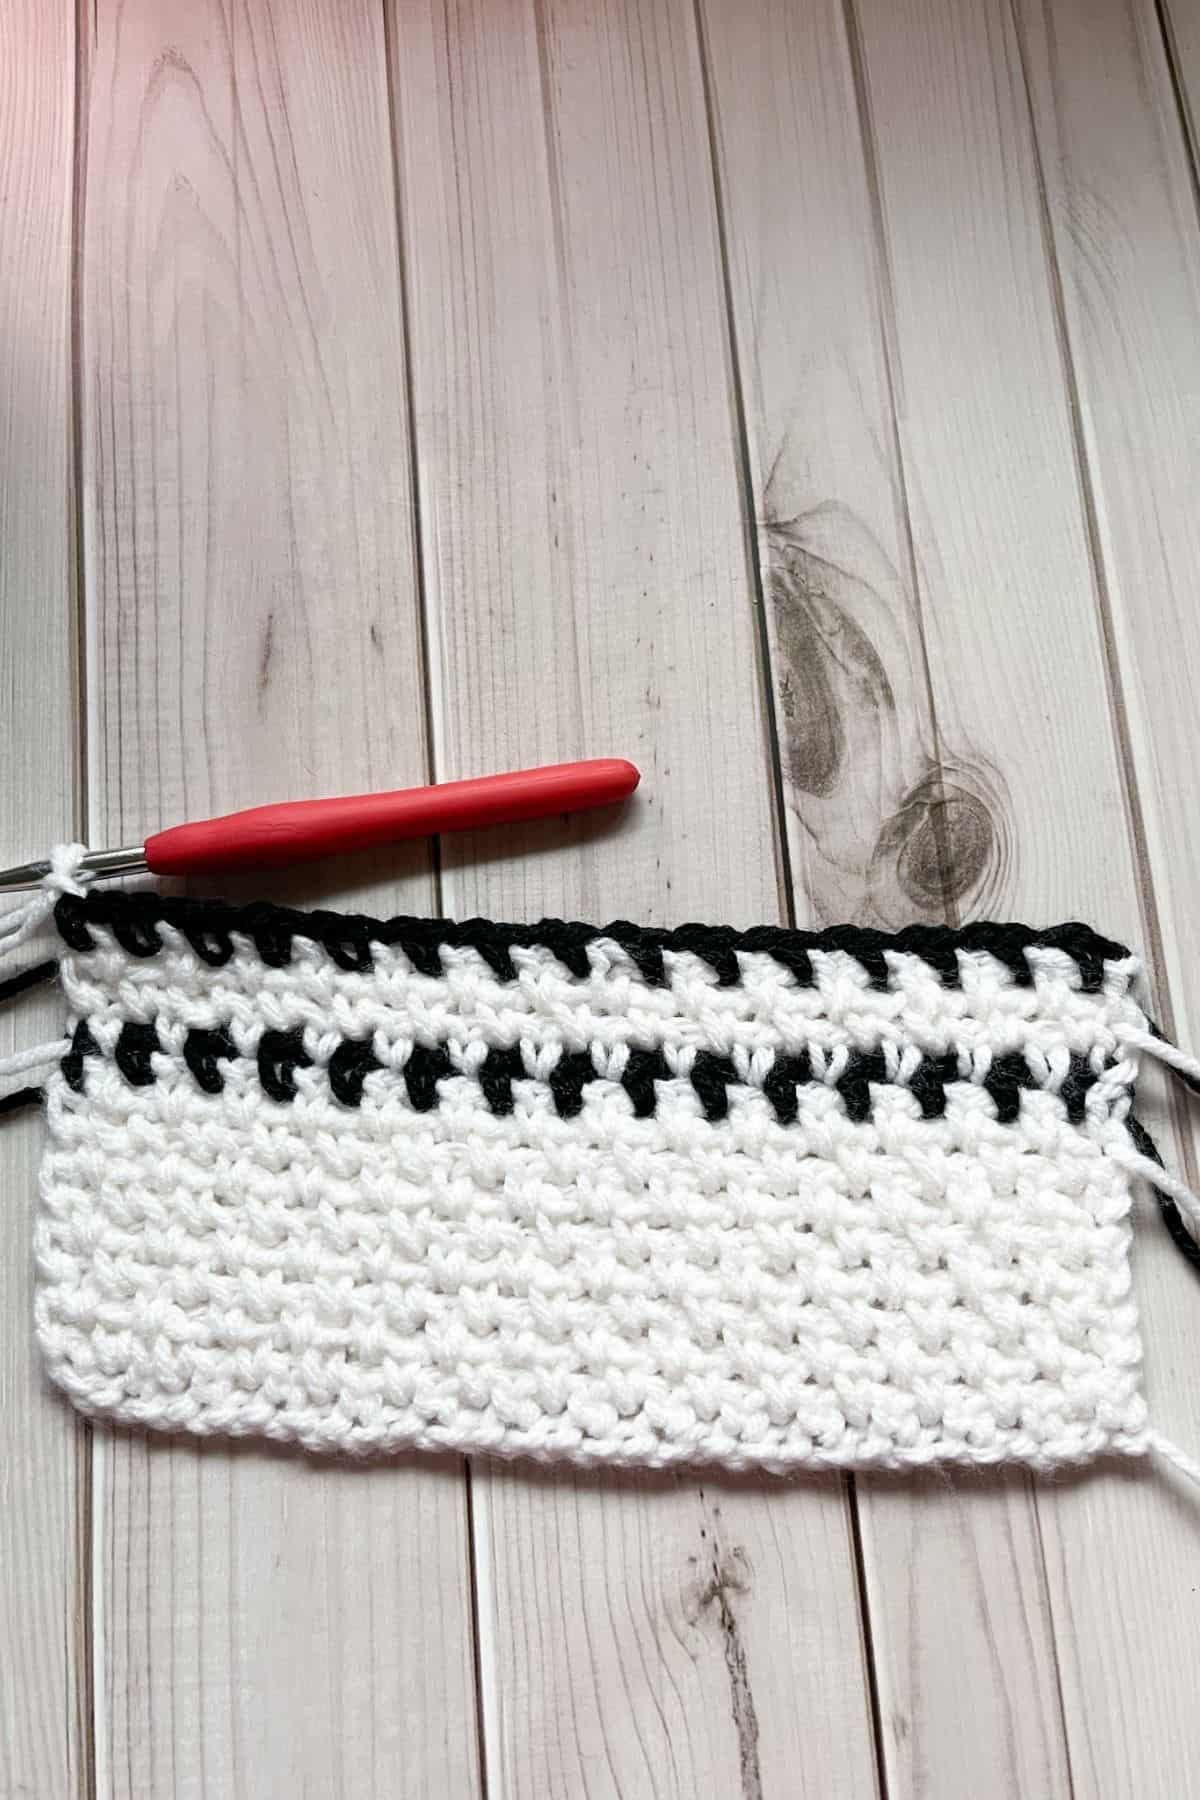
Row 14: Repeat row 3.
Fasten off the black row and switch to white at the end of the row. Then Ch x1.
Row 15-215: Repeat row 3.
Fasten off the last white row and switch to black at the end of the row. Then Ch x1.
Row 216: Repeat row 3.
Fasten off the black row and switch to white at the end of the row. Then Ch x1.
Row 217-19: Repeat row 3.
Fasten off the last white row and switch to black at the end of the row. Then Ch x1.
Row 220: Repeat row 3.
Fasten off the black row and switch to white at the end of the row. Then Ch x1.
Row 221-29: Repeat row 3.
Fasten off the last white row and weave in any ends.
How to Make Fringe for a Scarf:

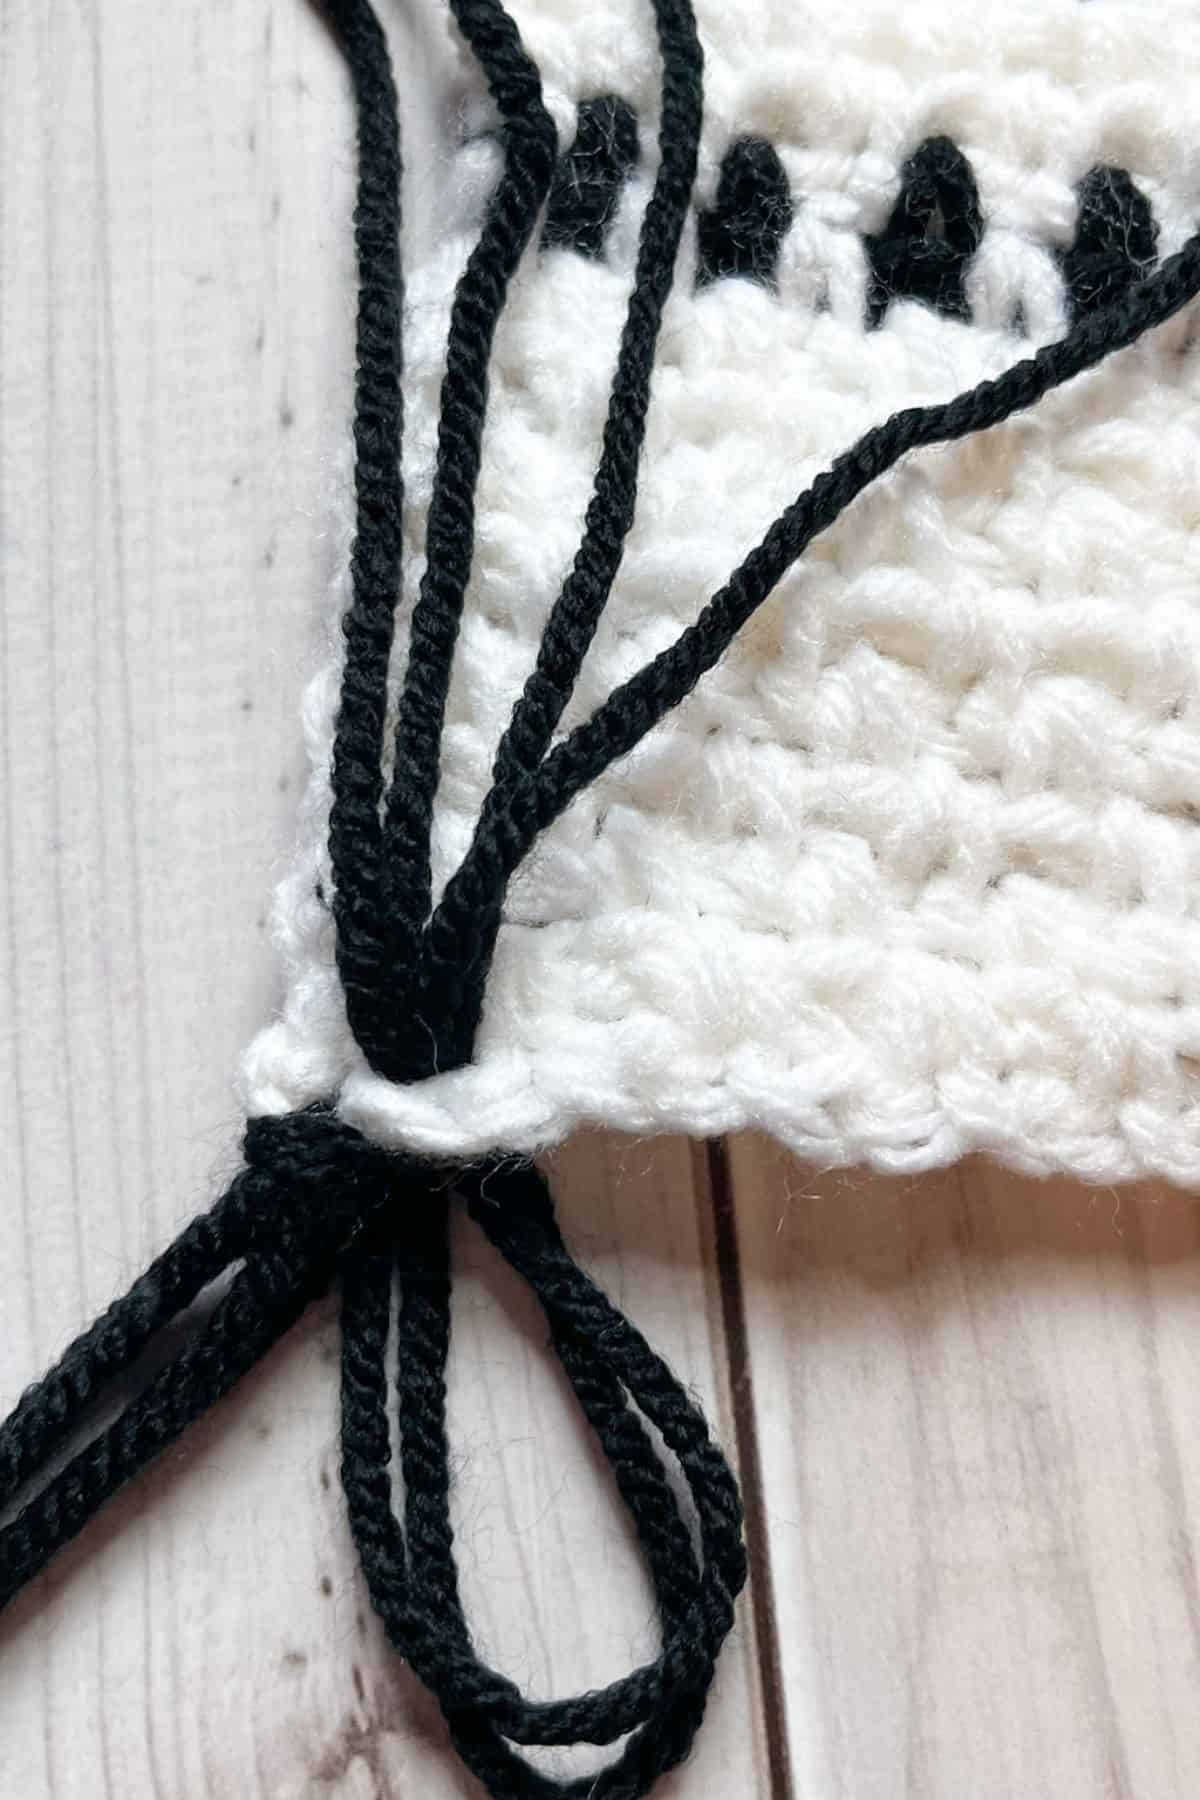
For the fringe cut 2 18 inch pieces of yarn in black.
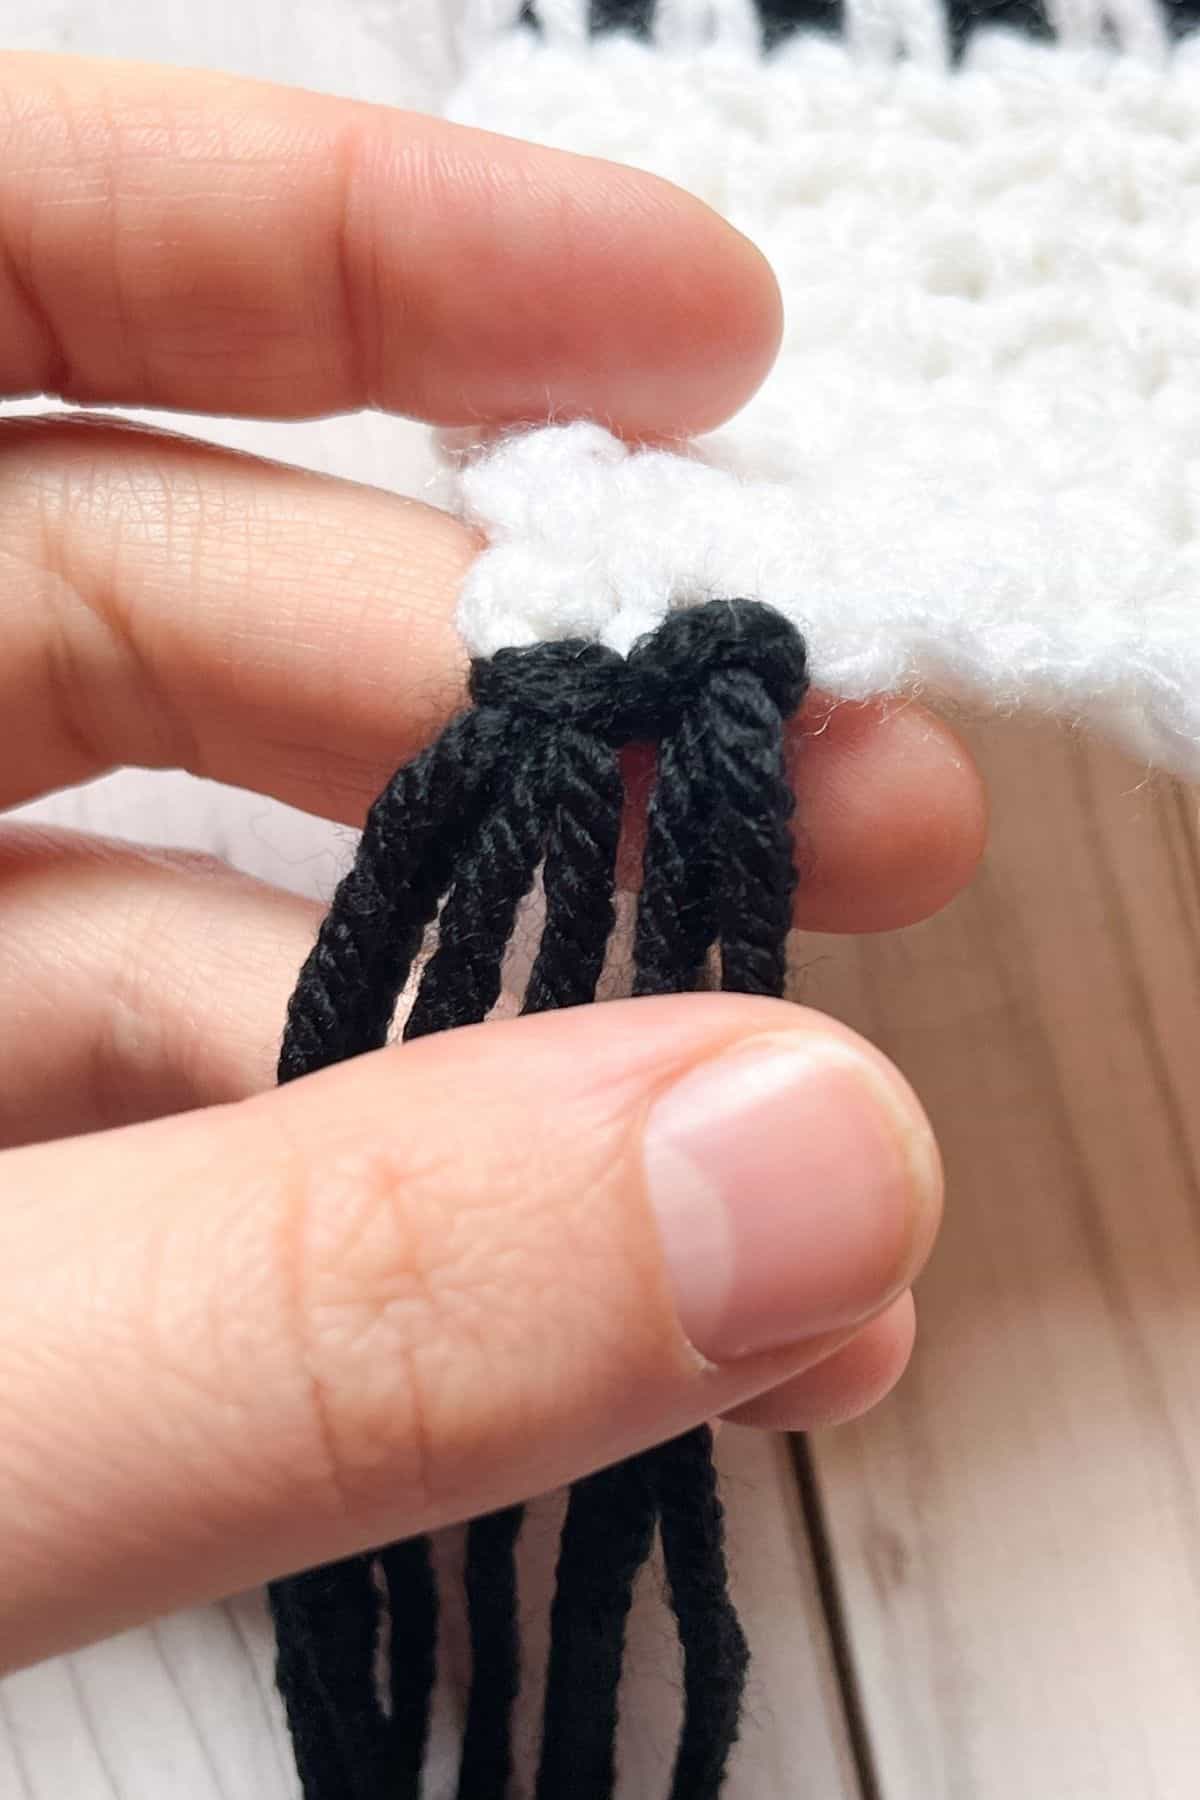
To attach the fringe to the crochet linen stitch scarf, pinch the strand of yarn at the middle and make a loop, insert a hook into the short side of the scarf and pull the yarn through the bottom stitch. Then using your fingers take the ends of the fringe and loop them through the hole you made and pull tight.
Repeat the above step for the entire width of the scarf. Repeat on the other side of the scarf. I put 1 group of fringes per stitch.
After all the fringe is attached, trim the bottom so the yarn is nice, and all lined up.
And now you have a stylish linen stitch scarf made from my crochet linen stitch scarf pattern! Perfect for those who want a modern black and white crochet scarf that is perfect for fall and winter every year. Stay warm!
If you are looking for a more vibrant and colorful crochet scarf, check out my crochet rainbow scarf pattern or crochet v-stitch scarf pattern.
🐌Expert Tips
- Ensure Even Stitch Count: Because the linen stitch scarf mainly uses one color at a time, mistakes can be harder to spot. Keep an eye on your stitch count to ensure even rows.
- Block Your Scarf: Gently block the finished crochet scarf to smooth out any curled edges and improve the appearance of the stitches.
- Adjust Width and Length Easily: To make the crochet linen stitch scarf wider or narrower, adjust the starting chain count. To change the length, simply add or reduce the number of rows.
- Tidy Color Changes: When switching colors, ensure to weave in the ends neatly to avoid any bulk or loose yarn strands.
🧵Pattern FAQs
Absolutely! Add more stripes or make them thicker, just know that the ends will have to be weaved in every time you make a color change.
Of course, you just want to adjust your starting chain otherwise your scarf will be really wide.
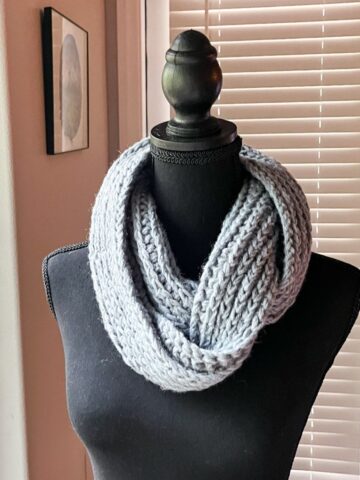
If you do not want a crochet scarf with fringe, you can weave in all the ends and have nothing on the ends, or you can even join the ends together and make an infinity scarf with it Like with my crochet Christmas scarf pattern.

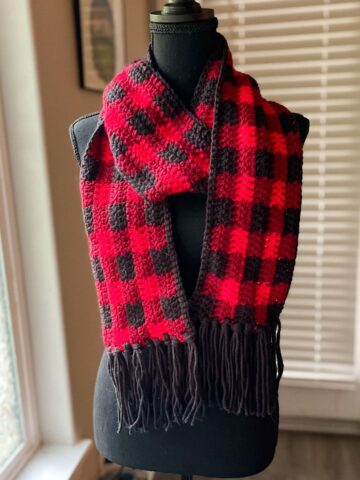
🧶More Crochet Scarf Patterns

If you tried this Crochet Linen Stitch Scarf Pattern (or any other pattern on my website), please leave a📝 comment below. I'd love to hear from you!

Crochet Linen Stitch Scarf Pattern
Abbreviations (US terms)
- Chain - ch
- Single crochet - sc
Notes
- The pattern uses short rows instead of long rows.
- To adjust the width of the scarf, start with an even number of chains.
- The scarf is approximately 6 feet long, but you can shorten or lengthen it to fit your desired size.
Instructions
- This pattern is worked in short rows, not long rows or in the round.
- Row 1: With white, Ch x30
- Row 2: In the second ch from hook, make a sc, ch + skip the chain below, and make a sc into the next chain. Repeat for the rest of the row. (29) Then Ch x1 and turn. You know you have the correct number of chains if you end on a sc, you do not want to end the row with a foundation ch untouched.
- Row 3-9: Sc into the chain space from the row below, ch over the last rows sc, and sc into the next chain space again. While you are completing more rows, make sure you are crocheting into the chain spaces from the previous row, do not make a single crochet into the chain directly. Crochet around it. (29) Then Ch 1 and turn after every row, except row 9 - at the end of that row, change the color to black.
- Ch x1 in black then turn.
- Row 10: Repeat row 3.
- Fasten off the black row and switch to white at the end of the row. Then Ch x1.
- Row 11-13: Repeat row 3.
- Fasten off the last white row and switch to black at the end of the row. Then Ch x1.
- Row 14: Repeat row 3.
- Fasten off the black row and switch to white at the end of the row. Then Ch x1.
- Row 15-215: Repeat row 3.
- Fasten off the last white row and switch to black at the end of the row. Then Ch x1.
- Row 216: Repeat row 3.
- Fasten off the black row and switch to white at the end of the row. Then Ch x1.
- Row 217-19: Repeat row 3.
- Fasten off the last white row and switch to black at the end of the row. Then Ch x1.
- Row 220: Repeat row 3.
- Fasten off the black row and switch to white at the end of the row. Then Ch x1.
- Row 221-29: Repeat row 3.
- Fasten off the last white row and switch to black at the end of the row. Then Ch x1.
Scarf Fringe:
- For the fringe cut 2 18 inch pieces of yarn in black.
- To attach the fringe to the crochet linen stitch scarf, pinch the strand of yarn at the middle and make a loop, insert a hook into the short side of the scarf and pull the yarn through the bottom stitch. Then using your fingers take the ends of the fringe and loop them through the hole you made and pull tight.
- Repeat the above step for the entire width of the scarf. Repeat on the other side of the scarf. I put 1 group of fringe per stitch.
- After all the fringe is attached, trim the bottom so the yarn is nice and all lined up.
- And now you have a stylish linen stitch crochet scarf! Stay warm!


Leave a Reply