
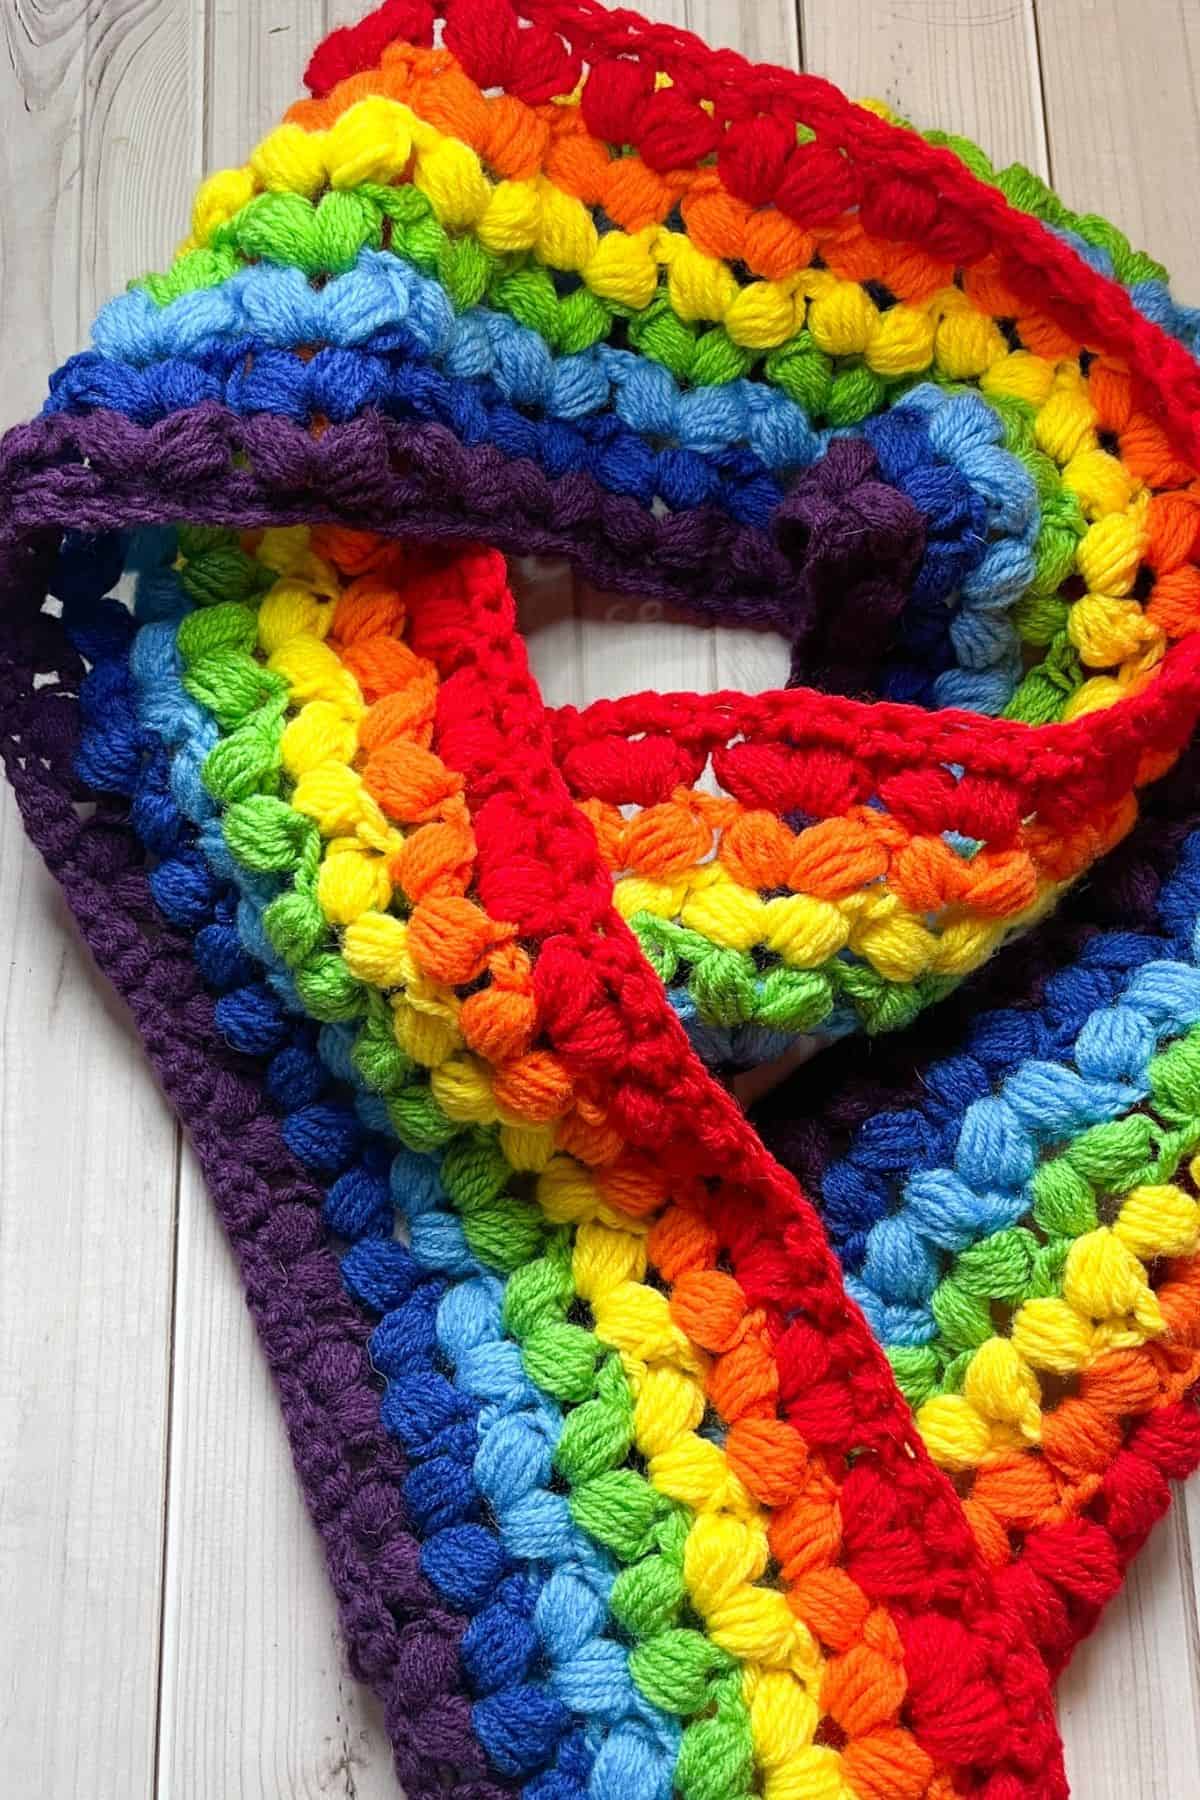
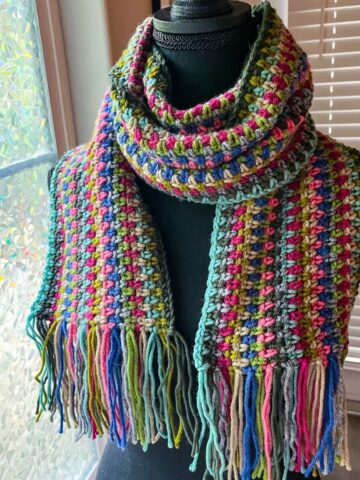
Brighten up the gloomy rainy days with my Crochet Rainbow Scarf Pattern! The stitches used in the rainbow scarf even look like hearts!
I love color. Living in an area with a lot of rain and gloom makes rainbows and bright colors lift my spirits. What better way to embrace the cold gray days than with a cheerful rainbow crochet scarf?
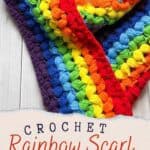
This crochet rainbow scarf is not only vibrant and eye-catching, but it also features a distinctive texture thanks to its unique stitch pattern. I chose to use the puffy V stitch for this scarf, and the outcome is absolutely stunning! The combination of bold colors and the raised texture of the puffy stitches creates a beautiful and cozy accessory that’s perfect for any occasion.
The rainbow hues make this scarf a fun and festive addition to your wardrobe, and it’s particularly fitting for holidays like Saint Patrick’s Day or Pride Month in June. Whether you’re celebrating these special events or just want to add a cheerful pop of color to your outfit, this scarf is sure to stand out. It’s also a great option for those living in colder climates, as it not only adds warmth but also plenty of style.
The beauty of this crochet scarf lies in both its design and functionality, making it the perfect project for anyone who loves to crochet and wants to create something colorful and meaningful. The puffy V stitch provides a rich texture, while the rainbow colors remind you of the beauty of diversity.
Ready to dive in and create your own? Let’s get started with this fun, creative, and colorful crochet scarf!
Jump to:
✏️ Things To Note:
- Yarn Choice. For this crochet rainbow scarf, I opted for Red Heart Yarns, but the choice of yarn is completely up to you. You can use any yarns in your favorite colors to create a personalized version of this scarf. The key is to select a yarn that complements the stitch pattern, so feel free to experiment with different types and shades to make the scarf uniquely yours.
- Weight Recommendation. When it comes to yarn weight, I recommend using either worsted weight or DK (double knitting) yarn for the best results. These weights are ideal for the puffy V stitch, as they allow the texture to stand out while ensuring that the scarf maintains a comfortable drape and warmth. Avoid using chunky yarns, as they can make the stitches too bulky and may affect the overall look and feel of the scarf.
- Scarf Dimensions. As for the dimensions of the scarf, it measures approximately 6 inches in width, providing a nice balance between being wide enough for warmth but not too thick to become cumbersome. The length of the scarf ranges from about 5.5 to 6 feet, making it long enough to wrap comfortably around your neck or drape over your shoulders for extra coziness. The length is perfect for layering, and the scarf can easily be adjusted if you'd like it shorter or longer, depending on your personal preference.
🪡 Materials Needed
💭Abbreviations to Remember (US terms)
- Chain - ch
- Single crochet - sc
- Puff stitch- puff stitch (no abbreviation)
- Double crochet - dc
🧋Variations
Instead of a scarf, you can turn the pattern into a blanket.
You can also keep it as a scarf but add fringe to the ends for extra flair.
🍵Instructions for Crochet Rainbow Scarf Pattern
This pattern is made in long rows.
Note: Puff stitches can vary as far as thickness goes. Usually they have 7 loops on the hook, but I made 11 because I wanted them to be extra fluffy.

Row 1: With the purple yarn ch x200 + 5. If you want to change the starting chain, make sure it is divisible by 4 and then add 5.
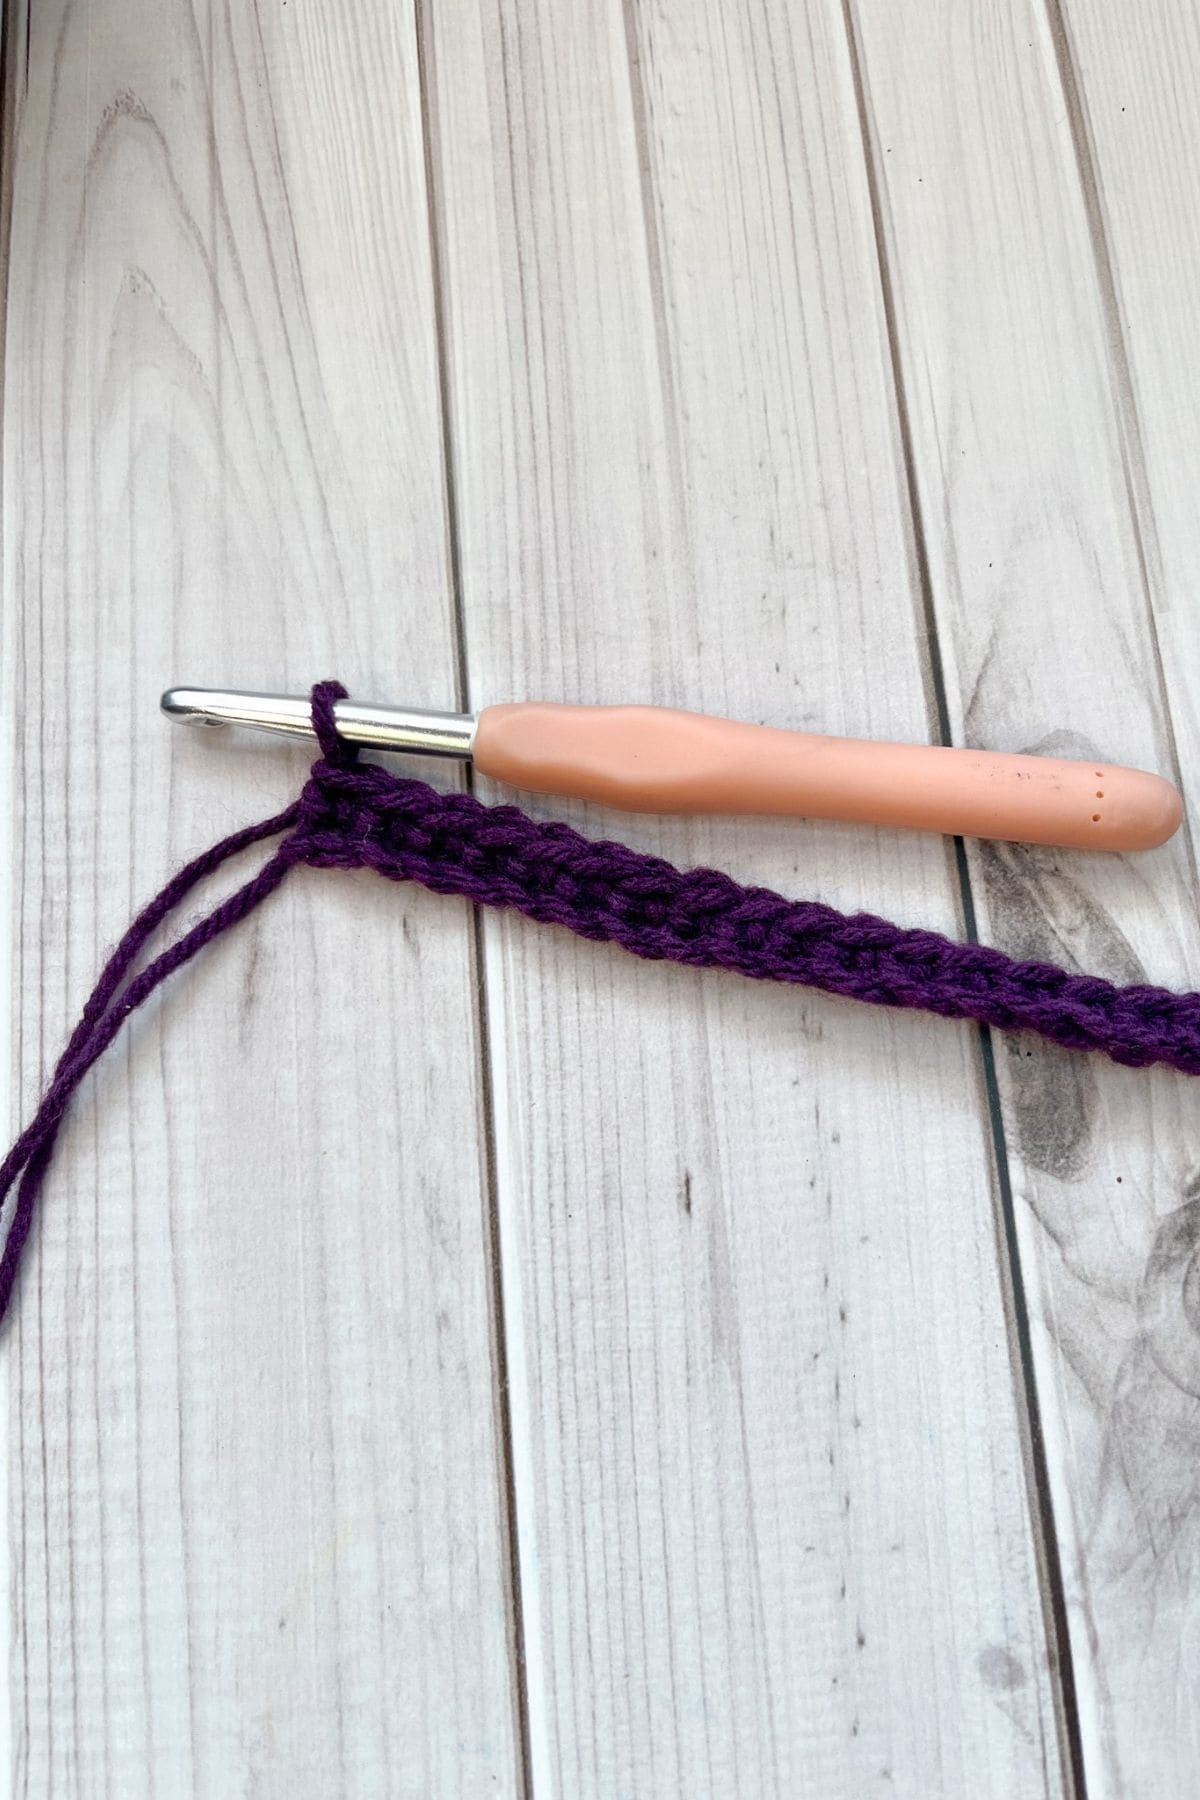
Row 2: In the second ch from the hook make a sc. Continue making a sc in each ch for the rest of the row (204). Ch x3 and then turn.
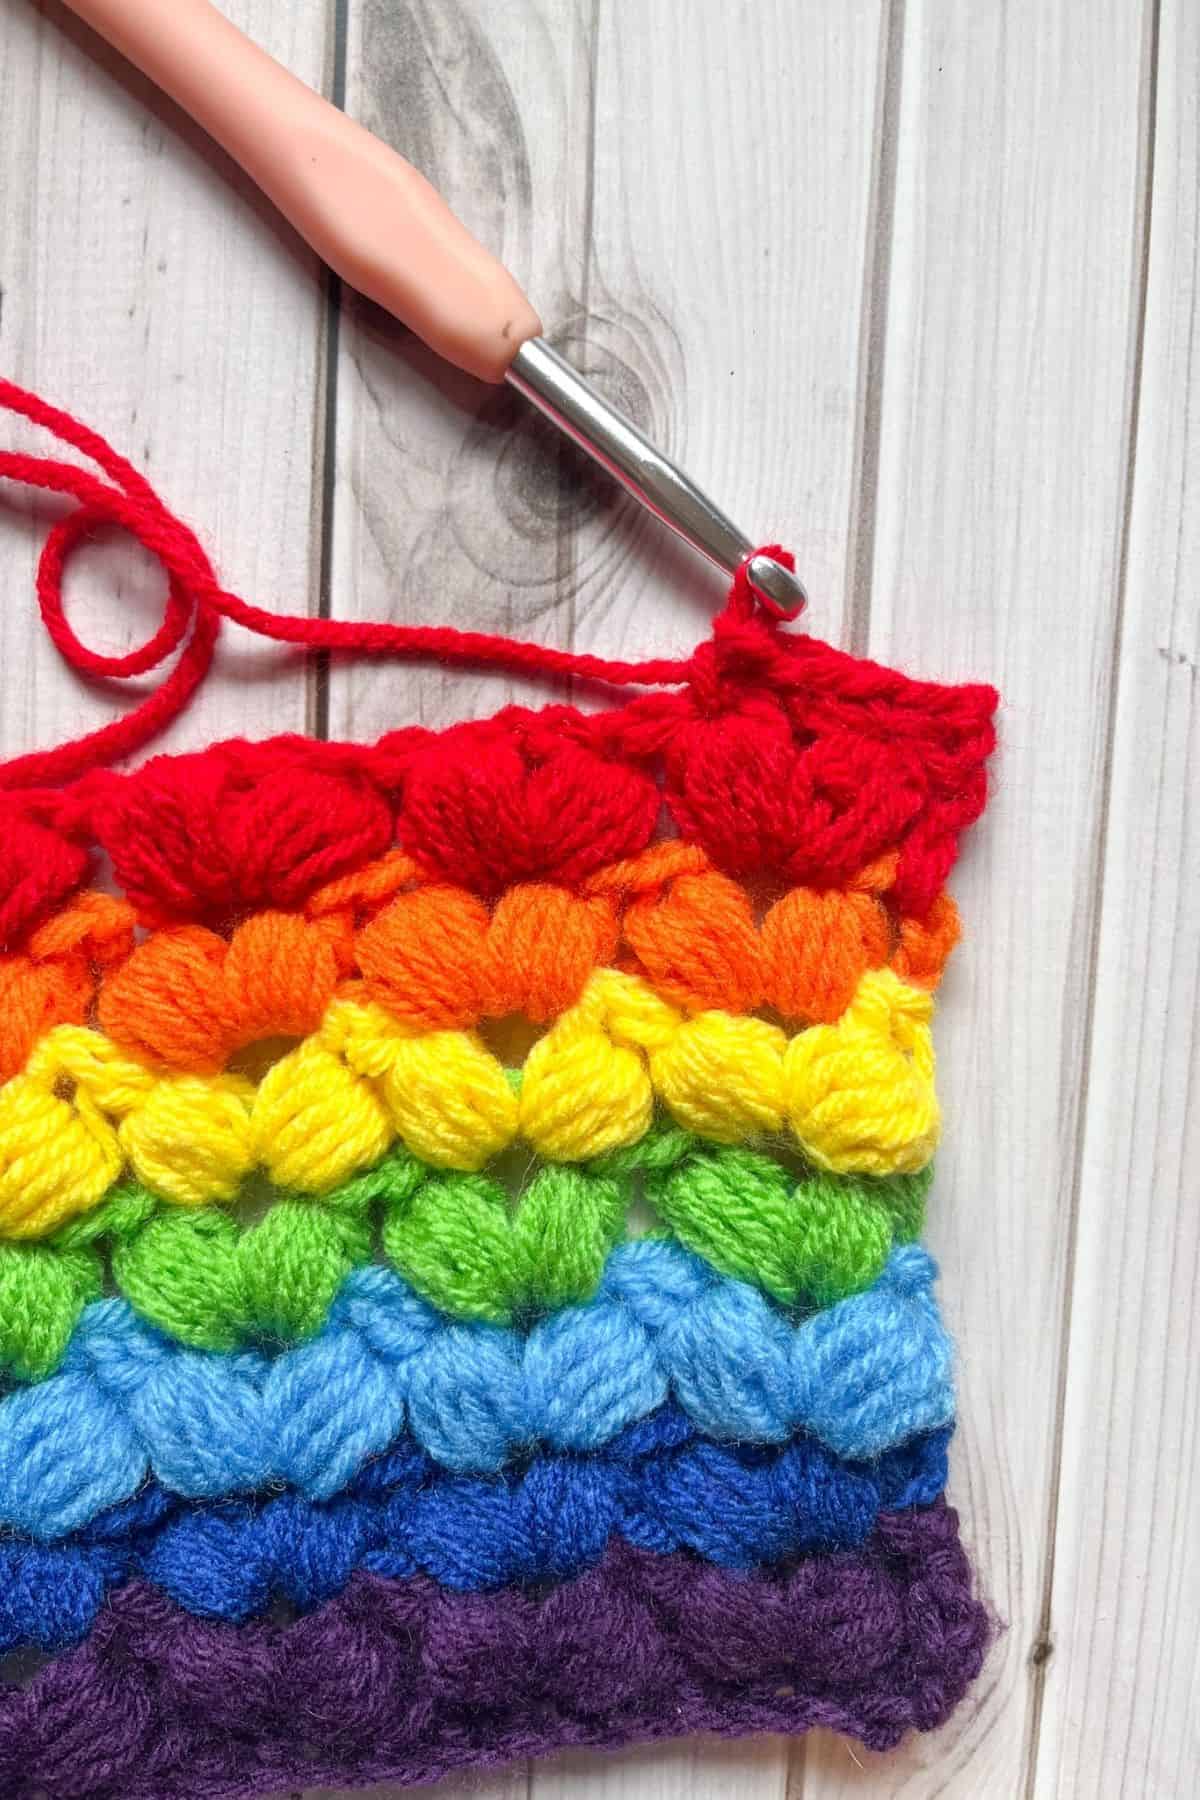
Row 3: *Skip the first 3 stitches from the previous row and in the next stitch make a puff stitch, ch, and then another puff stitch.* (Check the next paragraph for instructions on how to make the puff stitch).
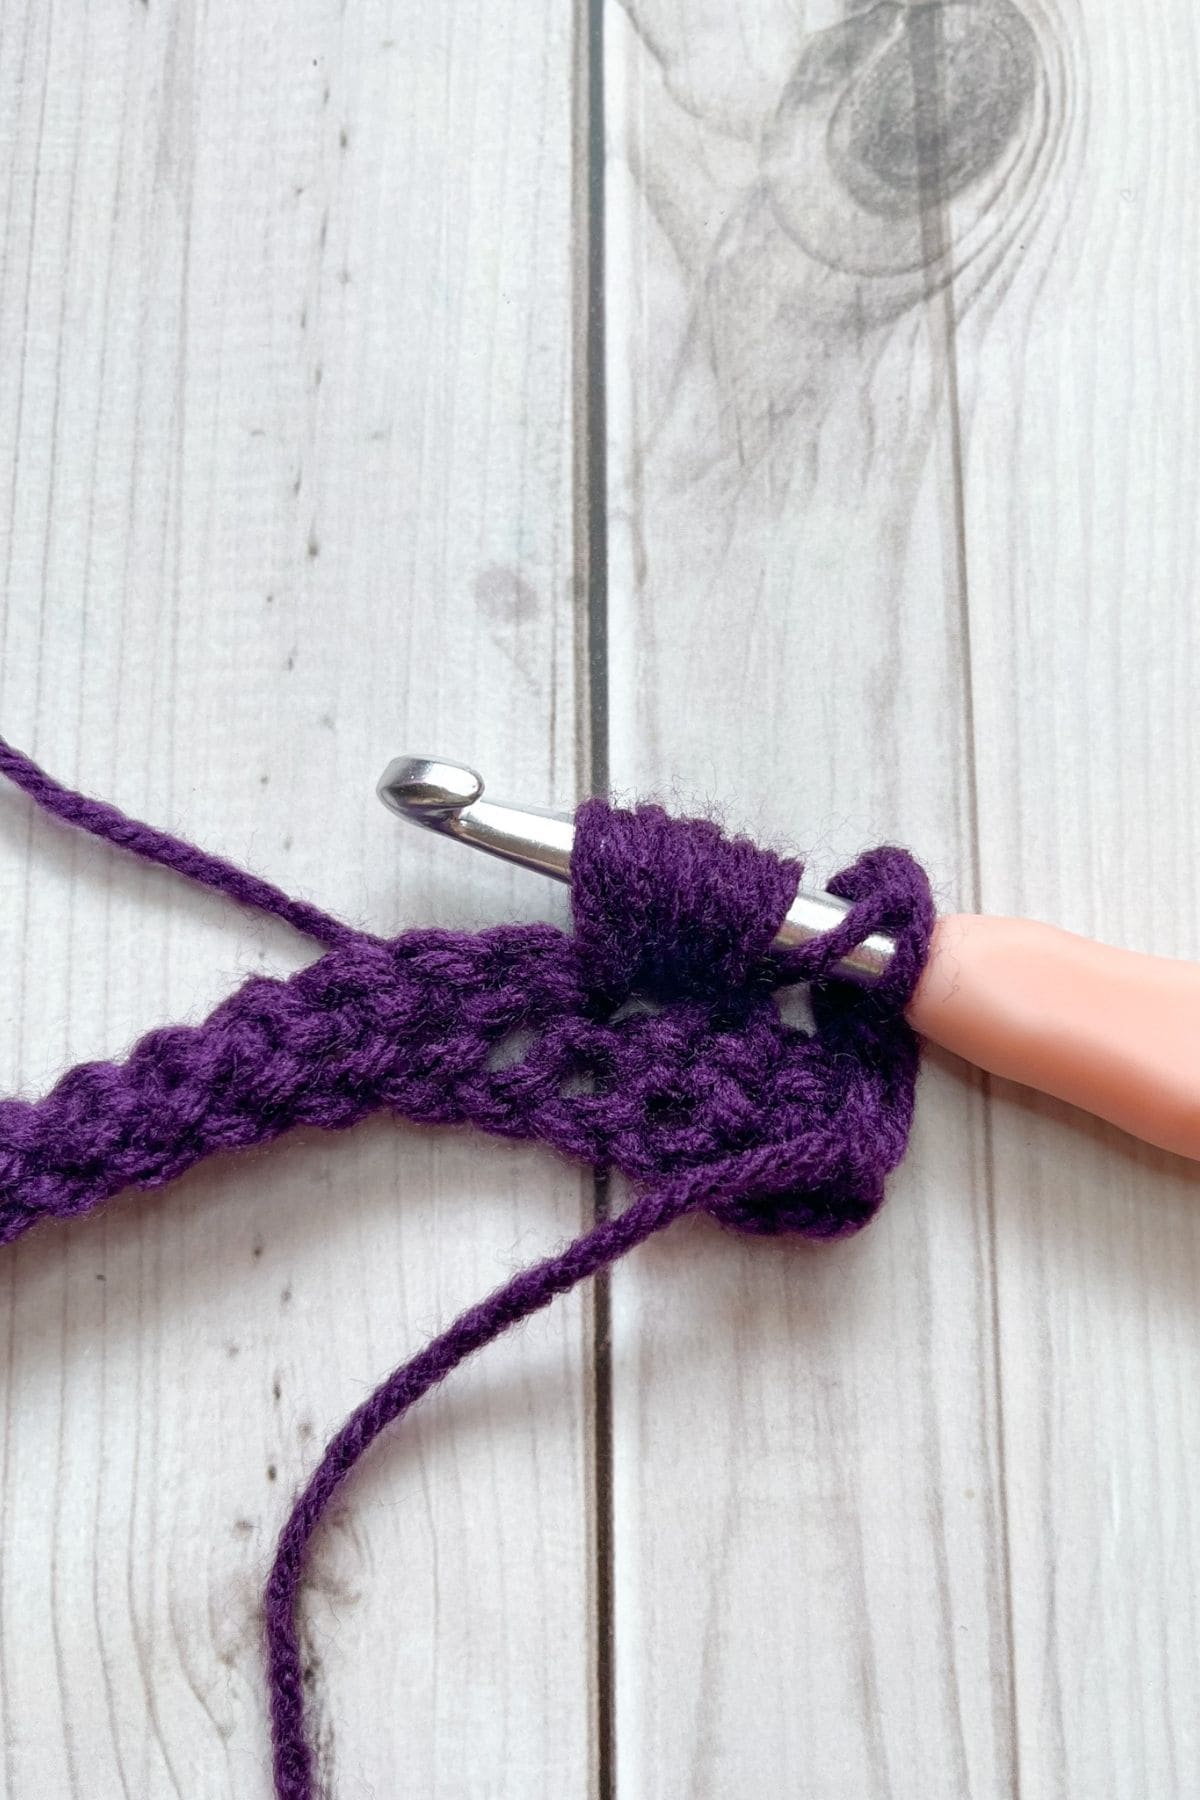
*The puff stitch is made by yarning over, inserting the hook into the stitch, yarning over, going back through the loops and repeating the process many times. You should have 3 loops on your hook. Don't go through the loops, but instead yarn over and repeat the same process. You should repeat this until you have 11 loops on your hook or doing this for a total of 5 times. Then yarn over and go through all 11 loops on your hook. Ch x1 to secure the puff stitch closed. (This does not count as the ch needed in between the puff stitches)*


Repeat what is in the asterisks until the last 4 stitches.

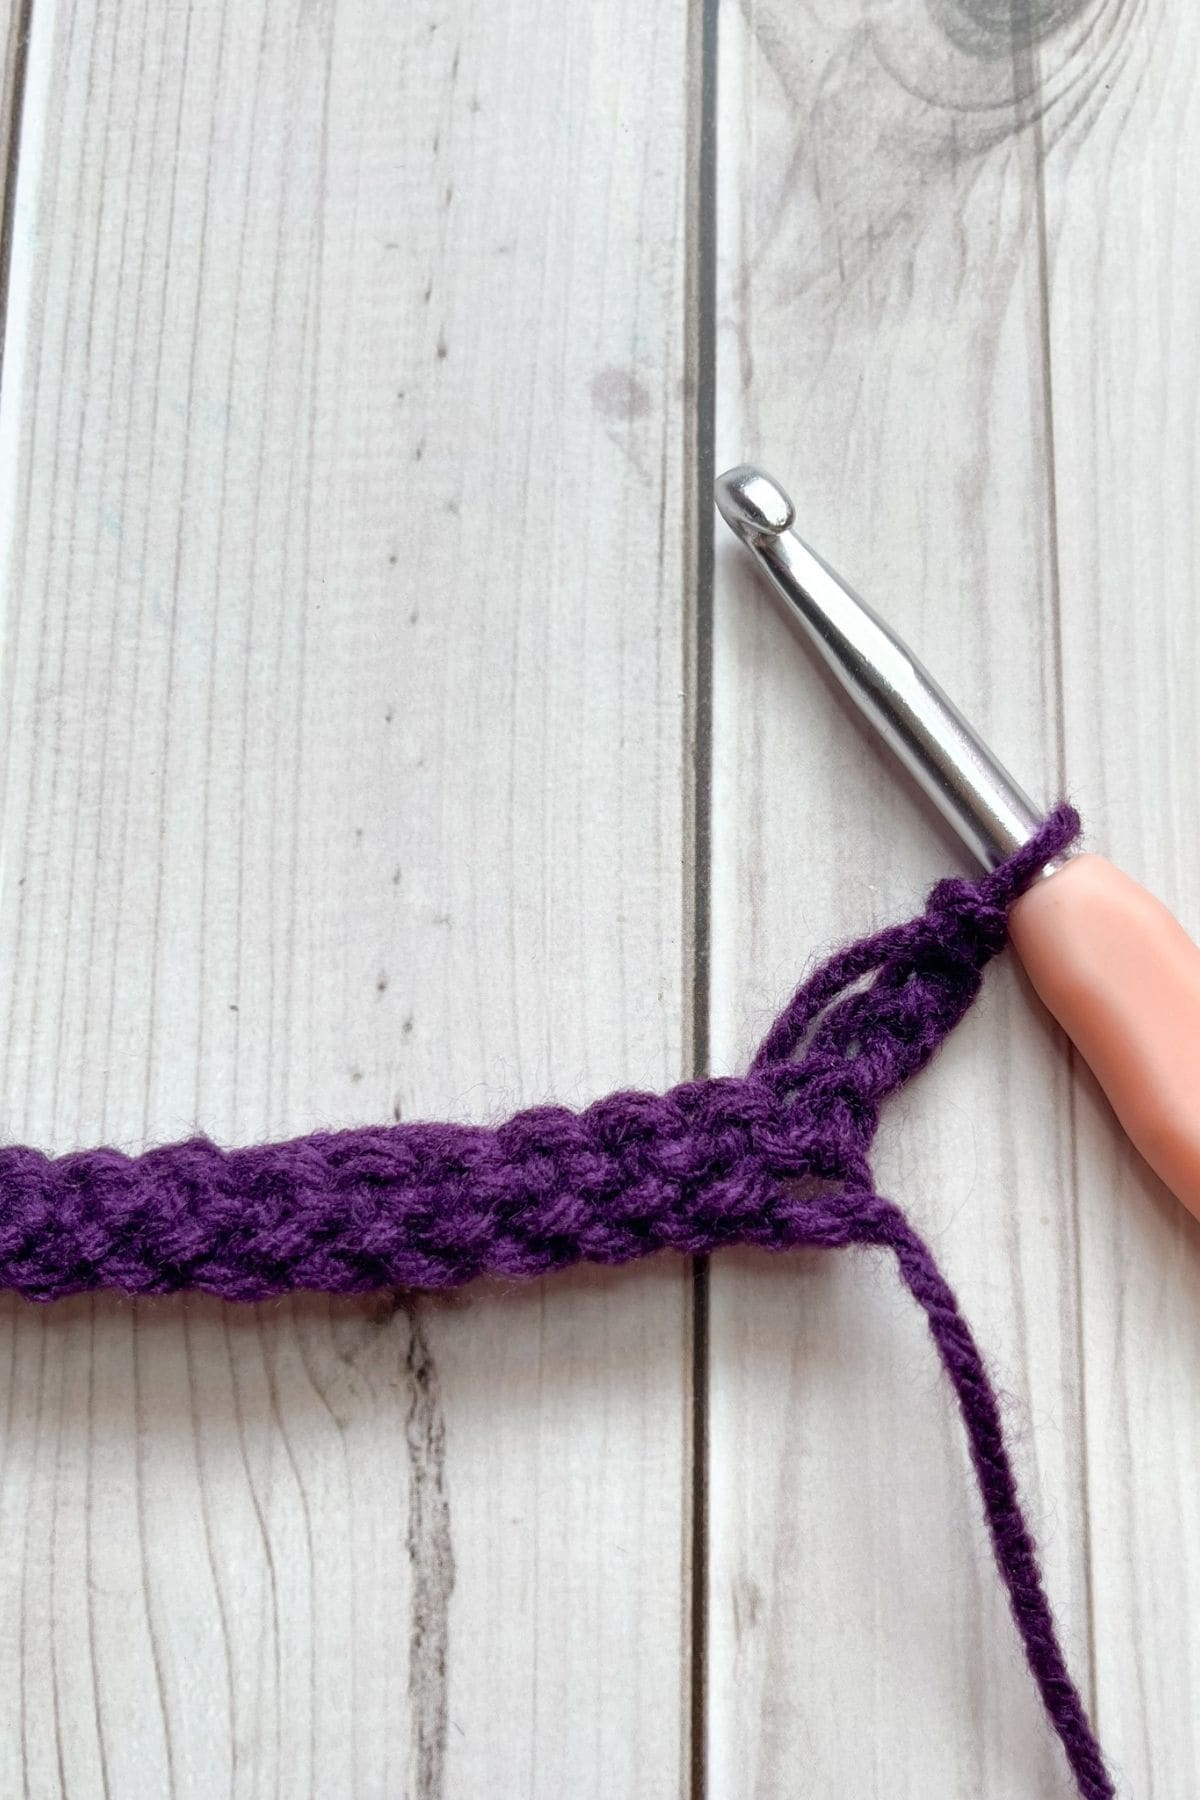
Skip 3 stitches and create a dc in the last stitch.

Fasten off the purple yarn and switch to blue. Ch x3 and turn.

Row 4: In the next chain space in between the V make a puff, ch, puff. Repeat until the end of the row. The Vs should be stacked on top of each other.

When you get to the end of the row, make a dc and switch the yarn to light blue. Then ch x3 and turn and repeat.
Row 5-9: Repeat row 4 but switch the colors every row:
Green, yellow, orange, red.
At the end of the red row just ch x1 and turn.
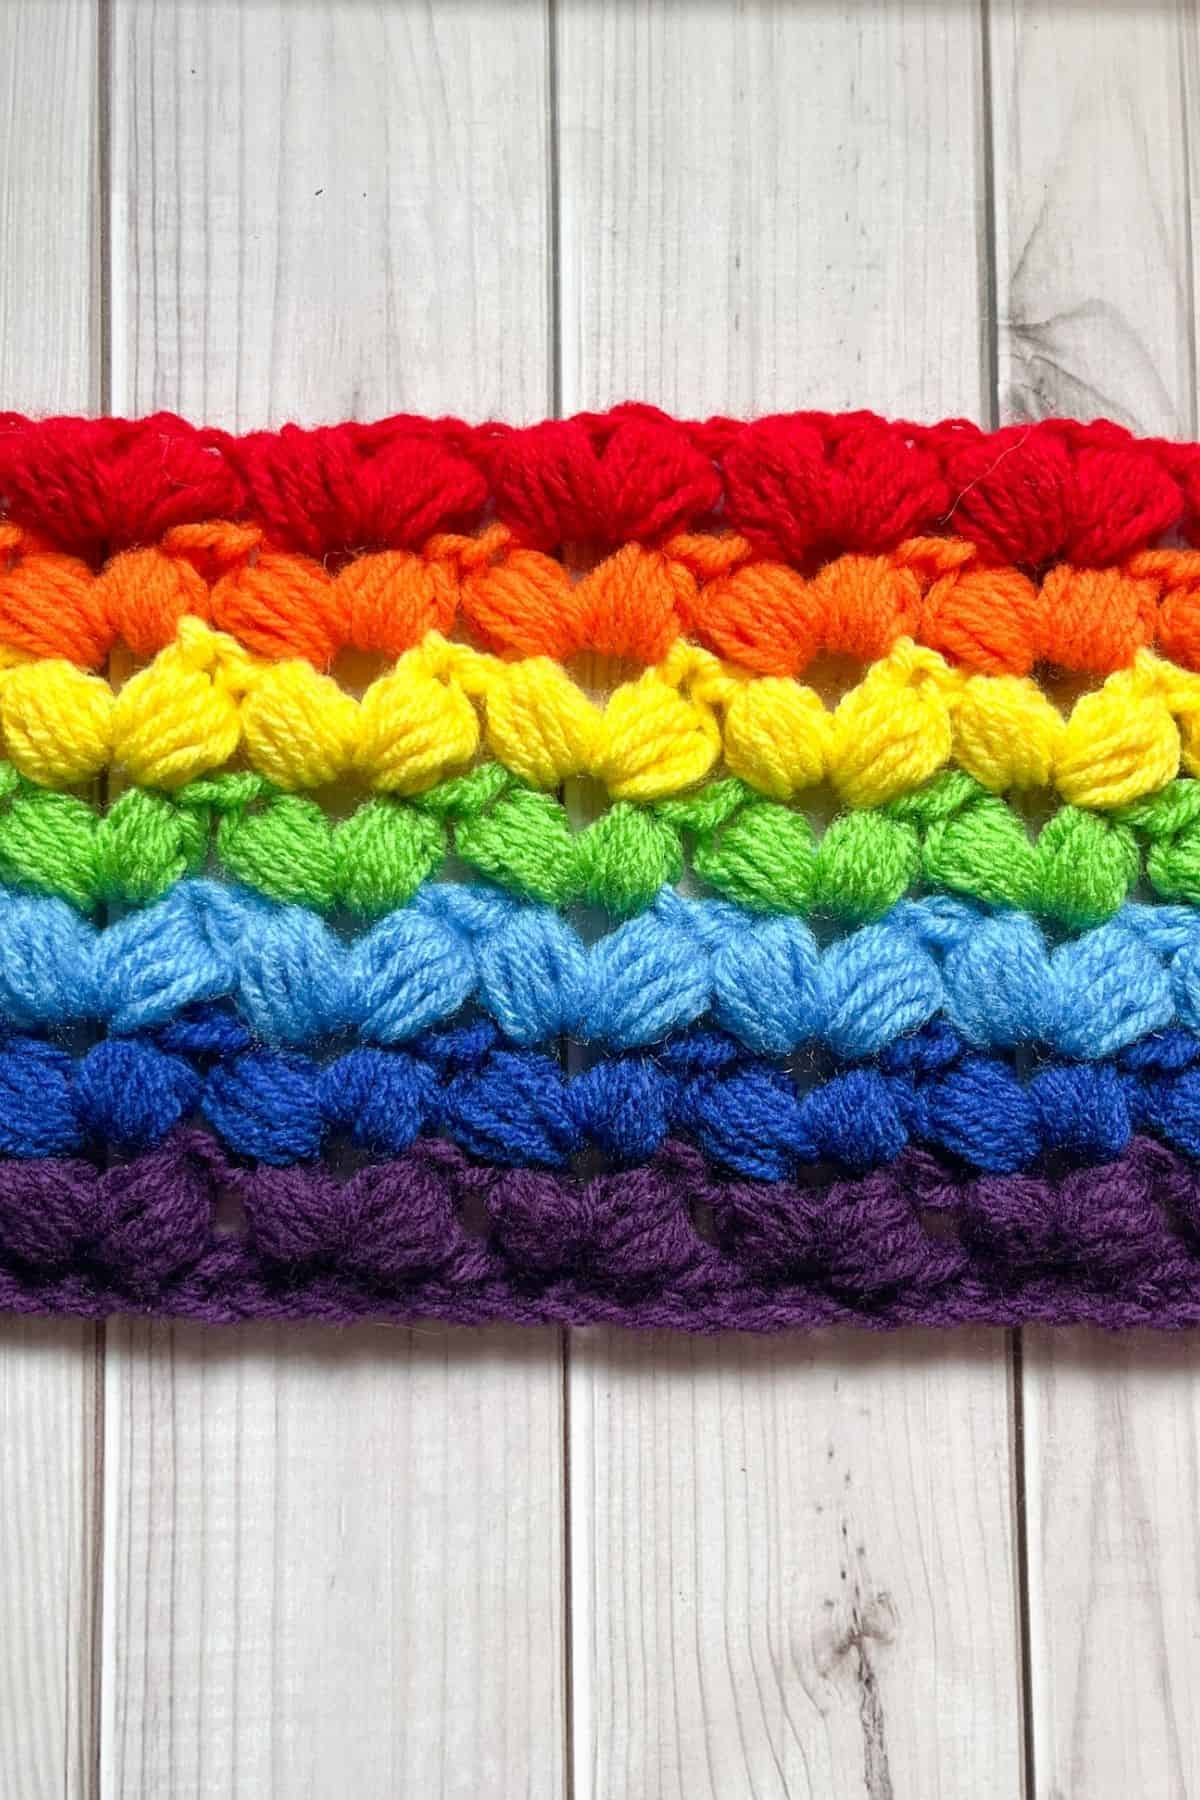
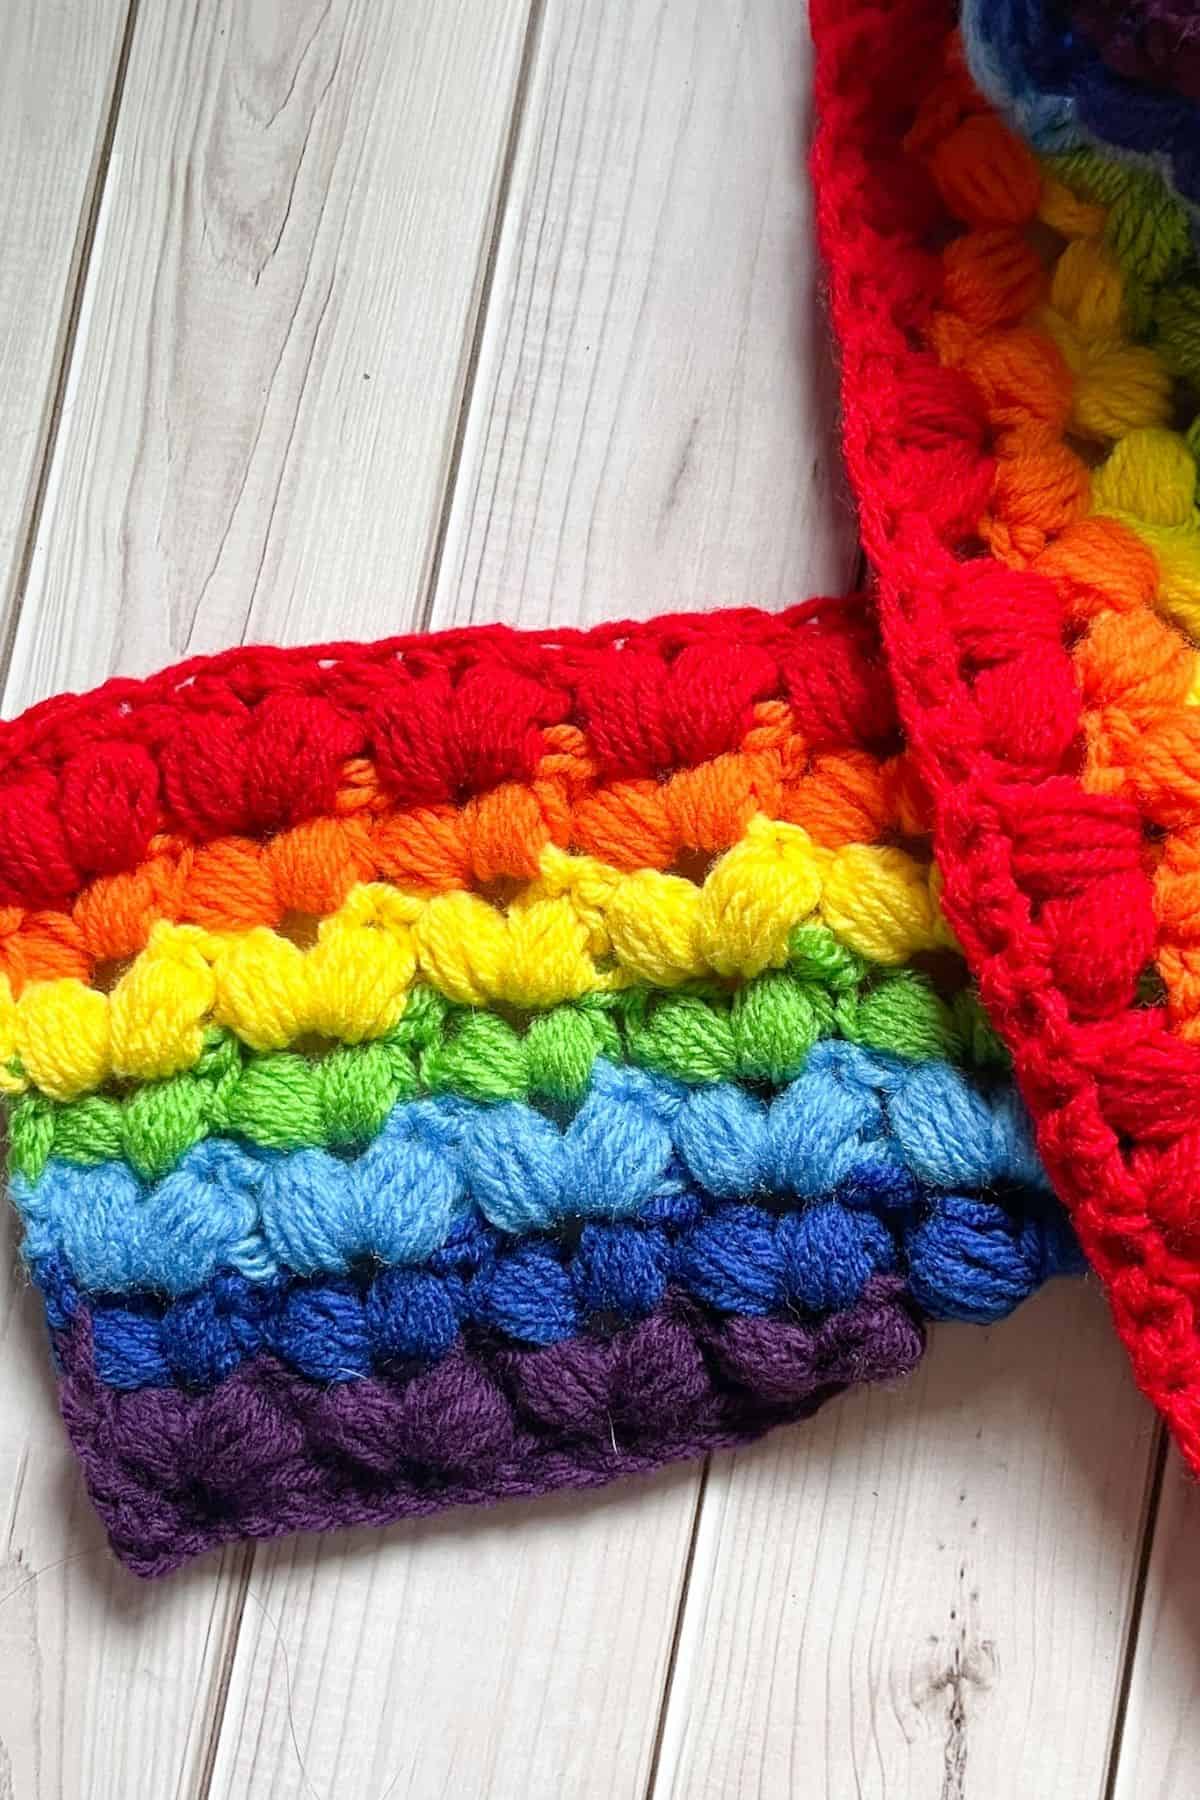
Last row: With the red yarn, make a sc into the first stitch of the row. Then 1 sc in the puff, 1 sc in the next chain space, 1 sc in the puff stitch and then repeat for the rest of the row.
When you get to the end of the row, fasten off and weave in any ends.
And now you have a cute crochet rainbow scarf made with the puffy v stitch! Happy crocheting!

🐌Expert Tips
- Counting Loops: If you're having trouble remembering how many times you've yarned over, count the loops on your hook. You should always have 11.
- Yarn Choice: Consider using variegated yarn for a more dynamic look. It can add interesting color transitions throughout the scarf.
- Adjusting Puff Stitches: If you find 11 loops too challenging, try using 7 loops for standard puff stitches. Your hearts will be less puffy, but they'll still look nice.
🧵Pattern FAQs
Absolutely! Just ensure you have an even number of starting chains.
Yes! Variegated, long stripe, and ombre yarns would all look great.
Yes, but your hearts will be less puffy. I suggest doing no fewer than 7 loops for a standard puff stitch.
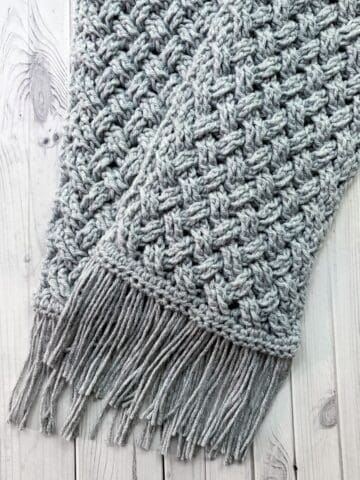
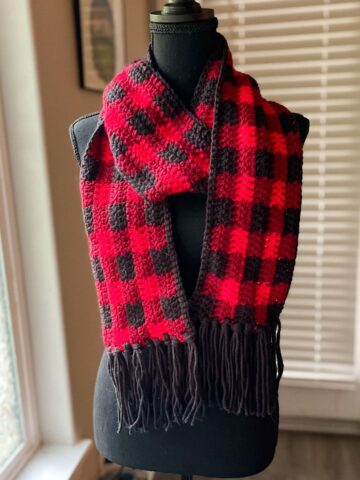
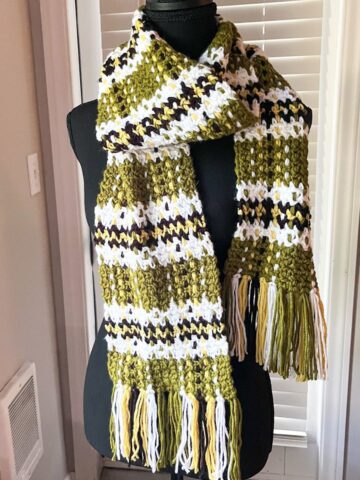
🧶More Scarf Patterns

If you tried this Crochet Rainbow Scarf Pattern (or any other pattern on my website), please let me know how it went in the 📝 comments below. I'd love to hear from you!

Crochet Rainbow Scarf Pattern
Materials
- 1 skein Red yarn
- 1 skein Orange yarn
- 1 skein Yellow yarn
- 1 skein Green yarn
- 1 skein Medium blue yarn
- 1 skein Blue yarn
- 1 skein Purple yarn
- 7mm crochet hook
- Tapestry needle
Abbreviations (US terms)
- ch = Chain
- sc = Single crochet
- puff stitch = Puff stitch (no abbreviation)
- dc = Double Crochet
Notes
- Note: Puff stitches can vary in thickness; typically, they have 7 loops, but I used 11 for extra fluffiness.
- Use any colors; avoid chunky yarn—stick to worsted or DK weight.
- Scarf dimensions: 6 inches wide, 5.5-6 ft long.
- Consider turning it into a blanket or adding fringe for extra flair.
Instructions
- This pattern is made in long rows.
- Row 1: With the purple yarn ch x200 + 5. If you want to change the starting chain, make sure it is divisible by 4 and then add 5.
- Row 2: In the second ch from the hook make a sc. Continue making a sc in each ch for the rest of the row (204). Ch x3 and then turn.
- Row 3: *Skip the first 3 stitches from the previous row and in the next stitch make a puff stitch, ch, and then another puff stitch.*
- *The puff stitch is made by yarning over, inserting the hook into the stitch, yarning over, going back through the loops and repeating the process many times. You should have 3 loops on your hook. Don't go through the loops, but instead yarn over and repeat the same process. You should repeat this until you have 11 loops on your hook, or doing this for a total of 5 times. Then yarn over and go through all 11 loops on your hook. Ch x1 to secure the puff stitch closed. (this does not count as the ch needed in between the puff stitches*
- Repeat what is in the asterisks until the last 4 stitches.
- Skip 3 stitches and create a dc in the last stitch. Fasten off the purple yarn and switch to blue. Ch x3 and turn.
- Row 4: In the next chain space in between the V make a puff, ch, puff. Repeat until the end of the row. The Vs should be stacked on top of each other.
- When you get to the end of the row, make a dc and switch the yarn to light blue. Then ch x3 and turn.
- Row 5-9: Repeat row 4 but switch the colors every row:
- Green, yellow, orange, red.
- At the end of the red row just ch x1 and turn.
- Last row: With the red yarn, make a sc into the first stitch of the row. Then 1 sc in the puff, 1 sc in the next chain space, 1 sc in the puff stitch and then repeat for the rest of the row.
- When you get to the end of the row, fasten off and weave in any ends.
- And now you have a cute crochet rainbow scarf made with the puffy v stitch! Happy crocheting!


Nicole Sanchez says
What's the yarn length required for this scarf? It lists 7 skeins, but is that just for all 7 colors or will it use all 7 skeins at 364 yards each?
Kimberly Arenas says
That's just for all 7 colors 🙂 You will probably need close to 750 yards to complete the scarf.