

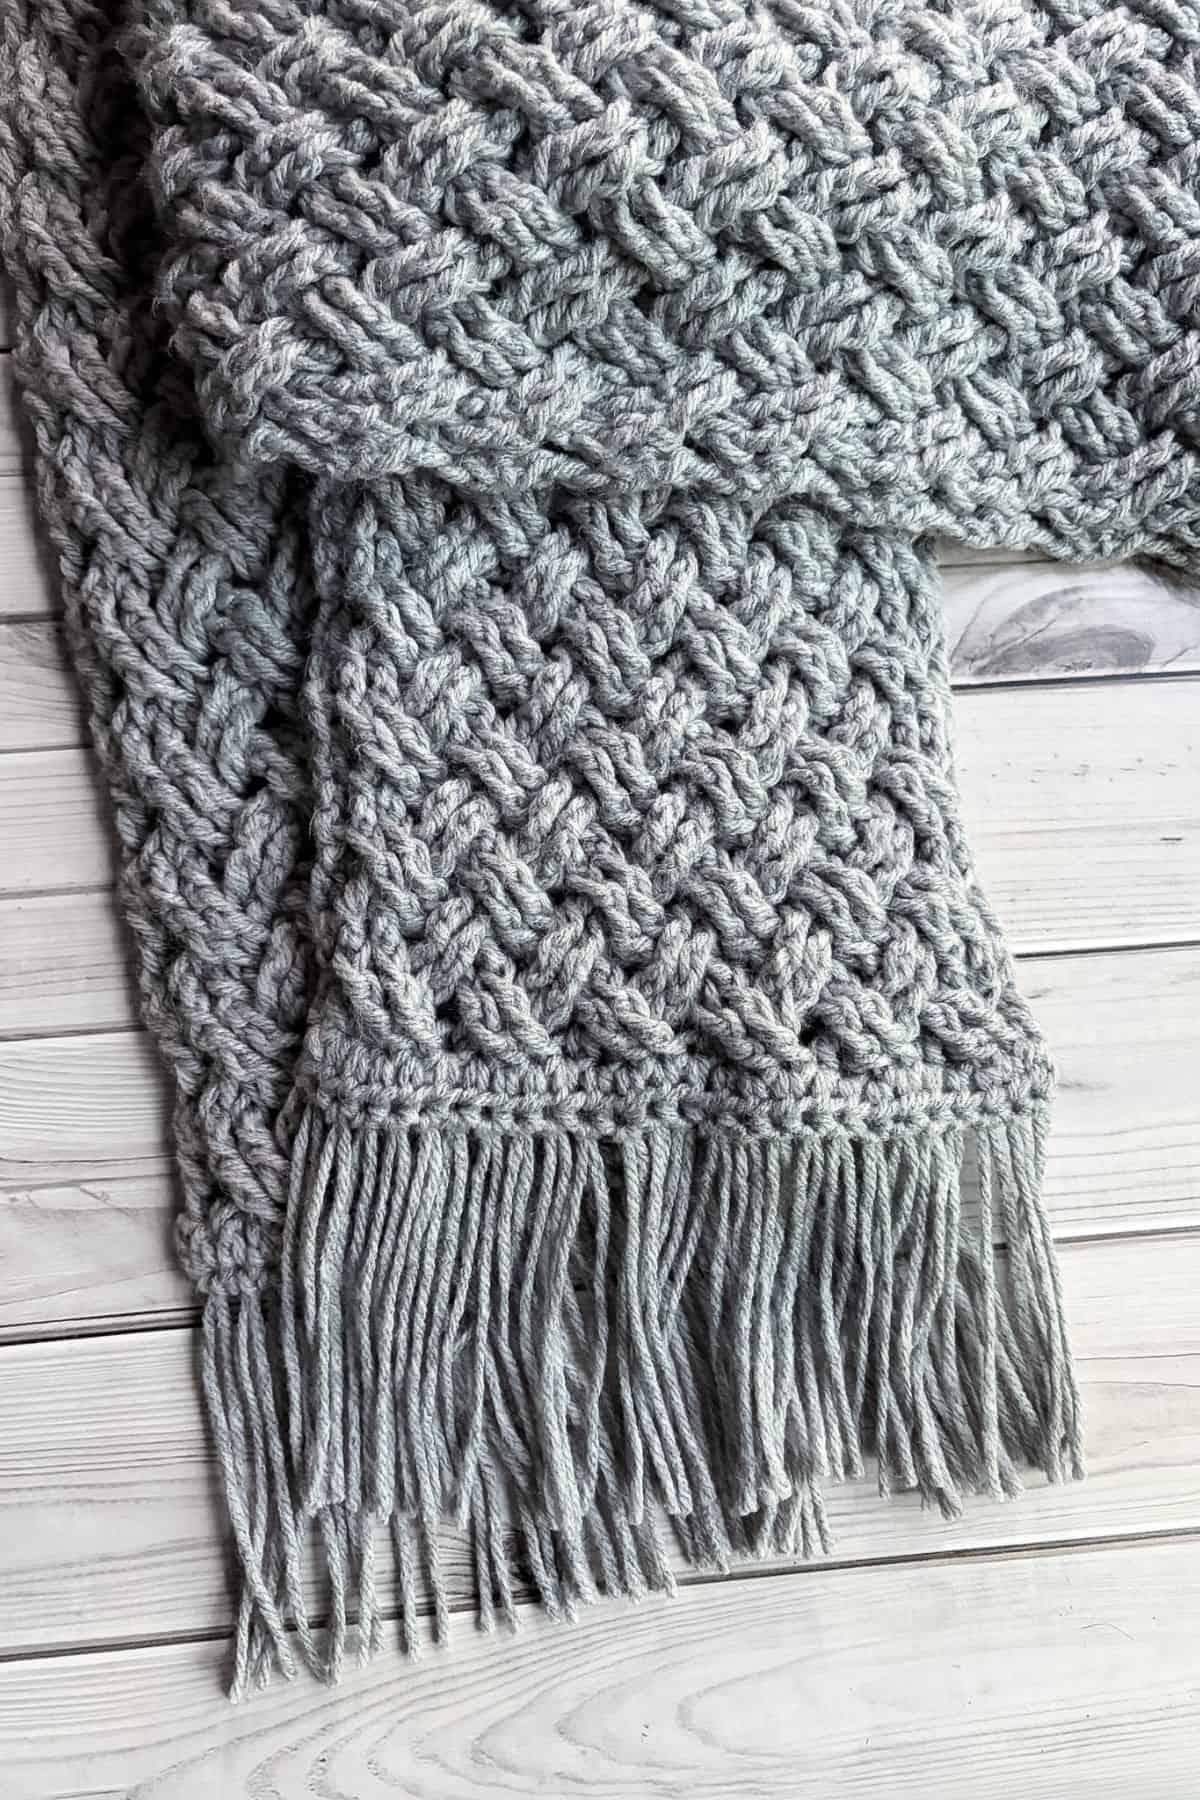
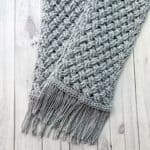
I made this Masculine Crochet Scarf Pattern with my husband in mind. Although I call it masculine, it's a perfect scarf for any gender.
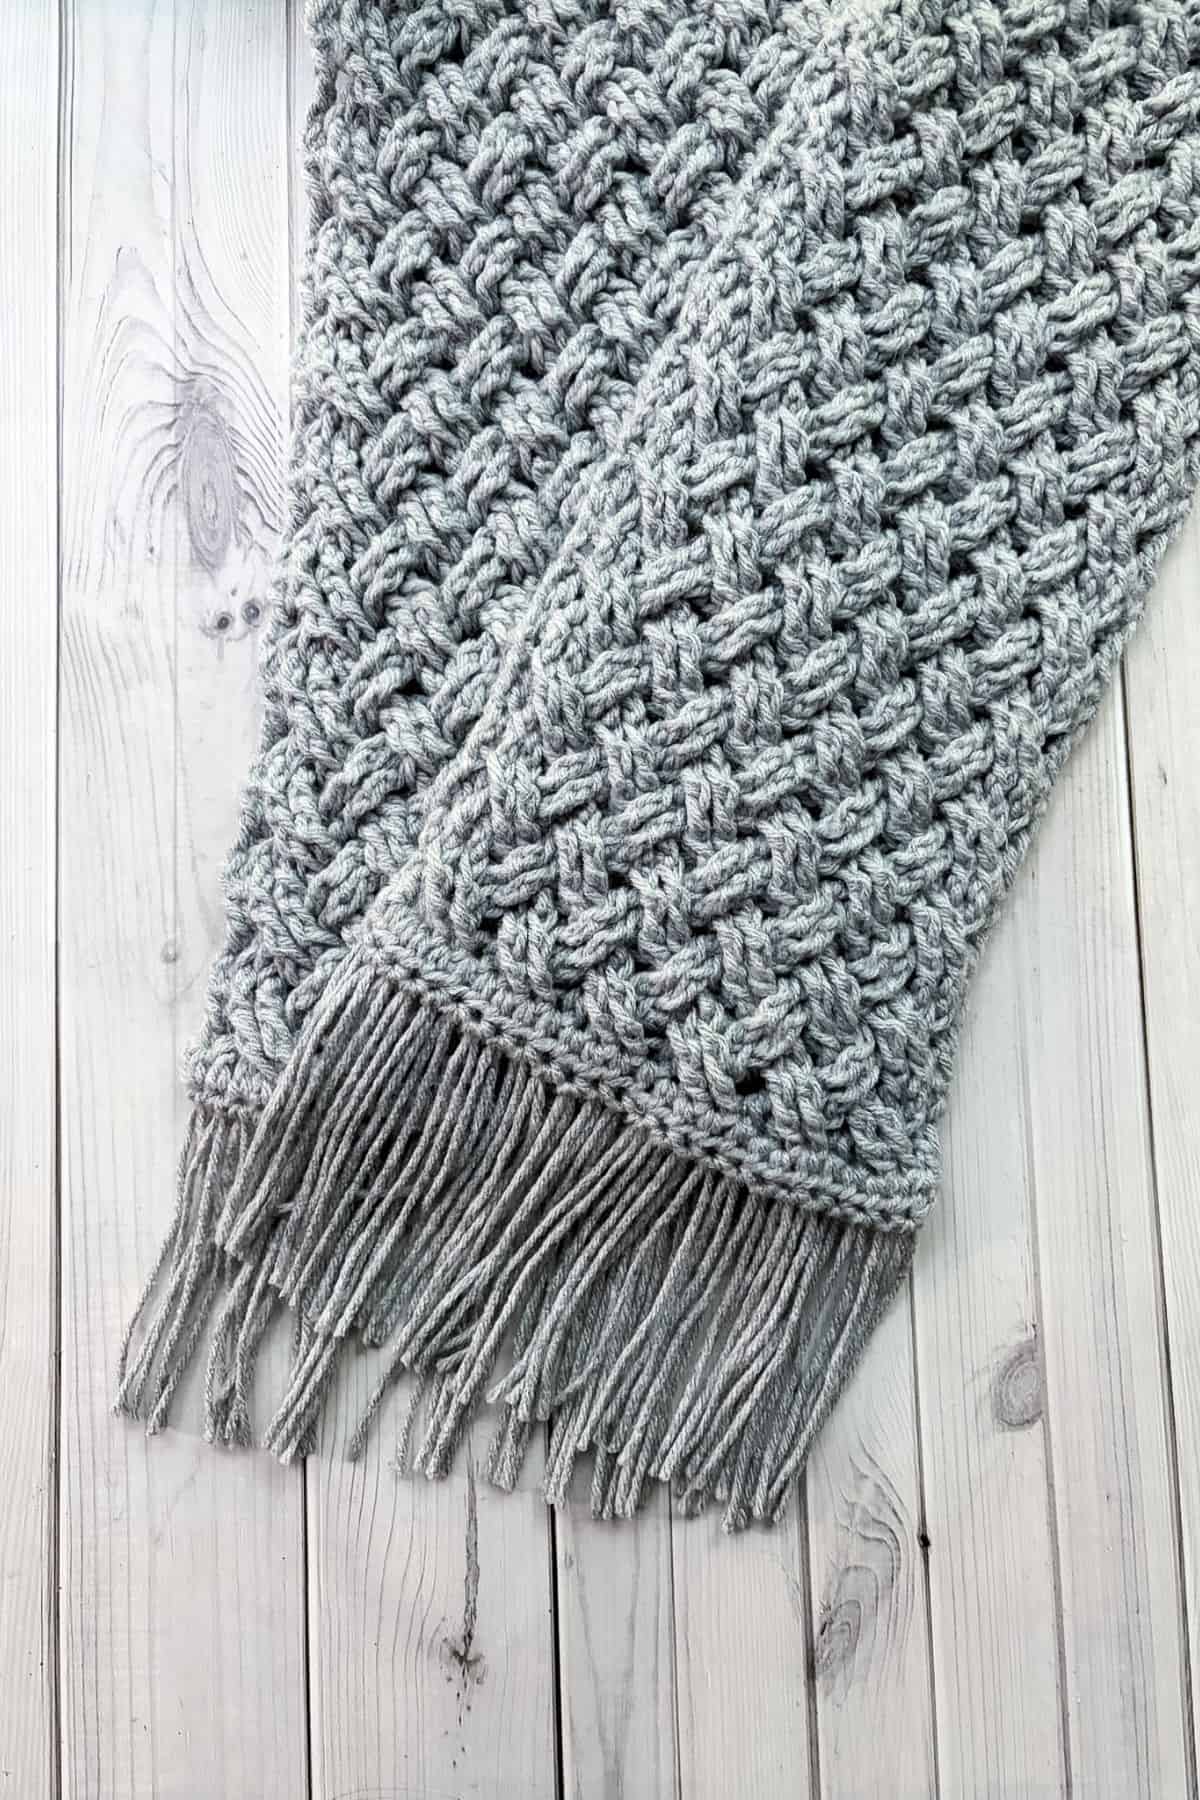
The crochet Celtic weave stitch is one of my go-to stitches, and I actually haven’t used it in a scarf before! I haven't made any official patterns with it just yet, well outside of this scarf, but more patterns will be coming soon! I just love the texture the Celtic weave crochet stitch creates.
Recently, I made a crochet plaid scarf and a crochet houndstooth scarf, both of which have become some of my favorite stitches and are also perfect for a more masculine style. I always find it hard to find a more appealing crochet stitch for a masculine crochet scarf pattern, but I find that these 2 stitches, as well as the Celtic weave stitch hits the spot.
Another simple crochet stitch that can be used for a masculine inspired scarf is the linen stitch, which alternates single crochets and chains. You can check out my crochet linen stitch scarf pattern for inspiration, just change the colors!
Let's get started making this Celtic weave crochet scarf pattern!
Jump to:
✏️ Things To Note:
- Stitch Creation: The Celtic weave stitch is created using a mixture of double crochets and triple crochets in front post and back post.
- Skill Level: The masculine crochet scarf pattern is best for intermediate to advanced crocheters. The placement of stitches can be tricky, as well as making the back post and front post triple crochets.
- Finished Size: The finished size is roughly 8 inches wide and 5.5 feet long, make more or less rows to adjust the length of the scarf.
🪡 Materials Needed
💭Abbreviations to Remember (US terms)
- Chains - Ch
- Double Crochet - Dc
- Back Post Double Crochet - Bpdc
- Back Post Triple Crochet - Bptr
- Front Post Triple Crochet - Fptr
- Half Double Crochet - Hdc
🧋Variations
- Experiment with different colors.
- Connect the scarf to create an infinity scarf.
- Add fringe for a decorative touch.
🍵Instructions Masculine Crochet Scarf Pattern
We will be making this pattern in rows not rounds.
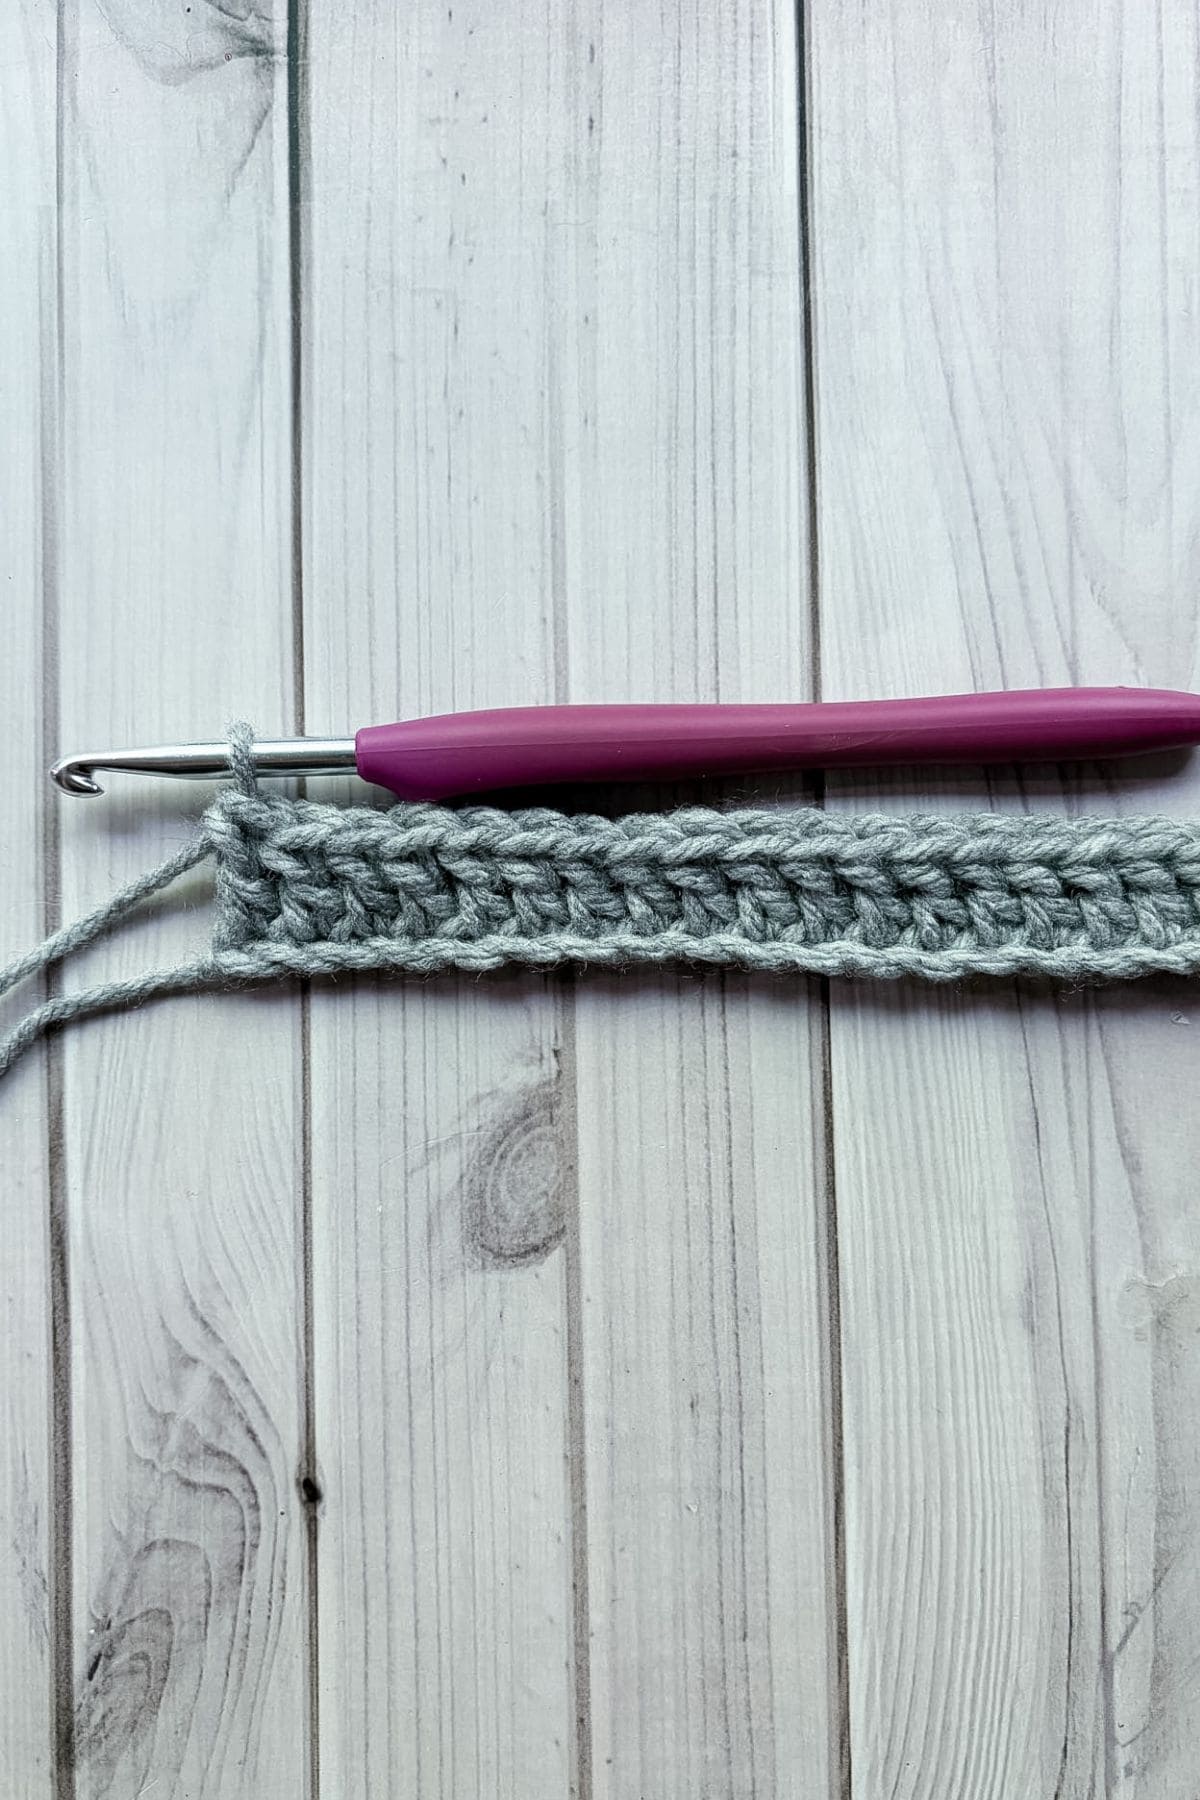
Ch x28 (or any multiple of 4)
Row 1: Starting in the 3rd ch from the hook, make a dc. Continue making dc stitches for the rest of the row (26).
Ch x2 and turn.
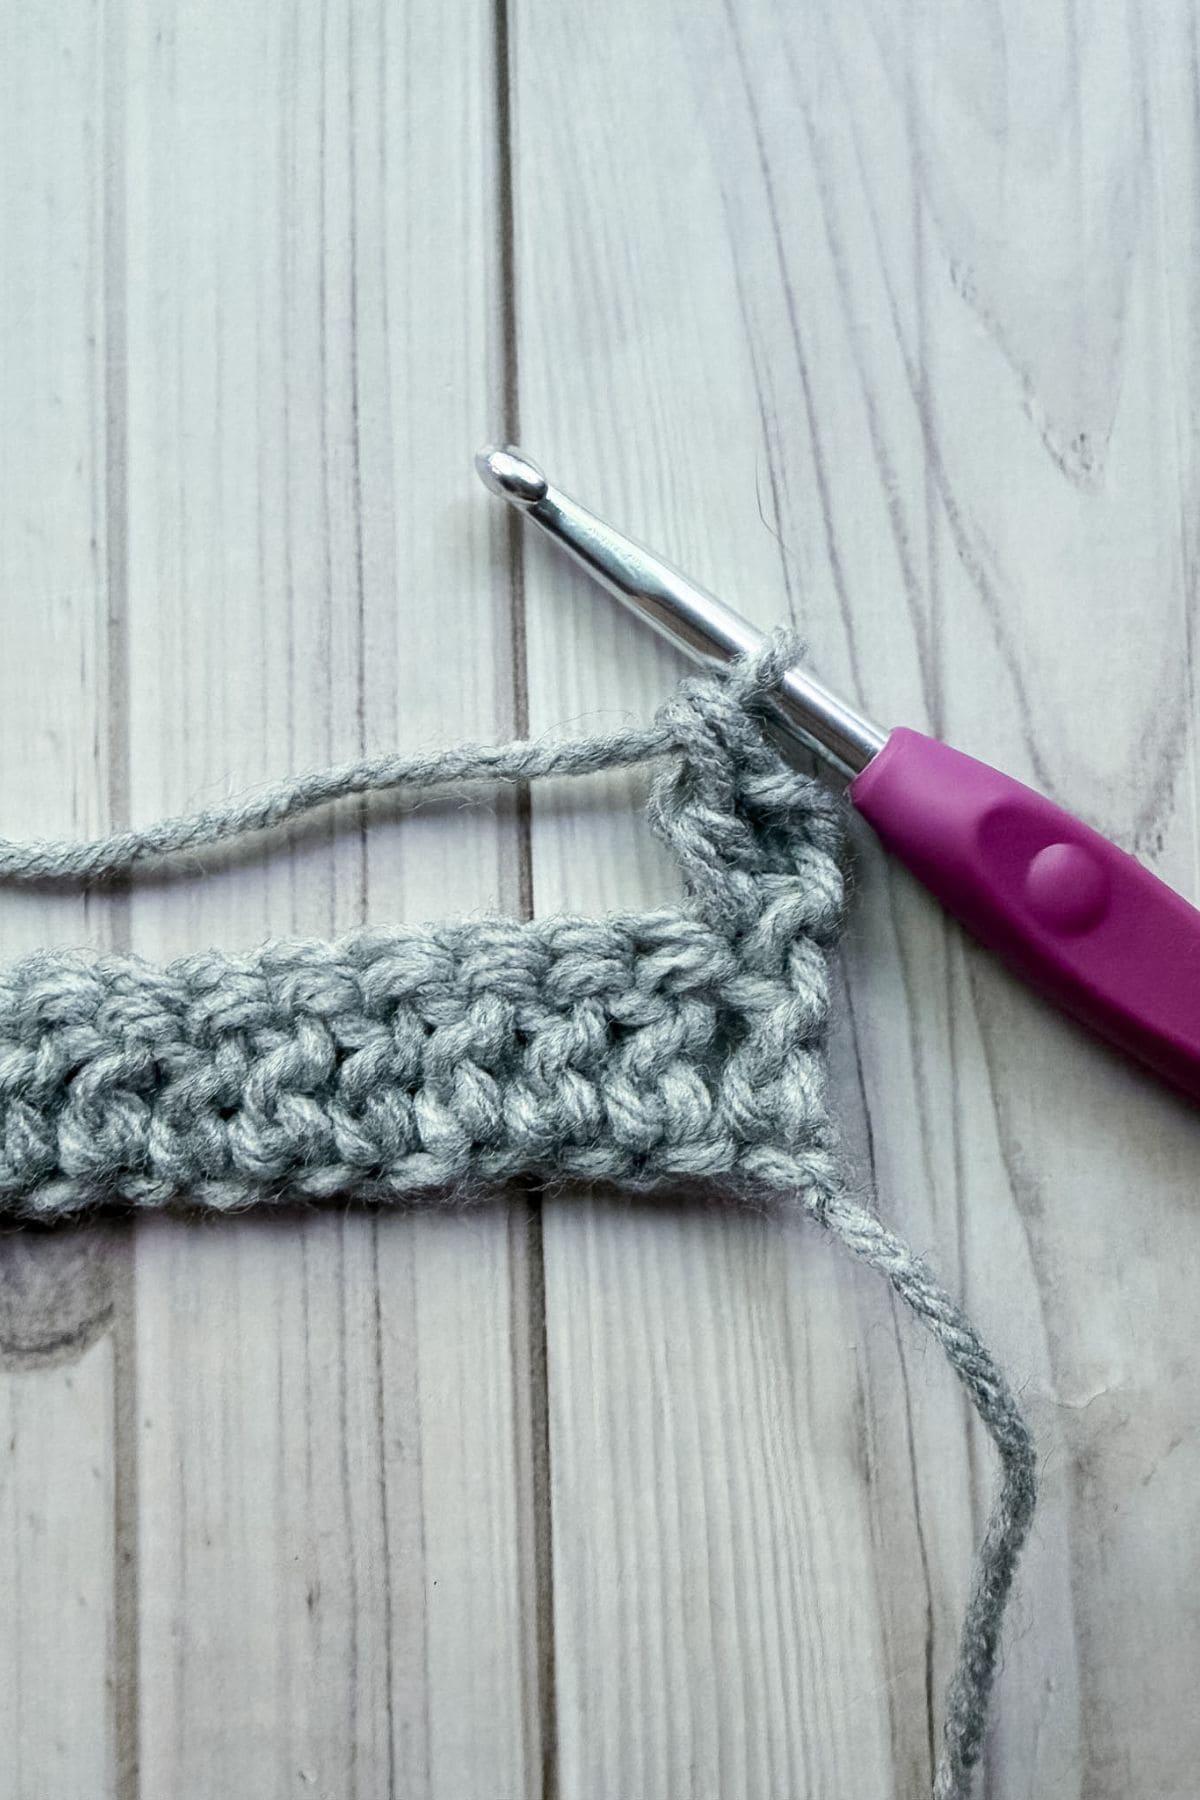
Row 2: This is the right side of the scarf.
Dc in the next stitch.
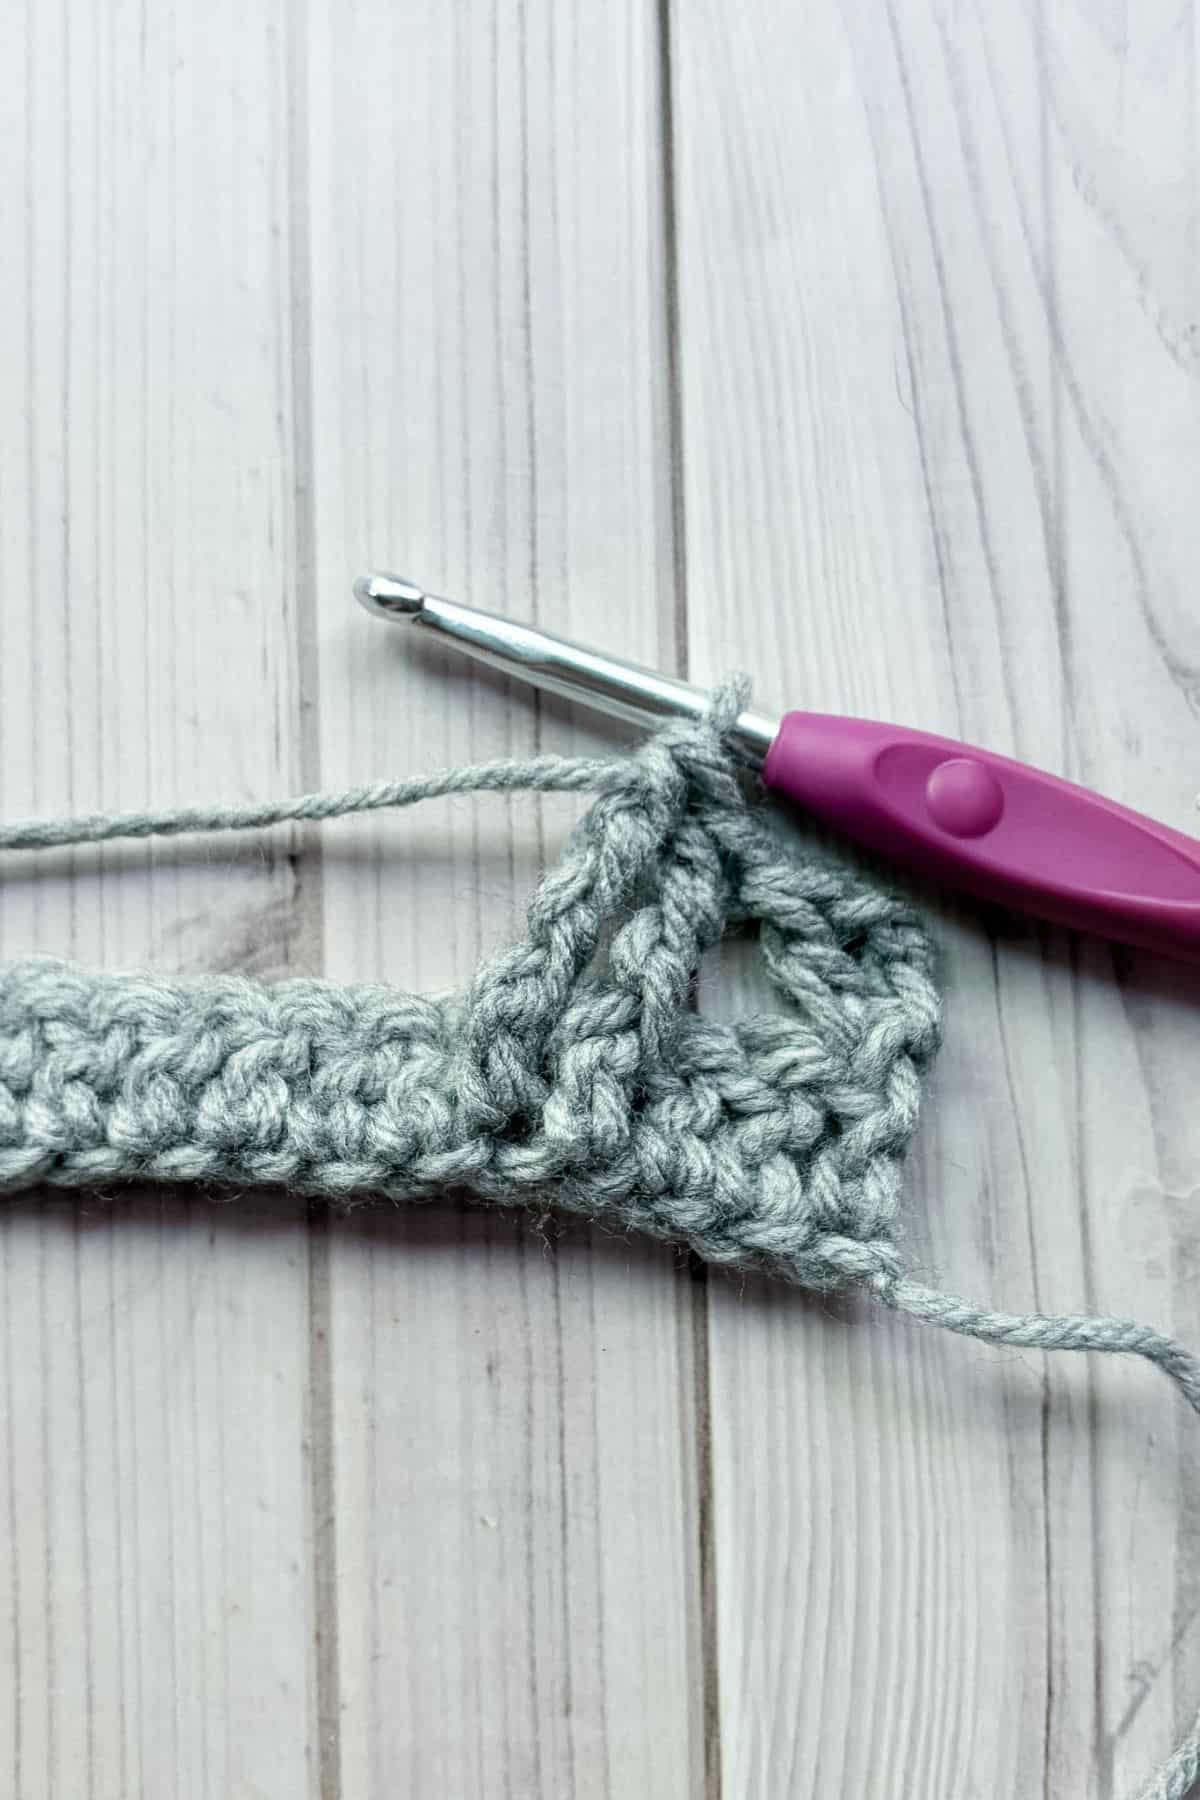
* Skip 2 stitches, then fptr into the next 2 stitches.
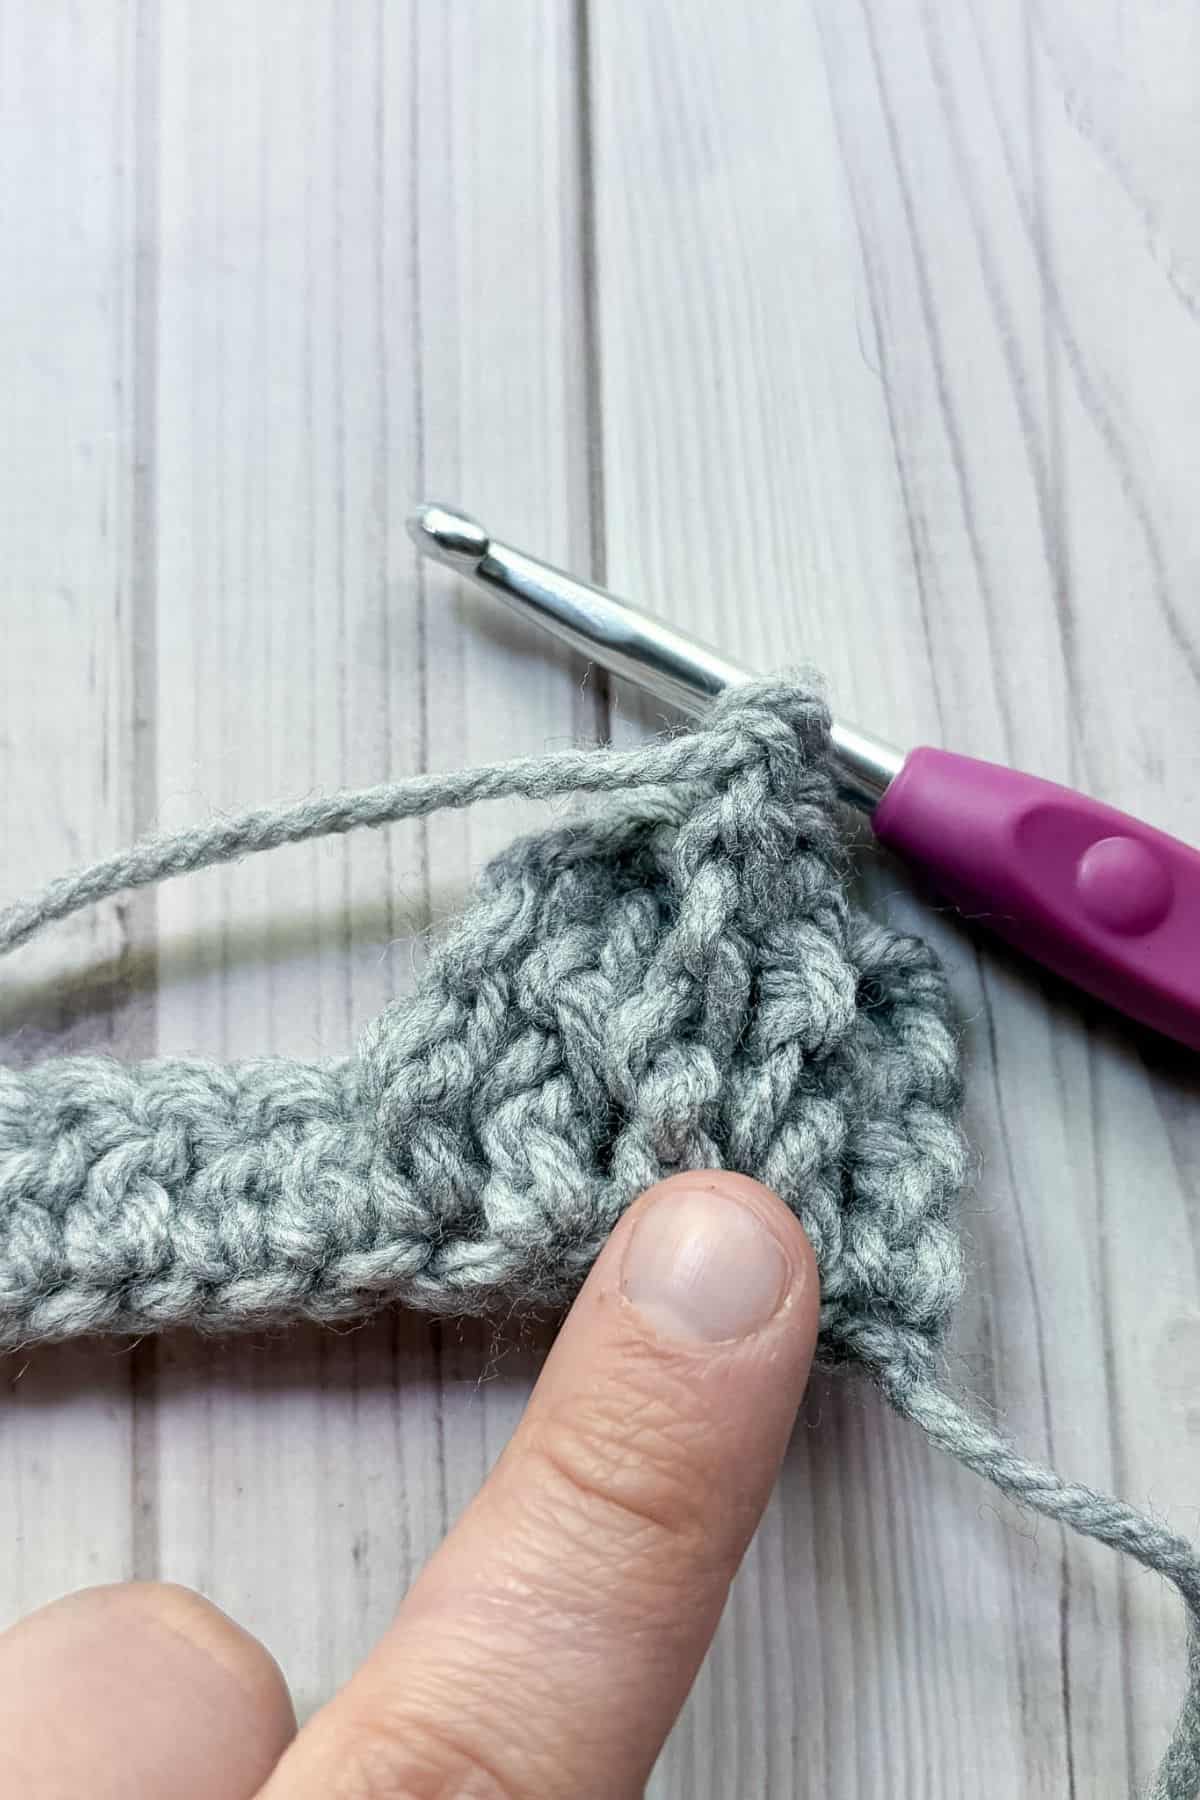
Fptr into the FIRST skipped stitch, then fptr into the NEXT skipped stitch.
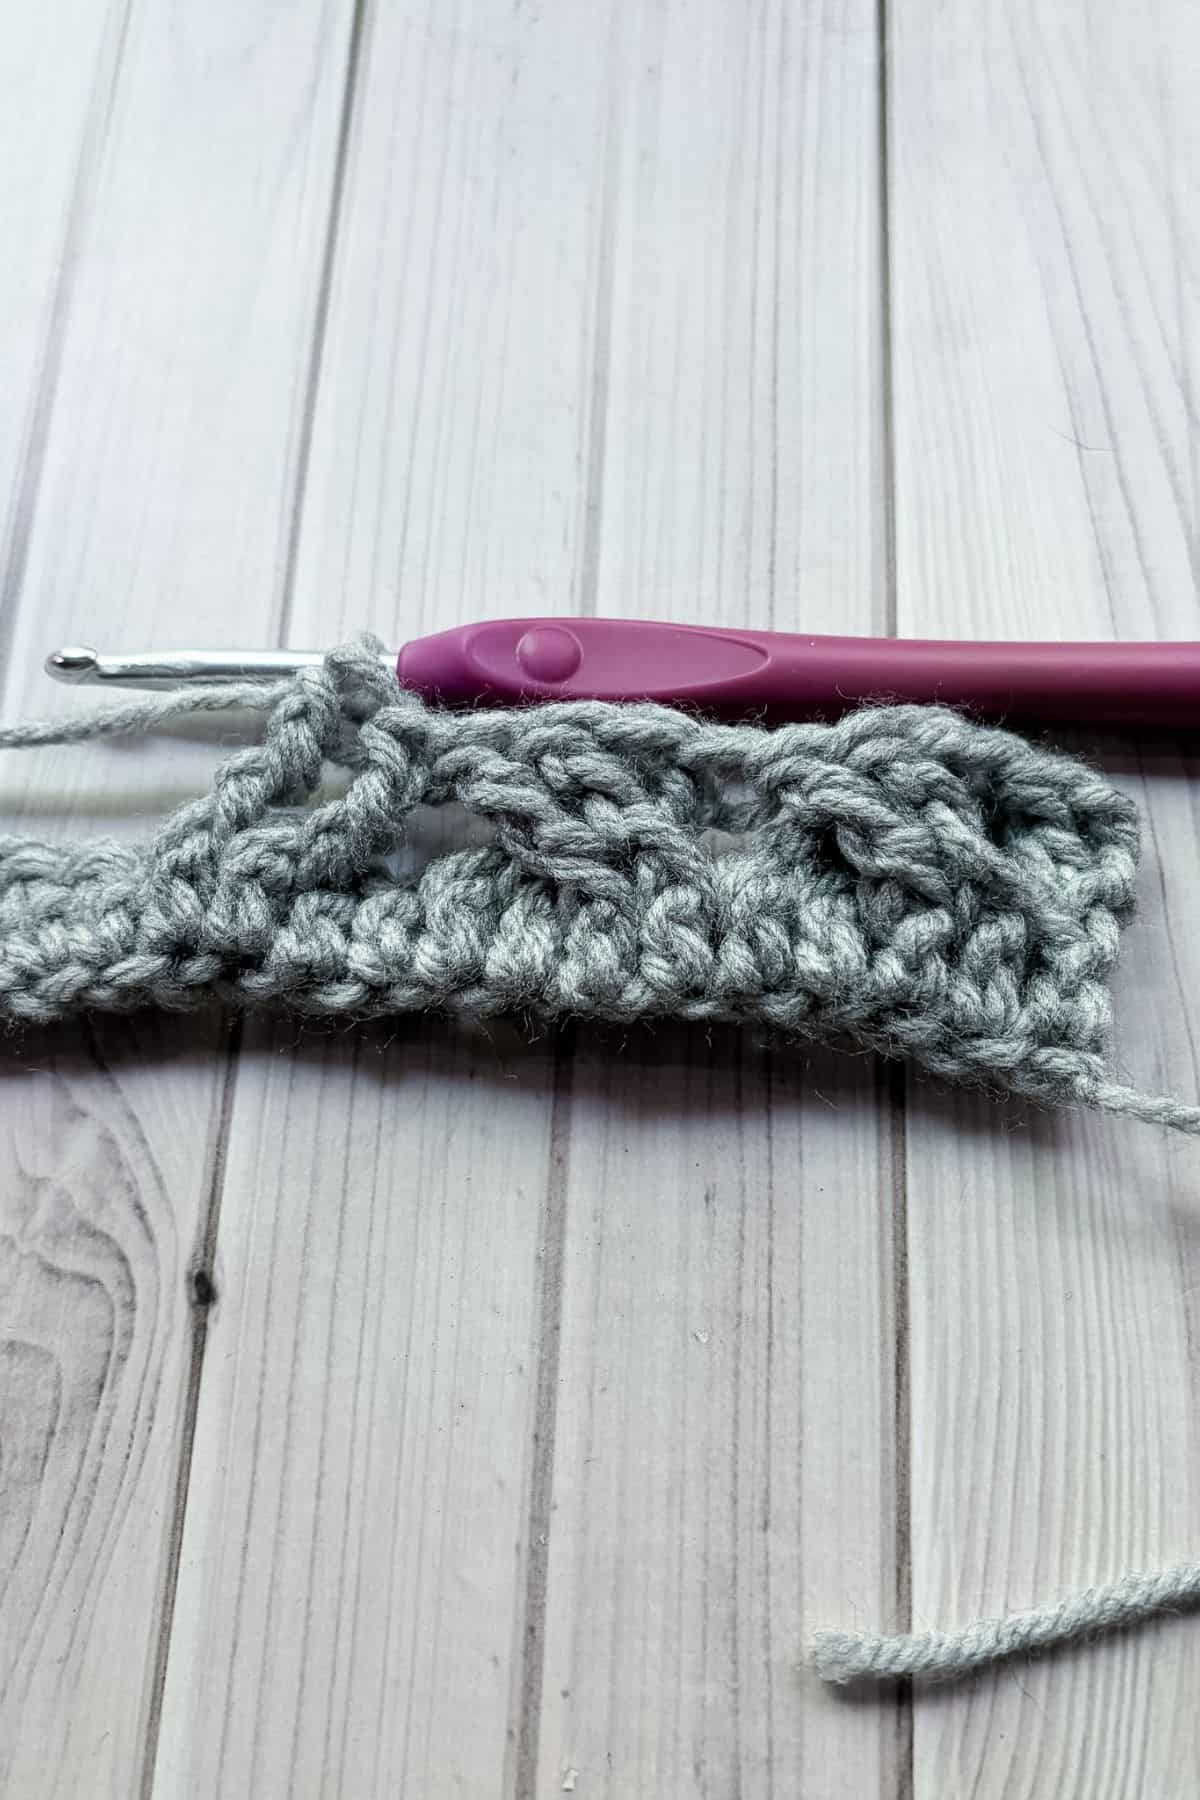
Repeat from * until you have 1 stitch left.
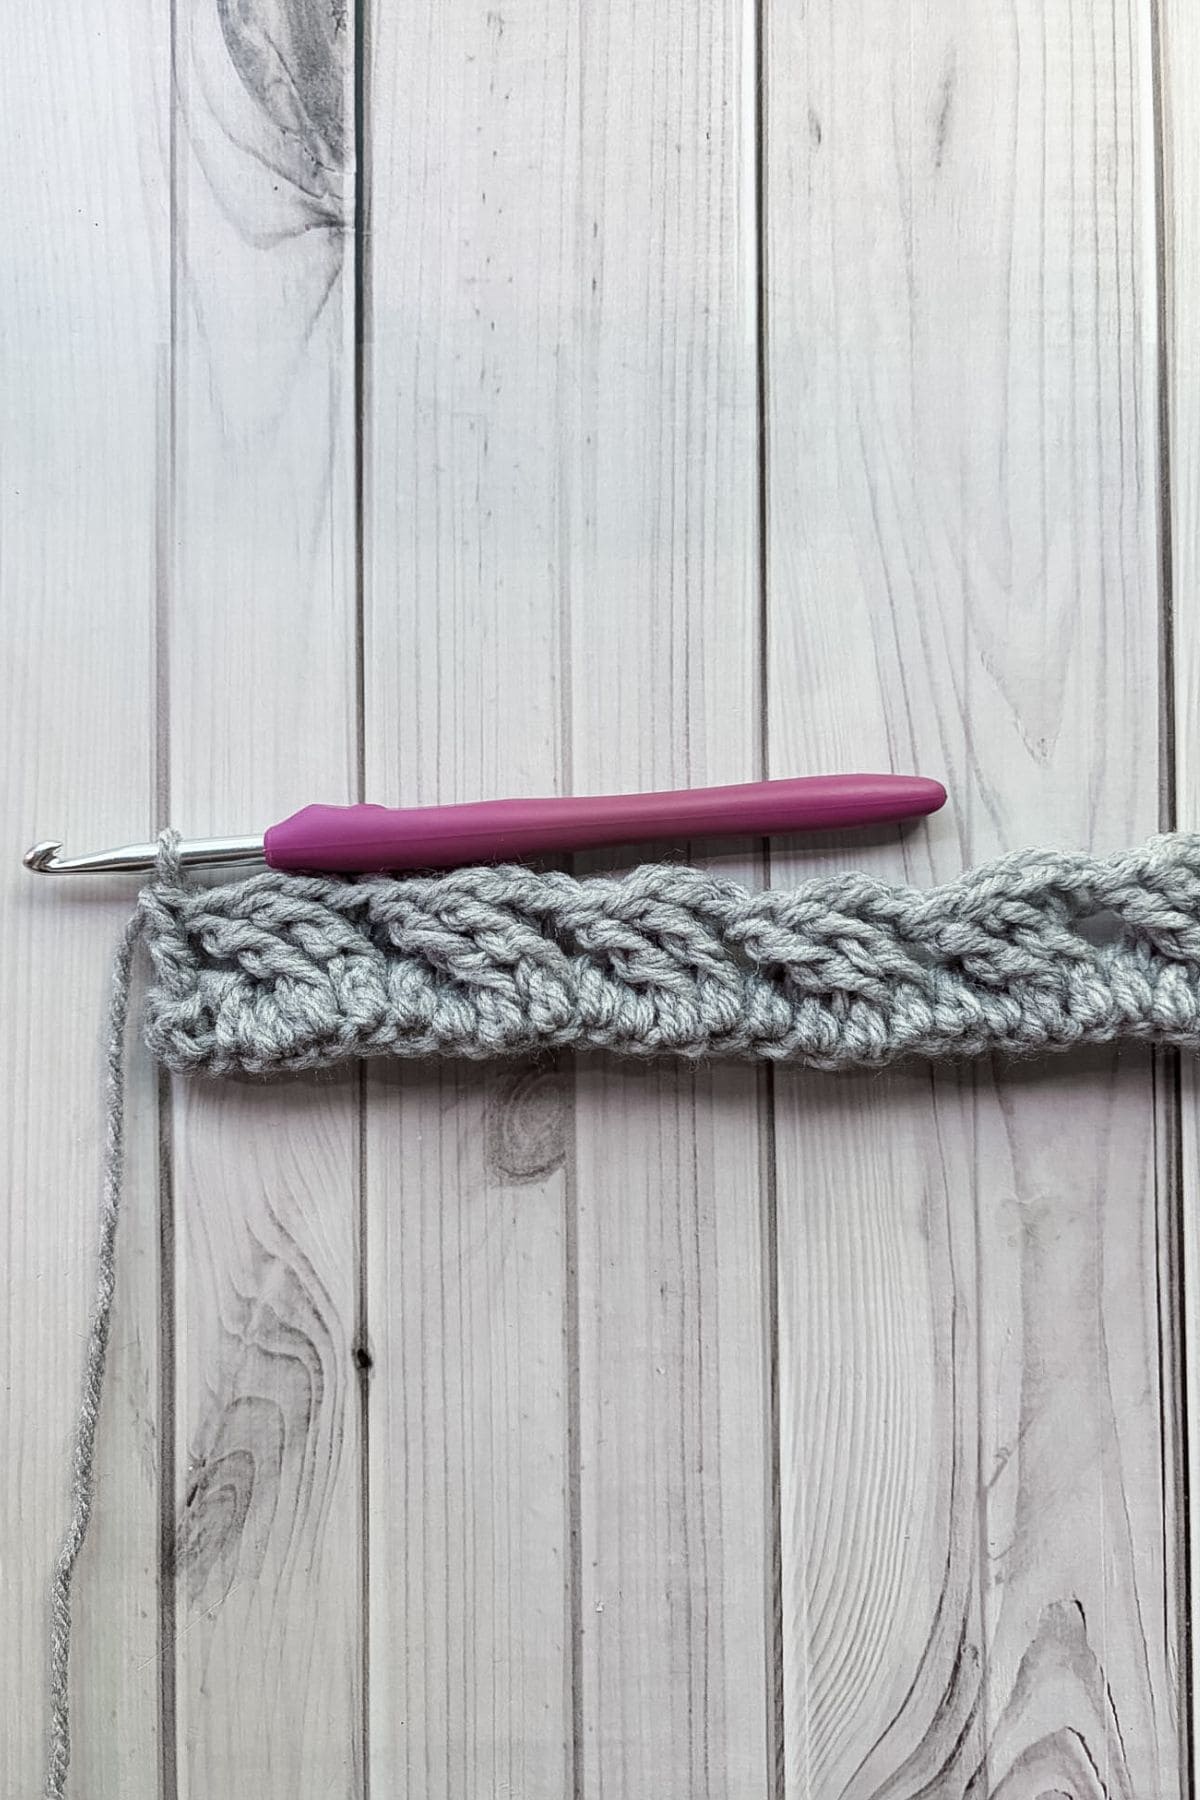
Dc in the last stitch (26). Then ch x2 and turn.
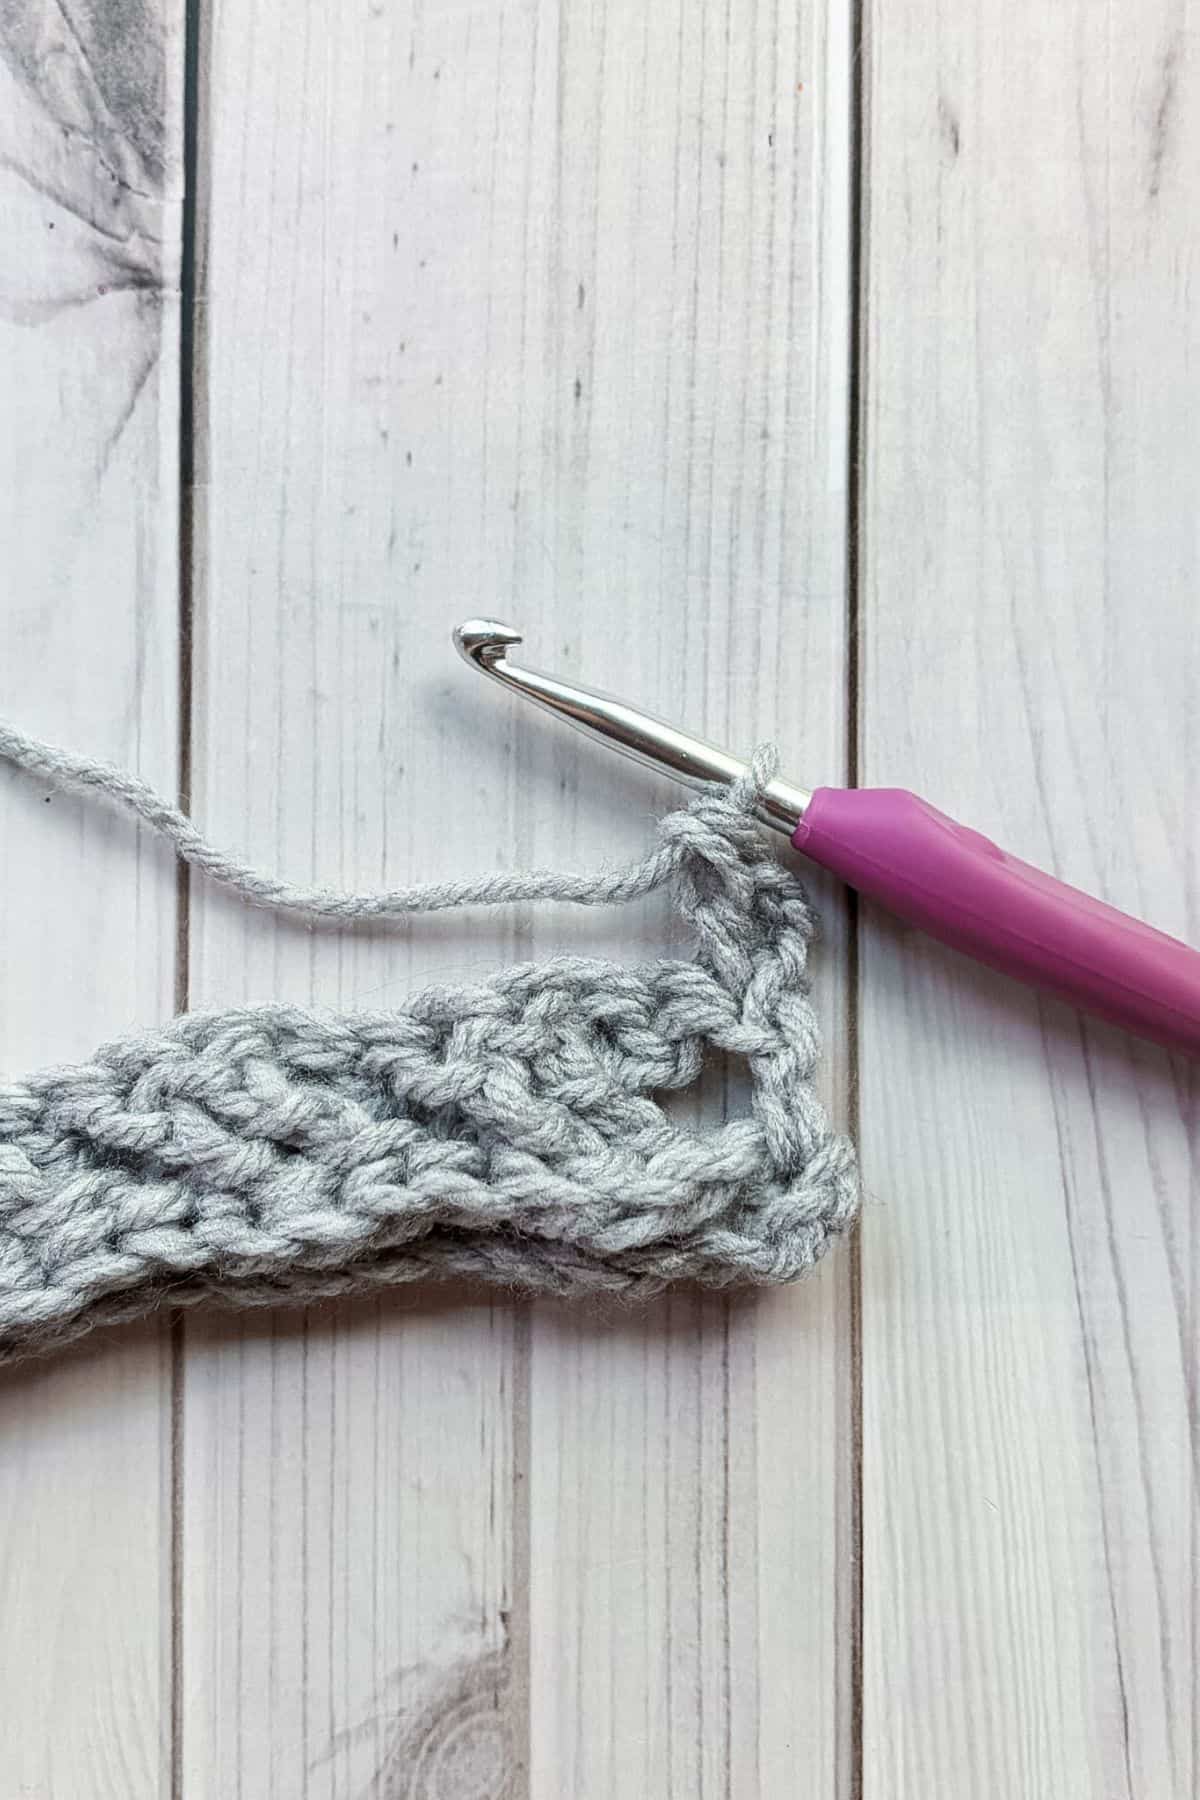
Row 3: This is the wrong side of the scarf.
Dc in the next stitch.
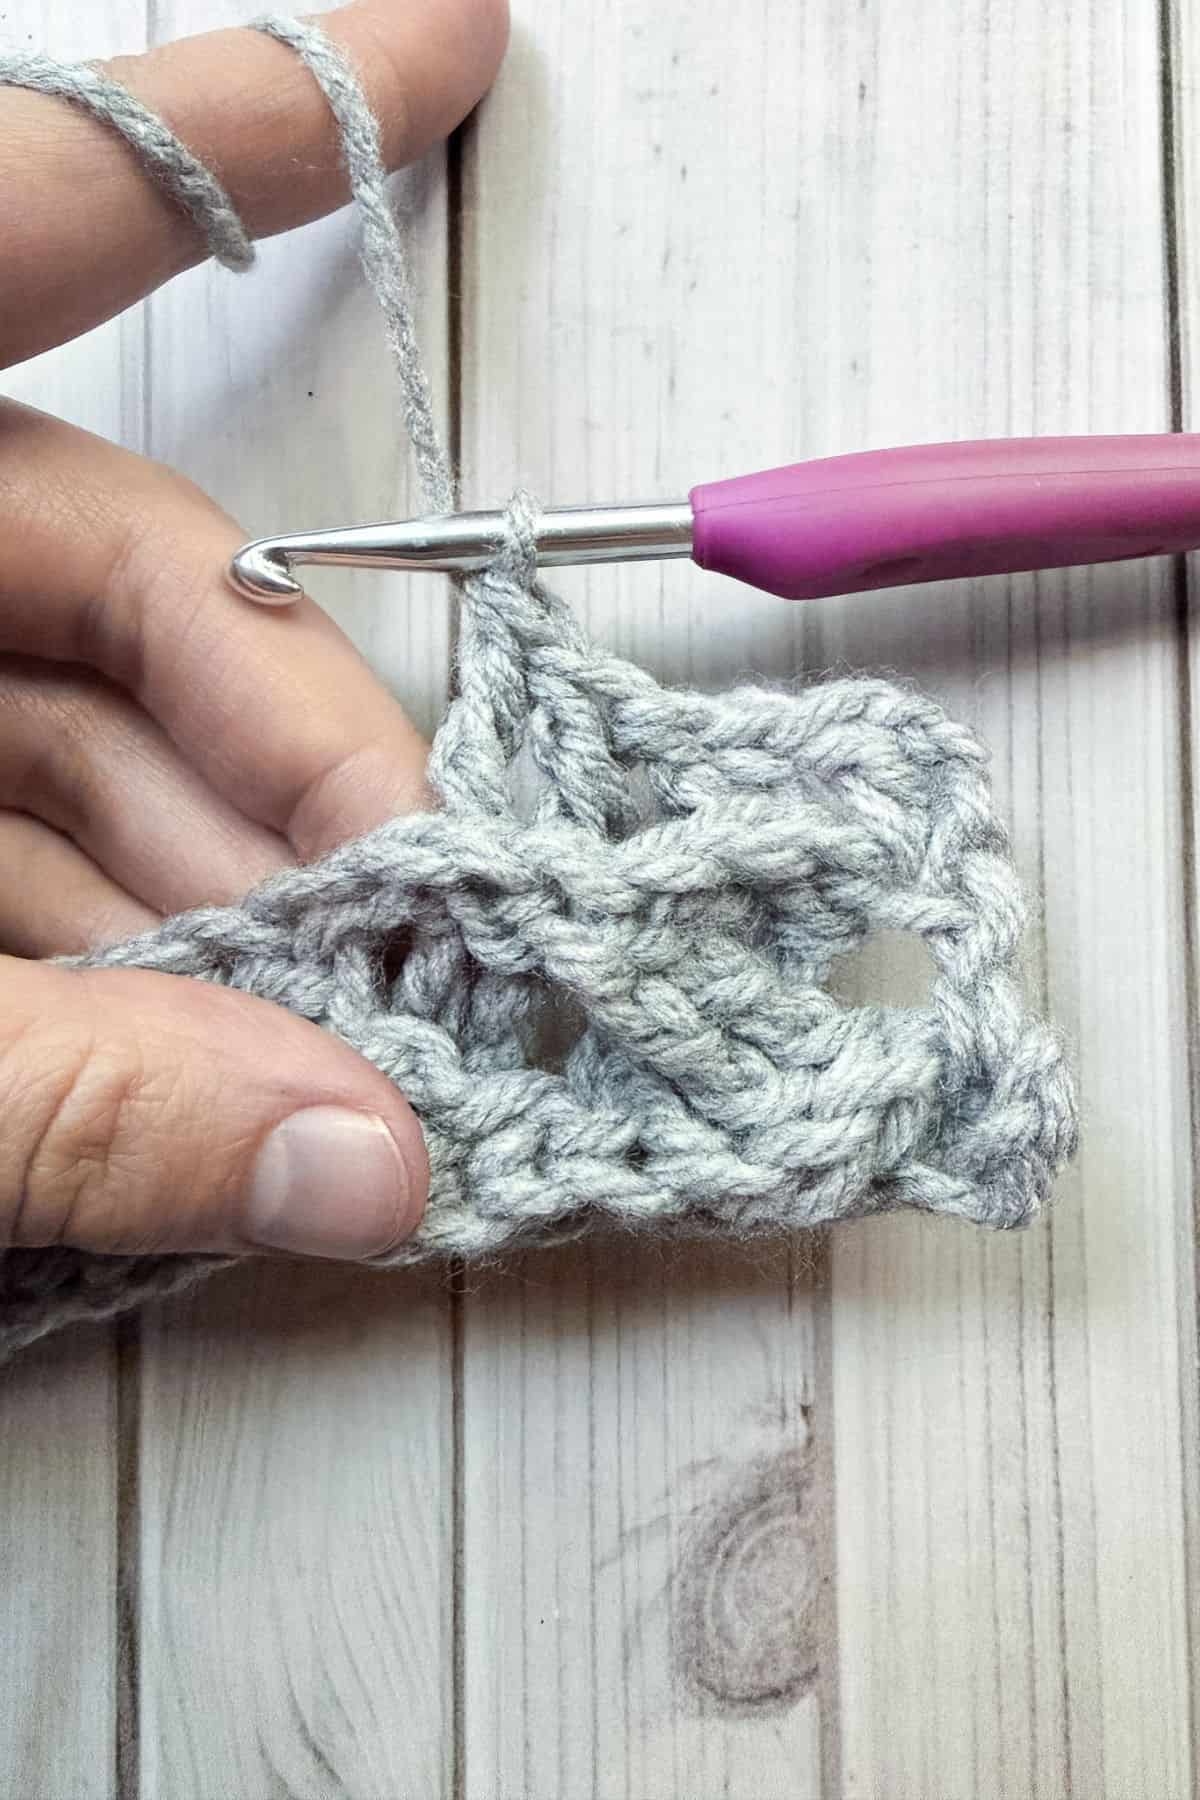
Bpdc in the next 2 stitches. Then * Skip 2 stitches, then bptr into the next 2 stitches.
Bptr into the FIRST skipped stitch, then Bptr into the NEXT skipped stitch (this can be tricky).
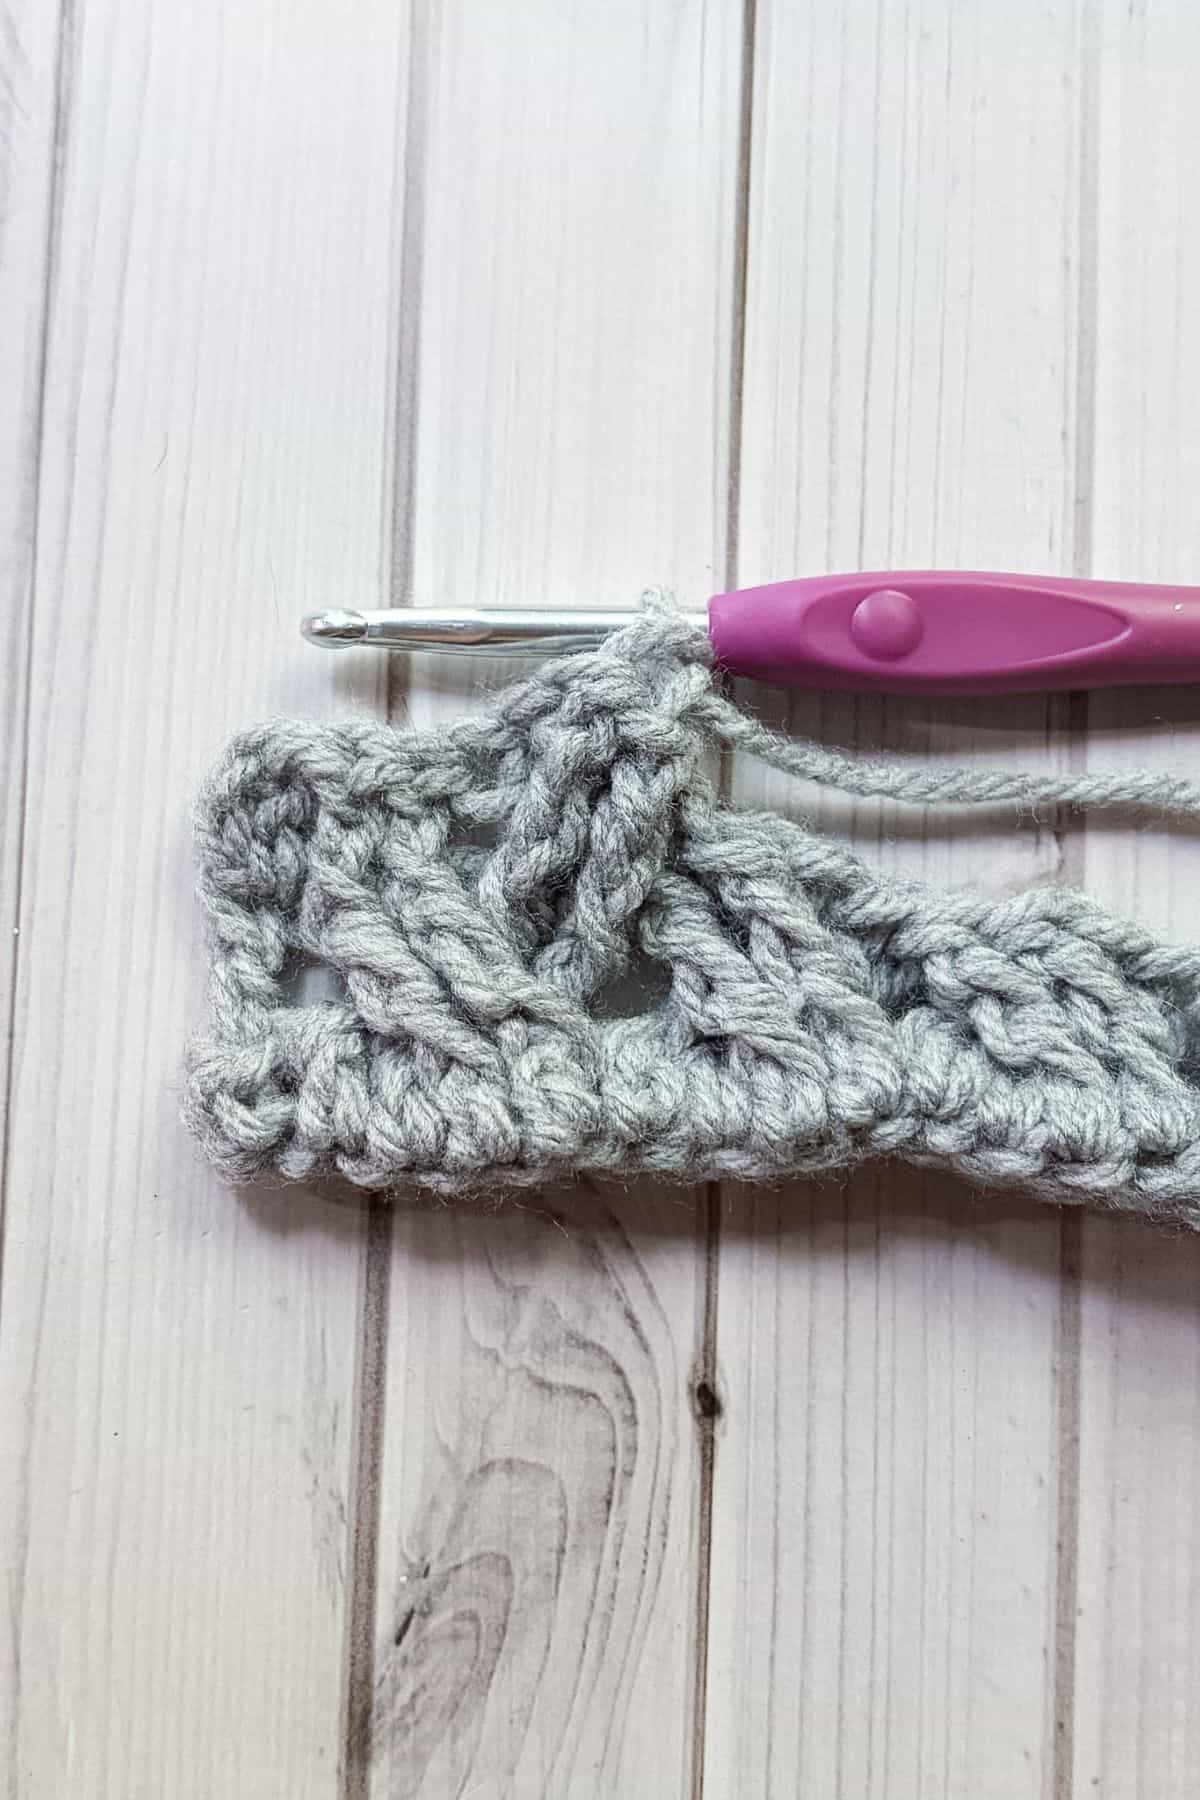
This is what it should look like from the "right" side of the scarf after completing the first 5 stitches in the row.
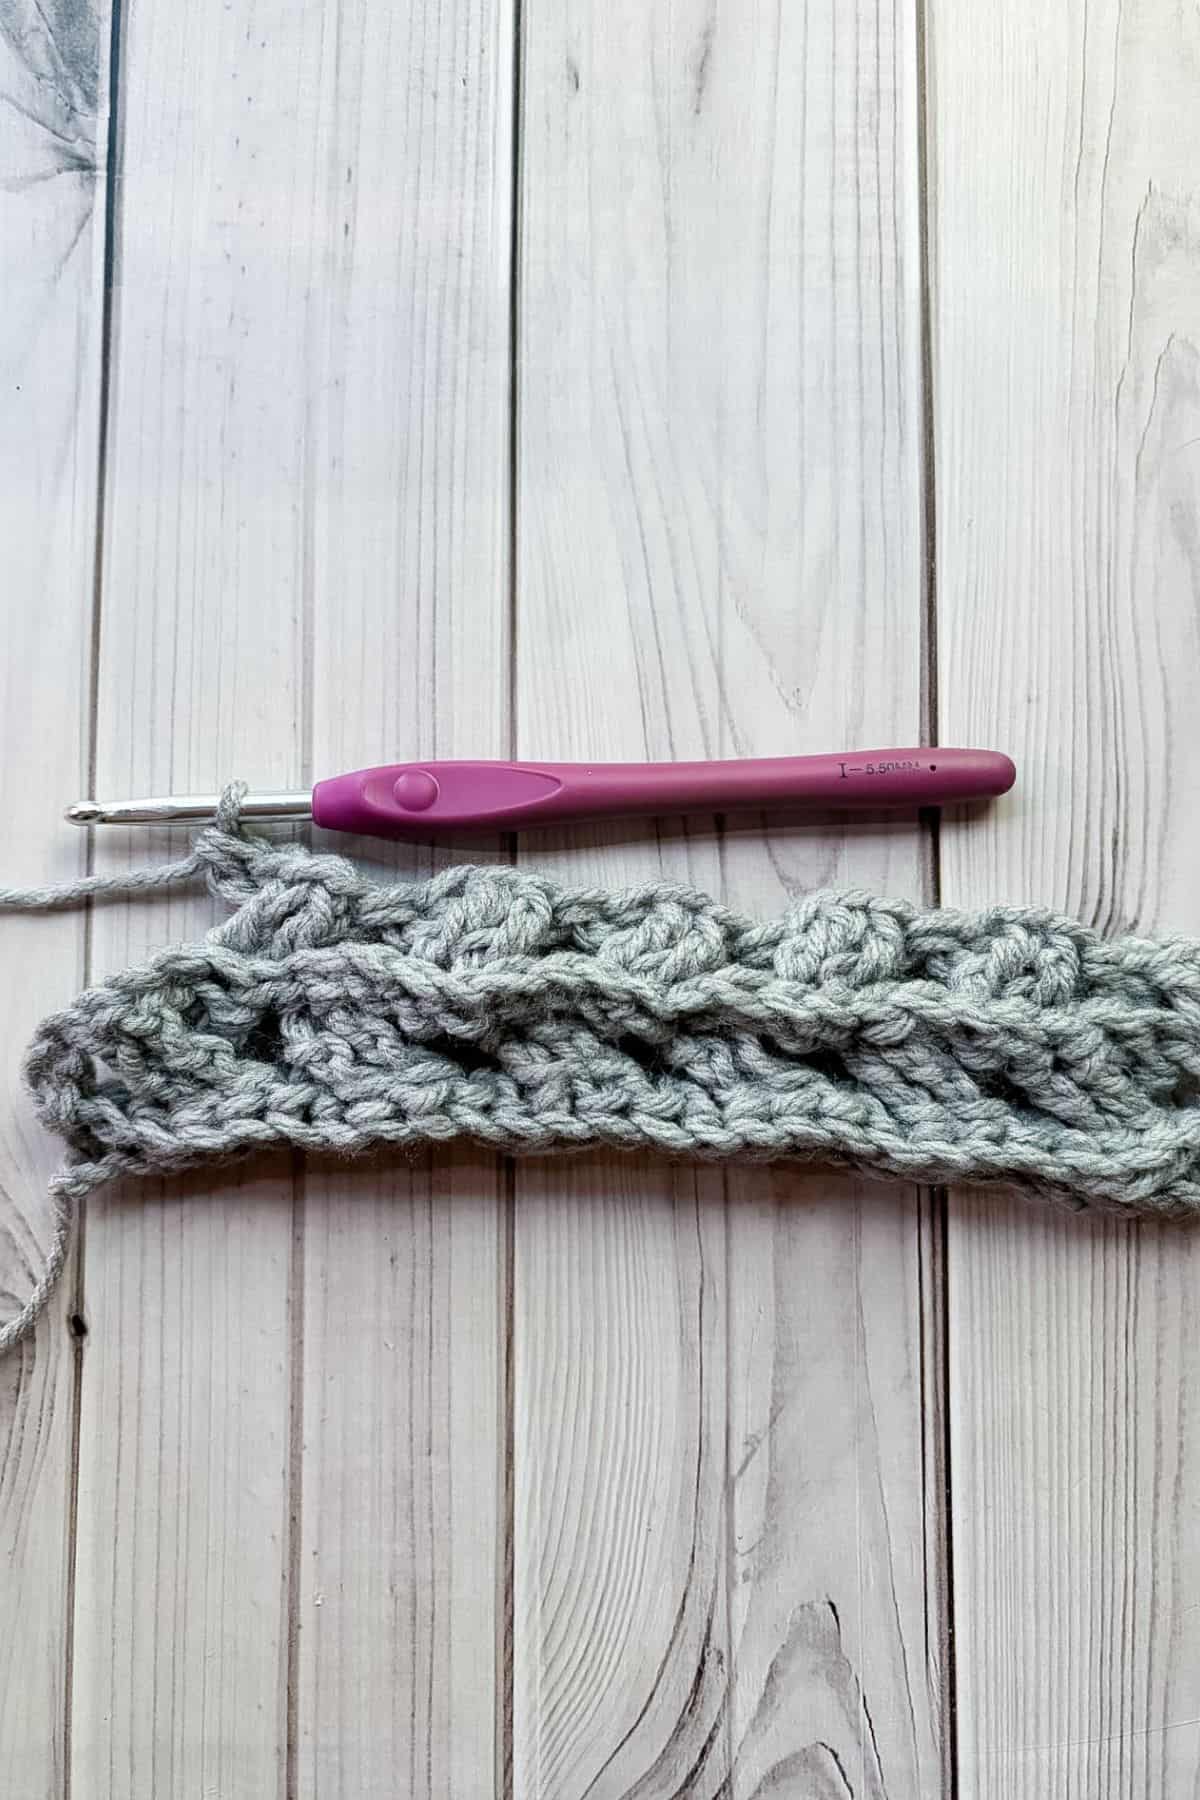
Repeat from * until you have 3 stitches left.
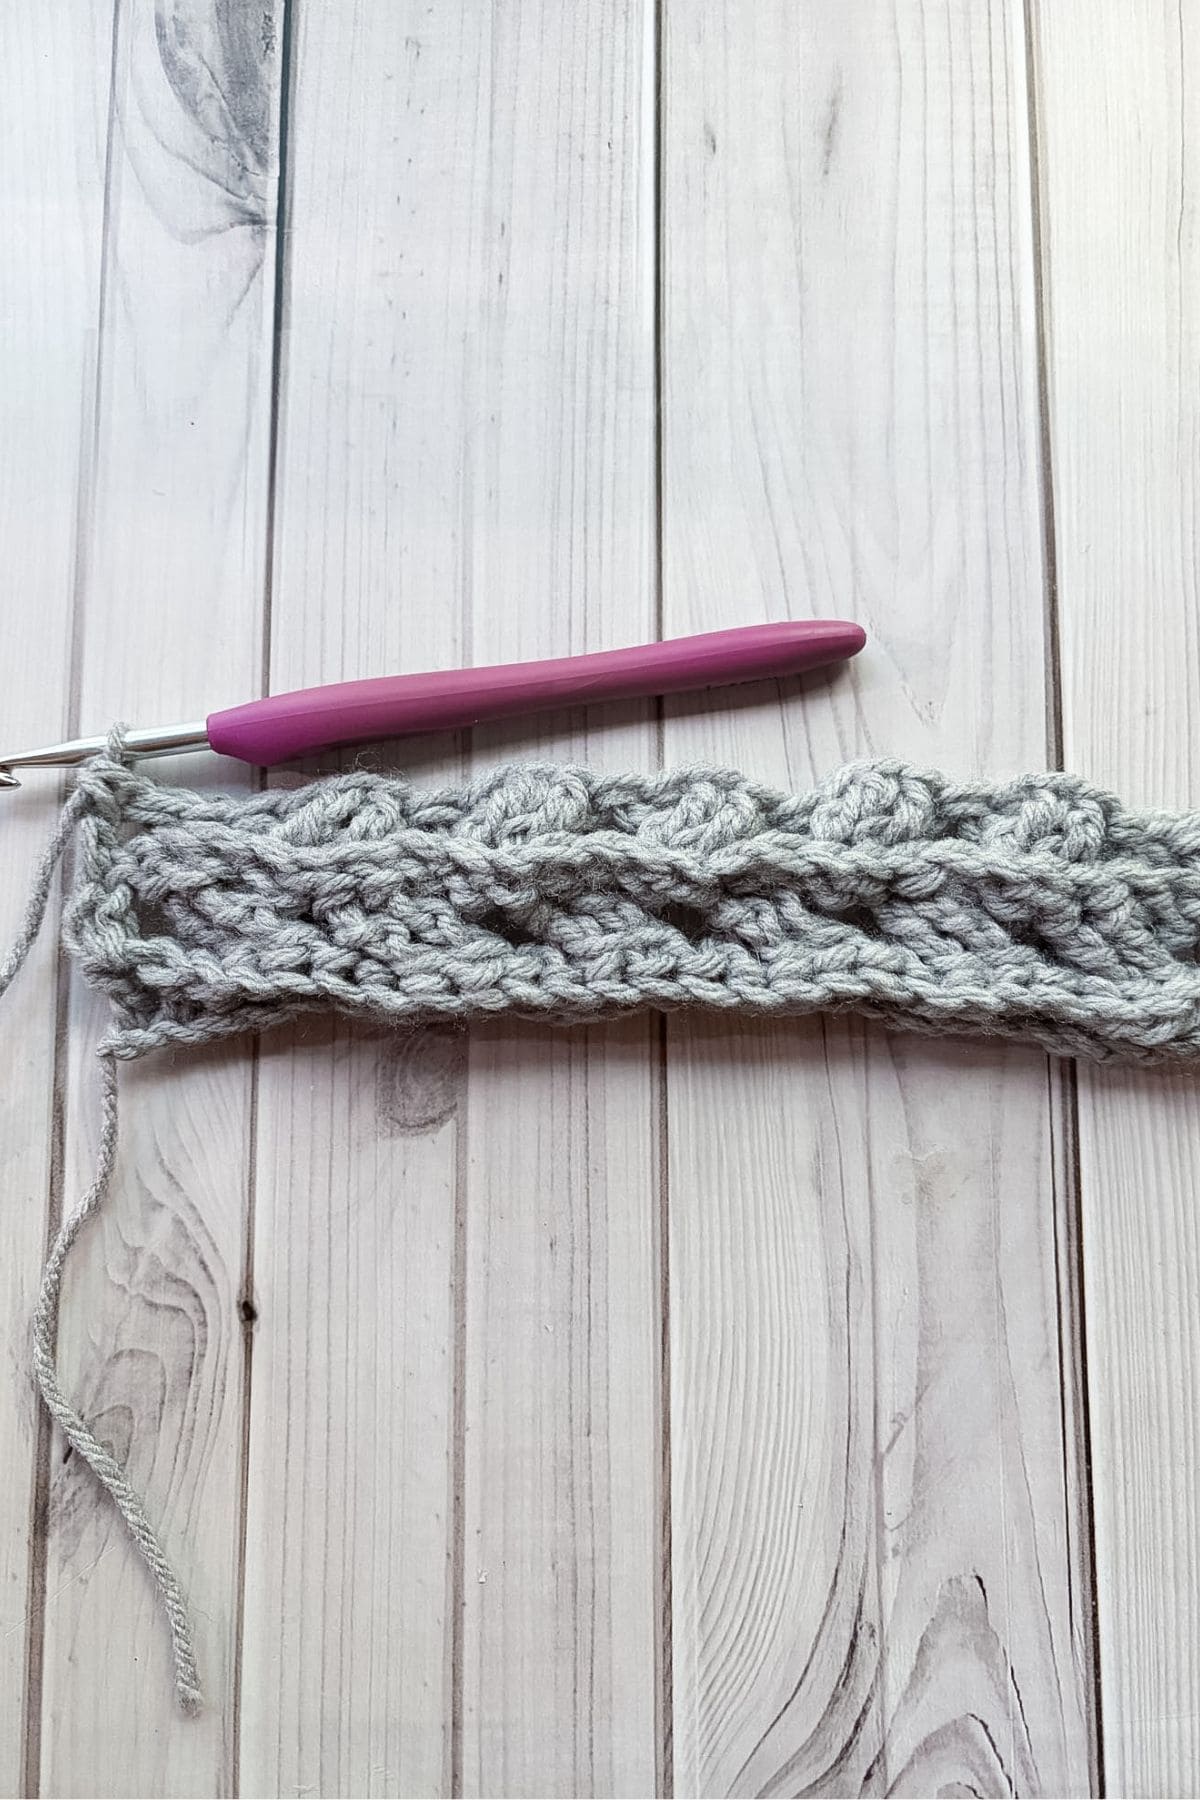
Bpdc in the next 2 stitches and then a dc stitch in the last available stitch in the row.
Then ch x2 and turn.
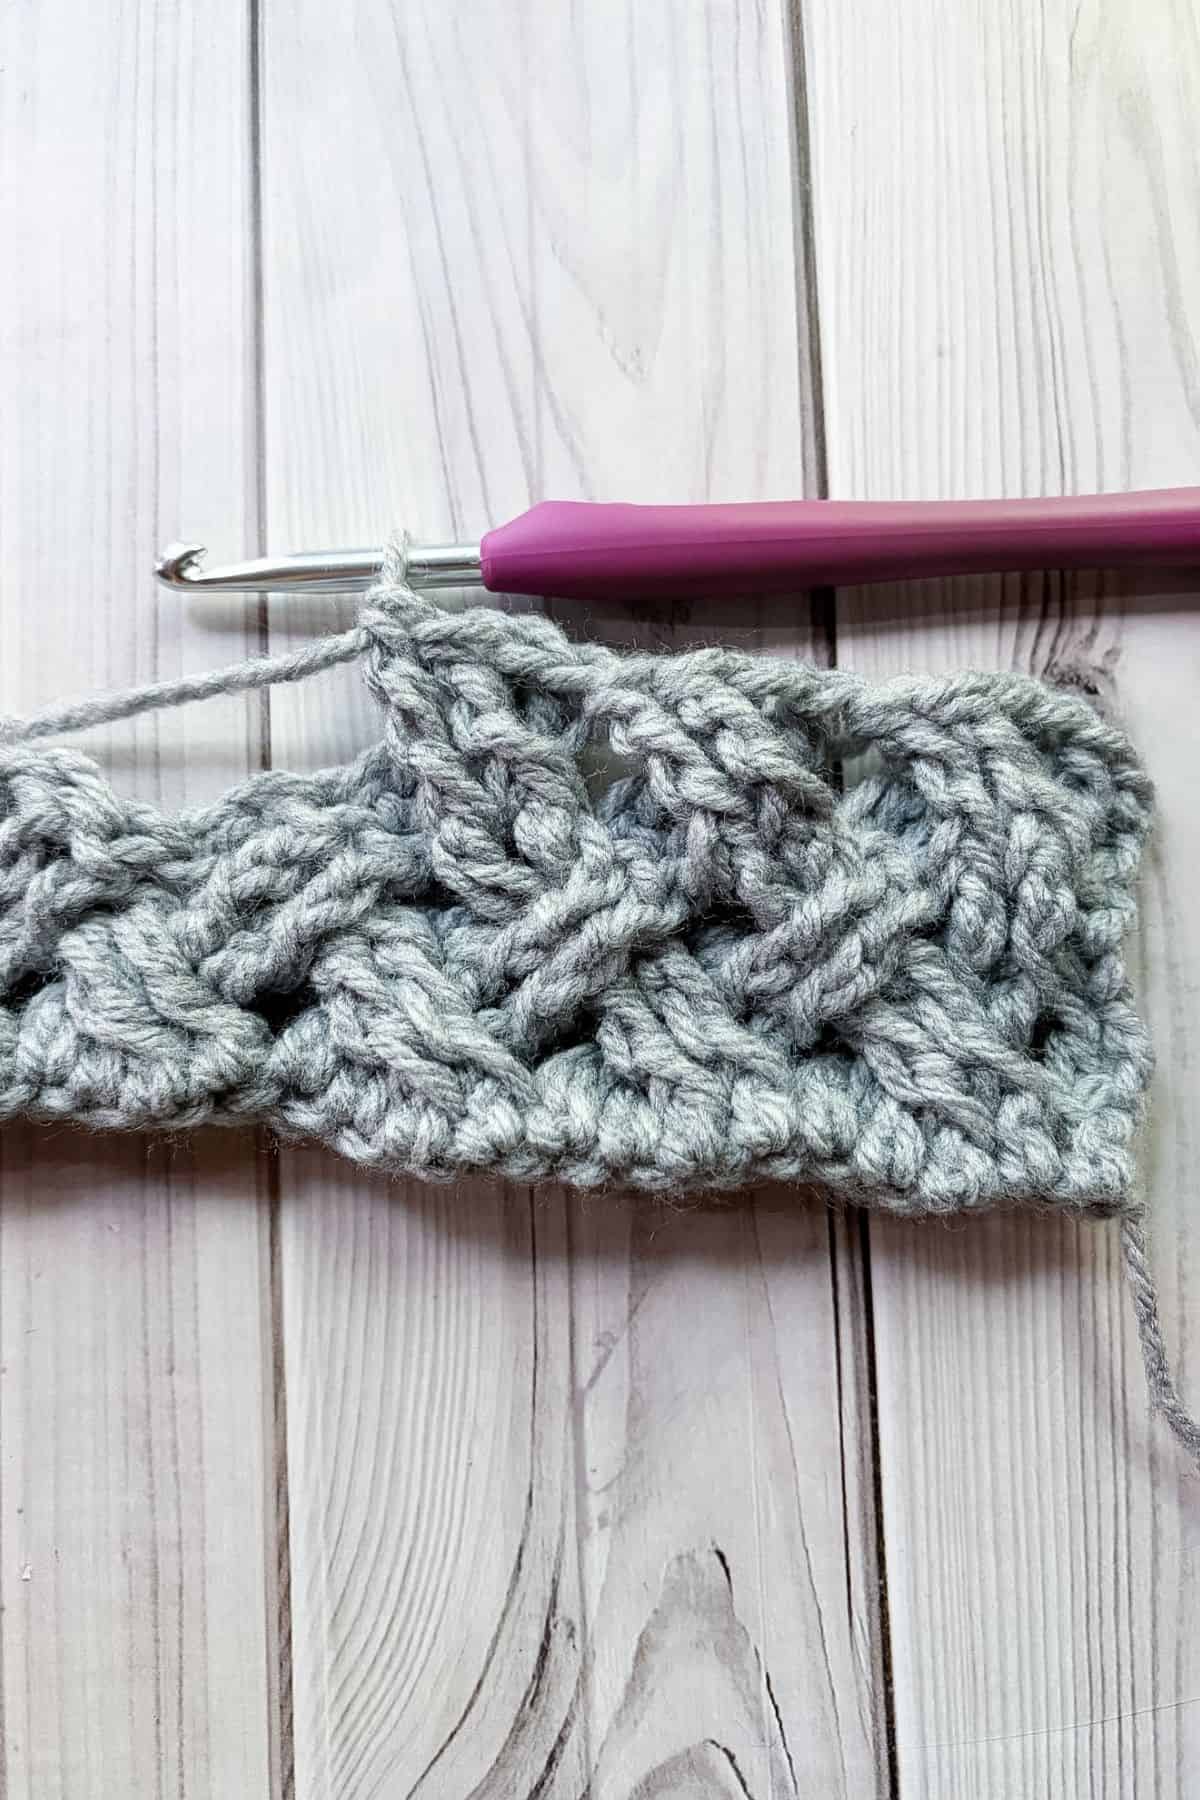
Repeat row 2 and 3 for the rest of scarf length.
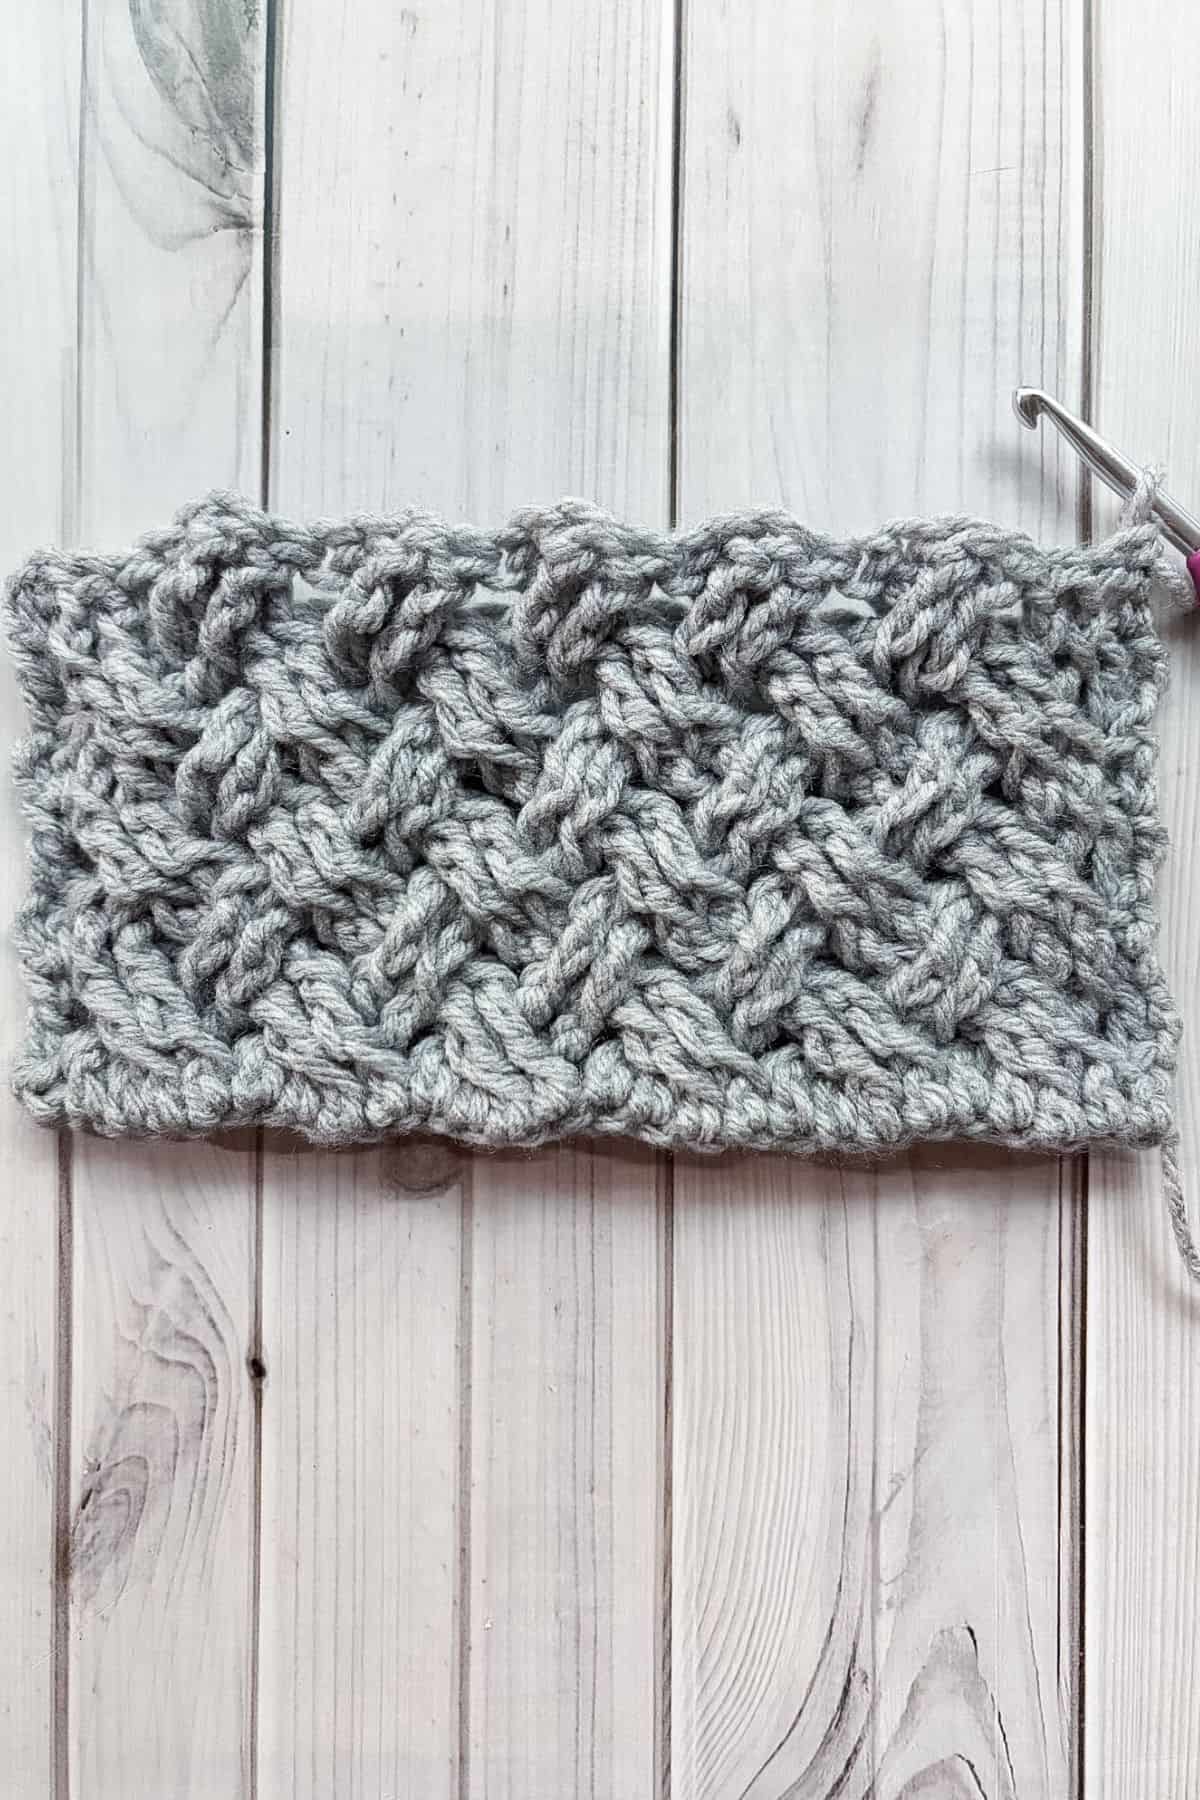
This is what it looks like after 7 total rows.
After making your desired scarf length, make 1 last row of hdc into every stitch (26). Fasten off and weave in the ends.
Adding Fringe:
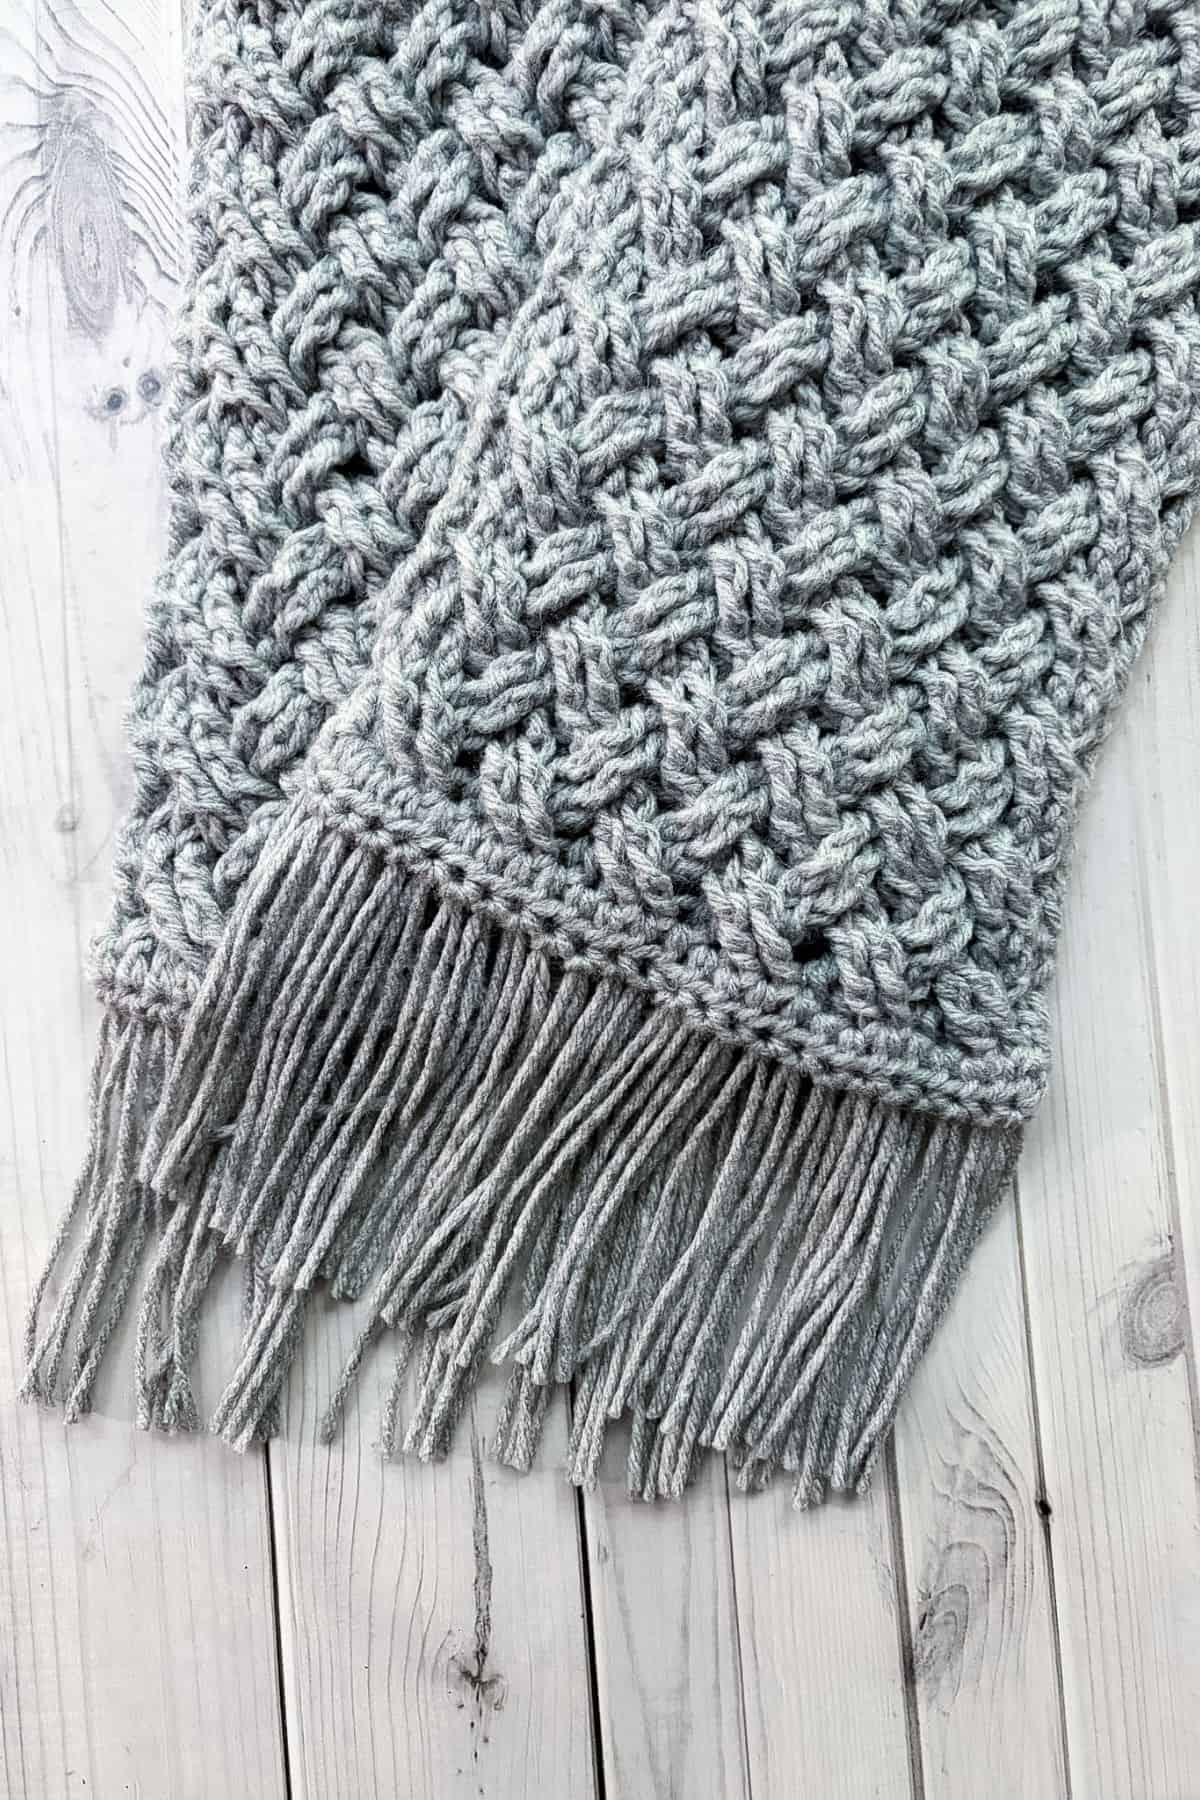
For the fringe cut 52 12-inch pieces of yarn.
*Grab 1 piece of yarn, then pinch the strands of yarn at the middle and make a loop, insert a hook into the short side of the scarf and pull the yarn through the bottom stitch.
Then using your fingers take the ends of the fringe and loop them through the hole you made and pull tight.
Repeat from * for both short sides of the scarf. After all the fringe is attached, trim the bottom so the yarn is lined up.
If you need a more in-depth tutorial for the fringe, check out my crochet heart scarf pattern and scroll down to the bottom of the pattern. It has a few photos to explain the process, just keep in mind that scarf uses 2 yarns for each fringe, not 1.
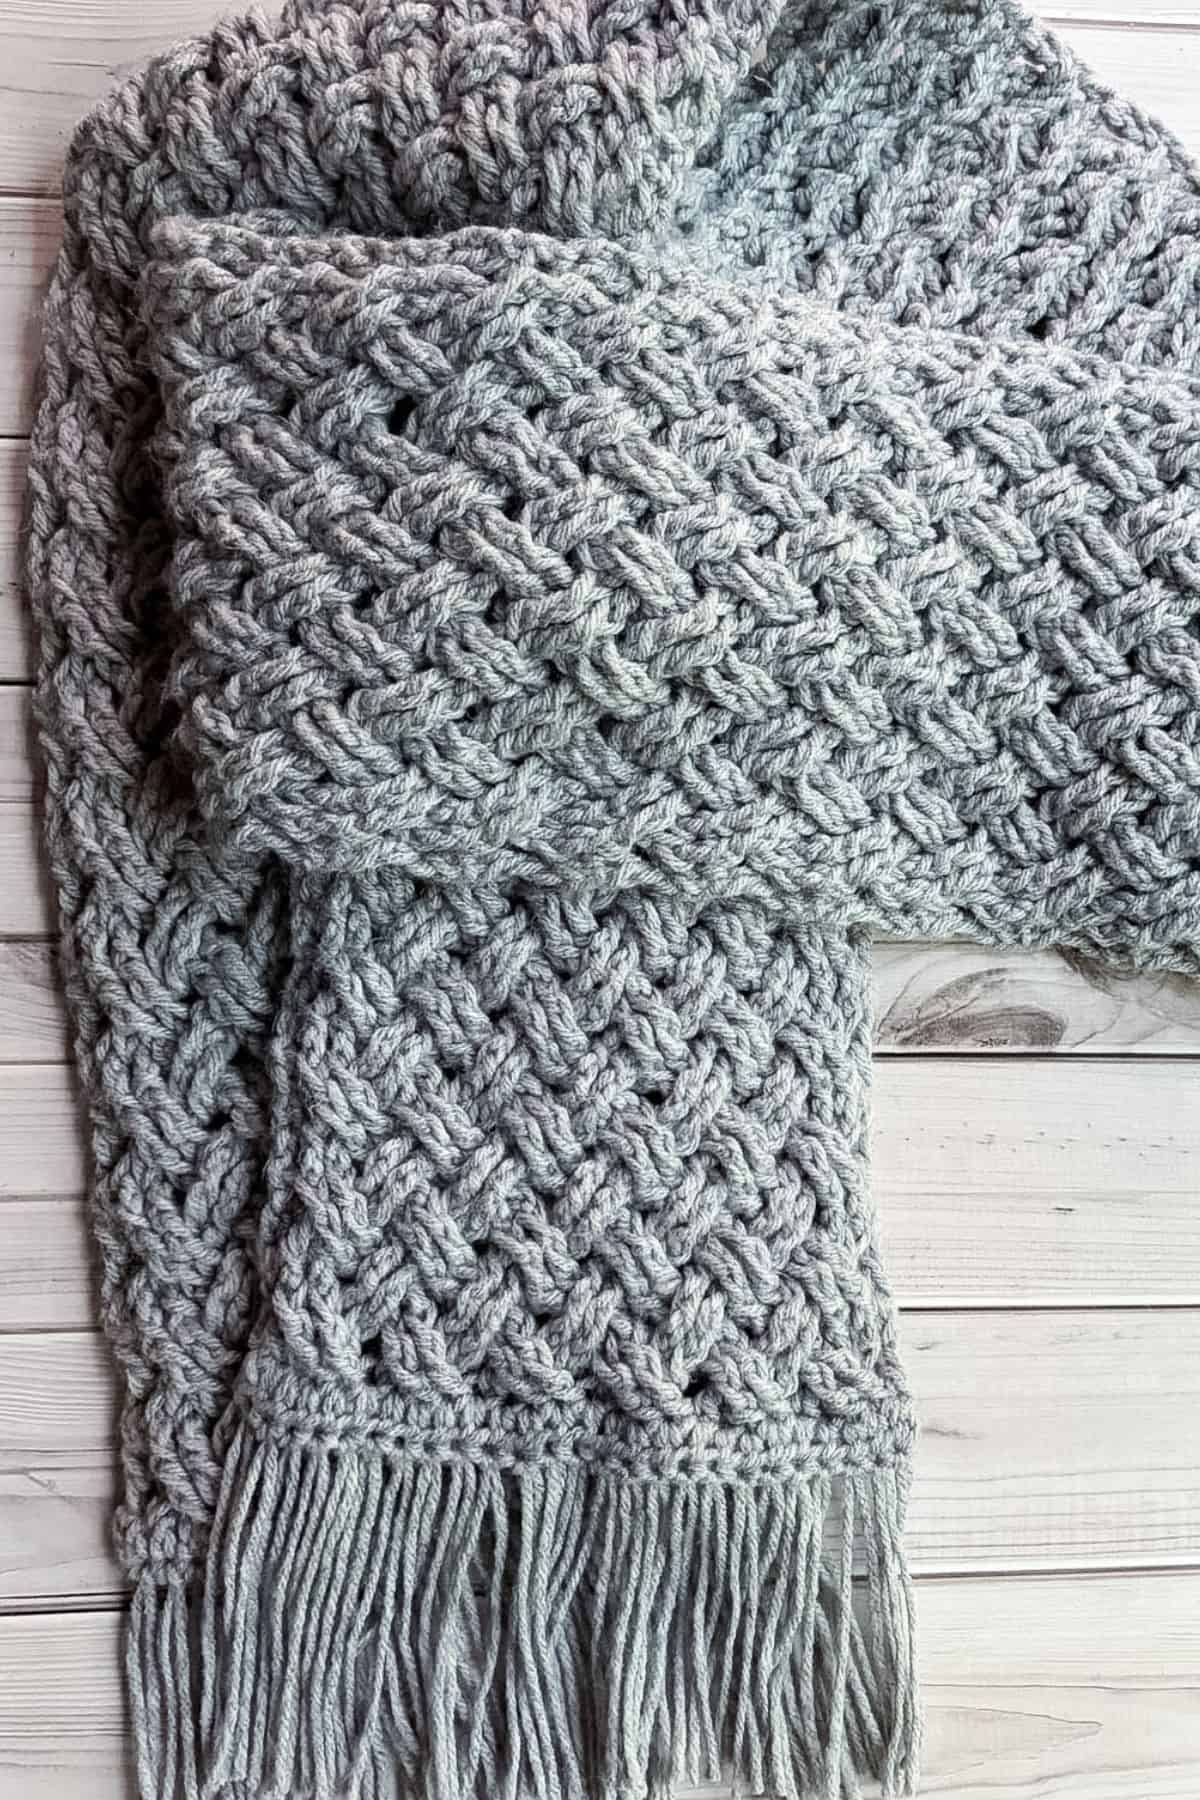
Once you are done with the fringe your Celtic weave scarf made from my masculine crochet scarf pattern is done! I hope you enjoyed this pattern inspired by my husband 🙂
A few patterns I also designed with my husband as my inspiration are my crochet football pattern because my husband loves football! My crochet checkered beanie because my husband wanted something that was lowkey cosplay for an anime he likes watching, and the crochet rose granny square because my husband wants me to make him a cardigan inspired by a cardigan worn by one of his favorite musicians.
🐌Expert Tips
- Check as You Go: It is easy to get some of the stitch placements confused in the first few rows of the scarf until you get used to the pattern. Always check the "right" side of the scarf and see if it looks correct.
- Good Lighting: Ensure you have good lighting, especially when working with dark yarn colors like black, to minimize mistakes. A lot more "manly" or "masculine" scarves are created in dark and neutral colors. Good lighting can help you place your stitches in the correct spot.
- Tension: Try and keep your tension the same throughout the crochet scarf pattern. Otherwise, you can create large holes in the scarf.
🧵Pattern FAQs
The name came after the pattern. I made the scarf with my husband in mind, and many people complimented it on being very handsome and masculine, so the name stuck.
Sometimes, especially if I’m working on something complex, but I ensure I have good lighting. I made sure to make this tutorial in a soft grey so you can see the photo tutorial better. I suggest not trying this pattern with dark yarn until you are comfortable with the celtic weave stitch.
Yes! Just make sure to adjust the chain length as needed and switch out the hook for an appropriate size for the yarn.
🧶More Crochet Scarf Patterns

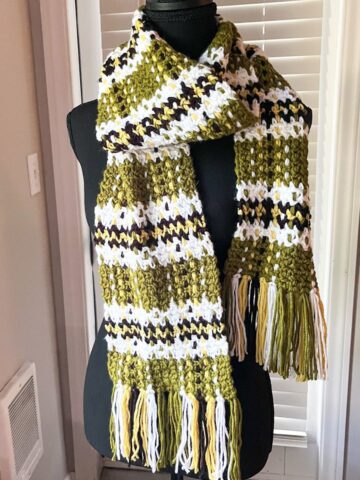
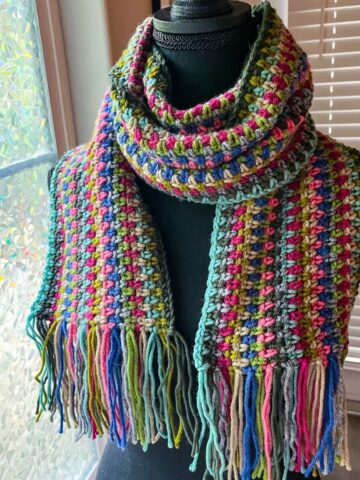
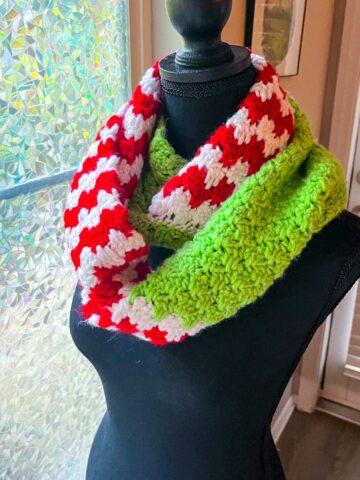
If you tried this Masculine Crochet Scarf Pattern (or any other pattern on my website), please let me know how it went in the 📝 comments below. I'd love to hear from you!
Masculine Crochet Scarf Pattern
Materials
Abbreviations (US terms)
- Chains - ch
- Double crochet - dc
- Back post double crochet (bpdc)
- Back Post Triple Crochet - Bptr
- Front Post Triple Crochet - Fptr
- Half double crochet - hdc
Notes
- Stitch Creation: The Celtic weave stitch is created using a mixture of double crochets and triple crochets in front post and back post.
- Skill Level: The masculine crochet scarf pattern is best for intermediate to advanced crocheters. The placement of stitches can be tricky, as well as making the back post and front post triple crochets.
- Finished Size: The finished size is roughly 8 inches wide and 5.5 feet long, make more or less rows to adjust the length of the scarf.
Instructions
We will be making this pattern in rows not rounds.
- Ch x28 (or any multiple of 4)
- Row 1: Starting in the 3rd ch from the hook, make a dc. Continue making dc stitches for the rest of the row (26).
- Ch x2 and turn.
- Row 2: This is the right side of the scarf.
- Dc in the next stitch.
- * Skip 2 stitches, then fptr into the next 2 stitches.
- Fptr into the FIRST skipped stitch, then fptr into the NEXT skipped stitch.
- Repeat from * until you have 1 stitch left.
- Dc in the last stitch (26). Then ch x2 and turn.
- Row 3: This is the wrong side of the scarf.
- Dc in the next stitch.
- Bpdc in the next 2 stitches. Then * Skip 2 stitches, then bptr into the next 2 stitches.
- Bptr into the FIRST skipped stitch, then Bptr into the NEXT skipped stitch (this can be tricky).
- This is what it should look like from the "right" side of the scarf after completing the first 5 stitches in the row.
- Repeat from * until you have 3 stitches left.
- Bpdc in the next 2 stitches and then a dc stitch in the last available stitch in the row.
- Then ch x2 and turn.
- Repeat row 2 and 3 for the rest of scarf length.
- This is what it looks like after 7 total rows.
- After making your desired scarf length, make 1 last row of hdc into every stitch (26). Fasten off and weave in the ends.
Adding Fringe:
- For the fringe cut 52 12-inch pieces of yarn.
- *Grab 1 piece of yarn, then pinch the strands of yarn at the middle and make a loop, insert a hook into the short side of the scarf and pull the yarn through the bottom stitch.
- Then using your fingers take the ends of the fringe and loop them through the hole you made and pull tight.
- Repeat from * for both short sides of the scarf. After all the fringe is attached, trim the bottom so the yarn is lined up.
- If you need a more in-depth tutorial for the fringe, check out my crochet heart scarf pattern and scroll down to the bottom of the pattern. It has a few photos to explain the process, just keep in mind that scarf uses 2 yarns for each fringe, not 1.
- Once you are done with the fringe your Celtic weave scarf made from my crochet scarf pattern is done! I hope you enjoyed this pattern inspired by my husband 🙂


Leave a Reply