
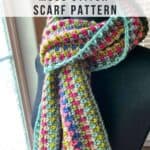
My Moss Stitch Crochet Scarf Pattern is both beautiful and beginner-friendly, making it the perfect accessory not just for winter, but for crocheters of any skill level!

I love making scarves. They are so versatile, and you can make them using any stitch or combination. You can make them complex or keep them simple, like my crochet houndstooth scarf or my crochet plaid scarf pattern.
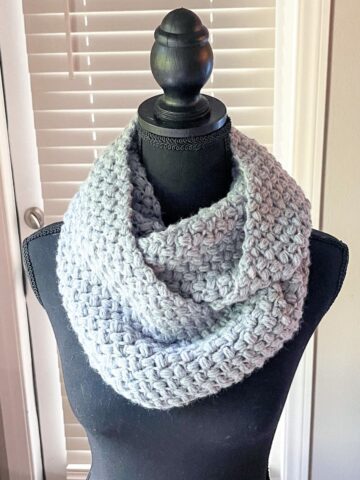
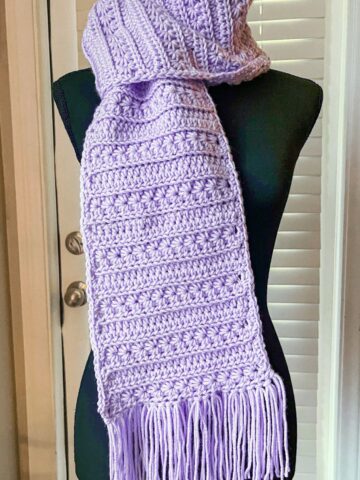
I also really enjoy projects using the moss stitch. It’s simple and mindless. I have used the moss stitch (also called the linen and granite stitch) in a few other projects like my crochet granite cushion, and crochet linen stitch baby blanket.
But now I am making a moss stitch crochet scarf which combines two of my favorite things: the moss stitch and scarves!
Jump to:
✏️ Things To Note:
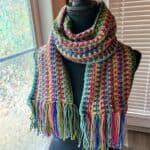
- Colors and Yarn Type: For the moss stitch crochet scarf pattern, I used nine different colors with scrap yarns I already had. I listed the colors and yarns used if you want to make the exact same scarf. Otherwise, to get a similar effect, you can use earthy greens and a few jewel tones for pops of color.
- Matching Yarn Material: When making scrap projects, I mix brands, but it's important to ensure they wash similarly and are made of the same type of material (acrylic in my case) and the same yarn weight.
- Scarf Length: I made this scarf roughly 6 feet long. After you make the chain, check if you need to shorten or lengthen it to match your desired scarf size.
🪡 Materials Needed

- 6mm hook
- Tapestry needle
- Red Heart Soft Yarn, Dark Tea Leaf
- Lion Brand Vanna’s Choice Yarn, Olive
- Caron One Pound Yarn, Hosta
- Caron One Pound Yarn, Taupe
- Red Heart Super Saver Yarn, Mulberry
- Red Heart Yarn, Tea Leaf
- Red Heart Super Saver Yarn - Grey Heather
- Caron One Pound Yarn, Rose
- Patons Canadiana Yarn, Royal Blue
💭Abbreviations to Remember (US terms)
- Chain - ch
- Single crochet - sc
* The ch x1 at the end of each row does not count as a stitch in the row, it is a turning chain.
* If you see a stitch abbreviation with "x" after it, it means how many times you do that stitch in the following amount of stitches. For example: sc x6 would mean you make a single crochet in the next 6 stitches. Inc x2 means you make an inc in the next 2 stitches.
🧋Variations
Color Customization: Try experimenting with different colors to suit your style.
Infinity Scarf Option: Skip the fringe and sew the ends together to create an infinity scarf.
🍵Instructions for Moss Stitch Crochet Scarf Pattern
The moss stitch crochet pattern is worked in rows.
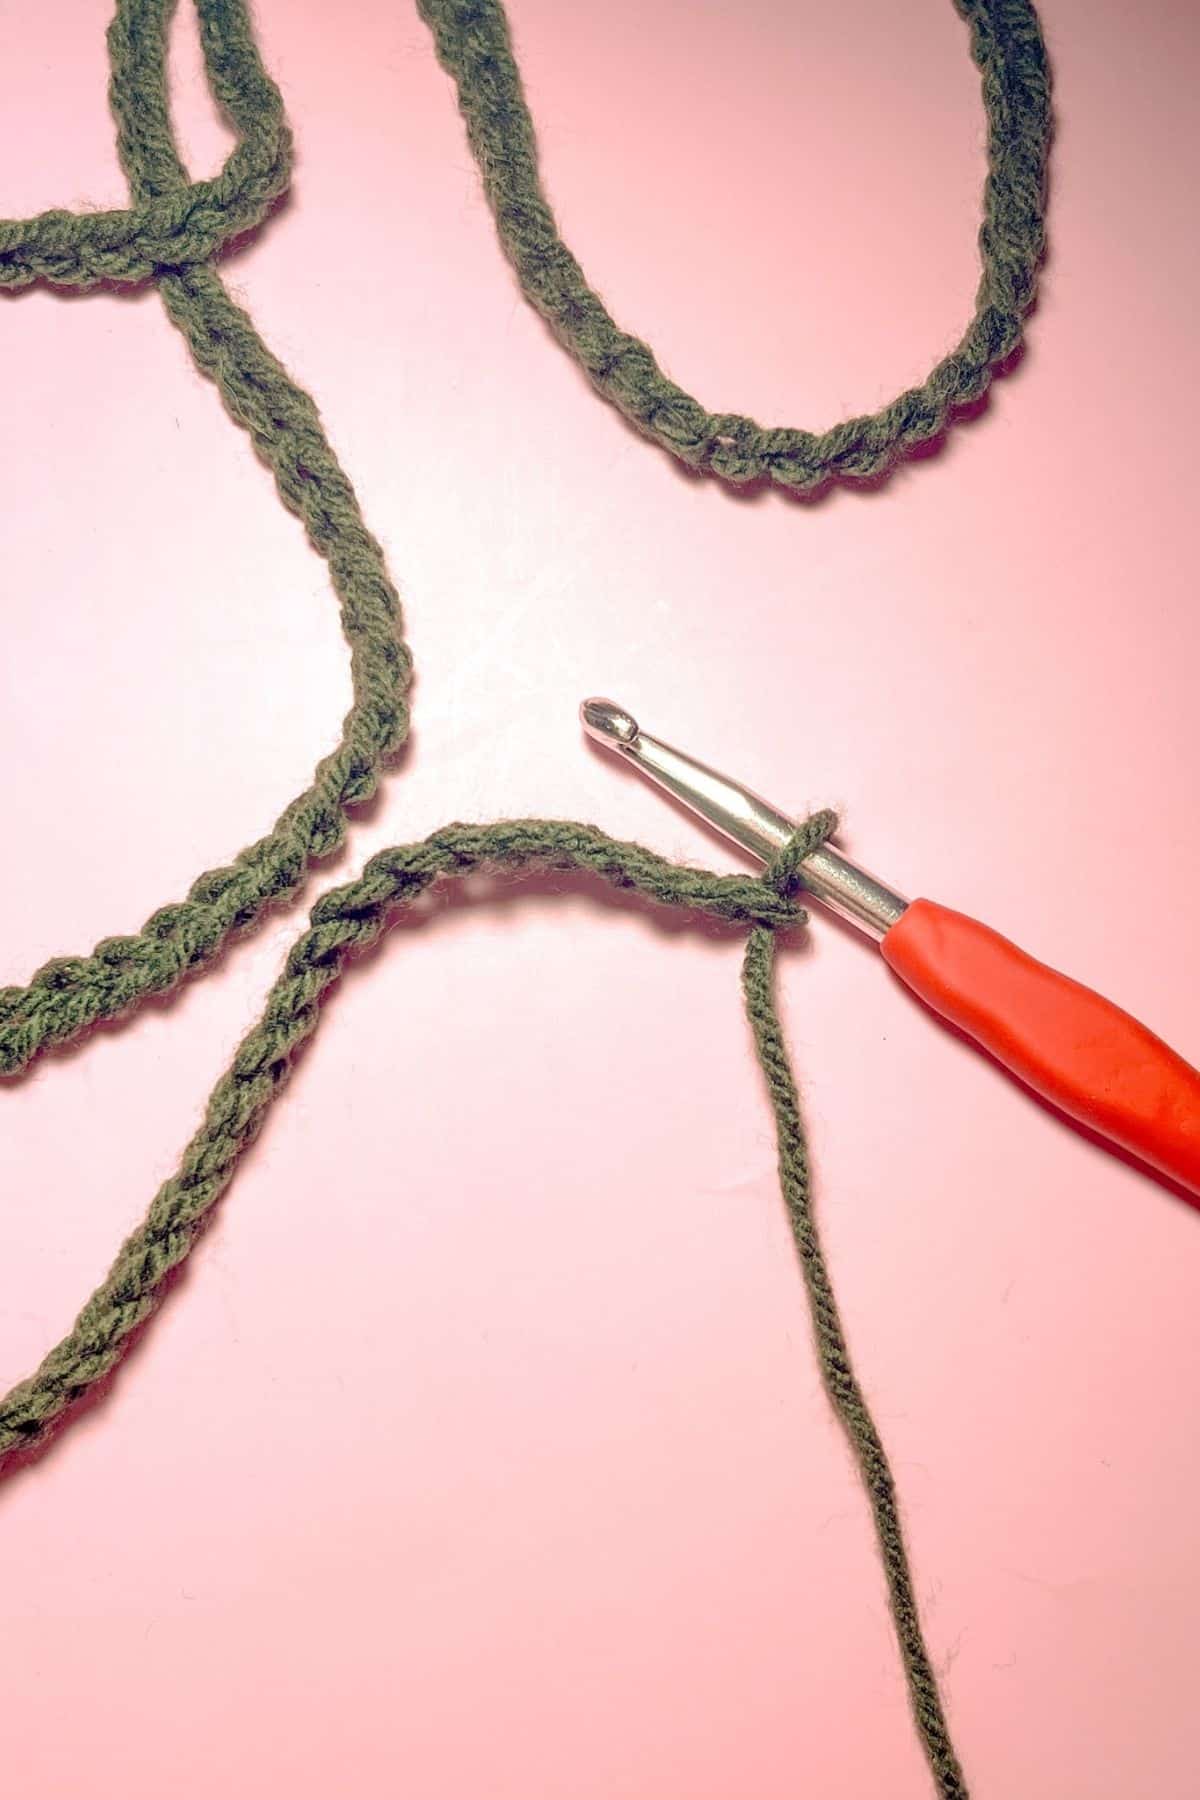
With Dark Tea Leaf, Ch x250 (or any even number)
Row 1: In the second ch from hook, make a sc, ch + skip the chain below, and make a sc into the next chain. Repeat for the rest of the row. (249)
You know you have the correct number of chains if you end on a sc, you do not want to end the row with a foundation ch untouched.
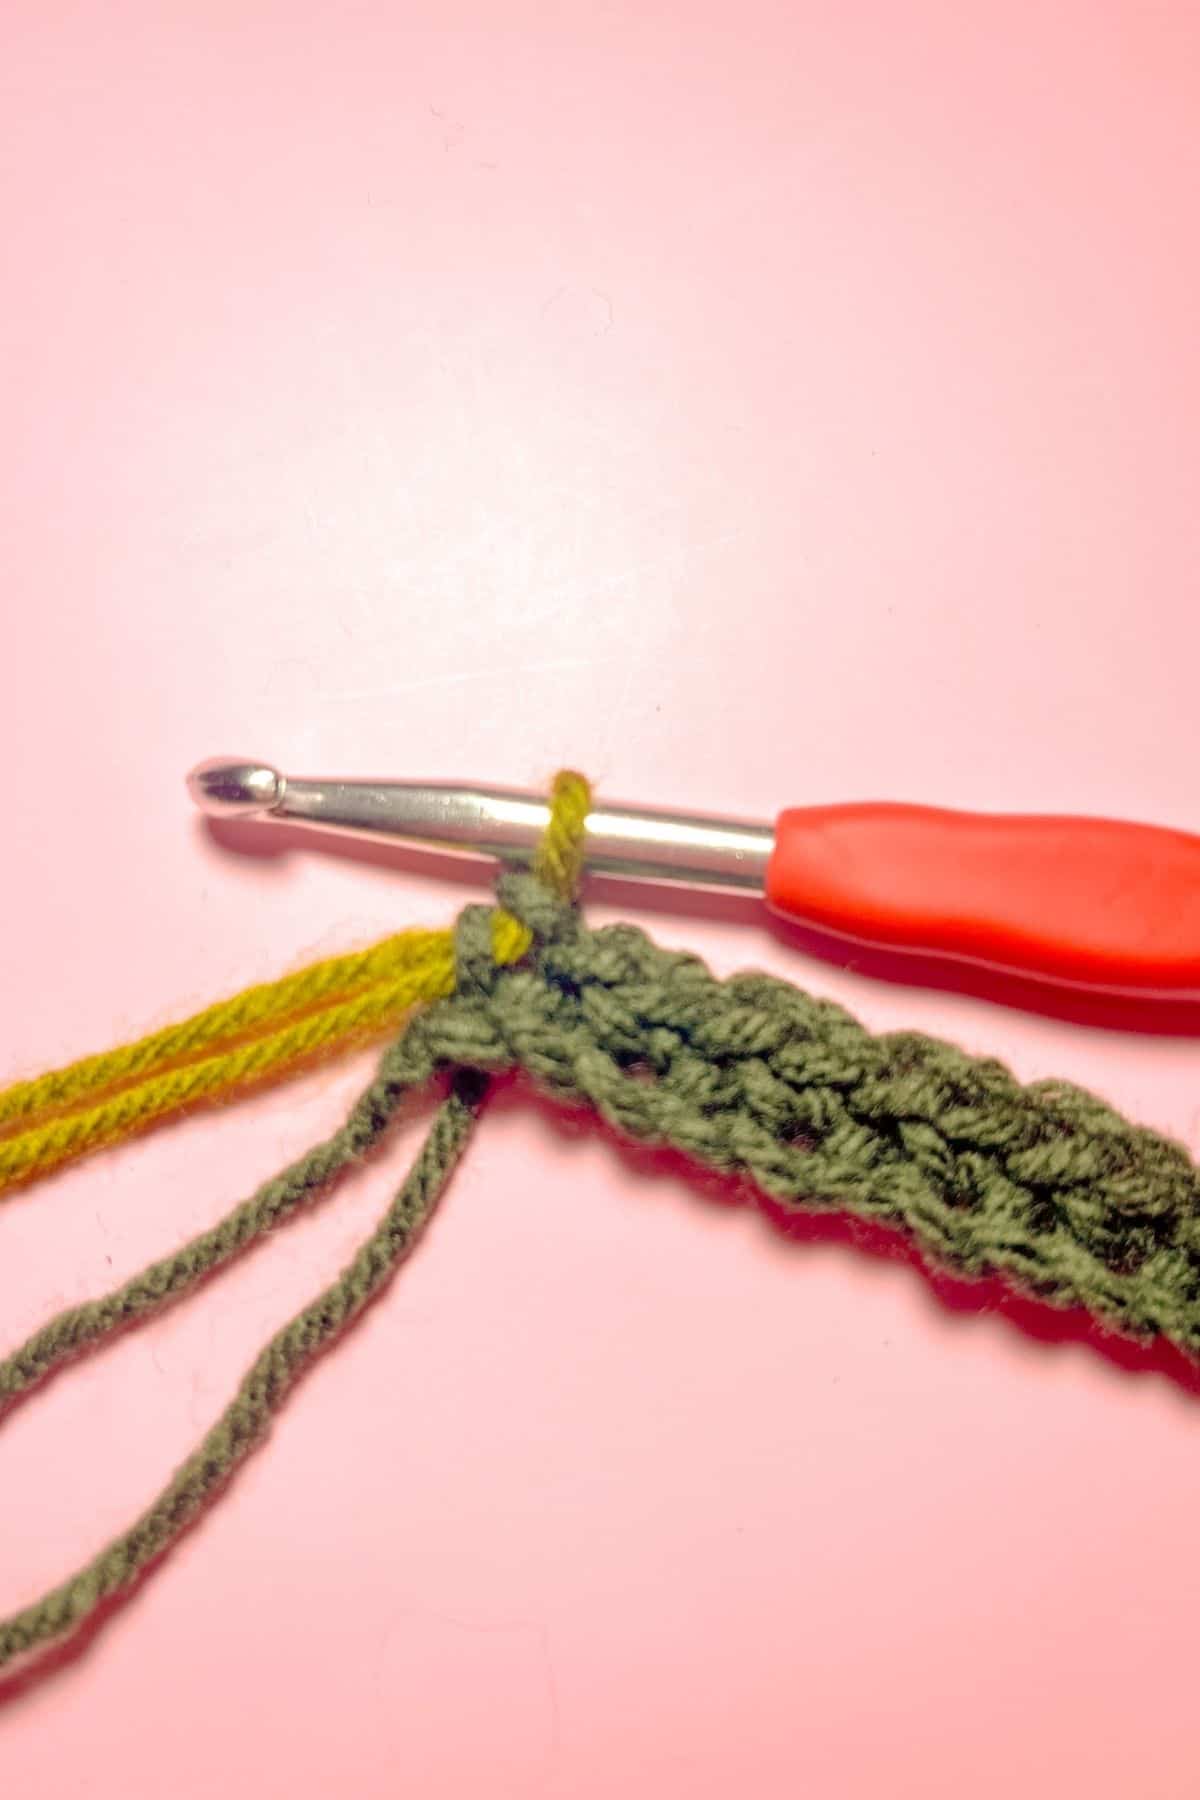
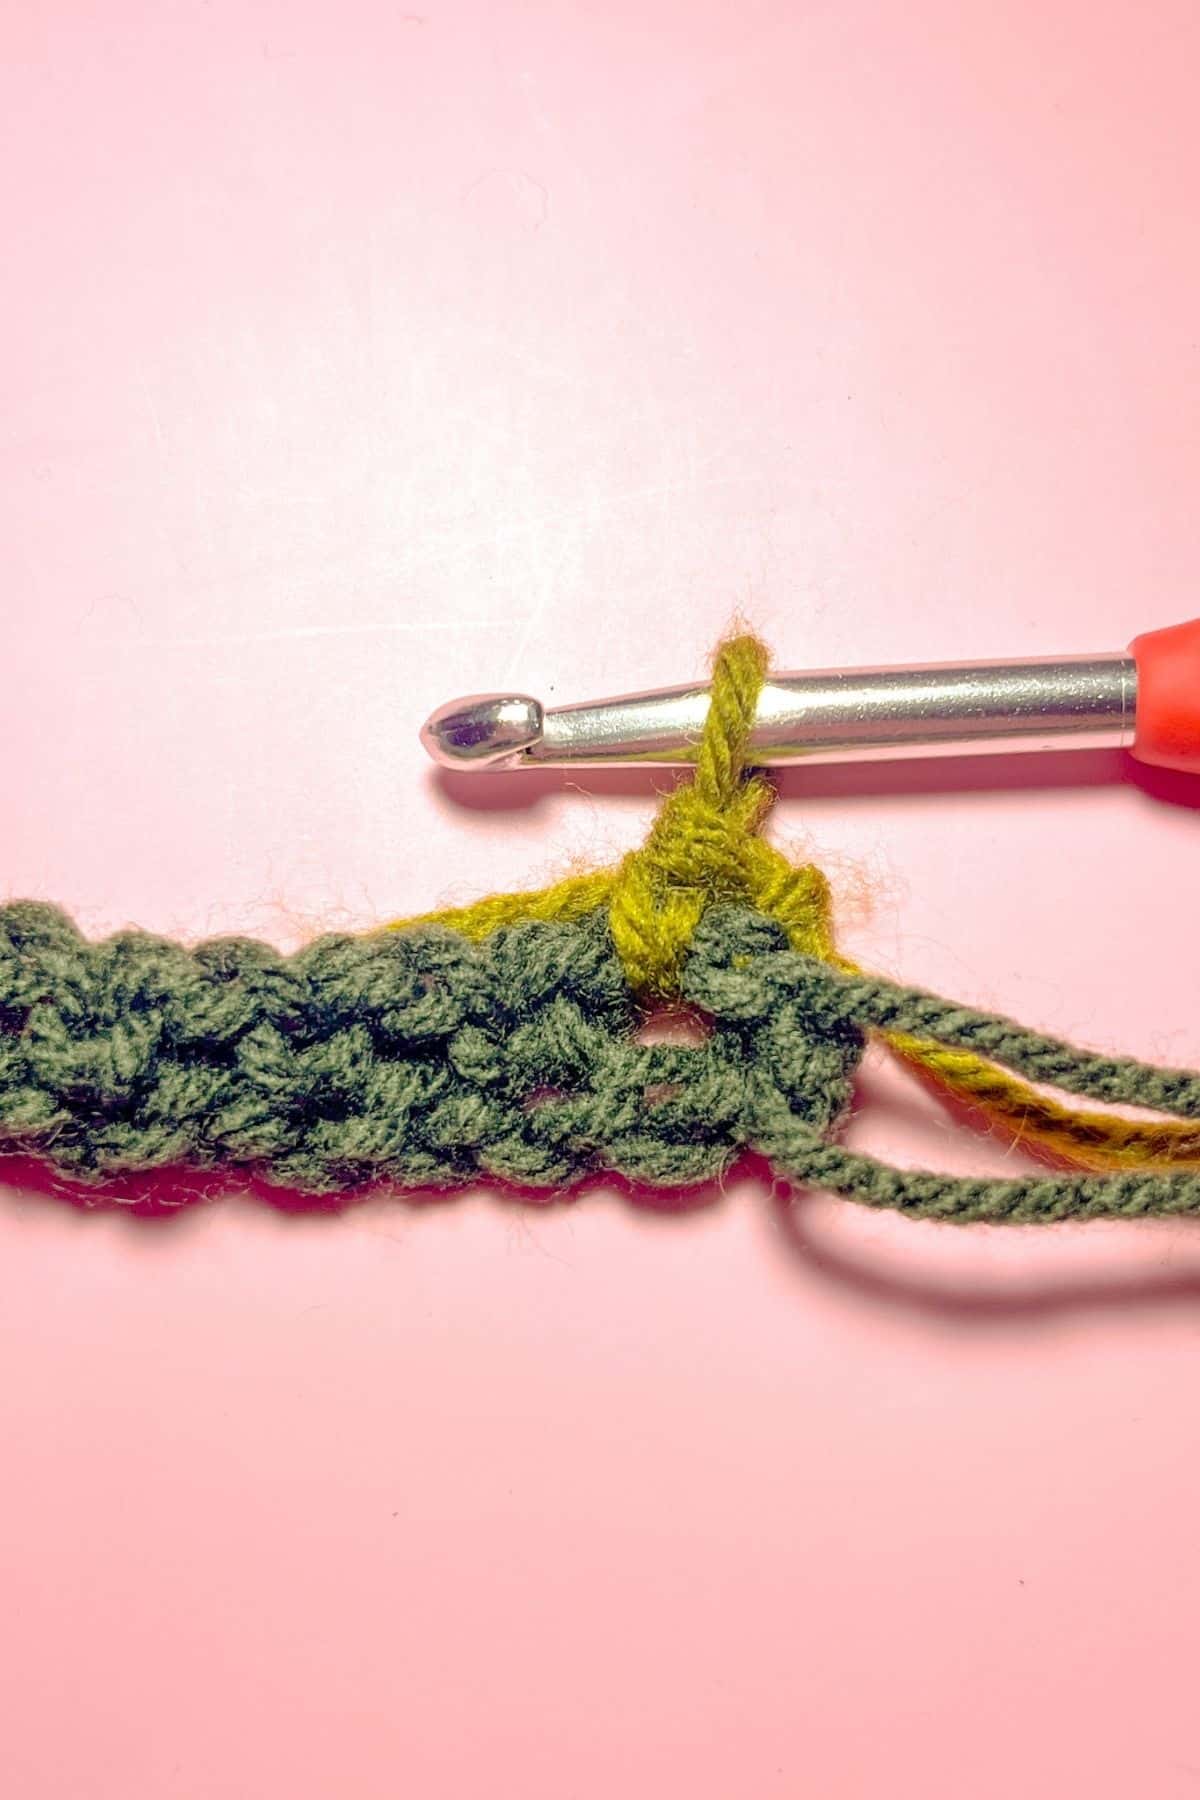
Fasten off and switch the colors to Olive.
Ch x1 and turn.
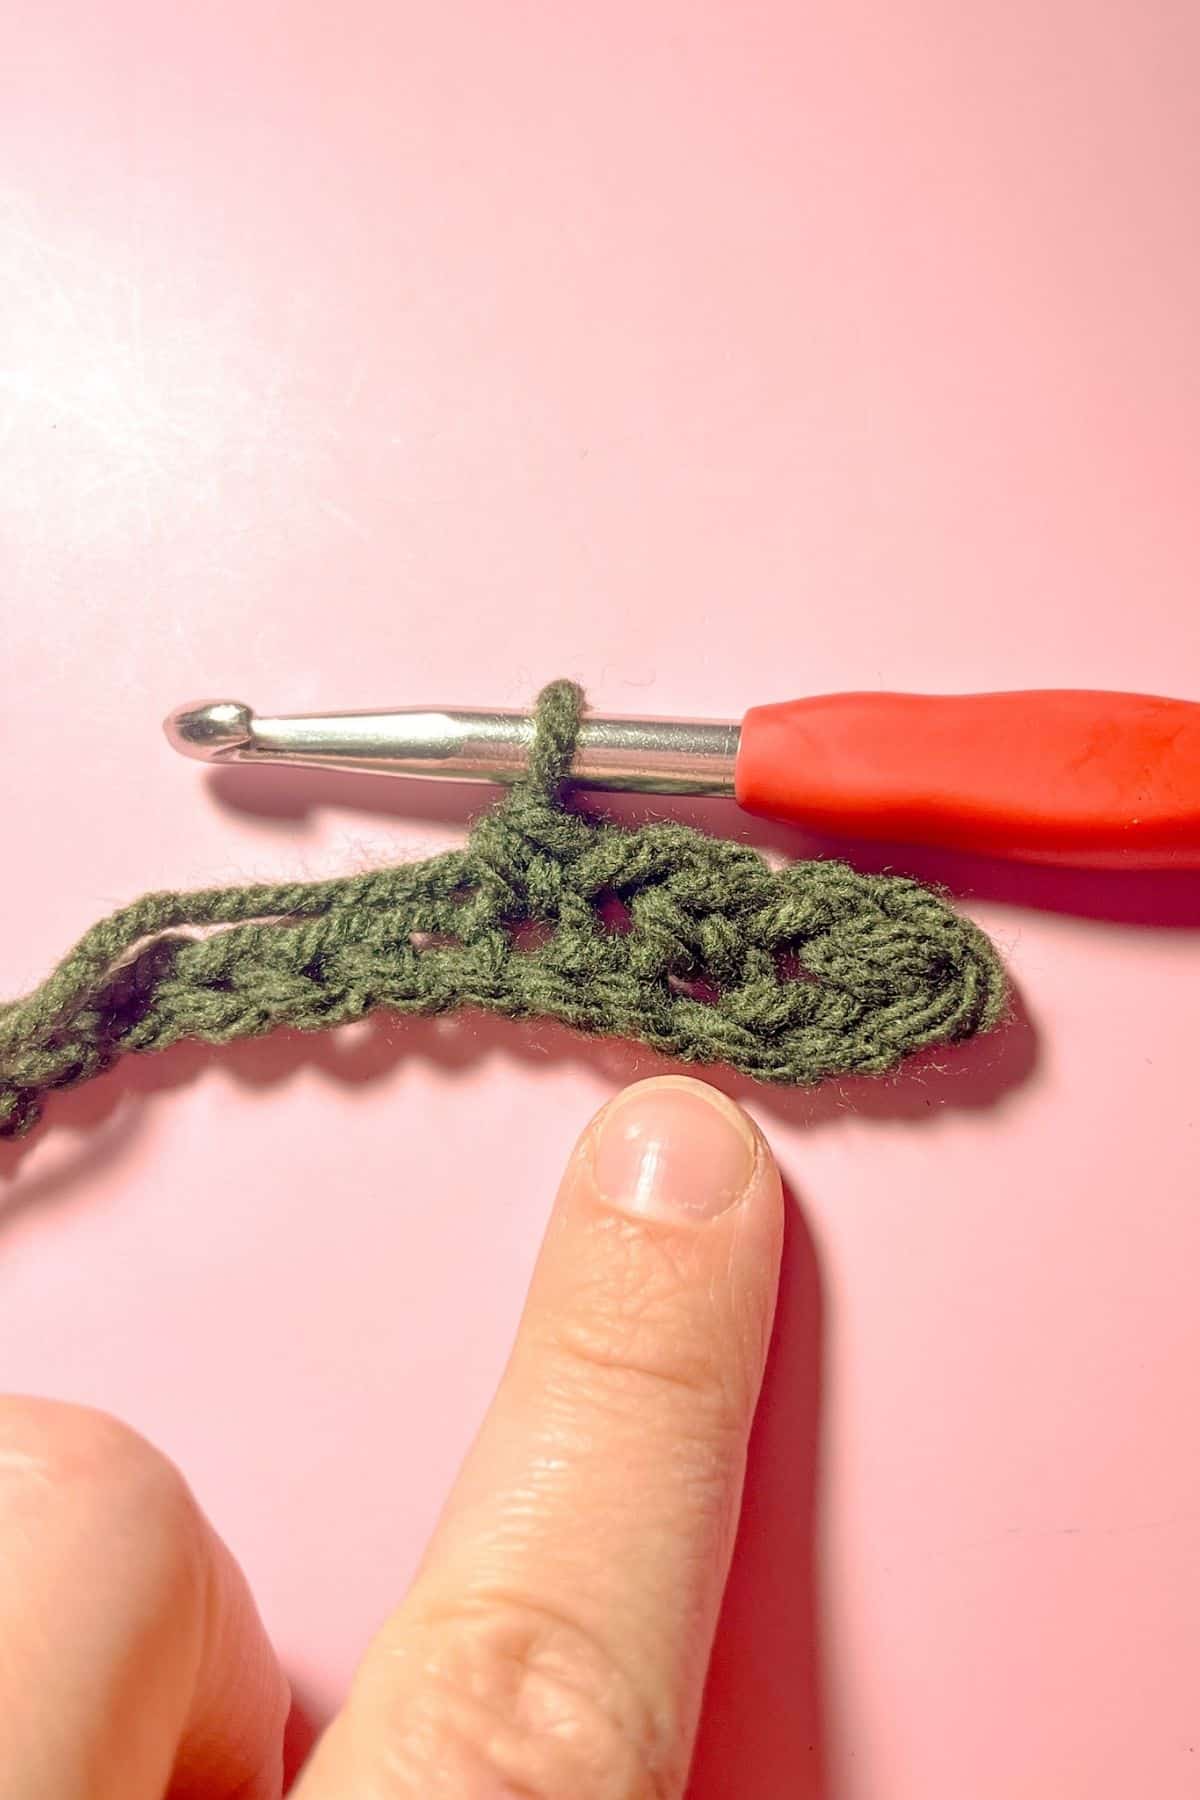
Rows 2 and onwards: Sc into the ch-space from the row below, *ch x1 and skip over the last rows sc, and sc into the next ch-space.
Repeat from * for the rest of the row. While you are completing more rows, make sure you are crocheting into the chain spaces from the previous row, do not make a single crochet into the chain directly. Crochet around it. (249)
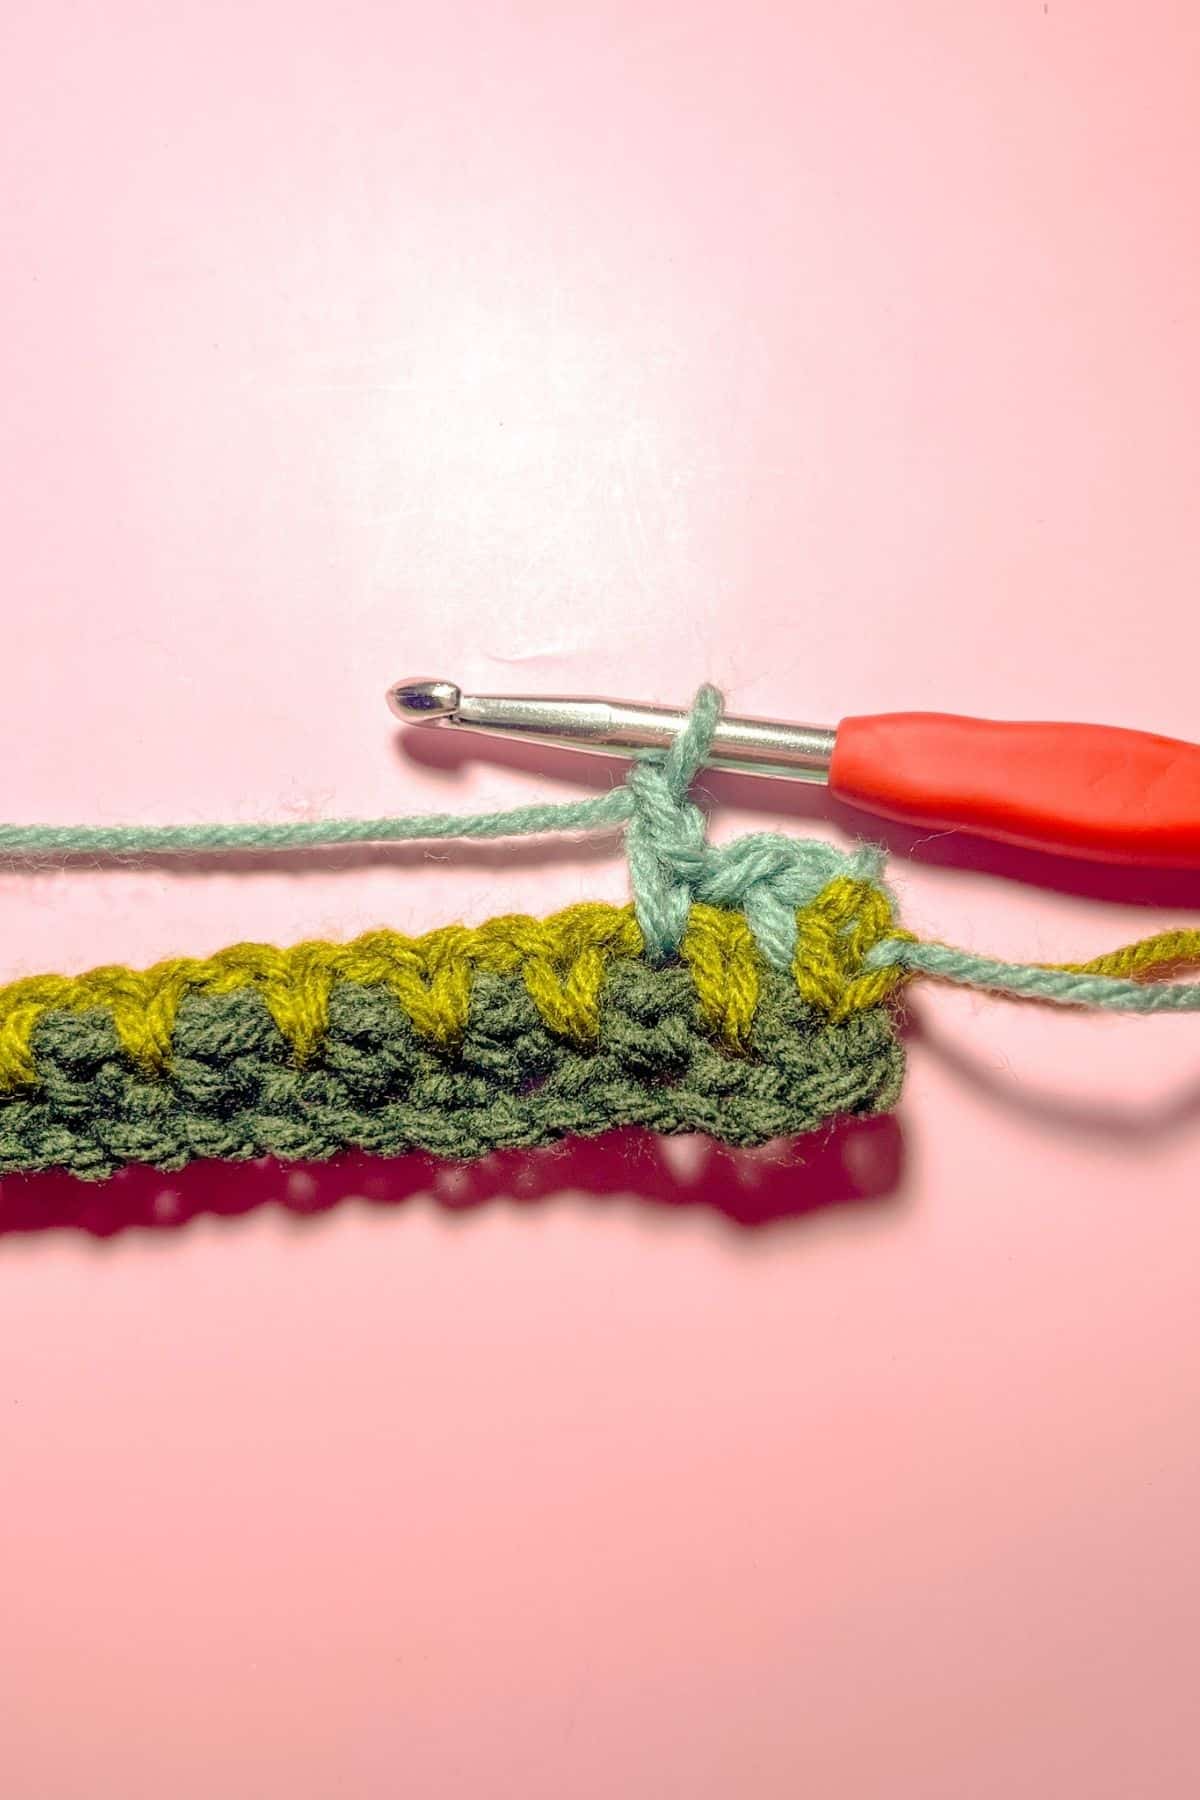
You should see these little v's forming.
Fasten off and switch the color to Hosta.

This is the color way for my entire scarf:
- Dark Tea Leaf
- Olive
- Hosta
- Taupe
- Mulberry
- Tea Leaf
- Grey Heather
- Royal Blue
- Rose
- Taupe
- Olive
- Mulberry
- Hosta
- Grey Heather
- Dark Tea Leaf
- Rose
- Tea Leaf
- Royal Blue
- Taupe
- Olive
- Mulberry
- Grey Heather
- Dark Tea Leaf
- Hosta
How to Make Fringe:
For the fringe cut 1-12 inch piece of yarn for each color you are wanting to add.
For me, I used 1 strand per color row I was working on and then used that + my row tails to make the fringe. If you weaved in your tails from the body of your scarf, you will need to do 2 strands of yarn per fringe.
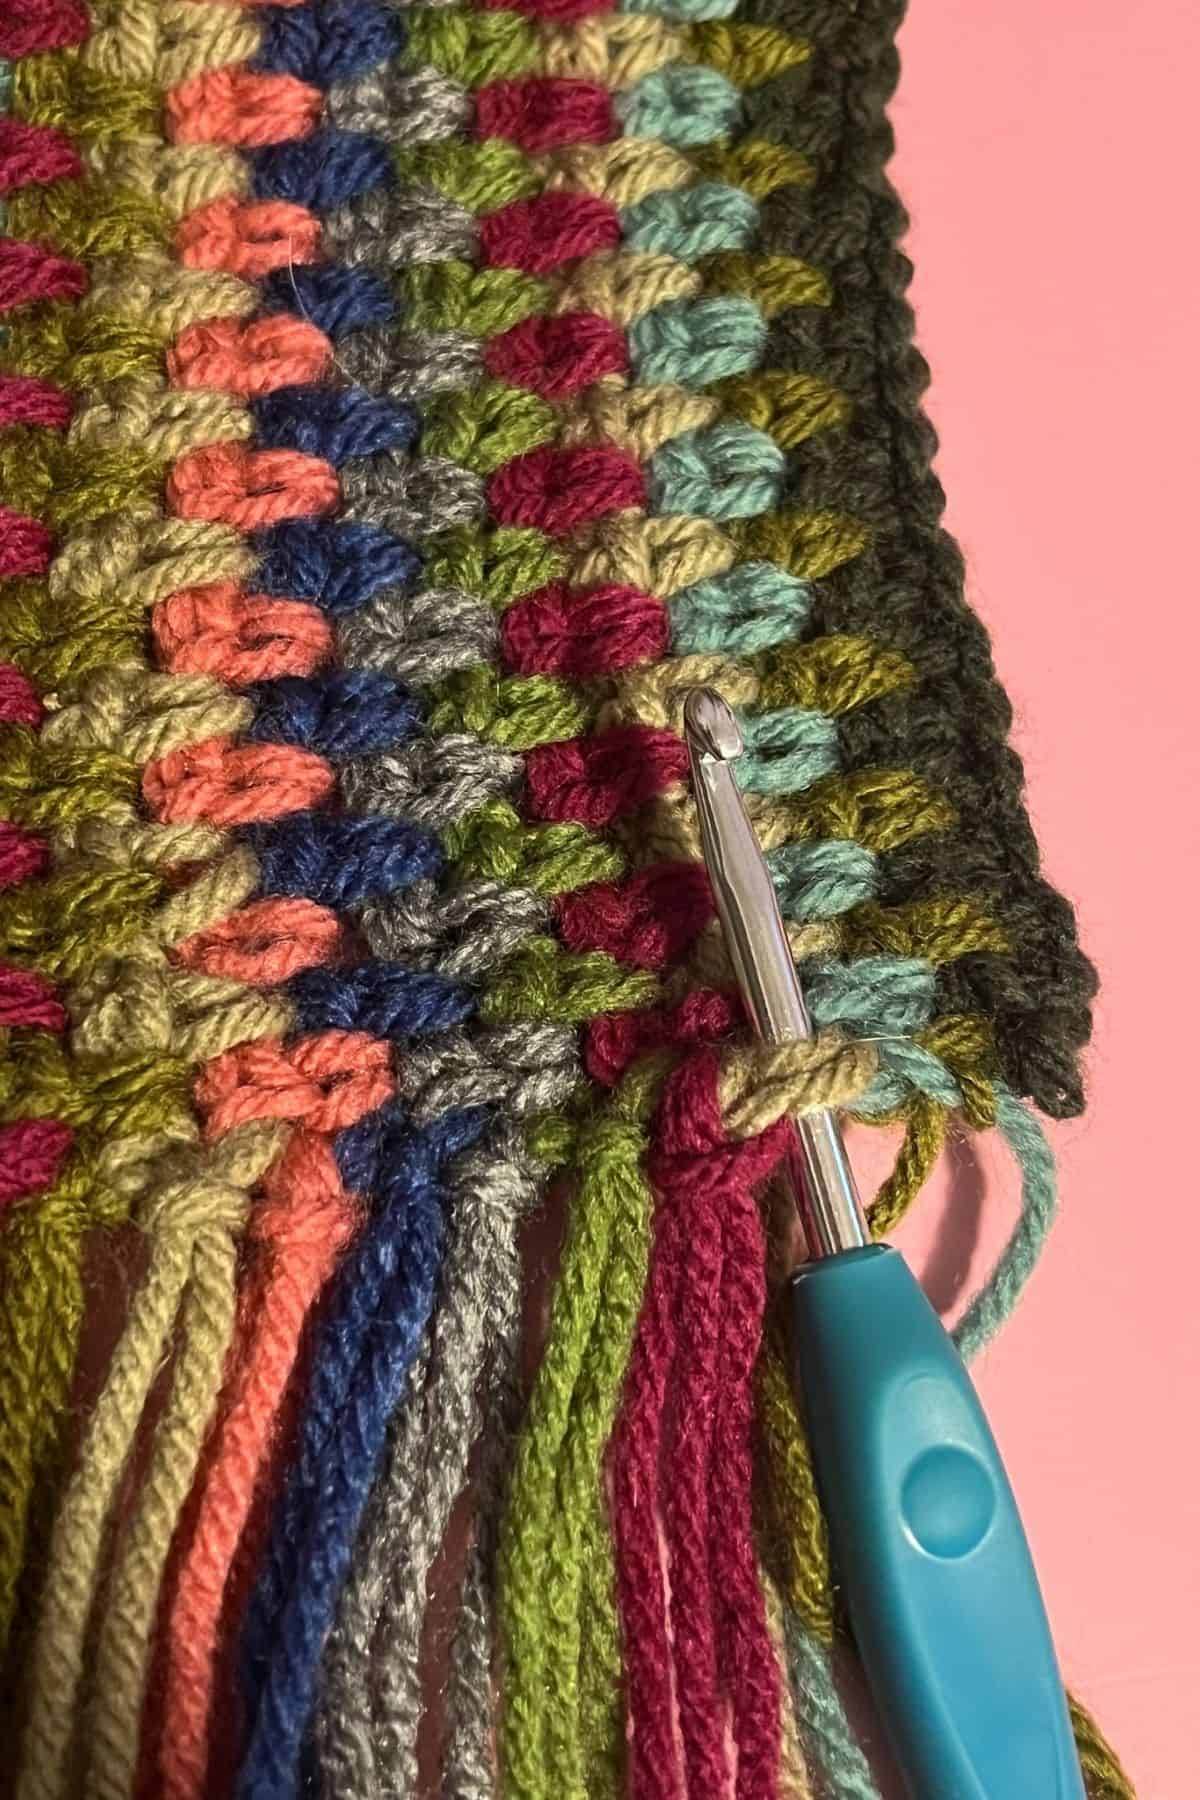
To attach the fringe to the crochet linen stitch scarf, fold the strand of yarn in half, pinch the middle and make a loop,
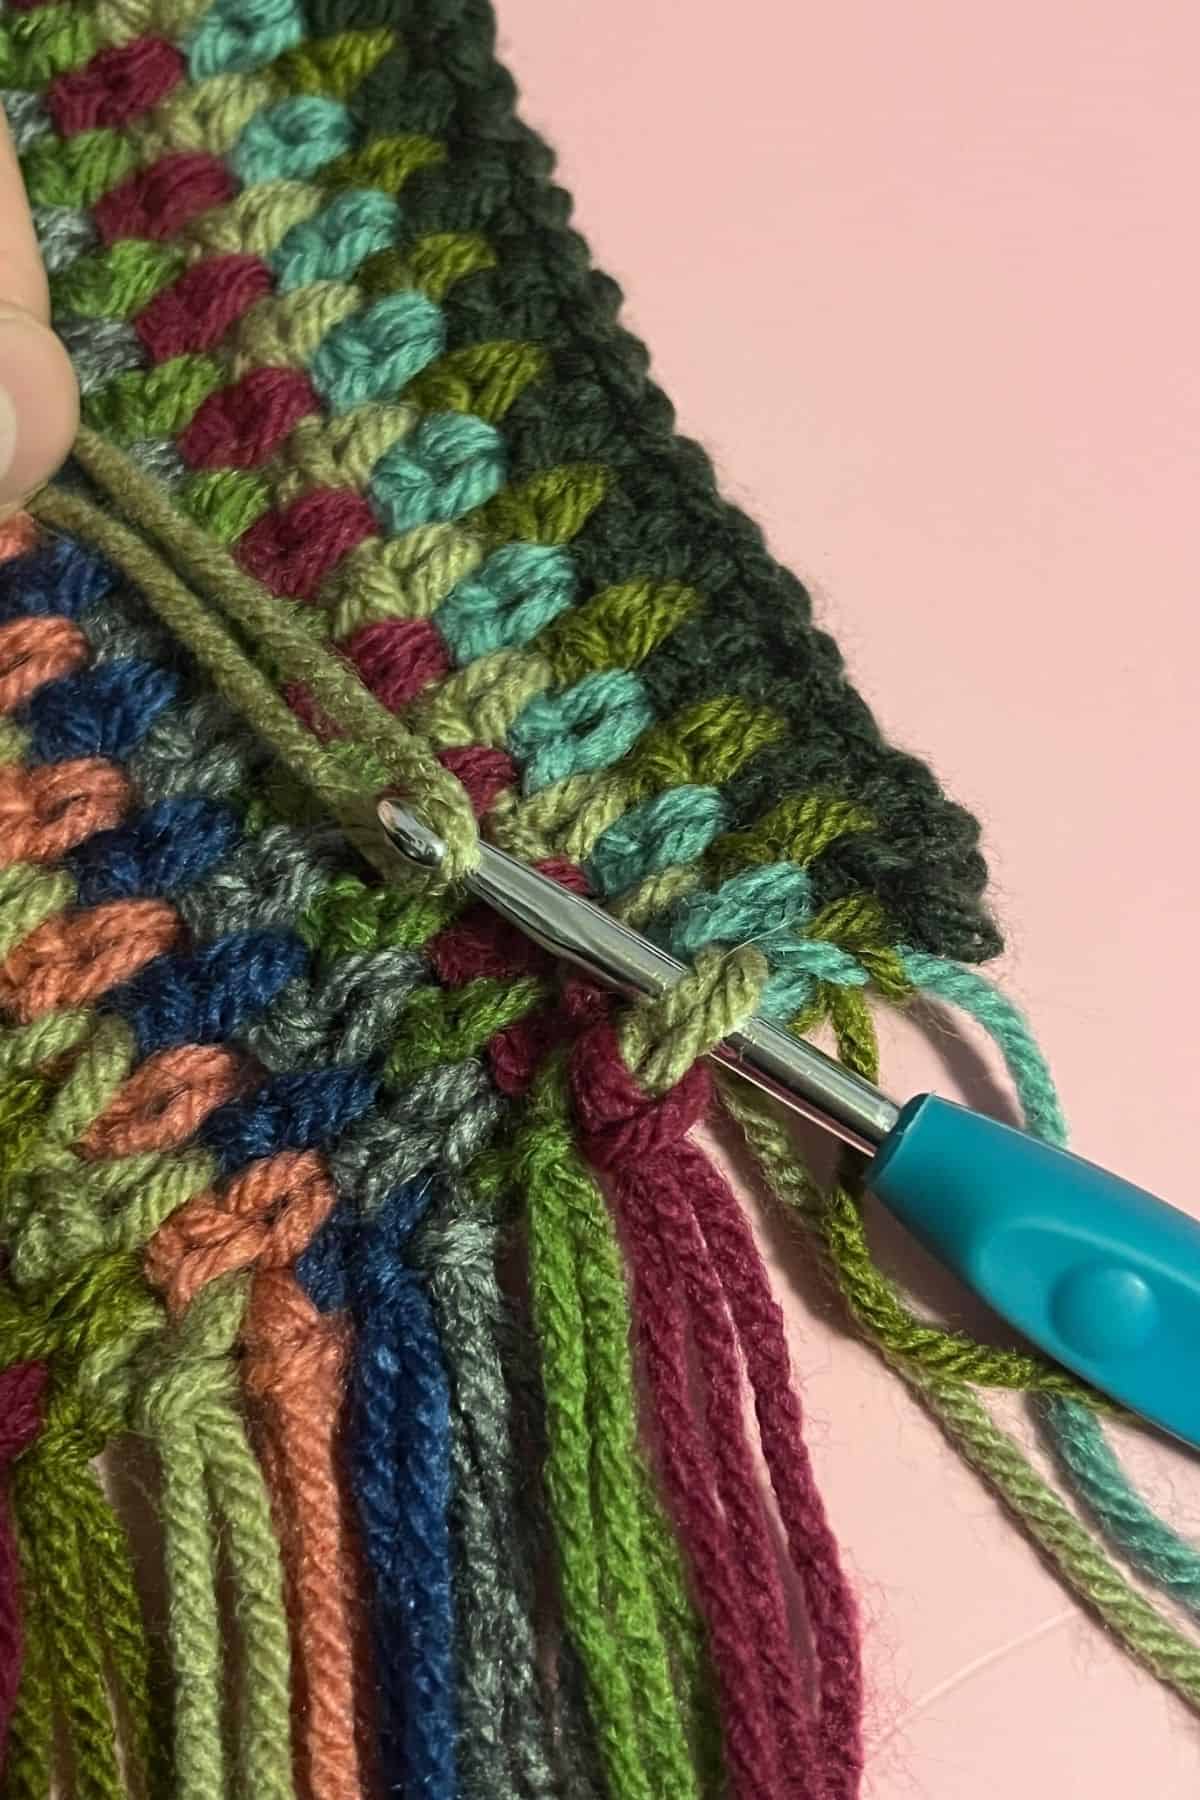
insert a hook into the short side of the scarf and pull the yarn through the stitch.
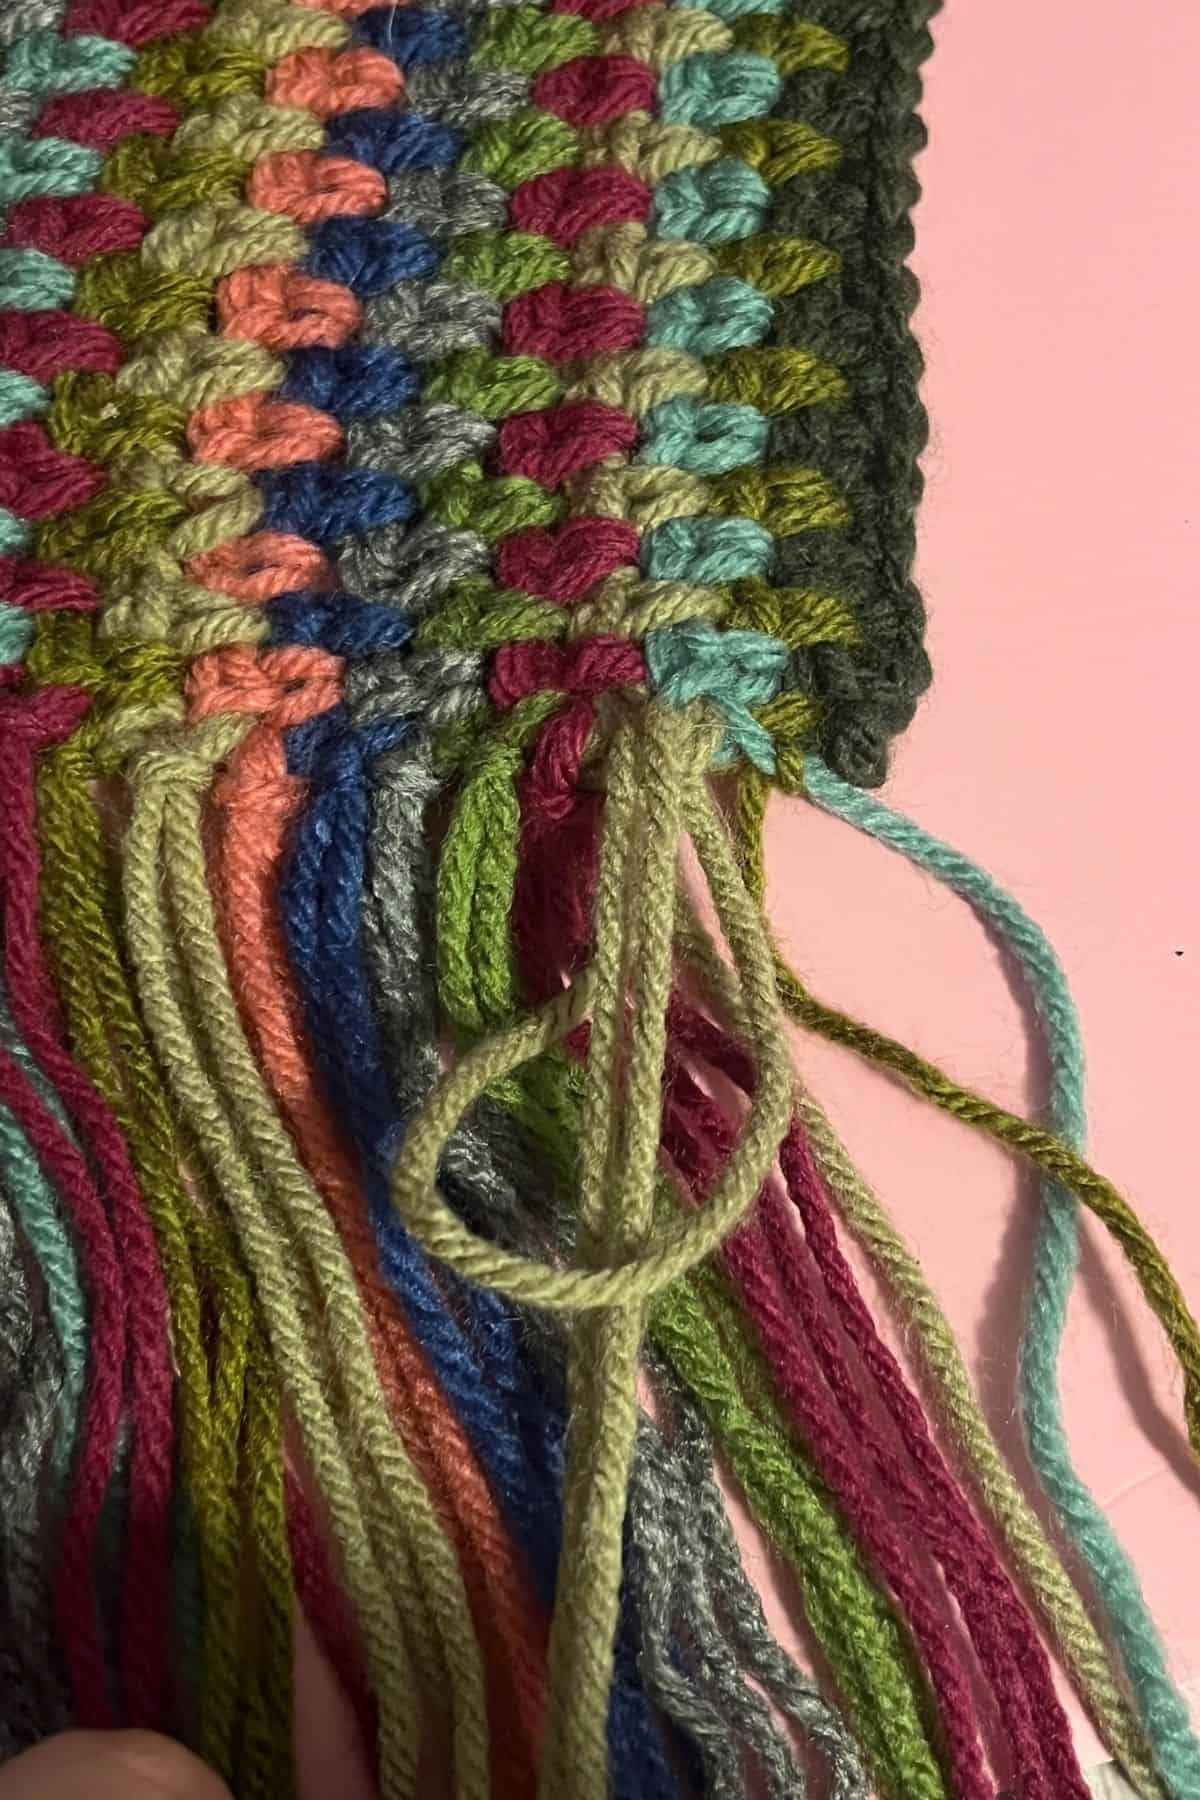
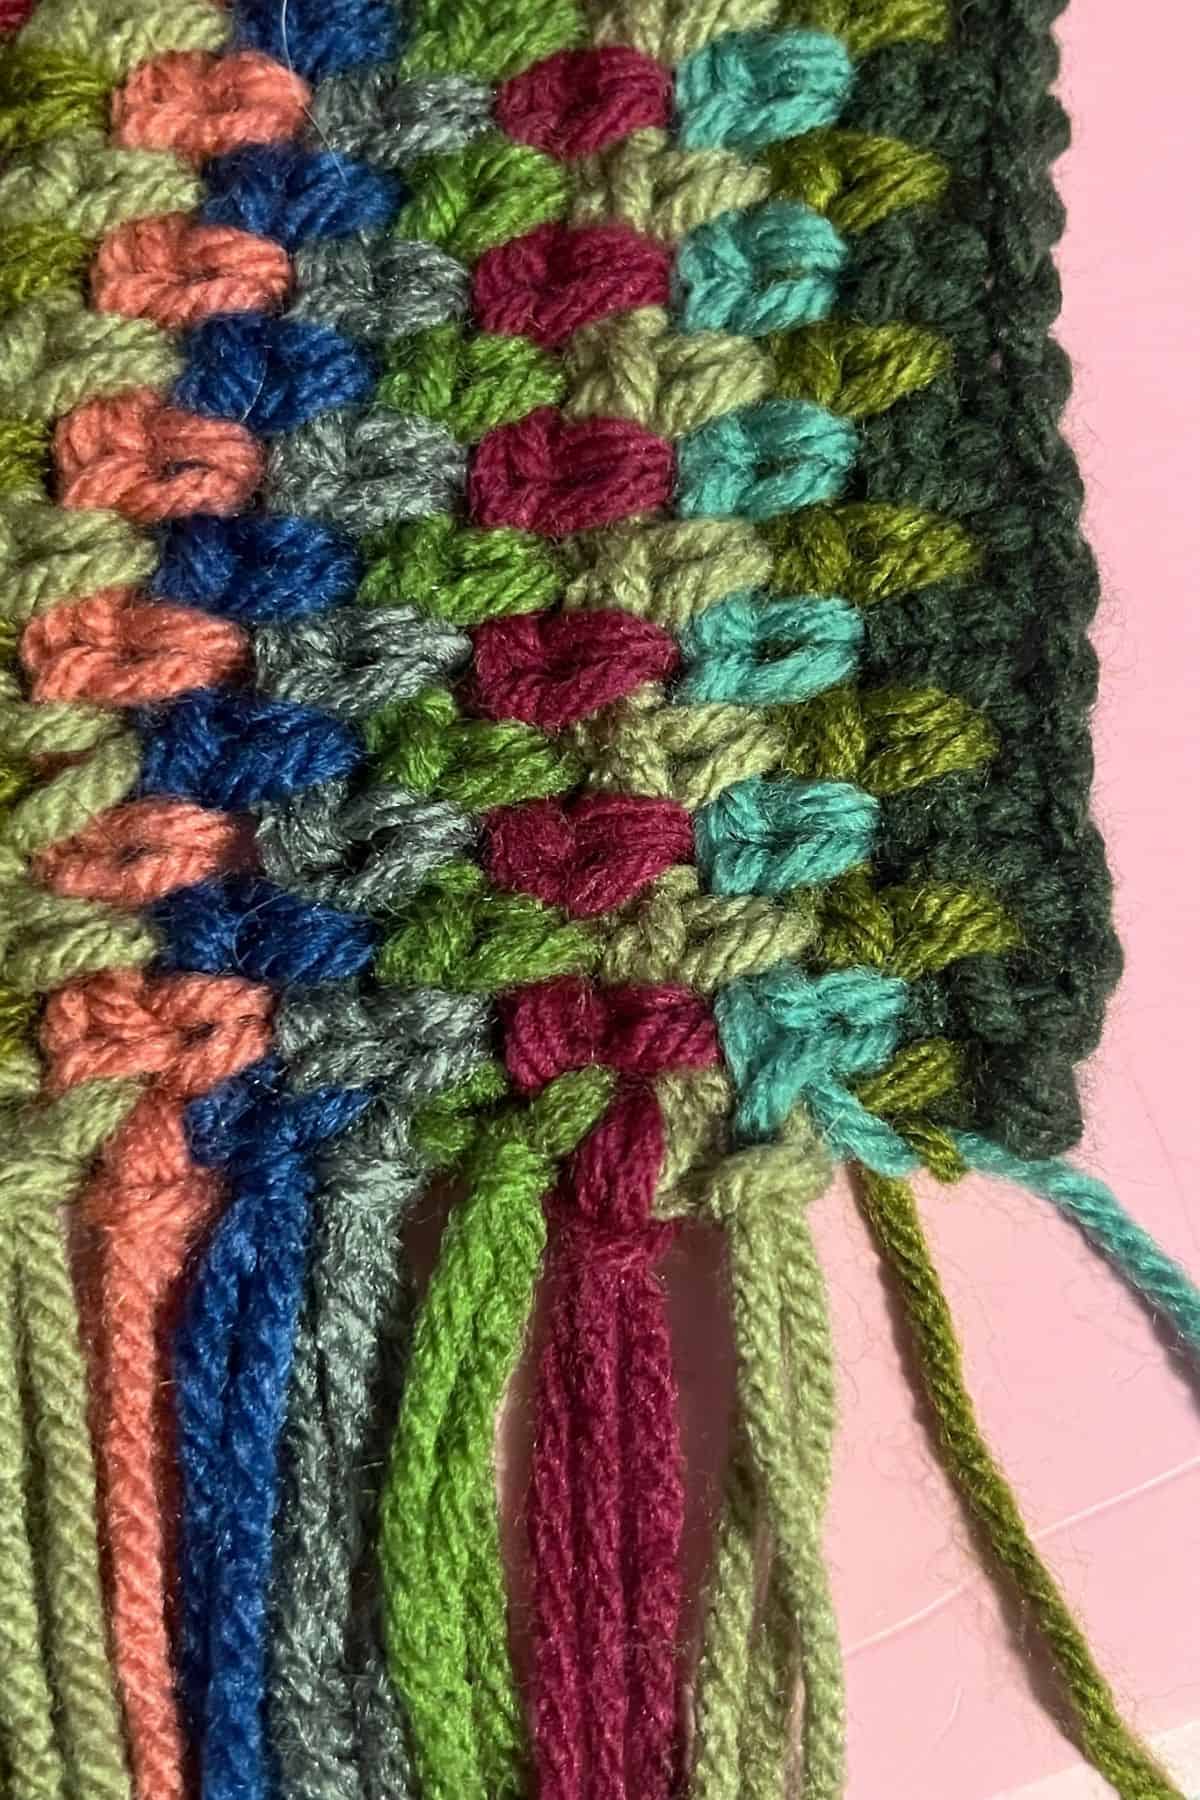
Then using your fingers take the ends of the fringe and loop them through the hole you made, as well as the rows yarn tail, and pull tight.
Repeat the above step alternating colors for the entire width of the scarf. Repeat on the other side of the scarf. I put 1 group of fringe per row.
After all the fringe is attached, trim the bottom so the yarn is nice and all lined up.

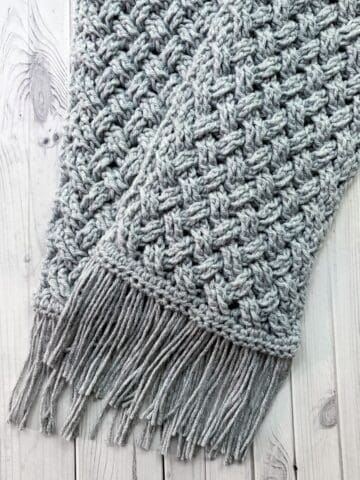
And now you have a crochet moss stitch scarf in earth and jewel tones! Stay warm! I hope you enjoyed my moss stitch crochet scarf pattern!
If you were wanting to make the moss stitch scarf but with less color changes, I have a crochet linen scarf pattern that is made in the short rows and is a solid color so you can compare the 2 looks since they are the same stitch.
If you are looking for other crochet moss stitch projects, check out my crochet moss stitch blanket pattern and my crochet moss stitch hat pattern.

🐌Expert Tips
- Utilize Yarn Ends for Fringe: Instead of weaving in your ends, just add them to the fringe! This saves time and makes the project less cumbersome.
- Keep Your Stitches Consistent: Maintain even tension while working the moss stitch. This will ensure the scarf lays flat and looks neat.
- Use a Row Counter for Easy Switching: Switching colors frequently? Use a row counter to help keep track of where to change yarns.
🧵Pattern FAQs
Yes, you can! Just adjust your starting chain, or your scarf will be very long.
You can weave in all the ends and have nothing on the ends, or you can even join the ends together and make an infinity scarf with it.
You can but just know you will have a lot of end weaving to do!

🧶More Crochet Scarf Patterns
If you tried this Moss Stitch Crochet Scarf Pattern (or any other pattern on my website), please let me know how it went in the 📝 comments below. I'd love to hear from you!
Moss Stitch Crochet Scarf Pattern
Materials
- 6 mm hook
- Tapestry needle
- Red Heart Soft Yarn - Dark Tea Leaf
- Lion Brand Vanna’s Choice Yarn - Olive
- Caron One Pound Yarn - Hosta
- Caron One Pound Yarn - Taupe
- Red Heart Super Saver Yarn - Mulberry
- Red Heart Yarn - Tea Leaf
- Red Heart Super Saver Yarn - Grey Heather
- Caron One Pound Yarn - Rose
- Patons Canadiana Yarn - Royal Blue
Abbreviations (US terms)
- Chain - ch
- Single crochet - sc
Notes
- Colors and Yarn Type: For the moss stitch crochet scarf pattern, I used nine different colors with scrap yarns I already had. I listed the colors and yarns used if you want to make the exact same scarf. Otherwise, to get a similar effect, you can use earthy greens and a few jewel tones for pops of color.
- Matching Yarn Material: When making scrap projects, I mix brands, but it's important to ensure they wash similarly and are made of the same type of material (acrylic in my case) and the same yarn weight.
- Scarf Length: I made this scarf roughly 6 feet long. After you make the chain, check if you need to shorten or lengthen it to match your desired scarf size.
Instructions
The moss stitch crochet pattern is worked in rows.
- With Dark Tea Leaf, Ch x250 (or any even number)
- Row 1: In the second ch from hook, make a sc, ch + skip the chain below, and make a sc into the next chain. Repeat for the rest of the row. (249)
- You know you have the correct number of chains if you end on a sc, you do not want to end the row with a foundation ch untouched.
- Fasten off and switch the colors to Olive.
- Ch x1 and turn.
- Rows 2 and onwards: Sc into the ch-space from the row below, *ch x1 and skip over the last rows sc, and sc into the next ch-space.
- Repeat from * for the rest of the row. While you are completing more rows, make sure you are crocheting into the chain spaces from the previous row, do not make a single crochet into the chain directly. Crochet around it. (249)
- You should see these little v's forming.
- Fasten off and switch the color to Hosta.
This is the color way for my entire scarf:
- Dark Tea Leaf, Olive, Hosta, Taupe, Mulberry, Tea Leaf, Grey Heather, Royal Blue, Rose, Taupe, Olive, Mulberry, Hosta, Grey Heather, Dark Tea Leaf, Rose, Tea Leaf, Royal Blue, Taupe, Olive, Mulberry, Grey Heather, Dark Tea Leaf, Hosta
How to Make Fringe:
- For the fringe cut 1-12 inch piece of yarn for each color you are wanting to add.
- For me, I used 1 strand per color row I was working on and then used that + my row tails to make the fringe. If you weaved in your tails from the body of your scarf, you will need to do 2 strands of yarn per fringe.
- To attach the fringe to the crochet linen stitch scarf, fold the strand of yarn in half, pinch the middle and make a loop,
- insert a hook into the short side of the scarf and pull the yarn through the stitch.
- Then using your fingers take the ends of the fringe and loop them through the hole you made, as well as the rows yarn tail, and pull tight.
- Repeat the above step alternating colors for the entire width of the scarf. Repeat on the other side of the scarf. I put 1 group of fringe per row.
- After all the fringe is attached, trim the bottom so the yarn is nice and all lined up.
- And now you have a crochet moss stitch scarf in earth and jewel tones! Stay warm! I hope you enjoyed my moss stitch crochet scarf pattern!


Grace says
I’ve been making a bunch of these scarves. My church gives out hats and scarves and gloves all winter and I don’t have a lot of money but I have a ton of yarn! I was looking for a few patterns that worked up quick and easy but were still fun and warm and practical. This is now one of my go-to scarf patterns. I love using self striping yarn to get interesting patterns mostly because I hate, hate weaving in ends. But with this one I don’t even have to still. Still, color-changing yarn does fun things with this pattern. Thank you so much. I’m always astonished when people are willing to give their hard work away to total strangers. Keep up the good work. God bless.
Kris R says
Thank you for mentioning self striping yarns! I am glad to know they work well for this pattern.
Lucinda says
Hey! Total beginner here, how much yarn would you say you need for this project, would one roll of each colour be enough?
Thanks ! Can’t wait to try it
Kimberly Arenas says
I used little balls of scrap yarn so I don't have specific amounts, but if you use each color only twice in the scarf I would say 50-75yards of each color will suffice.
Becky says
Beautiful!!! This might be a dumb question, so you didn't weave in your ends when you changed colors to make the fringe? How did you secure them so they don't come undone? Thanks!
Kimberly Arenas says
I just tucked them into the fringe 🙂 It's held up for me and hasn't come undone even after going through the wash. If you want to you can tie an end with the yarn end next to it before turning the ends into fringe for added security.