
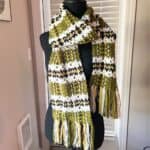
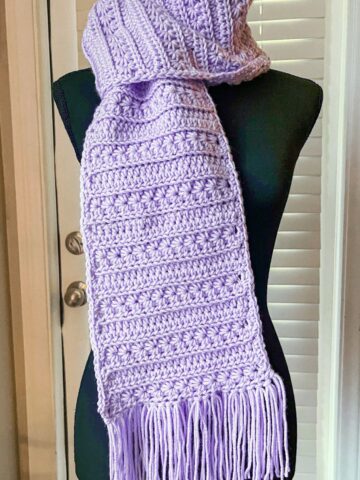
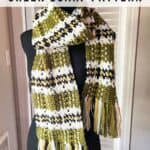
Make this Crochet Green Scarf Pattern as your next project for a fun challenge. Despite its complicated look, it's actually easy to complete, I promise!
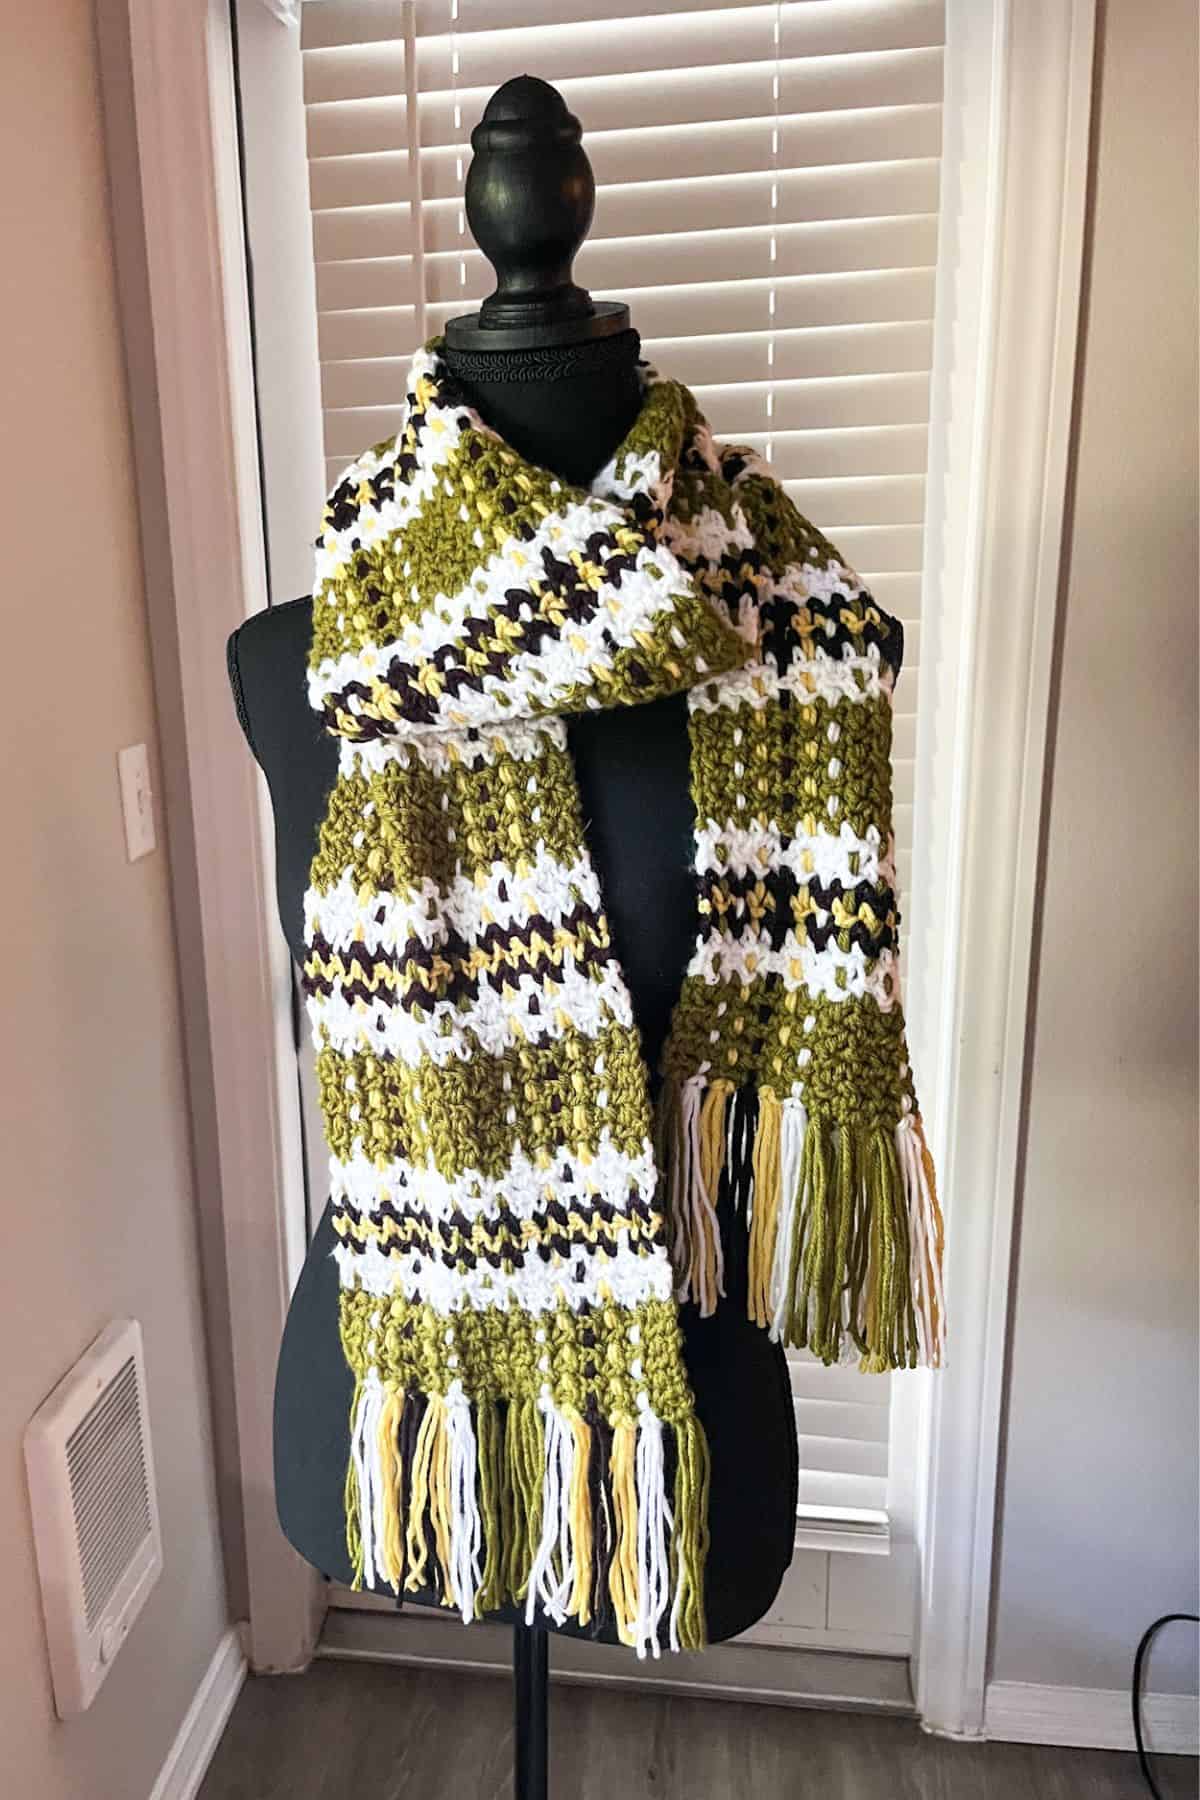
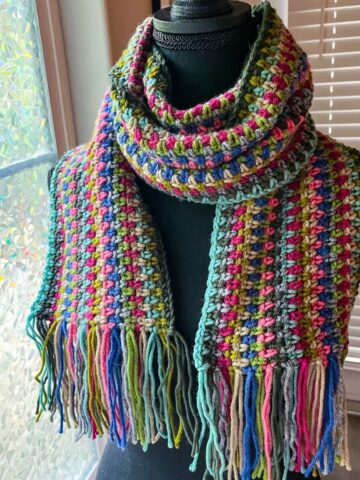
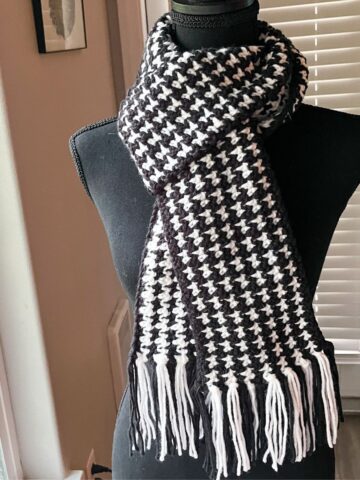
I love discovering new techniques in crocheting, like crochet houndstooth and crochet buffalo plaid, and this scarf is definitely a new technique for me. The crochet green scarf pattern I created uses a method that results in crochet tartan or crochet plaid.
The crochet tartan scarf is achieved by making a striped scarf and then weaving yarn in between stitches in the opposite direction. You can apply this technique to anything—scarves, blankets, pillows—the list goes on!
While this technique may seem difficult, it really isn’t, and it will leave crochet admirers intrigued, wondering how you made it! Another technique that seems hard but actually isn't is the crochet daisy stitch, also called the crochet star stitch, which I show off with my crochet star stitch scarf pattern!
So, let's begin making this crochet green scarf!
Jump to:
✏️ Things To Note:
- Color Choices: Although I used green, yellow, black, and white, feel free to use any colors you like.
- Yarn Weight: I do not recommend using chunky yarn; stick to worsted or DK weight yarns.
- Dimensions: The scarf is approximately 8 inches wide and about 5.5 to 6 feet long.
🪡 Materials Needed
💭Abbreviations to Remember (US terms)
- Chain - ch
- Single crochet - sc
* The ch x1 at the end of each row does not count as a stitch in the row, it is a turning chain.
* If you see a stitch abbreviation with "x" after it, it means how many times you do that stitch in the following amount of stitches. For example: sc x6 would mean you make a single crochet in the next 6 stitches. Inc x2 means you make an inc in the next 2 stitches.
🧋Variations
This technique has endless possibilities. I suggest experimenting with line thickness and looking at tartan patterns for inspiration.
🍵Instructions for the Crochet Green Scarf Pattern:
The crochet green scarf pattern is made in rows and then we weave in yarn lengthwise to create a crochet tartan pattern.

Row 1: With the green yarn, ch x32
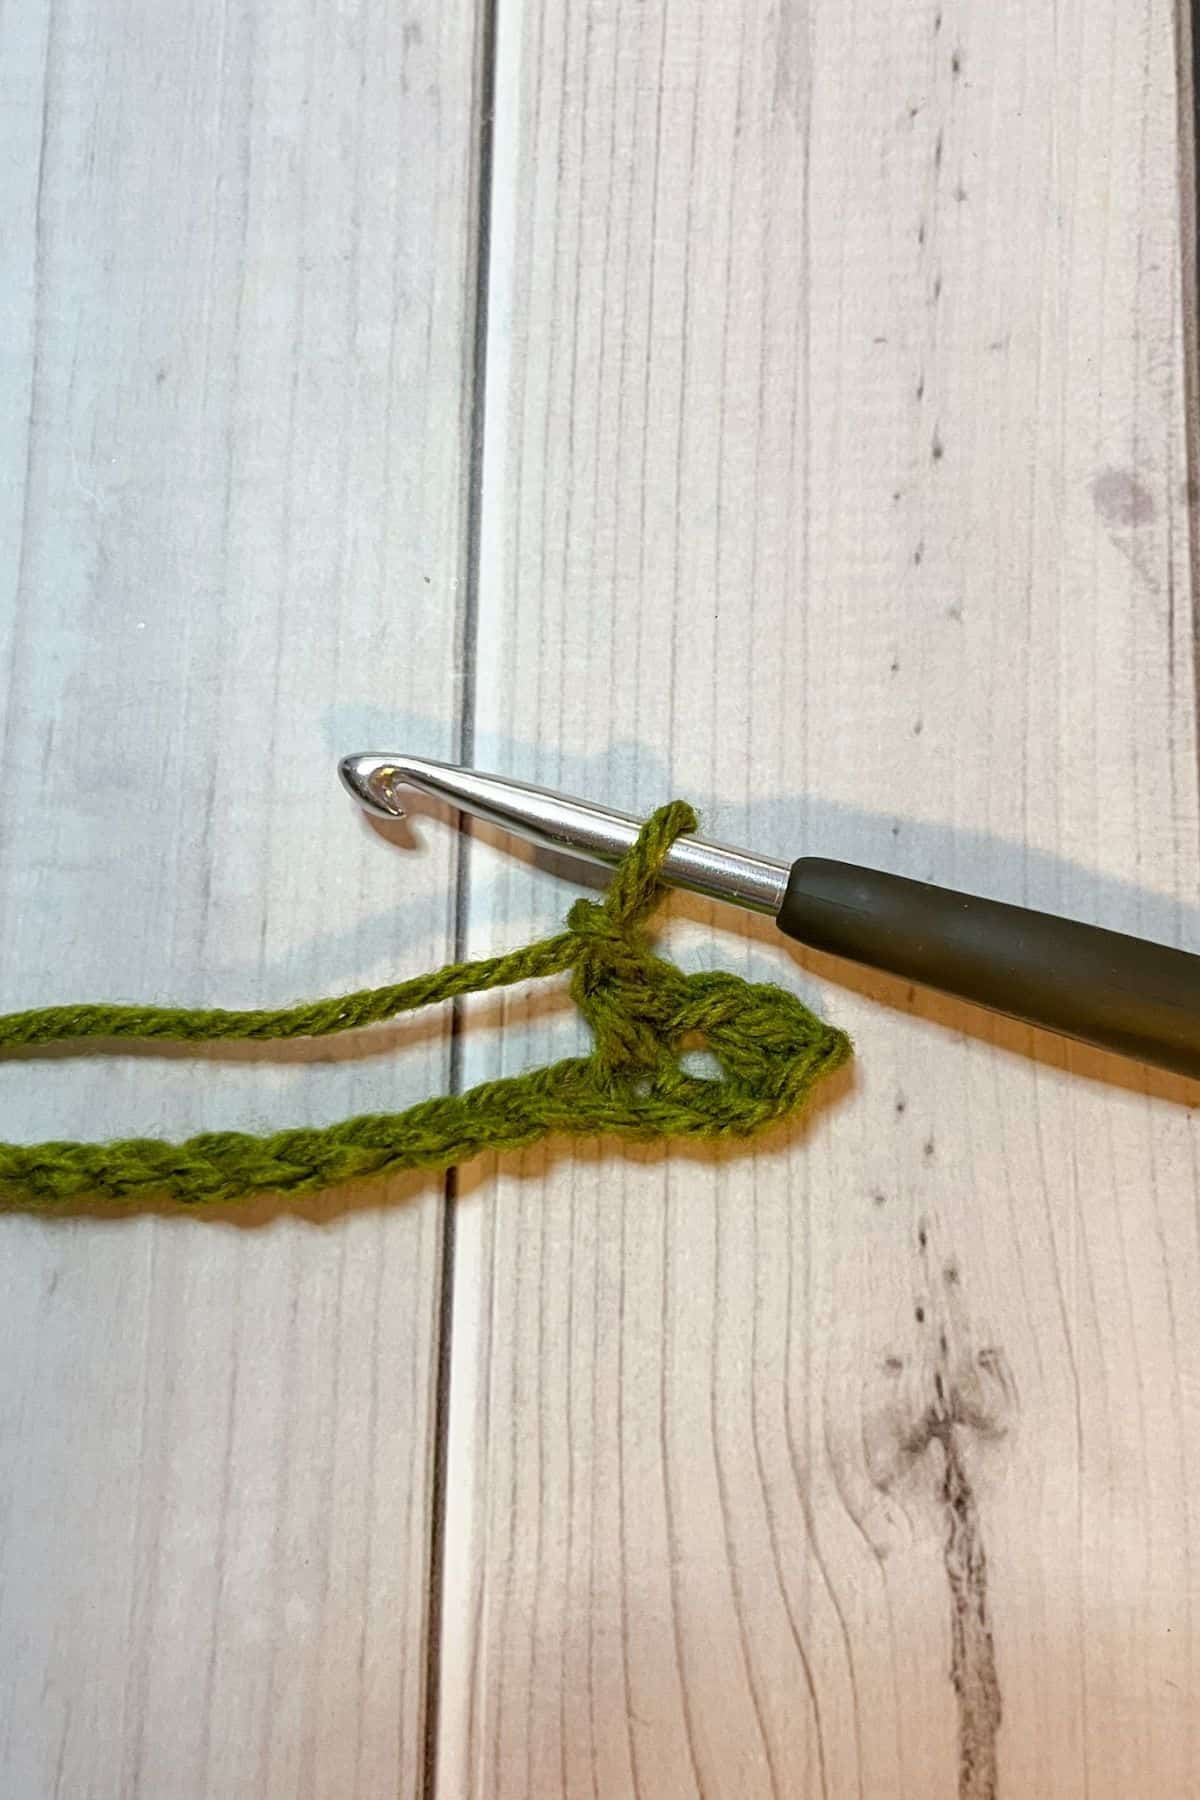
Row 2: In the second ch from the hook, make a sc. Then make a ch and skip the next stitch and make a sc.

Keep repeating ch + skipped stitch and then sc for the rest of the row. Ch x1 and turn (31).

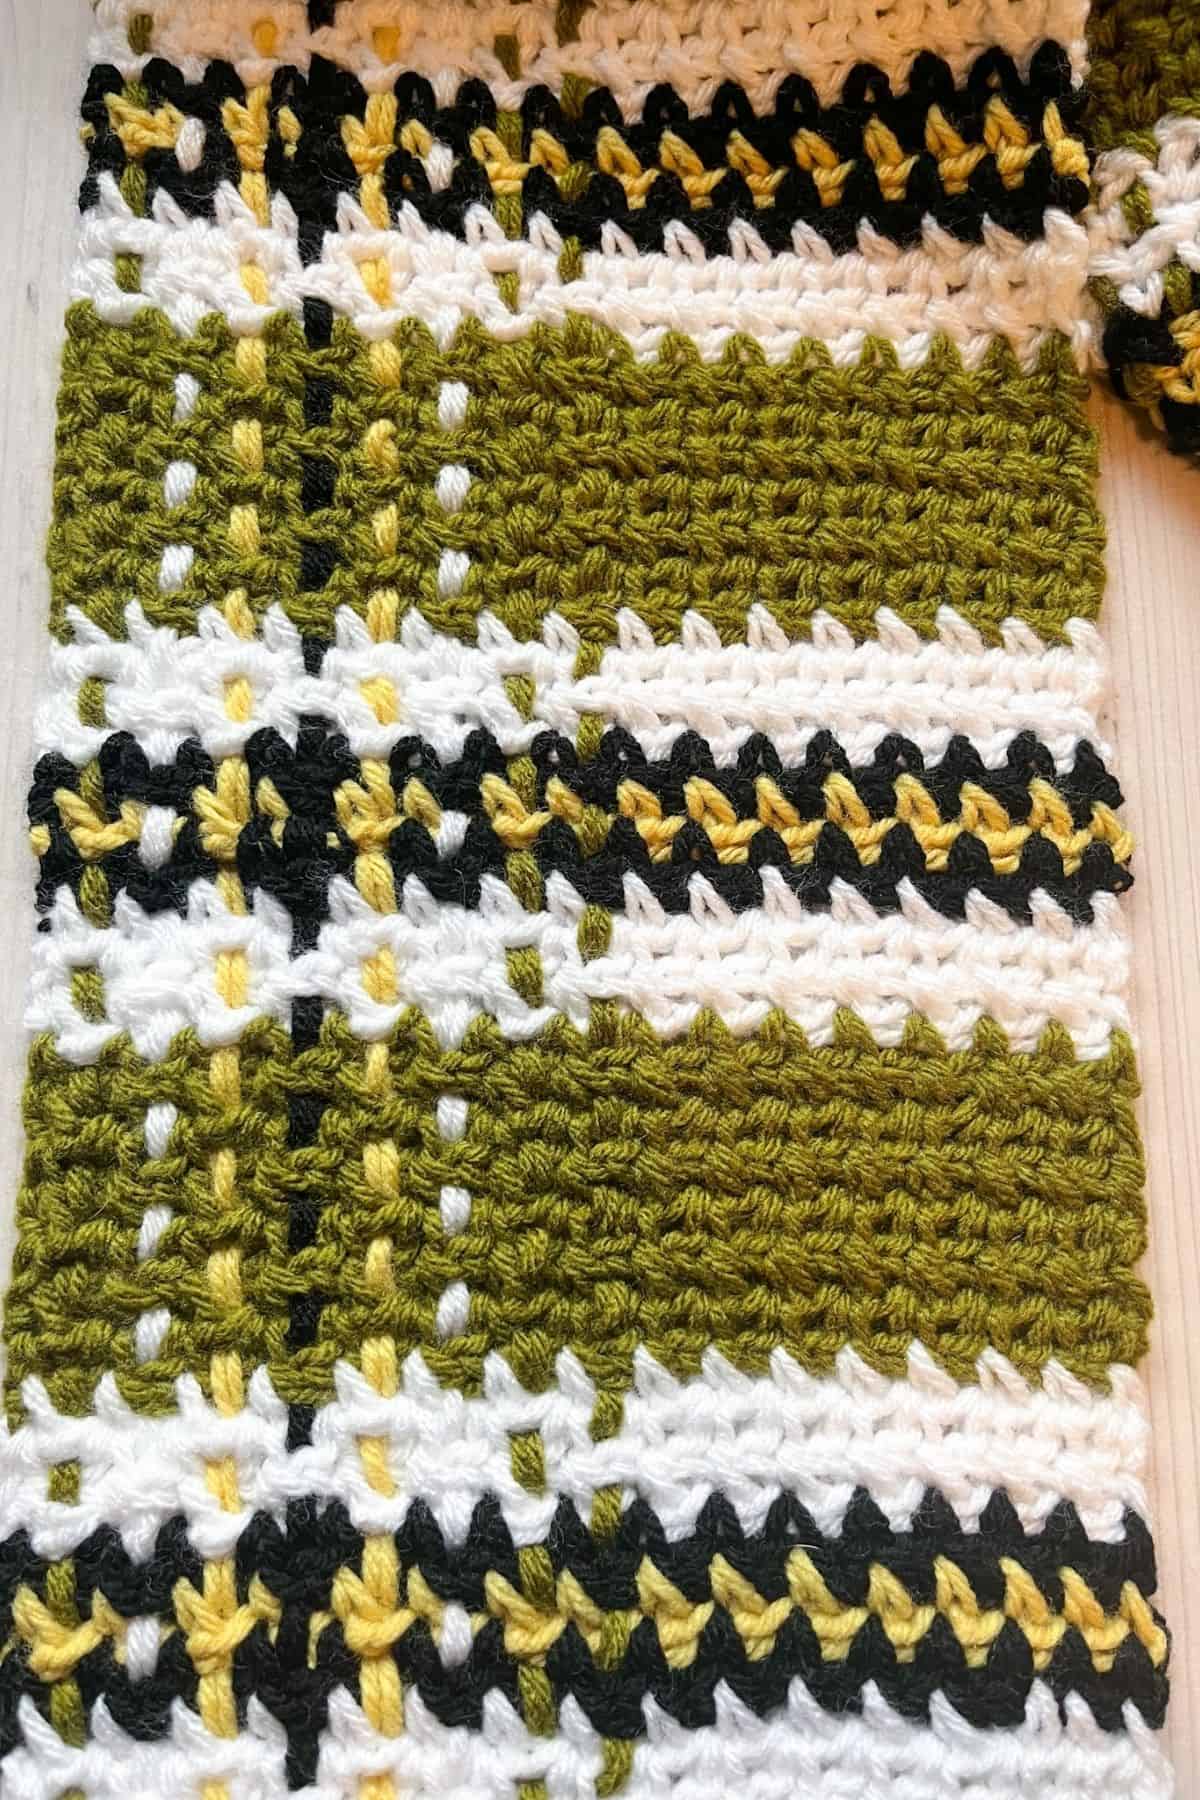
Row 3: Now find the last sc you made in the last row. Make a sc on top of it, then ch x1 and skip the ch you made before. Sc into the next sc you made from the previous round. You want to continue ch + skip previous ch and sc into the sc stitches. (31)
You want to have neat, stacked rows of sc and ch. Make sure you do not sc into the chain space from the previous row. (31)


Row 4-7: Repeat row 3. Then change the colors to white. (31)
Row 8-10: Repeat row 3 but in white. Then change colors to black. (31)
Row 11: Repeat row 3 but in black. Then change colors to yellow. (31)
Row 12: Repeat row 3 but in yellow. Then change colors to black. (31)
Row 13: Repeat row 3 but in black. Then change colors to white. (31)
Row 14-17: Repeat row 3 but in white. Then change colors to olive. (31)
Row 18-24: Repeat row 3 but in olive. Then change colors to white. (31)
Repeat row 7-24 x11 more times. Or until you reach the desired length. Just make sure you end with the olive color at the end of the scarf.
Once the main part of the scarf has been completed, it is time to weave in yarn for the length of the scarf.
Weaving in the Yarn:

To do this you will lay your scarf out flat, then measure out lengthwise the length of yarn needed so the woven yarn can reach the entire length of the scarf. Make sure it is a bit longer just in case it might end up too short + fringe length.
Cut:
- 20x olive yarn strips
- 16x yellow
- 16x white
- 8x black
With your tapestry needle, take 2 pieces of olive yarn and thread them onto the needle. Make sure the 2 yarn pieces are pretty lined up lengthwise before beginning.
Starting at the end of the scarf where there is your first row of stacked chain stitches, you will weave your needle in and out of the chains lengthwise. This will create a woven look. Make sure to leave about 6 inches down at the end for the fringe.
You will weave yarn only in the chain rows.
While weaving in the yarn make sure to stretch the scarf out if it begins to bunch up because of the weaving.
Do this technique for the entirety of the scarf but make sure that you alternate the chains you are weaving between each new row.
For weaving you should have 15 chain rows so the colors of strips should go:
Olive, white, yellow, black, yellow, white, olive, olive, olive, white, yellow, black, yellow, white and green.
Once all the weaving is done, it is time to make the fringe!
How to Make Fringe:

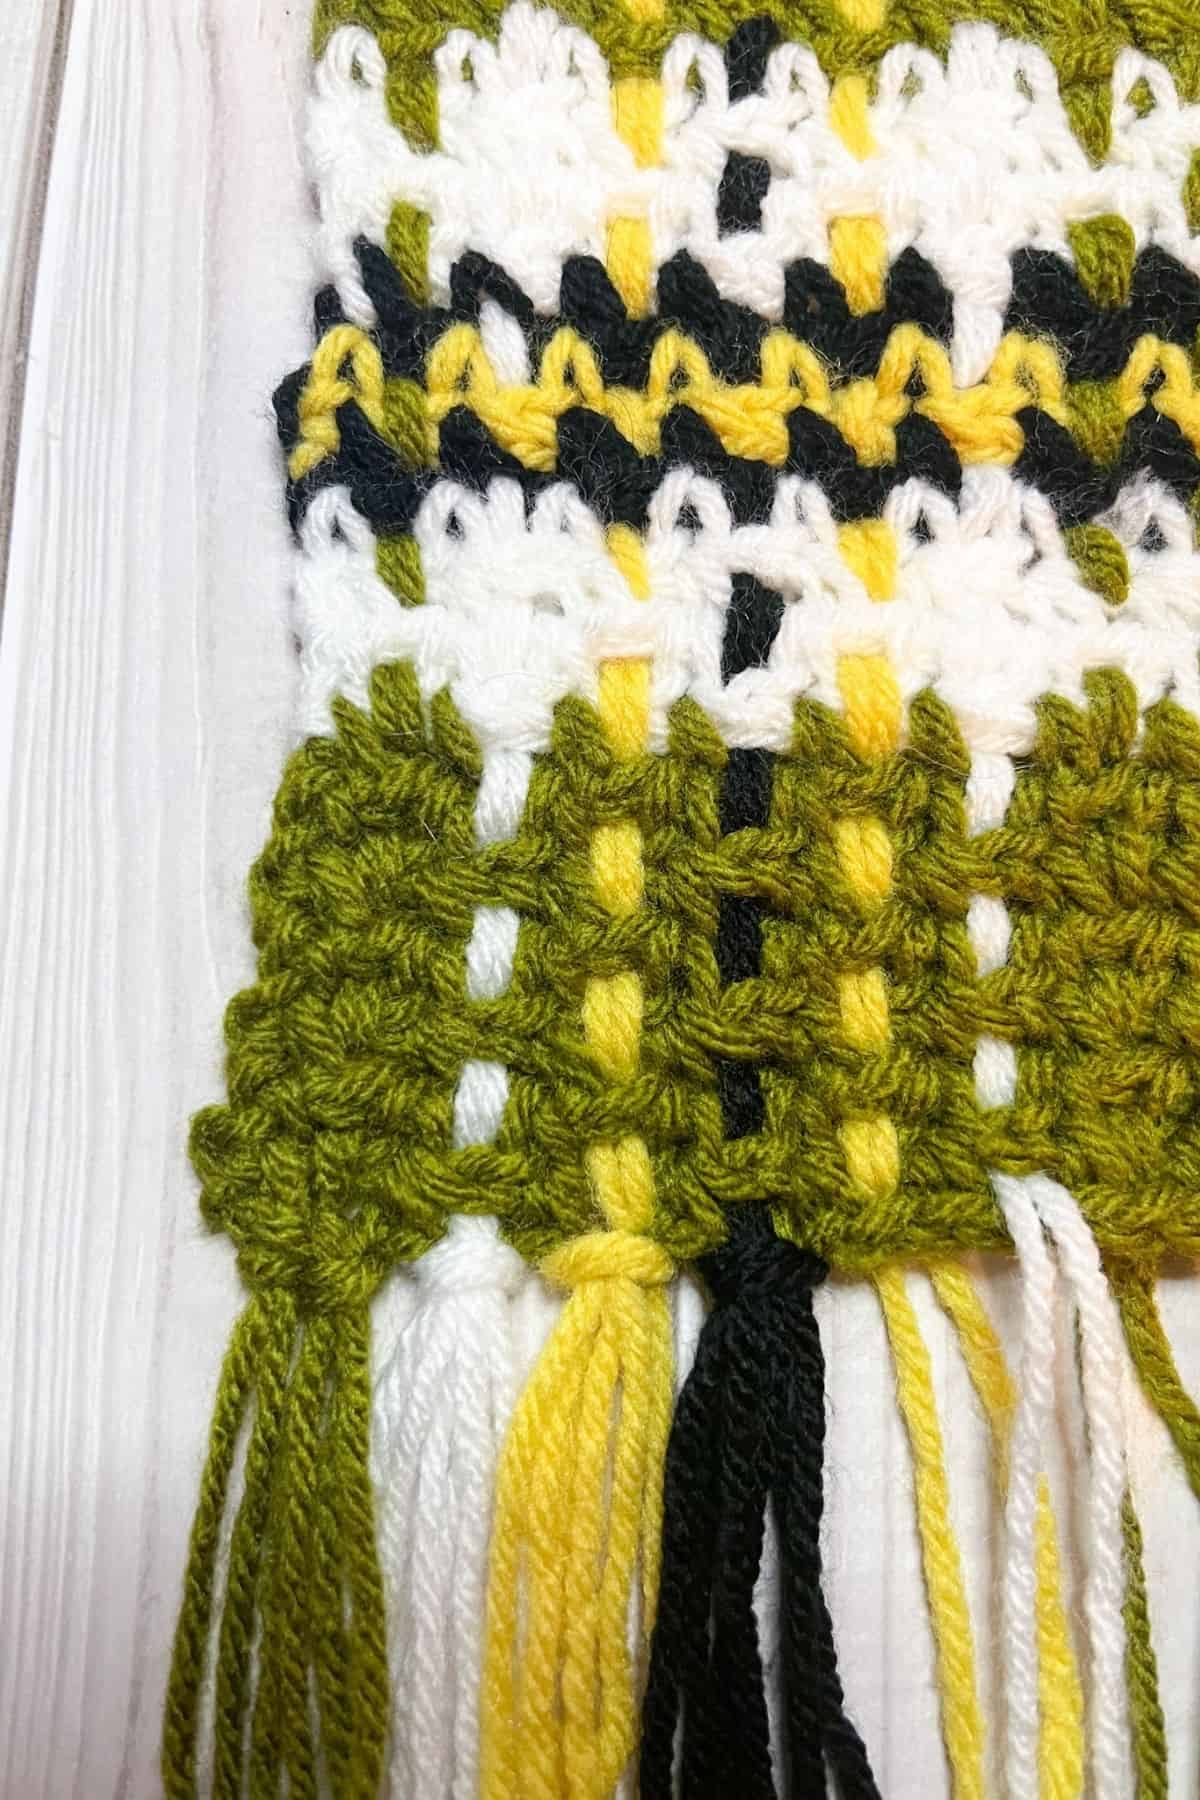
Cut 14-inch strips of yarn of:
- 20x olive yarn strips
- 16x yellow
- 16x white
- 8x black
Now you want to take 2 at a time, line them up lengthwise and then color wise with the woven yarn ends. Then loop them down into the end stitches where you made the weaving lines out of.
Pull the yarn through the loop including the 2 yarn ends from the woven rows. Pull tightly on the fringe yarn, but gently tug on the woven row yarn ends. Now you should have your first fringe.
Repeat for the rest of the row. And then repeat on the other side.
And now you should have a crochet green scarf made with the tartan technique! Happy crocheting! I hope you enjoyed my crochet green scarf pattern!
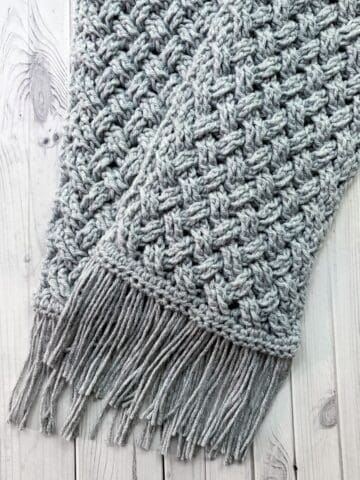
If you have any extra white and black yarn, you can make a crochet linen scarf as your next project or my crochet panda pattern if you were wanting to make some amigurumi.
If you are looking for another plaid-based project, check out my crochet plaid blanket pattern —its simple but full of color and contrast!

🐌Expert Tips
- Adjust Woven Rows: Continuously tug on the scarf as you go, readjusting any woven rows that are too tight or too loose.
- Practice Tension: Ensure even tension while working on the crochet green scarf pattern to maintain a uniform look throughout your scarf.
🧵Pattern FAQs
Absolutely just make sure you have an even amount of starting chains.
You can try your hand at making a rainbow scarf if you'd like! You just want to make sure the colors are different enough that it doesn't blend together.
Absolutely! You can use my chart as a base but alternate 2 colors for a different look, just make sure the colors are different enough it doesn’t blend into one color.

🧶More Crochet Scarf Patterns

If you tried this Crochet Green Scarf Pattern (or any other pattern on my website), please let me know how it went in the 📝 comments below. I'd love to hear from you!
Crochet Green Scarf Pattern
Abbreviations (US terms)
- ch = Chain
- sc = Single crochet
Notes
- Choose any yarn colors. Avoid chunky yarns; opt for worsted or DK weight.
- The scarf is 8 inches wide and 5.5-6 feet long.
- Explore variations in line thickness and draw inspiration from tartan patterns.
Instructions
- The crochet green scarf pattern is made in rows and then we weave in yarn lengthwise to create a crochet tartan pattern.
- Row 1: With the green yarn, ch x32
- Row 2: In the second ch from the hook, make a sc. then make a ch and skip the next stitch and make a sc. Keep repeating ch + skipped stitch and then sc for the rest of the row. Ch x1 and turn (31).
- Row 3: Now find the last sc you made in the last row. Make a sc on top of it, then ch x1 and skip the ch you made before. Sc into the next sc you made from the previous round. You want to continue ch + skip previous ch and sc into the sc stitches. (31)
- You want to have neat stacked rows of sc and ch. Make sure you do not sc into the chain space from the previous row. (31)
- Row 4-7: Repeat row 3. Then change the colors to white. (31)
- Row 8-10: Repeat row 3 but in white. Then change colors to black. (31)
- Row 11: Repeat row 3 but in black. Then change colors to yellow. (31)
- Row 12: Repeat row 3 but in yellow. Then change colors to black. (31)
- Row 13: Repeat row 3 but in black. Then change colors to white. (31)
- Row 14-17: Repeat row 3 but in white. Then change colors to olive. (31)
- Row 18-24: Repeat row 3 but in olive. Then change colors to white. (31)
- Repeat row 7-24 x11 more times. Or until you reach the desired length. Just make sure you end with the olive color at the end of the scarf.
- Once the main part of the scarf has been completed, it is time to weave in yarn for the length of the scarf.
- To do this you will lay your scarf out flat, then measure out lengthwise the length of yarn needed so the woven yarn can reach the entire length of the scarf. Make sure it is a bit longer just in case it might end up too short + fringe length.
Cut:
- 20x olive yarn strips
- 16x yellow
- 16x white
- 8x black
- With your tapestry needle, take 2 pieces of olive yarn and thread them onto the needle. Make sure the 2 yarn pieces are pretty lined up lengthwise before beginning.
- Starting at the end of the scarf where there is your first row of stacked chain stitches, you will weave your needle in and out of the chains lengthwise. This will create a woven look. Make sure to leave about 6 inches down at the end for the fringe.
- You will weave yarn only in the chain rows.
- While weaving in the yarn make sure to stretch the scarf out if it begins to bunch up because of the weaving.
- Do this technique for the entirety of the scarf but make sure that you alternate the chains you are weaving between each new row.
- For weaving you should have 15 chain rows so the colors of strips should go:
- Olive, white, yellow, black, yellow, white, olive, olive, olive, white, yellow, black, yellow, white and green.
- Once all the weaving is done, it is time to make the fringe!
Cut 14 inch strips of yarn of:
- 20x olive yarn strips
- 16x yellow
- 16x white
- 8x black
- Now you want to take 2 at a time, line them up lengthwise and then colorwise with the woven yarn ends. Then loop them down into the end stitches where you made the weaving lines out of. Pull the yarn through the loop including the 2 yarn ends from the woven rows. Pull tightly on the fringe yarn, but gently tug on the woven row yarn ends. Now you should have your first fringe.
- Repeat for the rest of the row. And then repeat on the other side.
- And now you should have a crochet green scarf made with the tartan technique! Happy crocheting! I hope you enjoyed my crochet green scarf pattern!


Nicole Durham says
Very easy to make and perfect for beginners. I loved that the colors were in small blocks so it was like I had a lot of little "accomplishments or wins" along the way and watching it come together at the end was awesome. The best part was that because the pattern is stitch, skip, stitch, you were able to know within 2 or 3 rows if you accidentally dropped a stitch somewhere. If you're a habitual stitch dropper or adder like I am, this is perfect because you catch your mistakes soon after, so there's very little to frog and repeat. Much less devastating than needing to frog an entire project.
Kimberly Arenas says
Glad you liked it!