
This simple crochet granny square bag is the perfect blend of sophistication and style. By only using 2 crochet granny squares, it makes this crochet pattern easy to make and takes little to no time at all!

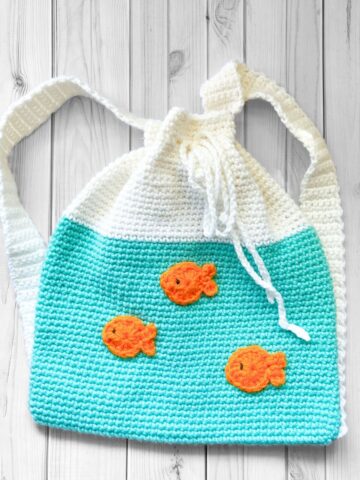
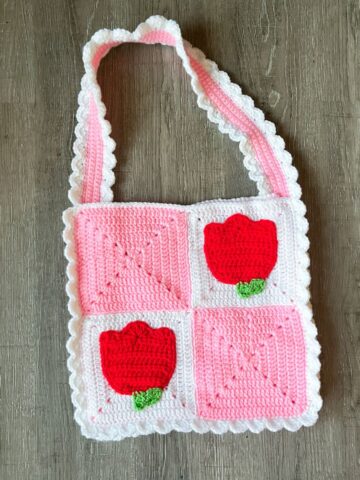
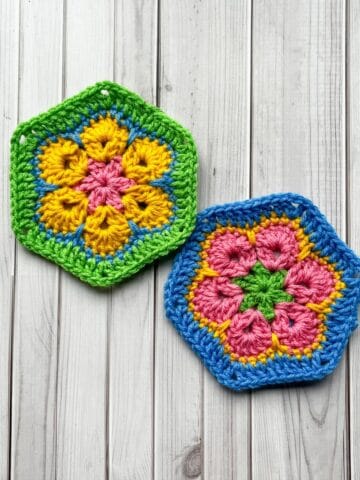
My sister has been complaining to me that my crochet bag patterns are too intricate, and she wanted smoothing that was small and easy to make. She is still new to crocheting and has made my crochet strawberry bag pattern before, but she wants to work herself up to my crochet African flower bag pattern and my crochet backpack pattern - both use granny squares similar to this one. Except this crochet granny square purse uses less squares and has minimal sewing - perfect for a beginner.
I never make simple crochet bags like this one, but I am glad that I did. It was quick and easy to do while I rested my brain from the week before where I published 5 new crochet patterns, 2 of them being my crochet coin purse pattern and crochet popsicle holder pattern (both became instant hits!),
I guess you can say this crochet granny square bag pattern came out of the need for my sister to have a simple granny square crochet bag that she can use every day as well as a stepping stone to her other ambitious projects she wants to make with my patterns.
Whether you're new to crochet or an experienced maker, this bag is a fun project that results in a stunning accessory you’ll want to carry everywhere.
Jump to:
✏️ Things To Note:
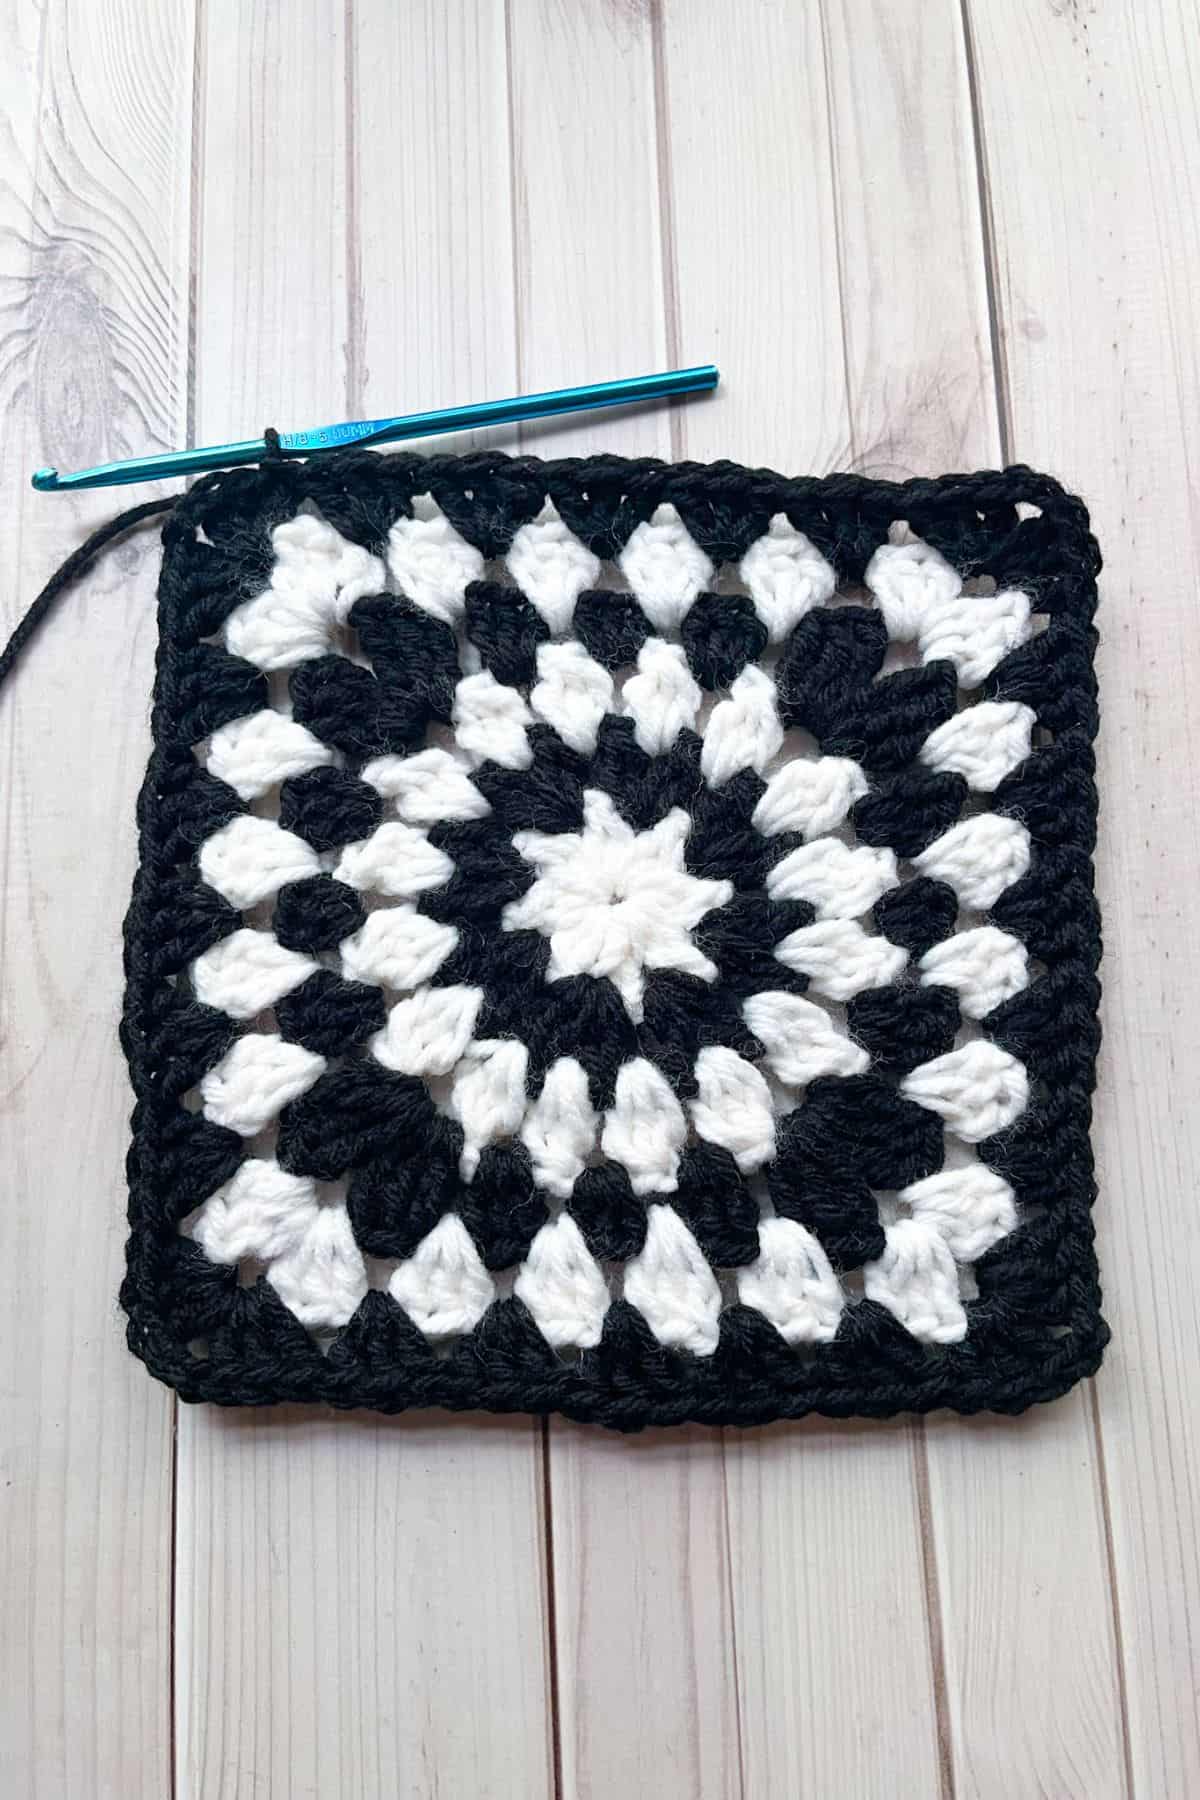
- Square Size: Each granny square is 9 inches and consists of 7 rounds.
- Customizing the Size: If you want a larger or smaller crochet granny square bag, simply adjust the number of rounds used after creating the center. You can continue making the granny square into a larger square after round 6, just make sure you make a cluster in each space and make 2 clusters and 2 chains in the corners.
- Strap: Feel free to customize the strap length or width to your preference, whether you prefer a longer crossbody strap or a shorter handle. I personally made this extra long so I can use it as the middle for my crochet granny square bag. I wanted a wider crochet purse instead of having it flat. If you want it flat, feel free to cut the length of the strap in half.
🪡 Materials Needed
💭Abbreviations to Remember (US terms)
- Chains (ch)
- Single crochet (sc)
- Double crochet (dc)
- Half double crochet (hdc)
- Triple crochet (tr)
- Slip stitch (sl st)
🧋Variations
- Color Combinations: Instead of sticking to a black and white palette, experiment with vibrant, bold colors or pastel shades for a fresh look. You could even try a gradient effect across the squares for a striking ombré design.
- Shape and Size: If you want a smaller crochet granny square bag, use a smaller hook, or if you’re craving a larger bag, increase the number of rounds you use.
- Add a Lining: For extra durability and to make your bag even more polished, consider lining the inside with fabric. You can match the fabric to your yarn colors or use a contrasting print for a fun surprise when you open the bag!
🍵Instructions for Crochet Granny Square Bag Pattern
For this Granny Square Bag Pattern, we will be working in rounds.
Make x2


Round 1: With white, make a magic ring, and ch x3 (counts as a dc), dc, ch x1 into the magic ring. *Dc x2, ch x1* and then repeat 6 more times. Then join with a sl st to top of the beginning ch x3 and fasten off (16 dc + 8 ch spaces). Fasten off the white yarn.
Round 2: Join the black yarn to any ch x1 space. Ch x3 and dc, ch x1, dc x2 in the same ch x1 space from the round below. *Next ch x1 and then dc x2, ch x1, and dc x2 into the next ch x1 space*. Repeat for the rest of the round, and then ch x1 before making a sl st to the top of the beginning ch x3 (32 dc + 16 ch spaces). Fasten off the black yarn.


Round 3: Join the white yarn to any ch x1 space. Then ch x3 and make a 2-dc cluster, in the same stitch.
To make a 2-dc cluster: *yarn over, insert hook into the stitch or space, yarn over and pull up a loop (3 loops on hook). Then yarn over, pull through 2 loops (2 loops remain on hook). Repeat from * one more time, always inserting into the same stitch or space. You'll have 3 loops on the hook. Yarn over, pull through all 3 loops.
Then ch x2 and *make a 3-dc cluster (4 loops on the hook) in the next available stitch. Ch x2. Repeat from * for the rest of the round. Then when you get to the end of the round make a sl st to the top of the first dc cluster stitch. (16 dc clusters + 16 ch x2 spaces). Fasten off the white yarn.
Round 4: Now we will square off the sunburst granny square. Join the black yarn to a ch x2 space from the round below.
Then ch x4 and tr x2 into the ch space. In the next ch x2 space dc x3. In the following ch x2 spaces complete the following: hdc x3, dc x3,
*tr x3 + ch x3 + tr x3 (this is a corner), dc x3, hdc x3, dc x3*
Repeat from * 2 more times. When you get to the half corner that was done in the beginning of the round, go ahead and tr x3 and ch x3 into that corner then sl st to the top of the first ch x4 (which acts as a triple crochet). (60 + 4 ch x3 spaces). Note: I don’t add chains in between clusters at this point in the pattern. Then fasten off the black yarn.
Round 5: Join the white yarn into a corner space and ch x3 (acts as a dc). Then dc x2, ch x2, and dc x3 into the corner. For every gap between clusters in the round below, dc x3. When you get to a ch x3 space from the round before, make a dc x3 + ch x2 + dc x3. When you get to the beginning, sl st to the ch x3 and fasten off the white yarn.

Round 6: Join the black yarn and basically repeat what round 6 was - start in the corner, ch x3, dc x2, ch x2, dc x2 into the corner and dc cluster all the way around the square. Then sl st the beginning and DO NOT fasten off.
Round 7: Continuing with the black yarn, ch x3 then dc in the top of every dc stitch in the previous round, when you get to the corner ch space, just dc x2, ch x2 and dc x2. Fasten off the black yarn and weave in the ends.
Crochet Bag Strap:
I made this strap to be the middle of the bag as well as the strap so it is a bit long.

Row 1: With the black yanr ch x215. Then turn.
Row 2: In the second ch from the hook, make a sc. Repeat making sc stitches for the rest of the chain length. At the end of the row, ch x1 and then turn.
Row 3-4: Sc in every stitch. Then ch x1 and turn. On the last row - fasten off but leave a tail for sewing.
Sewing:
Sew one of the end points of the strap to a corner of one of the granny squares. I used the humble whip stitch for this bit. You could use any method of sewing - even just crocheting these pieces together. Continue sewing 3 full sides of the granny square to the strap then fasten off and repeat for the other side of the bag with the other granny square.
Weave in any tails and your new crochet granny square bag is complete!
I hope this pattern wasn’t too difficult for you! If you want you can always add a lining, a zipper or closure at the top if you like.
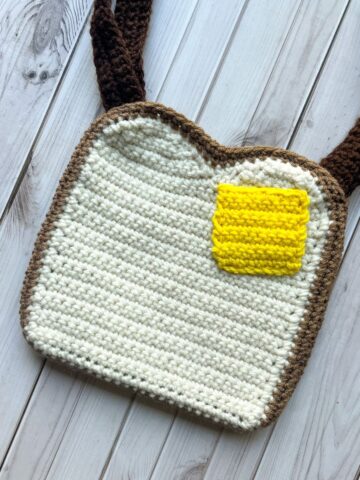
If you are interested in some other crochet bag designs that use granny squares, check out my crochet lemon bag pattern and my crochet emoji bag pattern.

🐌Expert Tips
- Consistent Tension: Maintaining a consistent tension is crucial for neat squares and a sturdy bag. If your squares are too tight, they can become stiff and difficult to join. While loose squares might not hold their shape properly.
- Blocking: Before you start assembling your squares, consider blocking them to ensure they are the correct size and shape. This step can help to even out any minor imperfections and gives your squares a polished, professional finish.
- Sewing the Bag: Make sure your stitches on all 4 sides of your granny square are equal to make sewing the bag easier for you.
🧵Pattern FAQs
You can use any yarn that suits your style and preferences, but I recommend a medium-weight yarn (like worsted weight) for a sturdy bag. Cotton yarns work great for a more structured feel, while acrylics are softer and easier to care for. If you want to make this crochet bag larger, use bulky yarn to make this the size of a tote bag.
Absolutely! While the pattern uses a classic black and white design you can use whatever colors you want! You can even make it a rainbow color if you want.
While lining the bag isn’t required, it can add extra durability and structure, as well as a smooth interior. You can use any fabric that complements the crochet design or adds a fun surprise inside!

🧶More Crochet Bag Patterns
If you tried this Crochet Granny Square Bag Pattern (or any other pattern on my website), please let me know how it went in the 📝 comments below. I'd love to hear from you!

Crochet Granny Square Bag Pattern
Abbreviations (US terms)
- Chains - ch
- Single crochet - sc
- Double crochet - dc
- Half double crochet - hdc
- Triple crochet - tr
- Slip stitch - sl st
Notes
- Square Size: Each granny square is 9 inches and consists of 7 rounds.
- Customizing the Size: If you want a larger or smaller bag, simply adjust the number of rounds used after creating the center. You can continue making the granny square into a larger square after round 6, just make sure you make a cluster in each space and make 2 clusters and 2 chains in the corners.
- Strap: Feel free to customize the strap length or width to your preference, whether you prefer a longer crossbody strap or a shorter handle. I personally made this extra long so I can use it as the middle for my crochet bag. I wanted a wider crochet purse instead of having it flat. If you want it flat, feel free to cut the length of the strap in half.
Instructions
- For this Crochet Granny Square Bag Pattern, we will be working in rounds.
Make x2
- Round 1: With white, make a magic ring, and ch x3 (counts as a dc), dc, ch x1 into the magic ring. *Dc x2, ch x1* and then repeat 6 more times. Then join with a sl st to top of the beginning ch x3 and fasten off (16 dc + 8 ch spaces). Fasten off the white yarn.
- Round 2: Join the black yarn to any ch x1 space. Ch x3 and dc, ch x1, dc x2 in the same ch x1 space from the round below. *Next ch x1 and then dc x2, ch x1, and dc x2 into the next ch x1 space*. Repeat for the rest of the round, and then ch x1 before making a sl st to the top of the beginning ch x3 (32 dc + 16 ch spaces). Fasten off the black yarn.
- Round 3: Join the white yarn to any ch x1 space. Then ch x3 and make a 2-dc cluster. in the same stitch.
- To make a 2-dc cluster: *yarn over, insert hook into the stitch or space, yarn over and pull up a loop (3 loops on hook). Then yarn over, pull through 2 loops (2 loops remain on hook). Repeat from * one more time, always inserting into the same stitch or space. You'll have 3 loops on the hook. Yarn over, pull through all 3 loops.
- Then ch x2 and *make a 3-dc cluster (4 loops on the hook) in the next available stitch. Ch x2. Repeat from * for the rest of the round. Then when you get to the end of the round make a sl st to the top of the first dc cluster stitch. (16 dc clusters + 16 ch x2 spaces). Fasten off the white yarn.
- Round 4: Now we will square off the sunburst granny square. Join the black yarn to a ch x2 space from the round below.
- Then ch x4 and tr x2 into the ch space. In the next ch x2 space dc x3. In the following ch x2 spaces complete the following: hdc x3, dc x3,
- *tr x3 + ch x3 + tr x3 (this is a corner), dc x3, hdc x3, dc x3*
- Repeat from * 2 more times. When you get to the half corner that was done in the beginning of the round, go ahead and tr x3 and ch x3 into that corner then sl st to the top of the first ch x4 (which acts as a triple crochet). (60 + 4 ch x3 spaces). Note: I don’t add chains in between clusters at this point in the pattern. Then fasten off the black yarn.
- Round 5: Join the white yarn into a corner space and ch x3 (acts as a dc). Then dc x2, ch x2, and dc x3 into the corner. For every gap between clusters in the round below, dc x3. When you get to a ch x3 space from the round before, make a dc x3 + ch x2 + dc x3. When you get to the beginning, sl st to the ch x3 and fasten off the white yarn.
- Round 6: Join the black yarn and basically repeat what round 6 was - start in the corner, ch x3, dc x2, ch x2, dc x2 into the corner and dc cluster all the way around the square. Then sl st the beginning and DO NOT fasten off.
- Round 7: Continuing with the black yarn, ch x3 then dc in the top of every dc stitch in the previous round, when you get to the corner ch space, just dc x2, ch x2 and dc x2. Fasten off the black yarn and weave in the ends.
Crochet Bag Strap:
- I made this strap to be the middle of the bag as well as the strap so it is a bit long.
- Row 1: With the black yanr ch x215. Then turn.
- Row 2: In the second ch from the hook, make a sc. Repeat making sc stitches for the rest of the chain length. At the end of the row, ch x1 and then turn.
- Row 3-4: Sc in every stitch. Then ch x1 and turn. On the last row - fasten off but leave a tail for sewing.
Sewing:
- Sew one of the end points of the strap to a corner of one of the granny squares (I used the humble whip stitch for this bit; you could use any method of sewing - even just crocheting these pieces together). Continue sewing 3 full sides of the granny square to the strap then fasten off and repeat for the other side of the bag with the other granny square.
- Weave in any tails and your new crochet granny square bag is complete!
- I hope this pattern wasn’t too difficult for you! If you want you can always add a lining, a zipper or closure at the top if you like.

Leave a Reply