

Crochet yourself a lovely bouquet this spring with my lavender crochet pattern! It is cute, quick, and soon you will have a field of lavender in your living room!
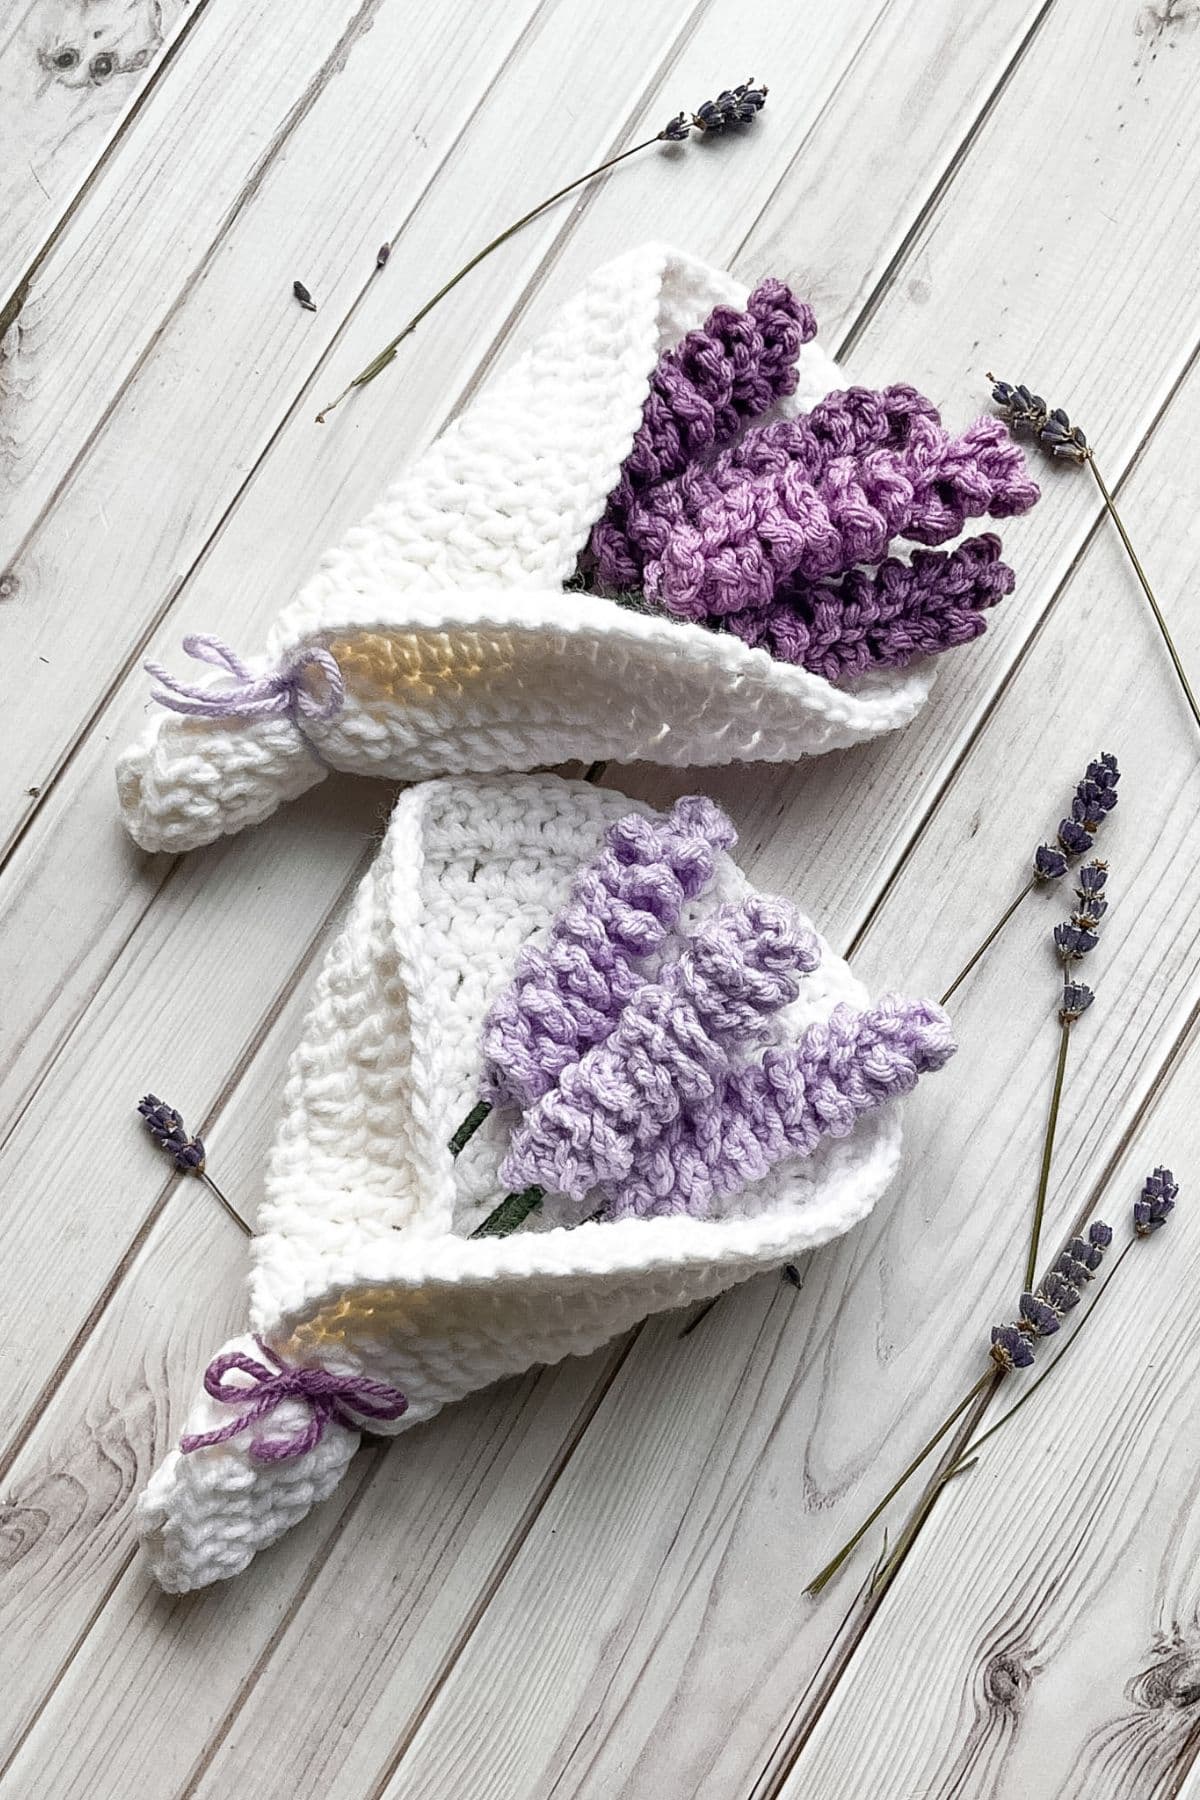
I love flowers, and one of my favorites is lavender. As someone who is newer to crocheting flowers for bouquets I knew this would be an easy one to start with. And I was not wrong! The flower part itself takes around 10 minutes to crochet and then another few minutes to assemble!
I will say be very careful when working with hot glue! I am out of practice and burnt my finger a little bit.
If you are looking for a few crochet flower patterns that do not use hot glue, check out my crochet tulip keychain pattern, crochet sunflower pillow pattern, or my crochet 6 petal flower coaster pattern.
Now let’s get started on making this free crochet lavender pattern!
Jump to:
✏️ Things To Note:
- Size: I cut my floral wire stems in half so my crochet lavender flowers are roughly 6-7 inches tall.
- Hot glue: All crochet stemmed flowers use hot glue for assembly. Please be careful with the glue and remember you only need a tiny bit, if you add a ton of glue it can be messy and look unrefined. You are also more susceptible to being burned if you use more than just a little drop.
- Beginner-Friendly: If you're new to crochet, don't worry — the lavender crochet pattern is very approachable for beginners! It uses basic stitches like chains and slip stitches.
🪡 Materials Needed
- Red Heart Yarn - Medium Purple
- Caron One Pound Yarn - Lilac
- Red Heart Yarn - Dark Leaf
- Caron One Pound Yarn - White
- Floral Stems -16 gauge
- 4mm Hook
- Hot glue
- Hot glue gun
- Pliers
💭Abbreviations to Remember (US terms)
- Chains (ch)
- Slip stitches (sl st)
- Magic ring (mr)
- Double crochet (dc)
🧋Variations
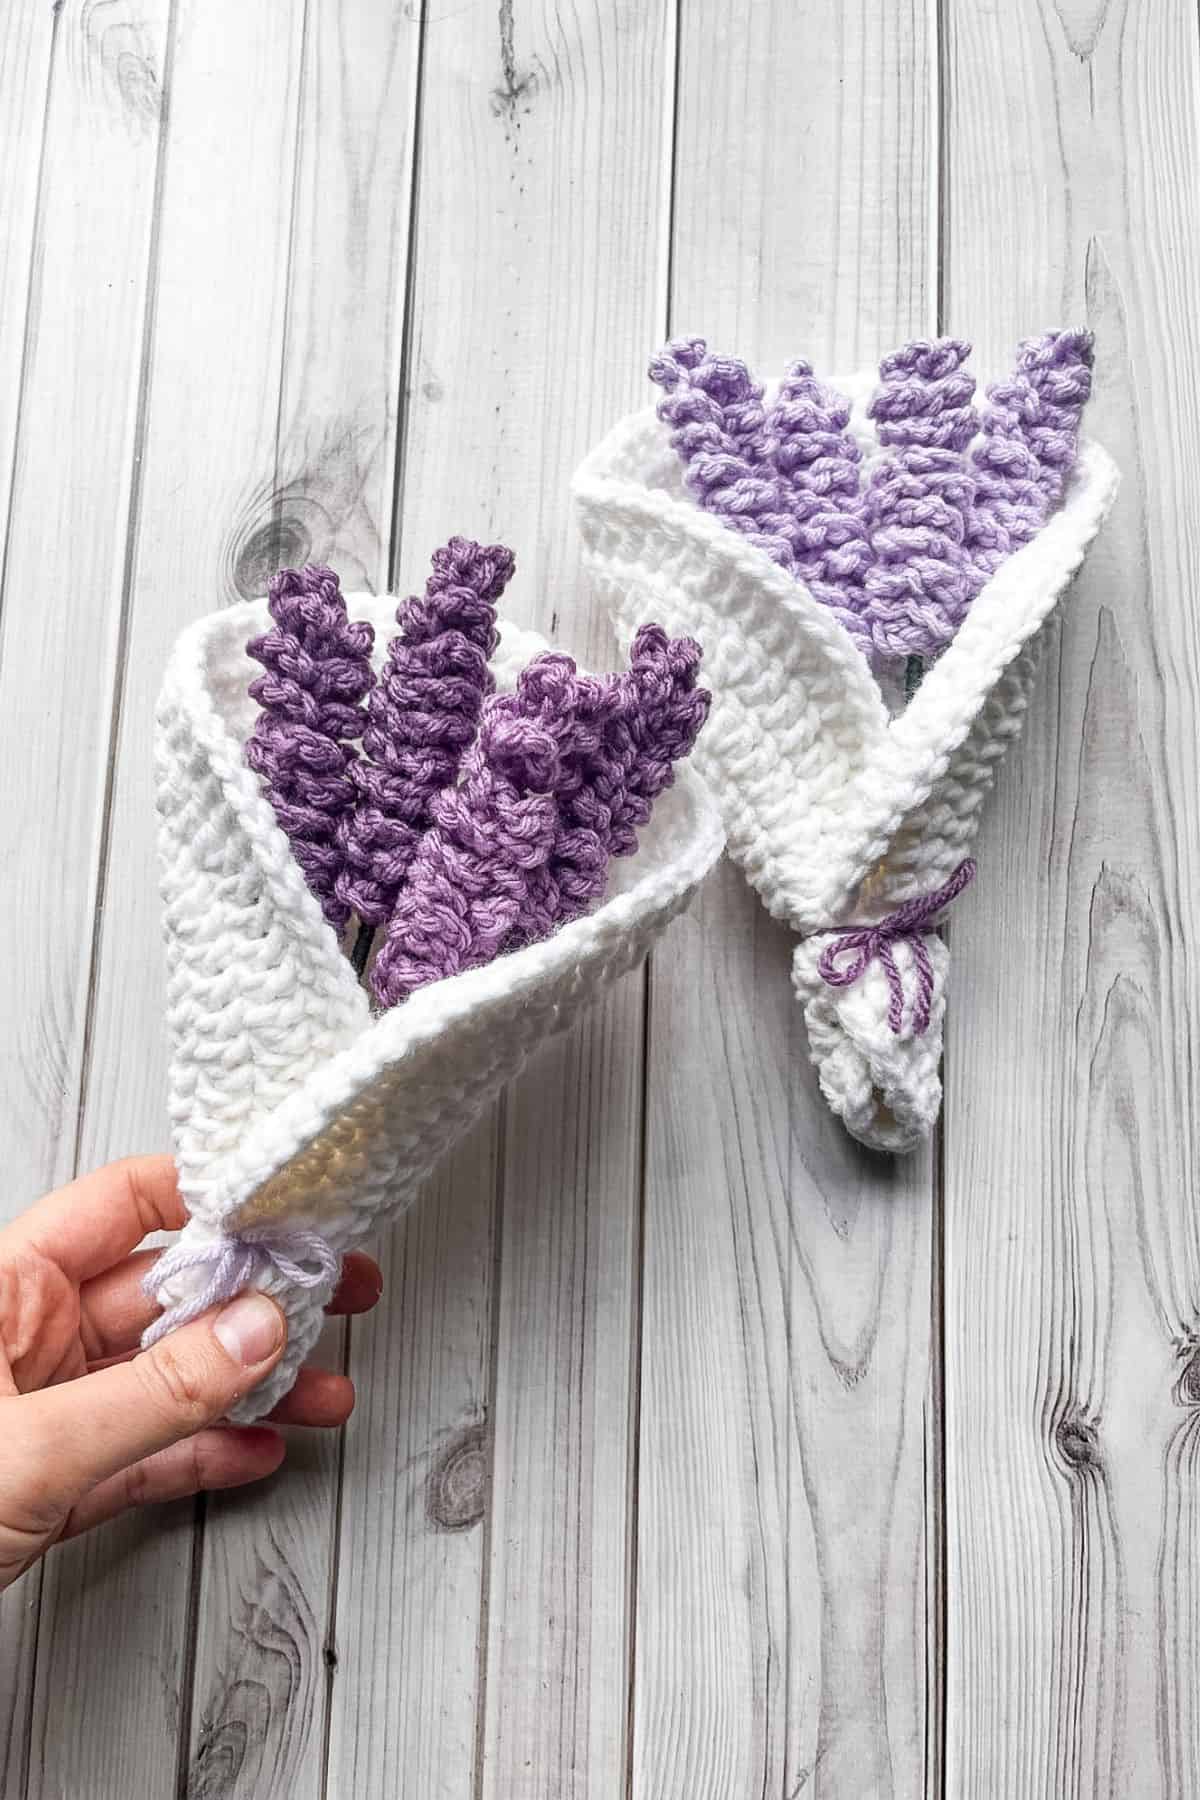
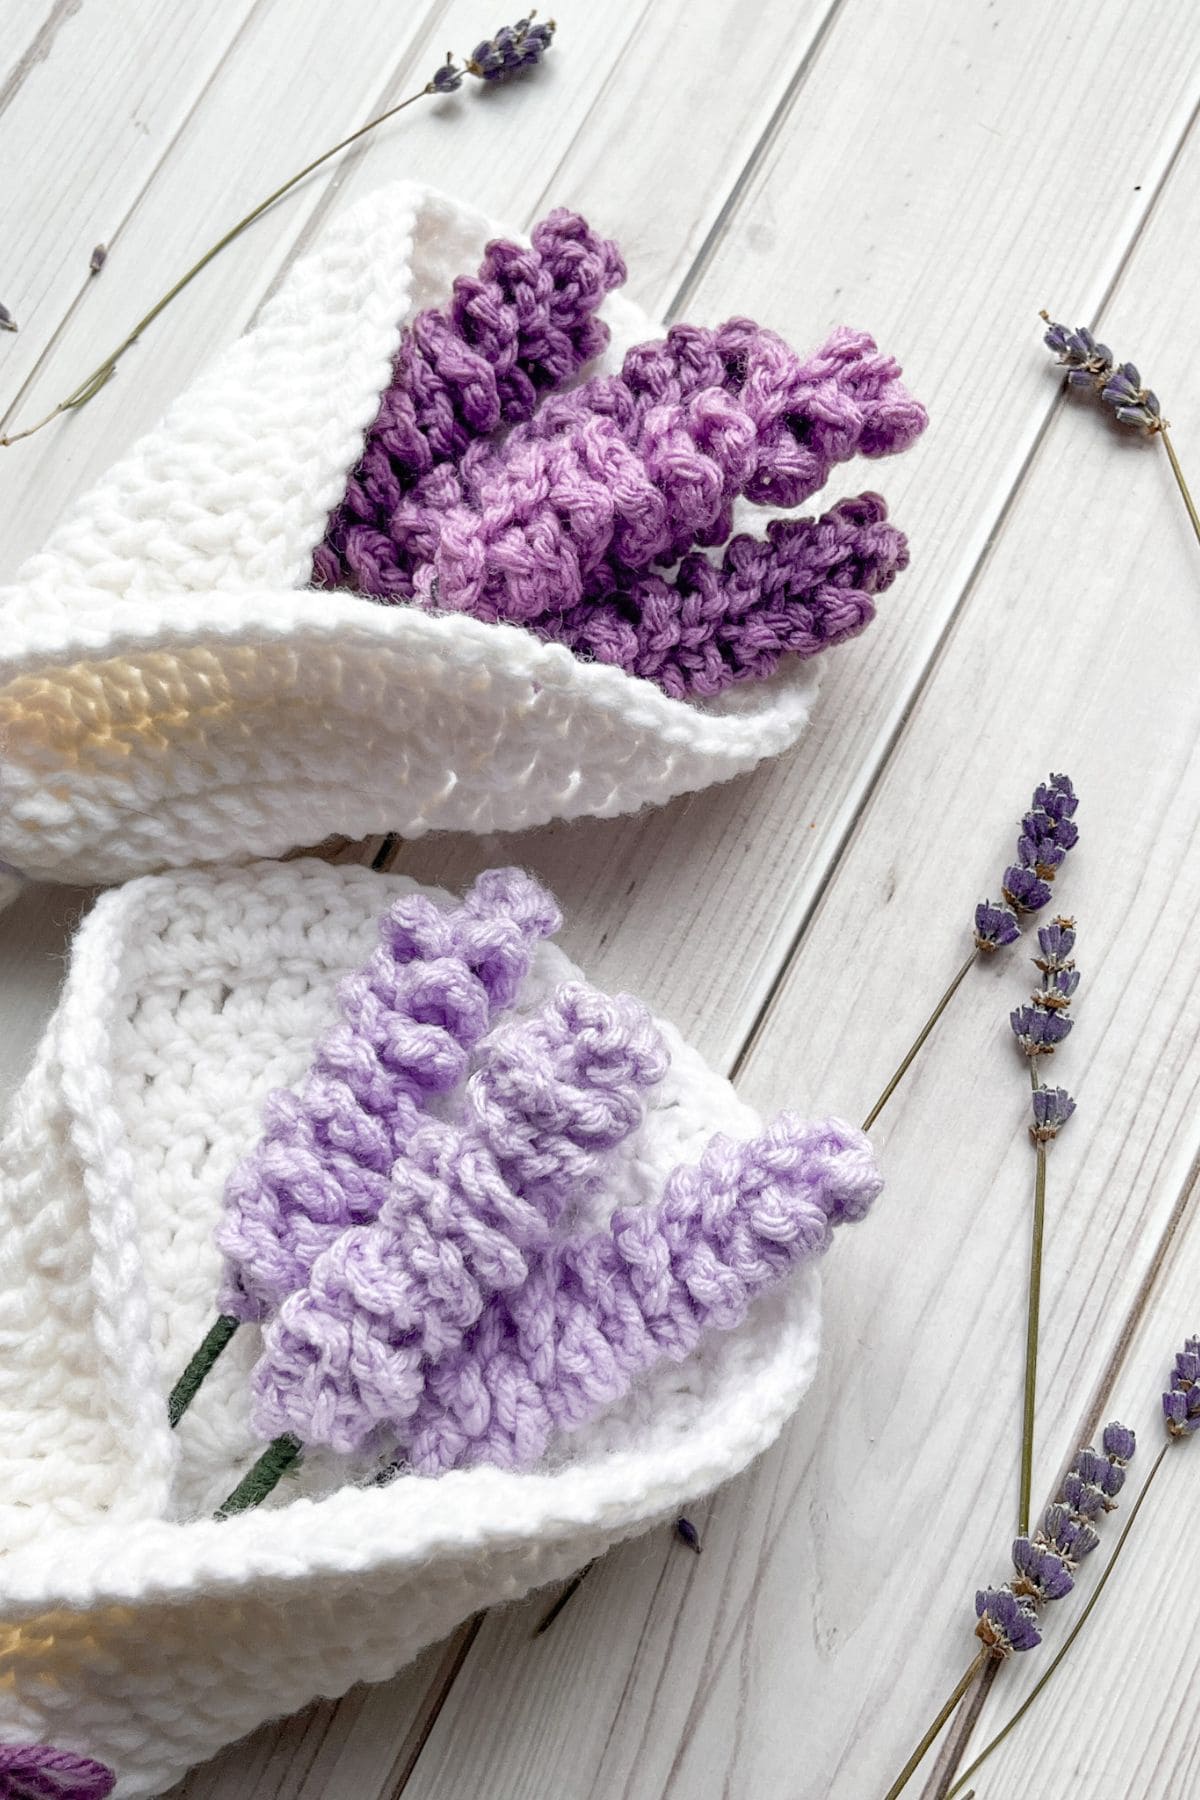
Add to bouquets with an assortment of other flowers or put them in vases instead of the crochet bouquet wrapping.
🍵Instructions for Lavender Crochet Pattern
For this crochet lavender flower pattern, we will be working in rows.
Crochet Lavender Flower:
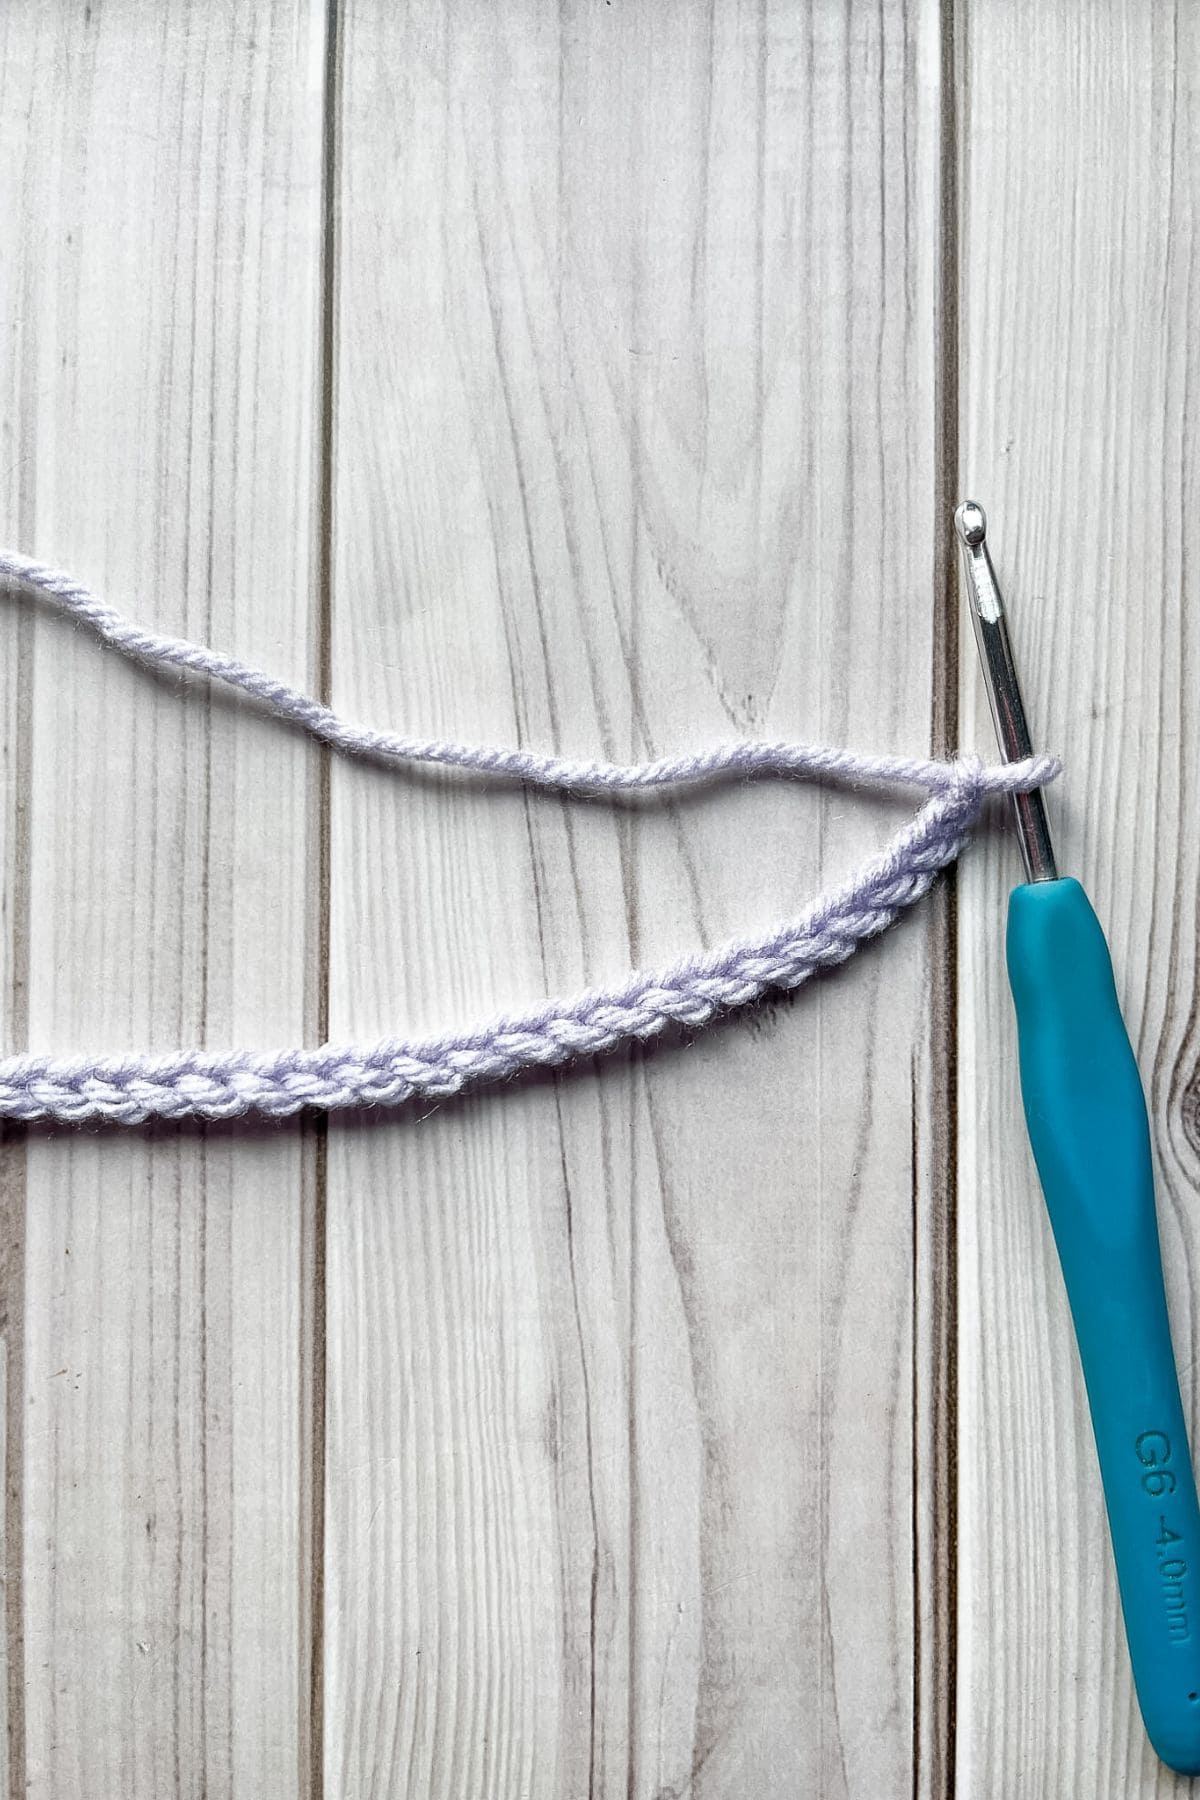
Step 1: With any purple yarn, ch x30.
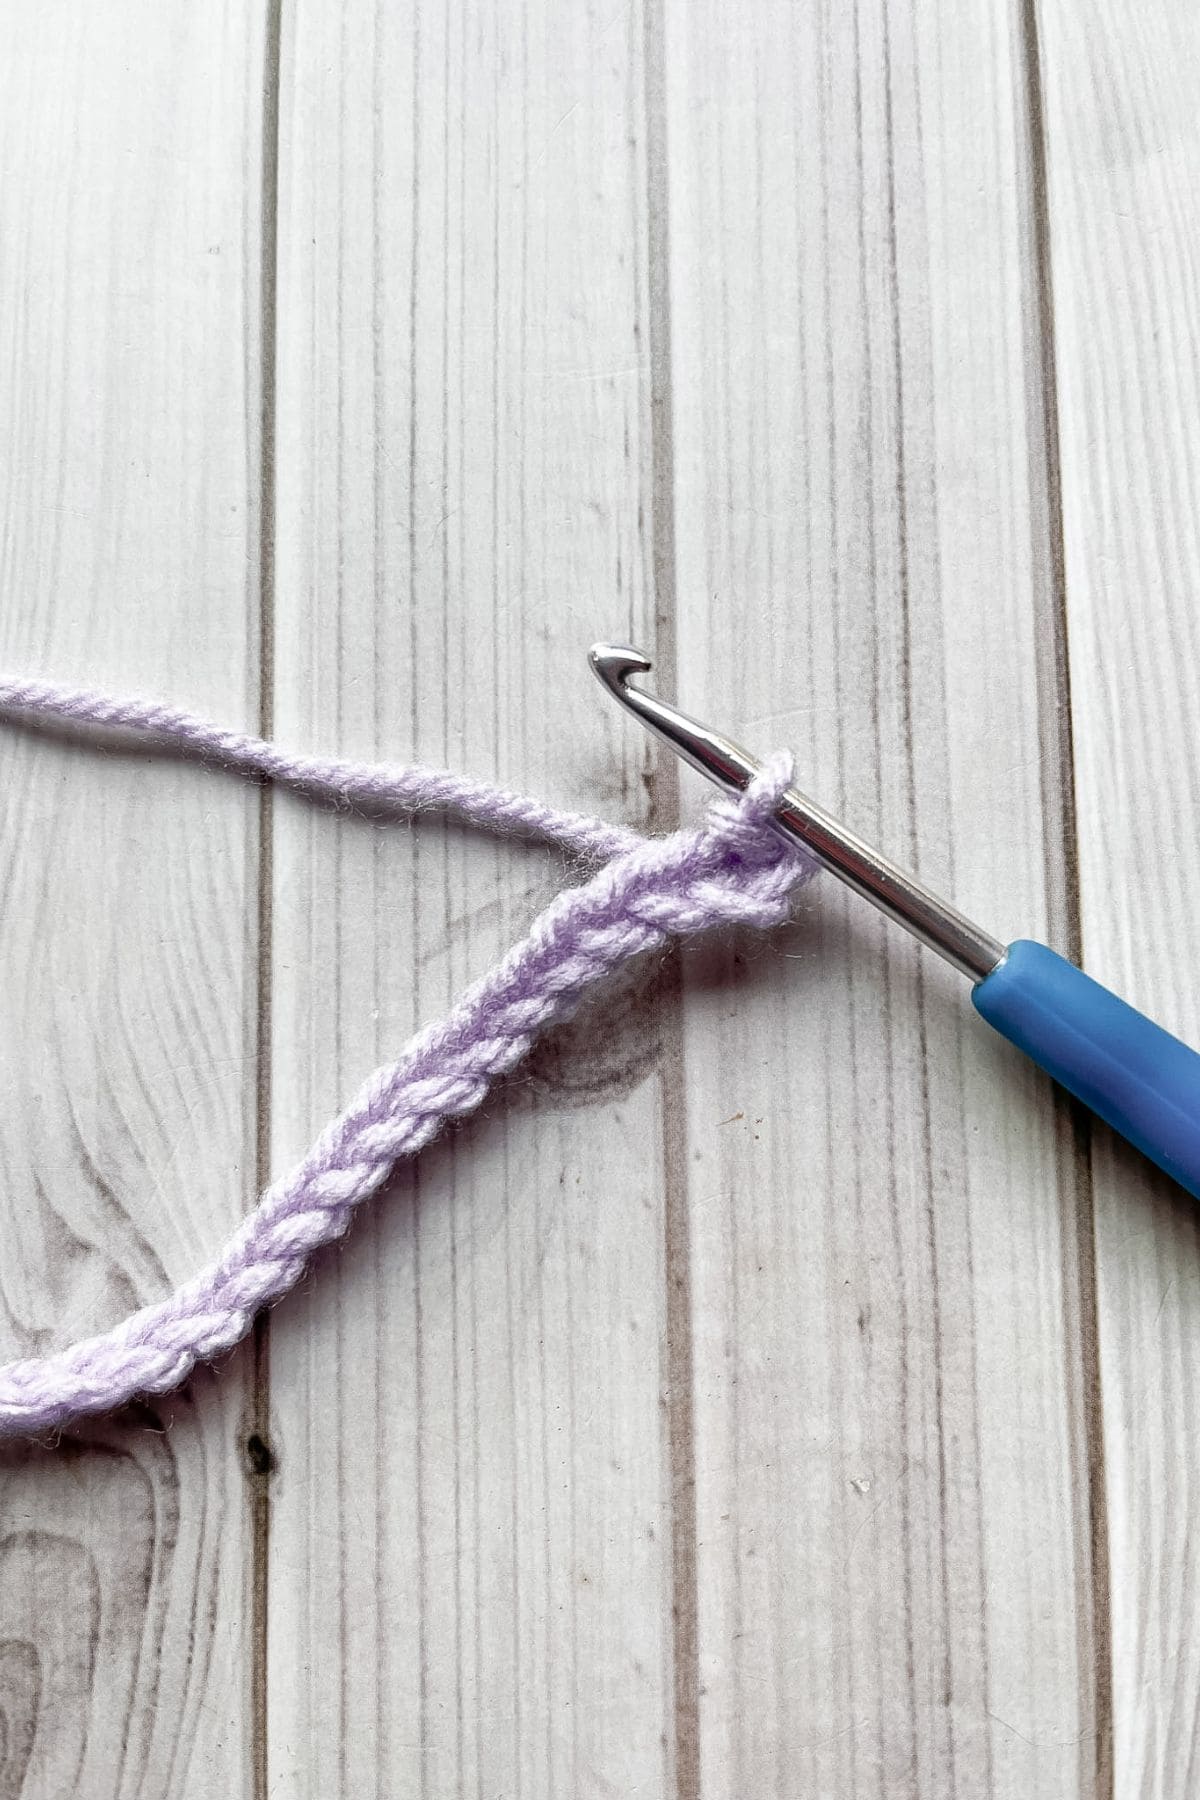
Step 2: In the 3rd stitch from the hook make a sl st.
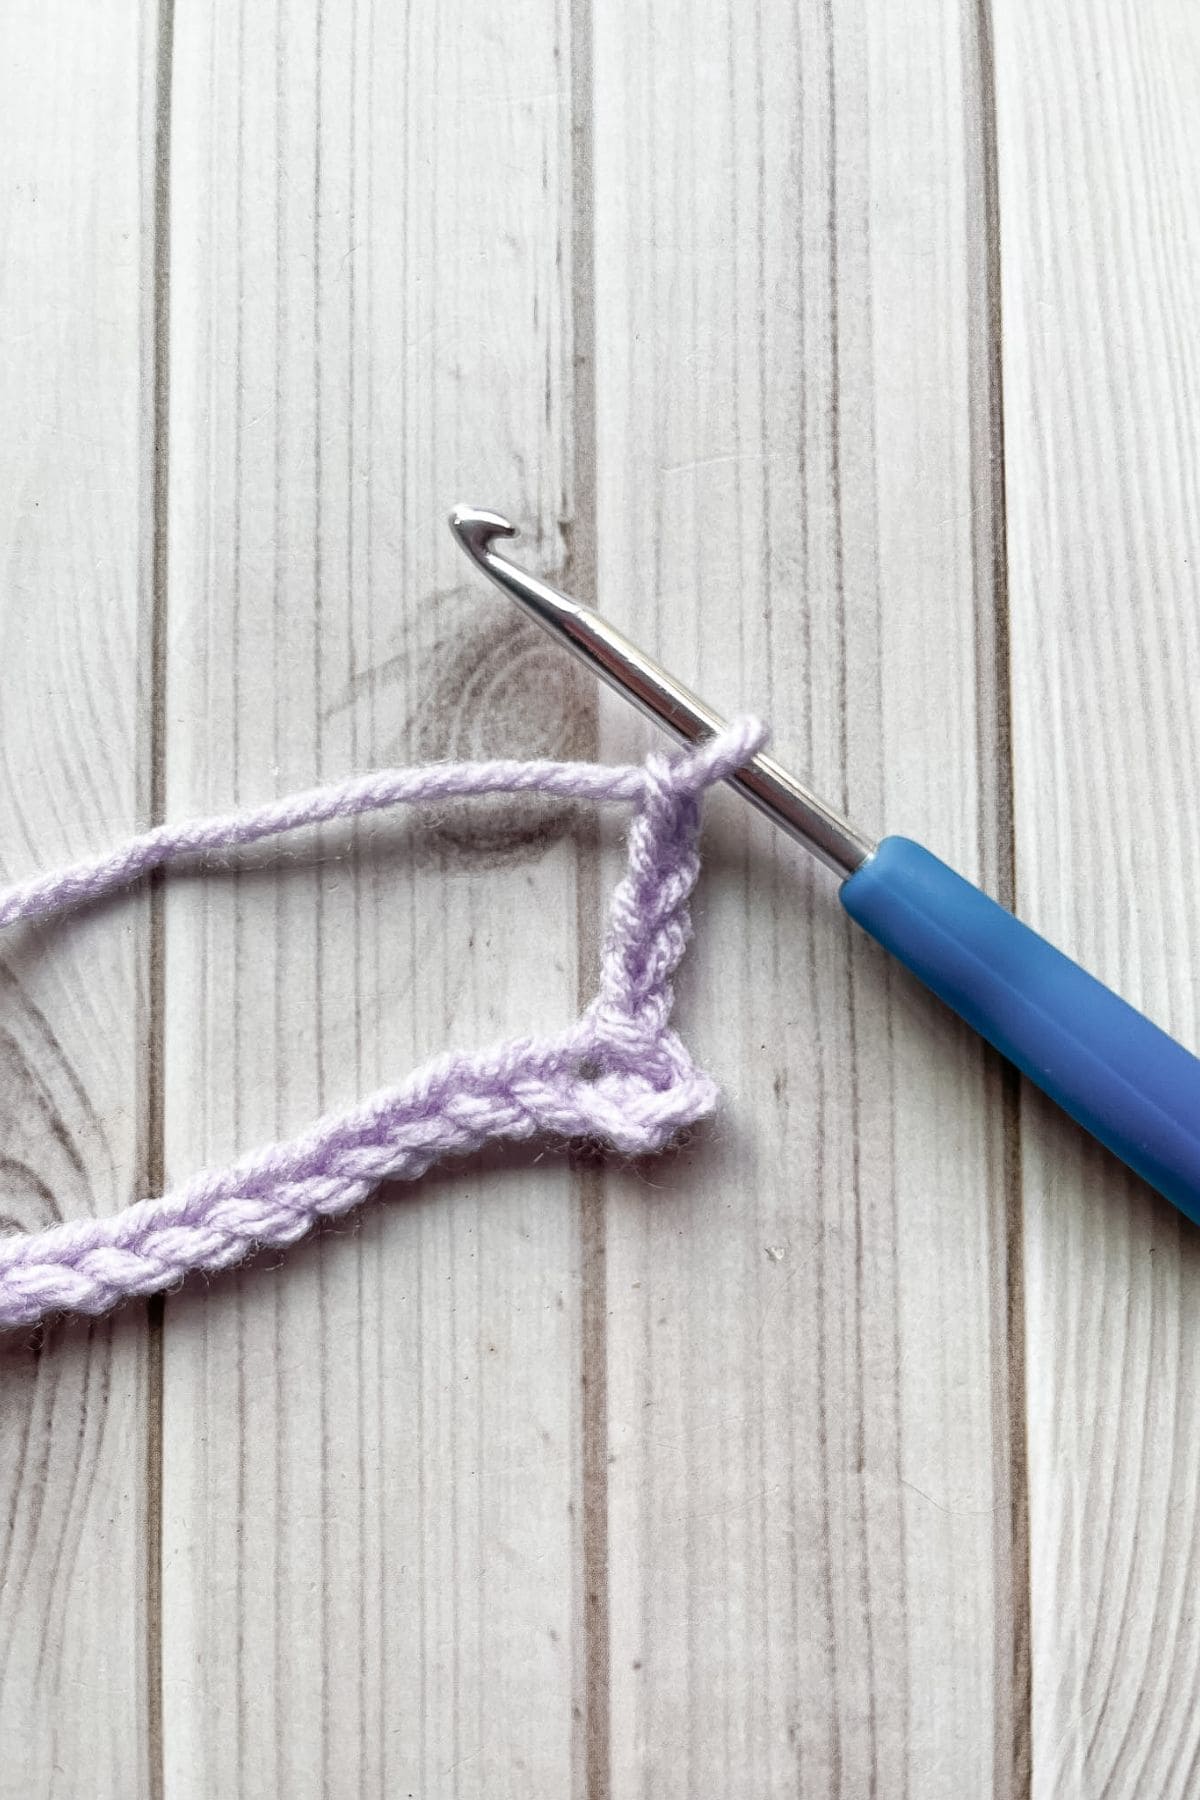
Step 3: Ch x4.
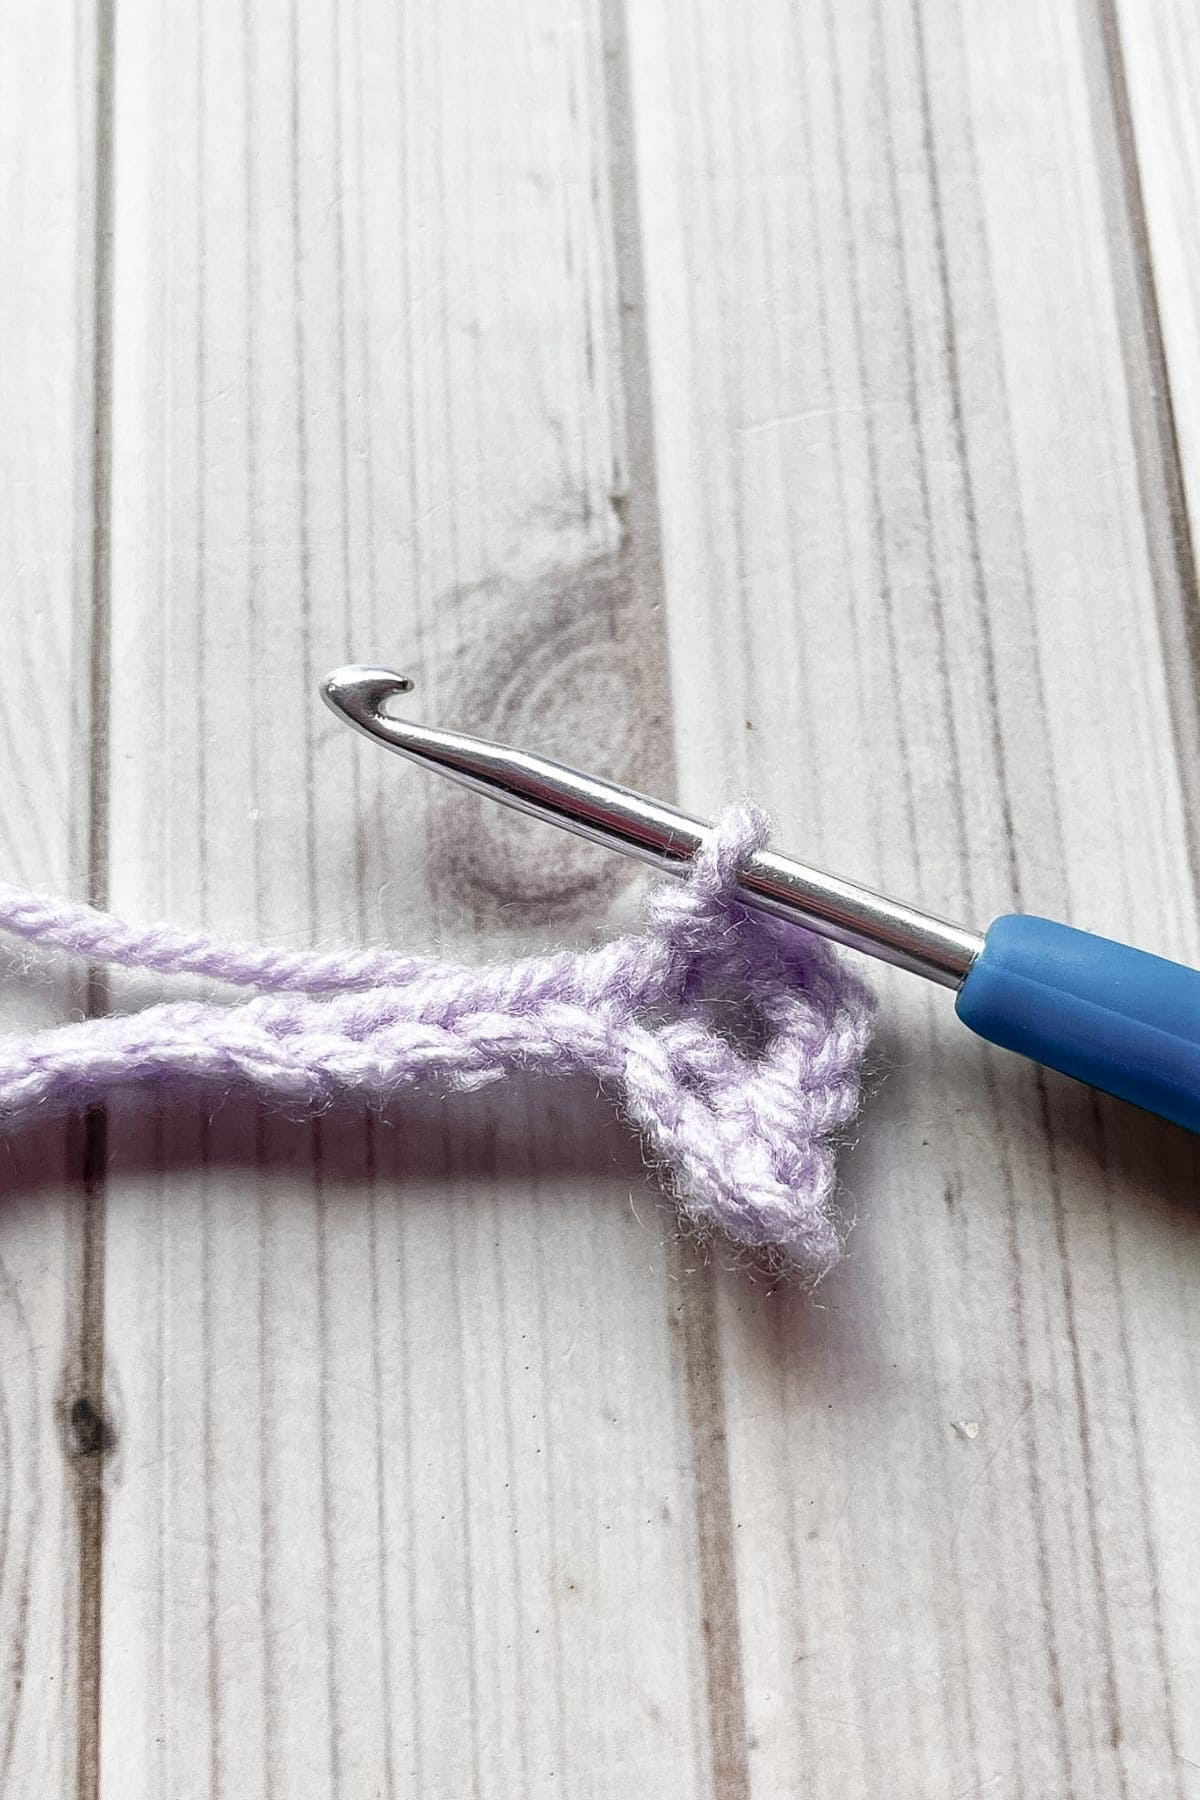
Step 4: Sl st into the next chain in the foundation chain.
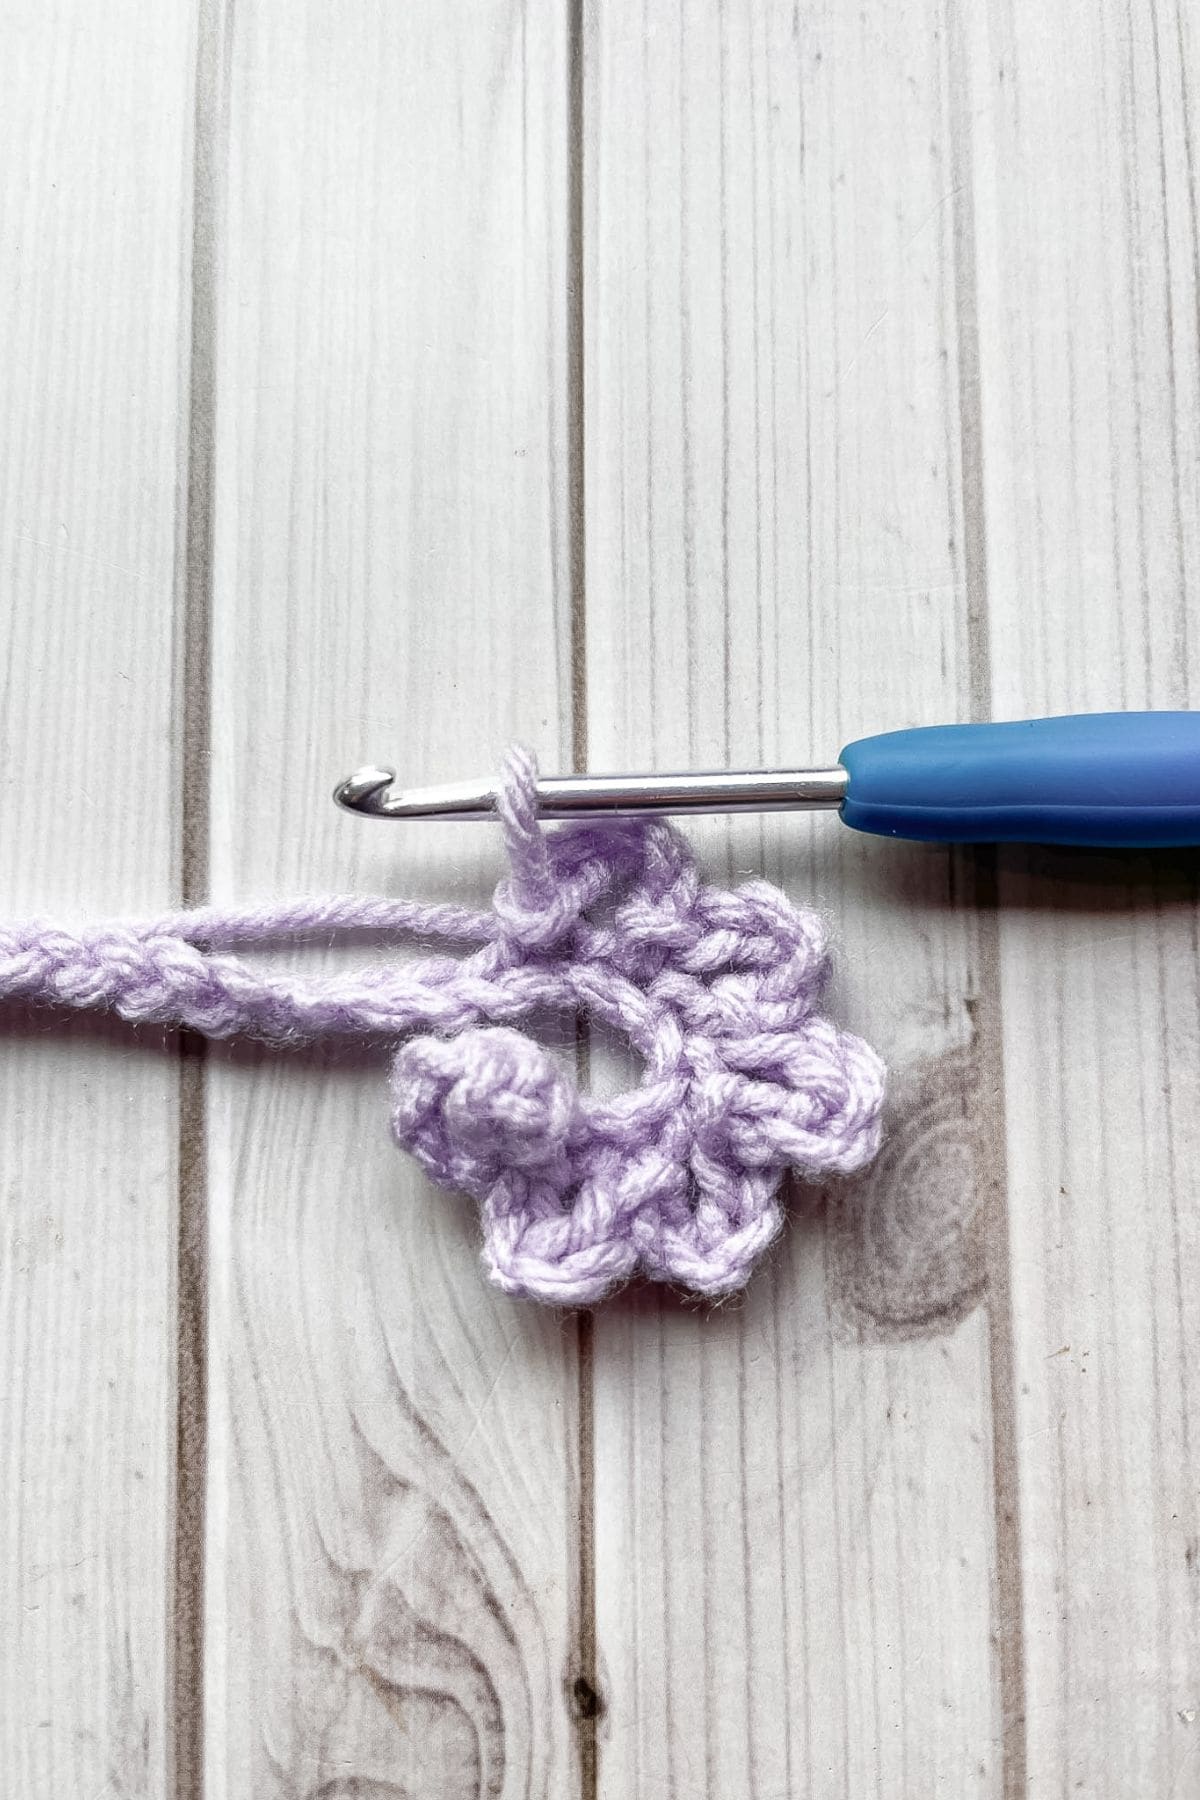
Repeat step 3 and 4 for the rest of the row. Fasten off the purple, set aside.
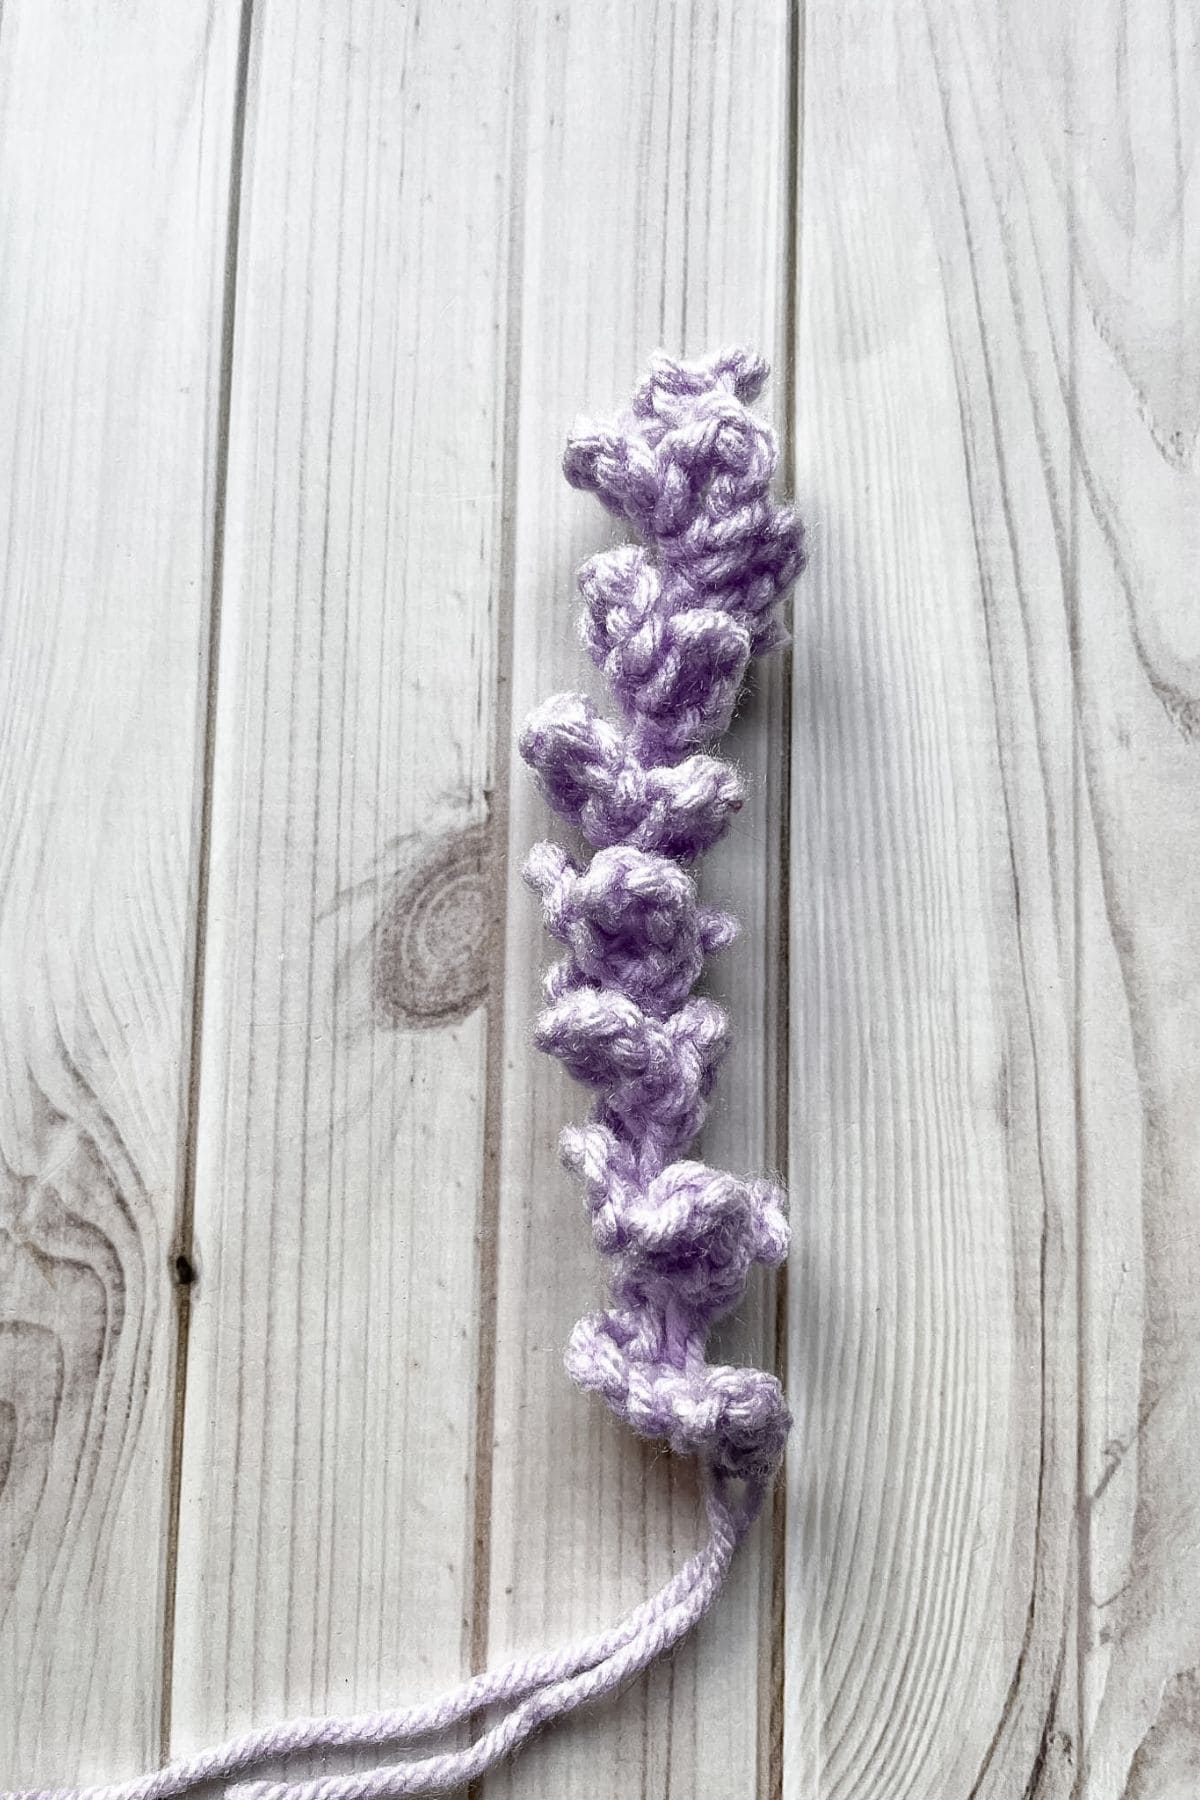
Crochet Lavender Assembly:
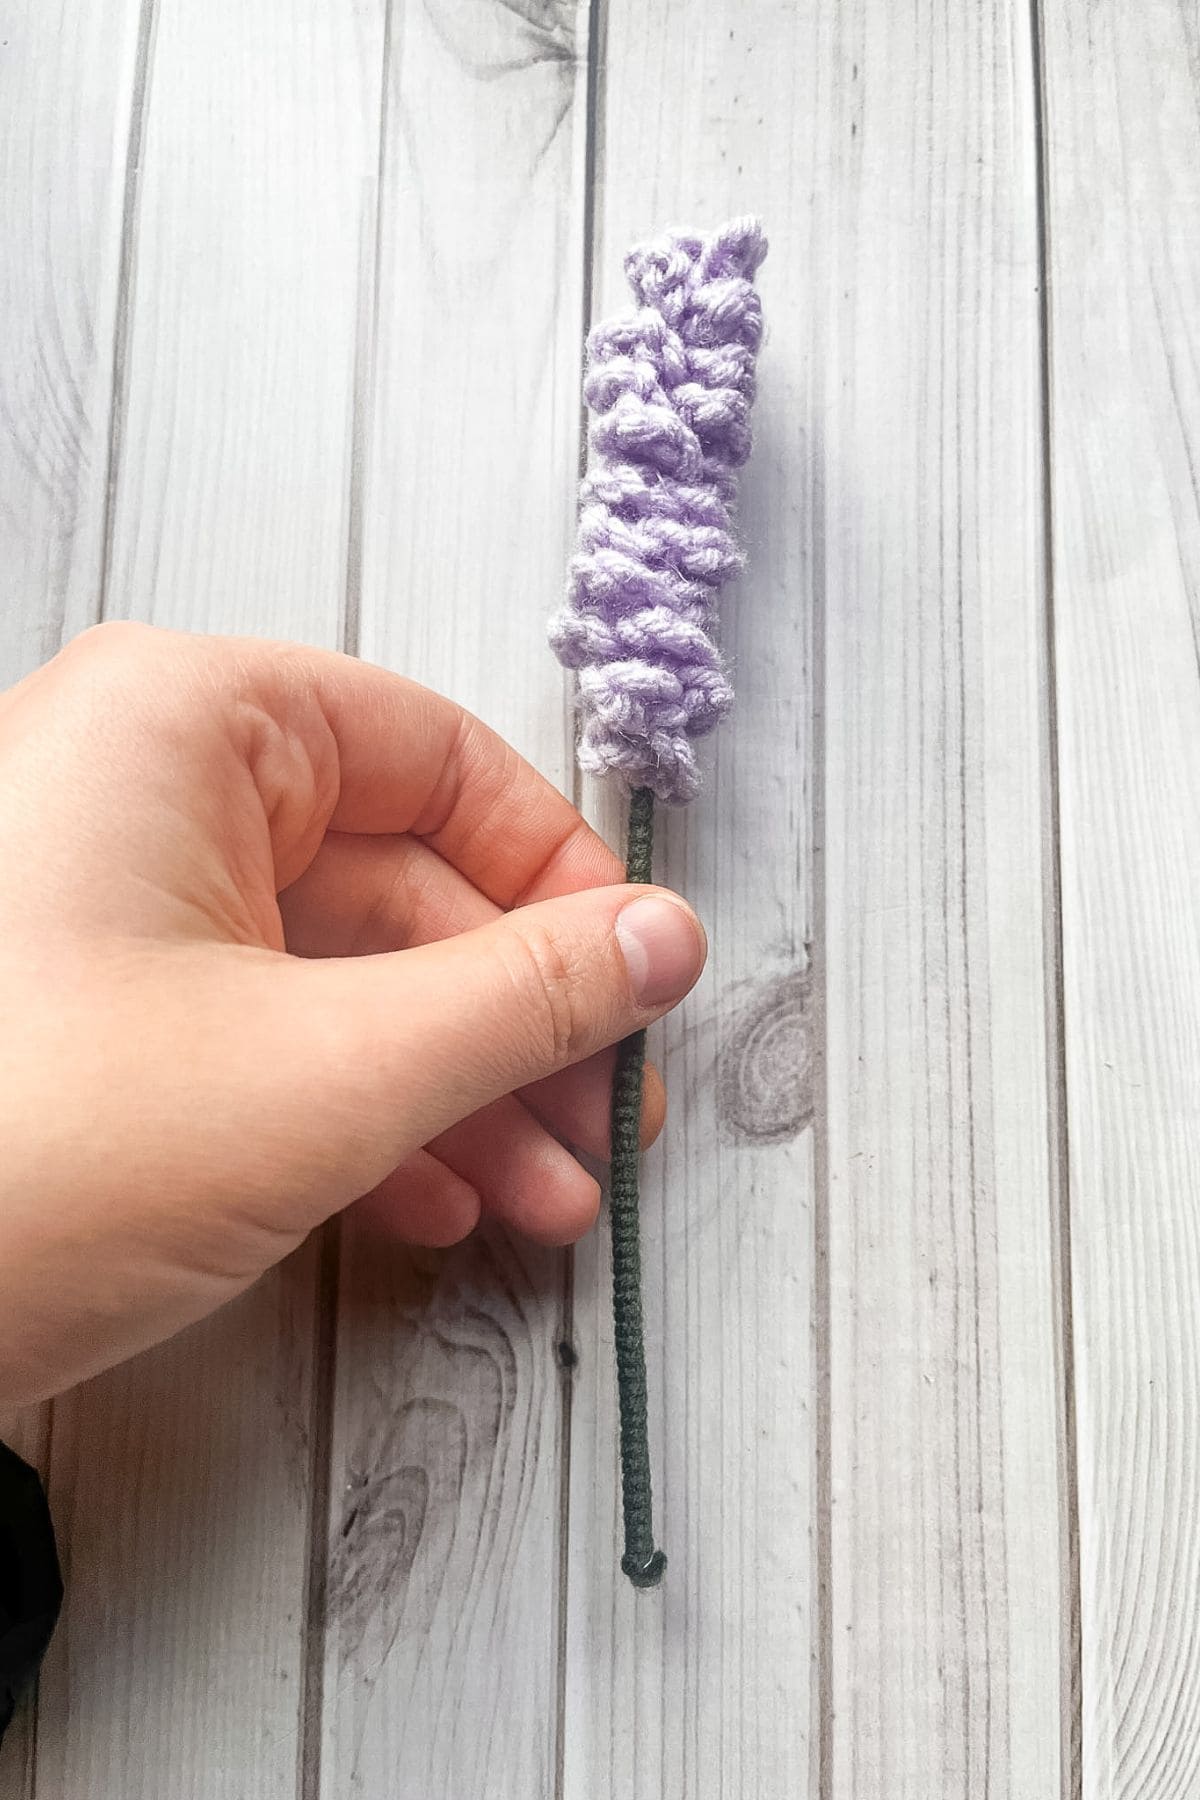
You will now be using your hot glue gun, so make sure you plug it in.
I cut my floral stems in half so they are roughly 7 inches.
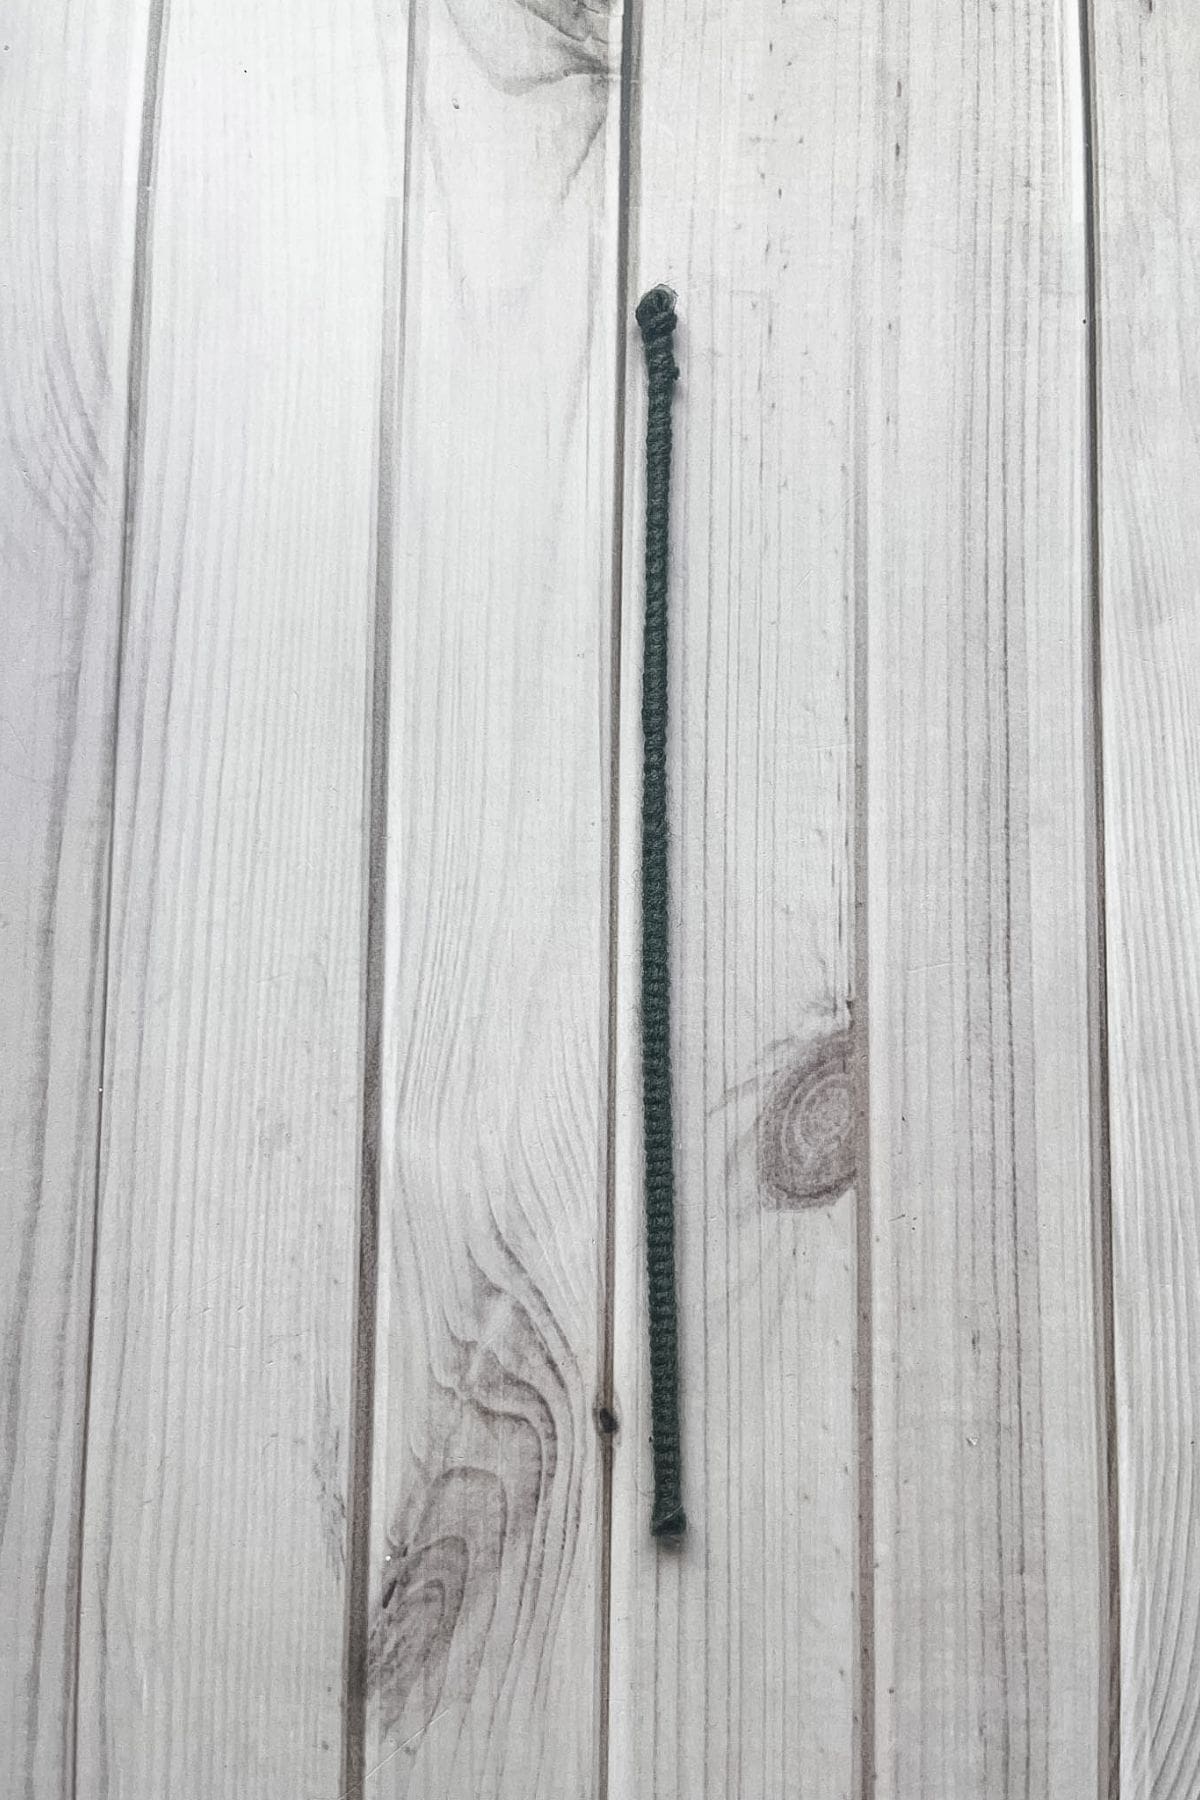
Once the glue gun is hot, add a tiny bit of glue to one end of the floral wire. Then take the green yarn and wrap it around the wire where you added the bit of glue. You must work fairly fast for this part since the glue dries quickly.
Continue wrapping the green yarn around the stem until you get to the last half inch of the stem. Then add another dot of glue and wrap the rest of the stem.
Now the stem is finished.
We will add the flower part to the top half of the stem.
Like before, add a tiny bit of glue to the top of the stem. Then take the side of the lavender that doesn't have yarn tails and glue it to the top. Continue to spiral the flower around the stem. You want the unworked side of the chain to be closest to the wire so you may have to uncurl the lavender as you wrap it.
Once you are done wrapping the flower, add a dot of glue at the bottom of the crochet lavender flowers, wrap the tails once around the glue and fasten off.
And now you know how to crochet lavender! Let's continue to the crochet bouquet wrapping.
Crochet Bouquet:
For this pattern we will be working in the round:
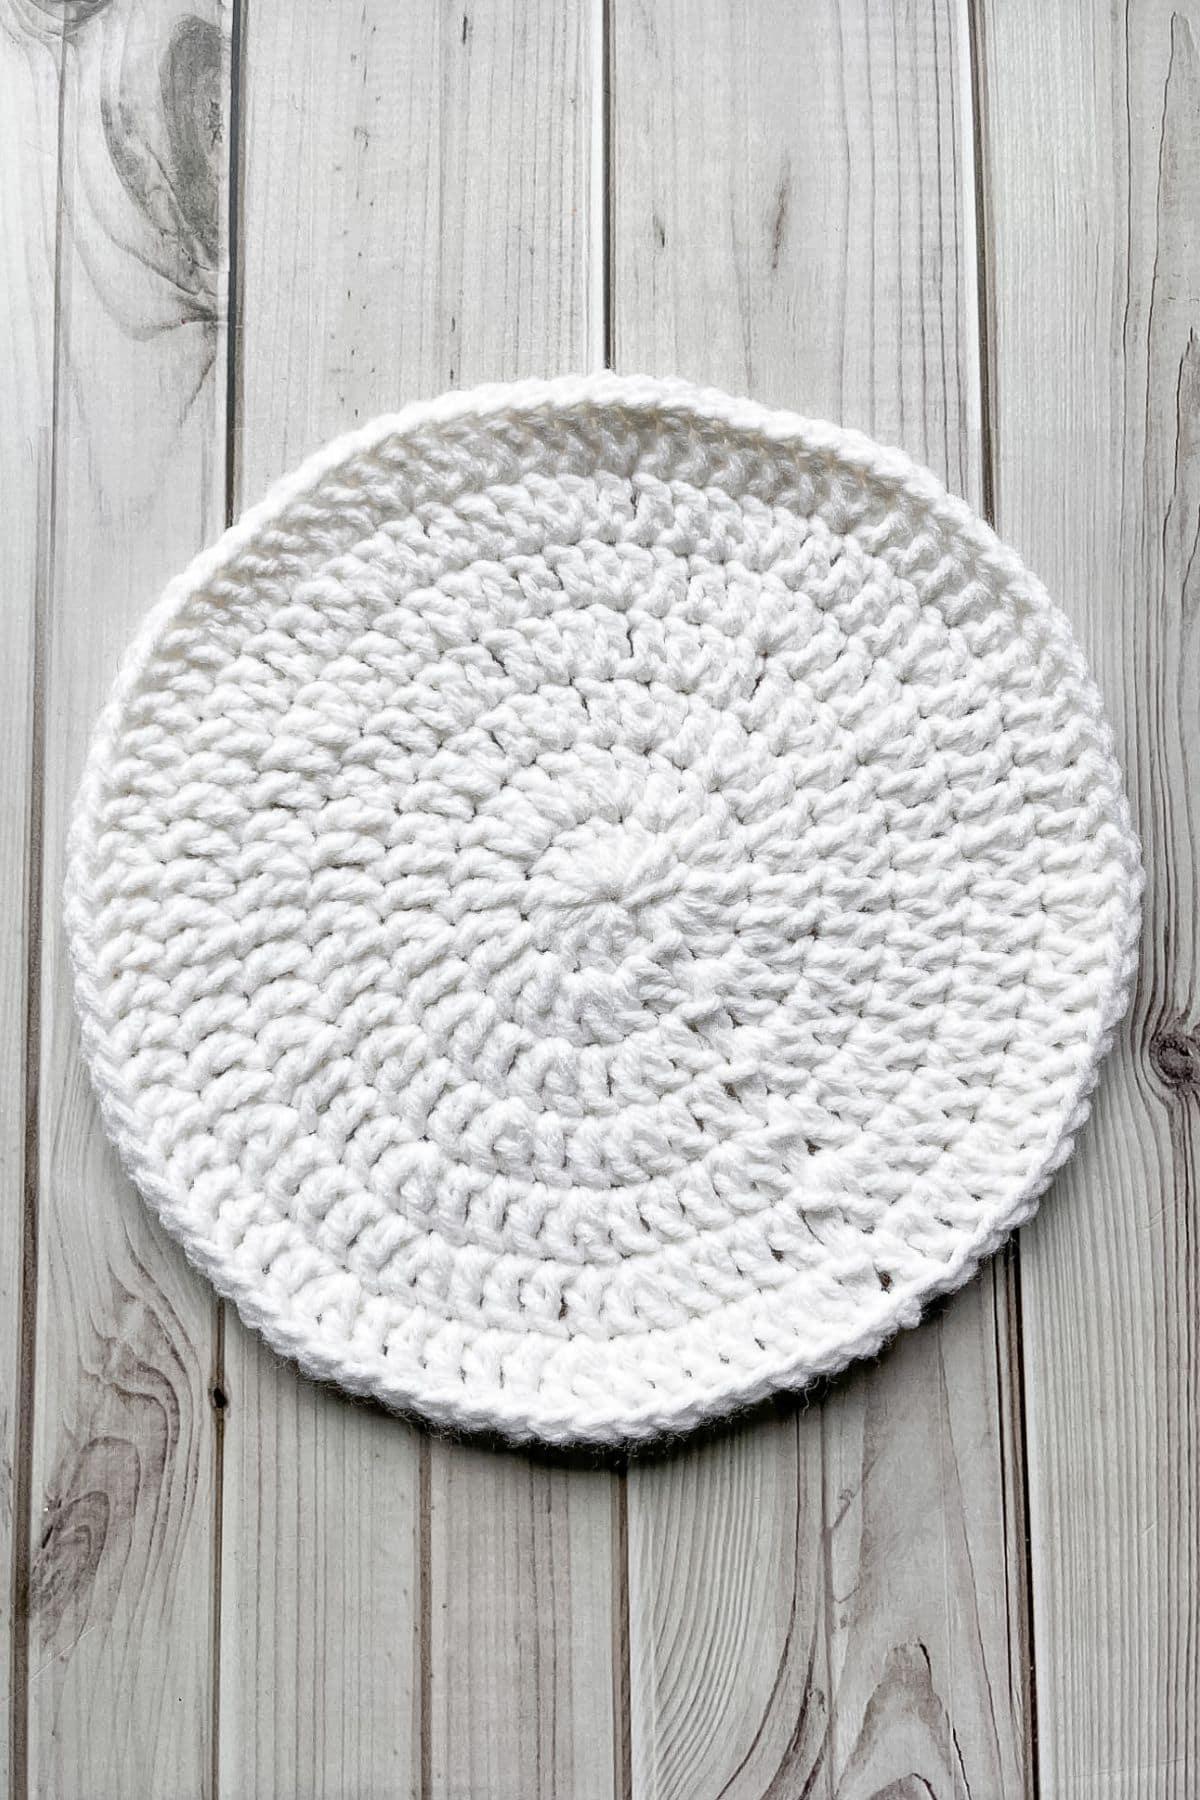
Round 1: Make a magic ring and immediately chain 2 (does not count as a stitch). Then dc x12 into the magic ring. To secure the round, sl st to the 1st dc in the round (12).
Round 2: Ch x2, then dc inc in every stitch from the previous round. Then sl st to the first dc in the round (24).
Round 3: Ch x2, then dc inc, dc and repeat for the rest of the round. Then sl st to the first dc in the round (36).
Round 4: Ch x2, then dc inc, dc x2 and repeat for the rest of the round. Then sl st to the first dc in the round (48).
Round 5: Ch x2, then dc inc, dc x3 and repeat for the rest of the round. Then sl st to the first dc in the round (60).
Round 6: Ch x2, then dc inc, dc x4 and repeat for the rest of the round. Then sl st to the first dc in the round (72).
Round 7: Ch x2, then dc inc, dc x5 and repeat for the rest of the round. Then sl st to the first dc in the round (84). Fasten off the yarn and weave in the ends.
Crochet Bouquet Assembly:
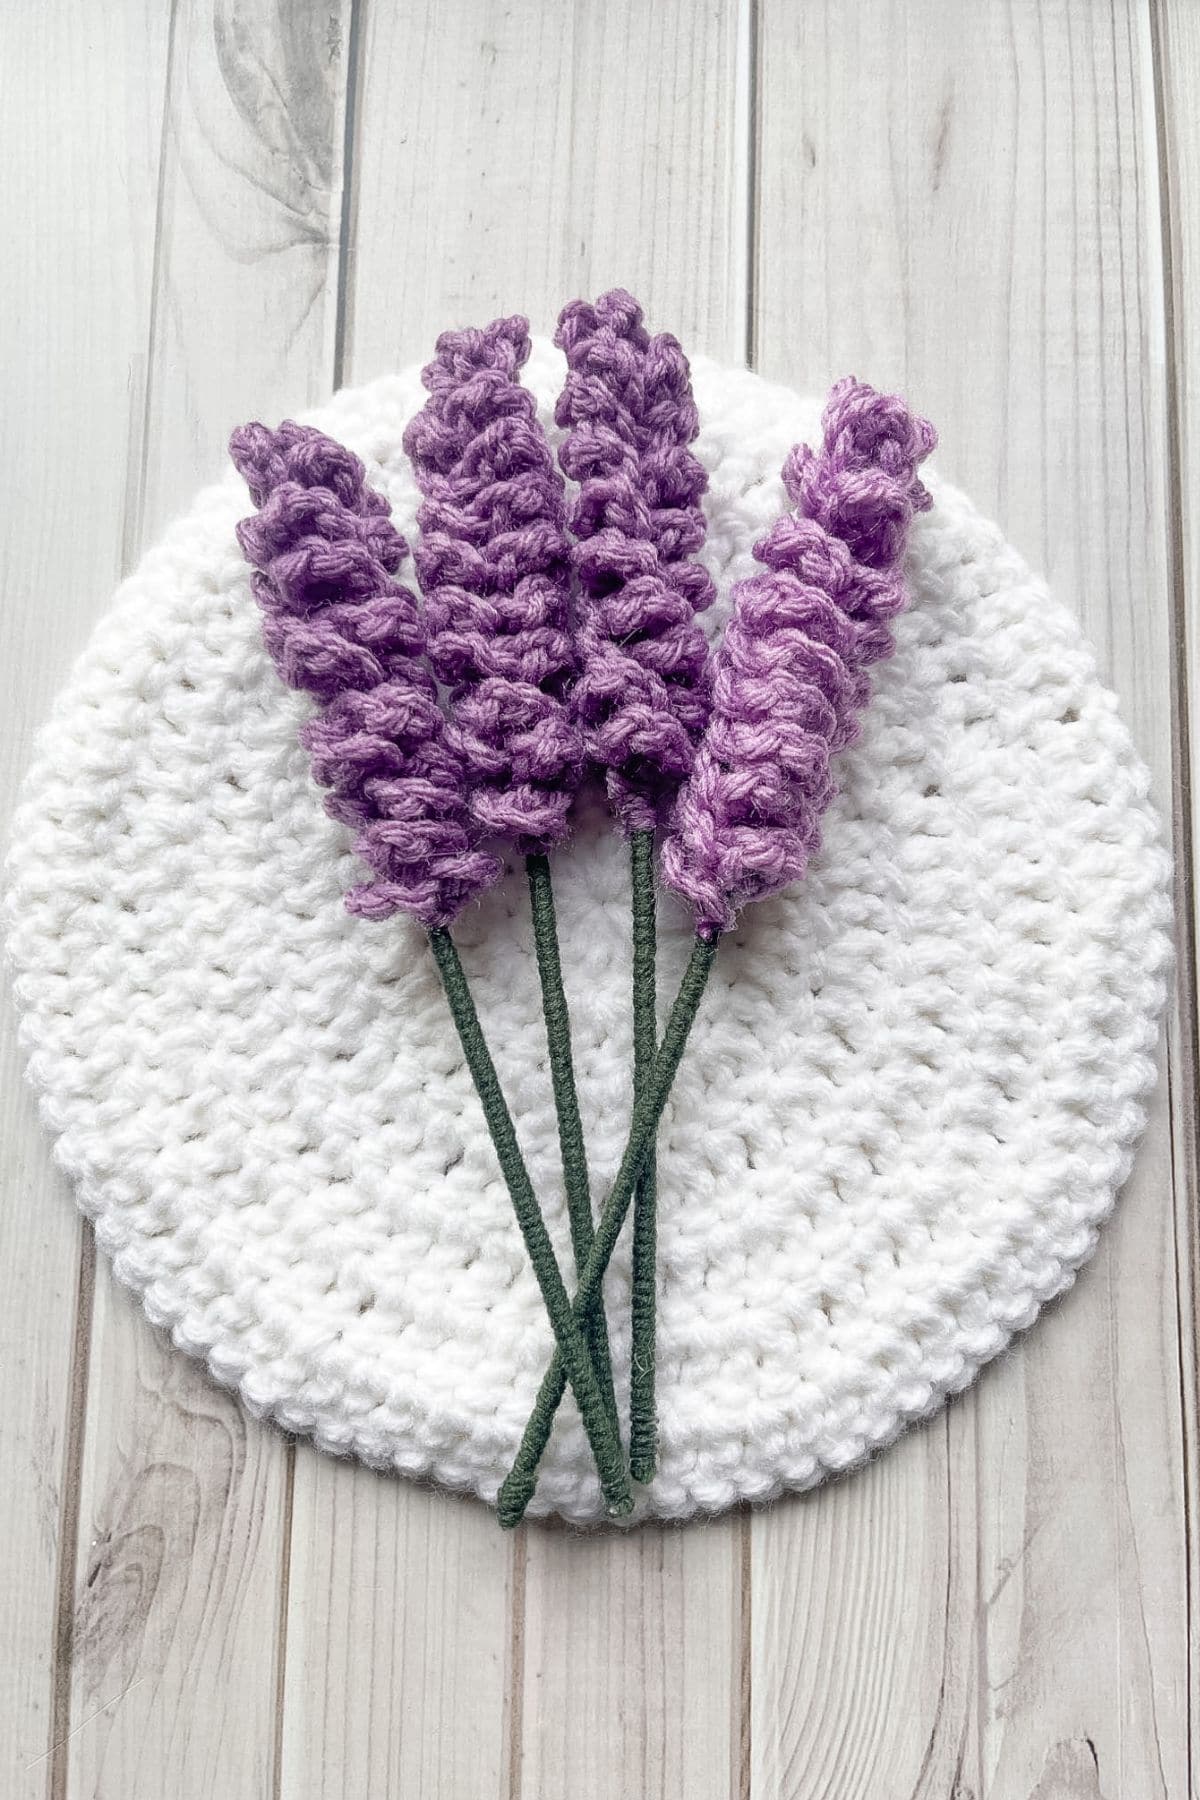
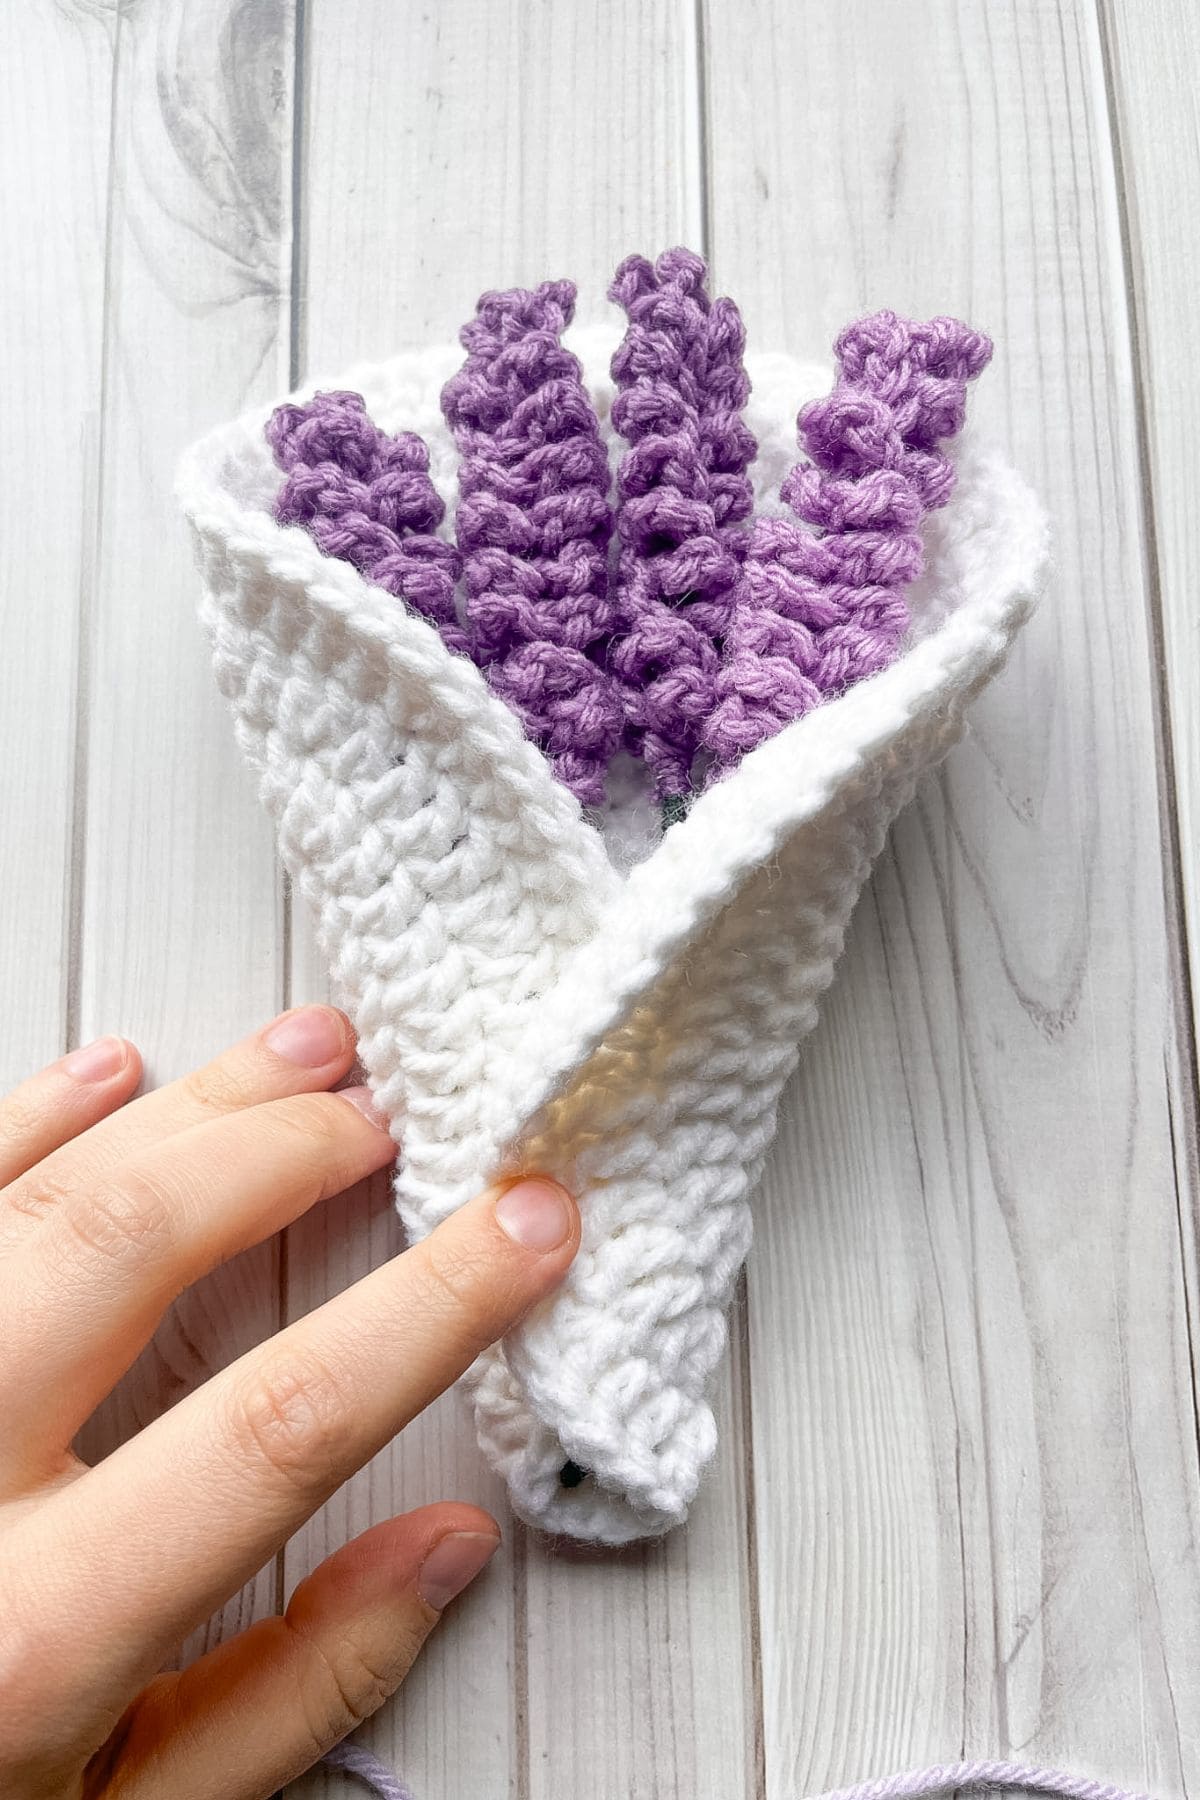
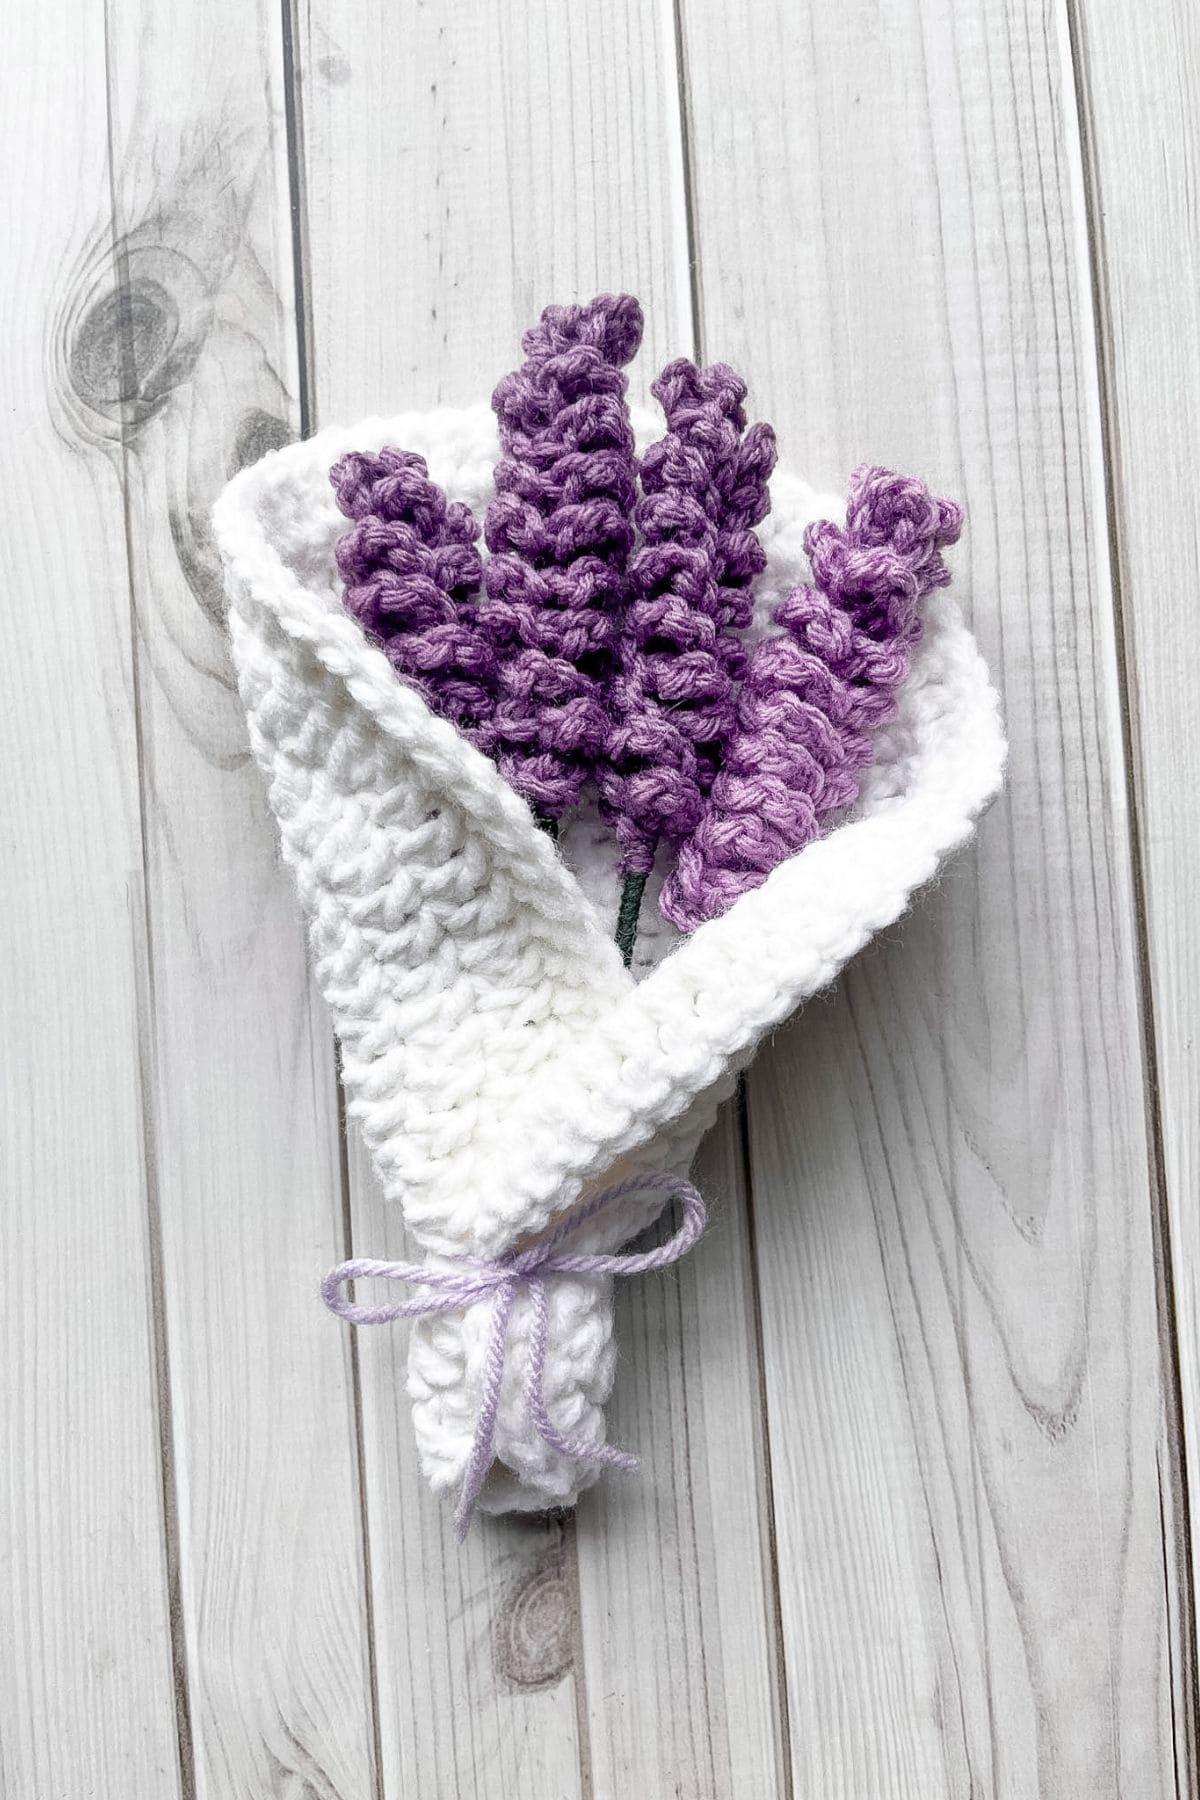
Lay the white circle right-side down and place 3-4 finished lavenders in the middle. Next, fold the bottom of the wrap closed right where the crochet lavender stems are. Then, with a 10 inch piece of yarn, tie a knot with a bow over the folded bouquet wrap and lavender stems.
Trim the bow if needed.
And now you have a finished lavender crochet pattern! I hope you enjoyed learning how to make crochet lavender!
After making the crochet lavender bouquet pattern, I know this is not the last time I will be making crochet stemmed flowers (not only because I have 100 floral wire stems that need to be used), but because it was really fun! So keep an eye out for more floral patterns coming soon, the lavender crochet pattern is just the first of many!
If you enjoyed my lavender crochet pattern and want to crochet more floral themed patterns check out my crochet coin purse pattern - if you have extra purple yarn you can make the flower pattern purple!
Other alternative things you can make with leftover yarn are my crochet flower keychain pattern and my simple crochet flower applique pattern.
If you have a ton of purple yarn (both light and dark available) you can make my crochet African flower bag pattern - just switch the color out for purple instead of blue.
Until next time, happy crocheting!
🐌Expert Tips
- Keep your hands away from the hot glue: If you are struggling with the hot glue for the crochet lavender flower pattern, use the bottom side of a METAL hook to hold the yarn as the glue dries, then remove the hook (it should be able to do this easily) and then wrap the yarn around the floral stem.
- Stem: Wrapping the stem is optional if you are using green floral wire. I like the lavender crochet pattern to look consistent like it's made entirely from yarn so that is why I wrapped mine.
- Keep your stitches loose: Try and keep your chains loose while making the lavender crochet pattern, that way it can look nice and full.
🧵Pattern FAQs
This lavender crochet pattern is beginner-friendly! As long as you are comfortable making chains and slip stitches, as well as using a hot glue gun!
On average, it takes about 15 minutes or less for one stem of lavender.
Yes! The lavender crochet pattern is super flexible. While I recommend worsted weight acrylic for durability, you can use cotton, velvet, or even chunky yarn. Just be sure to adjust your hook size, starting chain, and stem length depending on size yarn you use.
🧶More Crochet Spring Patterns
If you tried this Lavender Crochet Pattern (or any other pattern on my website), please let me know how it went in the 📝 comments below. I'd love to hear from you!

Lavender Crochet Pattern
Materials
Abbreviations (US terms)
- Chains - ch
- Slip stitches (sl st)
- Magic ring - mr
- Double crochet - dc
Notes
- Size: I cut my floral wire stems in half so my crochet lavender flowers are roughly 6-7 inches tall.
- Hot glue: All crochet stemmed flowers use hot glue for assembly. Please be careful with the glue and remember you only need a tiny bit, if you add a ton of glue it can be messy and look unrefined. You are also more susceptible to being burned if you use more than just a little drop.
- Beginner-Friendly: If you're new to crochet, don't worry — the lavender crochet pattern is very approachable for beginners! It uses basic stitches like chains and slip stitches.
Instructions
- For this crochet lavender flower pattern, we will be working in rows.
Crochet Lavender Flower:
- Step 1: With any purple yarn, ch x30.
- Step 2: In the 3rd stitch from the hook make a sl st.
- Step 3: Ch x4.
- Step 4: Sl st into the next chain in the foundation chain.
- Repeat step 3 and 4 for the rest of the row. Fasten off the purple, set aside.
Crochet Lavender Assembly:
- You will now be using your hot glue gun, so make sure you plug it in.
- I cut my floral stems in half so they are roughly 7 inches.
- Once the glue gun is hot, add a tiny bit of glue to one end of the floral wire. Then take the green yarn and wrap it around the wire where you added the bit of glue. You must work fairly fast for this part since the glue dries quickly.
- Continue wrapping the green yarn around the stem until you get to the last half inch of the stem. Then add another dot of glue and wrap the rest of the stem.
- Now the stem is finished.
- We will add the flower part to the top half of the stem.
- Like before, add a tiny bit of glue to the top of the stem. Then take the side of the lavender that doesn't have yarn tails and glue it to the top. Continue to spiral the flower around the stem. You want the unworked side of the chain to be closest to the wire so you may have to uncurl the lavender as you wrap it.
- Once you are done wrapping the flower, add a dot of glue at the bottom of the crochet lavender flowers, wrap the tails once around the glue and fasten off.
- And now you know how to crochet lavender! Let's continue to the crochet bouquet wrapping.
Crochet Bouquet:
- For this pattern we will be working in the round:
- Round 1: Make a magic ring and immediately chain 2 (does not count as a stitch). Then dc x12 into the magic ring. To secure the round, sl st to the 1st dc in the round (12).
- Round 2: Ch x2, then dc inc in every stitch from the previous round. Then sl st to the first dc in the round (24).
- Round 3: Ch x2, then dc inc, dc and repeat for the rest of the round. Then sl st to the first dc in the round (36).
- Round 4: Ch x2, then dc inc, dc x2 and repeat for the rest of the round. Then sl st to the first dc in the round (48).
- Round 5: Ch x2, then dc inc, dc x3 and repeat for the rest of the round. Then sl st to the first dc in the round (60).
- Round 6: Ch x2, then dc inc, dc x4 and repeat for the rest of the round. Then sl st to the first dc in the round (72).
- Round 7: Ch x2, then dc inc, dc x5 and repeat for the rest of the round. Then sl st to the first dc in the round (84). Fasten off the yarn and weave in the ends.
Crochet Bouquet Assembly:
- Lay the white circle rightside down and place 3-4 finished lavenders in the middle. Next, fold the bottom of the wrap closed right where the crochet lavender stems are. Then, with a 10 inch piece of yarn, tie a knot with a bow over the folded bouquet wrap and lavender stems.
- Trim the bow if needed.
- And now you have a finished lavender crochet bouquet! I hope you enjoyed learning how to make crochet lavender!

Leave a Reply