
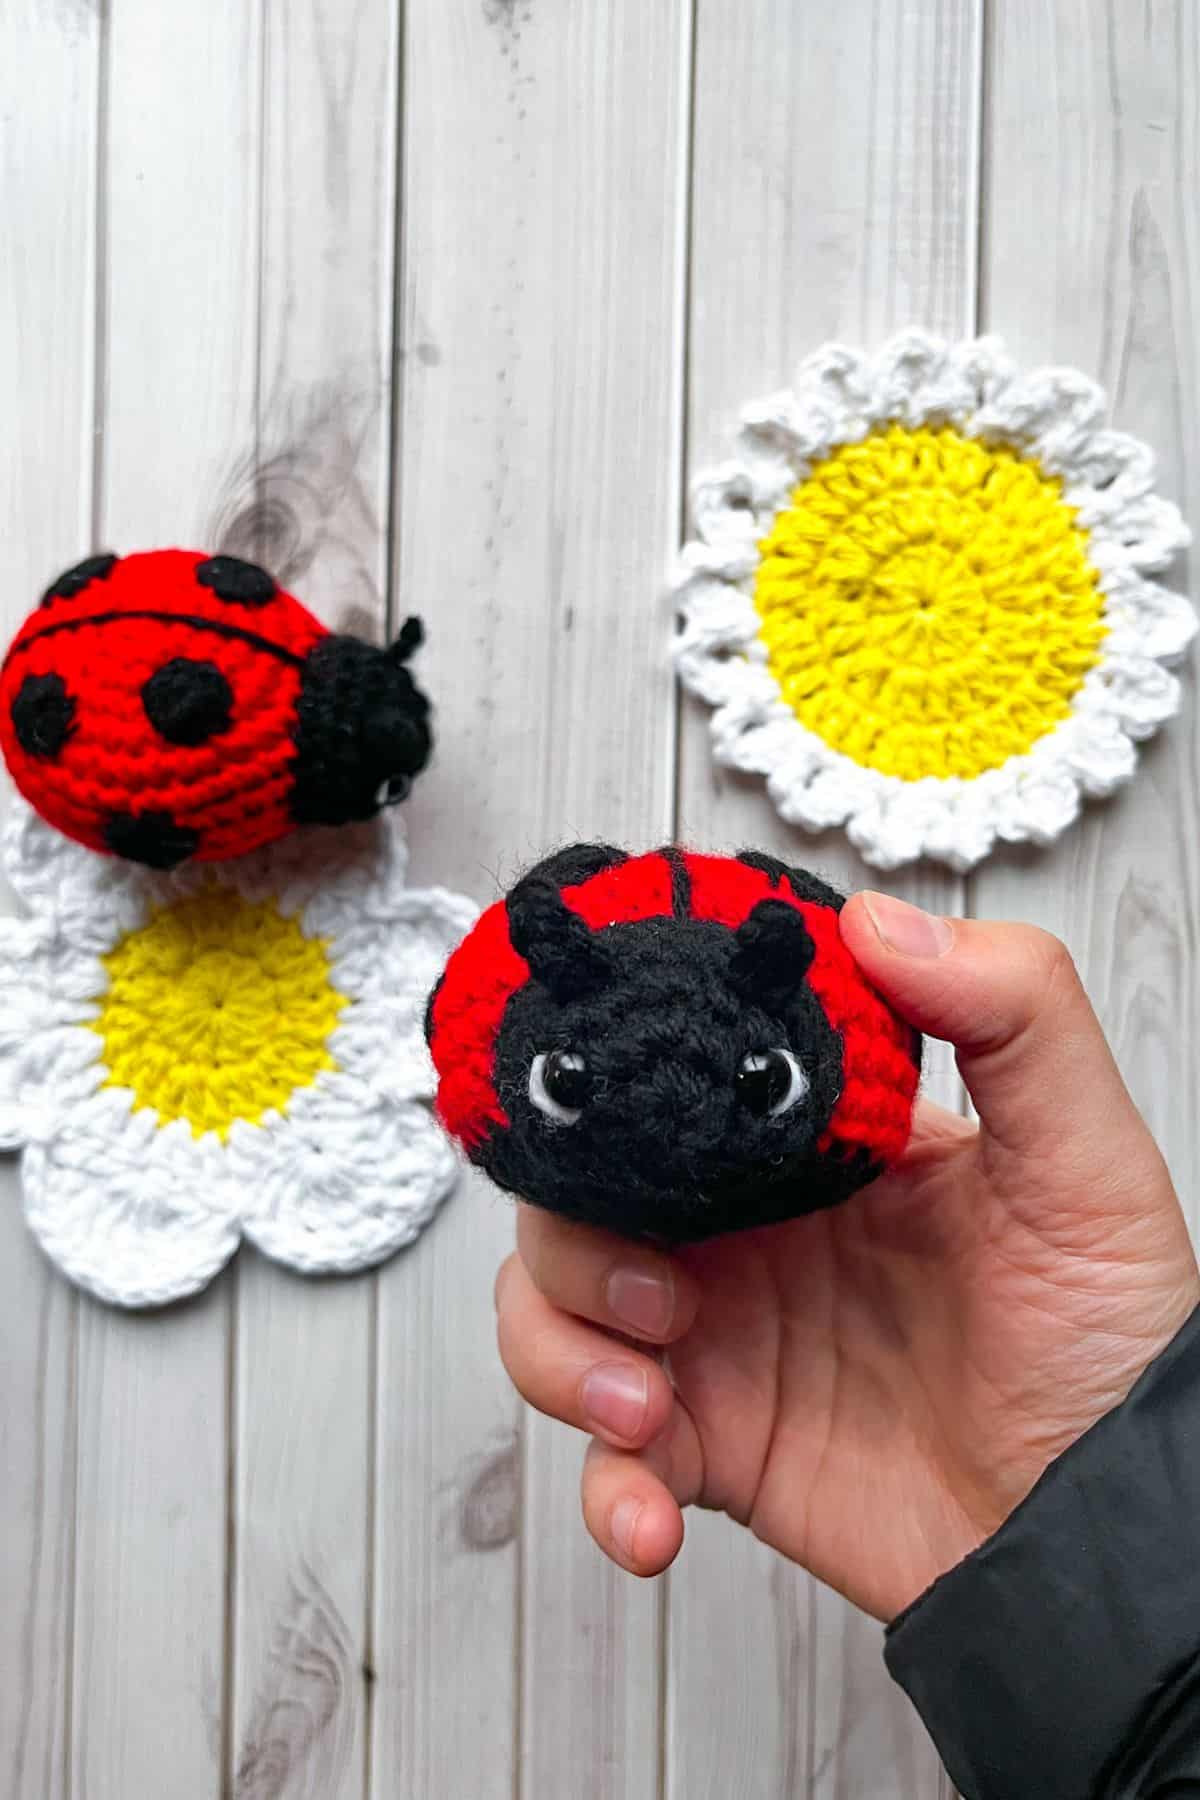
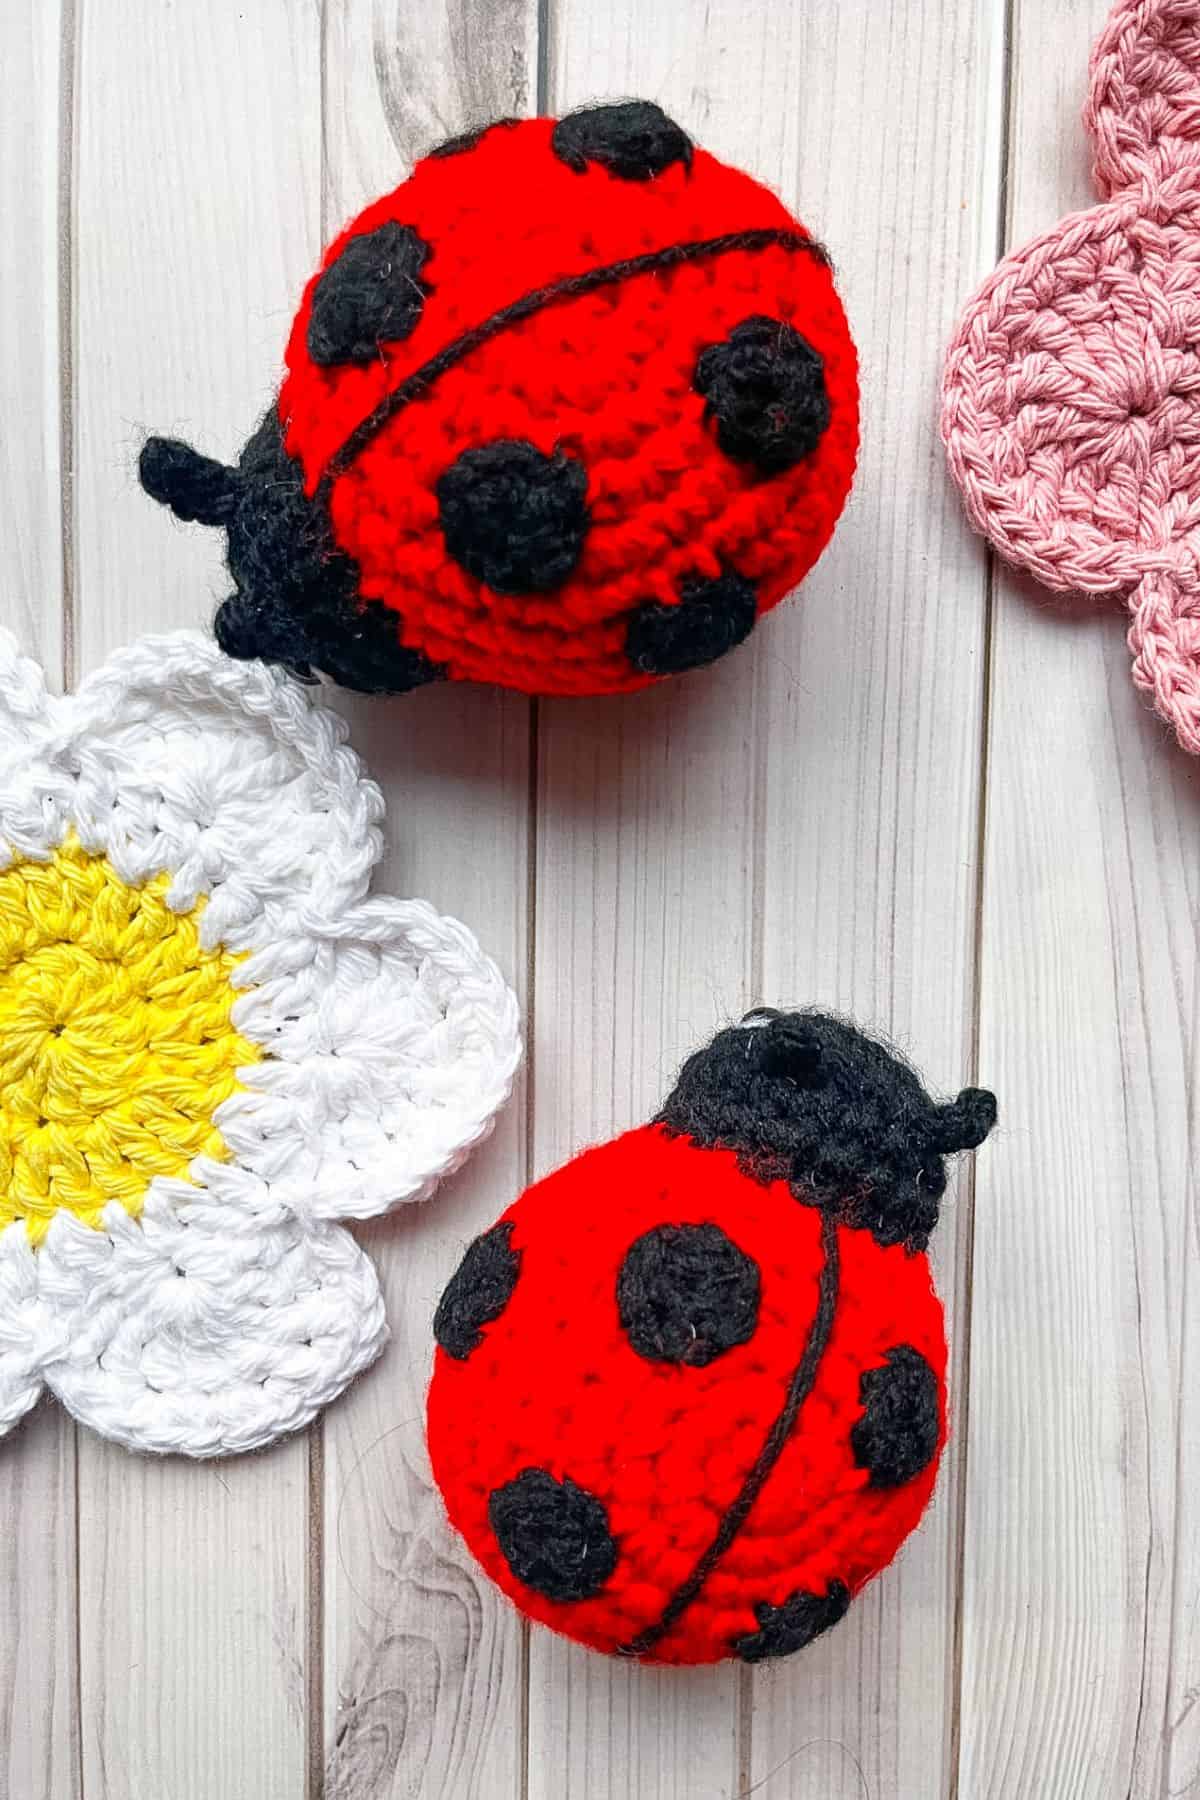
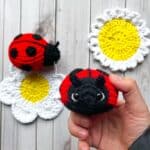
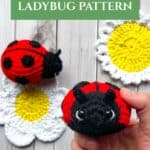
This free crochet ladybug pattern is fast, easy and perfect for beginners. Make a whole bunch so you are ready for spring and summer!
This crochet tutorial will show you how to crochet a ladybug, or ladybird as some parts of the world like to call them. It never dawned on me that ladybugs were called something else, even in the English language, until my son was watching some little kid shows as a toddler (Puffin Rock) where they called them ladybirds! I think that is such a cute name for these little creatures!
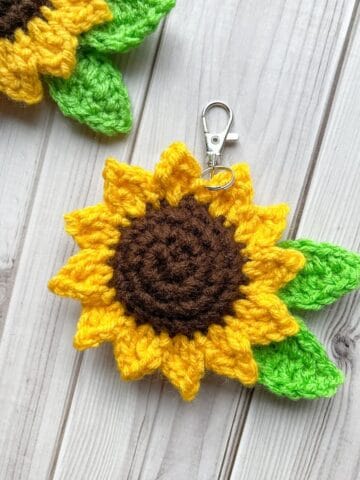
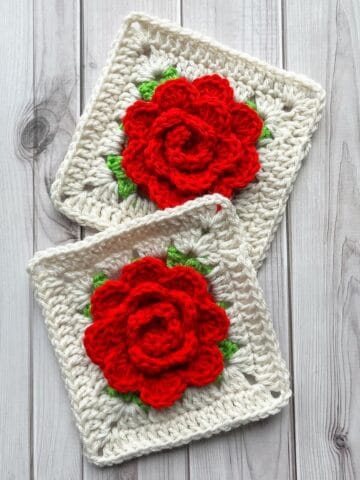
I love ladybugs, and I can’t wait until I have a house so I can create a nice little garden for them! For now I am just setting these crochet ladybugs near some of my crochet flowers like my 6 petal crochet flower coaster pattern and my crochet daisy coaster pattern for decoration. When I was still a teen living with my parents, they had a small garden that the ladybugs just loved to visit. I can’t wait to have a garden of my own!
Let's get started on this little amigurumi ladybug pattern! I am sure you are dying to make one!
Jump to:
✏️ Things To Note:
- Size: When using a 4.5mm hook and worsted weight yarn, your finished amigurumi ladybug will measure approximately 4 inches long. If you want it keychain sized, try using size 3 yarn and a 3.5-4mm hook.
- Yarn Flexibility: The crochet ladybug pattern is super versatile when it comes to yarn! While I used worsted weight acrylic for a sturdy finish, you can easily swap in cotton, velvet, or even blanket yarn for different textures, looks, and sizes. Just adjust your hook size accordingly to keep those stitches nice and tight. If you use chunky yarn it will come out as a 6-8inch plushie!
- Beginner-Friendly: If you're new to crochet or amigurumi, don't worry — the crochet ladybug pattern is very approachable! It uses basic stitches like single crochet, increases, and decreases, with no complicated shaping. It’s a great confidence booster for newer crocheters.
🪡 Materials Needed
- Red Heart Yarn - Cherry Red
- Red Heart Yarn - Black
- Red Heart Yarn- White
- 8mm safety eyes
- 4.5 mm Hook
- Polyfill
- Tapestry needle
💭Abbreviations to Remember (US terms)
- Magic ring (mr)
- Single crochet (sc)
- Increase (inc)
- Decrease (dec)
- Slip stitches (sl st)
🧋Variations
- Giant Ladybug Pillow: Upsize your crochet ladybird using chunky velvet or blanket yarn and a larger hook. This version turns into a plushie or pillow-sized softie — super cozy and squishy!
- Colors: You can experiment with different colors, add tiny facial expressions to the crochet ladybug, or use glitter yarn for a magical twist.
🍵Instructions for Crochet Ladybug Pattern
For this crochet ladybug pattern, we will be working in rounds.
Crochet Ladybug Shell
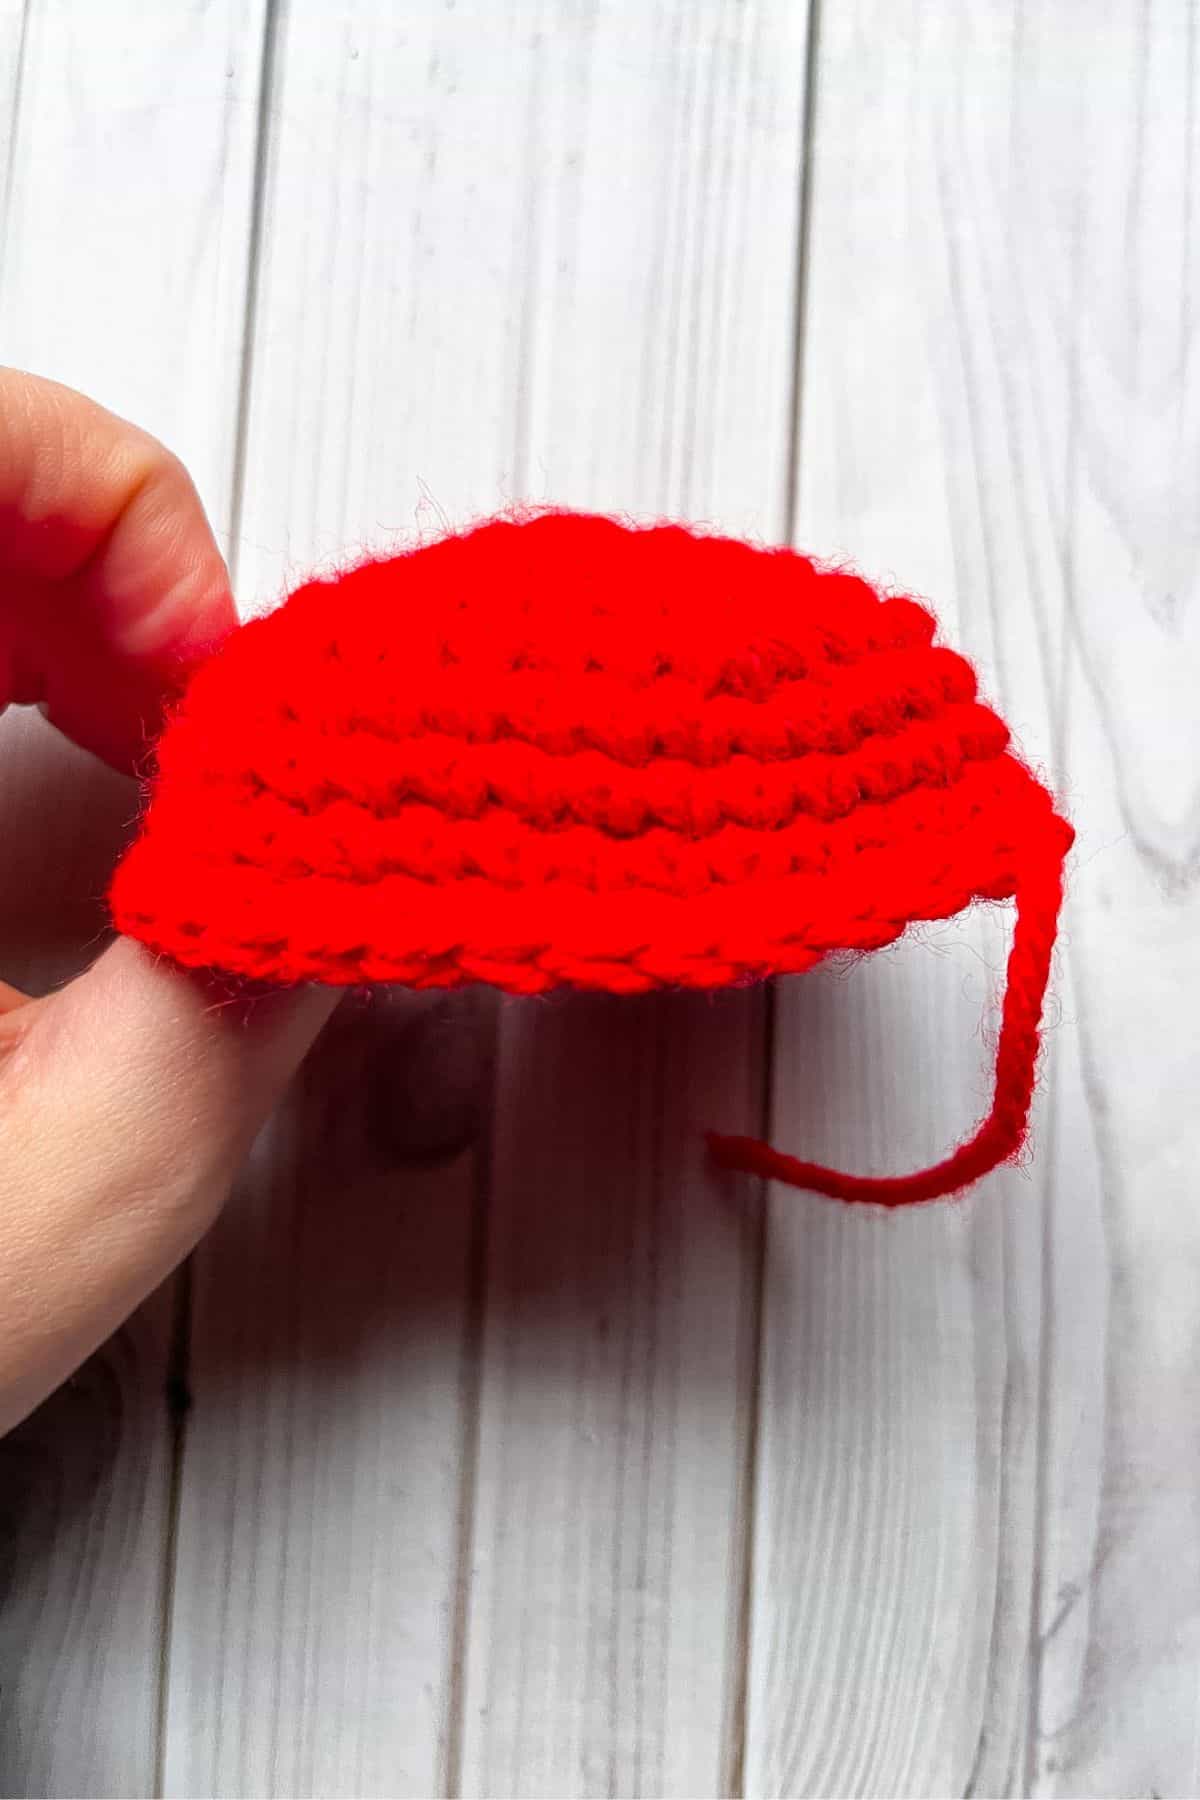
Round 1: Using the red yarn, make a mr and sc x6 into the circle. If you find it difficult making a magic ring you can chain 2 and then crochet sc x6 in the second chain from the hook (6).
Round 2: Inc in every sc (12).
Round 3: Inc, sc. Then repeat until the end of round (18).
Round 4: Inc, sc x2. Then repeat until the end of round (24).
Round 5: Inc, sc x3. Then repeat until the end of round (30).
Round 6: Inc, sc x4. Then repeat until the end of round (36).
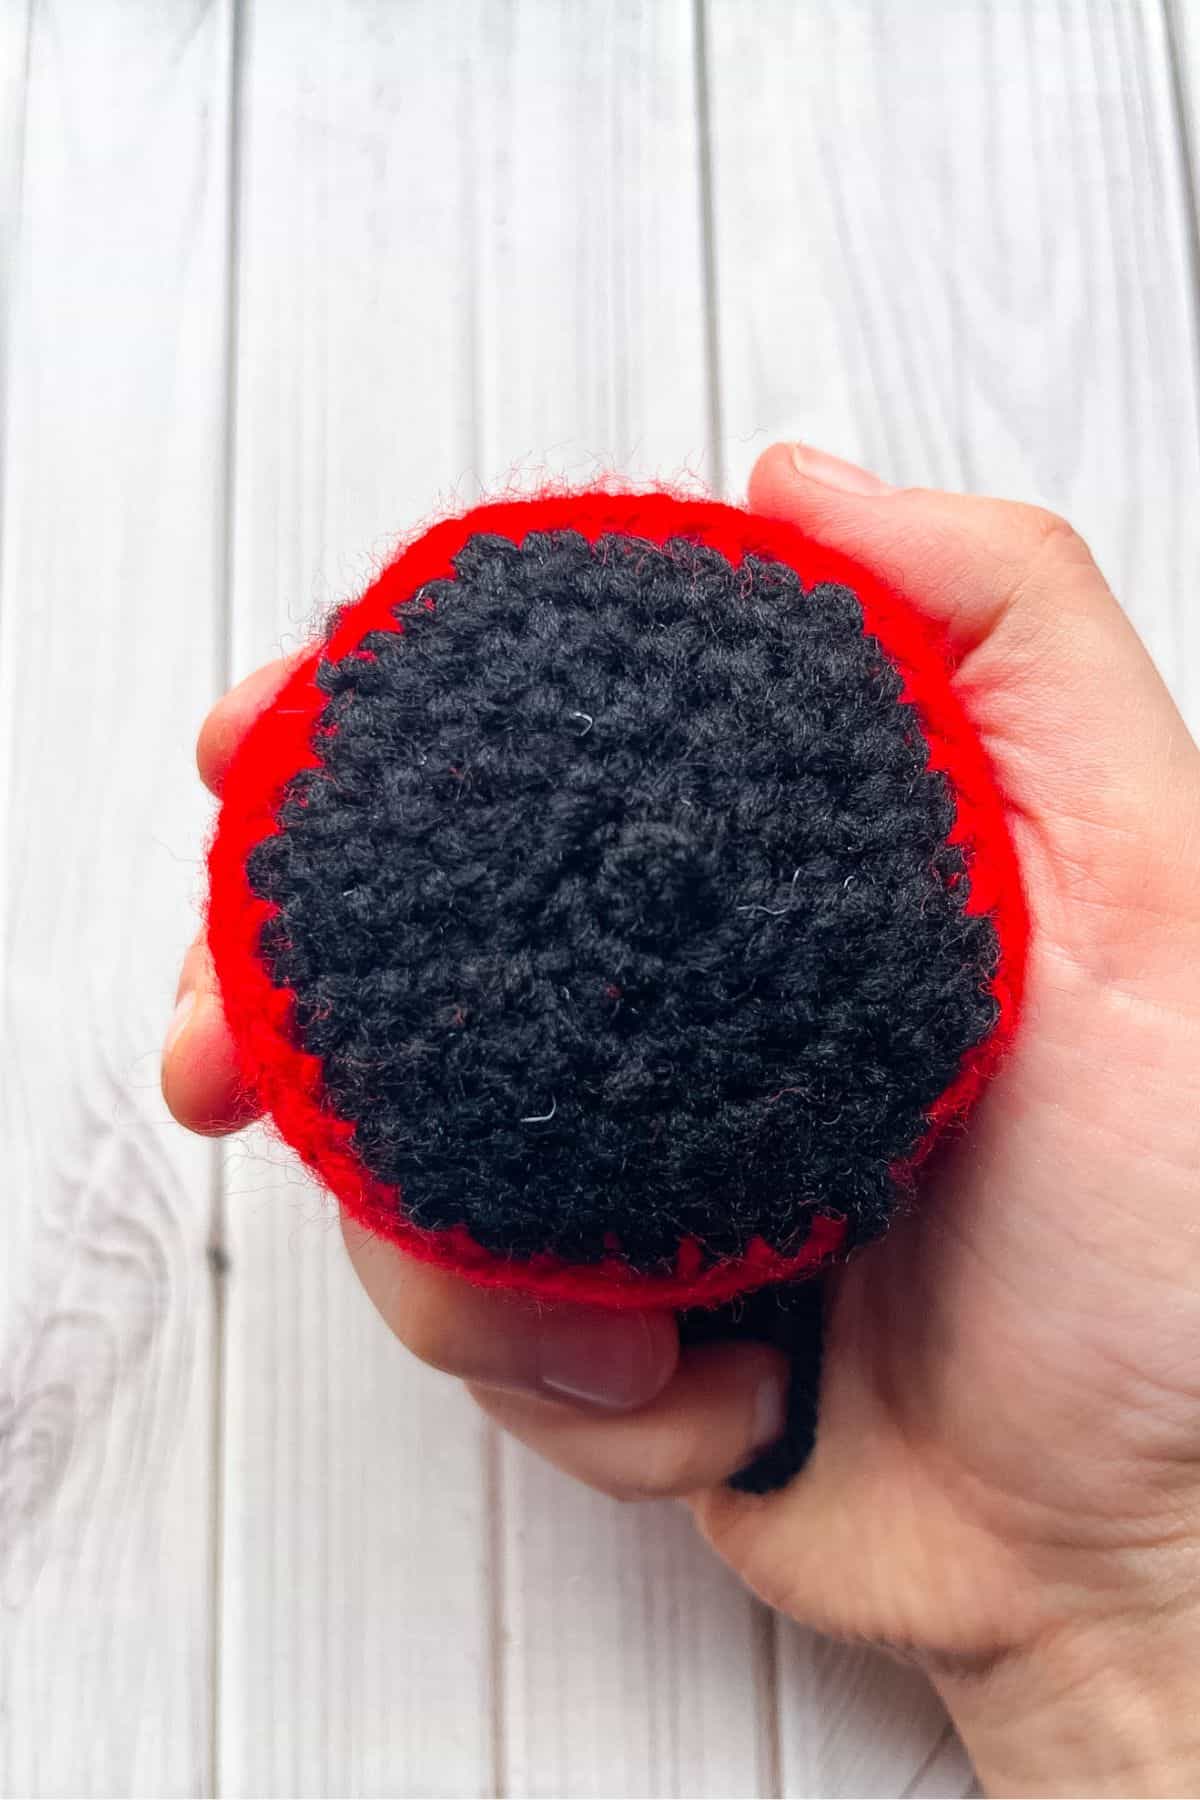
Round 7-10: Sc in every stitch (36). Then fasten off the red yarn and join the black yarn.
Round 11: In blo - dec, sc x4. Then repeat for the rest of the round (30).
Round 12: Dec, sc x3. Then repeat for the rest of the round (24).
Round 13: Dec, sc x2. Then repeat for the rest of the round (18). (If you haven’t already started, you should stuff the crochet ladybug).
Round 14: Dec, sc. Then repeat for the rest of the round (12).
Round 15: Dec. Then repeat for the rest of the round (6). Fasten off the yarn and close the hole at the bottom of the ladybug. Weave in any ends.
Crochet Ladybug Head:

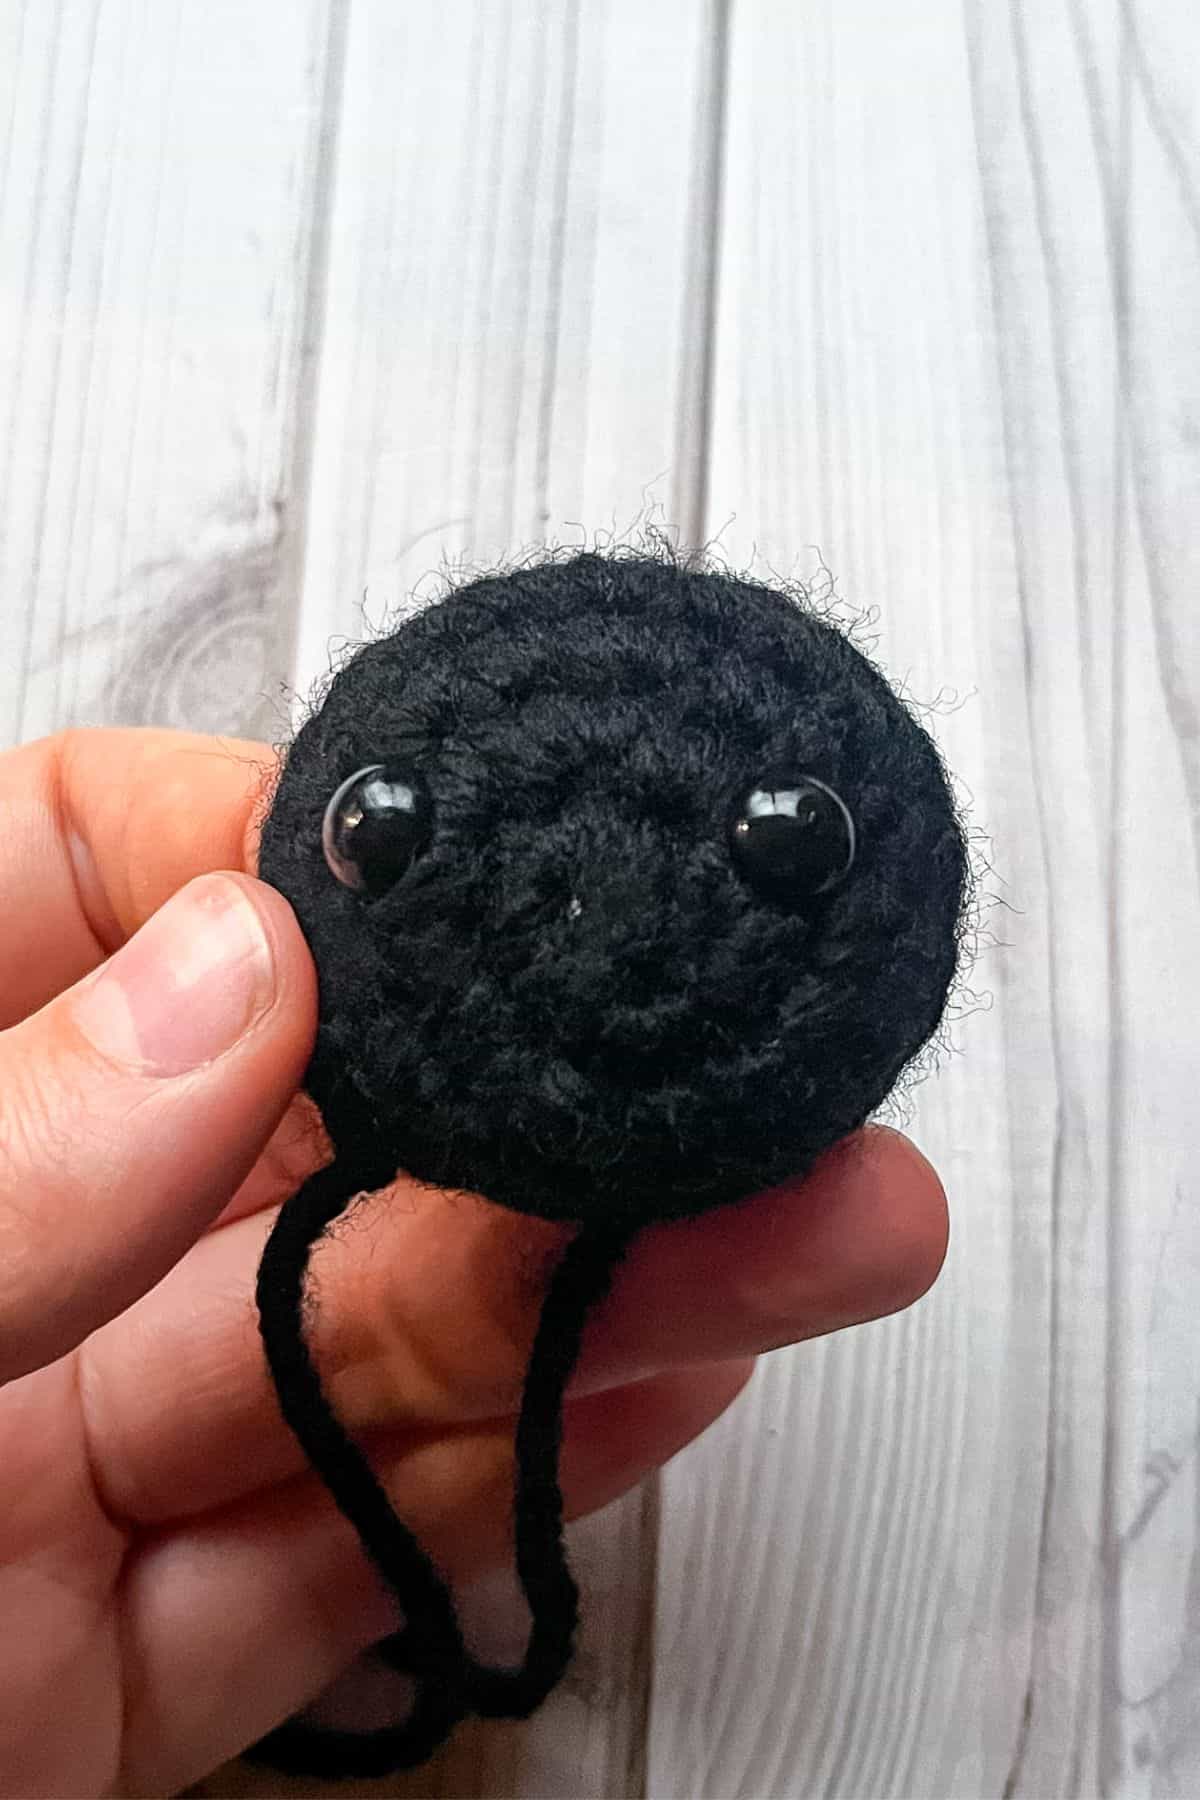
Round 1: Using the black yarn, make a mr and sc x6 into the circle (6).
Round 2: Inc in every sc (12).
Round 3: Inc, sc. Then repeat until the end of round (18).
Round 4-5: Sc in every stitch (18). Then fasten off and leave a yarn tail for sewing.
Your safety eyes should be placed between rounds 2-3 in the middle of the ladybug face.
Crochet Ladybug Spots:
Make x6.
Round 1: Using the black yarn, make a mr and sc x6 into the circle (6). Then fasten off and leave a yarn tail for sewing.
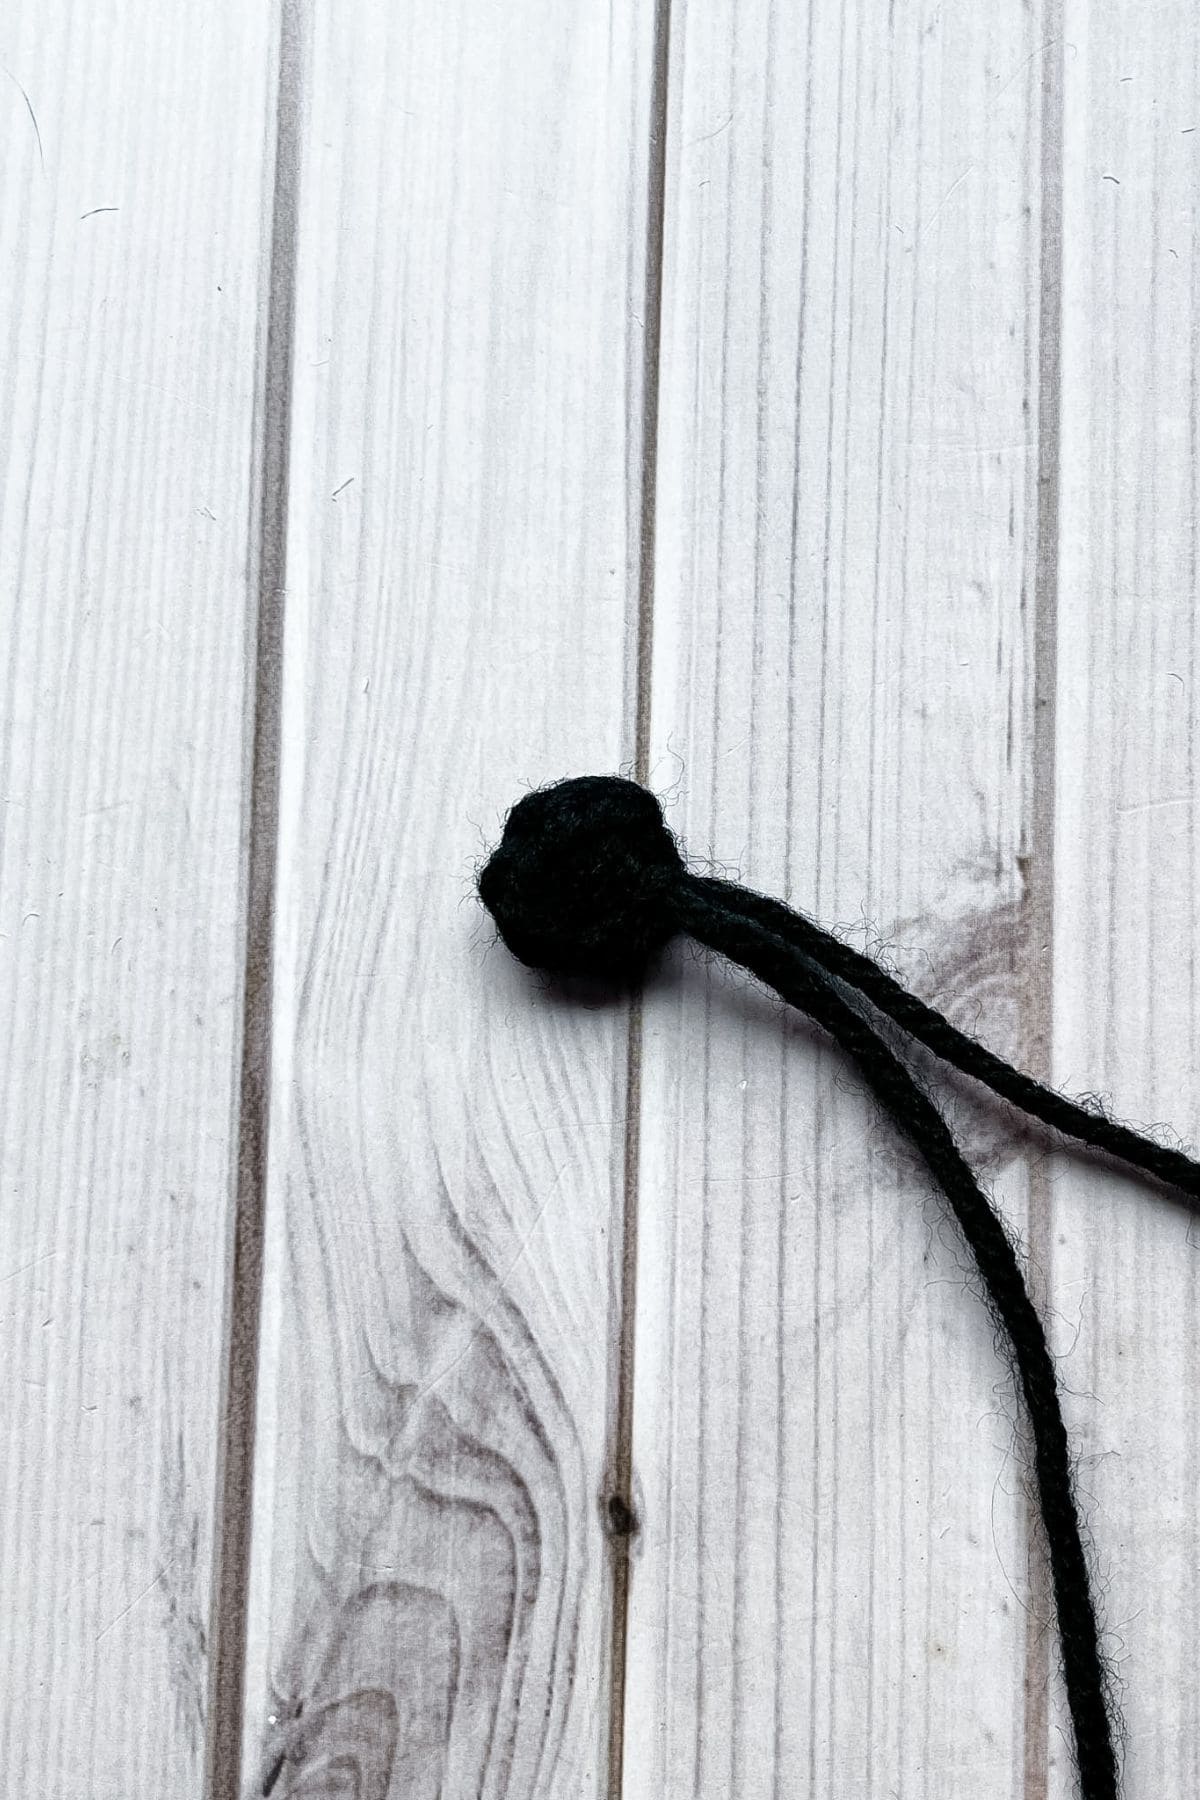
Crochet Ladybug Antennas:
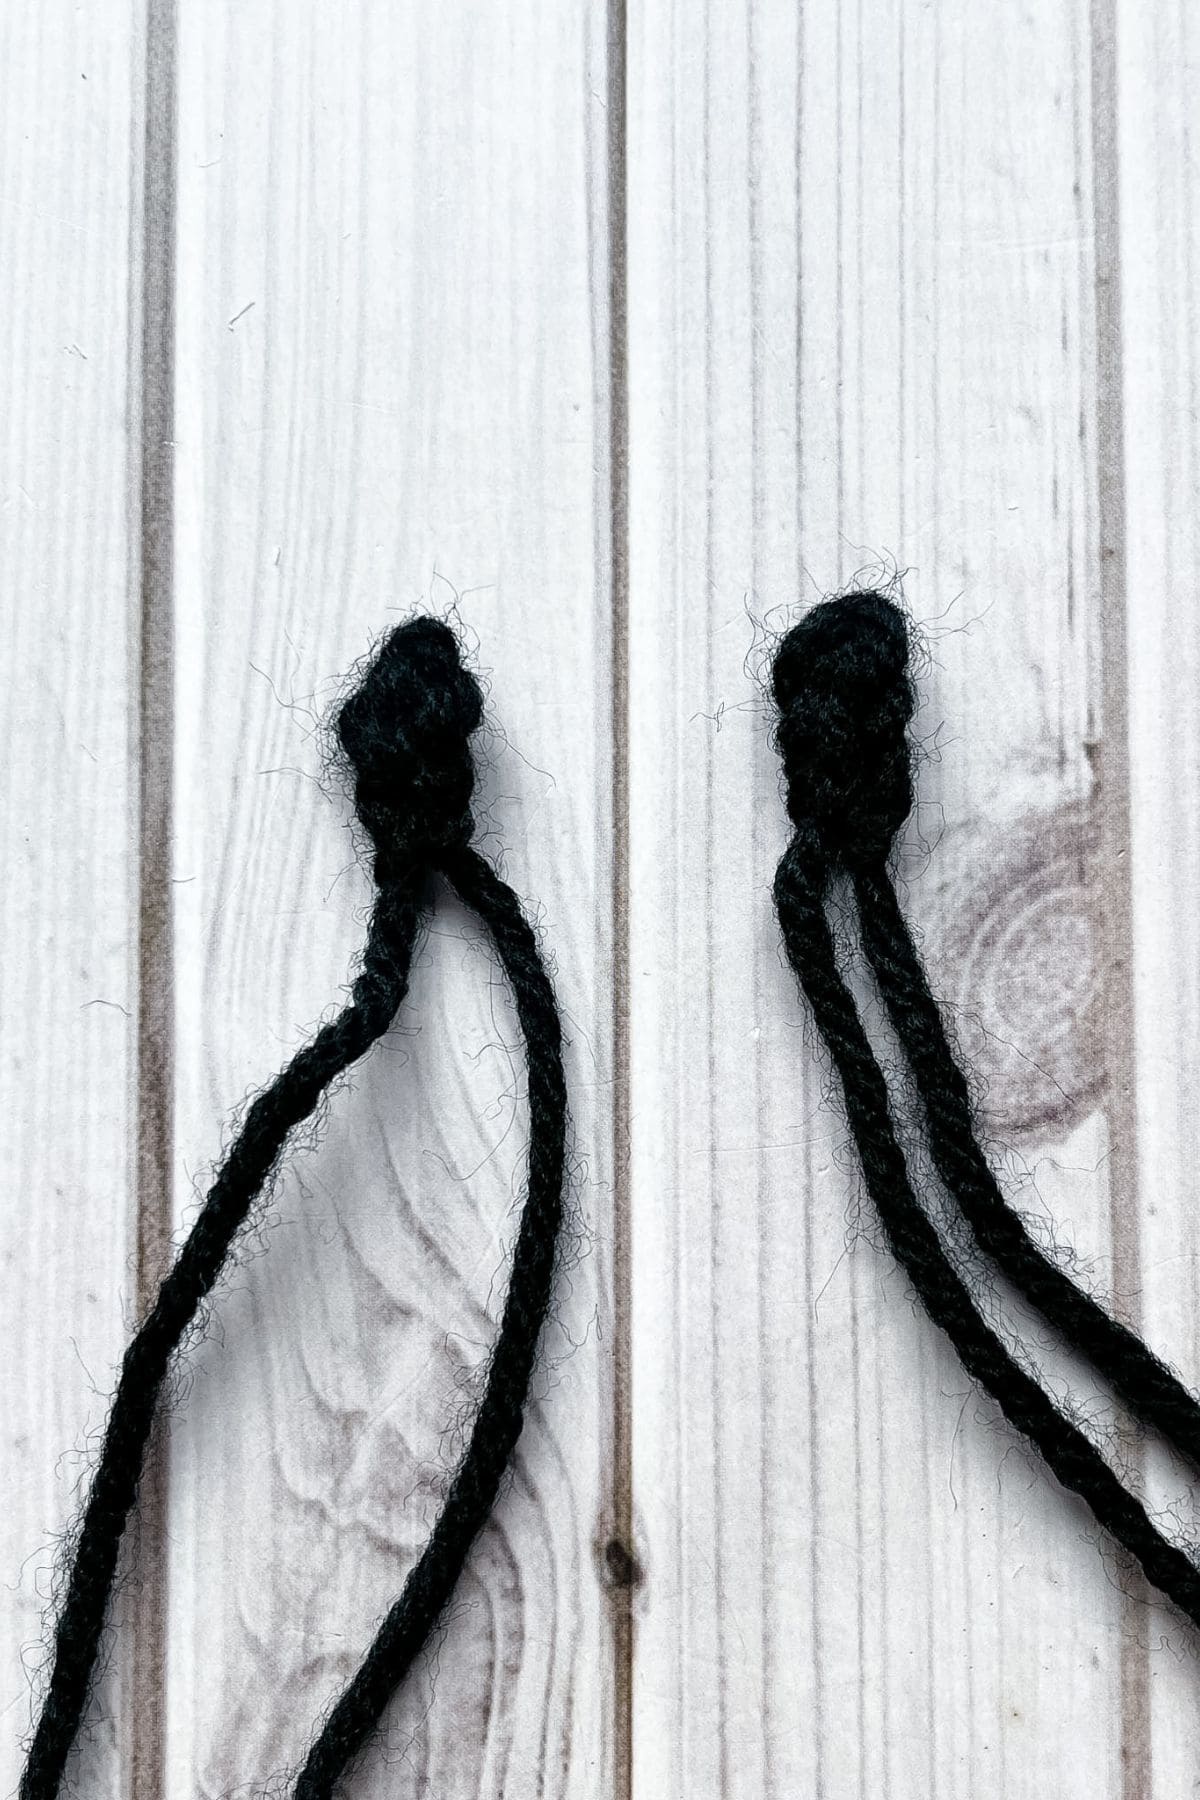
Make x2.
Using black yarn, ch x3. Then in the second ch from the hook make a sl st. Make another sl st in the last ch. Then fasten off and leave a yarn tail for sewing.
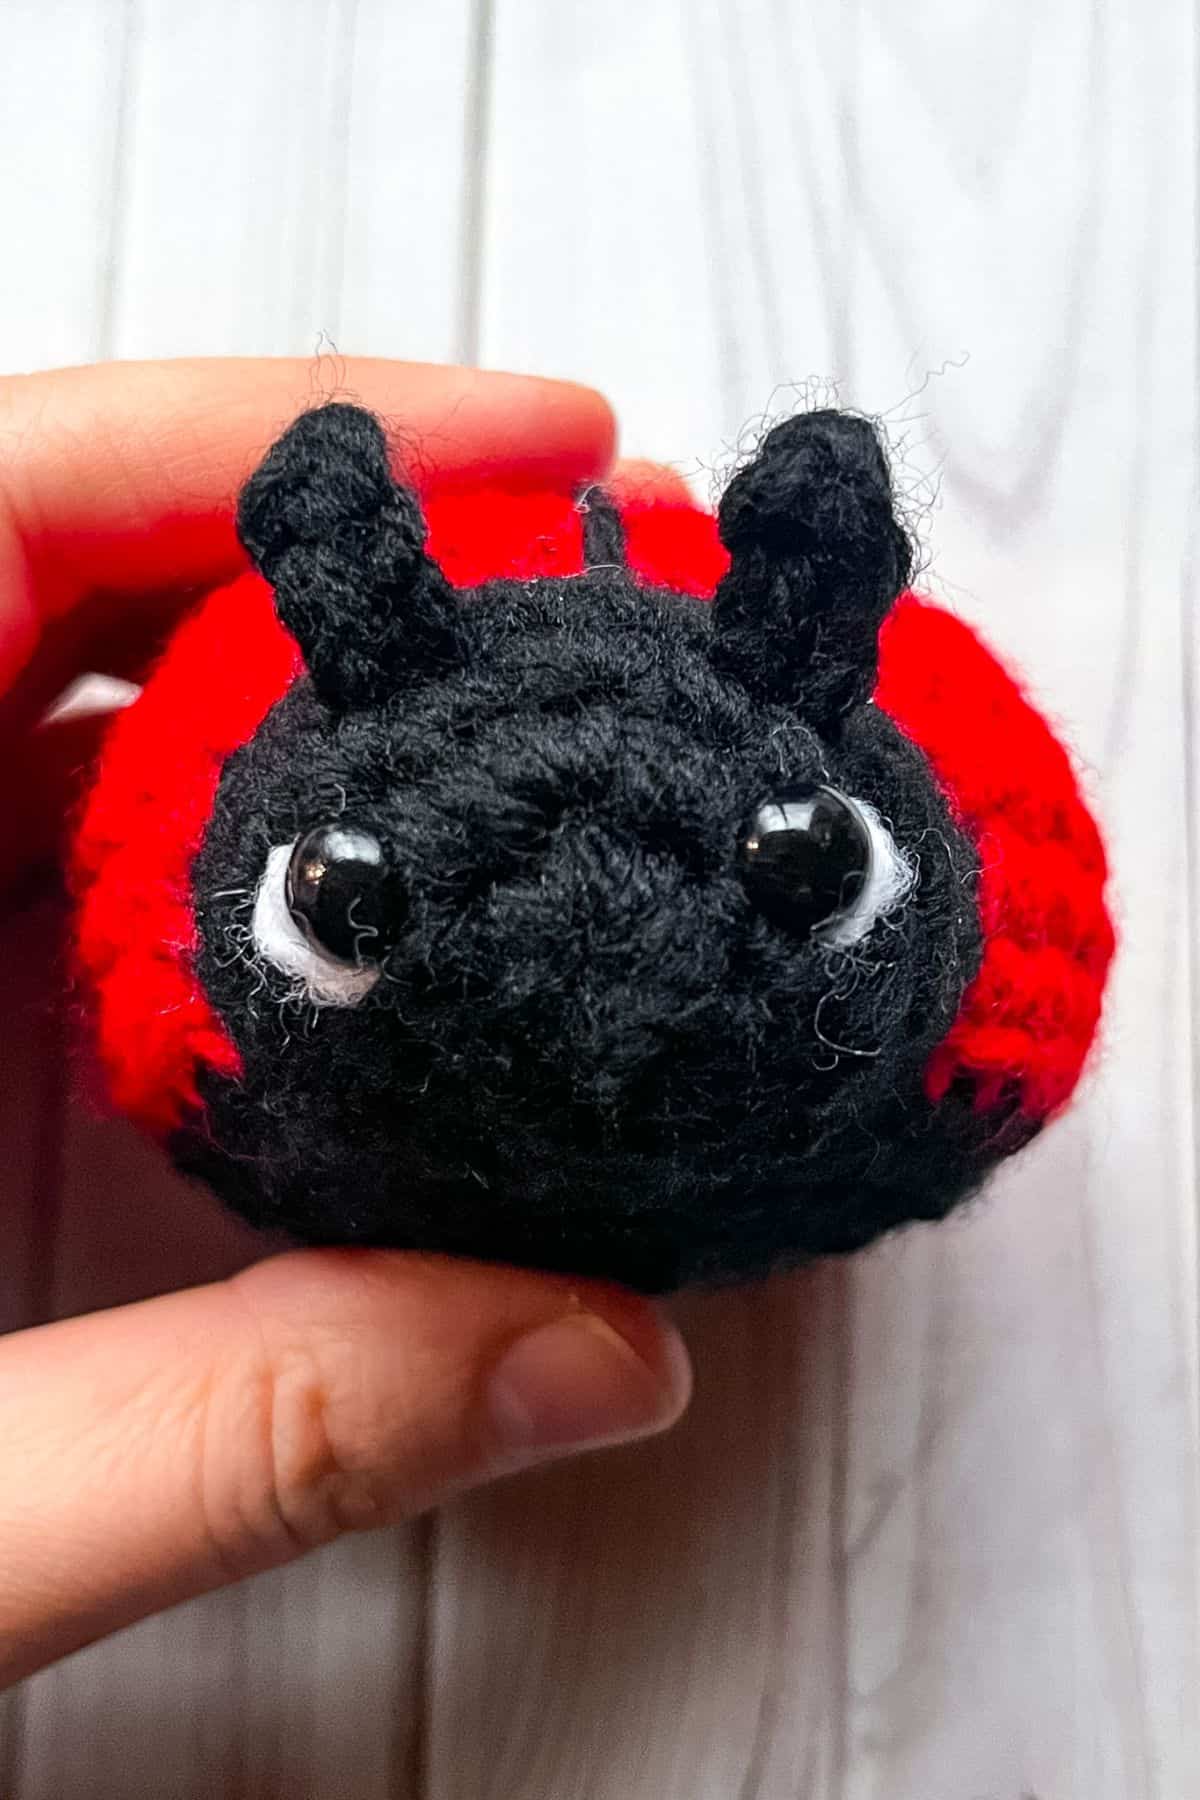
Attach the antennas between rounds 3 and 4, right above the eye placement. This can be either before or after you sew on the ladybug head to its body (I did mine after).
Sewing:
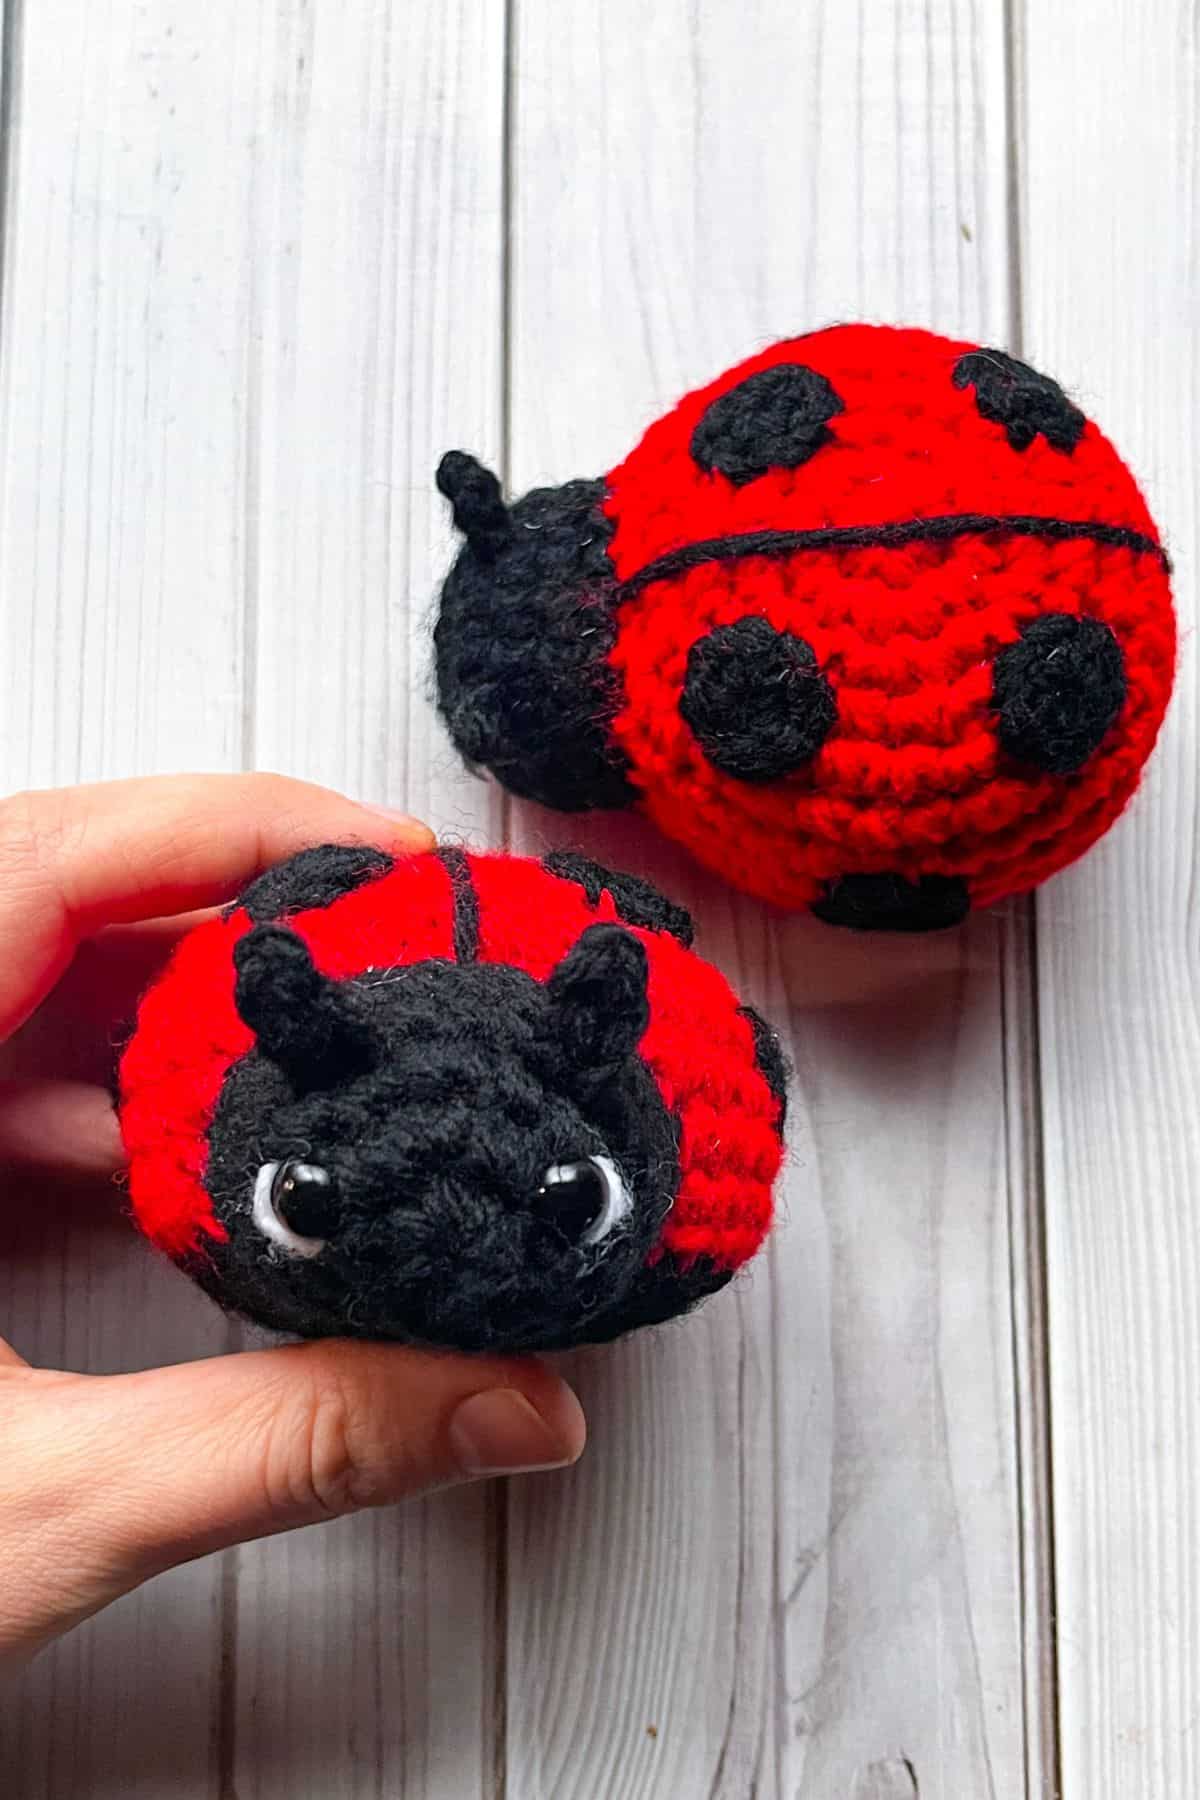
- Create a line dividing the ladybug body in half using black yarn.
- Sew the ladybug head to its body. Stuff the head as needed as you are sewing the 2 pieces together.
- Sew on the spots, the placement is up to you.
- Sew the antennas onto the ladybug if you have not already done so (between rounds 3 and 4, right above the eye placement).
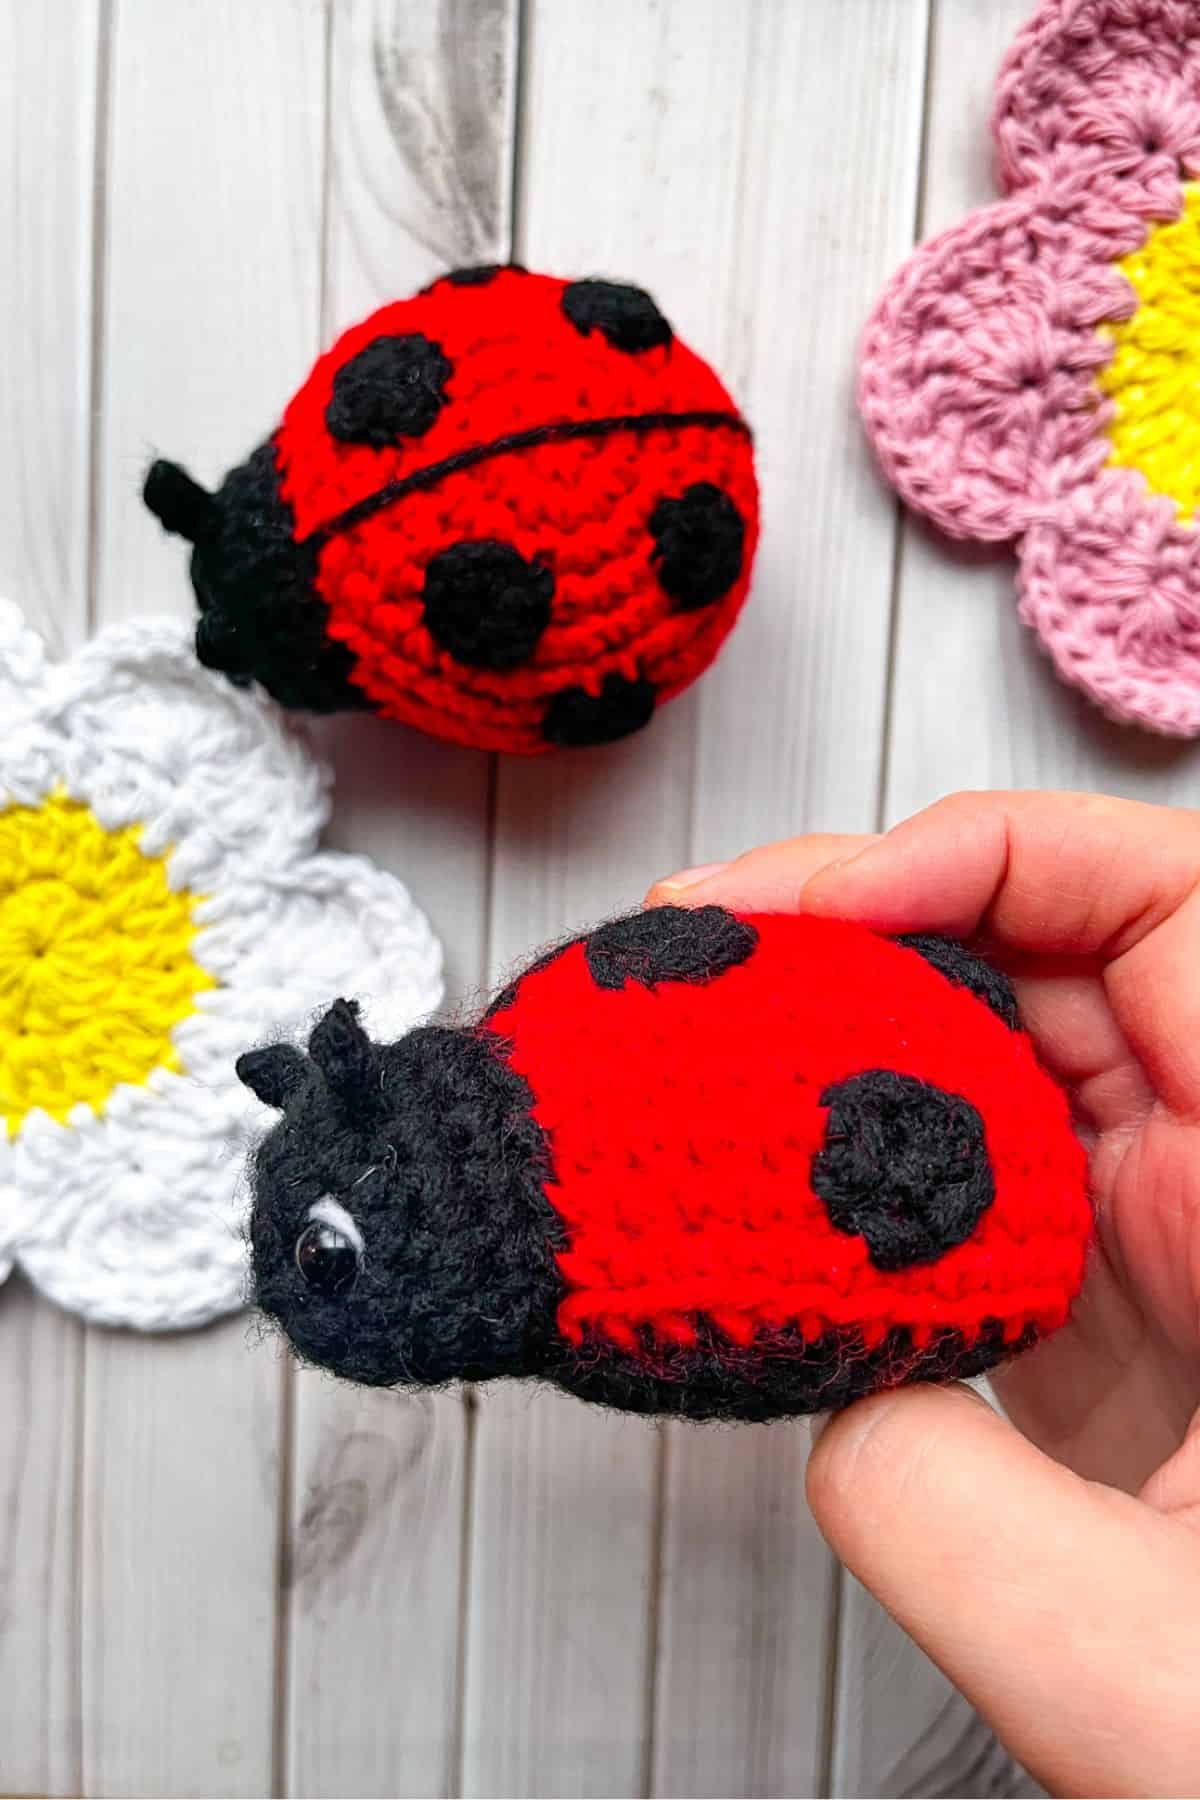
Embroidery: With the white yarn, try and make a little white line right above and below the outer half of the eyes. You want to be as close to the safety eye as possible (even slightly underneath it if you are able to) and make sure you don't pull the yarn too tight otherwise the line disappears. This creates a little dimension to the all dark ladybug face and highlights where the eyes are.
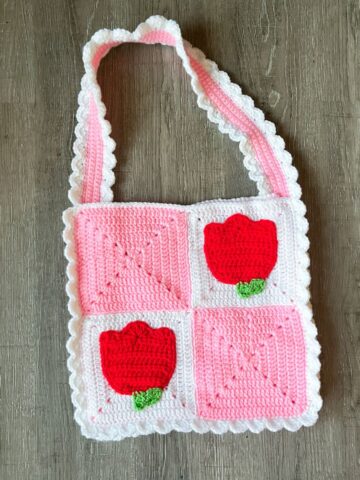
And now you have a cute little crochet ladybird! I hope you enjoyed my crochet ladybug pattern and if you have any other extra red and black yarn, you can try and make yourself a crochet checkered beanie or my crochet granny square bag pattern, this also works if you have any other random bits of yarn too. Or if you want to continue the amigurumi animal trend, check out my crochet squid pattern or my crochet crab pattern. I use orange for these patterns but feel free to use red!
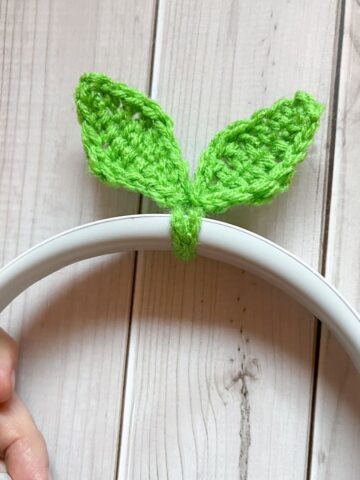
If you want to stage the ladybugs and have them as decor, check out my crochet flower applique pattern! Just set them on top of the little flowers in any way you want!
Until next time, happy crocheting — and may your summer be filled with yarn, sunshine, and lots of gardening!
🐌Expert Tips
- Keep Your Stitches Tight: Since this is an amigurumi ladybug, tighter stitches will help the shape stay structured and prevent stuffing from peeking through. If you notice gaps, go down a hook size or try using a yarn with less stretch.
- Add a Bit of Weight: If you're turning your crochet ladybug into a keychain or bag charm, adding a tiny amount of poly-pellets or a small flat bead inside the base can give it a satisfying weight and help it hang nicely.
- Minimal sewing: This pattern already has minimal sewing, but you can do less sewing if you crocheted the antennas straight into the ladybug's head at the recommended spots.
🧵Pattern FAQs
This crochet ladybug pattern is beginner-friendly! If you're comfortable with single crochet, increasing, and decreasing in the round, you'll be able to make this with ease. It’s also a great starter project for learning amigurumi techniques.
On average, it takes about an hour or less to complete one ladybug, making it a perfect quick project for markets, gifts, or stash-busting.
Yes! The pattern is super flexible. While I recommend worsted weight acrylic for durability, you can use cotton, velvet, or even chunky yarn. Just be sure to adjust your hook size to keep your stitches tight and prevent holes.
🧶More Spring Crochet Patterns
If you tried this Crochet Ladybug Pattern (or any other pattern on my website), please let me know how it went in the 📝 comments below. I'd love to hear from you!
Crochet Ladybug Pattern
Materials
- Magic ring mr
- Single crochet sc
- Increase inc
- Decrease dec
- Slip stitches sl st
Abbreviations (US terms)
Notes
- Size: When using a 4.5mm hook and worsted weight yarn, your finished amigurumi ladybug will measure approximately 4 inches long. If you want it keychain sized, try using size 3 yarn and a 3.5-4mm hook.
- Yarn Flexibility: The crochet ladybug pattern is super versatile when it comes to yarn! While I used worsted weight acrylic for a sturdy finish, you can easily swap in cotton, velvet, or even blanket yarn for different textures, looks, and sizes. Just adjust your hook size accordingly to keep those stitches nice and tight. If you use chunky yarn it will come out as a 6-8inch plushie!
- Beginner-Friendly: If you're new to crochet or amigurumi, don't worry —the crochet ladybug pattern is very approachable! It uses basic stitches like single crochet, increases, and decreases, with no complicated shaping. It’s a great confidence booster for newer crocheters.
Instructions
- For this crochet ladybug pattern, we will be working in rounds.
Crochet Ladybug Shell:
- Round 1: Using the red yarn, make a mr and sc x6 into the circle. If you find it difficult making a magic ring you can chain 2 and then crochet sc x6 in the second chain from the hook (6).
- Round 2: Inc in every sc (12).
- Round 3: Inc, sc. Then repeat until the end of round (18).
- Round 4: Inc, sc x2. Then repeat until the end of round (24).
- Round 5: Inc, sc x3. Then repeat until the end of round (30).
- Round 6: Inc, sc x4. Then repeat until the end of round (36).
- Round 7-10: Sc in every stitch (36). Then fasten off the red yarn and join the black yarn.
- Round 11: In blo - dec, sc x4. Then repeat for the rest of the round (30).
- Round 12: Dec, sc x3. Then repeat for the rest of the round (24).
- Round 13: Dec, sc x2. Then repeat for the rest of the round (18). (If you haven’t already started, you should stuff the crochet ladybug).
- Round 14: Dec, sc. Then repeat for the rest of the round (12).
- Round 15: Dec. Then repeat for the rest of the round (6). Fasten off the yarn and close the hole at the bottom of the ladybug. Weave in any ends.
Crochet Ladybug Head:
- Round 1: Using the black yarn, make a mr and sc x6 into the circle (6).
- Round 2: Inc in every sc (12).
- Round 3: Inc, sc. Then repeat until the end of round (18).
- Round 4-5: Sc in every stitch (18). Then fasten off and leave a yarn tail for sewing.
- Your safety eyes should be placed between rounds 2-3 in the middle of the ladybug face.
Crochet Ladybug Spots:
- Make x6.
- Round 1: Using the black yarn, make a mr and sc x6 into the circle (6). Then fasten off and leave a yarn tail for sewing.
Crochet Ladybug Antennas:
- Make x2.
- Using black yarn, ch x3. Then in the second ch from the hook make a sl st. Make another sl st in the last ch. Then fasten off and leave a yarn tail for sewing.
- Attach the antennas between rounds 3 and 4, right above the eye placement. This can be either before or after you sew on the ladybug head to its body (I did mine after).
Sewing:
- Create a line dividing the ladybug body in half using black yarn.
- Sew the ladybug head to its body. Stuff the head as needed as you are sewing the 2 pieces together.
- Sew on the spots, the placement is up to you.
- Sew the antennas onto the ladybug if you have not already done so (between rounds 3 and 4, right above the eye placement).
- Embroidery: With the white yarn, try and make a little white line right above and below the outer half of the eyes. You want to be as close to the safety eye as possible (even slightly underneath it if you are able to) and make sure you don't pull the yarn too tight otherwise the line disappears. This creates a little dimension to the all dark ladybug face and highlights where the eyes are.
- And now you have a cute little crochet ladybird! I hope you enjoyed my crochet ladybug pattern

Leave a Reply