
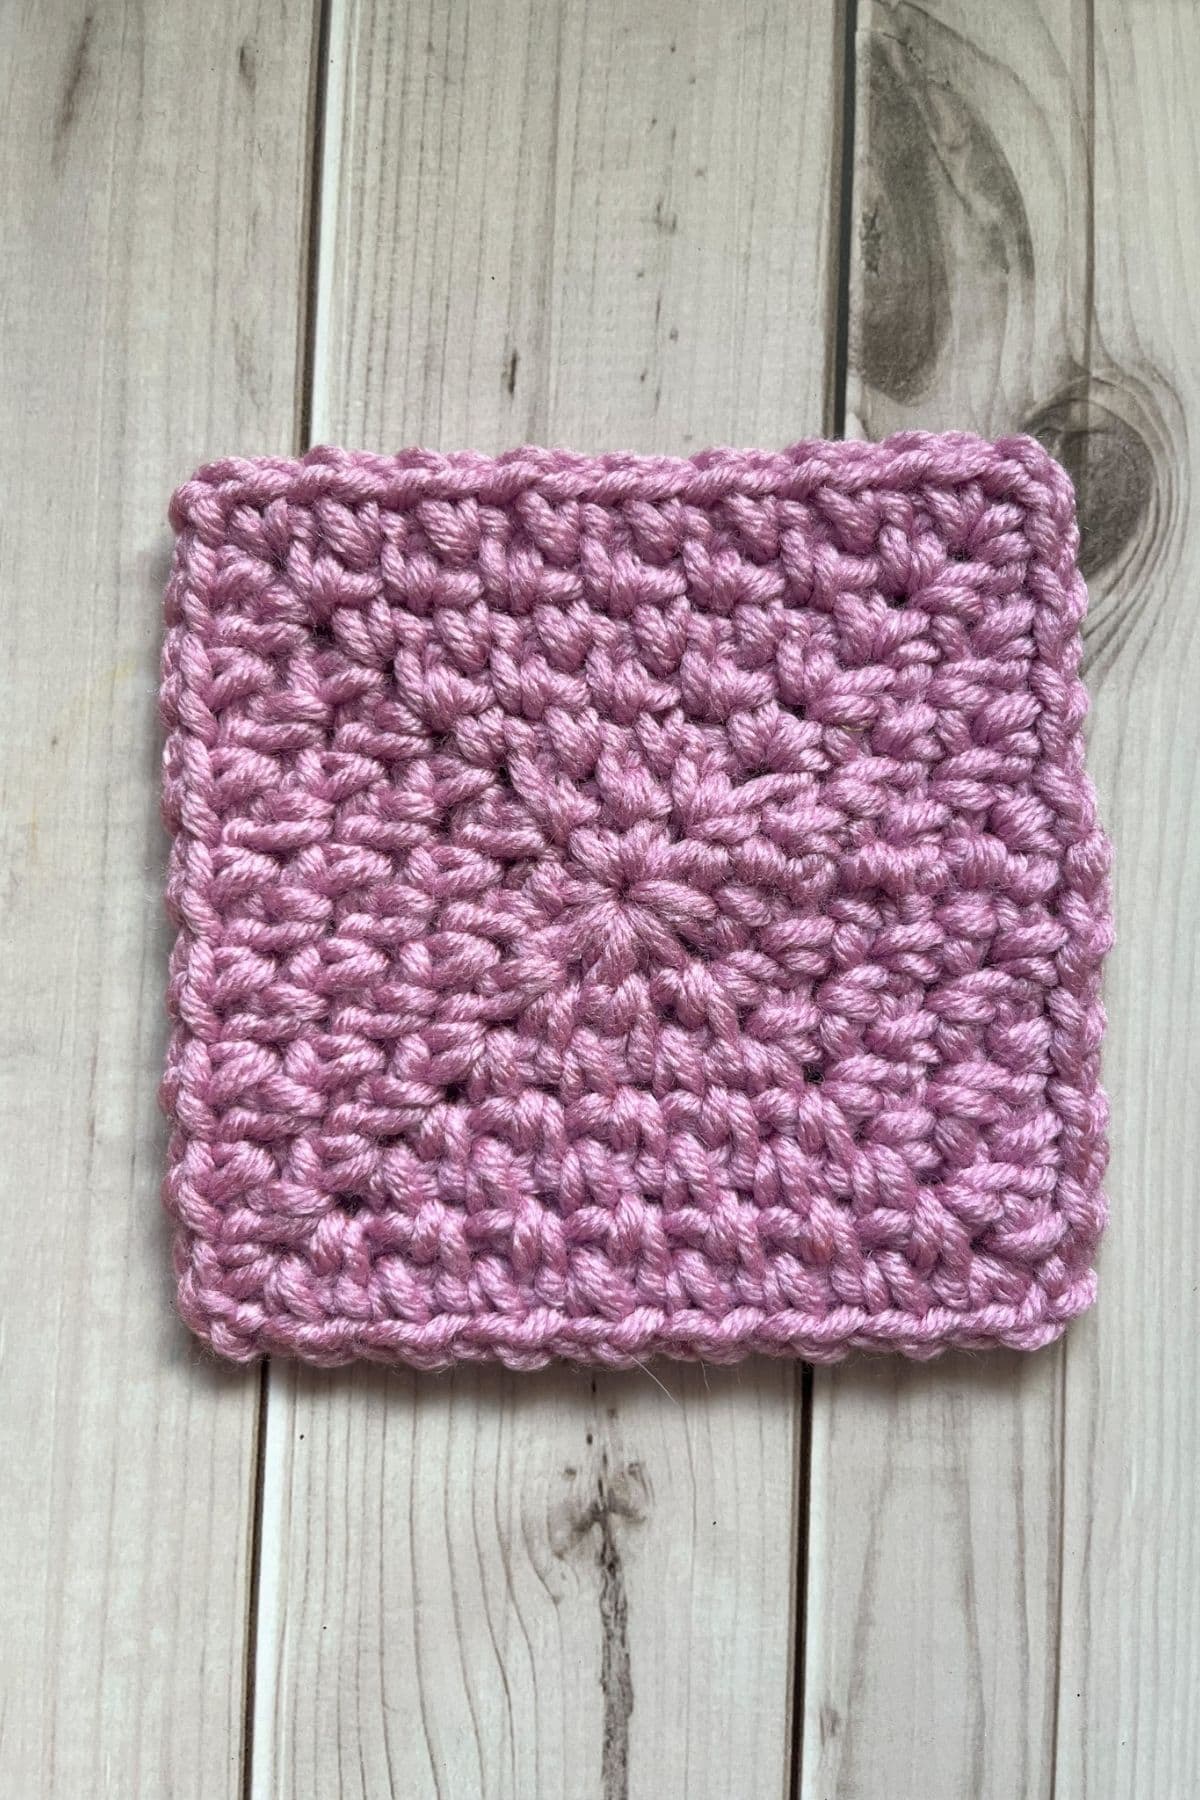
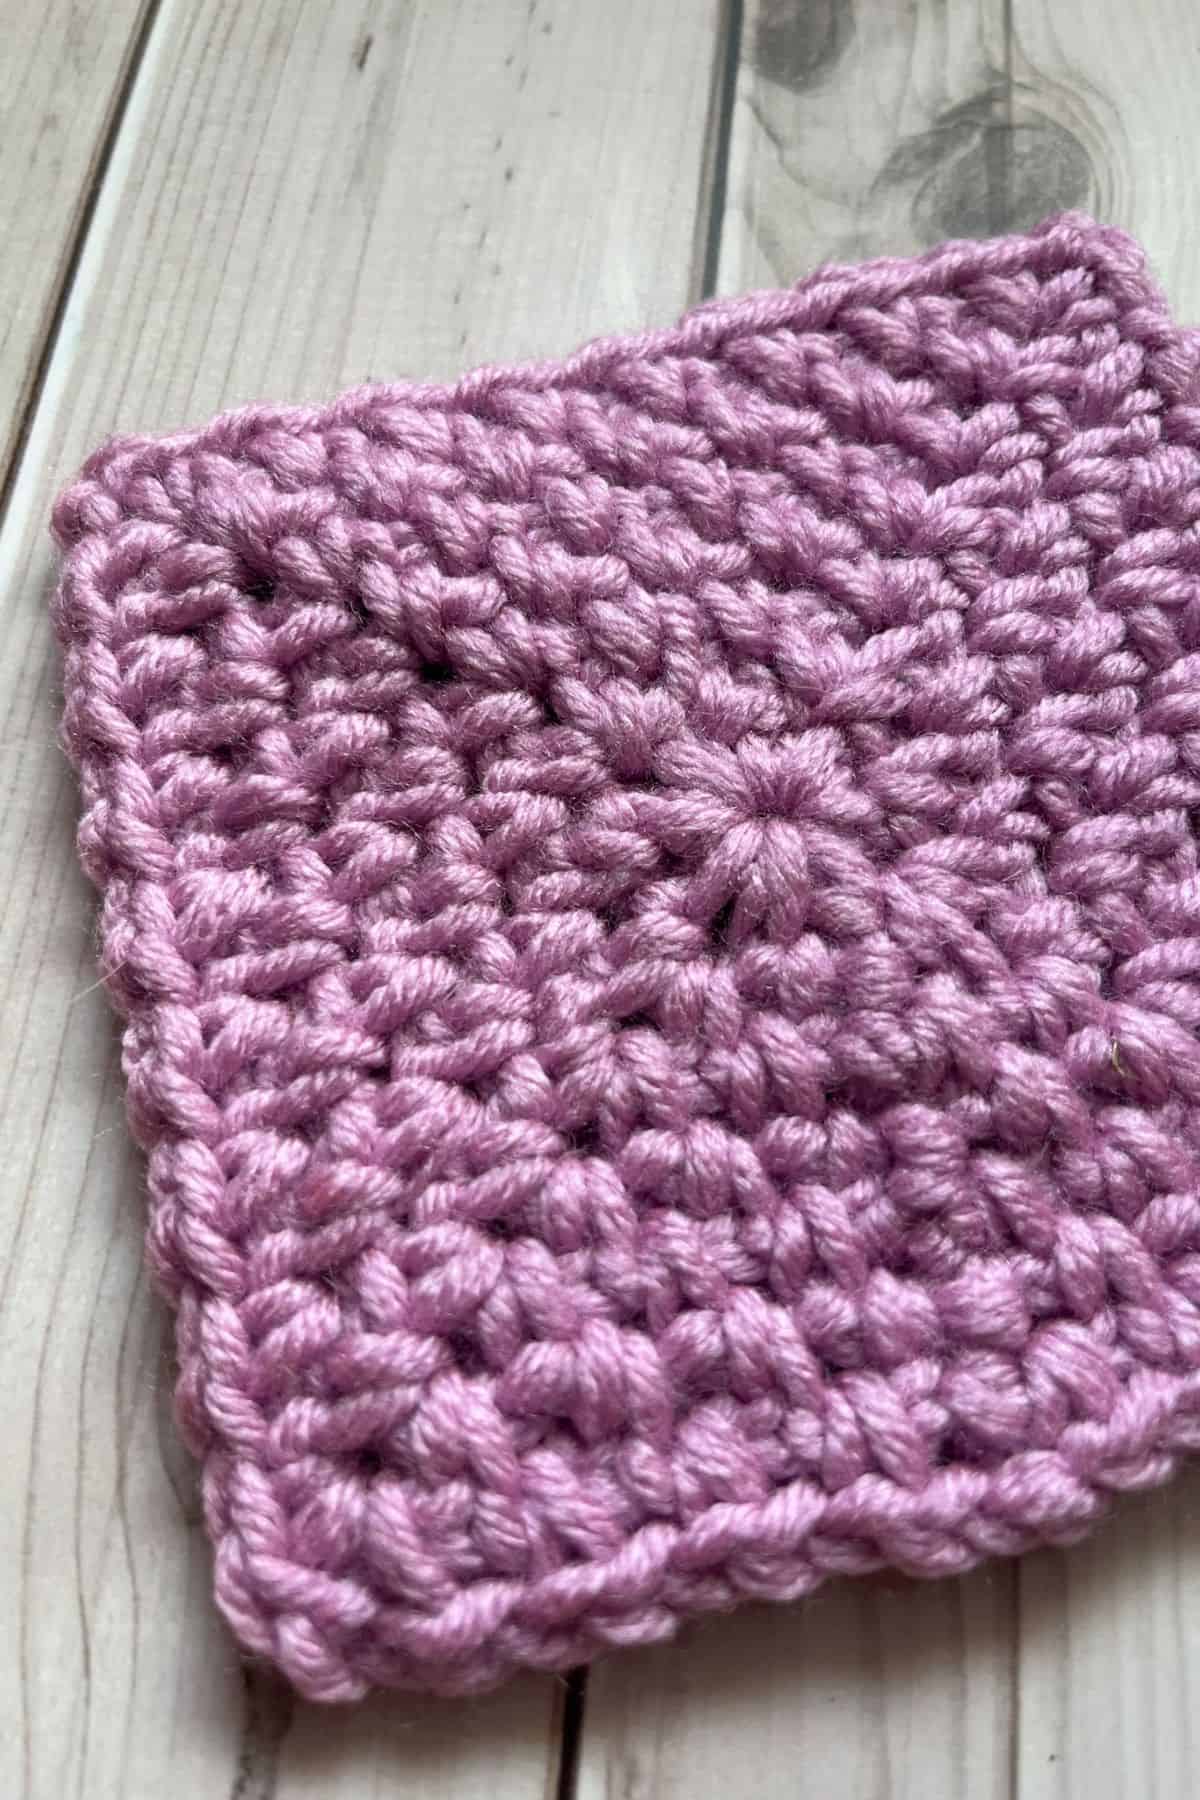
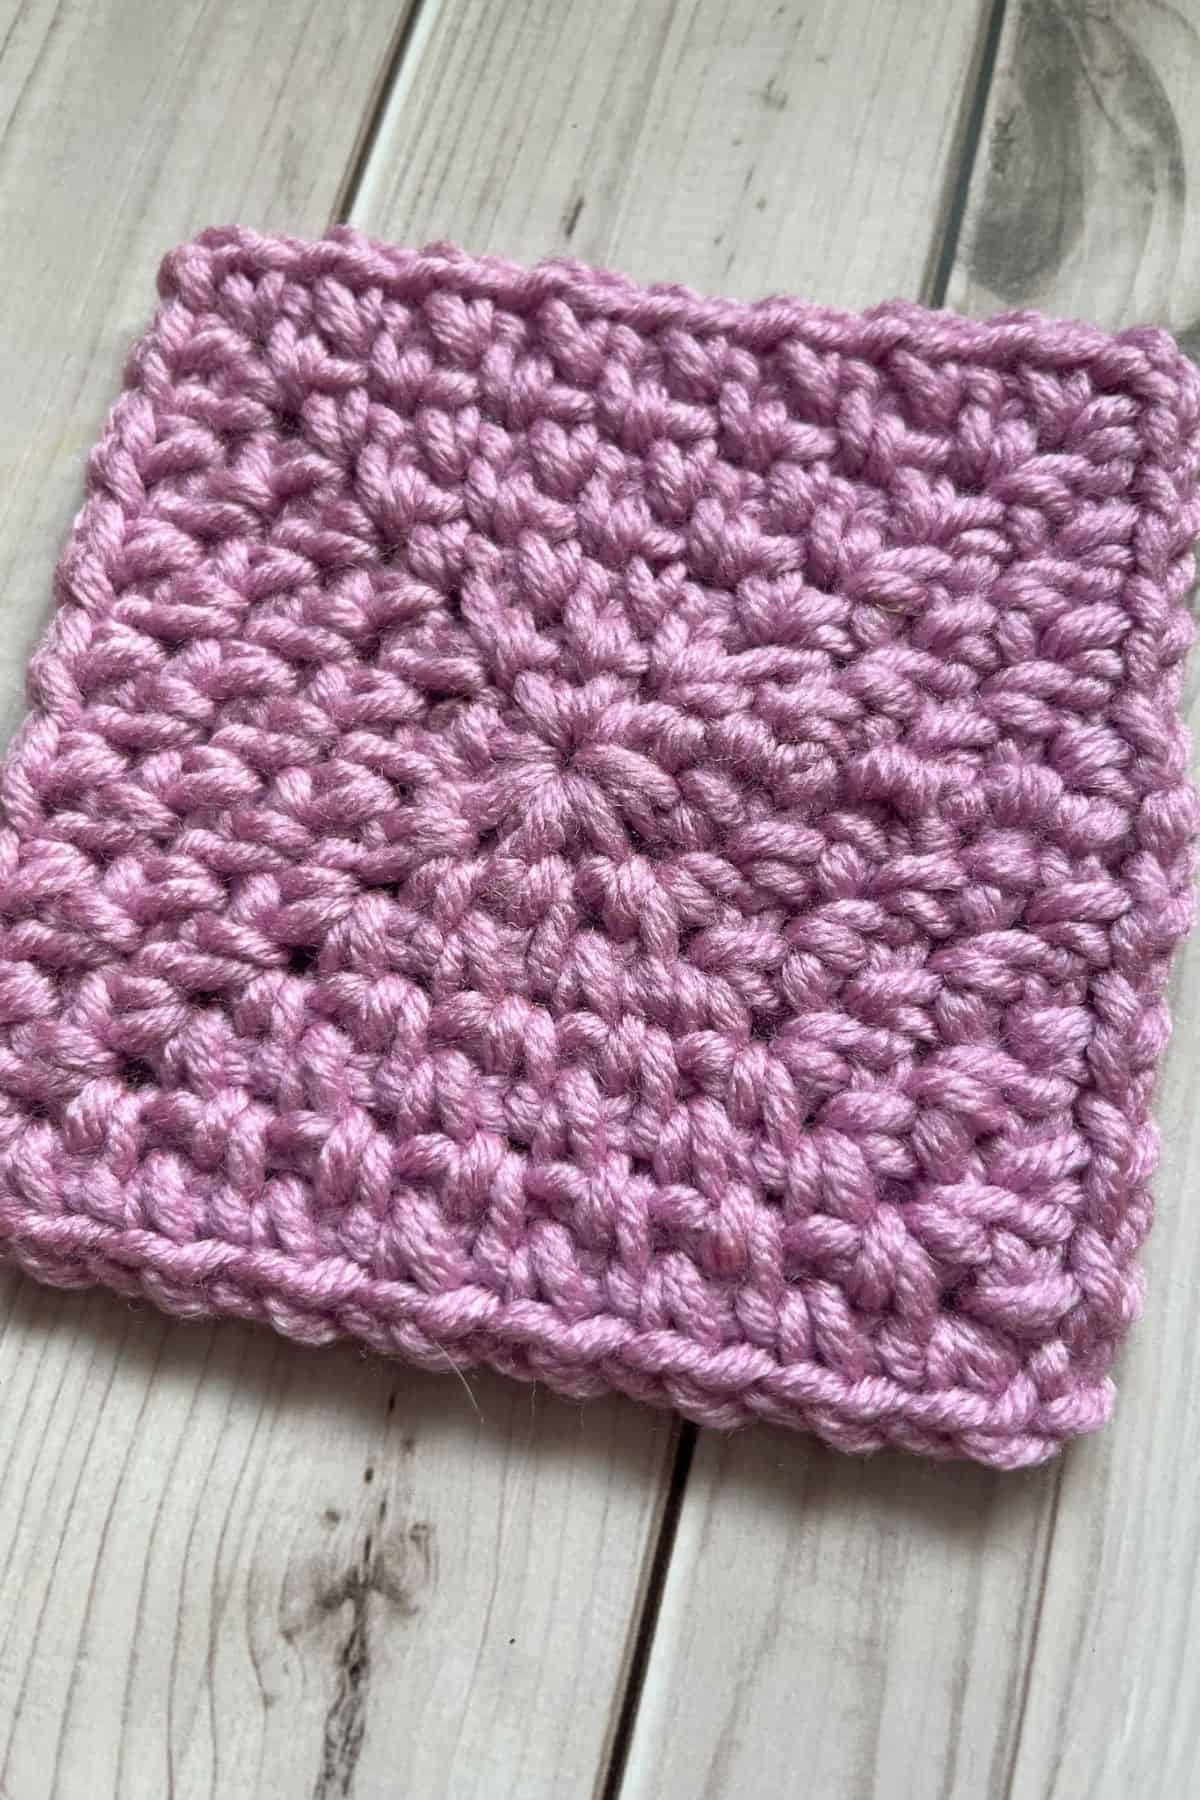
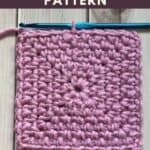
This crochet Moss Stitch Granny Square Pattern is easy to make if you are familiar with the moss stitch. It is perfect for blankets because it has minimal holes and a beautiful texture.
I love the moss stitch. In fact, I use it in so many different projects like my Moss Stitch Crochet Scarf and Moss Stitch Crochet Blanket Pattern
The moss stitch is also called the linen stitch or granite stitch, and I use those terms in my Crochet Linen Stitch Scarf Pattern and my Crochet Fingerless Gloves in Granite Stitch but they are essentially the same stitch, just different names.
Normally, I make the moss stitch in rows, but I recently learned that it can be done in the round, and I absolutely love the look! I even use the stitch in the round for my Ice Cream Pint Cozy Crochet Pattern. But did you know you can even make it into a granny square? The crochet moss stitch granny square is perfect for blankets, hexagon cardigans, pillows, dishcloths, and more.
By making the crochet moss stitch in the round, you get a perfect amount of stretch from the chains and coverage for staying warm. The small holes prevent significant wind chill, making it ideal for spring and fall.
So let's get started!
Jump to:
✏️ Things To Note:
- Yarn Choice. For this project, I used scrap yarn, but you have the flexibility to choose any yarn type that suits your preferences, whether it's acrylic, cotton, worsted weight, chunky, or another variety. Each yarn will bring a slightly different texture and look to your project, so feel free to experiment with what works best for you.
- Initial Rounds. In the beginning, the first few rounds may not immediately resemble a square. Don’t worry—after the third round, the shape should start to come together more clearly. This initial phase can feel a bit tricky, but with a little patience, the square will take form as you continue.
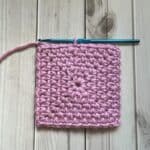
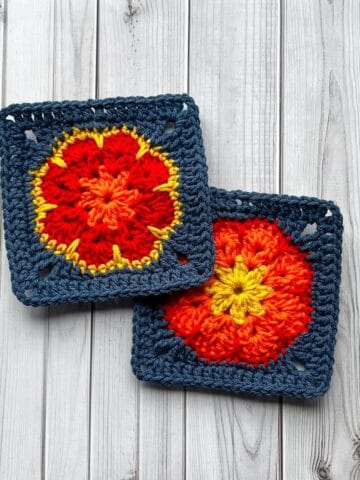
- Swatch Note. The granny square shown here is just a swatch and not a finished project. However, it serves as a great starting point for creating a dishcloth or similar small items if you choose to keep it this size. If you want to expand the design into a larger project, simply continue building upon the swatch until you reach your desired dimensions.
- Adjusting the Rounds. By adjusting the number of rounds and choosing the right yarn, you can easily customize this pattern for various uses, from decorative items to practical household pieces like dishcloths or coasters.
🪡 Materials Needed
- 5mm crochet hook
- Tapestry needle
- Yarn for the moss stitch square
💭Abbreviations to Remember (US terms)
- Chain - ch
- Chain space - ch sp
- Single crochet - sc
- Slip Stitch - sl st
🍵Instructions for Moss Stitch Granny Square Pattern
The moss stitch granny square pattern is made in the round and not in rows.
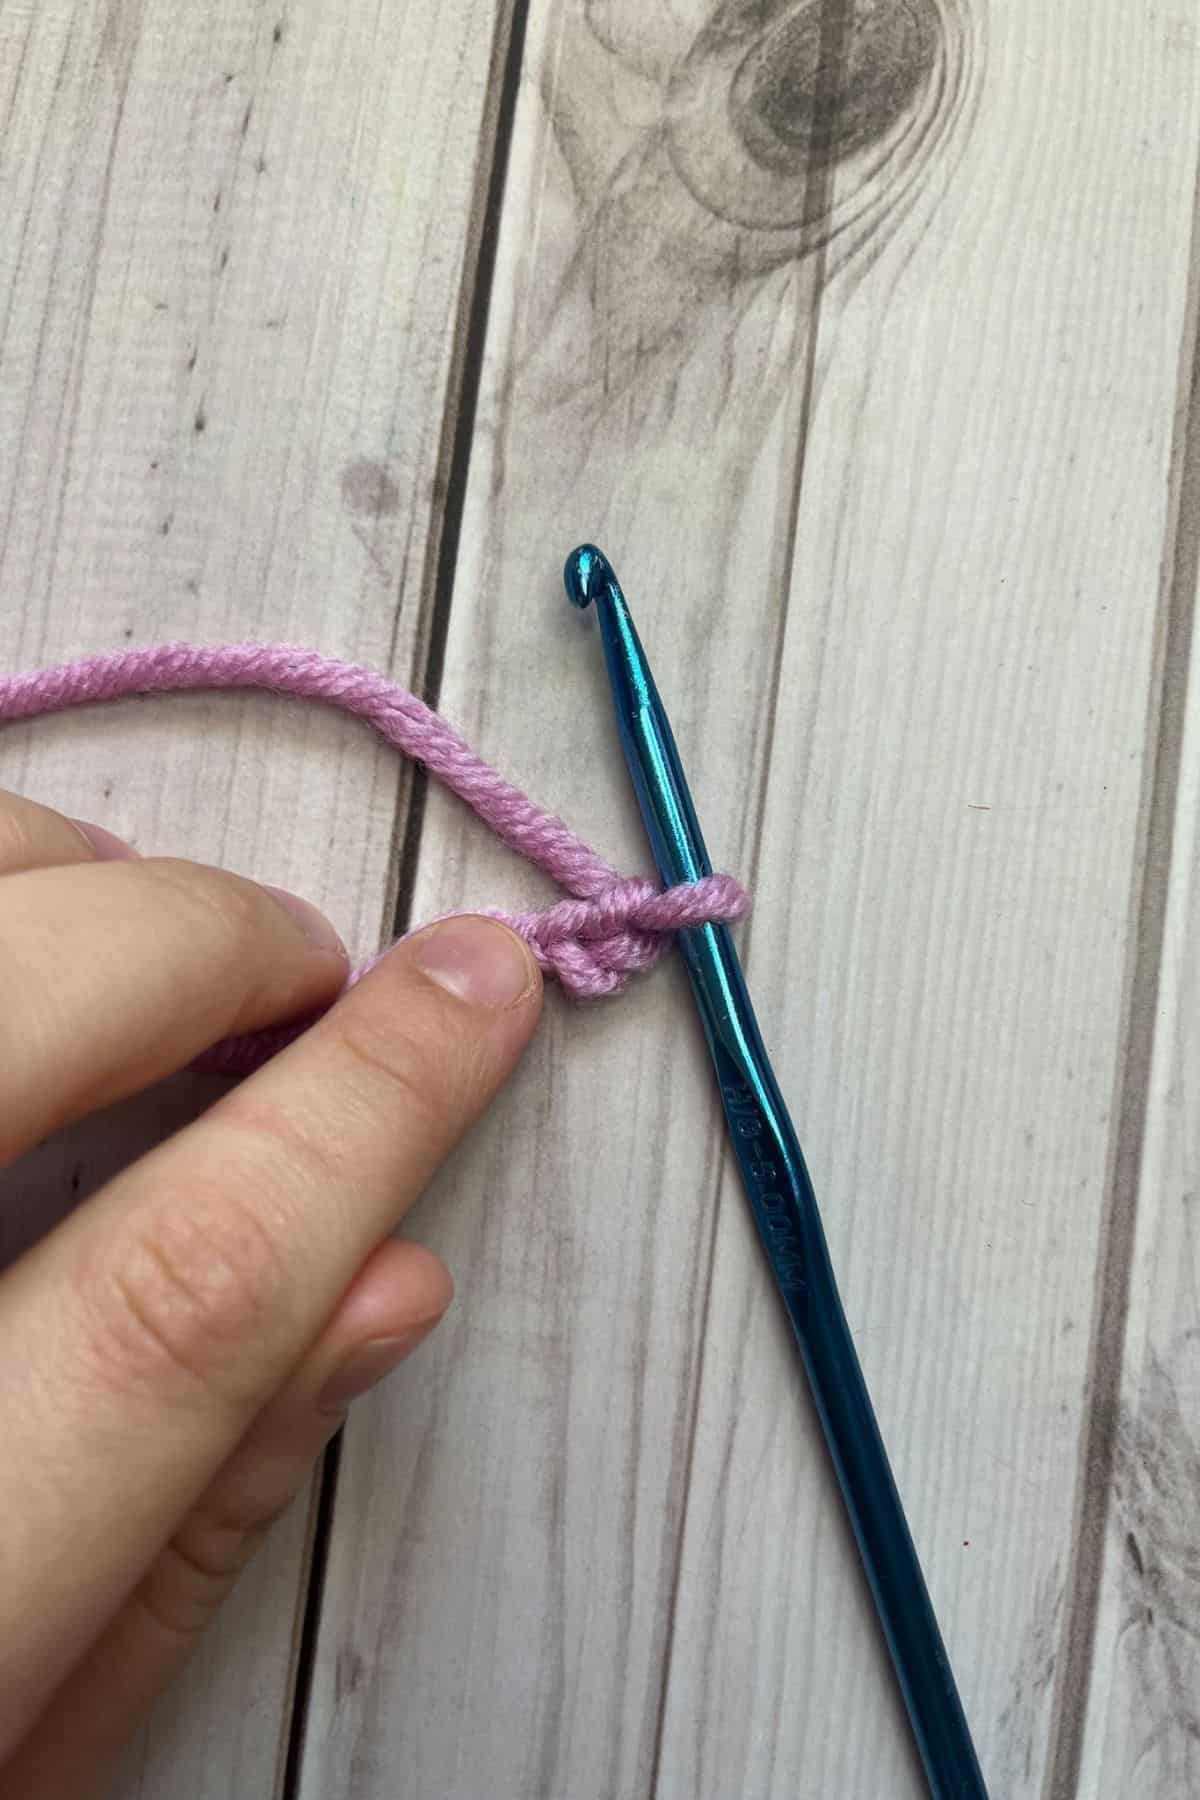
Round 1: Ch x2,
in the 2nd ch from the hook:
*sc, ch x2, sc, ch, then repeat from * 3 more times for a total of 4 times. Think of the ch-2 spaces as the corners.
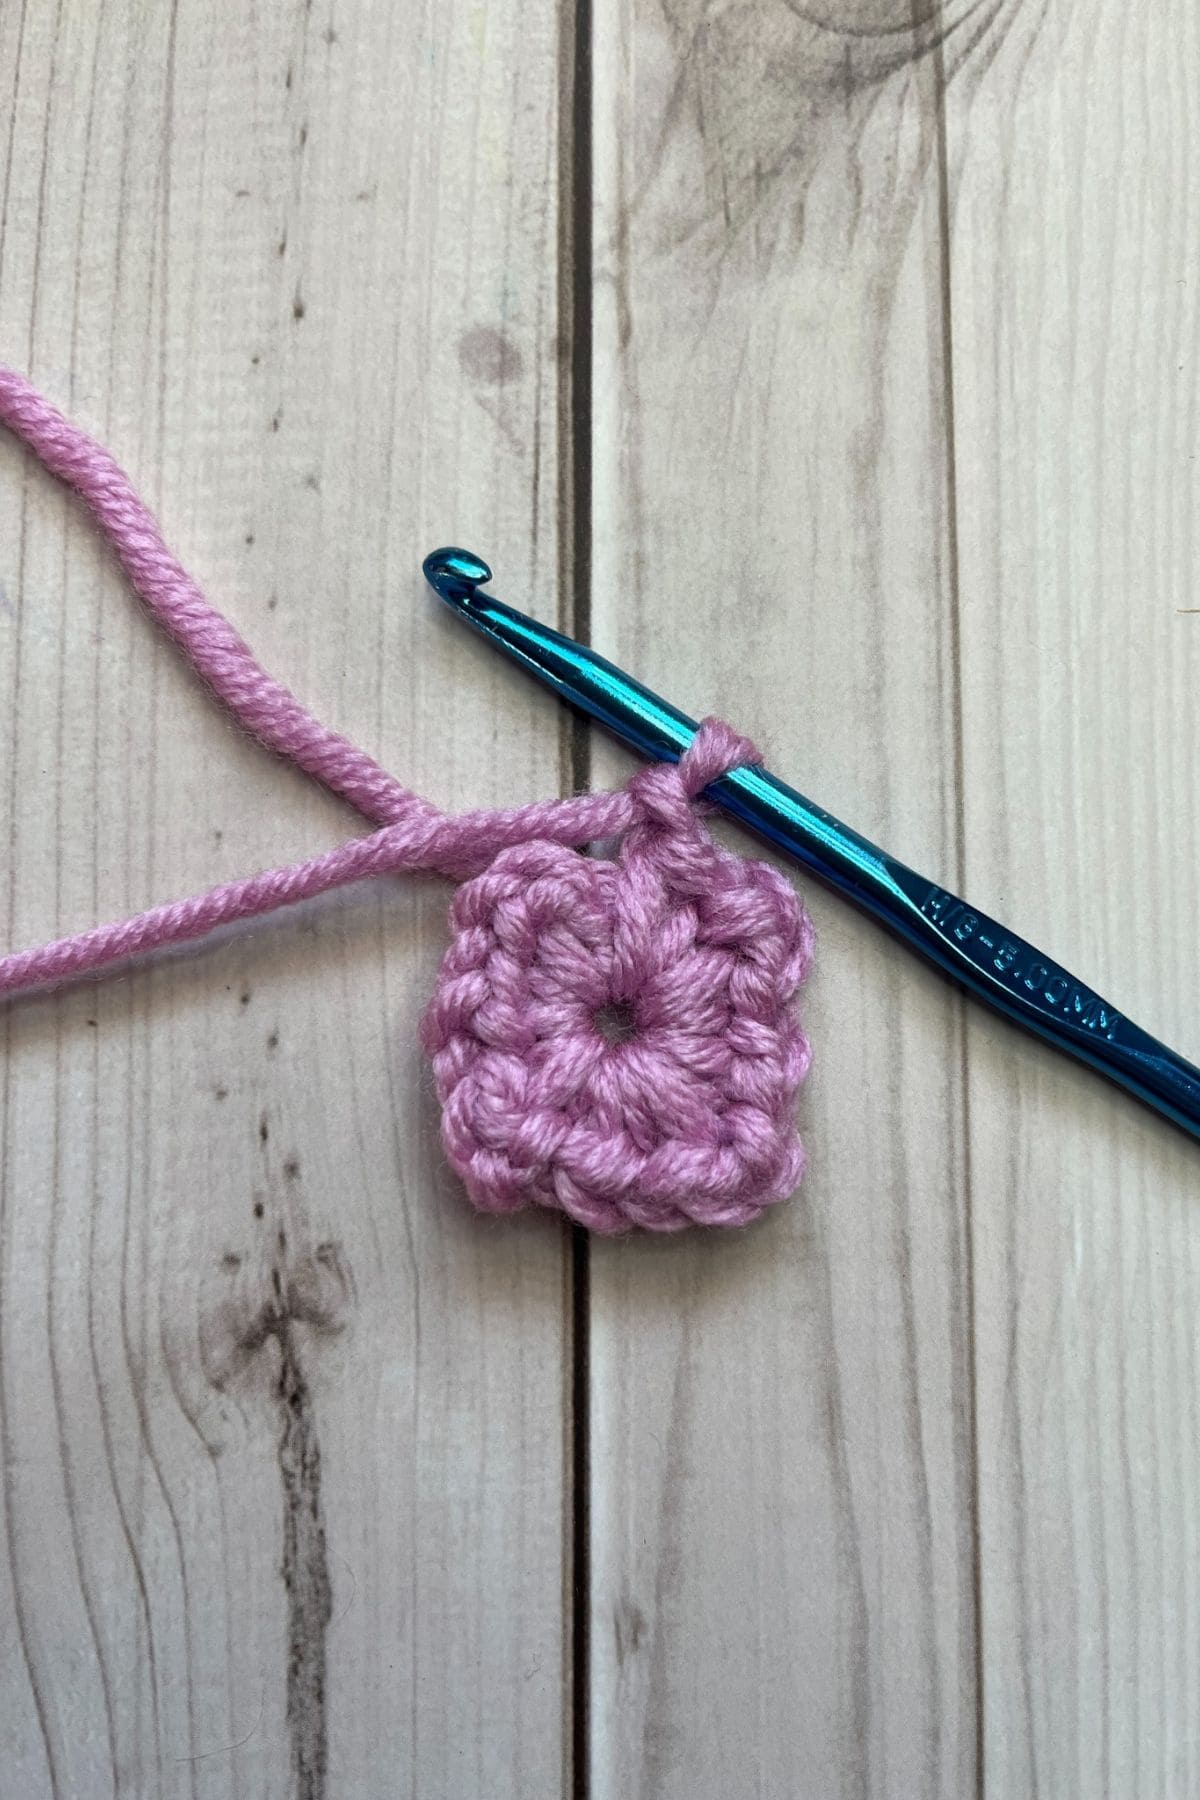
Then after the last CHAIN, make a sl st to the first sc of the round to join the round together. Flip your work over so now the backside is facing you.
(It should look like a tiny little square, if it is not that apparent go 1-2 more rounds to see if it starts to resemble a square).
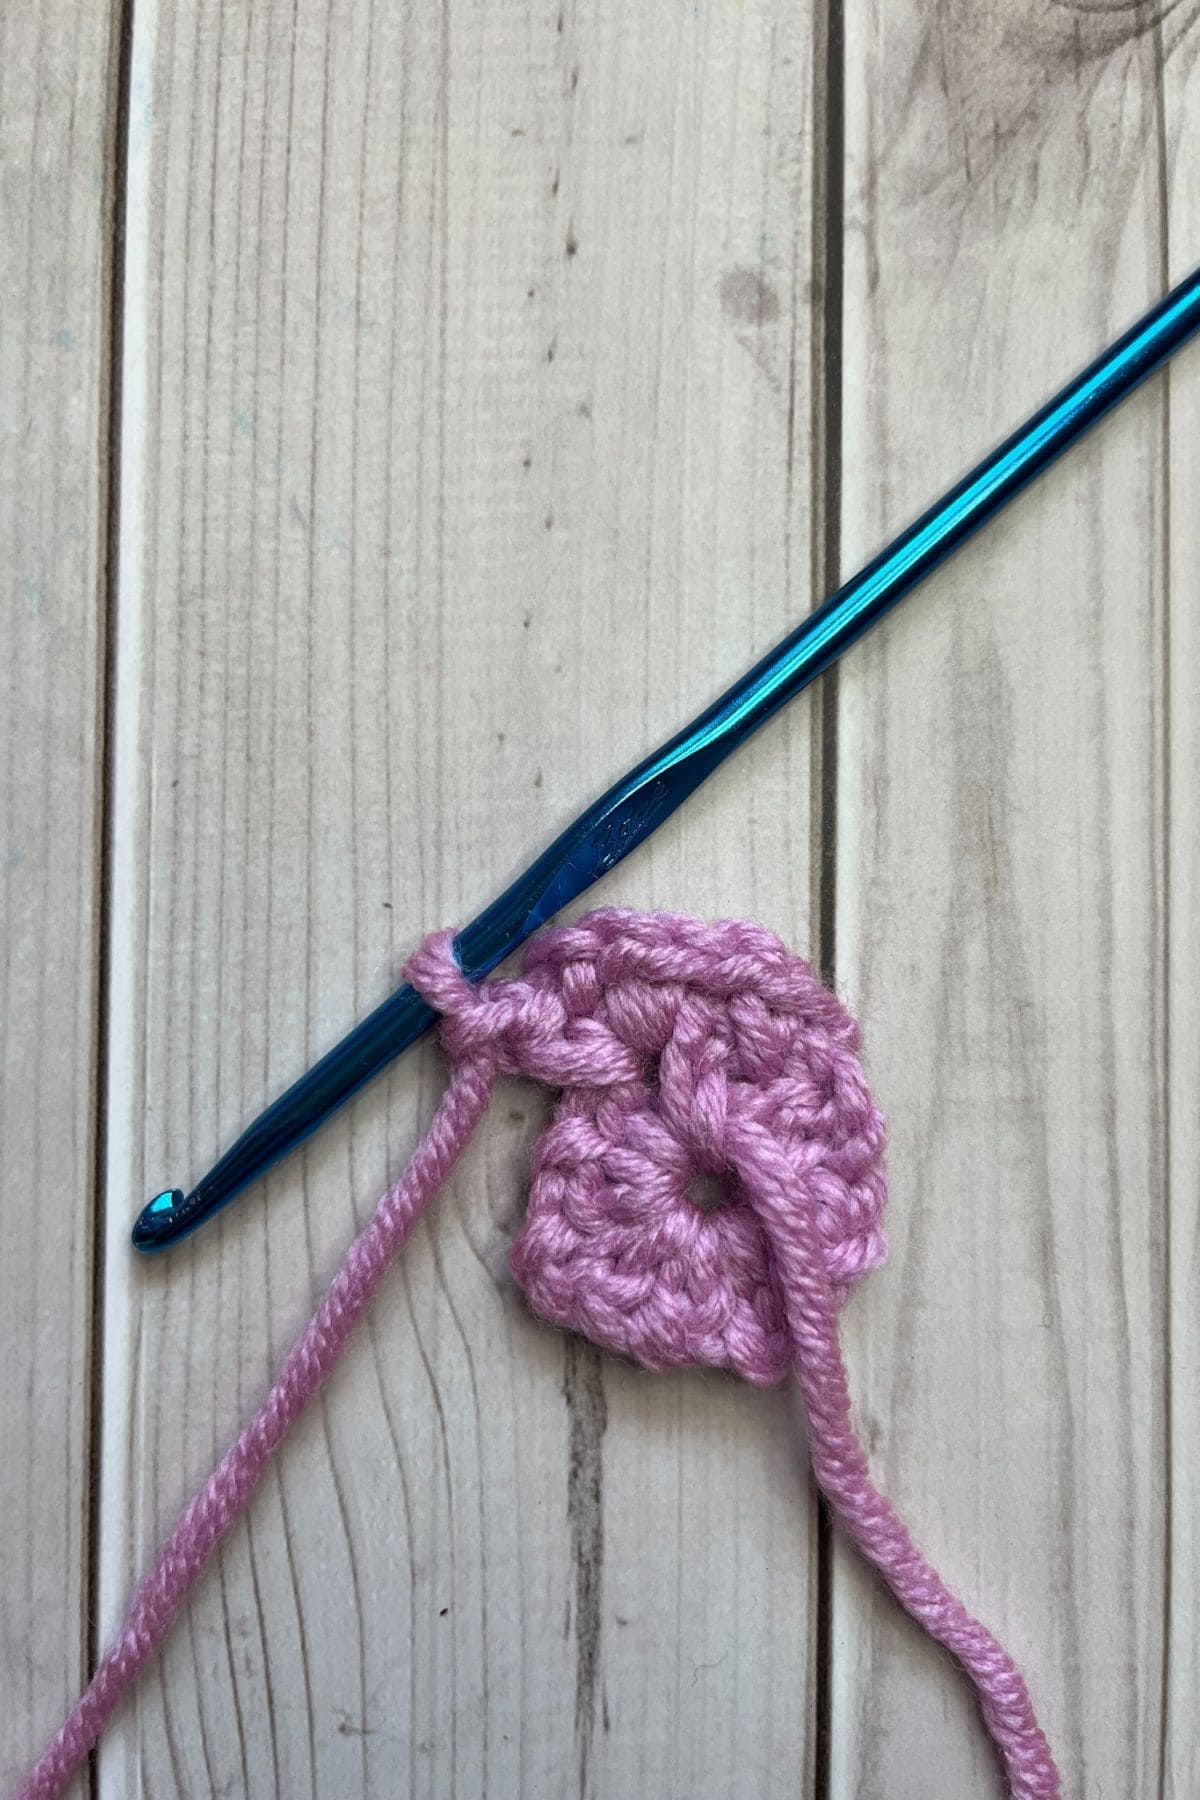
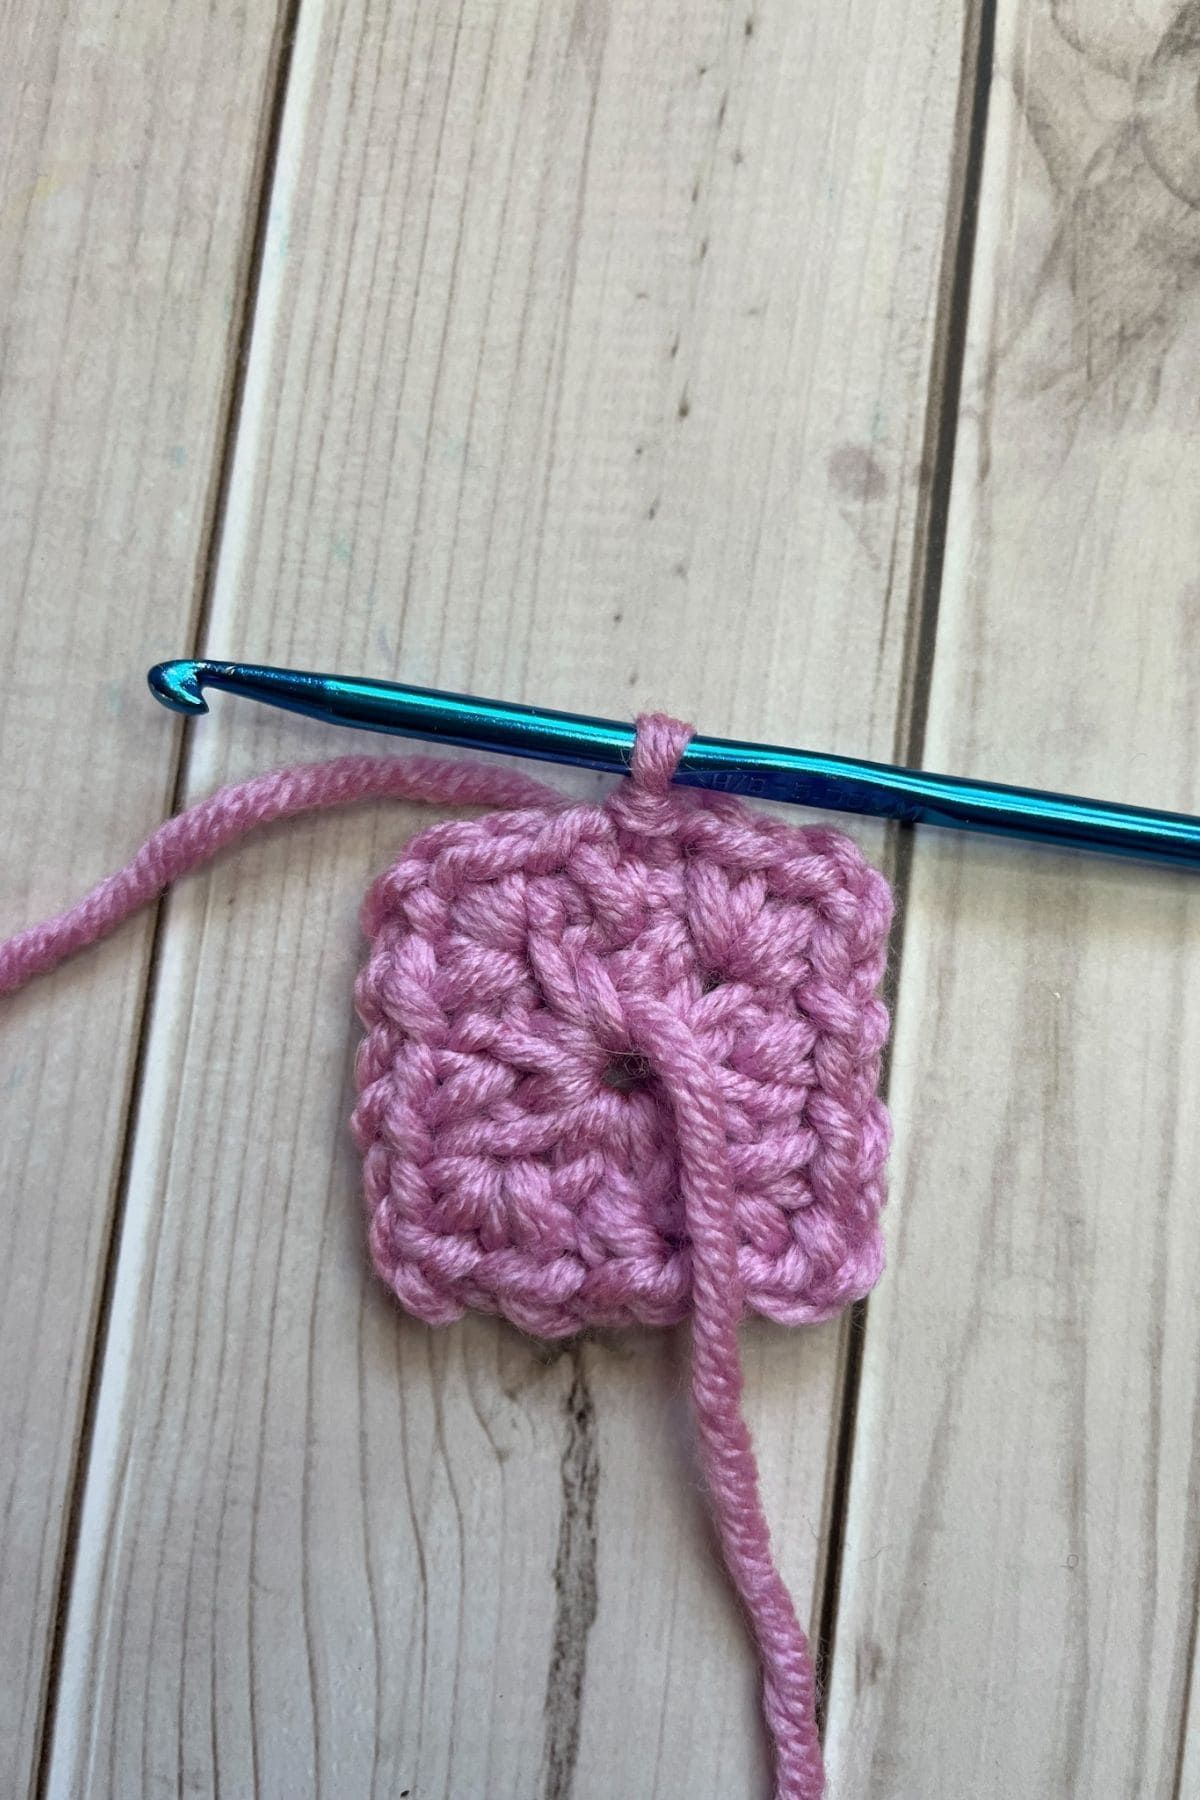
Round 2: The first stitch you will be working in for this round is the chain you made right before the slip stitch.
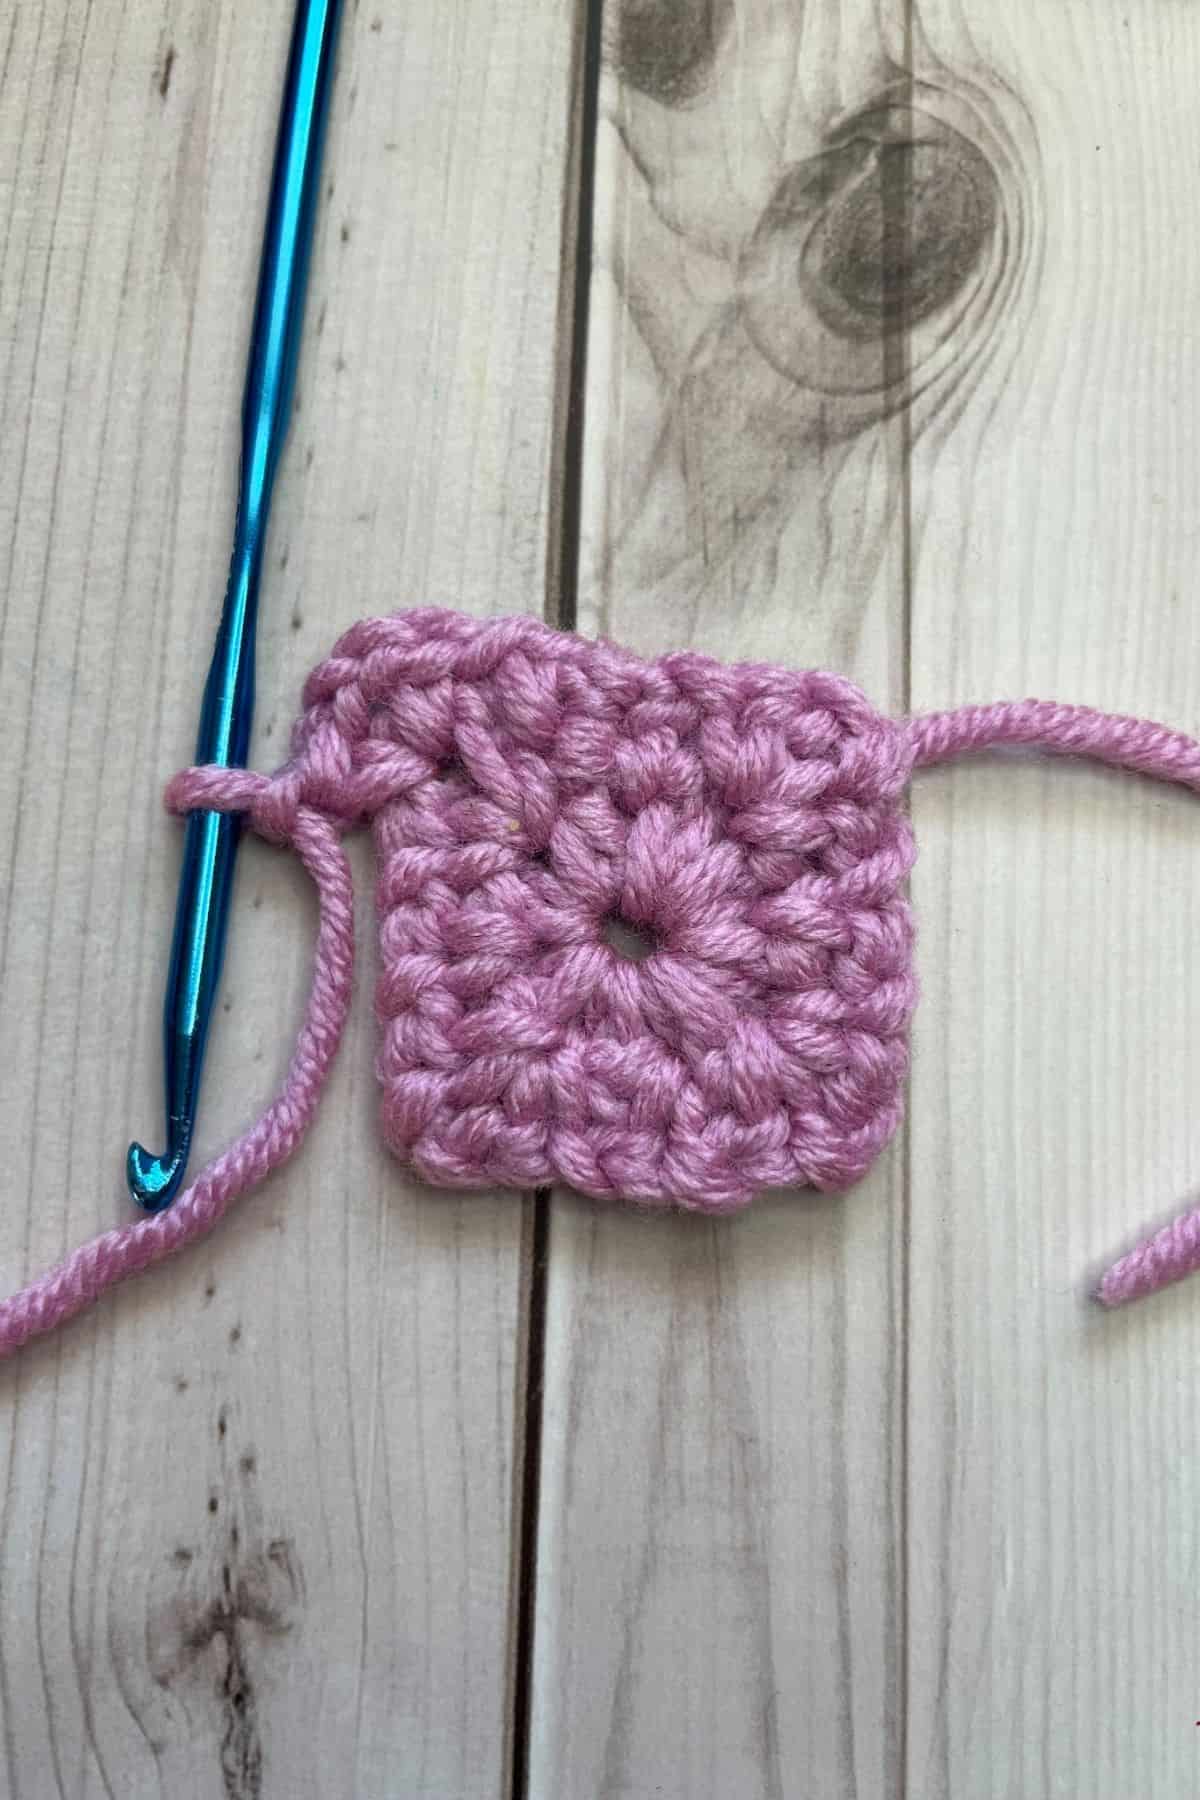
*Make a sc in the first ch-1 space and then ch x1. Skip the next sc and in the ch-2 space make: sc, ch x2, sc, and ch*.
Repeat from * 3 more times for a total of 4 times. Then sl st to the first sc of the round to join the round together. Flip your work.
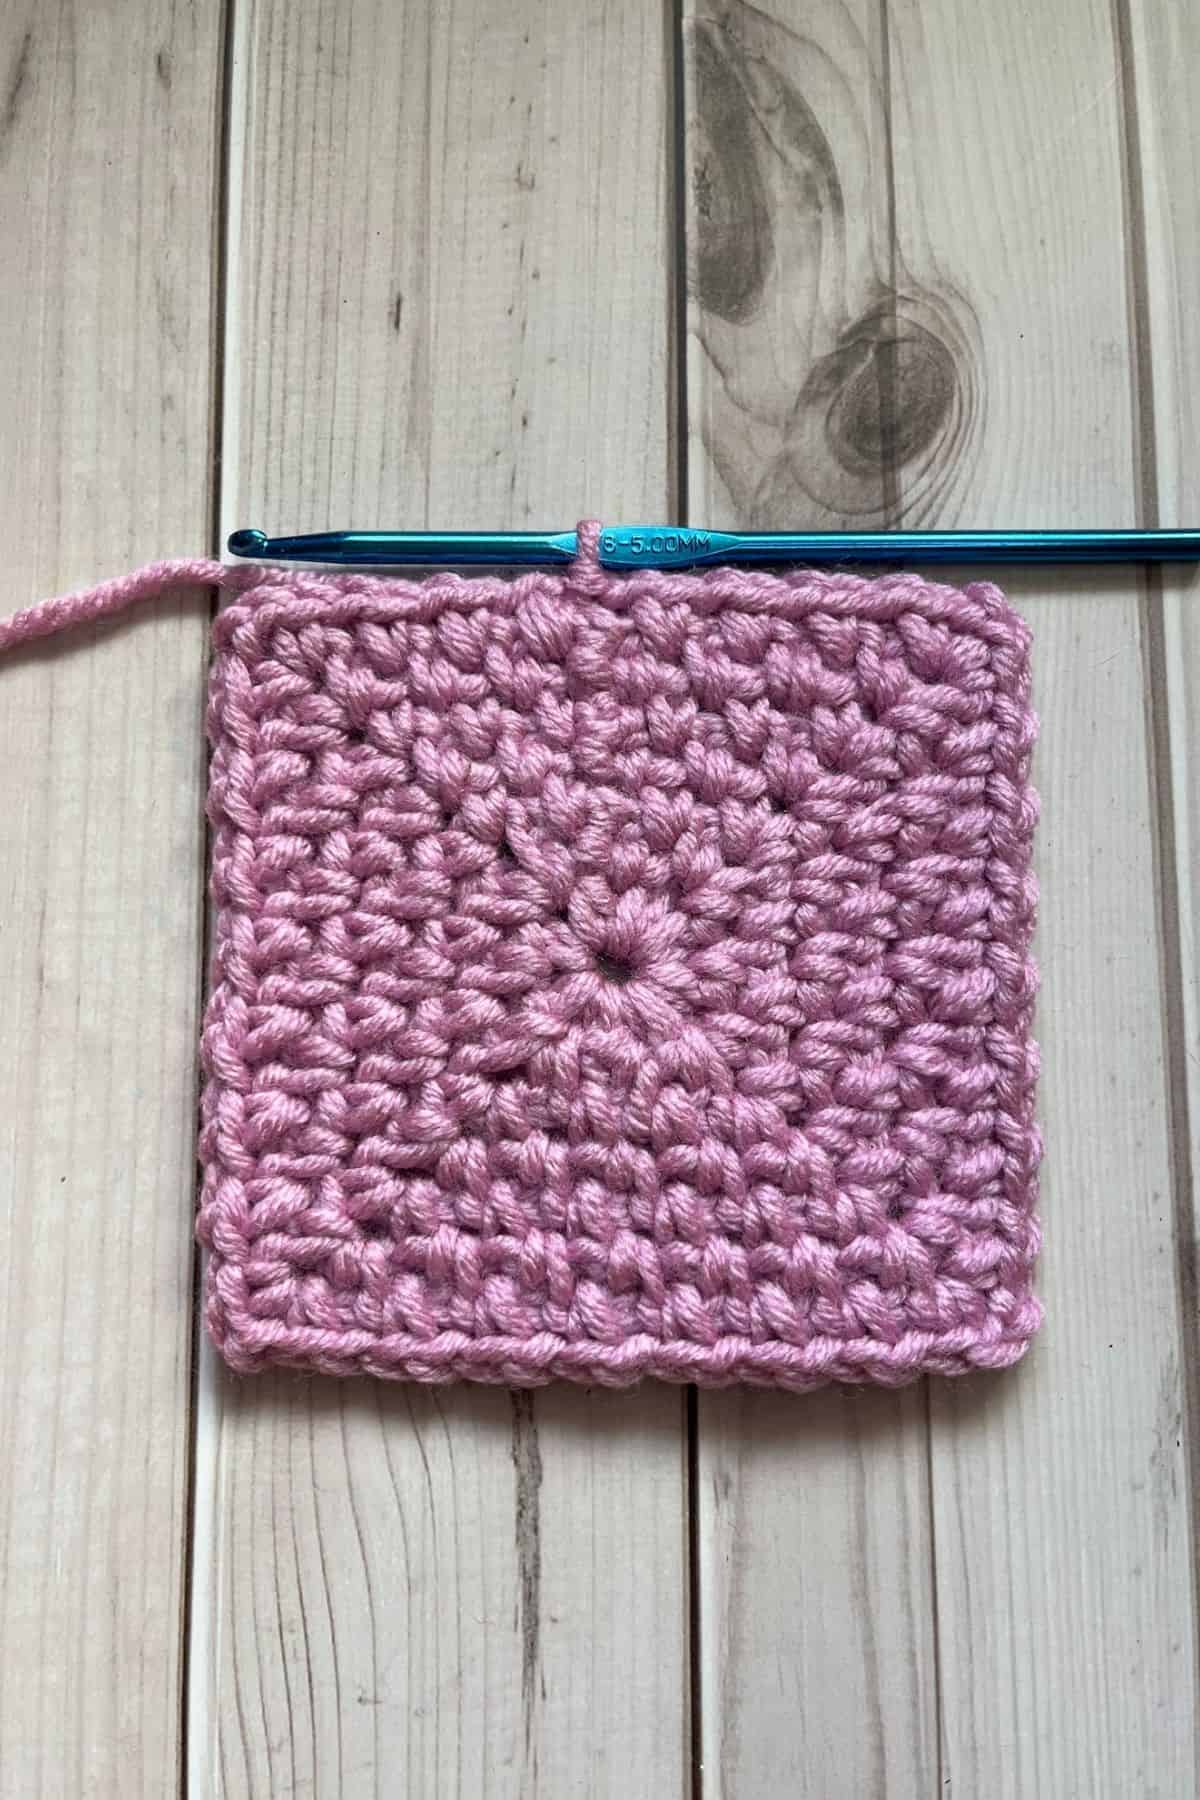
Round 3 and onwards: Work a sc and ch in each ch-1 space.
For a ch-2 space (the corners) make a sc, ch x2, sc, and ch.
After finishing the last ch in the round, sl st to the 1st sc to join the work. Then flip your work over.
Repeat round 3 until your project is your desired length.
Make sure you flip your work over after each round.
Always work counterclockwise like you would normally.
Congratulations, you’ve now learned how to crochet the moss stitch granny square! Whether you’re creating a simple granny square, a dishcloth, or even a larger item, the moss stitch offers a beautiful texture that works well for many designs.
With your new skill, you can explore countless possibilities, customizing your pieces with different yarns, colors, and sizes. The crochet moss stitch is not only easy to learn but also creates a lovely, dense fabric, making it perfect for both functional and decorative items.
If you want a pattern that also adds a twist on the traditional moss stitch check out my Crochet Market Bag Pattern. It uses double crochet instead of single crochet for the mesh pattern.
Try my Skull Granny Square Crochet Pattern for a pattern that can use yarn scraps!
I hope this pattern inspires you to get creative and make something truly unique. Happy crocheting, and enjoy your crochet moss stitch granny square journey!
🐌Expert Tips
- Maintain Square Shape. To maintain a square shape in the moss stitch granny square pattern, be sure to flip your work after each round. This simple technique helps preserve the square’s form. If you continue crocheting in one direction without turning, the edges might begin to slant, which can distort the shape.
- Use Stitch Markers. Stitch markers can be incredibly helpful, especially during the first few rounds. Use them to mark the corners, which will guide you in identifying where to place your stitches. This is particularly useful if you’re still getting the hang of the pattern and need a visual reminder of where the corners should be.
- Explore Different Yarns. Feel free to explore different yarns for the moss stitch granny square pattern! While any yarn can work, be mindful when using fuzzy or thick yarns, as they may obscure the stitch definition and make it harder to see your work. Opt for yarns that provide clear stitch visibility to best showcase your technique.
- Practice on a Smaller Scale. If you're new to the moss stitch, it’s a great idea to practice on a smaller swatch before jumping into a larger project. This allows you to become more comfortable with the stitch and refine your technique before committing to a bigger design.
- Check Tension. Lastly, check your tension regularly. Consistent tension is crucial for achieving an even and uniform square. Whether you're crocheting tightly or loosely, try to maintain a steady tension to keep your project looking neat and balanced throughout.
🧵Pattern FAQs
I suggest using stitch markers to see the corners for the first couple of rounds.
No, the moss stitch alternates a single crochet and chain, and even moss stitch or crunch stitch alternates a half double crochet and slip stitch.
You absolutely can! However, if it’s super fuzzy, it might be hard to see the stitches, so I recommend using stitch markers.
🧶More Crochet Stitch Patterns

If you tried this Moss Stitch Granny Square Pattern (or any other pattern on my website), please let me know how it went in the 📝 comments below. I'd love to hear from you!
Moss Stitch Granny Square Pattern
Materials
- Yarn for the moss stitch square
- 5mm crochet hook
- Tapestry needle
Abbreviations (US terms)
- ch = Chain
- ch sp = Chain space
- sc = Single crochet
- sl st = Slip Stitch
Notes
- For this project, I used scrap yarn, but you can choose any yarn that suits your preference, such as acrylic, cotton, worsted weight, chunky, or others. Each type of yarn will give your project a slightly different look and texture, so feel free to experiment and find what works best for you.
- In the early rounds, the shape may not yet look like a square. Don't worry—by the third round, it should begin to take shape. This part of the process may feel tricky, but with patience, the square will form as you continue crocheting.
- The granny square shown here is just a swatch, not a finished project. It’s a perfect starting point for smaller items like dishcloths. If you'd like to make a larger project, simply continue adding rounds until you reach your desired size.
- By adjusting the rounds and yarn, you can easily customize the pattern for various projects, such as decorative or practical items like coasters.
Instructions
- This pattern is made in the round and not in rows.
- Round 1: Ch x2, in the 2nd ch from the hook:*sc, ch x2, sc, ch, then repeat from * 3 more times for a total of 4 times. Think of the ch-2 spaces as the corners.Then after the last CHAIN, make a sl st to the first sc of the round to join the round together. Flip your work over so now the backside is facing you.
- It should look like a tiny little square, if it is not that apparent go 1-2 more rounds to see if it starts to resemble a square.
- Round 2: The first stitch you will be working in for this round is the chain you made right before the slip stitch.*Make a sc in the first ch-1 space and then ch x1. Skip the next sc and in the ch-2 space make: sc, ch x2, sc, and ch*.Repeat from * 3 more times for a total of 4 times. Then sl st to the first sc of the round to join the round together. Flip your work.
- Round 3 and onwards: Work a sc and ch in each ch-1 space. For a ch-2 space (the corners) make a sc, ch x2, sc, and ch. After finishing the last ch in the round, sl st to the 1st sc to join the work. Then flip your work over.
- Repeat round 3 until your project is your desired length.Make sure you flip your work over after each round.Always work counterclockwise like you would normally.
- Congratulations, you’ve now learned how to crochet the moss stitch in the round! I hope you found the process enjoyable and that you’re excited to incorporate this versatile stitch into your projects. Whether you’re creating a simple granny square, a dishcloth, or even a larger item, the moss stitch offers a beautiful texture that works well for many designs.With your new skill, you can explore countless possibilities, customizing your pieces with different yarns, colors, and sizes. The crochet moss stitch is not only easy to learn but also creates a lovely, dense fabric, making it perfect for both functional and decorative items.I hope this pattern inspires you to get creative and make something truly unique. Happy crocheting, and enjoy your crochet moss stitch granny square journey!
Linda King says
I would like to make this pattern into a square rug. . I'd use a larger hook and cotton rags.
Kimberly Arenas says
Sounds lovely!
Axelle says
I find this crochet pattern very hard to read and understand. I have used many other of your crochet patterns, but this one got me stumped so many times over details that I definitely think should be explained more clearly.
For example, you say to turn the work around so now we're working in the back. Got it, but are we expected to also switch hands as well since now the yarn is going in the opposite way we had been working? Obviously not, then how should we proceed—do we simply start crocheting in the opposite way? That's what I did, but I would've preferred this detail to be illuminated since it really confused me 😅
Secondly, for round 2, the whole way it is structured made me scratch my head. It's written to "make a sc in the next ch sp and then make a ch. Then skip the next sc and work a sc, ch x2, sc and ch in the corner ch sp". I took this to make a sc and ch into the closest corner ch sp, and then to make a sc, ch x2 into the st right before the next corner ch sp, and to finally sc and ch into the corner ch sp. Now I believe that was wrong because my work looked all wonky and not right 😅😅 I eventually figured it out that you need to put everything into the same corner ch sp, but again I wish this would've been explained better.
This crochet pattern isn't bad by any means, and I eventually got to the desired result! I just hope by sending this comment and feedback that this pattern can be slightly improved upon in how it's worded. 😊
Kimberly Arenas says
Hi! Thank you for your feedback. I truly appreciate all input on my patterns and make an effort to incorporate it whenever possible. I’ve updated the pattern for better clarity and now include a note to always work counterclockwise, as you would when crocheting a flat granny square. Apologies for any confusion caused!