
If you're on the hunt for a cute crochet bag pattern that’s as fun to make as it is to carry, you’re going to love this crochet bear bag pattern!

Designed with both style and simplicity in mind, this easy crochet purse is perfect for beginners and seasoned crafters alike. Whether you're making the crochet bear bag pattern as a gift or adding a charming accessory to your little one’s wardrobe, this crochet bear bag is sure to bring smiles all around. With its soft features, adorable ears, and functional design, this crochet teddy bear bag is a cozy companion for any kid (or kid at heart).
If you’re as obsessed with animal-themed accessories as I am, you’ll definitely want to check out some of my other crochet animal purse patterns, which are just as easy and fun to stitch up. My crochet stingray pattern creates a sweet, flat-bodied sea creature that works perfectly as a quirky, under-the-sea themed purse (you can even make it look like a pancake!).
The crochet frog bag pattern is a cheerful green buddy with big eyes and tons of personality. My crochet orca bag pattern is bold, striking, and shaped like the ocean’s most iconic predator, while the crochet fish bag pattern brings in a splash of color and whimsy, making it a perfect project for anyone who loves vibrant and playful designs. Lastly, the crochet whale shark pattern creates a wonderfully unique bag that mimics the gentle giant of the sea with fun spots and a wide mouth perfect for holding little treasures.
All of these designs, including the crochet bear bag pattern, fall into the category of crochet bags for kids that are both adorable and beginner-friendly. So grab your hook, some yarn, and let’s bring this bear to life—then dive into the rest of my collection for even more handmade cuteness!
Jump to:
✏️ Things To Note:
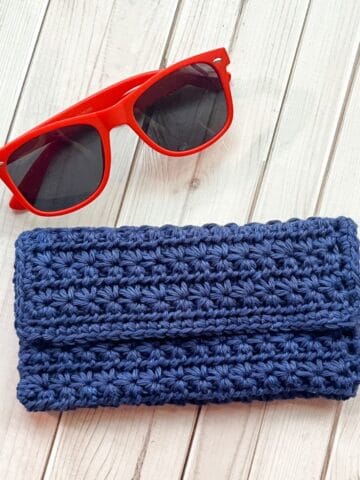
- Size: The finished crochet bear purse measures approximately 8 inches across, making it the perfect size for little hands or as a small on-the-go bag for anyone who loves whimsical accessories.
- Strap: The crochet bear bag pattern is designed for worsted weight yarn, which gives the bag enough structure while keeping it soft and cuddly. The strap is fully adjustable, so you can customize it to be a shoulder bag or crossbody style depending on who it’s for.
- Personalize it: This easy crochet bear bag pattern includes clear step-by-step instructions and helpful photos, so it’s great even if you’re new to crochet animal purse projects. You can personalize the bear’s color, use safety eyes or embroidered features, and even add accessories like a bow or scarf for extra charm.
🪡 Materials Needed
- Bernat Yarn - topaz
- Red Heart - aran
- 5mm Hook
- Little bits of pink, white, and black yarn for details
- Tapestry needle
💭Abbreviations to Remember (US terms)
- Magic ring (mr)
- Chains (ch)
- Single crochet (sc)
- Slip stitch (sl st)
- Increase (inc)
- Decrease (dec)
* If you see a stitch abbreviation with "x" after it, it means how many times you do that stitch in the following amount of stitches. For example: sc x6 would mean you make a single crochet in the next 6 stitches. Inc x2 means you make an inc in the next 2 stitches.
🧋Variations
- You can change the color of the yarn to make different types of bears—think white for a polar bear, grey for a koala-inspired version, or even pastel pink or blue for a dreamy, whimsical look. For a more classic teddy bear style, stick with warm browns and tans. Want to add personality? Embroider eyebrows, blush, or even little freckles to give your bear some extra character.
- The ears can also be adapted—make them rounder, larger, or add an inner ear patch in a contrasting color. You can also stitch on a tiny bow tie or a flower crown for a sweet accessory.
🍵Instructions for Crochet Bear Bag Pattern
For this cute crochet bear bag, we will be working in rounds but start with a chain.

Round 1: Ch x6, then in the 2nd ch from the hook make a sc. Sc in the next 3 chains. In the last stitch sc x3, all the while turning to the underside of the chain. Now working on the unworked side of the chain, sc x3. Sc inc in the last stitch. Then sl st to the next stitch. This sl st marks the end of the round (12).
Round 2: In the following stitch make a sc, then sc x2. Inc x3 (in the 3 stitches you made at the end), sc x3, inc x3 (18).
Round 3: Sc x3, (inc, sc) x3. Then repeat for the other side of the round (24).
Round 4: Sc x3, (sc x2, inc) x3. Then repeat for the other side of the round (30).
Round 5: Sc x3, (inc, sc x3) x3. Then repeat for the other side of the round (36).
Round 6: Sc x3, (sc x4, inc) x3. Then repeat for the other side of the round (42).
Round 7: Sc x3, (inc, sc x5) x3. Then repeat for the other side of the round (48).
Round 8: Sc x3, (sc x6, inc) x3. Then repeat for the other side of the round (54).
Round 9: Sc x3, (inc, sc x7) x3. Then repeat for the other side of the round (60).
Round 10: Sc x3, (sc x8, inc) x3. Then repeat for the other side of the round (66).
Round 11: Sc x3, (inc, sc x9) x3. Then repeat for the other side of the round (72).
Round 12: Sc x3, (sc x10, inc) x3. Then repeat for the other side of the round (78).
Round 13: Sc x3, (inc, sc x11) x3. Then repeat for the other side of the round (84).
Round 14: Sc x3, (sc x12, inc) x3. Then repeat for the other side of the round (90). Fasten off and weave in any ends.
Make x2.

Ears:
Round 1: Make a mr and make sc x6 in the circle. (6)
Round 2: Inc in every sc. (12)
Round 3: Inc, sc. Then repeat until the end of round (18).
Round 4-5: Sc in every stitch (18).
Round 6: Dec, sc. Then repeat for the rest of the round (12). Fasten off and leave a tail for sewing.
Make x2.


Muzzle:
Round 1: With the cream yarn, make a mr and make sc x6 in the circle. (6)
Round 2: Inc in every sc. (12)
Round 3: Inc, sc. Then repeat until the end of round (18). Fasten off and leave a tail for sewing.
Embroidery:
For the nose on the bear I made a triangle of stitches between rounds 2 and 3 that worked its way halfway through round 1 of the muzzle. I then added a short vertical line and a wide w for the mouth of the bear underneath the nose.


Crochet Blush and Eyes:
Round 1: With the pink or black yarn, make a mr and make sc x6 in the circle (6). Fasten off and leave a tail for sewing.
Embroidery:
For adding a spark of life to the eyes, I added a small embroidered white dot.

Sewing:
On one side of the ovals, sew on the eyes, muzzle and blush onto the bear face. I added the eyes near the top of round 3, the blush to the outer sides of round 6, and the muzzle to the bottom of round 2.
Once the face is sewn on, you will sew the ovals together leaving an opening for the top of the bag.
After that, you can sew the ears to the top of the bag. You can add yours wherever you want but I have mine at a slight diagonal from the eyes.
Strap:
At the opening of the bag, join the yarn you want for the strap and then chain as many chains as you want. I went with 150 chains but you will need to adjust the length depending on if it's going to be for an adult or a kid or if it is meant to be a cross body bag or a shoulder bag.
I hope you had as much fun making this crochet bear bag pattern as I did designing it! There’s something so satisfying about bringing a cuddly character to life with just yarn and a hook, and this crochet teddy bear bag is the perfect mix of cute and practical. Whether it’s for yourself, a little one, or a handmade gift, it’s sure to be a favorite.
If you loved this crochet bear bag pattern and can’t get enough bear-themed makes, be sure to check out my other bear-inspired patterns! My crochet bear coasters add a cozy touch to any coffee table, and my crochet bear keychain pattern is the perfect quick-make accessory to match your new bag. Pair them all together for a full set of bear-y adorable handmade goodness!
Thanks for stopping by and happy crocheting! Don’t forget to tag me if you share your finished crochet animal purse—I love seeing your creative twists on my cute crochet bag patterns.

🐌Expert Tips
- Use stitch markers when working in the round—especially for the bag base and body. It’ll help you keep track of your rounds and maintain a clean, even shape for your crochet teddy bear bag.
- For a sturdier bag that holds its shape, consider lining it with fabric. You can hand-stitch a simple lining that matches your yarn color to give your easy crochet purse a more polished, professional finish.
- Don’t be afraid to get creative with embellishments! A tiny bow, scarf, or even a mini backpack flap can take your crochet animal purse to the next level.
🧵Pattern FAQs
For structured bags like the crochet bear purse, worsted weight cotton or a sturdy acrylic yarn works best. Cotton yarn holds its shape well, is durable, and doesn’t stretch out over time. Acrylic is a good budget-friendly option and comes in lots of fun colors.
Lining is optional for the crochet bear bag pattern, but it can add structure and prevent items from poking through the stitches. For an easy crochet purse like this one, you can hand-sew a simple fabric lining for a cleaner finish—especially if the bag will hold small items.
All crochet bags will stretch a little over time, especially if made with soft yarn. You can reduce this by using tighter stitches, lining the bag, or reinforcing the strap area. Choosing cotton yarn also helps minimize stretching.
Yes! To make it larger, use bulkier yarn and a larger hook. For a smaller version, try lighter weight yarn and a smaller hook. You can also adjust the number of rounds in the base or the height of the bag body to suit your needs.

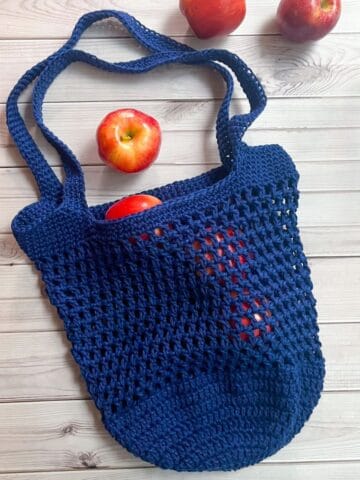
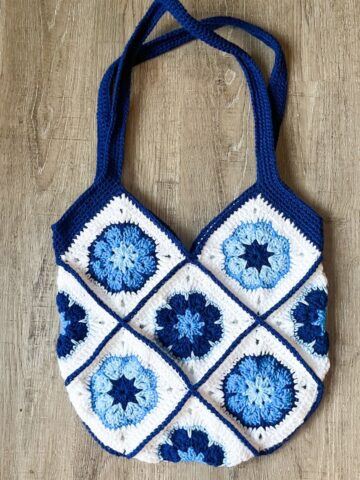
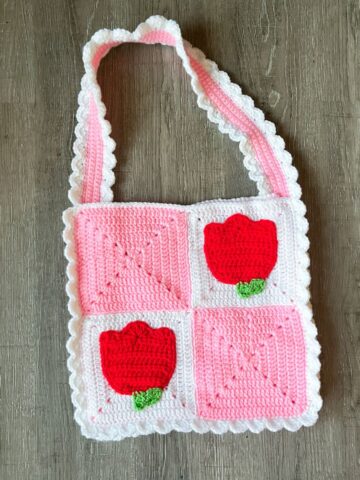
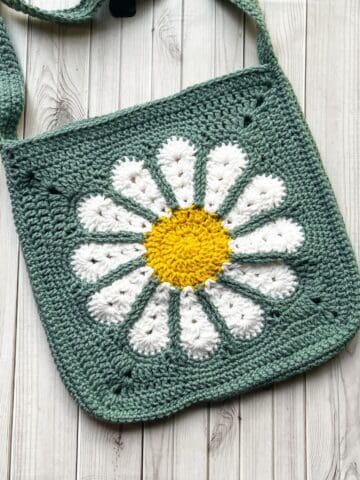
🧶More Crochet Bag Patterns

If you tried this Crochet Bear Bag Pattern (or any other pattern on my website), please let me know how it went in the 📝 comments below. I'd love to hear from you!

Crochet Bear Bag Pattern
Materials
- Bernat Yarn - topaz
- Red Heart - aran
- 5 mm Hook
- Little bits of pink white, and black yarn for details
- Tapestry needle
Abbreviations (US terms)
- Magic ring - mr
- Chains - ch
- Single crochet - sc
- Slip stitch - sl st
- Increase - inc
- Decrease - dec
Notes
- Size: The finished crochet bear purse measures approximately 8 inches across, making it the perfect size for little hands or as a small on-the-go bag for anyone who loves whimsical accessories.
- Strap: The pattern is designed for worsted weight yarn, which gives the bag enough structure while keeping it soft and cuddly. The strap is fully adjustable, so you can customize it to be a shoulder bag or crossbody style depending on who it’s for.
- Personalize it: This easy crochet bear bag pattern includes clear step-by-step instructions and helpful photos, so it’s great even if you’re new to crochet animal purse projects. You can personalize the bear’s color, use safety eyes or embroidered features, and even add accessories like a bow or scarf for extra charm.
Instructions
- For this cute crochet bear bag pattern, we will be working in rounds but start with a chain.
- Round 1: Ch x6, then in the 2nd ch from the hook make a sc. Sc in the next 3 chains. In the last stitch sc x3, all the while turning to the underside of the chain. Now working on the unworked side of the chain, sc x3. Sc inc in the last stitch. Then sl st to the next stitch. This sl st marks the end of the round (12).
- Round 2: In the following stitch make a sc, then sc x2. Inc x3 (in the 3 stitches you made at the end), sc x3, inc x3 (18).
- Round 3: Sc x3, (inc, sc) x3. Then repeat for the other side of the round (24).
- Round 4: Sc x3, (sc x2, inc) x3. Then repeat for the other side of the round (30).
- Round 5: Sc x3, (inc, sc x3) x3. Then repeat for the other side of the round (36).
- Round 6: Sc x3, (sc x4, inc) x3. Then repeat for the other side of the round (42).
- Round 7: Sc x3, (inc, sc x5) x3. Then repeat for the other side of the round (48).
- Round 8: Sc x3, (sc x6, inc) x3. Then repeat for the other side of the round (54).
- Round 9: Sc x3, (inc, sc x7) x3. Then repeat for the other side of the round (60).
- Round 10: Sc x3, (sc x8, inc) x3. Then repeat for the other side of the round (66).
- Round 11: Sc x3, (inc, sc x9) x3. Then repeat for the other side of the round (72).
- Round 12: Sc x3, (sc x10, inc) x3. Then repeat for the other side of the round (78).
- Round 13: Sc x3, (inc, sc x11) x3. Then repeat for the other side of the round (84).
- Round 14: Sc x3, (sc x12, inc) x3. Then repeat for the other side of the round (90). Fasten off and weave in any ends.
- Make x2.
Ears:
- Round 1: Make a mr and make sc x6 in the circle. (6)
- Round 2: Inc in every sc. (12)
- Round 3: Inc, sc. Then repeat until the end of round (18).
- Round 4-5: Sc in every stitch (18).
- Round 6: Dec, sc. Then repeat for the rest of the round (12). Fasten off and leave a tail for sewing.
- Make x2.
Muzzle:
- Round 1: With the cream yarn, make a mr and make sc x6 in the circle. (6)
- Round 2: Inc in every sc. (12)
- Round 3: Inc, sc. Then repeat until the end of round (18). Fasten off and leave a tail for sewing.
Crochet Blush and Eyes:
- Round 1: With the pink or black yarn, make a mr and make sc x6 in the circle (6). Fasten off and leave a tail for sewing.
Embroidery:
- For adding a spark of life to the eyes, I added a small embroidered white dot.
- For the nose on the bear I made a triangle of stitches between rounds 2 and 3 that worked its way halfway through round 1 of the muzzle. I then added a short vertical line and a wide w for the mouth of the bear underneath the nose.
Sewing:
- On one side of the ovals, sew on the eyes, muzzle and blush onto the bear face. I added the eyes near the top of round 3, the blush to the outer sides of round 6, and the muzzle to the bottom of round 2.
- Once the face is sewn on, you will sew the ovals together leaving an opening for the top of the bag.
- After that, you can sew the ears to the top of the bag. You can add yours wherever you want but I have mine at a slight diagonal from the eyes.
Strap:
- At the opening of the bag, join the yarn you want for the strap and then chain as many chains as you want. I went with 150 chains but you will need to adjust the length depending on if it's going to be for an adult or a kid or if it is meant to be a cross body bag or a shoulder bag.
- I hope you had as much fun making this crochet bear bag as I did designing it! There’s something so satisfying about bringing a cuddly character to life with just yarn and a hook, and this crochet teddy bear bag is the perfect mix of cute and practical. Whether it’s for yourself, a little one, or a handmade gift, it’s sure to be a favorite.


Leave a Reply