
This Crochet Fish Bag Pattern is fun, quirky, and practical—perfect for the beach, zoo, or everyday adventures. It’s a playful accessory you can take anywhere!

If you’re looking for a fun and easy crochet project that’s as whimsical as it is practical, you’re going to love this crochet fish bag pattern! I originally created this bag for my child, and they’ve been obsessed ever since!
The inspiration for this crochet fish pattern came from something a bit unexpected: a bag of goldfish you’d find at the pet store. I thought, how fun would it be to crochet a bag that looks like something it’s not? That playful idea quickly turned into this quirky and creative crochet goldfish bag. I love making novelty bags that spark curiosity and conversation, and this one fits right in with my other designs like the crochet dumpling bag, crochet toast bag, and crochet strawberry bag.
This free crochet fish pattern works up quickly, making it a great option for weekend crafting or last-minute gifts. The bag itself is roomy enough to hold small treasures, and the crochet fish applique details—like the tail—add a cute and eye-catching touch. You can even customize the length of the straps to make a crochet kid bag or an adult sized bag.
Whether you’re making it for your child, a friend, or yourself, this crochet small fish bag will bring a smile to anyone’s face. Dive into the pattern below and swim into your next creative adventure with this charming, handmade design!
Jump to:
✏️ Things To Note:
- Beginner-Friendly: This pattern is perfect for beginners, using only basic stitches and straightforward construction. If you’re new to crochet, you’ll find it easy to follow, and if you’re more experienced, it’s a fun, quick project you can finish in no time—perfect for relaxing or whipping up a cute, handmade gift.
- Yarn: You can use either cotton or acrylic yarn for this pattern—both offer great durability. I personally use worsted weight acrylic yarn for the bag, as it’s sturdy, holds its shape well, and is easy to work with. Choose your favorite yarn based on feel, color, and what you have on hand.
- Size: This bag is perfectly sized for little hands—compact and lightweight, yet spacious enough to hold small toys, snacks, or beach treasures. Need a larger version? Simply increase the starting chain to make the bag wider and deeper. It’s an easy adjustment that lets you customize the size to fit your needs.
🪡 Materials Needed
💭Abbreviations to Remember (US terms)
- Chains (ch)
- Magic ring (mr)
- Single crochet (sc)
- Half double crochet (hdc)
- Double crochet (dc)
- Triple crochet (tr)
- Slip stitch (sl st)
- Increase (inc)
🧋Variations
Looking to switch things up? Customize your crochet fish bag pattern by swapping the crochet fish appliques for fun ocean-themed options like jellyfish, starfish, or seaweed. These simple changes let you create a whole underwater scene, making each bag unique and perfect for ocean lovers or imaginative kids’ adventures!
🍵Instructions for Crochet Fish Bag Pattern
For this crochet drawstring bag pattern, we will be working in rounds.


Start with a ch x40 in the color turqua.
Round 1: In the second chain from the hook make a sc. Then sc in each of the next 37 chains. When you get to the last stitch in the chain, make 3 sc. The 3 sc will help you go to the other side of the chain. Sc x38 for this side of the chain as well. The last stitch will be an inc. (82)
This is the only round you will increase because it is intended to be like a drawstring bag which is very flat. If you want it to be less flat, I suggest doing increase rounds with 3 increases on each end of the bag.
Round 2-31: Sc in every stitch. (82) At the end of round 31, fasten off the blue yarn and join white yarn.
Round 32-50: With the newly attached white yarn, sc in every stitch. (82)

Round 51: Ch x1. *Hdc x5 then ch x1*, repeat from * for the entire round. If for some reason it doesn’t divide evenly - that's fine, no one is really going to know. (82)
Round 52-55: Sc in each stitch (even the chain spaces). (82) Then fasten off the yarn and weave in any ends.


Crochet Fish Applique:
Use orange yarn and make 3 fish.
Make a mr, then ch x2 (does not count as a stitch) and dc x8, tr x2, dc x6. Then sl st to the first dc you made.
Now for the tail fins: *ch x3, in the second ch make a sc, and also in the following ch. Sl st to the same place you made the joining round sl st.*
Repeat from * for the second tail fin.
Fasten off and leave a long tail for sewing. If you want you can embroider an eye for the fish or use a sharpie or paint a dot.
Sew the crochet fish appliques to the blue part of the bag.


Drawstring:
With the white yarn, ch x150, fasten off and weave in the ends. You can use less or more chains. Then weave the drawstring in and out of round 51.
Crochet straps:
Row 1: With the white yarn, ch x7, then in the second ch from the hook make a sc. Sc for the rest of the row (6).
Row 2-82: Sc in every stitch, then ch x1 and turn (6).
You may need longer straps if it is for an adult and not a kid so adjust accordingly.
Sewing:
If you haven't already, sew the goldfish to the base of the bag.
Then sew the straps to the top and bottom corners of the crochet bag.
Weave in any ends.

I hope you had as much fun making this Crochet Fish Bag Pattern as I did designing it! If you’re feeling inspired and want to dive deeper into ocean-themed crochet, be sure to check out my other sea animal patterns. The Crochet Orca Bag Pattern and Crochet Whale Shark Bag are perfect companions to this fishy design, each with their own unique charm and character.
For something a bit more whimsical, don’t miss my Crochet Stingray Bag Pattern—it’s colored like a pancake (yes, really!) and adds a fun twist to the usual under-the-sea look. And if you’re just looking for a quick and cute ocean project, try my Crochet Turtle Coaster Pattern. Want to turn it into a pouch? Just make two, sew them together, and you’ve got the perfect little addition to your new fish bag!
Thanks so much for supporting my designs and happy crocheting!
Let your creativity swim wild!
🐌Expert Tips
- Use a Tight Stitch for Structure: To help the bag hold its shape, crochet with a slightly smaller hook than usual for your yarn weight. This creates a denser, sturdier fabric that’s less likely to stretch out.
- Add a Fabric Lining (Optional): For extra durability and to prevent small items from slipping through the stitches, consider lining your bag with fabric. Cotton fabric works great—just cut it to size and hand-sew or machine-stitch it into the inside of the bag before attaching the strap.
- Stitch Markers Are Your Friend: Use stitch markers to help keep track of your rounds or key points like strap placement, especially if you're customizing the size.
- Weave in Ends Securely: Since bags get a lot of use, be sure to weave in your yarn tails securely and consider knotting and reinforcing them for extra strength.
🧵Pattern FAQs
Absolutely! This crochet fish pattern makes a cute applique for bags, hats, blankets, or even clothing. Just stitch it onto your project with a yarn needle or sew it on with matching thread.
You’re welcome to sell finished items made from this pattern—just please credit me as the designer and do not redistribute or sell the pattern itself.
Yes! This fish pattern is simple and great for beginners. It uses basic stitches like single crochet, increases, and decreases. If you’ve made amigurumi or simple appliques before, you’ll be right at home.

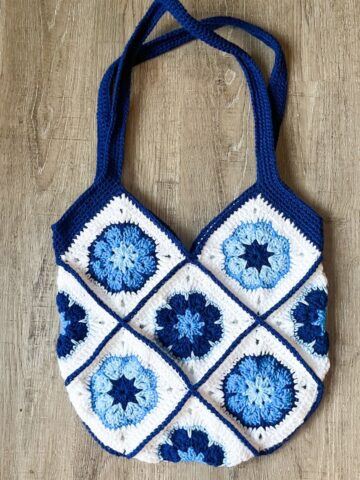
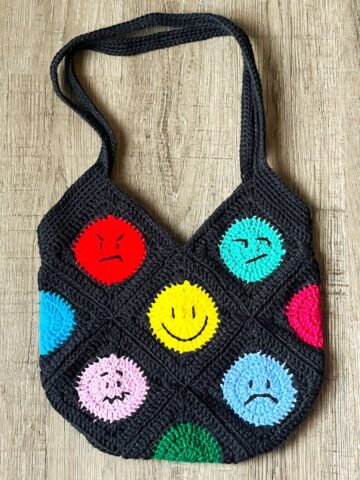
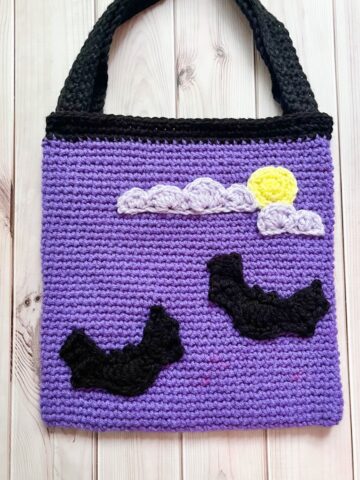
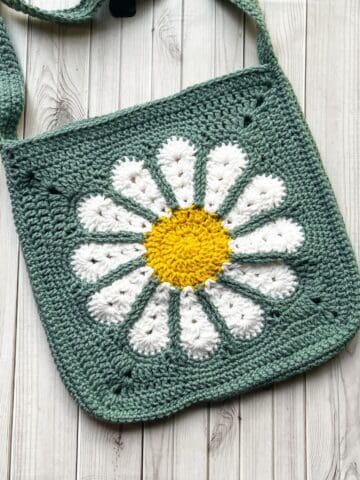
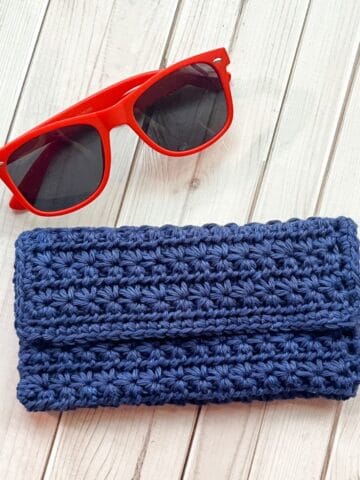
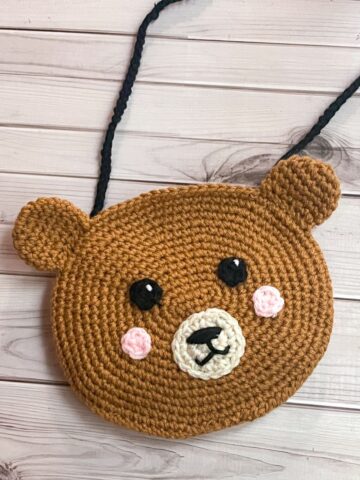
🧶More Crochet Bag Patterns

If you tried this Crochet Fish Bag Pattern (or any other pattern on my website), please let me know how it went in the 📝 comments below. I'd love to hear from you!

Crochet Fish Bag Pattern
Abbreviations (US terms)
- Chains - ch
- Magic ring - mr
- Single crochet - sc
- Half double crochet - hdc
- Double crochet - dc
- Triple crochet - tr
- Slip stitch - sl st
- Increase - inc
Notes
- Beginner-Friendly: This pattern is perfect for beginners, using only basic stitches and straightforward construction. If you’re new to crochet, you’ll find it easy to follow, and if you’re more experienced, it’s a fun, quick project you can finish in no time—perfect for relaxing or whipping up a cute, handmade gift.
- Yarn: You can use either cotton or acrylic yarn for this pattern—both offer great durability. I personally use worsted weight acrylic yarn for the bag, as it’s sturdy, holds its shape well, and is easy to work with. Choose your favorite yarn based on feel, color, and what you have on hand.
- Size: This bag is perfectly sized for little hands—compact and lightweight, yet spacious enough to hold small toys, snacks, or beach treasures. Need a larger version? Simply increase the starting chain to make the bag wider and deeper. It’s an easy adjustment that lets you customize the size to fit your needs.
Instructions
- For this crochet drawstring bag pattern, we will be working in rounds.
- Start with a ch x41 in the color turqua.
- Round 1: In the second chain from the hook make a sc. Then sc in each of the next 37 chains. When you get to the last stitch in the chain, make 3 sc. The 3 sc will help you go to the other side of the chain. Sc x38 for this side of the chain as well. The last stitch will be an inc. (82)
- This is the only round you will increase because it is intended to be like a drawstring bag which is very flat. If you want it to be less flat, I suggest doing increase rounds with 3 increases on each end of the bag.
- Round 2-31: Sc in every stitch. (82) At the end of round 31, fasten off the blue yarn and join white yarn.
- Round 32-50: With the newly attached white yarn, sc in every stitch. (82)
- Round 51: Ch x1. *Hdc x5 then ch x1*, repeat from * for the entire round. If for some reason it doesn’t divide evenly - that's fine, no one is really going to know. (82)
- Round 52-55: Sc in each stitch (even the chain spaces). (82) Then fasten off the yarn and weave in any ends.
Crochet Fish Applique:
- Use orange yarn and make 3 fish.
- Make a mr, then ch x2 (does not count as a stitch) and dc x8, tr x2, dc x6. Then sl st to the first dc you made.
- Now for the tail fins: *ch x3, in the second ch make a sc, and also in the following ch. Sl st to the same place you made the joining round sl st.*
- Repeat from * for the second tail fin.
- Fasten off and leave a long tail for sewing. If you want you can embroider an eye for the fish or use a sharpie or paint a dot.
- Sew the crochet fish appliques to the blue part of the bag.
Drawstring:
- With the white yarn, ch x150, fasten off and weave in the ends. You can use less or more chains. Then weave the drawstring in and out of round 51.
Crochet straps:
- Row 1: With the white yarn, ch x7, then in the second ch from the hook make a sc. Sc for the rest of the row (6).
- Row 2-82: Sc in every stitch, then ch x1 and turn (6).
- You may need longer straps if it is for an adult and not a kid so adjust accordingly.
Sewing:
- If you haven't already, sew the goldfish to the base of the bag.
- Then sew the straps to the top and bottom corners of the crochet bag.
- Weave in any ends.
- I hope you had as much fun making this Crochet Fish Bag Pattern as I did designing it!


Leave a Reply