
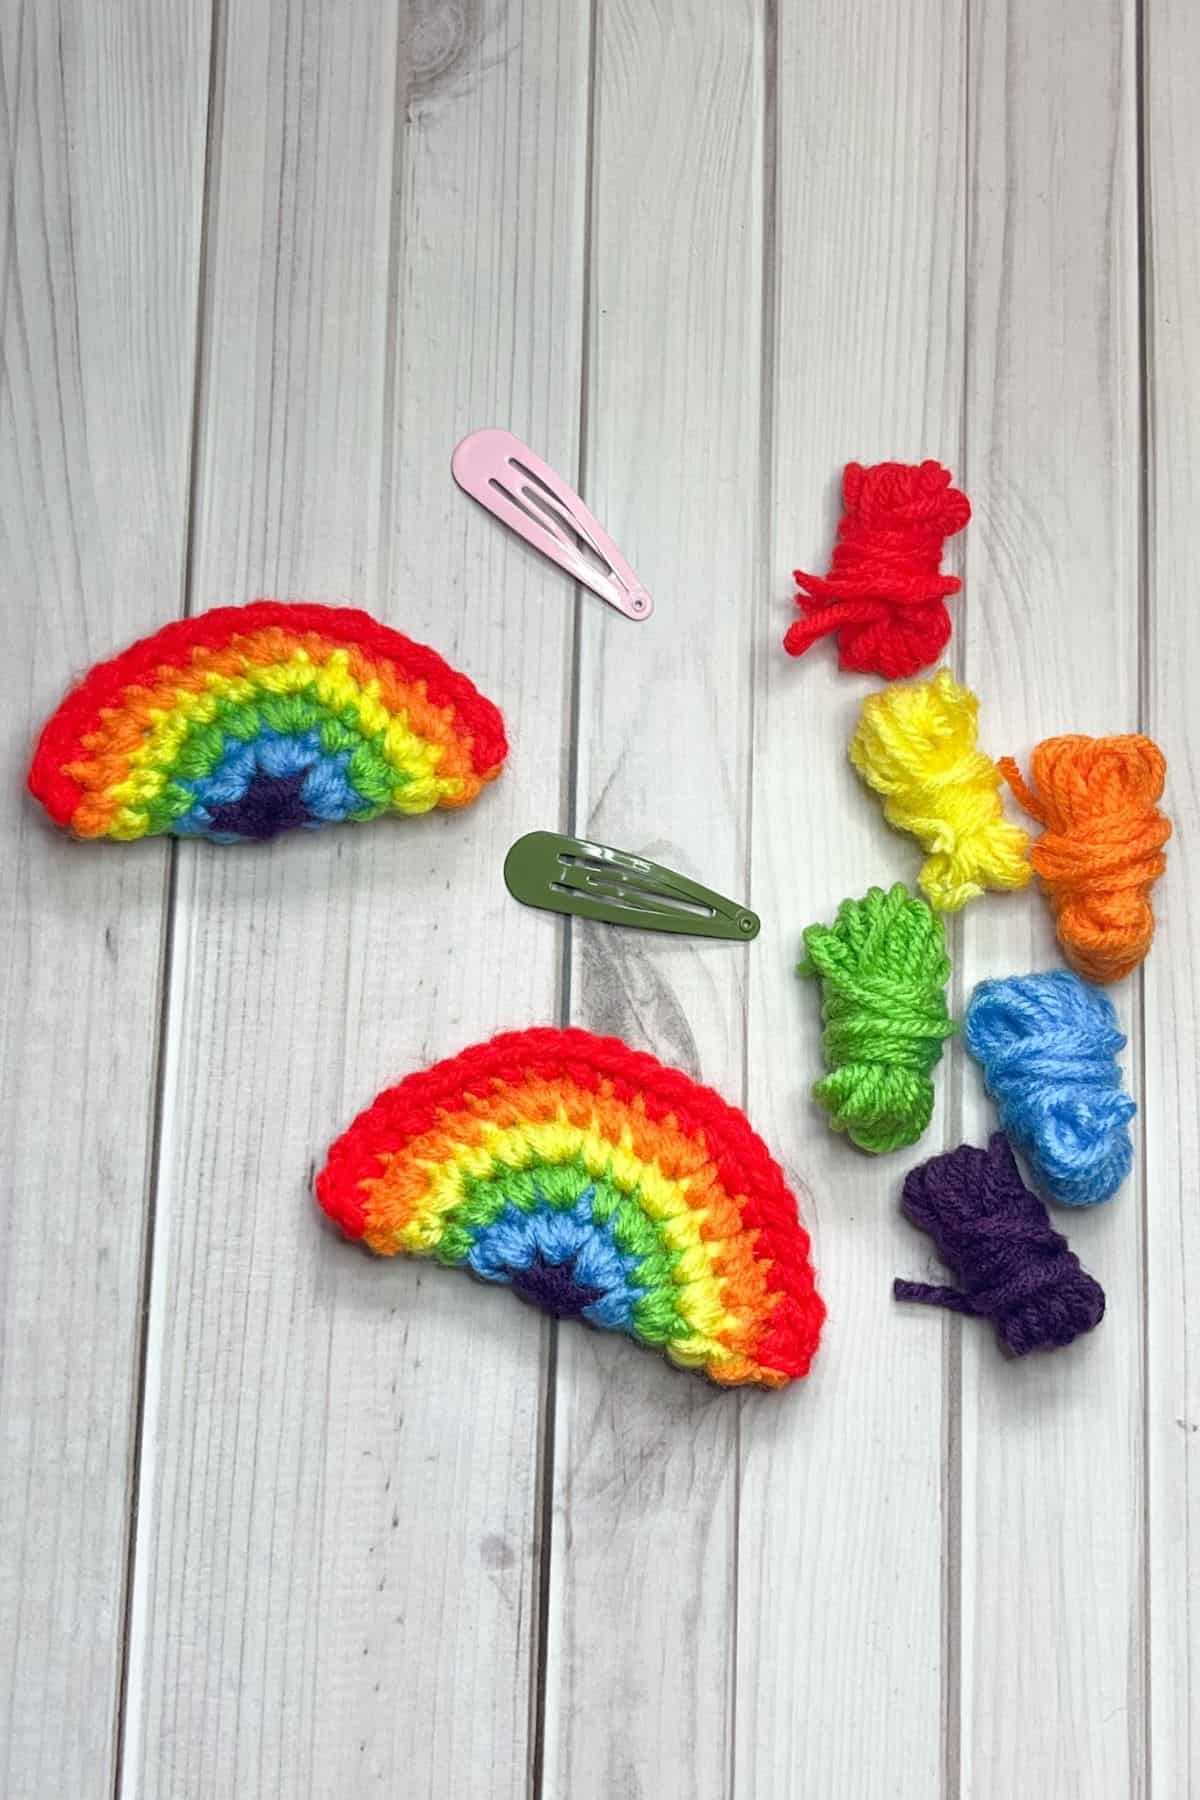
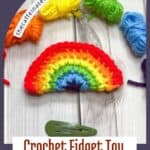
Get lost in the fun with my Crochet Fidget Toy Pattern. My crochet fidget toy is snappable, and the best part is -it looks like a rainbow!
I am one of those people who just cannot sit still. Usually, I crochet to keep my hands busy, but that doesn't work every time I'm out of the house or watching TV, so I created a crochet fidget toy to occupy my hands instead!
Fidget toys come in various shapes, sizes, and sensory experiences. If you tend to click pens or snap barrettes while fidgeting, this pattern is perfect for you. While this pattern features a crochet rainbow, you can also adapt it with any other small, flat designs, like my crochet mushroom applique or crochet heart keychain.
The key is to keep the pattern roughly 3 inches in size. If it’s too big, it will be hard to find the barrette in the toy.
This project is also perfect for Saint Patrick's Day! Crochet Saint Patrick's Day items are hard to come by, but these are quick and easy to make for yourself, your child, their class, or your other fidgety friends.
If you are looking for other Saint Patrick's day crochet patterns, check out my crochet 4 leaf clover pattern for a quick applique, and my crochet rainbow scarf pattern if you want to continue the rainbow theme!
So, let’s get started!
Jump to:
✏️ Things To Note:
- Yarn Choice. When selecting yarn for the crochet fidget toy pattern, I initially used acrylic worsted weight yarn, which works perfectly for creating the desired size and texture. However, you have the option to use DK weight yarn as well. If you choose DK yarn, simply adjust the size by using a smaller barrette or a larger crochet hook to achieve a similar finished size. This flexibility allows you to customize the project to your preference.
- Alternate Use. If you decide to repurpose this pattern for a larger project rather than a fidget toy, there's an easy way to transform it. By switching to chunky yarn, you can create a much larger version, such as a small pillow. This offers versatility in your craft, allowing you to create a cozy, decorative item instead of a functional fidget object.
- Finished Size. In its original form, the finished size of the fidget toy is approximately 3 inches wide. This compact size makes it an ideal choice for a stress-relieving tool that fits comfortably in your hand, offering a satisfying tactile experience. Whether you stick with the fidget toy version or expand it into a larger project, this pattern offers great creative potential.
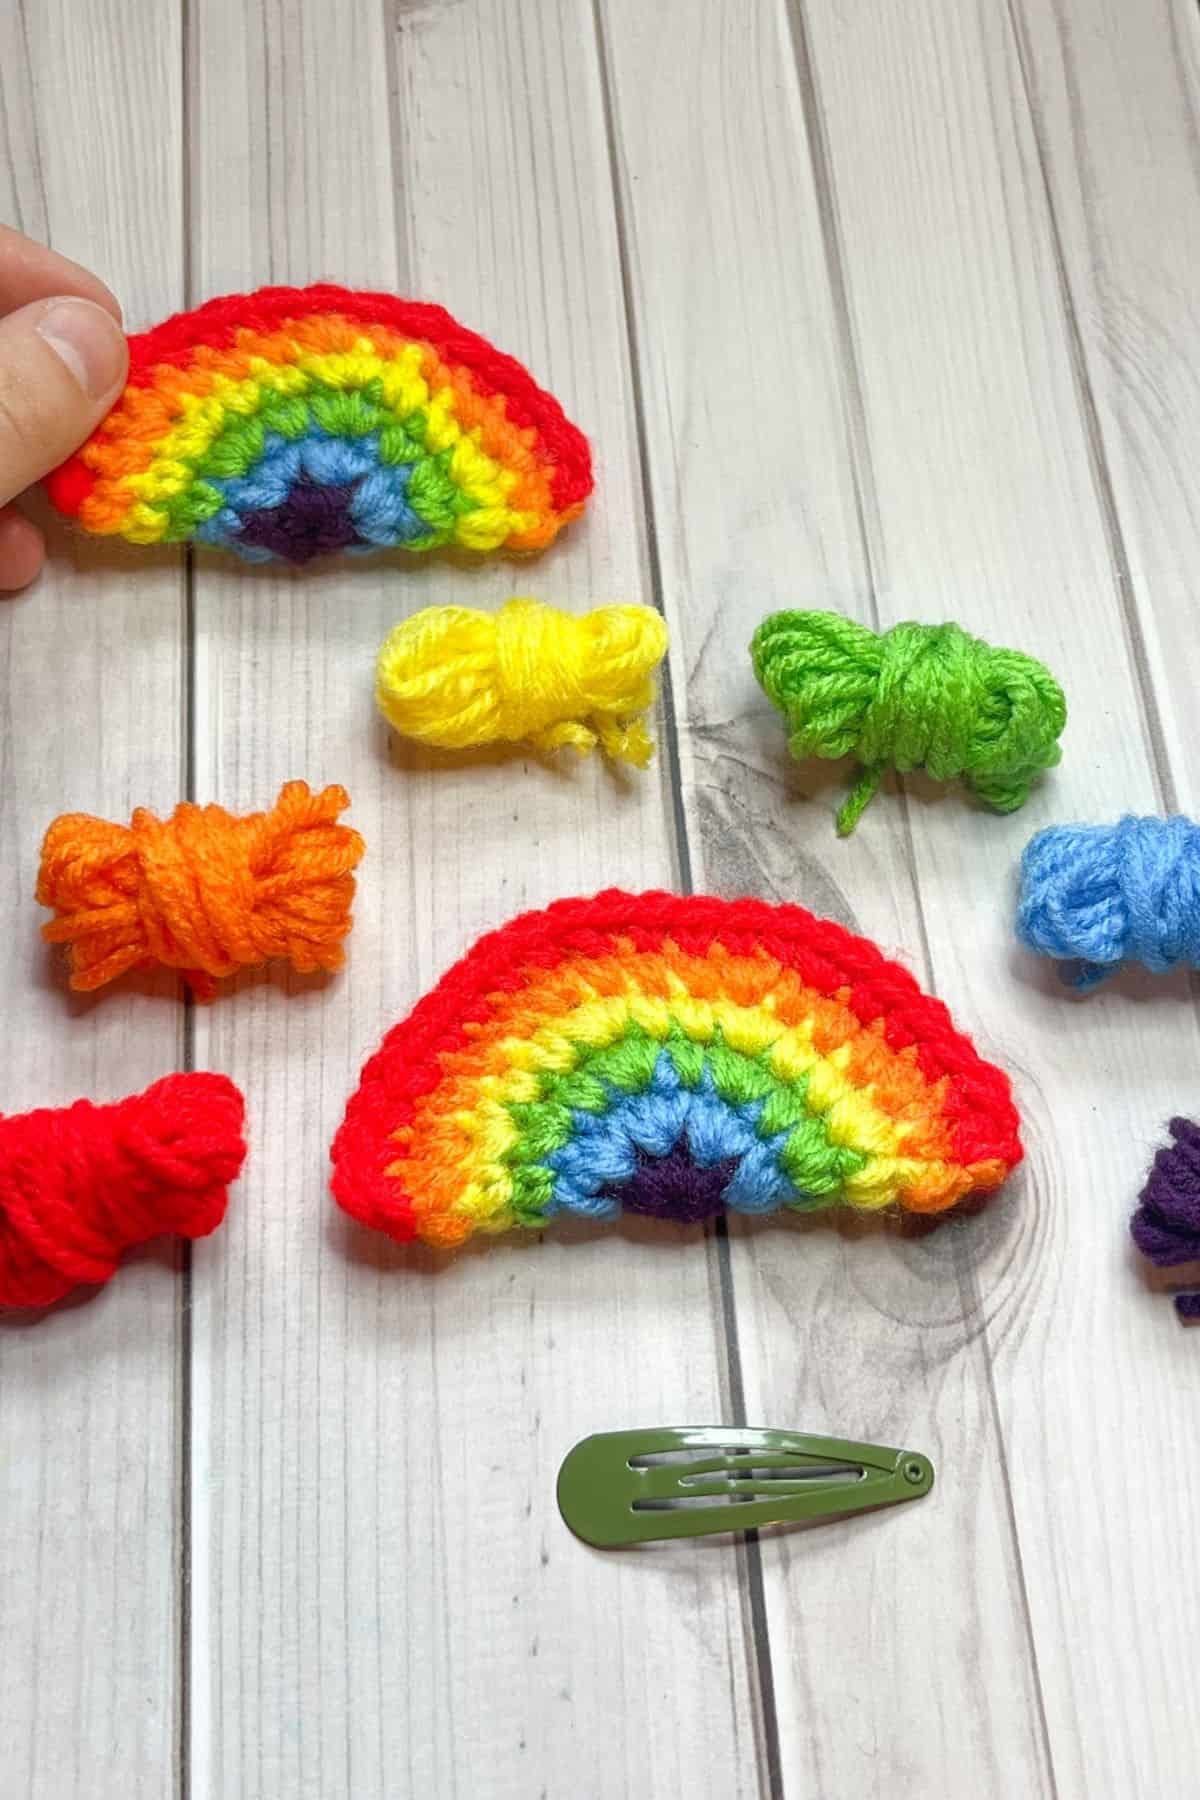
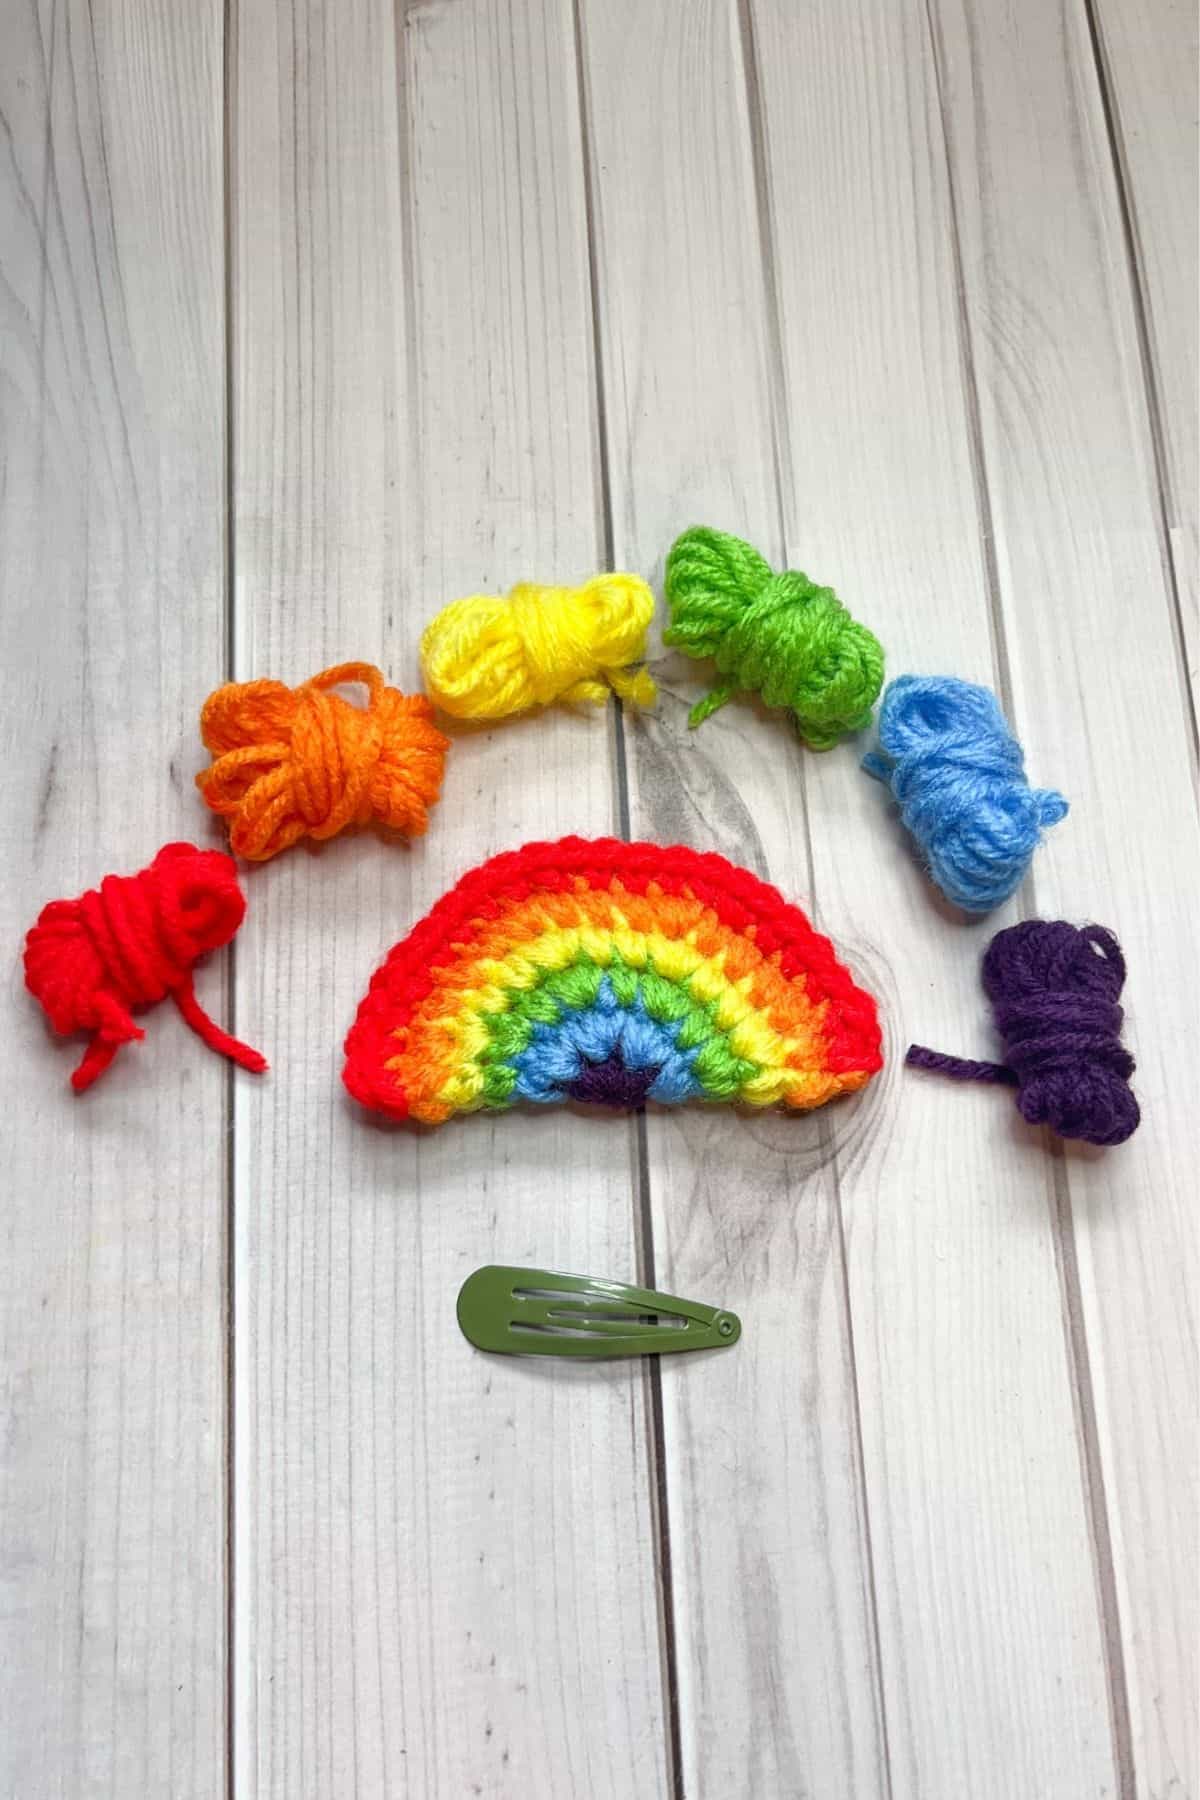
🪡 Materials Needed
💭Abbreviations to Remember (US terms)
- Magic ring - mr
- Single crochet - sc
- Increase - inc
🧋Variations
Change the colors for pastel rainbows, dark rainbows, monochrome rainbows, etc.
🍵Instructions for Crochet Fidget Toy Pattern
The crochet fidget toy pattern is made in rounds and then folded for the last round.
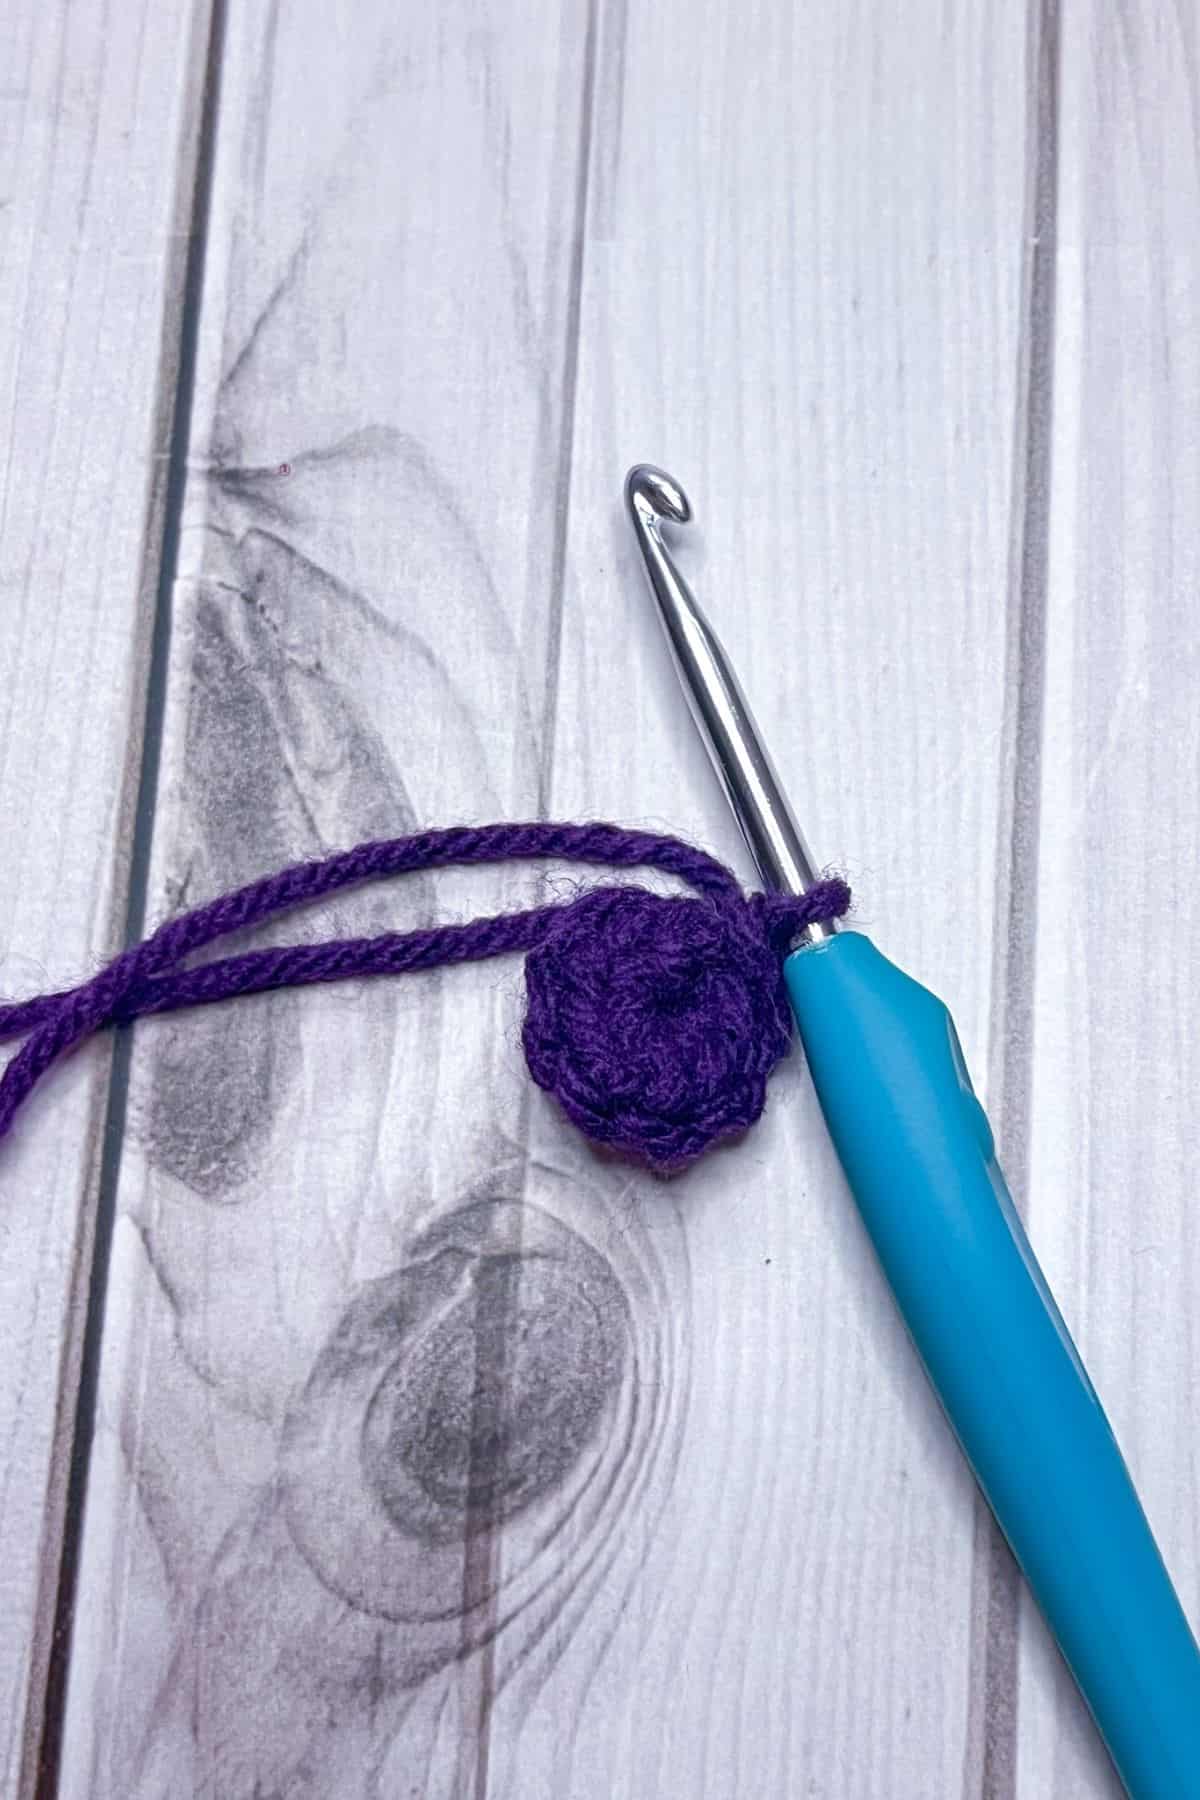
Round 1: With the purple yarn, make a mr loop then sc x8 into it (8). Then fasten off the purple yarn and switch it to blue.
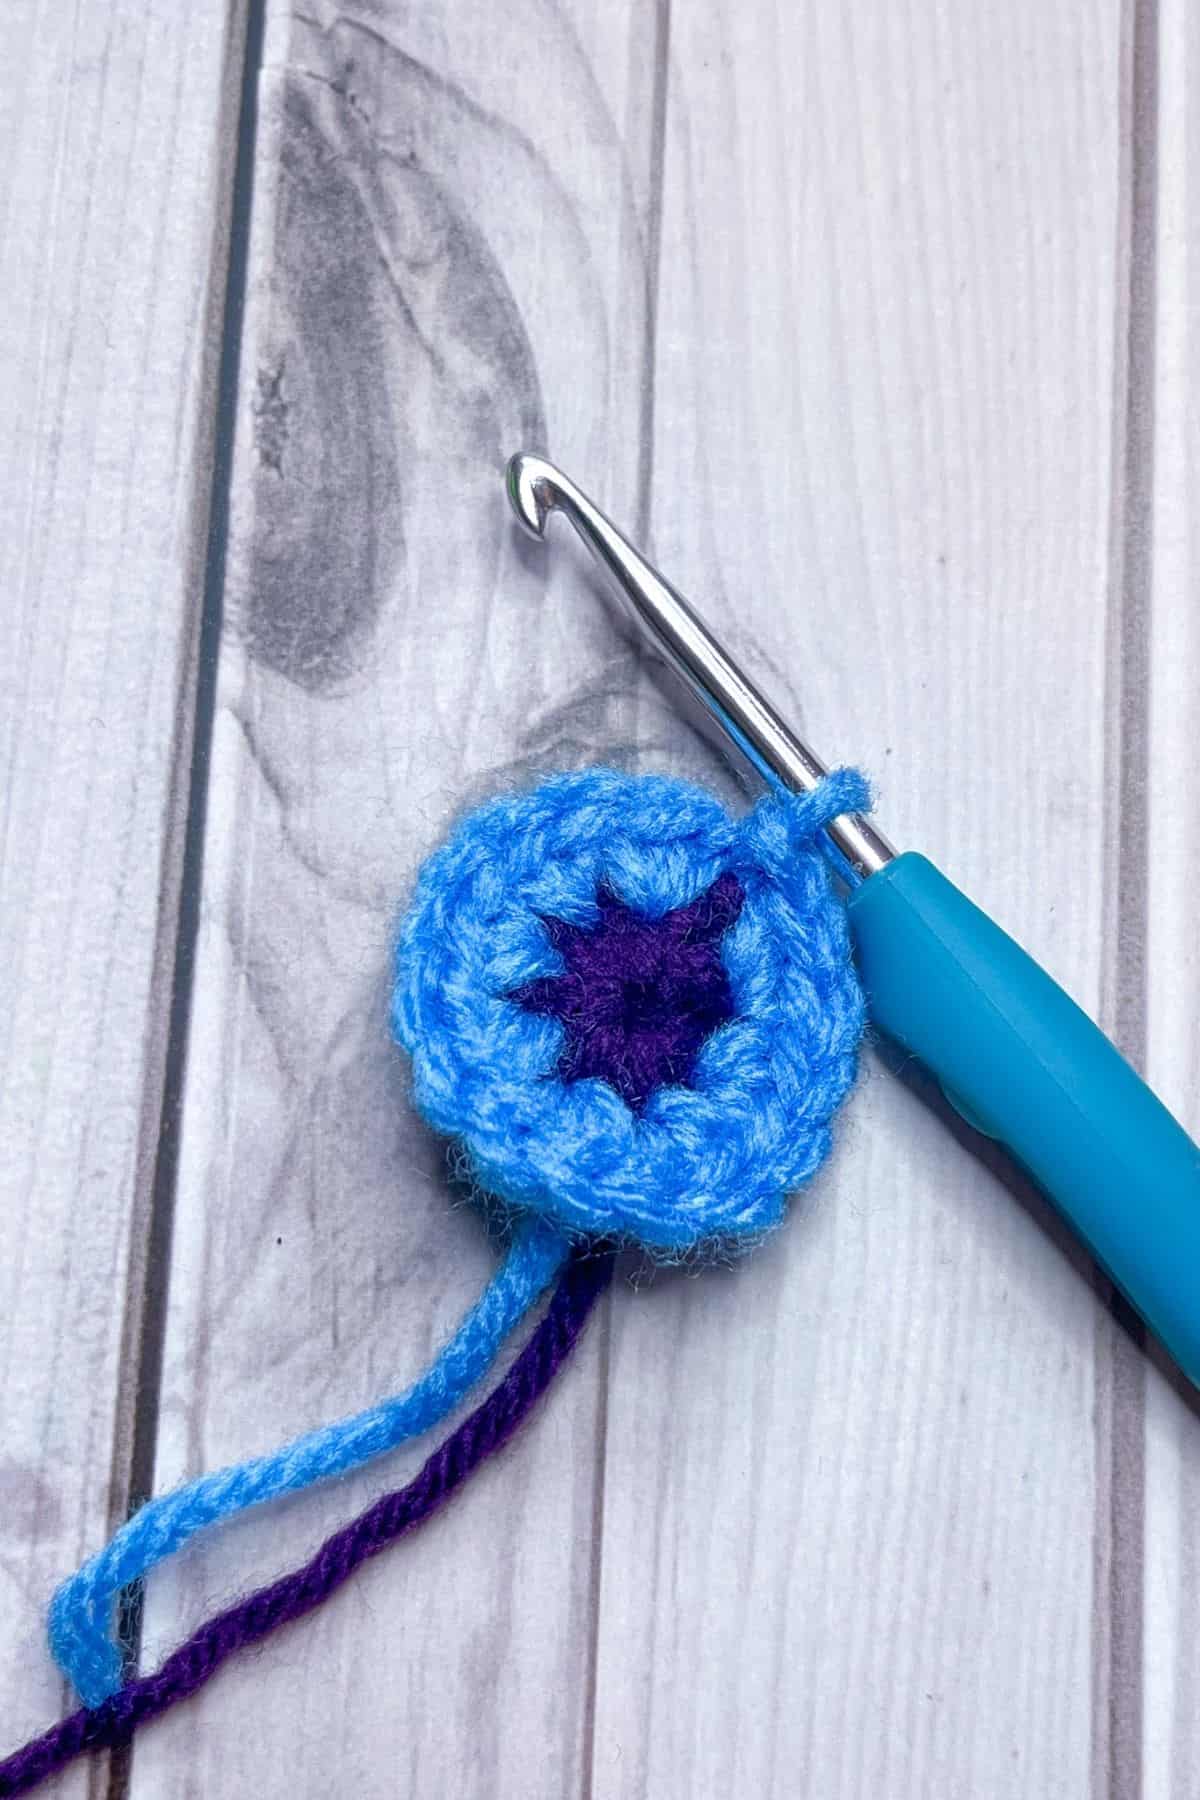
Round 2: With the blue yarn, inc in every stitch from the previous round (16). Then fasten off the purple yarn and switch it to green.
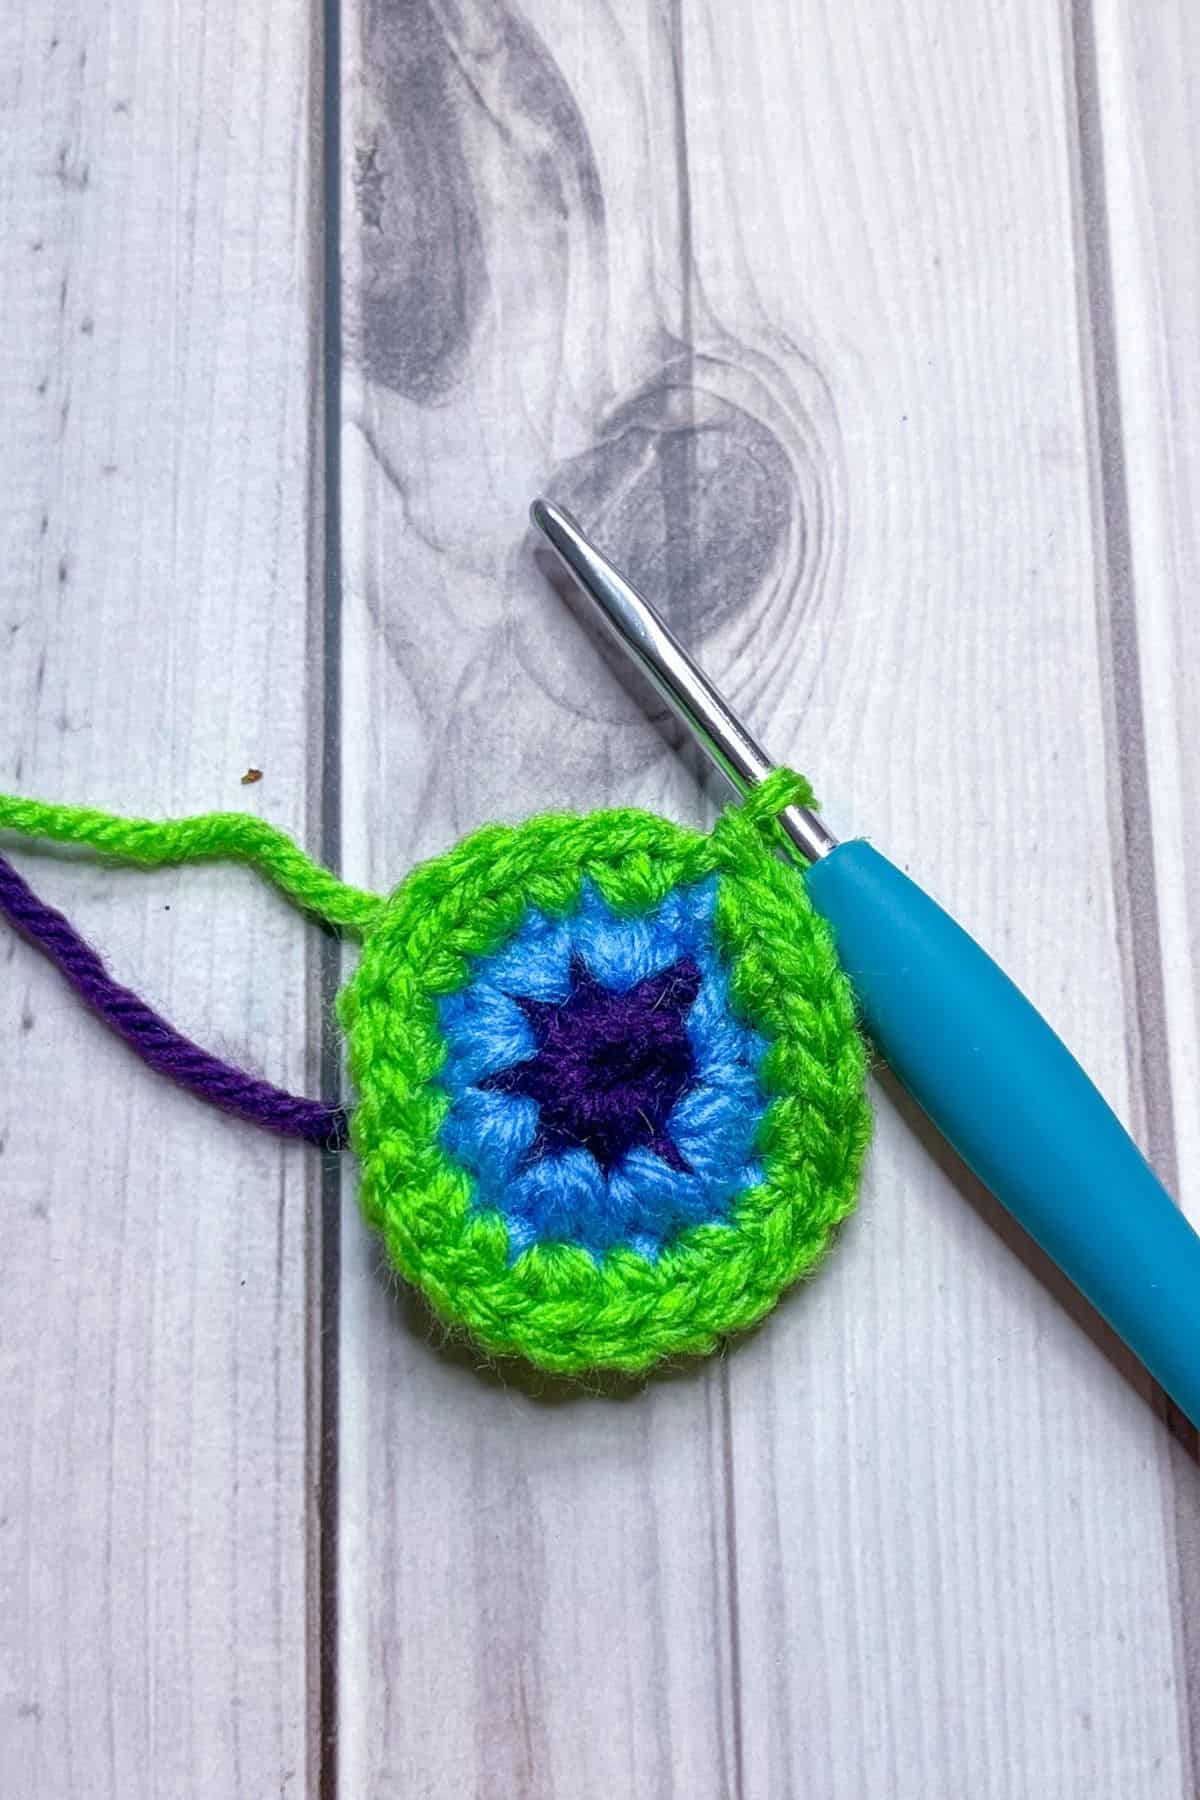
Round 3: With the green yarn, sc, inc, then repeat for the rest of the round (24). Then fasten off the green yarn and join the yellow yarn.

Round 4: With the yellow yarn, sc x2, inc, then repeat for the rest of the round (32). Then fasten off the yellow yarn and join the orange yarn.
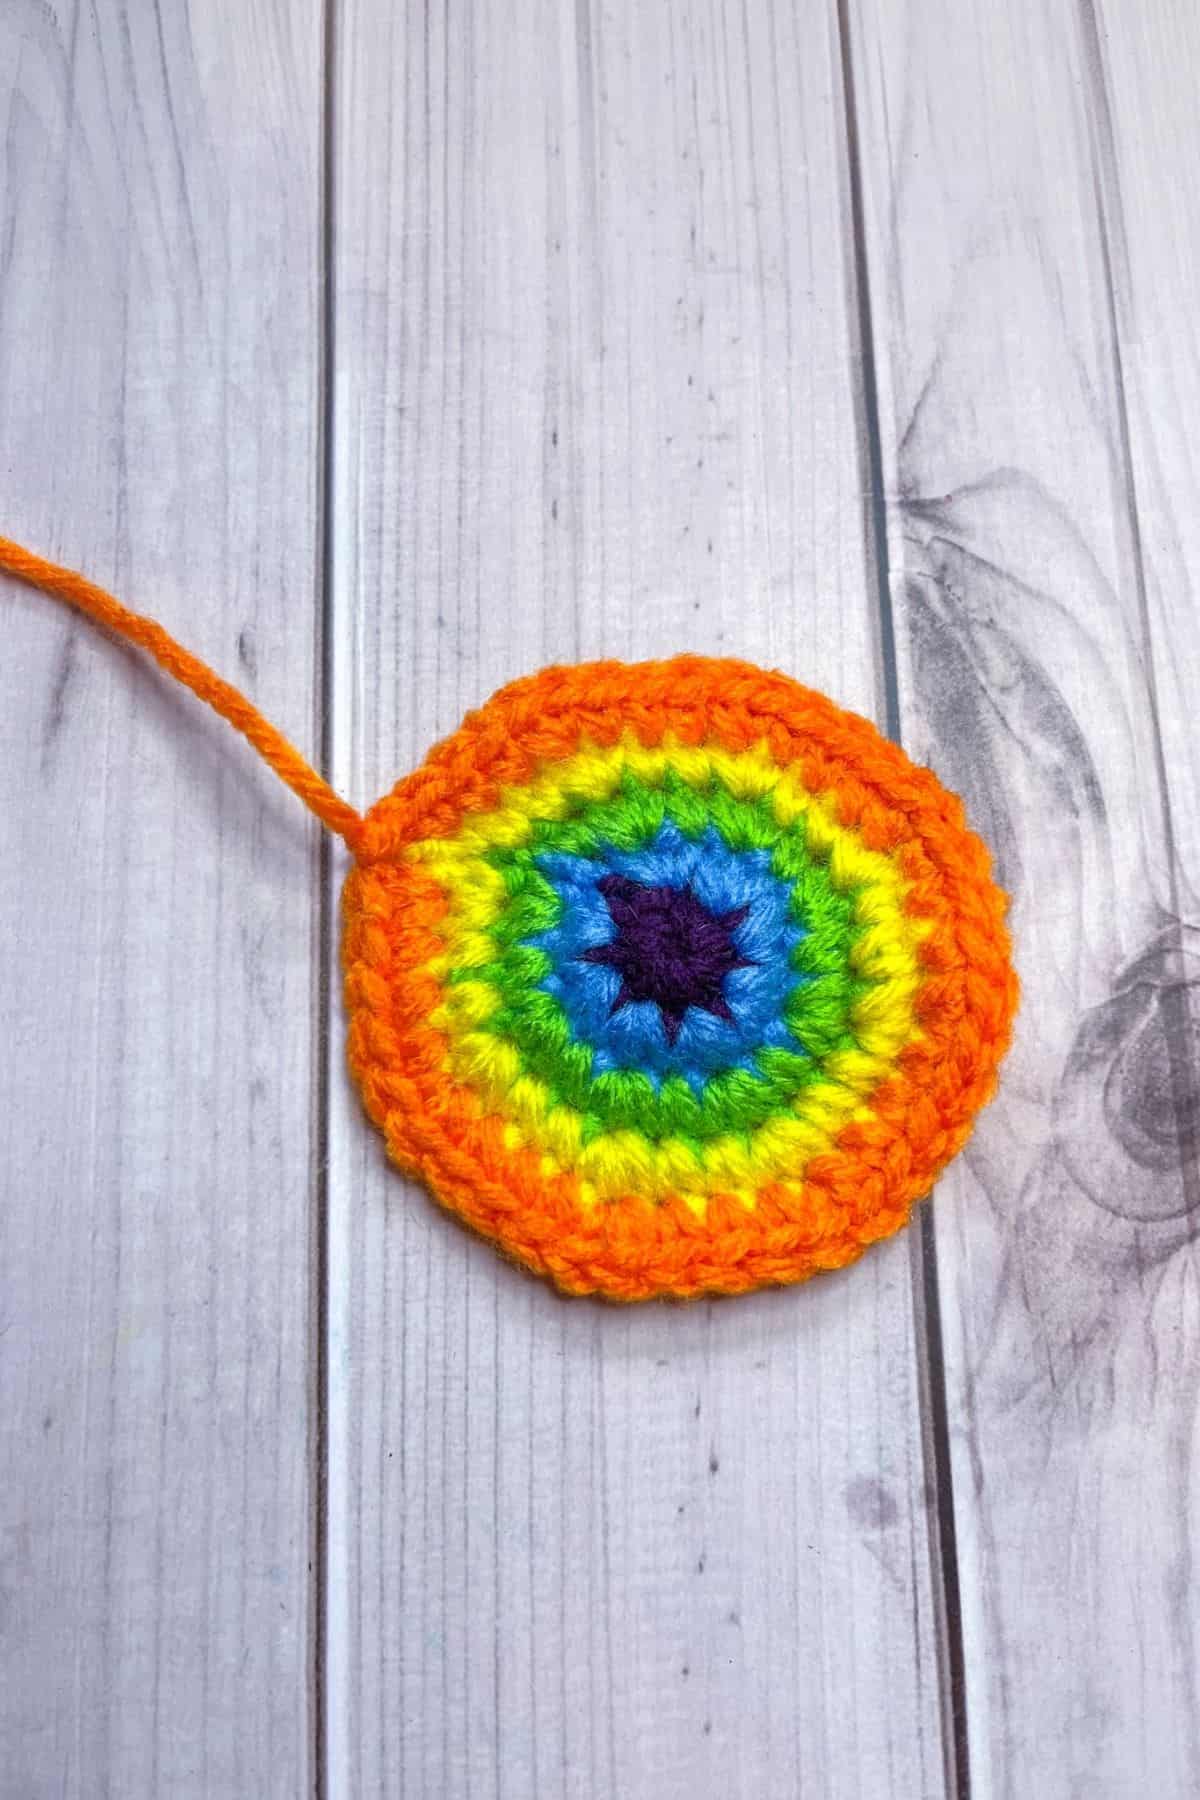
Round 5: With the orange yarn, sc x3, inc, then repeat for the rest of the round (40). Then fasten off the orange yarn and join the red yarn.
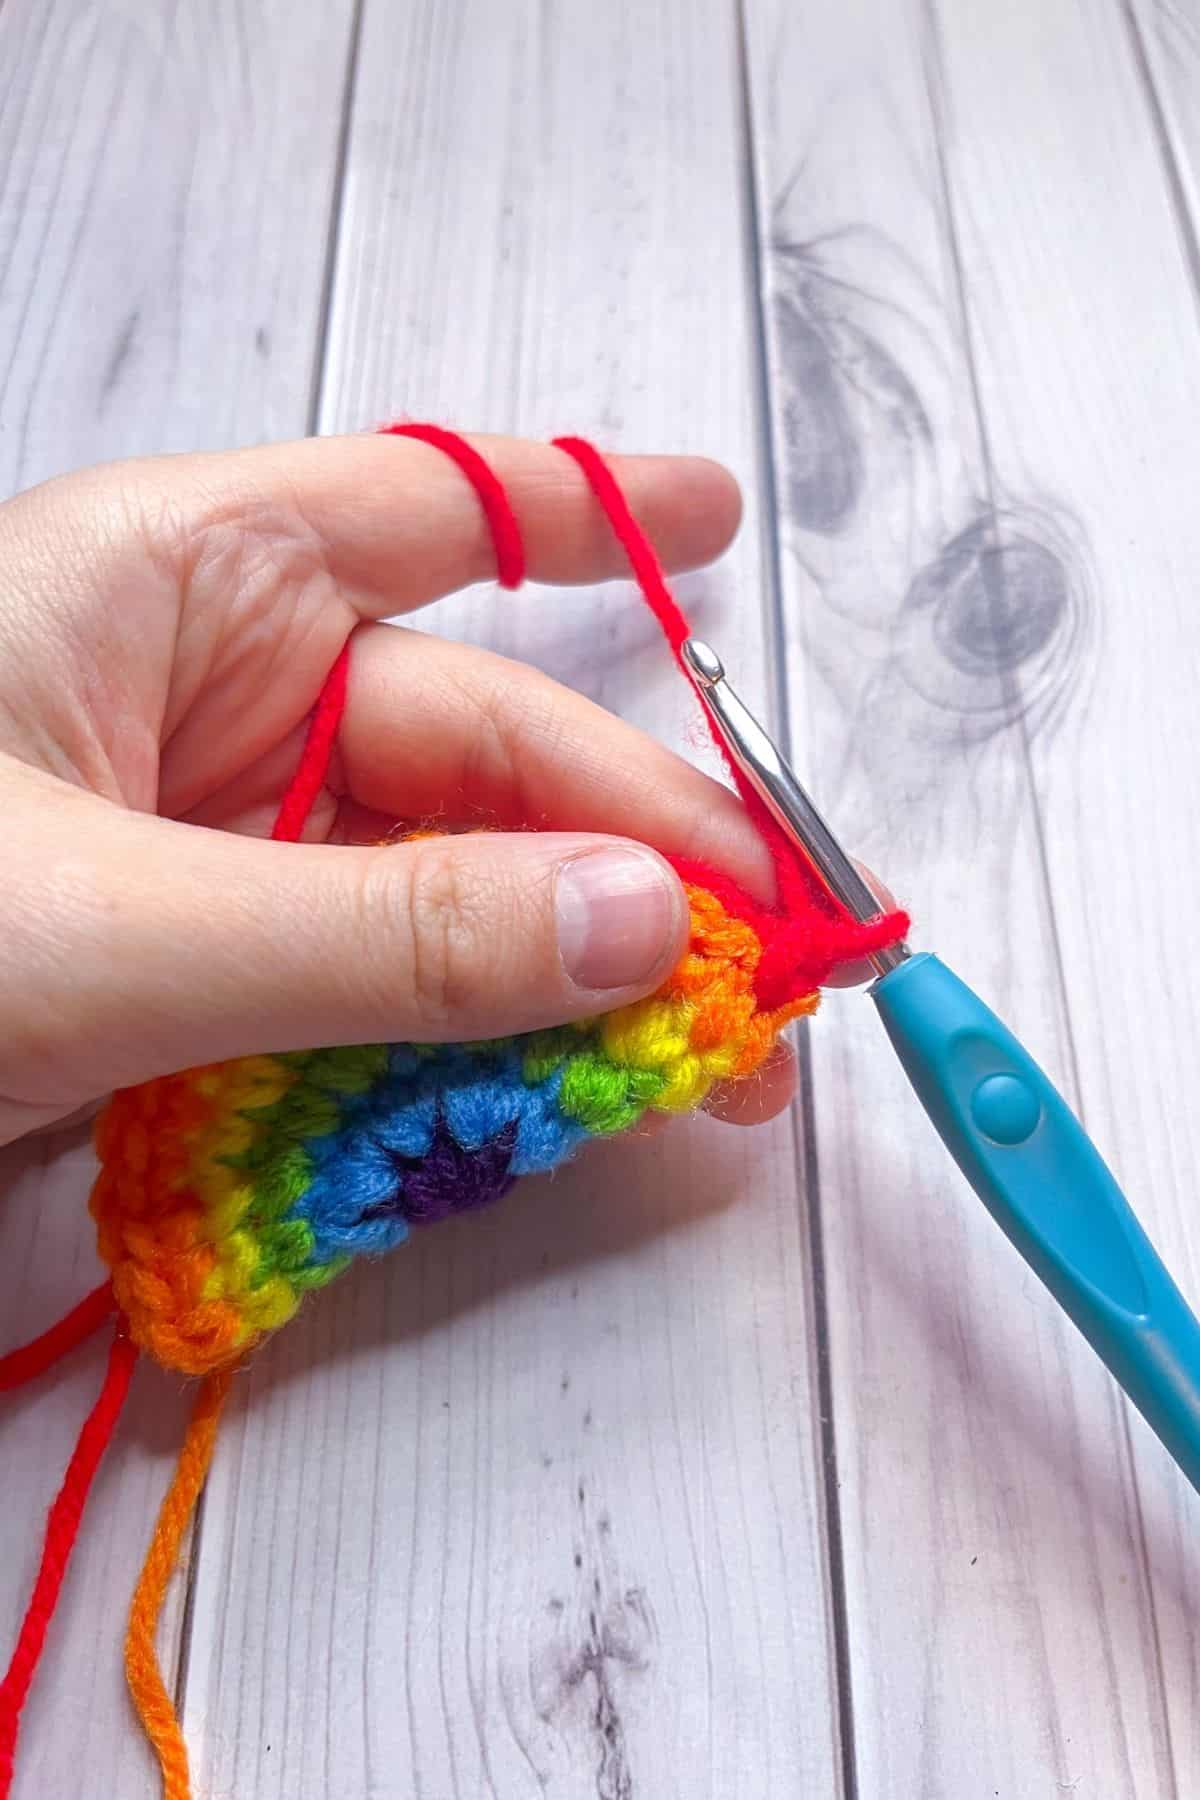
Fold the rainbow in half with the newly joined red yarn on the bottom right.
Round 6: Now you are going to crochet the rainbow shut with the red by going through both sides of the circle.
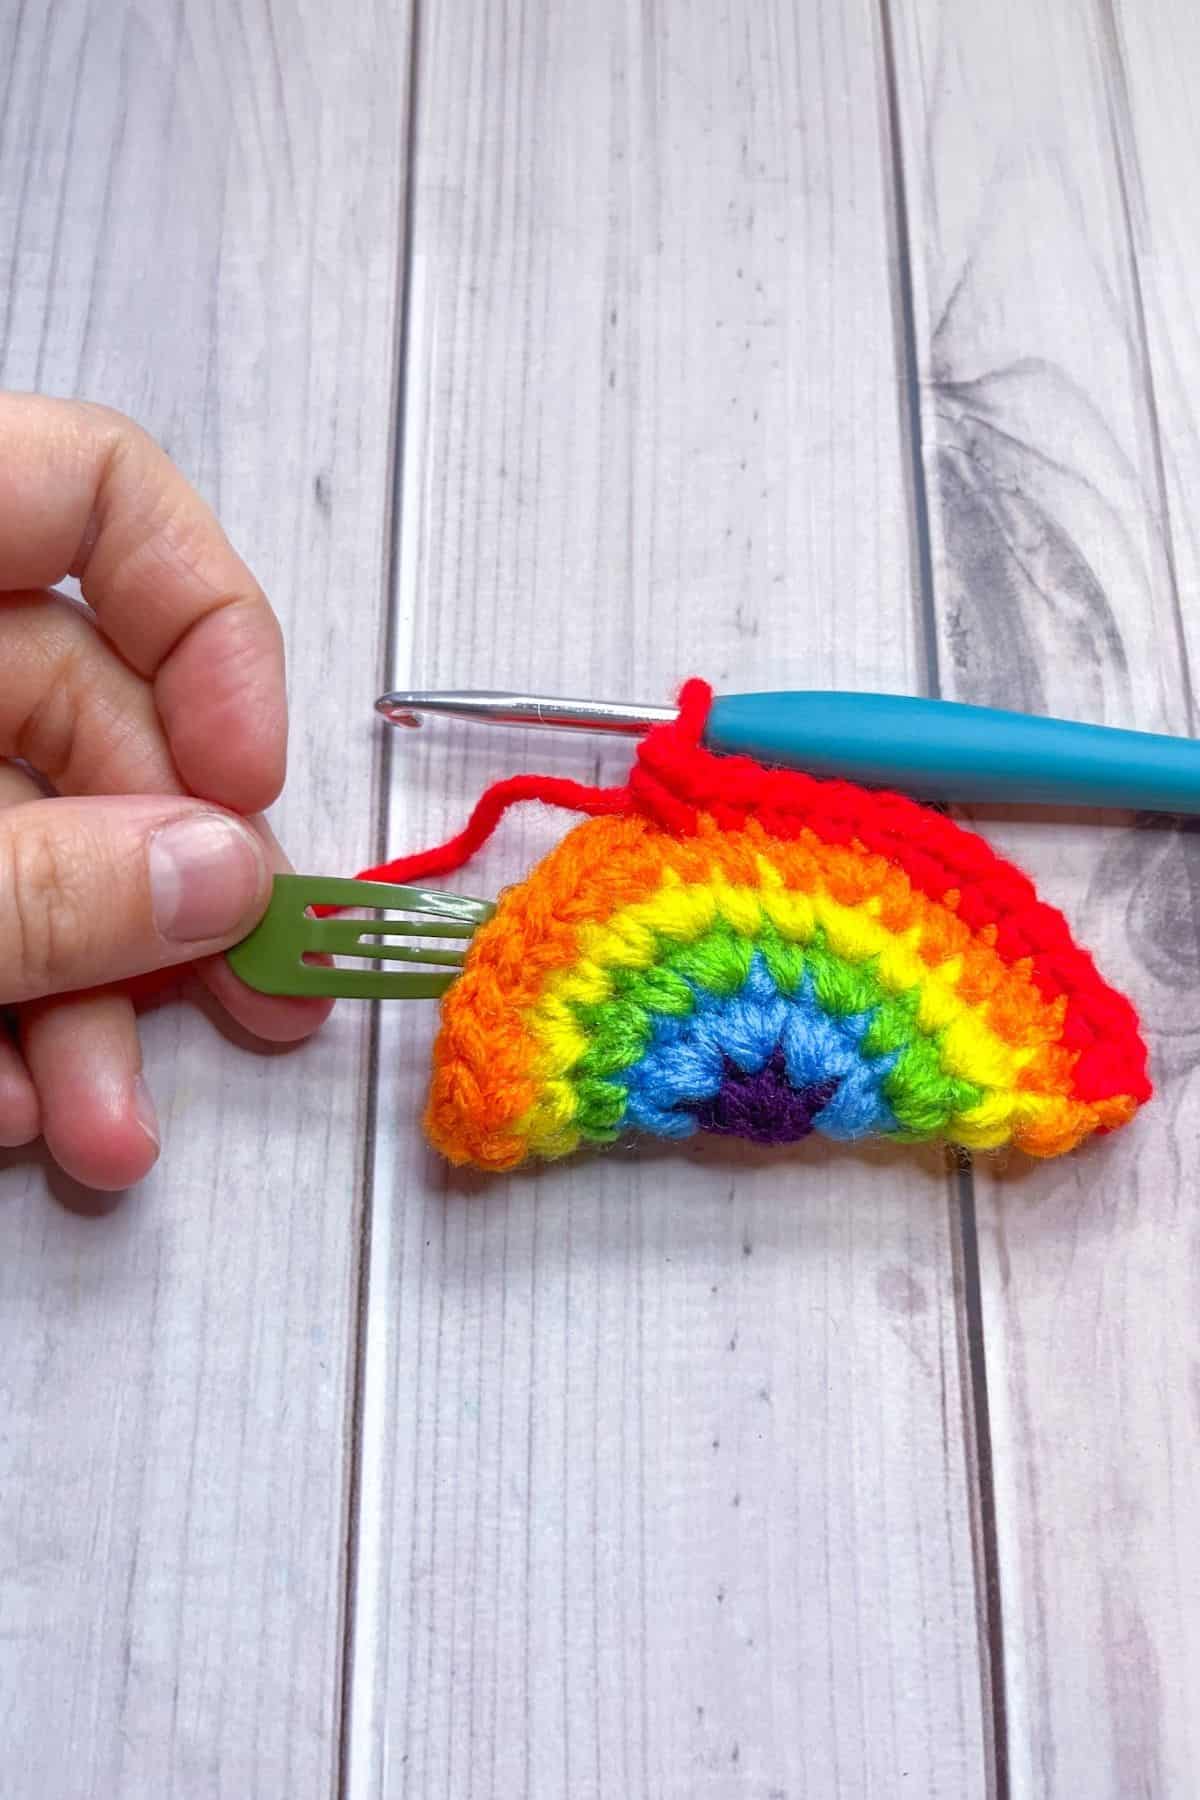
Note: Because the circle is now cut in half you will have 20 stitches at the beginning of this round and will have 24 at the end.
For this round sc x4, inc, then repeat for the rest of the round (24). At a little more past the halfway mark insert the barrette into the rainbow. Then finish the round.
To keep the barrette closed as it snaps, you may want to either tie string or a rubber band around it.
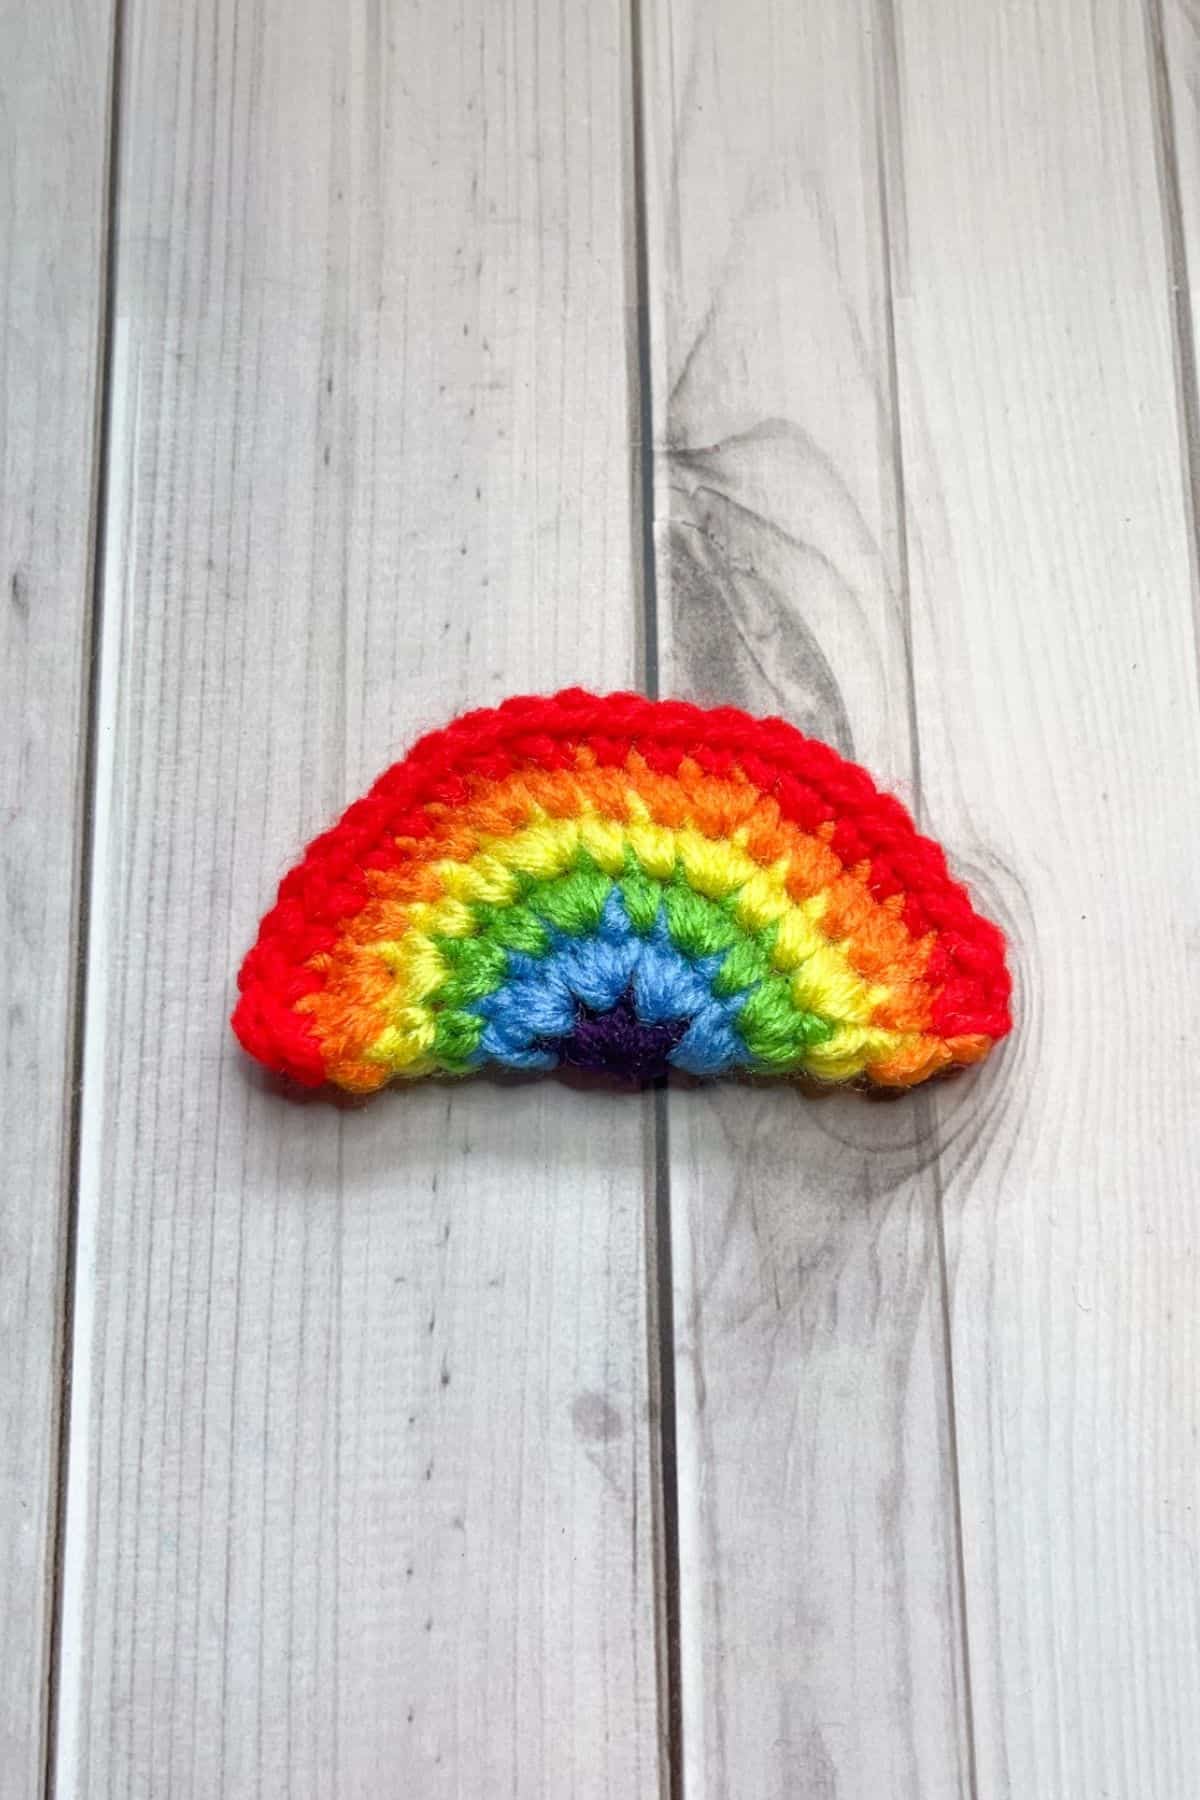
When you get to the end, fasten off the yarn and weave in the tails.
And there you have it—a completed rainbow crochet fidget toy! I hope you enjoy your new crochet fidget snapper. This fun and colorful project not only provides a satisfying tactile experience but also offers a great way to relieve stress. Whether you're using it as a personal fidget toy or making it as a gift, the rainbow design adds a cheerful touch.
This easy-to-make item is both functional and enjoyable, with its compact size making it perfect for carrying around in your pocket or bag. Plus, with its versatility in yarn choices and sizing, you can easily personalize it to your liking.
Enjoy the soothing motions and tactile feedback this fidget toy provides, and feel free to experiment with different yarns or adapt it into a larger project if you wish. Have fun and happy crocheting!
If you have a lot more rainbow yarn, you can make my crochet plaid blanket pattern or my crochet rainbow baby blanket pattern!
If you are looking for something else that's small to make, my crochet bunny keychain pattern is sure to do the trick!
🐌Expert Tips
- Inserting the Barrette. Make sure the barrette is snapped closed before inserting it for an easier time closing the rainbow.
- Customization. Feel free to experiment with different colors and textures to create a unique fidget toy.
- Use as a Stress Reliever. These fidget toys can be great stress relievers. Keep one in your bag or at your desk for those moments when you need a little distraction.
🧵Pattern FAQs
Yes! If you want to add clouds, check out my crochet rainbow keychain pattern.
If you have a marble, you can insert it instead of a barrette. The marble is great for pushing the ball around between your fingers and hands.
While I don't have specific patterns, any small, near-flat projects of about 3 inches can work. You can make fidgets using my heart keychain pattern or some appliqué patterns and simply crochet or sew two of them together.
🧶More Crochet Summer Patterns

If you tried this Crochet Fidget Toy Pattern (or any other pattern on my website), please let me know how it went in the 📝 comments below. I'd love to hear from you!

Crochet Fidget Toy Pattern
Materials
- 1 small ball Purple yarn
- 1 small ball Blue yarn
- 1 small ball Green yarn
- 1 small ball Yellow yarn
- 1 small ball Orange yarn
- 1 small ball Red yarn
- 4.5mm hook
- Tapestry needle
- Hair Barrette
Abbreviations (US terms)
- mr = Magic ring
- sc = Single crochet
- inc = Increase
Notes
- Made with acrylic worsted weight yarn; suitable for DK yarn with a small barrette or larger hook for similar size.
- Avoid thick chunky yarn for the fidget toy.
- For larger projects, use chunky yarn to create a small pillow.
- Finished size is approximately 3 inches wide.
- Experiment with color variations: pastel, dark, or monochrome rainbows.
Instructions
- The crochet fidget toy pattern is made in rounds and then folded for the last round.
- Round 1: With the purple yarn, make a mr loop then sc x8 into it (8). Then fasten off the purple yarn and switch it to blue.
- Round 2: With the blue yarn, inc in every stitch from the previous round (16). Then fasten off the purple yarn and switch it to green.
- Round 3: With the green yarn, sc, inc, then repeat for the rest of the round (24). Then fasten off the green yarn and join the yellow yarn.
- Round 4: With the yellow yarn, sc x2, inc, then repeat for the rest of the round (32). Then fasten off the yellow yarn and join the orange yarn.
- Round 5: With the orange yarn, sc x3, inc, then repeat for the rest of the round (40). Then fasten off the orange yarn and join the red yarn.
- Fold the rainbow in half with the newly joined red yarn on the bottom right.
- Round 6: Now you are going to crochet the rainbow shut with the red by going through both sides of the circle.
- Note: Because the circle is now cut in half you will have 20 stitches at the beginning of this round and will have 24 at the end.
- For this round sc x4, inc, then repeat for the rest of the round (24). At a little more past the halfway mark insert the barrette into the rainbow. Then finish the round. When you get to the end, fasten off the yarn and weave in the tails.To keep the barrette closed as it snaps, you may want to either tie string or a rubber band around it.
- And now you have a finished rainbow crochet fidget toy!
Kin says
What would you say the level of difficulty for this pattern is? Do you think it could be tough to beginners?
Kimberly Arenas says
As long as your comfortable crocheting in the round it should be doable for beginners 🙂
Wilma says
Can I sell these?
Kimberly Arenas says
Yep! Selling the items made is totally fine!
Wilma says
Ok thanks! 🙂
Eva says
I have anxiety, and have been looking for new fidget ideas. This is such an amazing idea, and has helped me focus while I’m working! Thank you!
Jill says
This is such a brilliant idea. I love the fidget toy idea!