
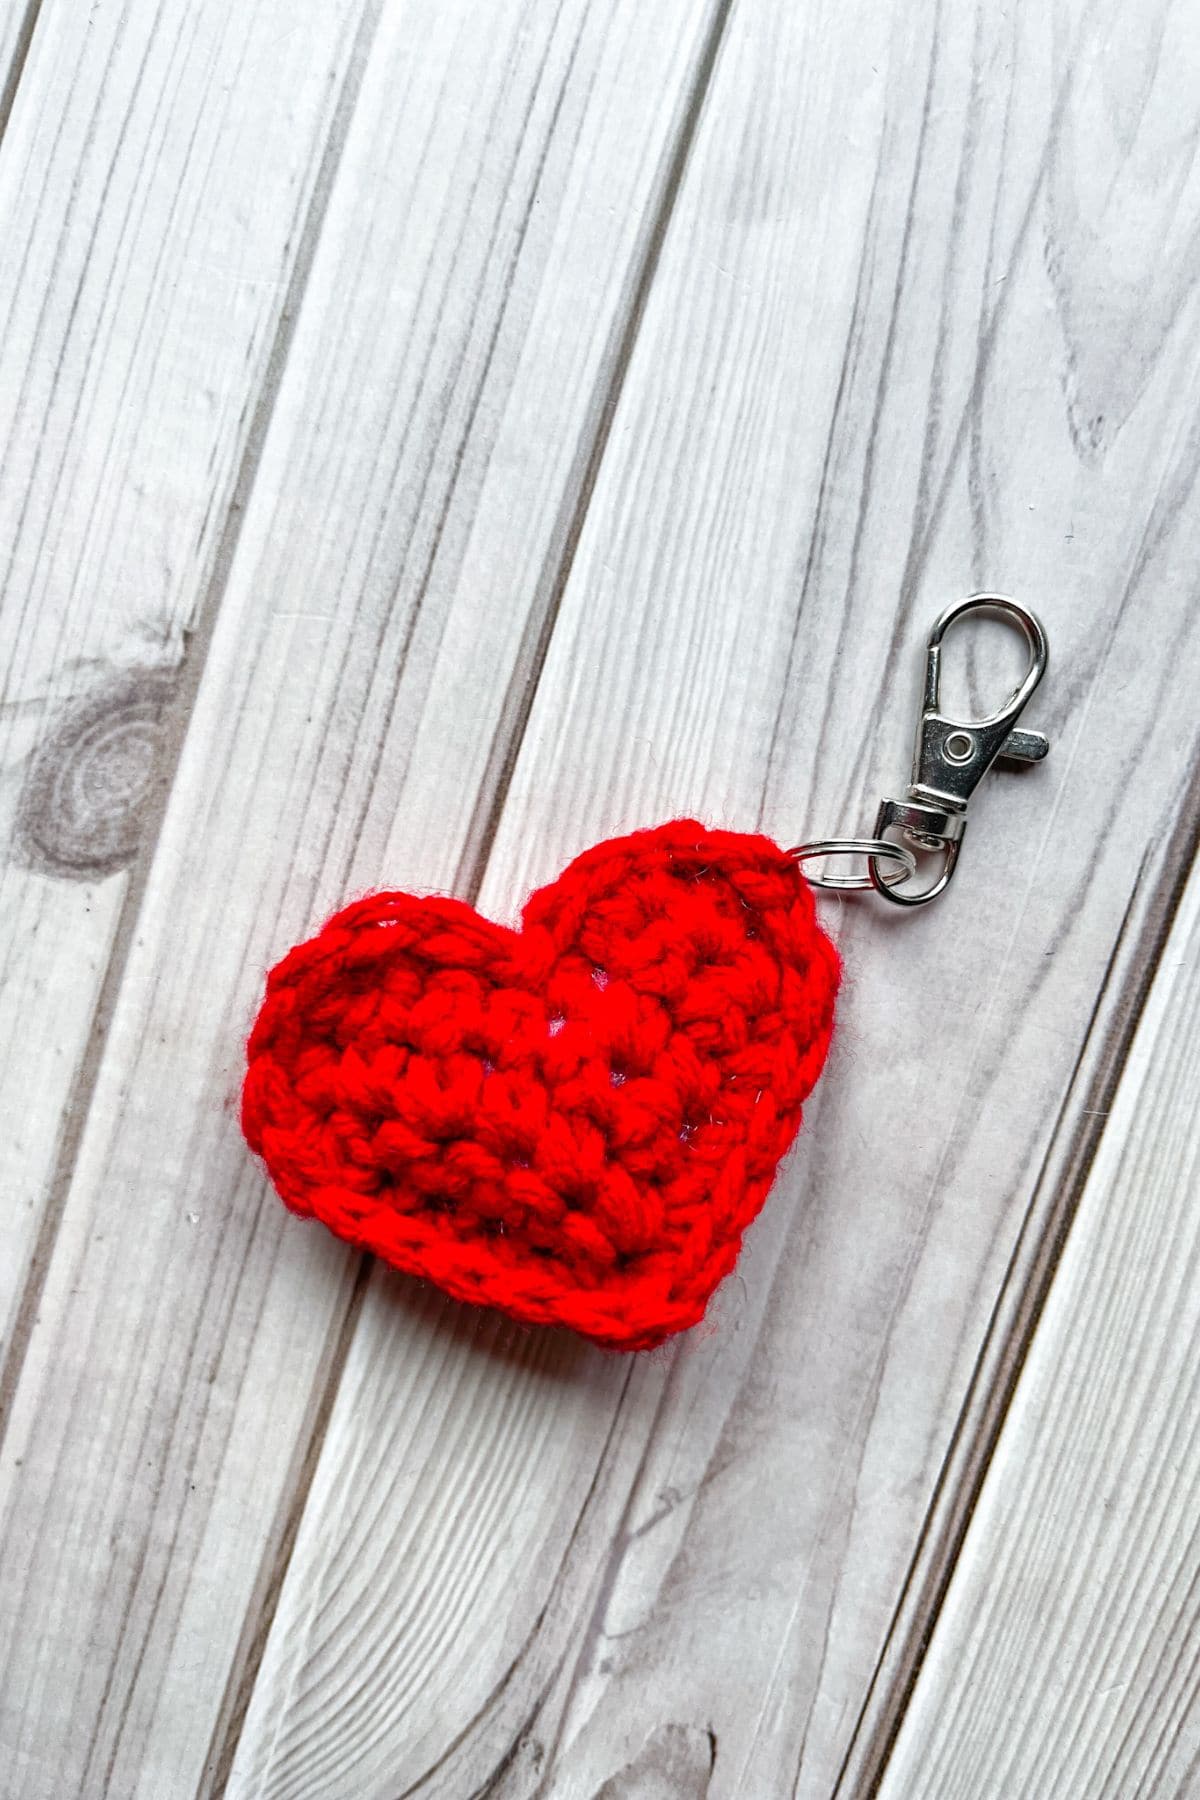
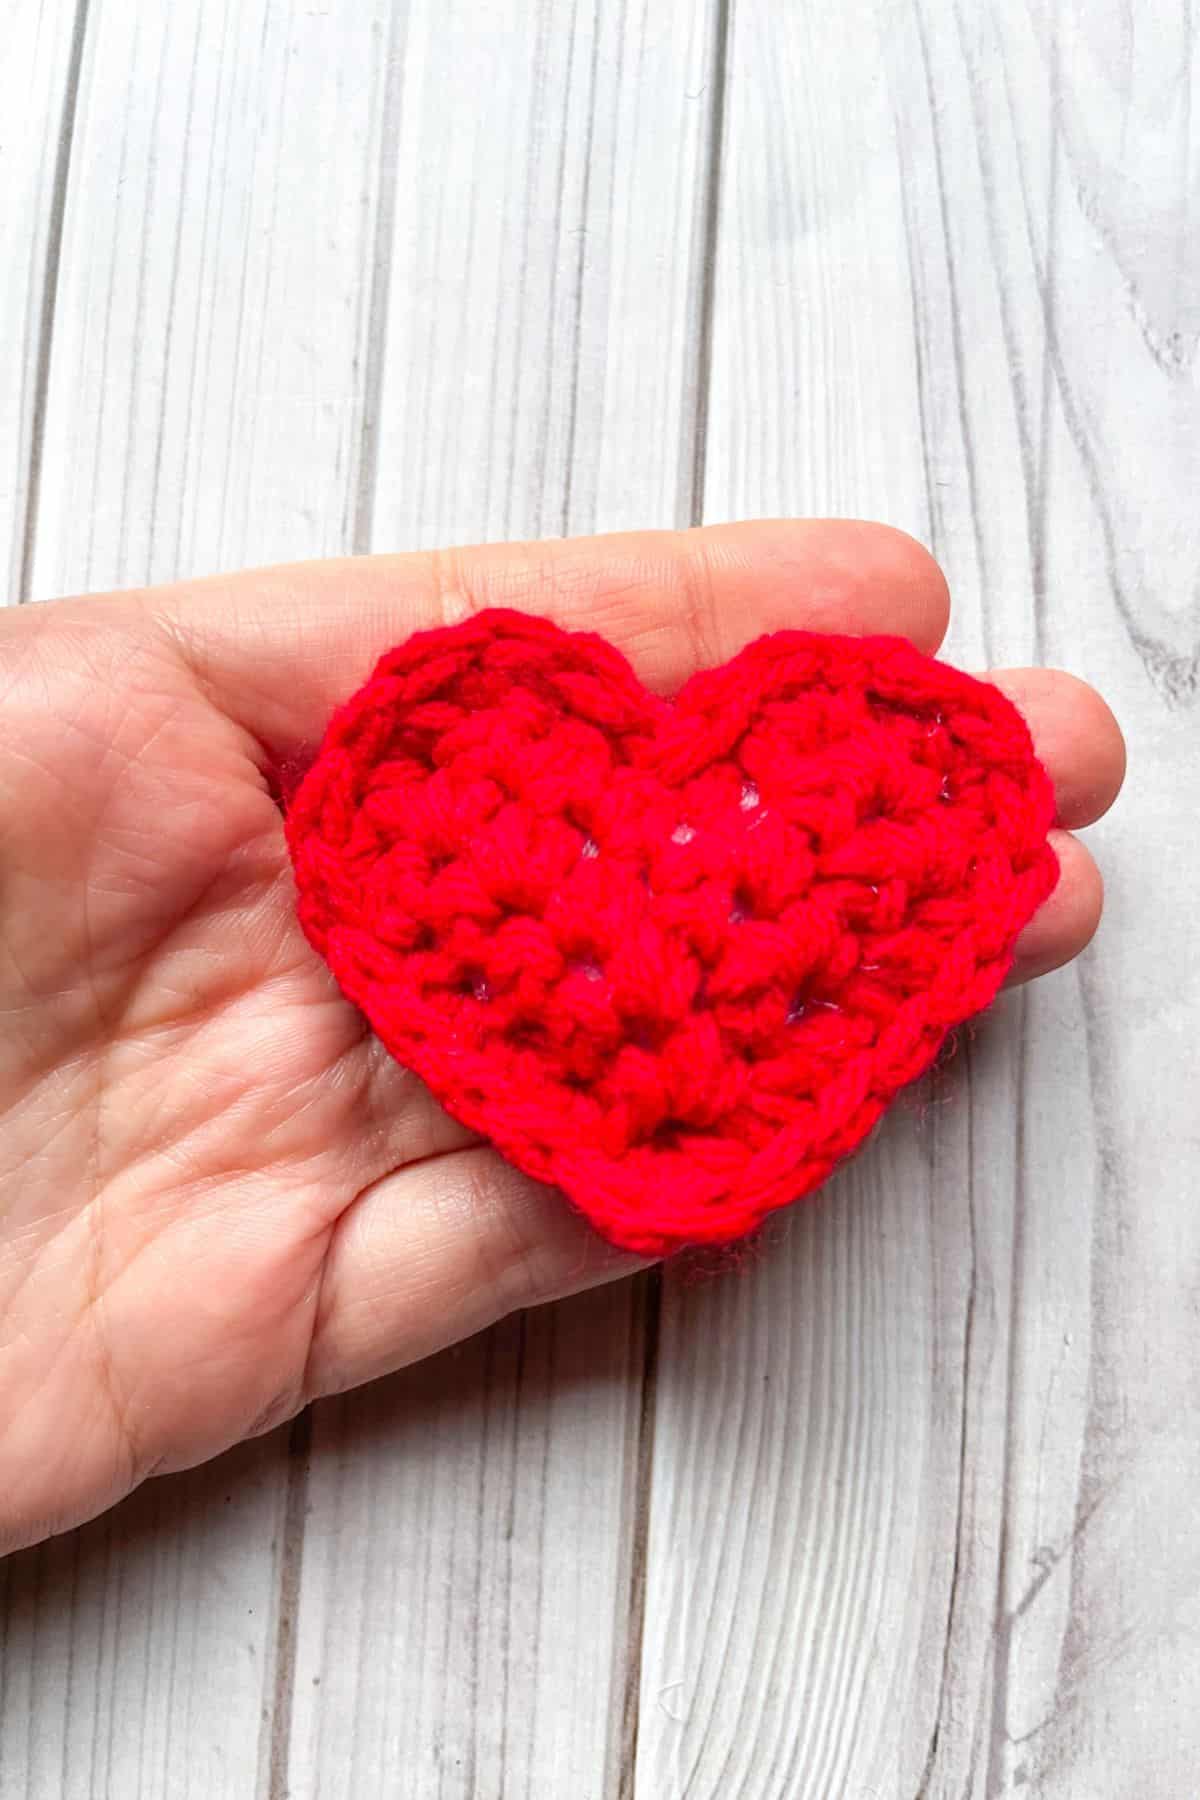
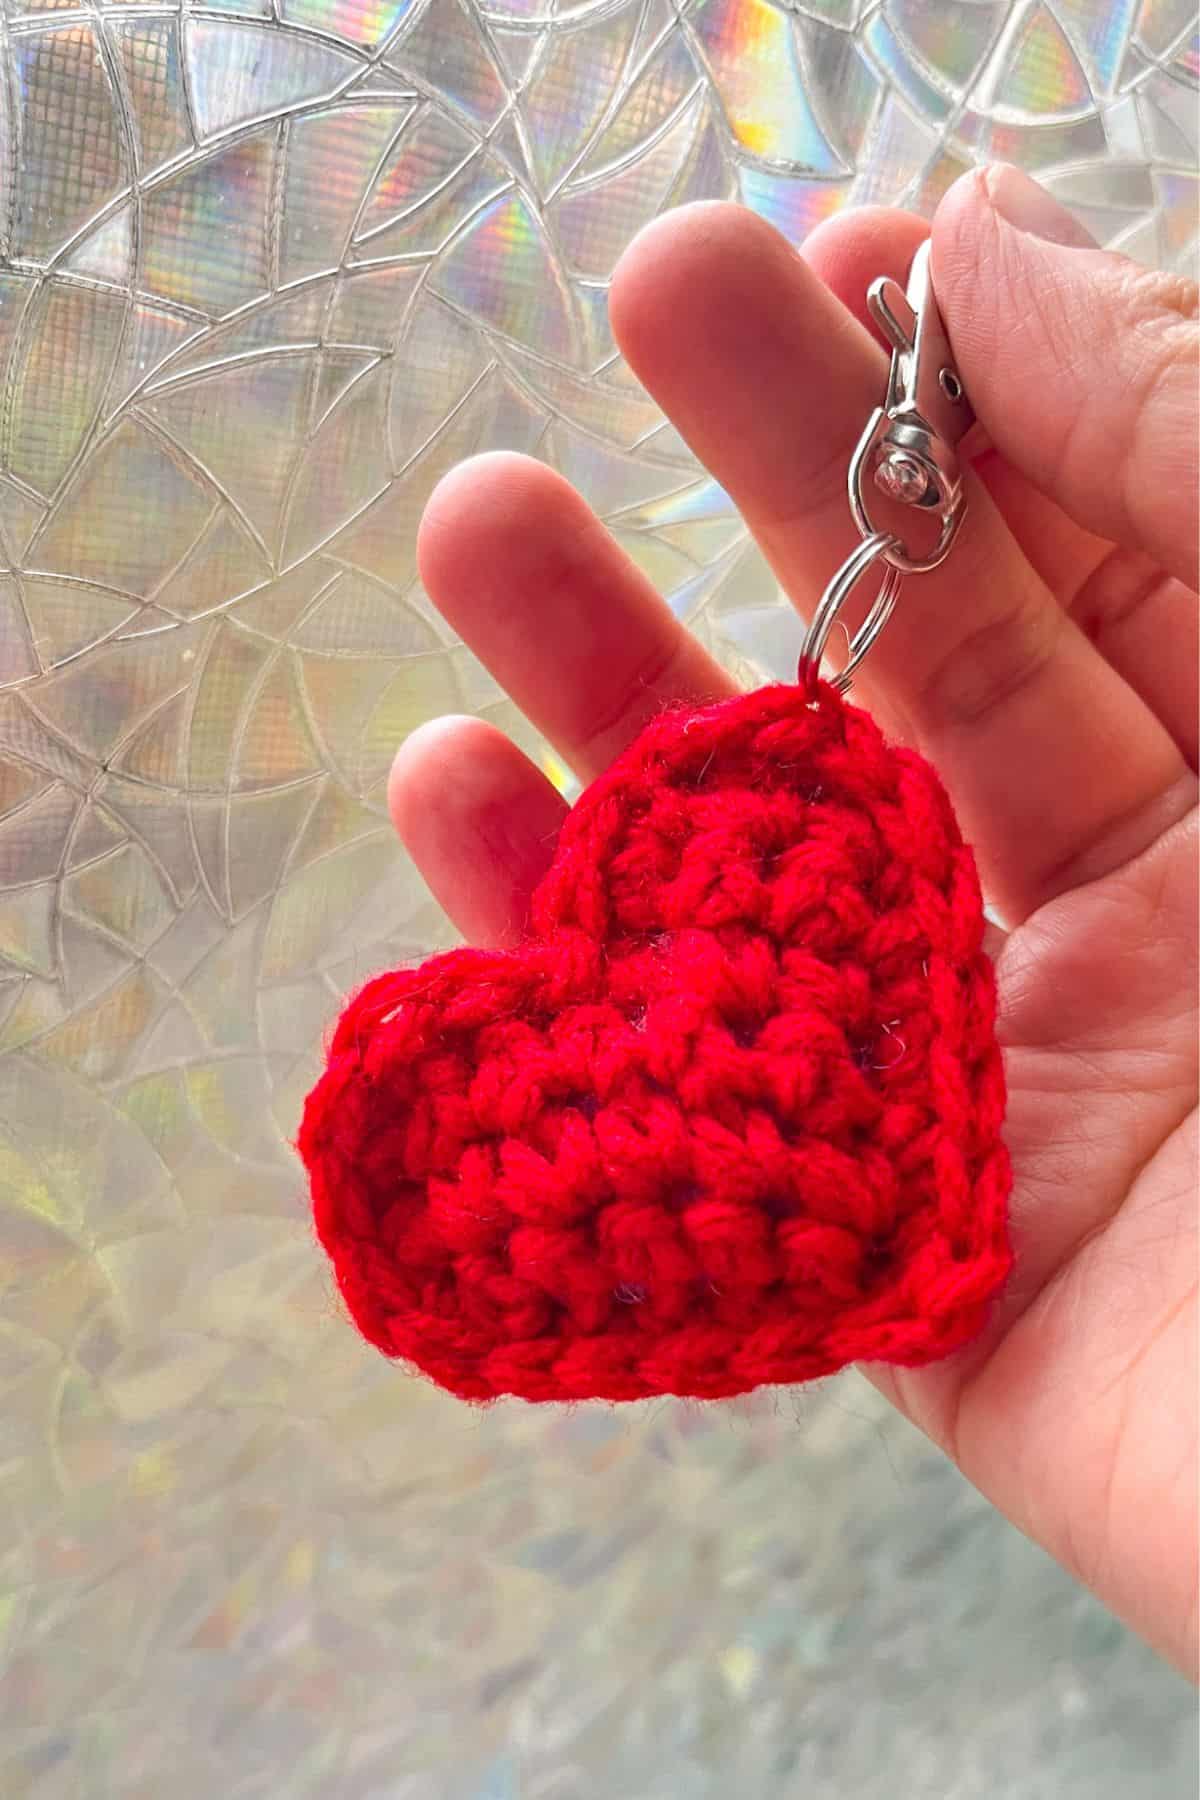
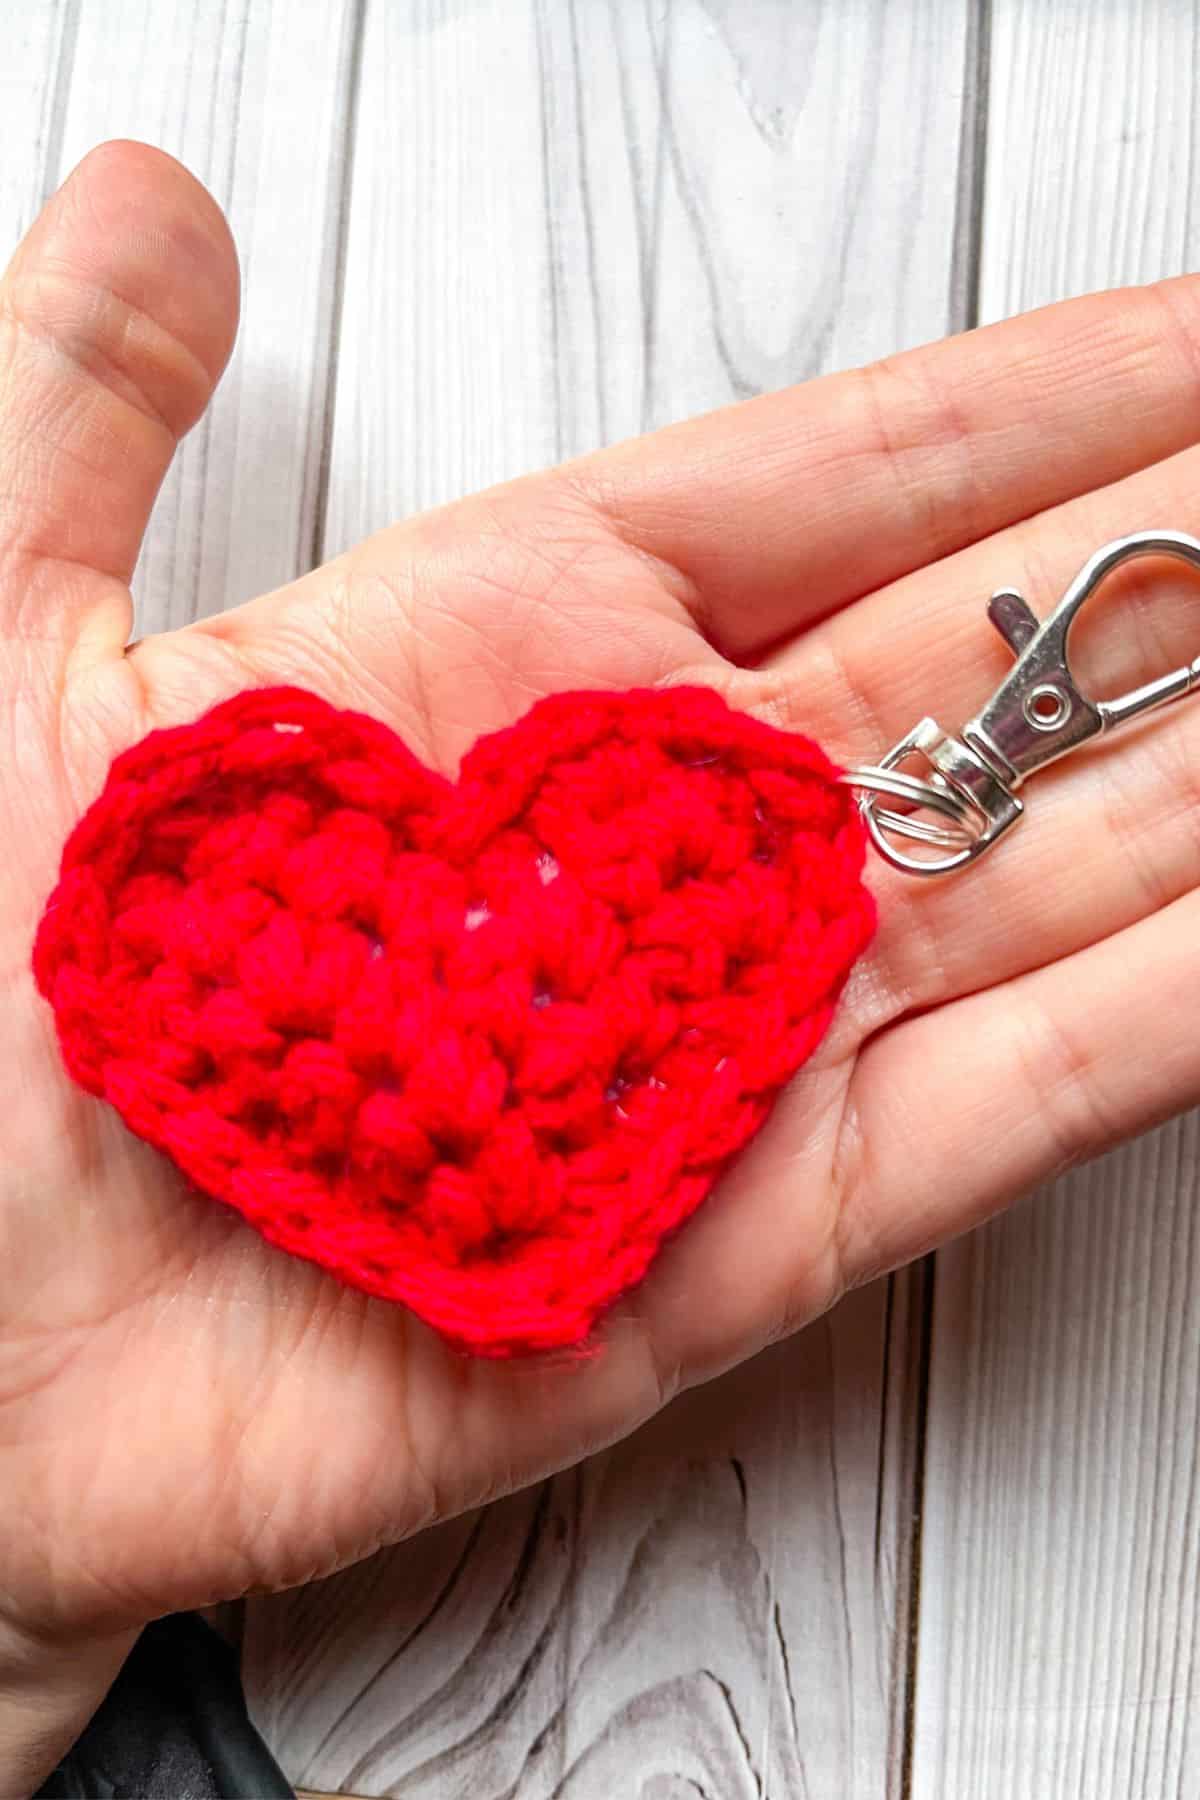
Add a bit of love and cute decoration to your backpack or bag by adding a crochet heart keychain to the zipper! My Crochet Heart Keychain Pattern is easy for beginners to understand and can be made in just a few minutes!
This crochet heart keychain pattern is straightforward and doesn’t require you to know how to make a magic ring, which can be tricky for some. It is made entirely from chains and single crochets—nothing complicated, making it especially easy for beginners.
I like making hearts in rows instead of rounds because it allows beginners to learn to make what is seen as a complicated shape. I even make my crochet heart coaster pattern in rows so that beginners can have cute little heart coasters as a starter project.
Just because I have a few heart patterns made in rows doesn't mean that I don't make hearts in the round at all. I do have my crochet heart garland pattern that uses rounds instead of rows to create hearts. Both working in rows/rounds has its advantages and disadvantages but I like mixing things up and creating a variety of different patterns for all skill levels!
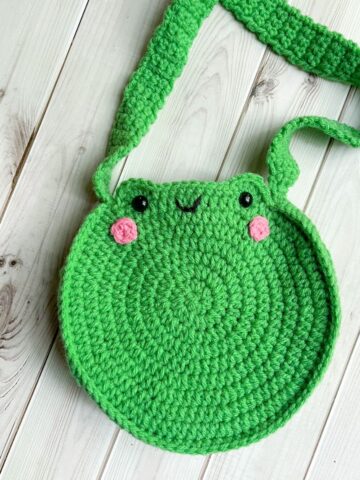
The crochet Valentine’s Day heart keychain can be given as handouts for Valentine's Day, as a random gift for a loved one, or simply as a cute decoration for a backpack or keyring. If you are looking for other crochet keychain patterns check out my crochet bear keychain pattern and crochet cat keychain pattern! both are cute and are made in the round if you were wanting to up your crochet skills!
Jump to:
✏️ Things To Note:
- Yarn Options: Although you could use new skeins to make the crochet heart keychain, scrap yarn works well since the hearts are small and require very little yarn. If you have a bunch of rainbow yarn scraps, you can also make my crochet rainbow keychain pattern.
- Yarn Weight: I used worsted weight yarn for this pattern, but any type of yarn will do! Just keep in mind that if you use size 5 yarn or larger, the size of the heart will also increase, resulting in a larger keychain.
- Size: The crochet heart keychain is no bigger than 2.5 inches.
🪡 Materials Needed
💭Abbreviations to Remember (US terms)
- Single crochet - sc
- Chain - ch
🧋Variations
Color Customization: Feel free to change colors as desired.
Hookless Option: If you want to avoid using a keychain hook, you can make the crochet chain longer and sew it into a loop, allowing you to hook the heart around a bag handle as a hookless bag charm.
🍵Instructions for Crochet Heart Keychain Pattern
This pattern is made in rows.
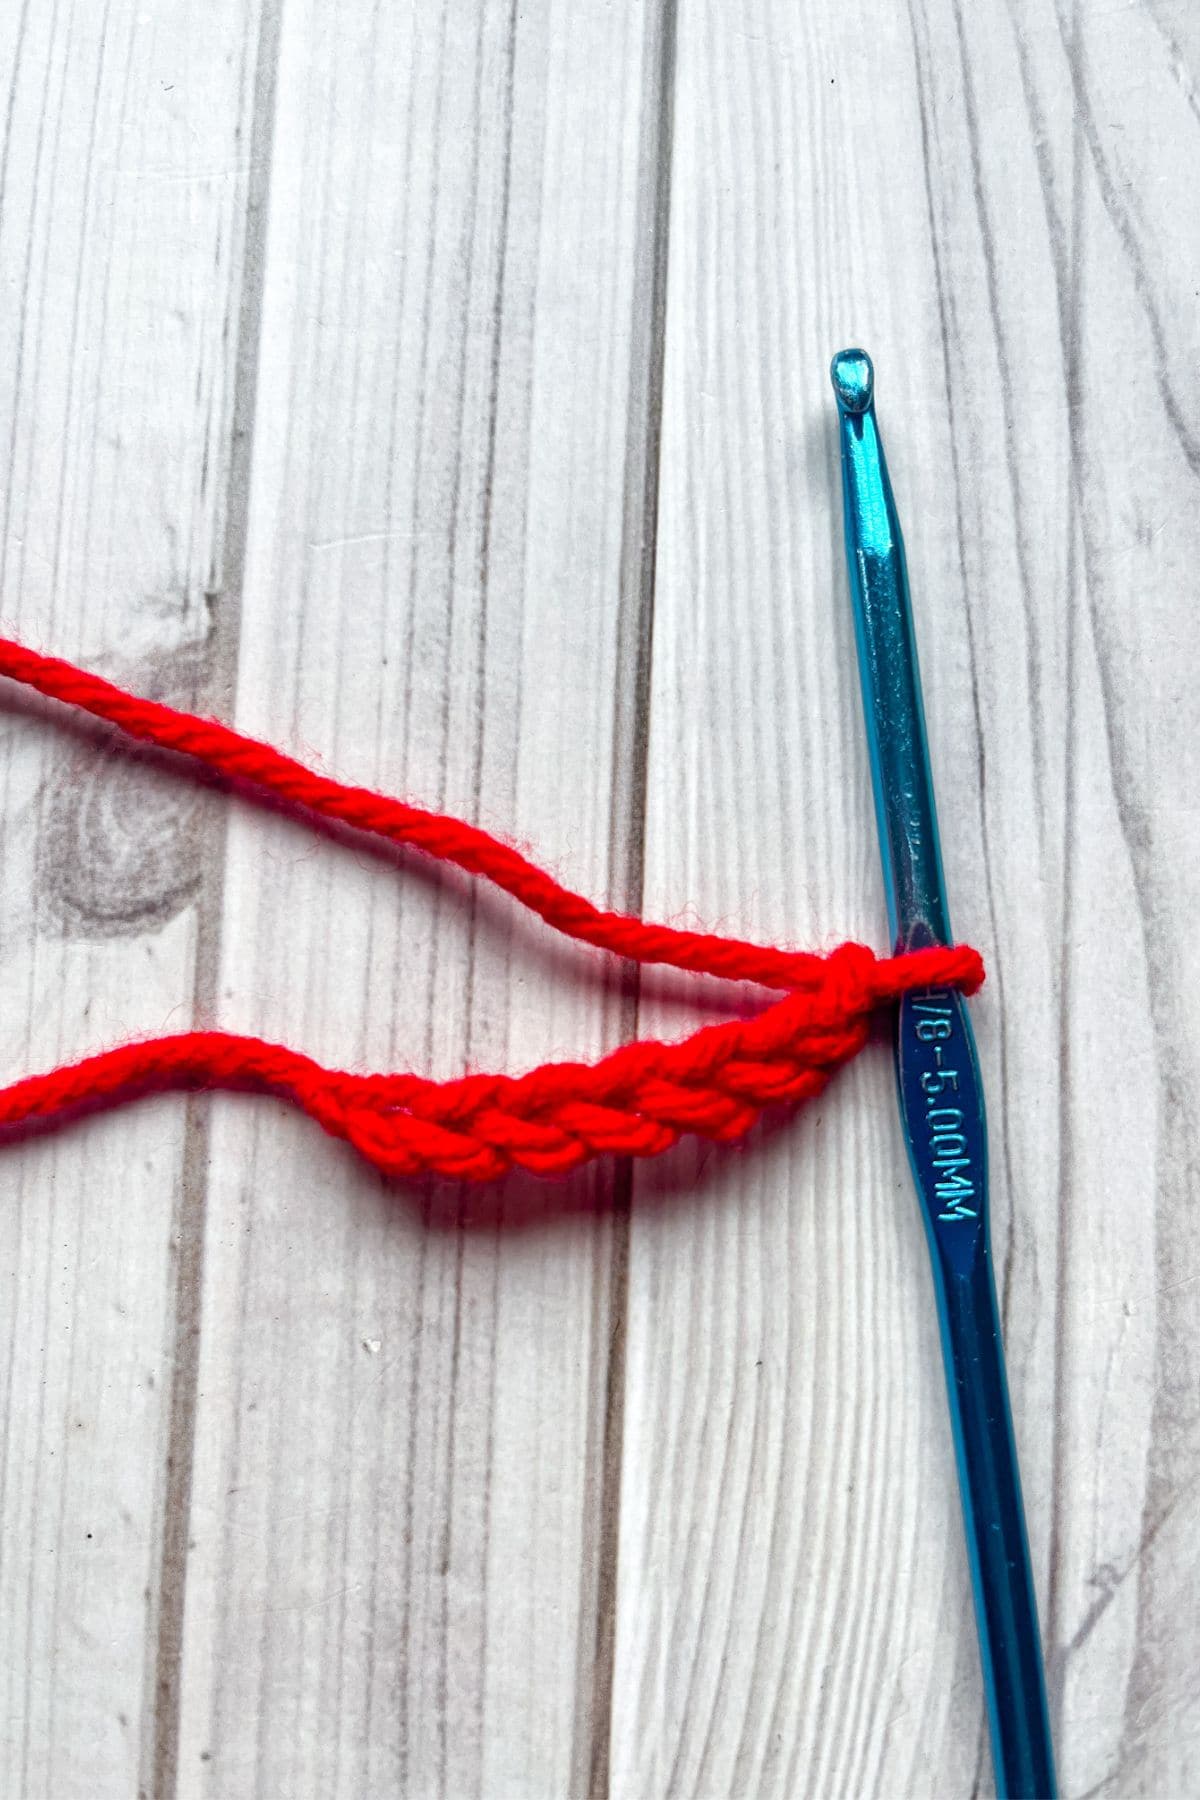
Ch x7.
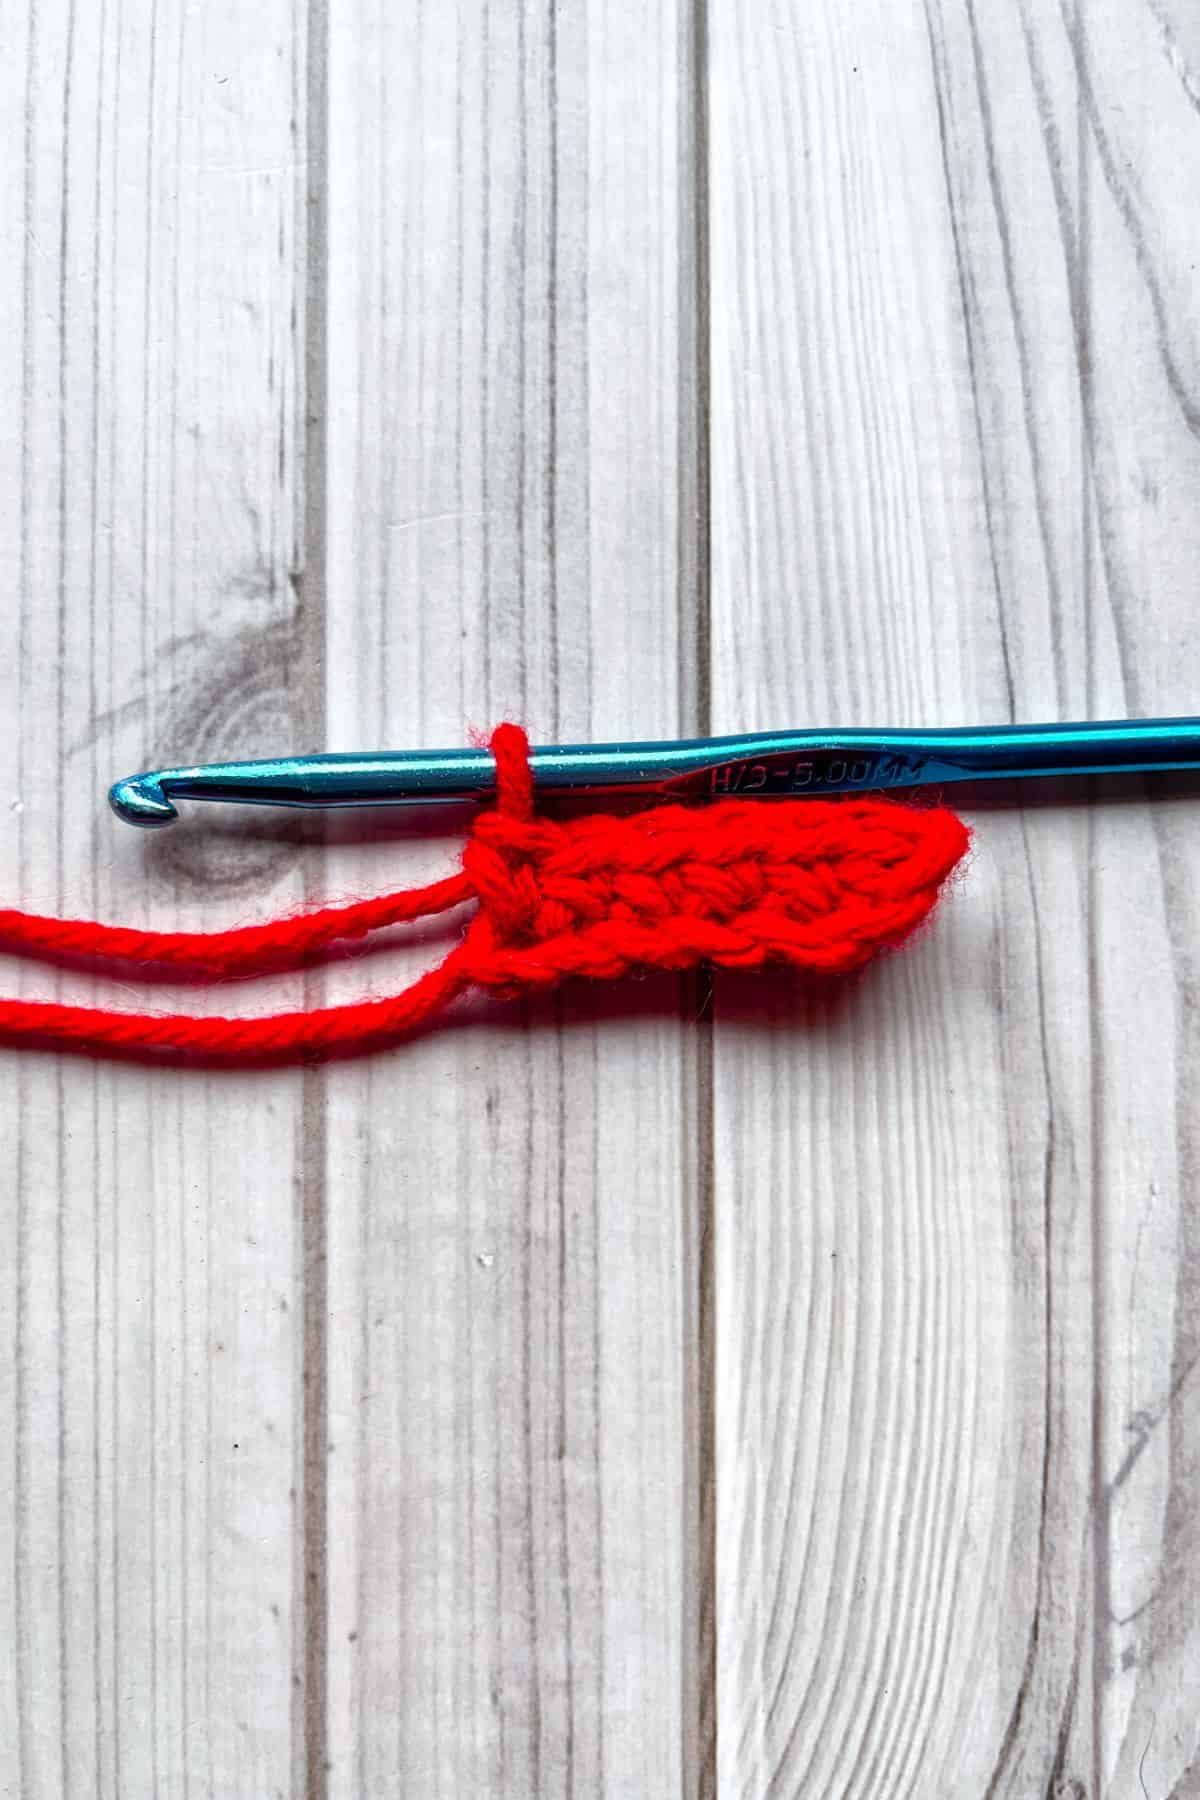
Row 1: In the second chain from the hook, make a sc. Then sc for the rest of the row. (6)
Ch x1 and turn. Do not work in the turning chain, its just there to help you turn to the next row.
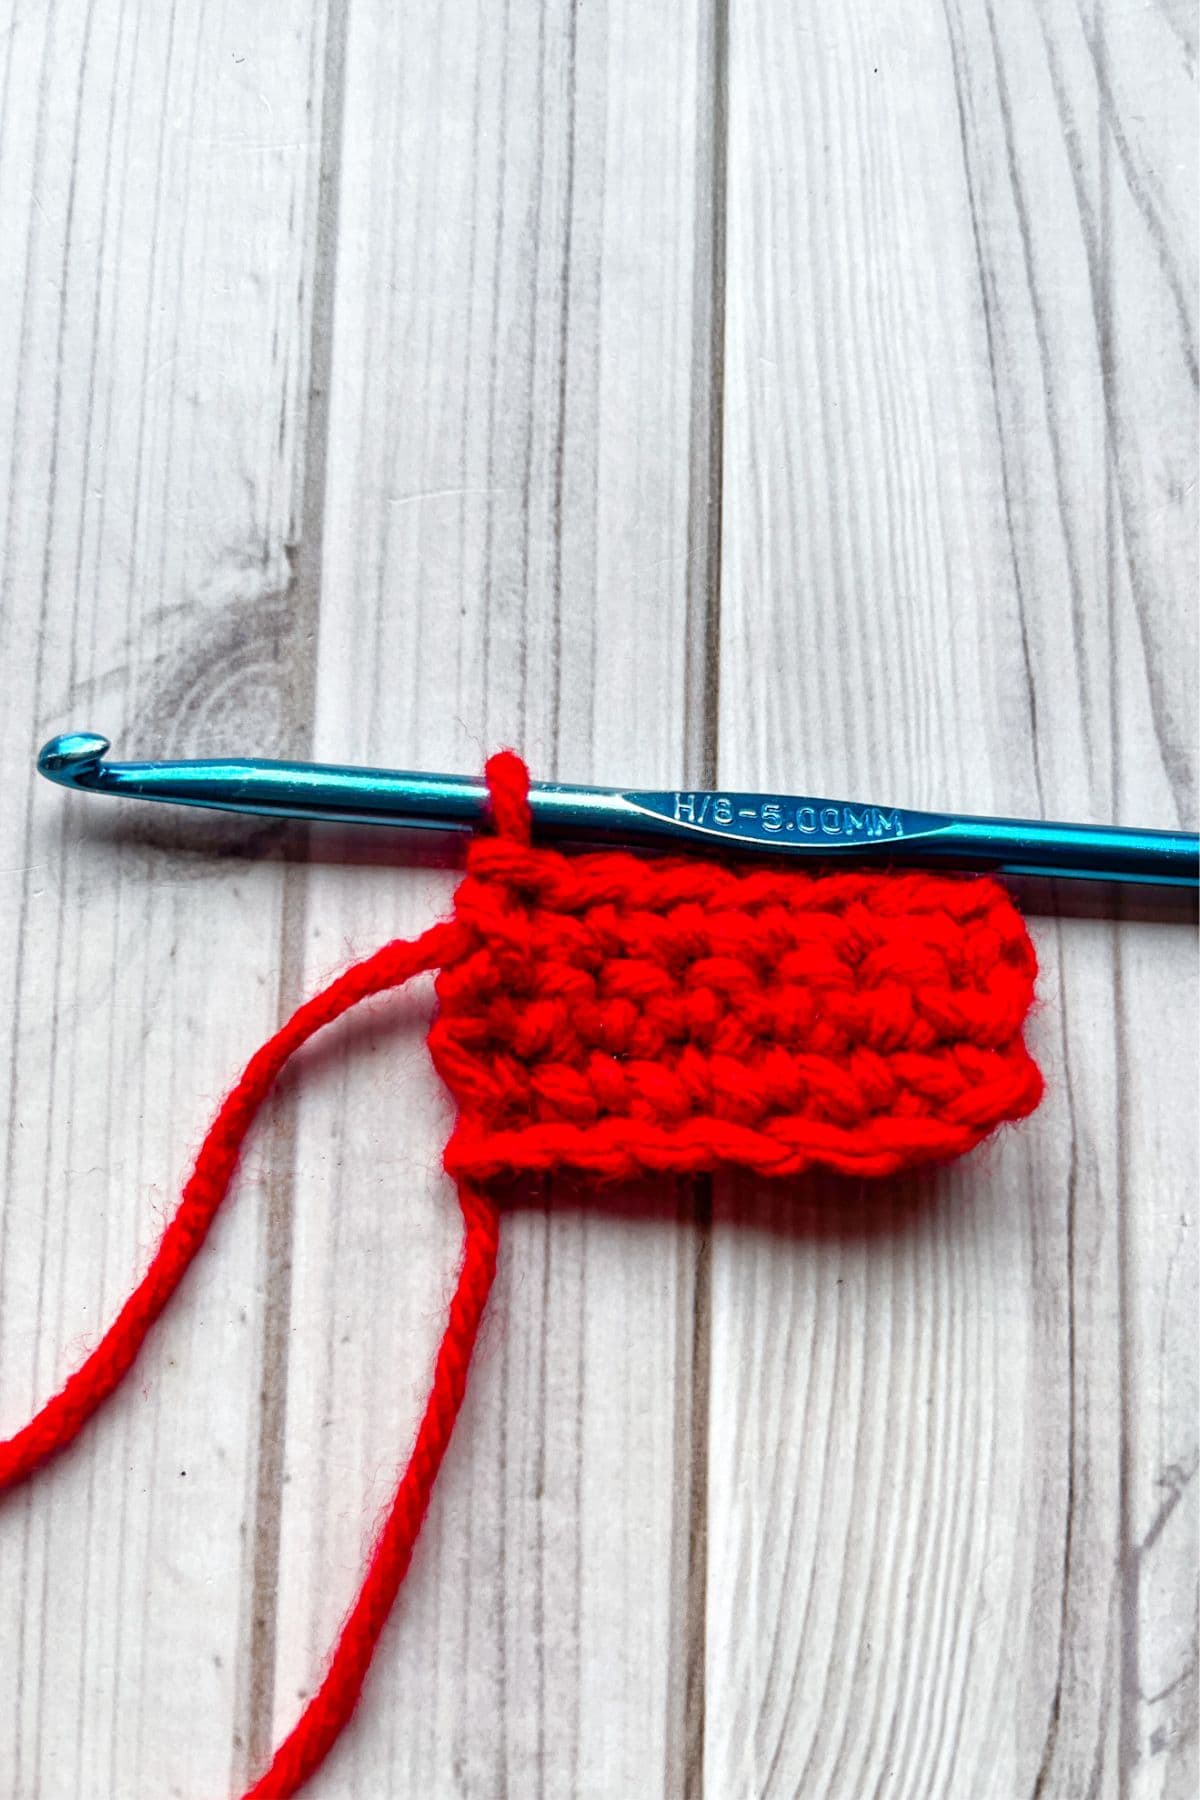
Row 2-3: Sc in every stitch from the previous row. (6) Then ch x1 and turn.
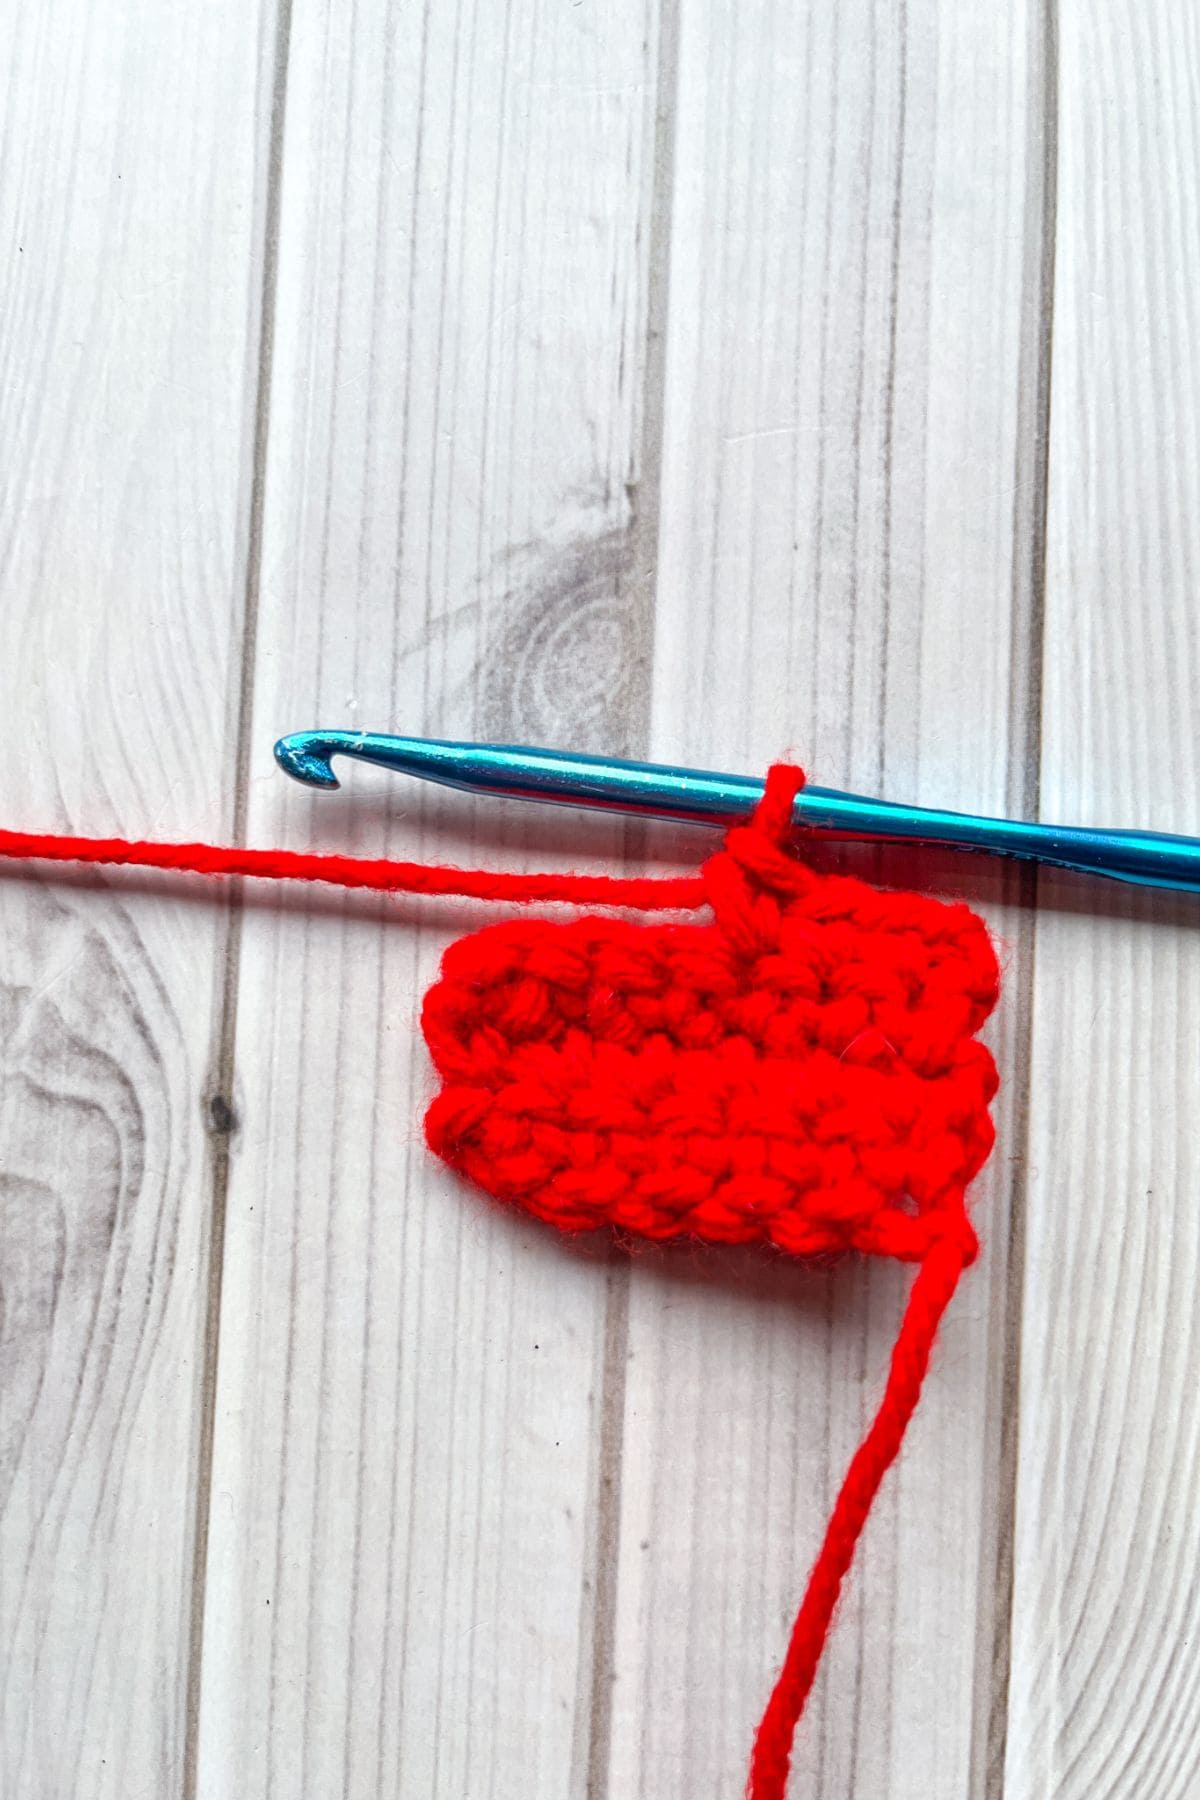
Row 4: Sc x3, then ch x1 and turn (3).
This row is where we start making the second side of the heart, you do not want to go completely across, only half across.
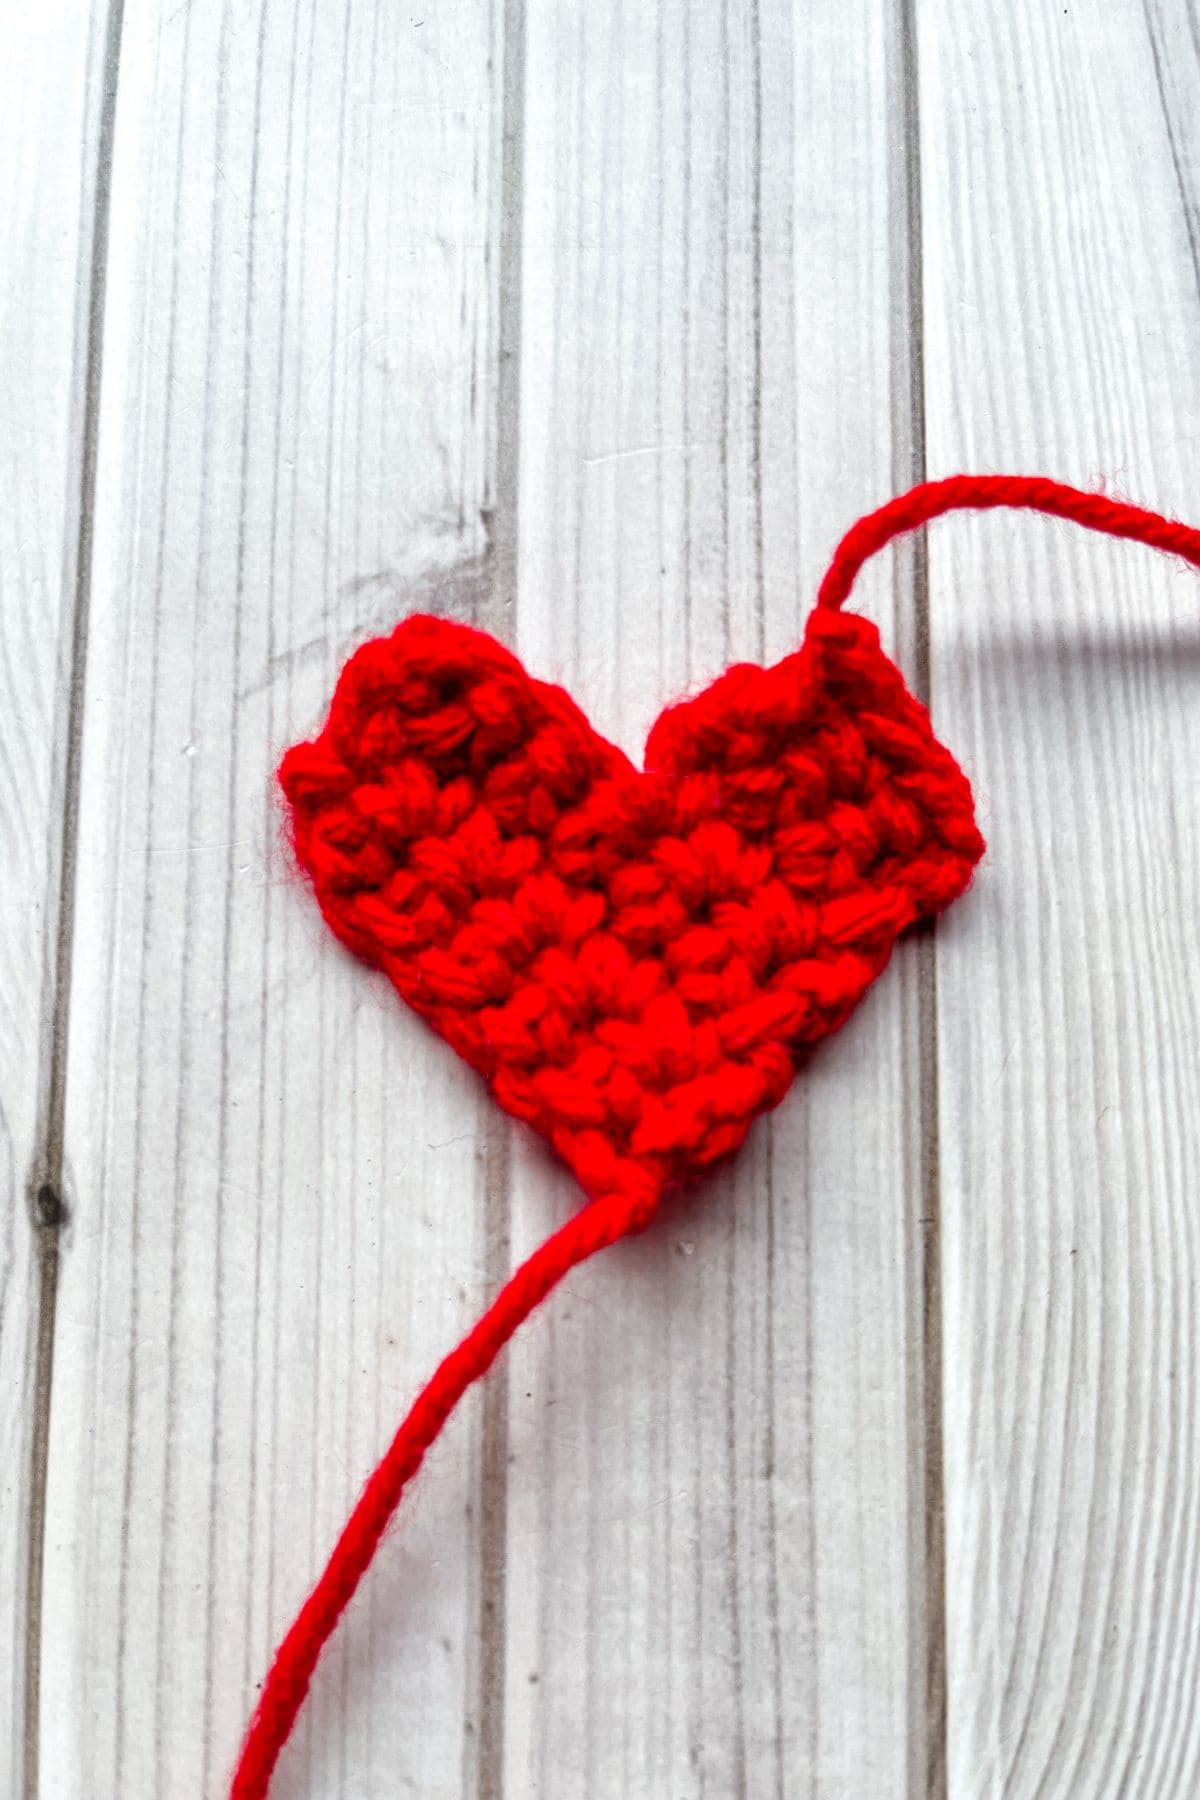
Row 5-6: Repeat row 4 (3). Fasten off and weave in the end.
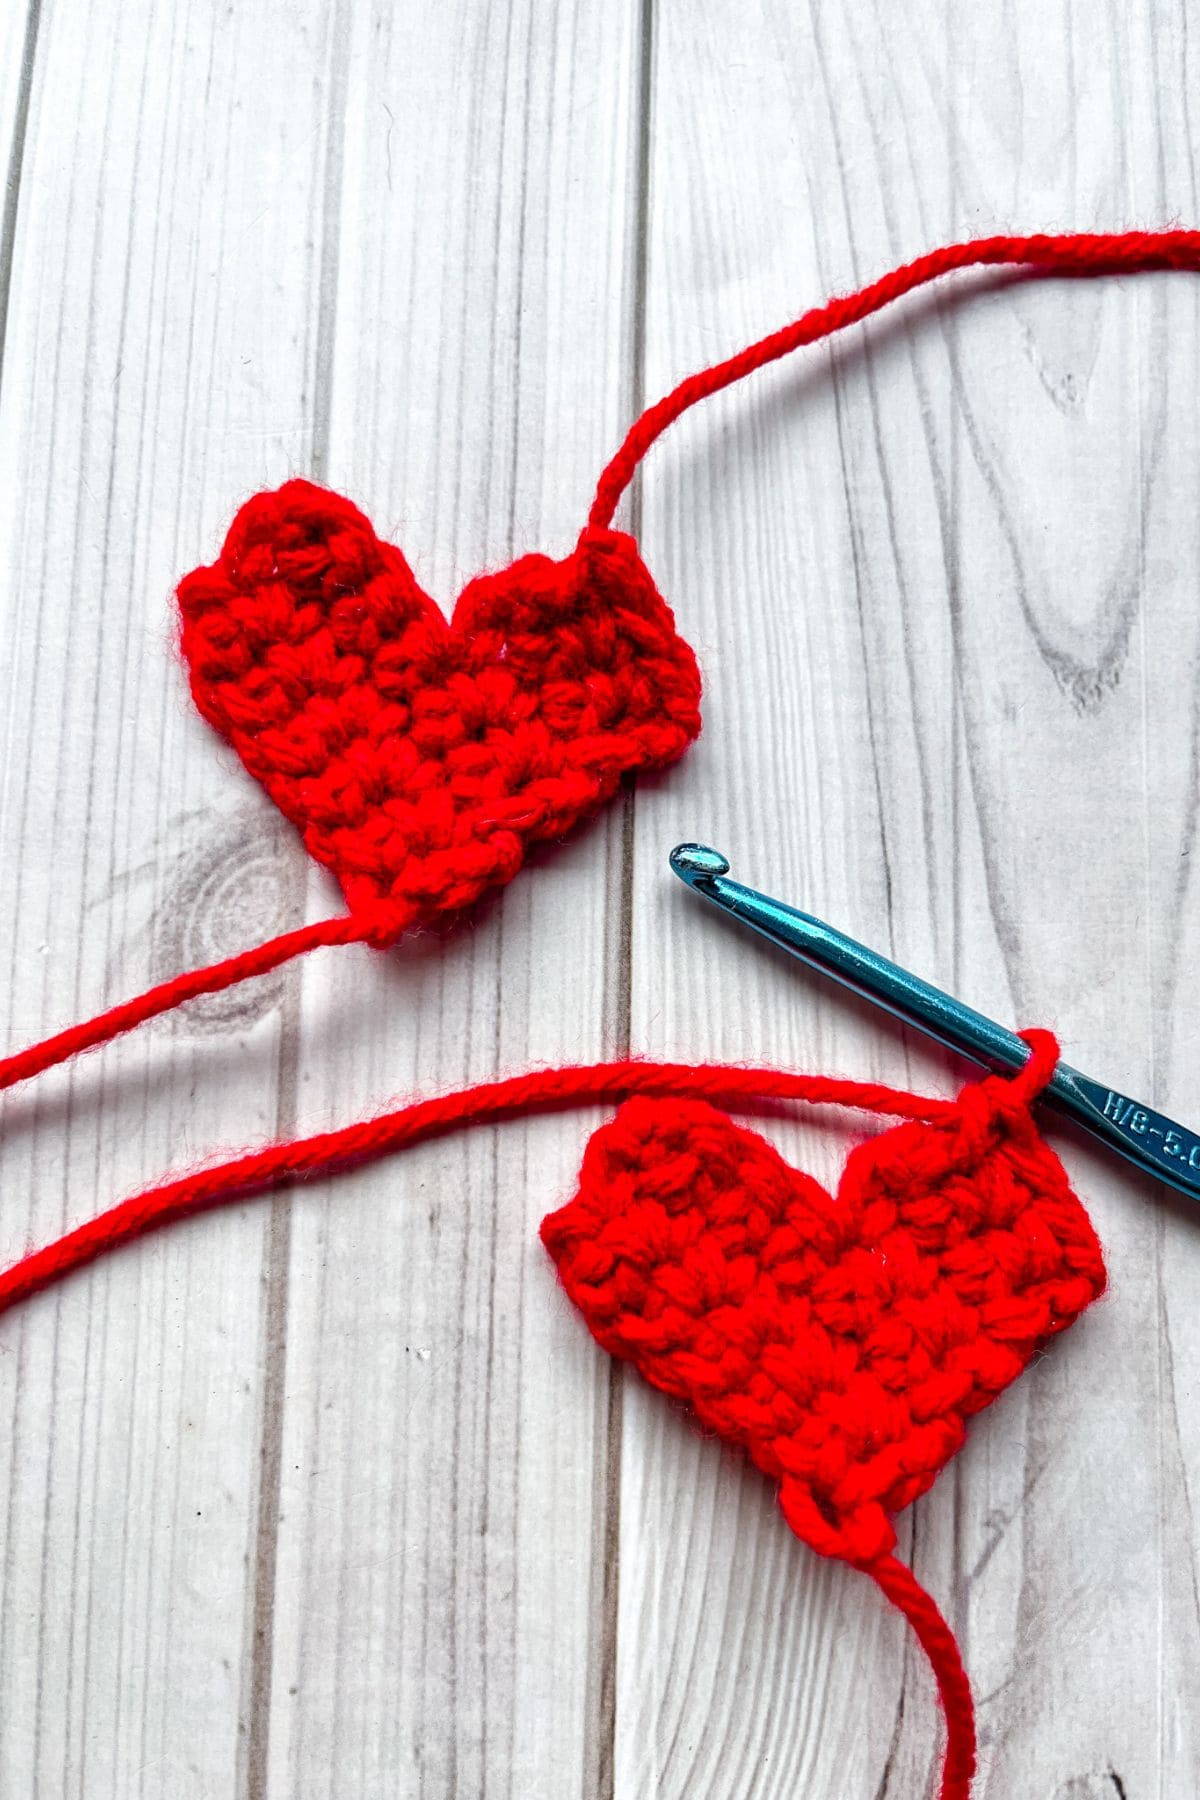
Make another heart, but do not fasten off the yarn on the second heart.
Finishing:
Crochet the edges together, you want to take the yarn you didn’t fasten off and start where you left off by creating single crochet stitches along the outside of the hearts. Make sure to grab both sides of the heart when you are creating your stitches so you won't have any holes.
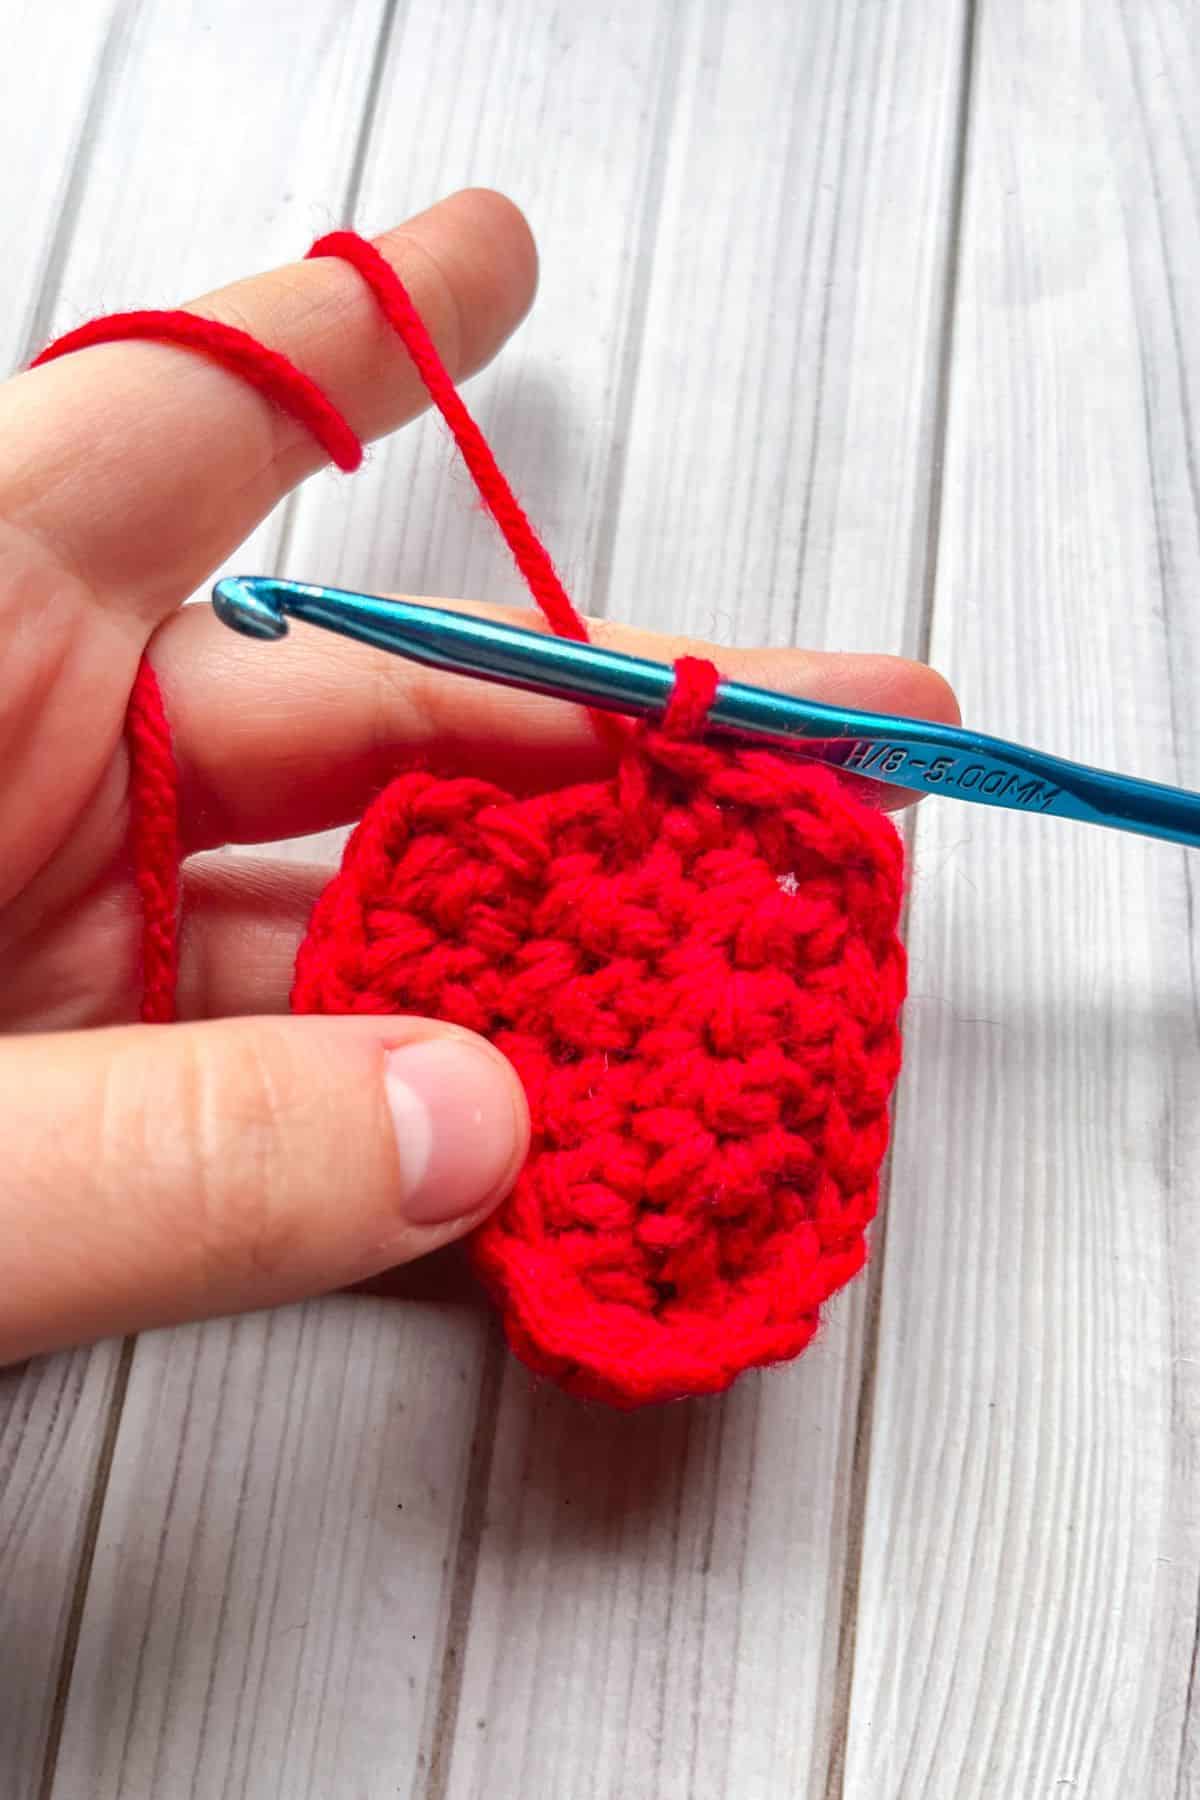
When you get to the top indent of the heart you want to make a sl st.
When you get to the bottom portion of the heart where the tip is you want to make a sc, ch, then sc in one stitch space.
Before crocheting the heart closed, stuff very lightly.
Sl st to the beginning, then fasten off and weave in the ends!
Add a keyring to one side of the heart by inserting it through a stitch.
And now you know how to crochet a heart keychain!
If you have leftover red yarn you can make the crochet strawberry keychain pattern. If you want more crochet projects where you sew 2 flat sides together to create a stuffed little animal, check out my crochet crab pattern!
🐌Expert Tips
- Read the Instructions: It’s best to read all the directions for crocheting the outside of the heart before starting and refer back to them while working on the crochet heart keychain.
- Stuffing Techniques: When stuffing the heart, use small amounts of polyfill at a time to achieve the desired shape without overstuffing.
- Adjusting Shape: If your heart doesn't look quite right, don't hesitate to make small adjustments as you go along by tugging the yarn or adding stitches where needed.
🧵Pattern FAQs
Of course! It will just be an extra large heart keychain then.
Absolutely! It also uses very little materials, so if you do make a mistake you don't waste too much as far as yarn goes.
I have linked the ones I used in the materials section of this post, but you can use any keyrings you prefer!
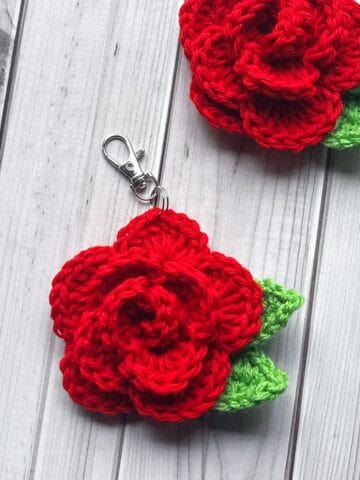
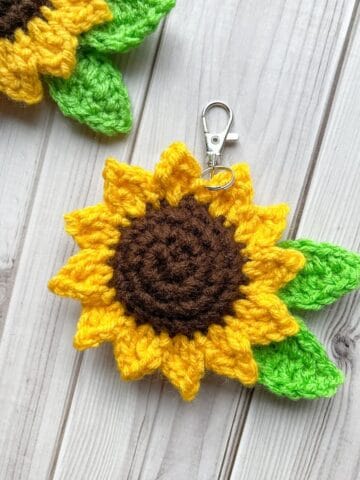
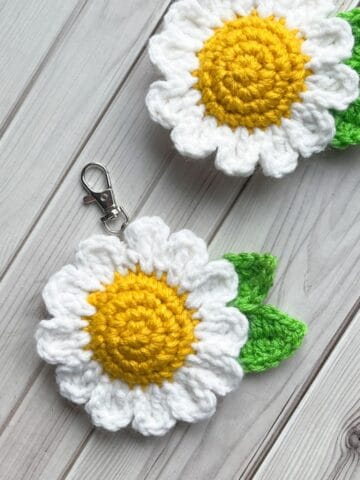
🧶More Crochet Accessory Patterns


If you tried this Crochet Heart Keychain Pattern (or any other pattern on my website), please let me know how it went in the 📝 comments below. I'd love to hear from you!

Crochet Heart Keychain Pattern
Abbreviations (US terms)
- Single crochet - sc
- Chain - ch
- Slip stitch - sl st
Notes
- Yarn Options: Although you could use new skeins to make the crochet heart keychain pattern, scrap yarn works well since the hearts are small and require very little yarn.
- Yarn Weight: I used worsted weight yarn for this pattern, but any type of yarn will do! Just keep in mind that if you use size 5 yarn or larger, the size of the heart will also increase, resulting in a larger keychain.
- Size: The crochet heart keychain is no bigger than 2.5 inches.
Instructions
This pattern is made in rows.
- Ch x7.
- Row 1: In the second chain from the hook, make a sc. Then sc for the rest of the row. (6)
- Ch x1 and turn. Do not work in the turning chain, its just there to help you turn to the next row.
- Row 2-3: Sc in every stitch from the previous row. (6) Then ch x1 and turn.
- Row 4: Sc x3, then ch x1 and turn (3).
- This row is where we start making the second side of the heart, you do not want to go completely across, only half across.
- Row 5-6: Repeat row 4 (3). Fasten off and weave in the end.
- Make another heart, but do not fasten off the yarn on the second heart.
Finishing:
- Crochet the edges together, you want to take the yarn you didn’t fasten off and start where you left off by creating single crochet stitches along the outside of the hearts. Make sure to grab both sides of the heart when you are creating your stitches so you won't have any holes.
- When you get to the top indent of the heart you want to make a sl st.
- When you get to the bottom portion of the heart where the tip is you want to make a sc, ch, then sc in one stitch space.
- Before crocheting the heart closed, stuff very lightly.
- Sl st to the beginning, then fasten off and weave in the ends!
- Add a keyring to one side of the heart by inserting it through a stitch.
- And now you know how to crochet a heart keychain!


Leave a Reply