
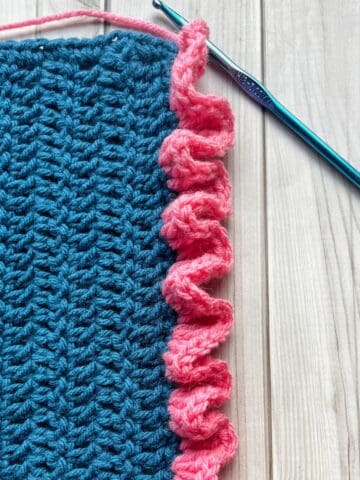
A single crochet border pattern is a simple yet effective way to give your crochet projects a polished, clean finish. If you're already familiar with single crochet stitches, this border will be a breeze to master.
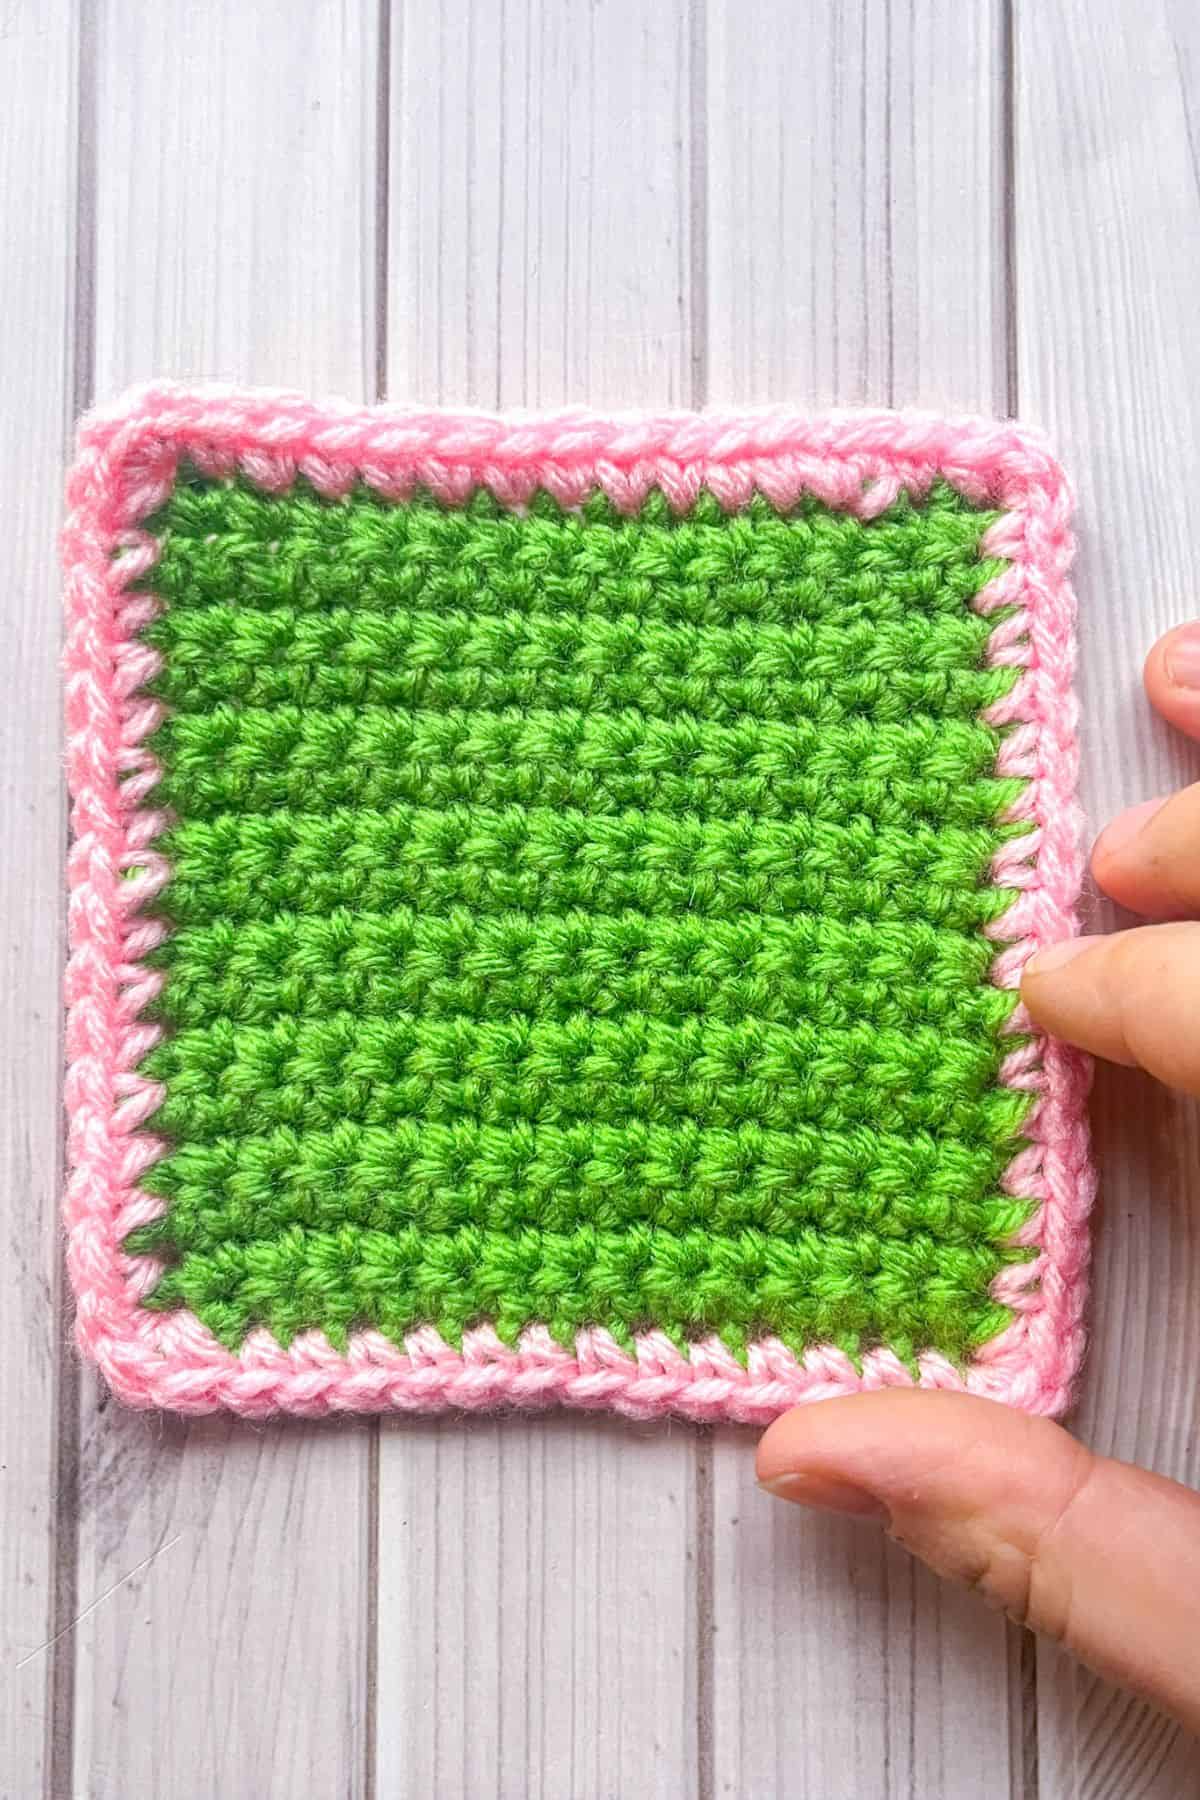
Crochet borders not only add a decorative touch but can also hide imperfections, tuck in yarn tails, and help make edges appear straighter. They are a simple way to enhance the look of your finished piece, giving it a polished and refined finish.
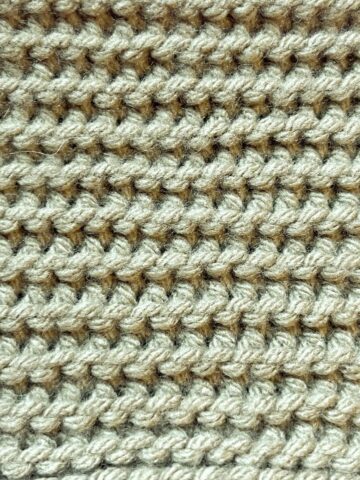
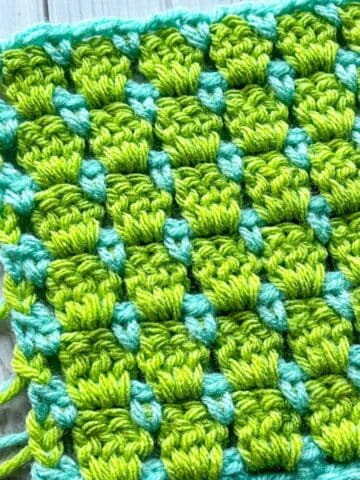
There are many types of crochet edges to choose from. Simple borders like the single crochet border pattern are great for a clean, classic look. If you’re looking for something more intricate, you might try designs like the candy cane crochet border or crochet envelope border. If texture is more your thing the crochet wave border pattern and the crochet pom pom border pattern would be fun additions to any project.
The function of the border will depend on your project's needs—whether it’s to keep things simple, add a decorative flair, or cleverly conceal yarn tails. The possibilities for crochet borders are endless!
All you need to know to make this border is how to work a single crochet stitch and where to place the stitches on your project.
Jump to:
✏️ Things To Note:
- This is a Stitch Tutorial: The sc border pattern serves as a stitch tutorial using a crochet swatch to use as an example. You can apply this border to any flat project.
- Versatile with Any Yarn Weight: This border can be made with any yarn weight, including specialty yarns like fuzzy yarns. Choose the same weight as your main project for a seamless look.
- Customizable Border Size: Although this tutorial shows a single row, you can add more rows for a wider border, or try variations like front loop or back loop rows to introduce texture.
🪡 Materials Needed
- Scrap yarn or yarn of choice (use the same weight yarn as the project you are working on for best results)
- Tapestry needle
- 5mm hook, or the same size hook you were using for your project.
💭Abbreviations to Remember (US terms)
- Chain - ch
- Single Crochet - sc
- Slip Stitch - sl st
🧋Variations
Add Rows for Width: Expand the border by adding more rows of single crochet to increase its width.
Front Loop or Back Loop Rows: To create texture, try working in the front or back loop only for a different look.
🍵Instructions for a Single Crochet Border Pattern
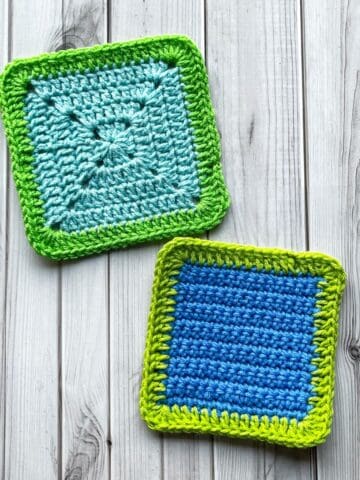
The sc border pattern is made in the round to go around a square crochet stitch swatch.
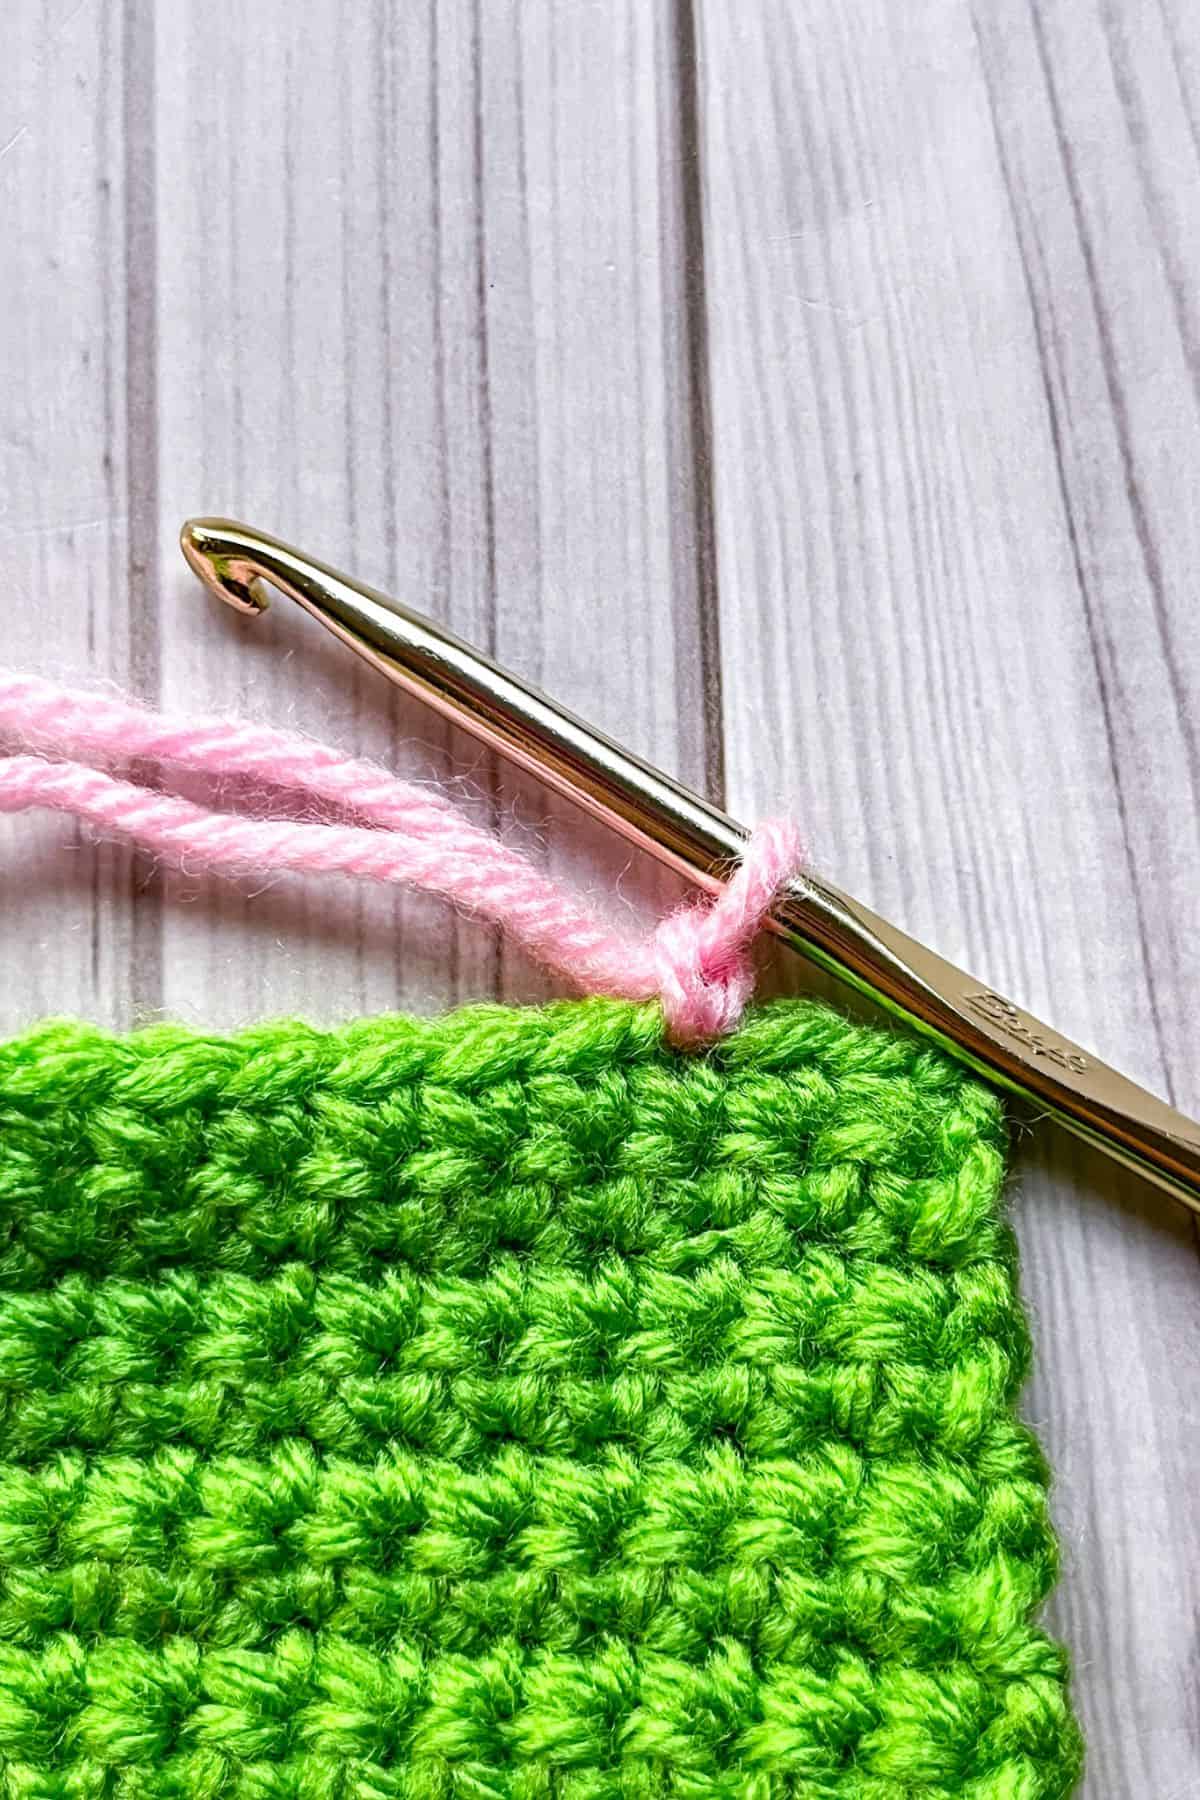
Step 1: If you’re using a different color yarn than the main body, reattach your yarn to the last stitch (or anywhere on the border).
Overall the placement of the yarn doesn’t matter too much since it is a single stitch border.
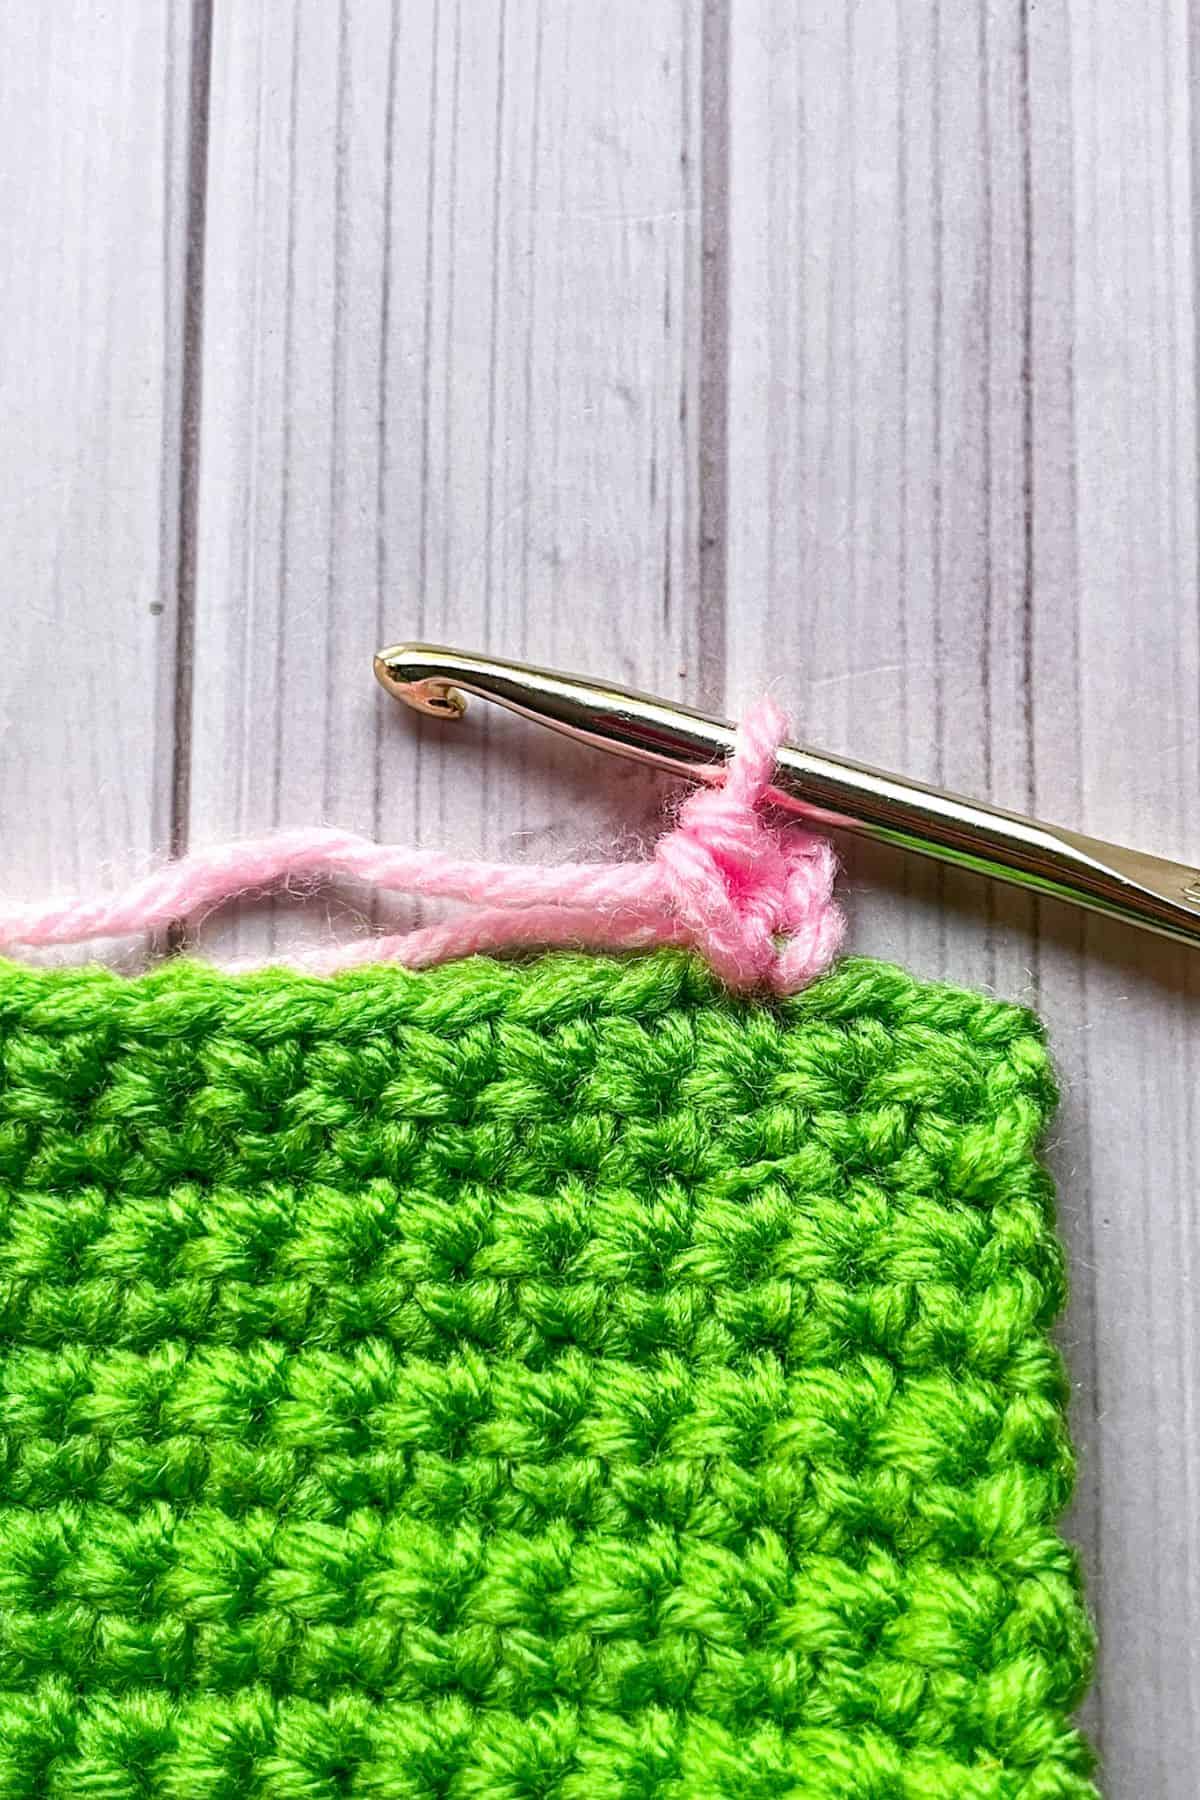
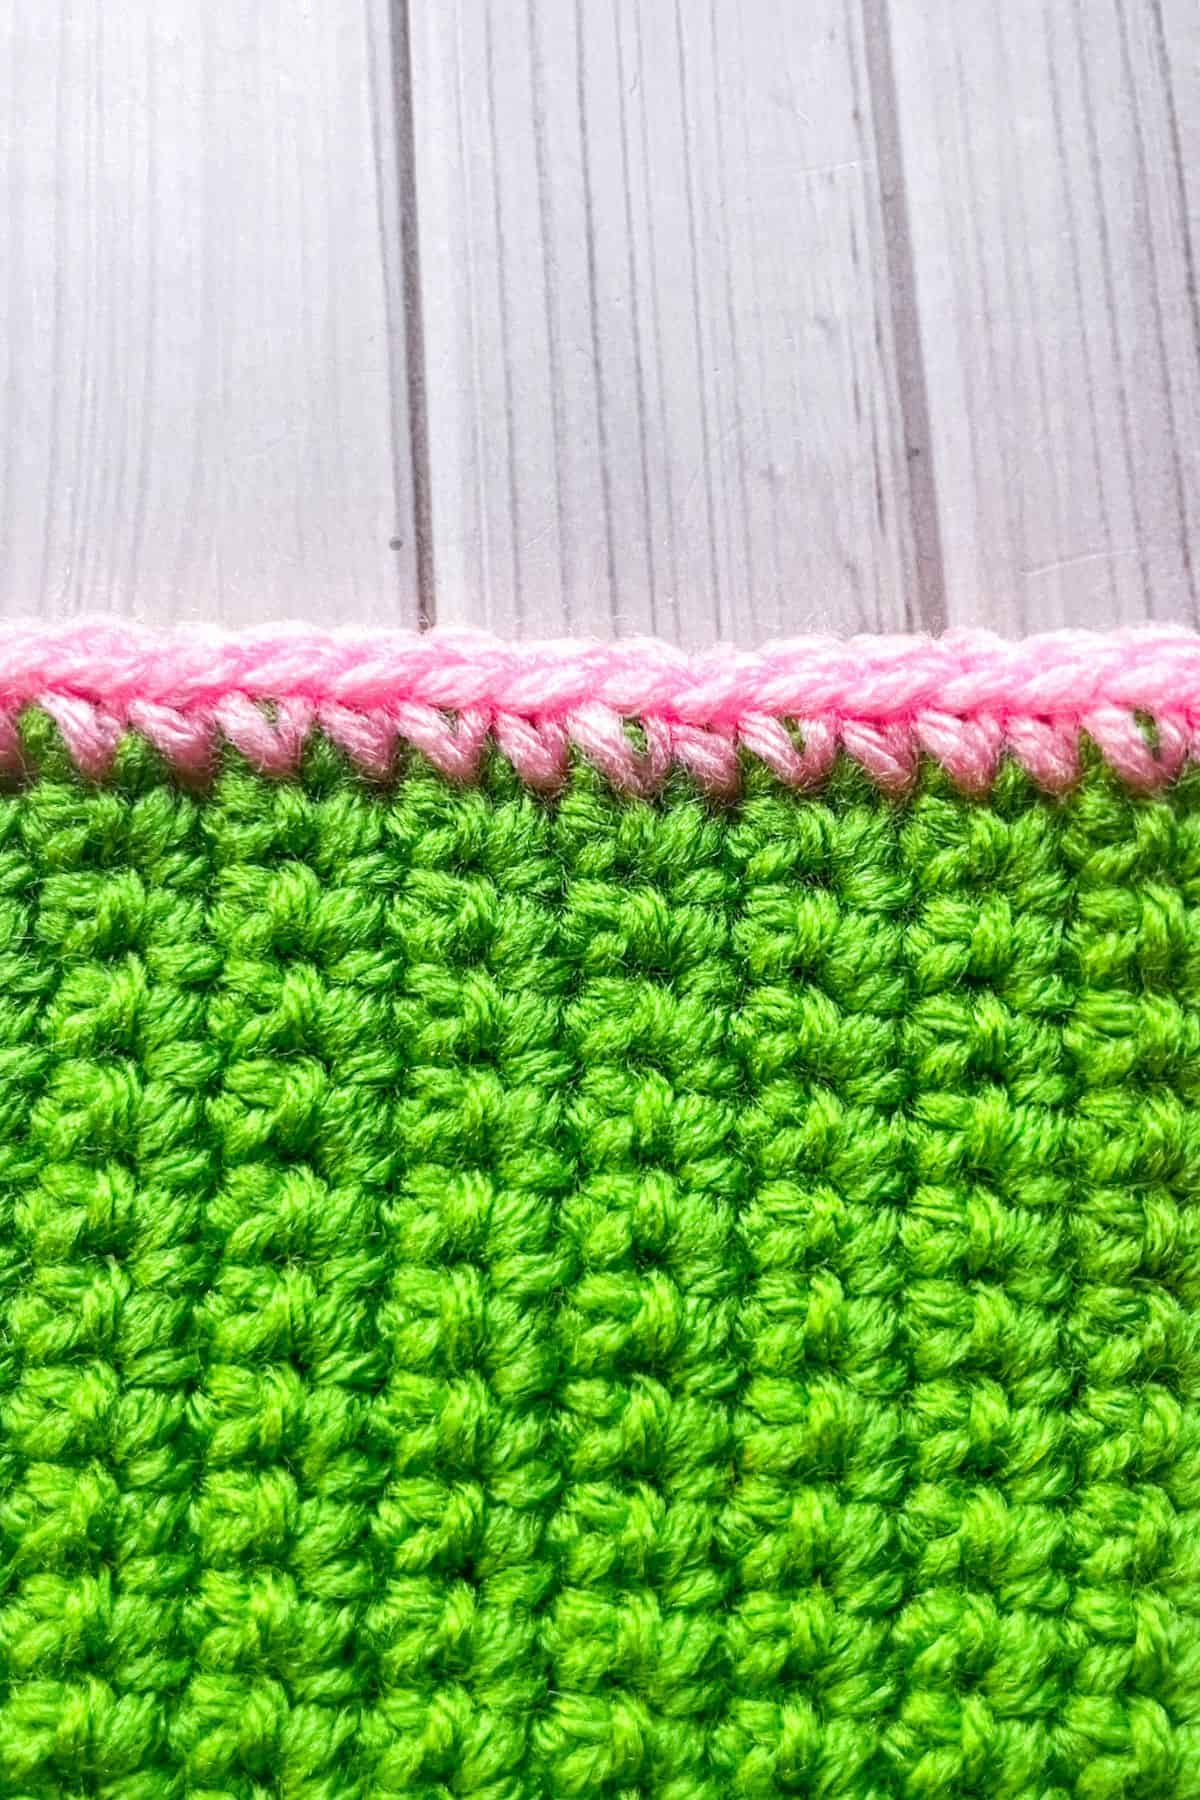
Then ch x1, and make a sc in the same stitch you attached your yarn to.
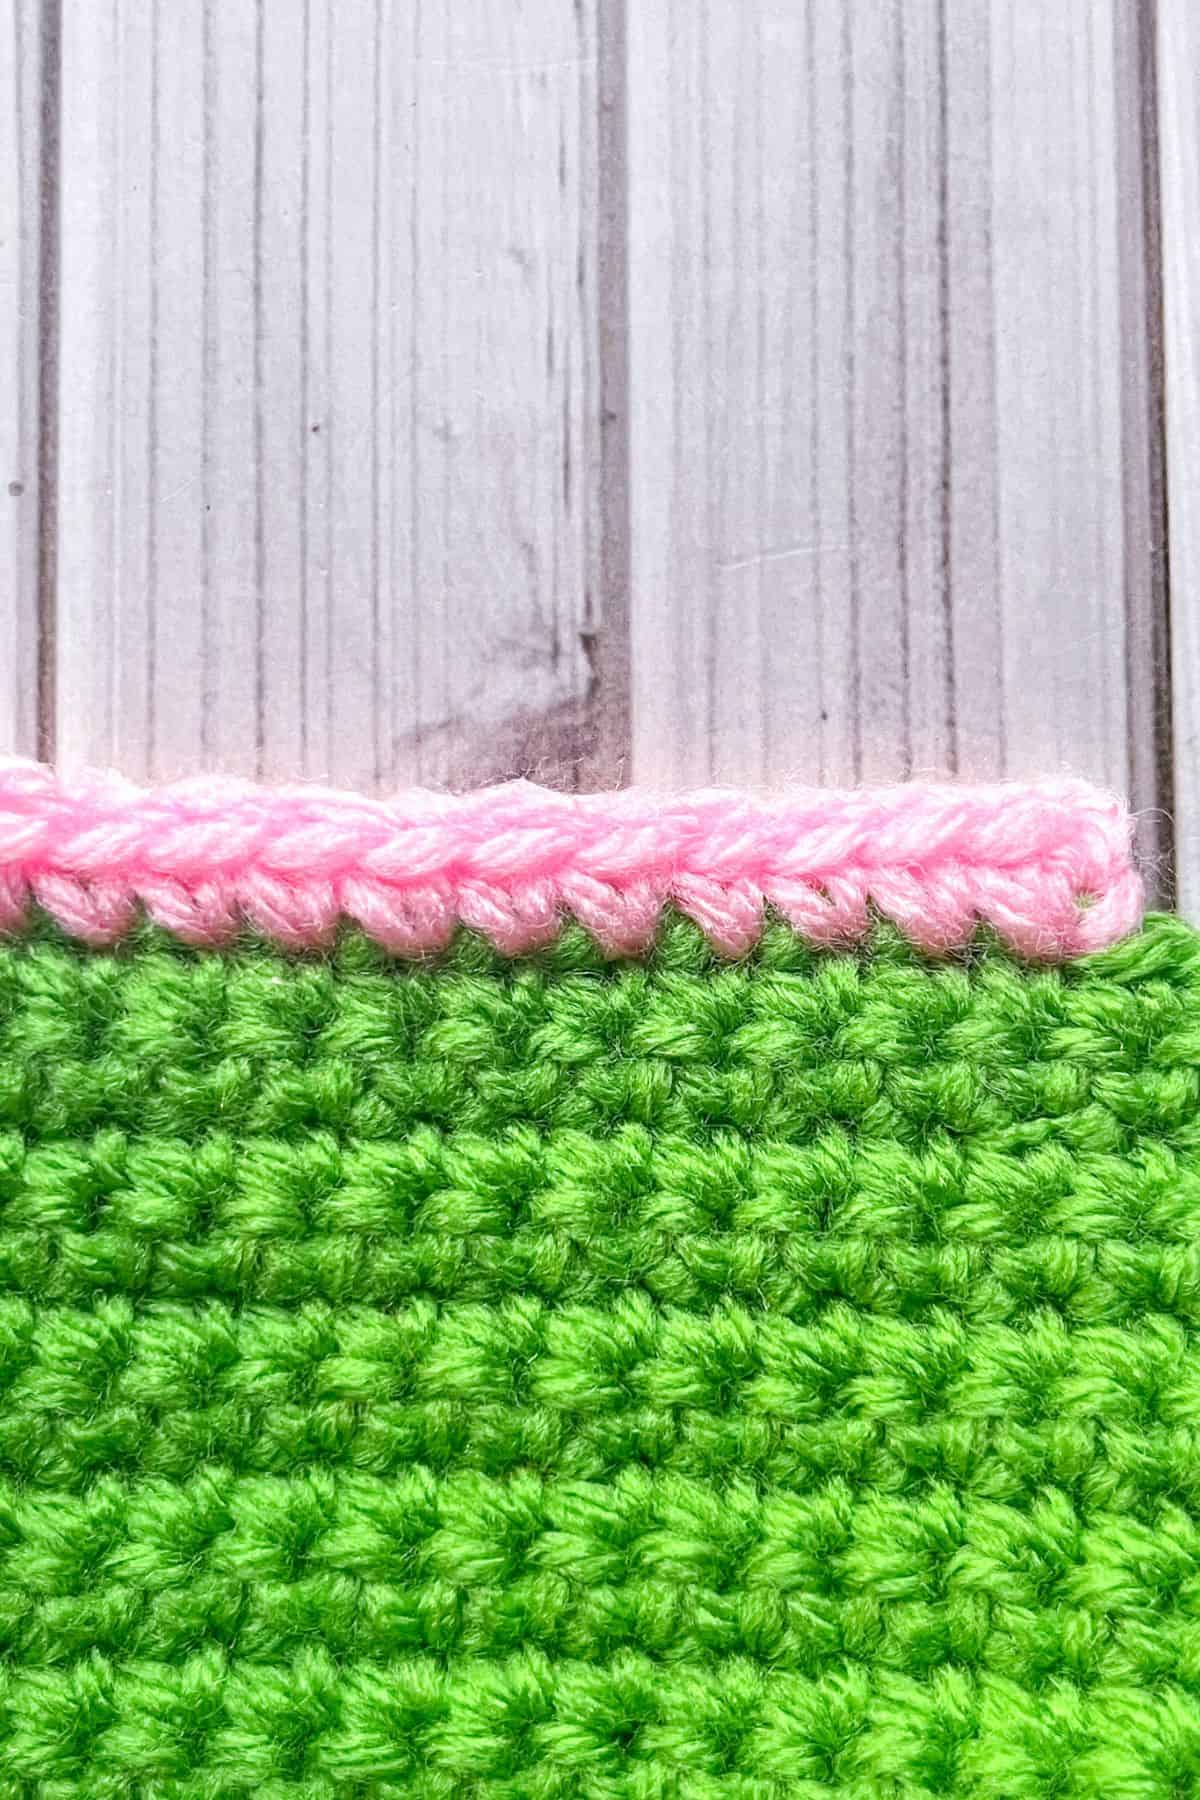
Step 2: Then continue to make 1 single crochet in each stitch across the row.

Step 3: When you reach a corner, sc, ch, and then sc into the same space.
For the raw edge, make 1 sc per row. If your project uses double crochets as the base do 2 sc per row.
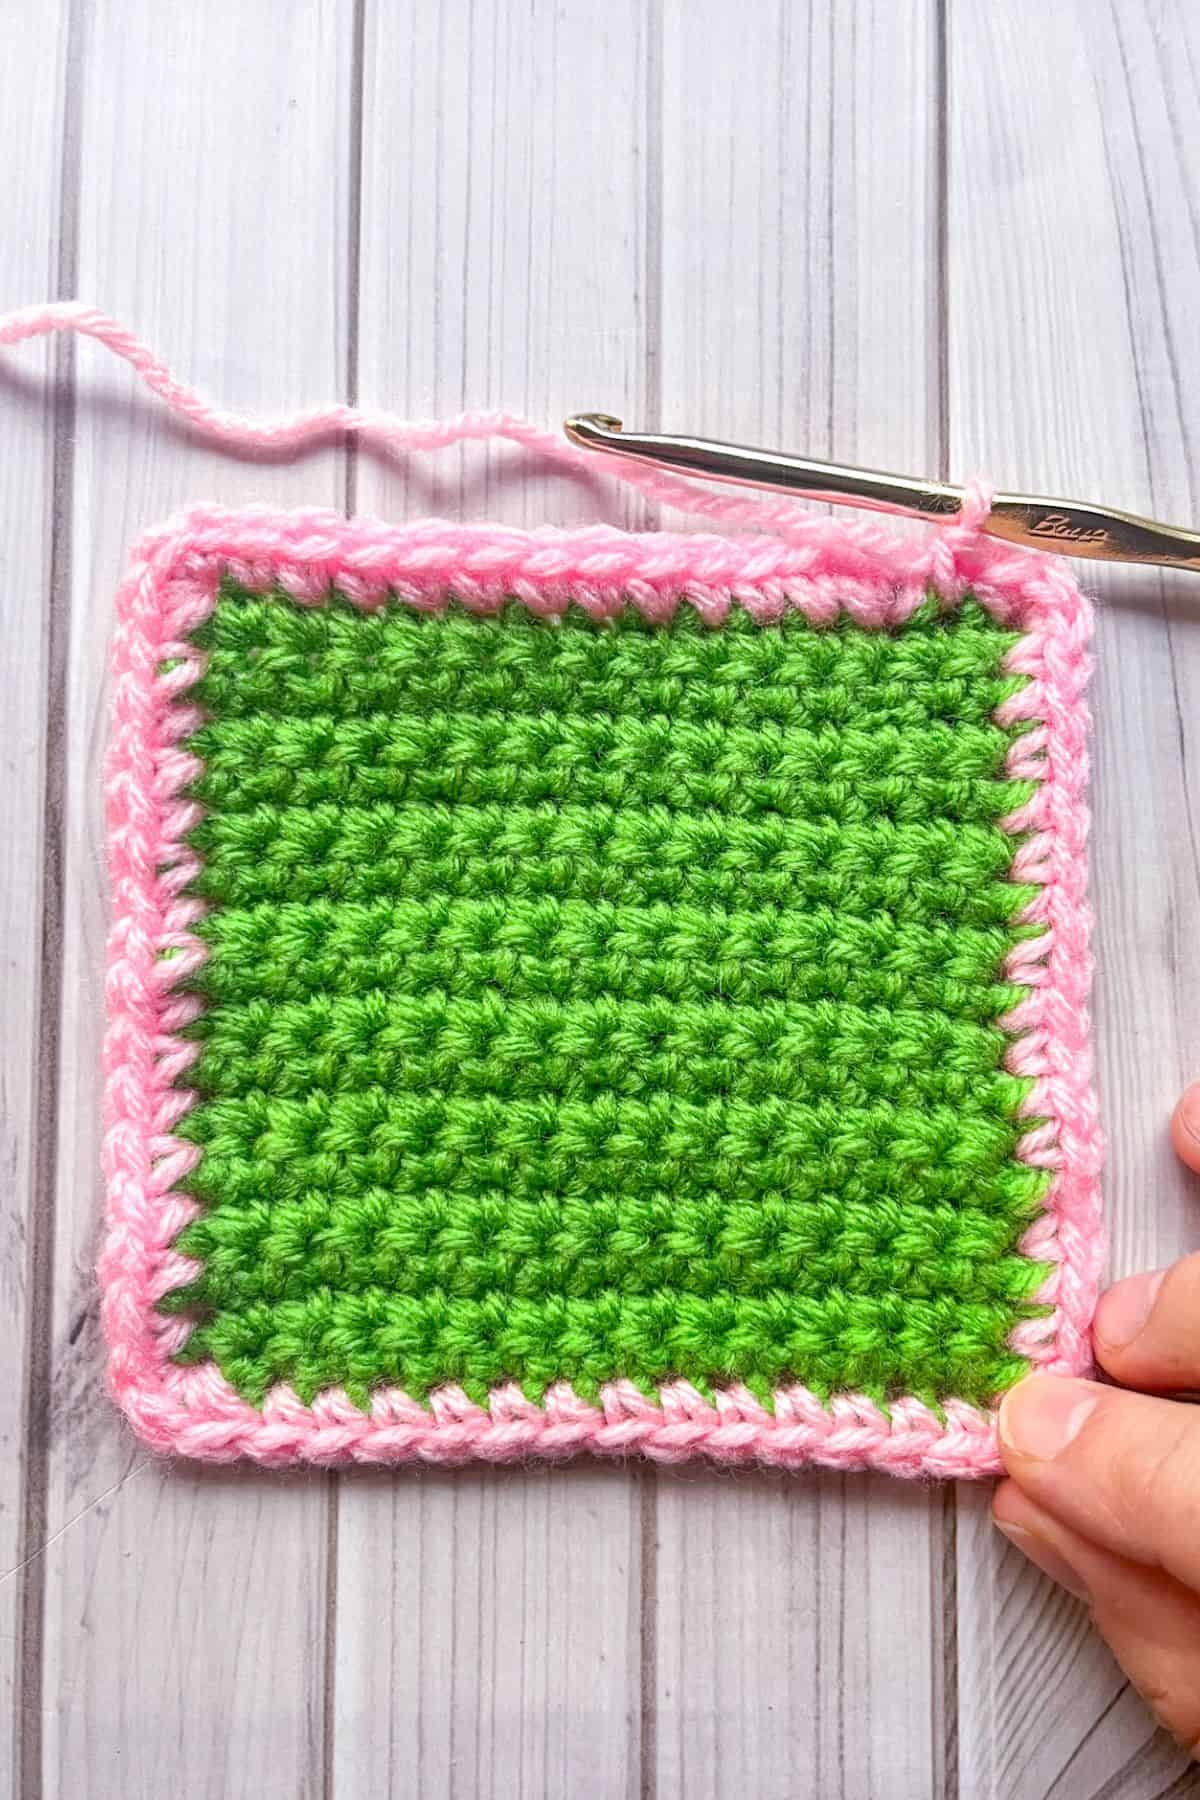
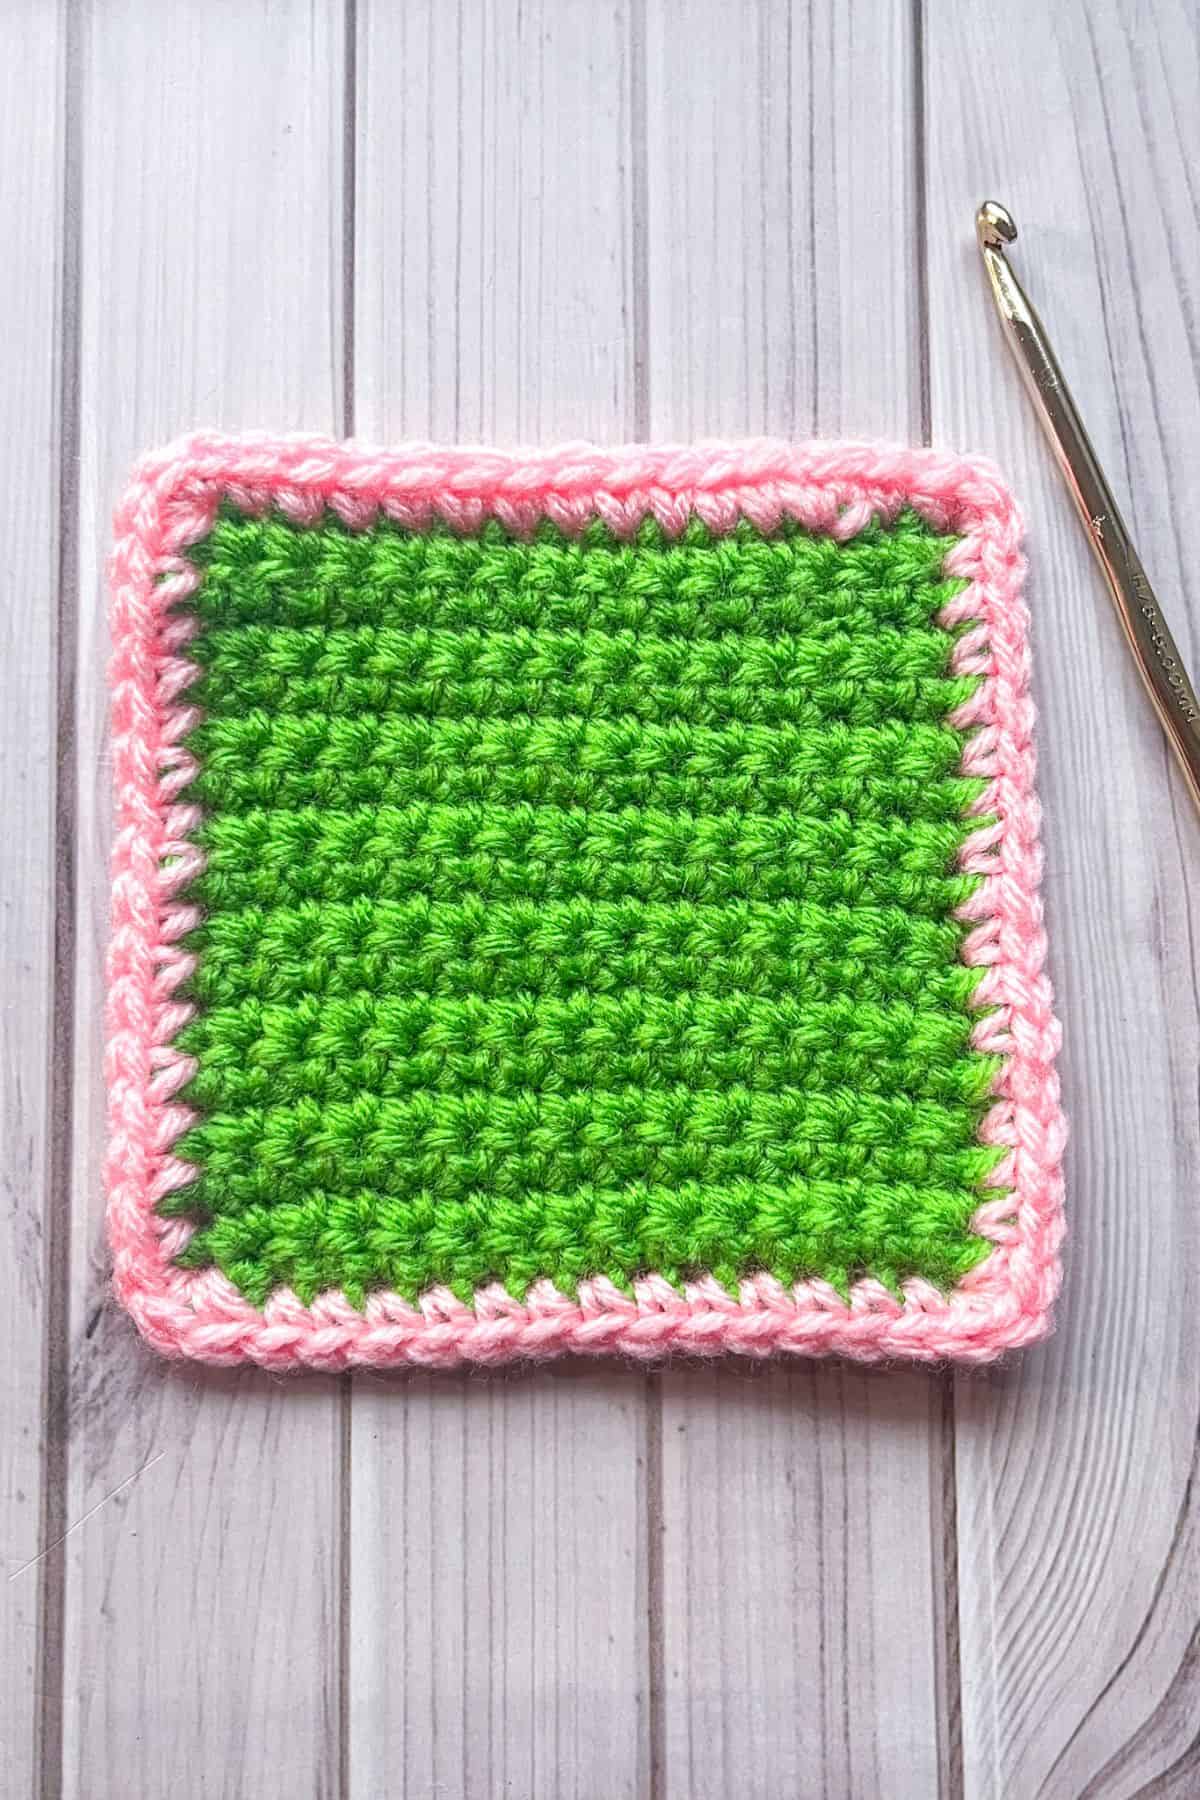
Once all of the sides of the project are done, sl st to the first sc.
Fasten off and weave in the ends.
And now you know how to make a single crochet border! A great foundational crochet border to know how to make.
If you want to try your hand at more crochet borders, check out my Double Crochet Border for Beginners tutorial, my Crochet Picot Border Pattern, or my Crochet Bobble Border Pattern.

🐌Expert Tips
- Leave a Long Tail for Weaving: Make sure to leave at least 6 inches of yarn to weave into the border. This prevents the border from coming undone over time.
- Adjust Corner Stitches for Larger Borders: If you choose to add multiple rows, make sure to add extra single crochets in the corner chain spaces to keep the edges from curling.
- Maintain Consistency with Yarn Weight: Use the same weight of yarn for the border as you did for the main project. This ensures the border doesn’t look too bulky or flimsy in comparison.
🧵Pattern FAQs
You can join the yarn anywhere, but it’s probably easier to start at the corner where you left off.
Absolutely! Single crochet borders are versatile and can work with any type of yarn once you get the hang of it.
Yes, but instead of a single crochet, you’ll work a chain. In the corner, it’s 2 double crochets, 2 chains (for the space), and then 2 double crochets.
🧶More Crochet Stitch Patterns

If you tried this Single Crochet Border Pattern (or any other pattern on my website), please let me know how it went in the 📝 comments below. I'd love to hear from you!
Single Crochet Border Pattern
Materials
- Scrap yarn or yarn of choice use the same weight yarn as the project you are working on for best results.
- Tapestry needle
- 5mm hook use same size hook as project
Abbreviations (US terms)
- ch = Chain
- sc = Single crochet
- sl st = Slip Stitch
Notes
- Stitch tutorial using a crochet swatch; applicable to any flat project.
- Any yarn weight, including specialty yarns like fuzzy yarn, works well.
- The single crochet border is only 1 row, but you can add more rows for a larger border if desired.
Instructions
- This pattern is made in the round.
- Step 1: If you’re using a different color yarn than the main body, reattach your yarn to the last stitch (or anywhere on the border).
- Overall the placement of the yarn doesn’t matter too much since it is a single stitch border.
- Then ch x1, and make a sc in the same stitch you attached your yarn to.
- Step 2: Then continue to make 1 single crochet in each stitch across the row.
- Step 3: When you reach a corner, sc, ch, and then sc into the same space.
- For the raw edge, make 1 sc per row. If your project uses double crochets as the base do 2 sc per row.
- Once all of the sides of the project are done, sl st to the first sc.
- Fasten off and weave in the ends.
- And now you know how to make a single crochet border! A great foundational crochet border to know how to make.


Leave a Reply