
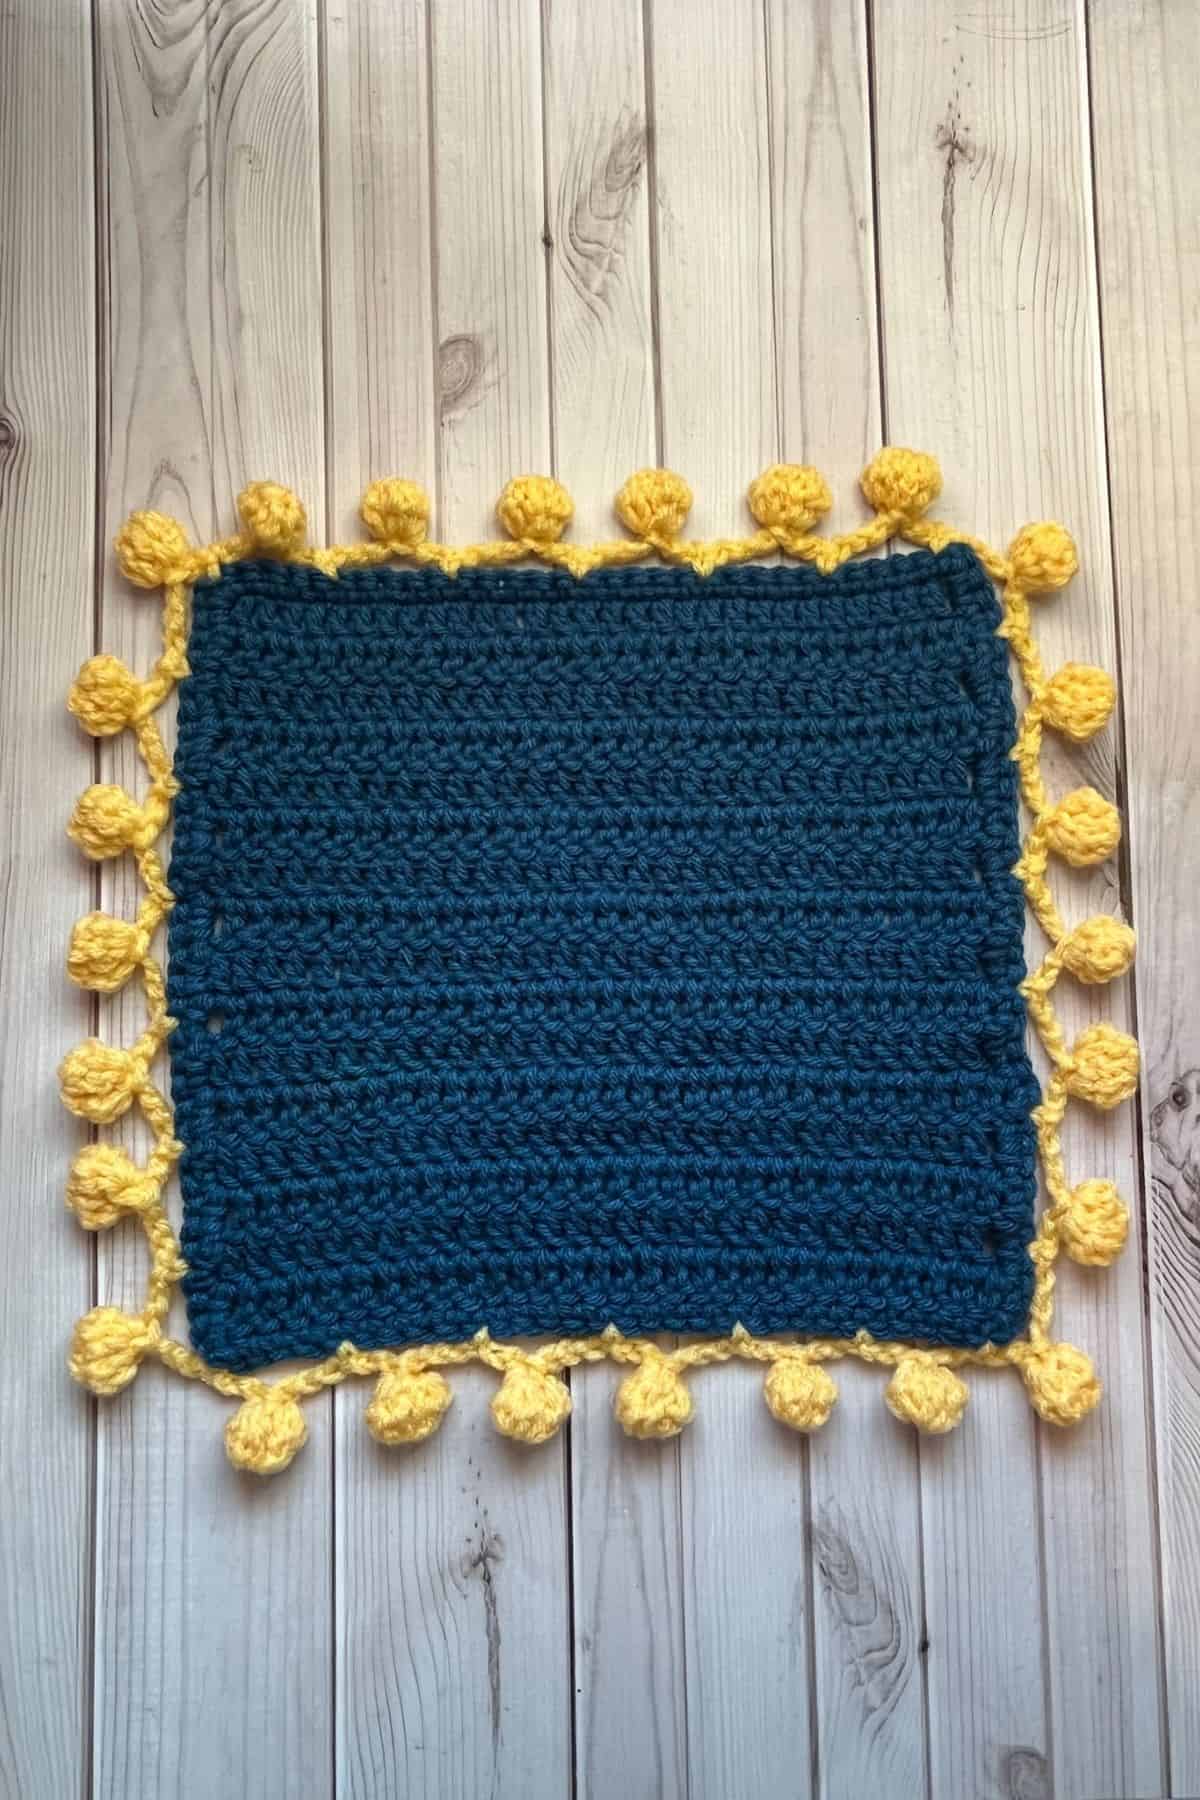
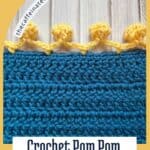
A Crochet Pom Pom Border brings a sense of fun and whimsy to any blanket! The best part about it is that it is very fast and easy to do.
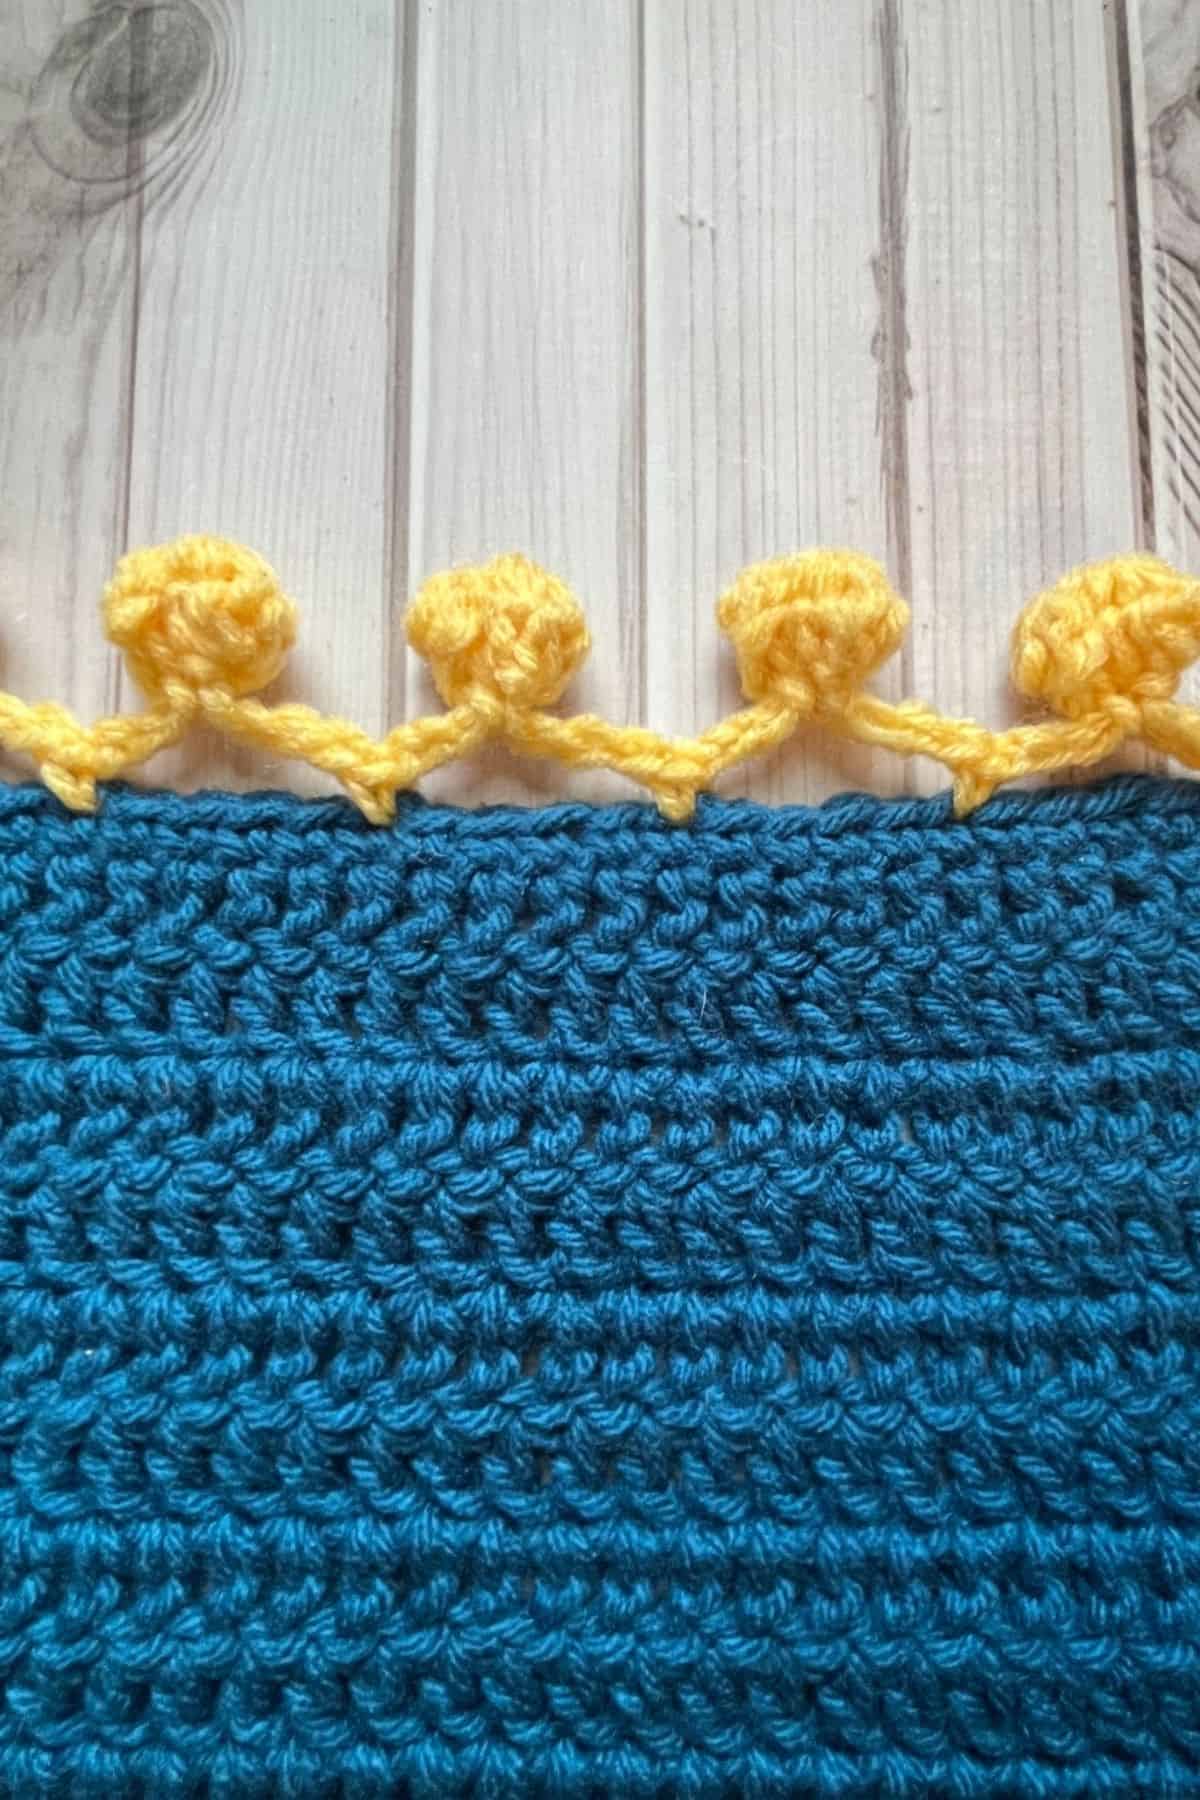
A Crochet Pom Pom Border adds a fun and playful touch to any blanket! Not only is it visually appealing, but it's also quick and easy to make, making it a perfect finishing detail.
While many people focus on the main body of the blanket, the border can be just as important in enhancing the overall look. A simple crochet edge can take a basic blanket to the next level, making it more unique and eye-catching. The crochet pom pom border is especially great for adding a bit of flair to simpler designs, but it also pairs wonderfully with more colorful and festive patterns. It’s incredibly versatile, working well with both understated and bold styles alike.
Whether you’re creating a cozy throw or a vibrant piece, the pom pom border serves as a charming addition. Its playful nature brings warmth and personality to your crochet project, no matter the design.
If you're looking for more easy and practical crochet borders, be sure to check out my other tutorials, like the double crochet border tutorial and the crochet envelope border tutorial. These patterns are perfect for giving your blankets a polished finish with minimal effort.
So grab your yarn and hook—let's start crocheting this delightful pom pom border and create something beautiful!
Jump to:
✏️ Things To Note:
- Yarn Choice:For the crochet pom pom trim sample, I used acrylic yarn, but the beauty of this border is that it works well with any type of yarn and hook size. Feel free to experiment with different textures and colors to match your project!
- Pattern Fit: The crochet pom pom border is made by alternating chains and pom poms. If the pattern doesn’t fit perfectly around your blanket’s edge, don’t worry! You can easily adjust it by shifting 1-2 stitch spaces. These small adjustments will be barely noticeable, and your border will still look great.
- Edge Treatment: To achieve a smooth, polished finish, it’s important to monitor the border as you work to avoid any ripples or buckling. Keep an eye on your stitches and make sure the edge stays even and straight for the best result. A neat, straight border will make your crochet project look more professional and finished!
🪡 Materials Needed
- Yarn for edge
- Tapestry needle
- 5mm hook (or whatever hook you were using for your project)
💭Abbreviations to Remember (US terms)
- Chain - ch
- Single crochet - sc
- Slip Stitch - sl st
- Double Crochet - dc
🍵Instructions for Crochet Pom Pom Border
This pattern works best going around finished project edges.
Round 1: Either join a new color for the edge, or you can do this first round in the same color as the blanket. For my example, I did this round in blue, which is the color for my swatch.
Work 1 round of sc around into each stitch around the blanket. Make sure to do 3 sc in each corner and to check on the border frequently to make sure it doesn't ripple or buckle. You want a smooth straight edge.
Slip stitch to first sc at the end of the round.
Round 2: If you haven’t switched the color yet to the color you specifically want for the pom poms and chains, now is the time to do it. This is where I switched the yarn to yellow.
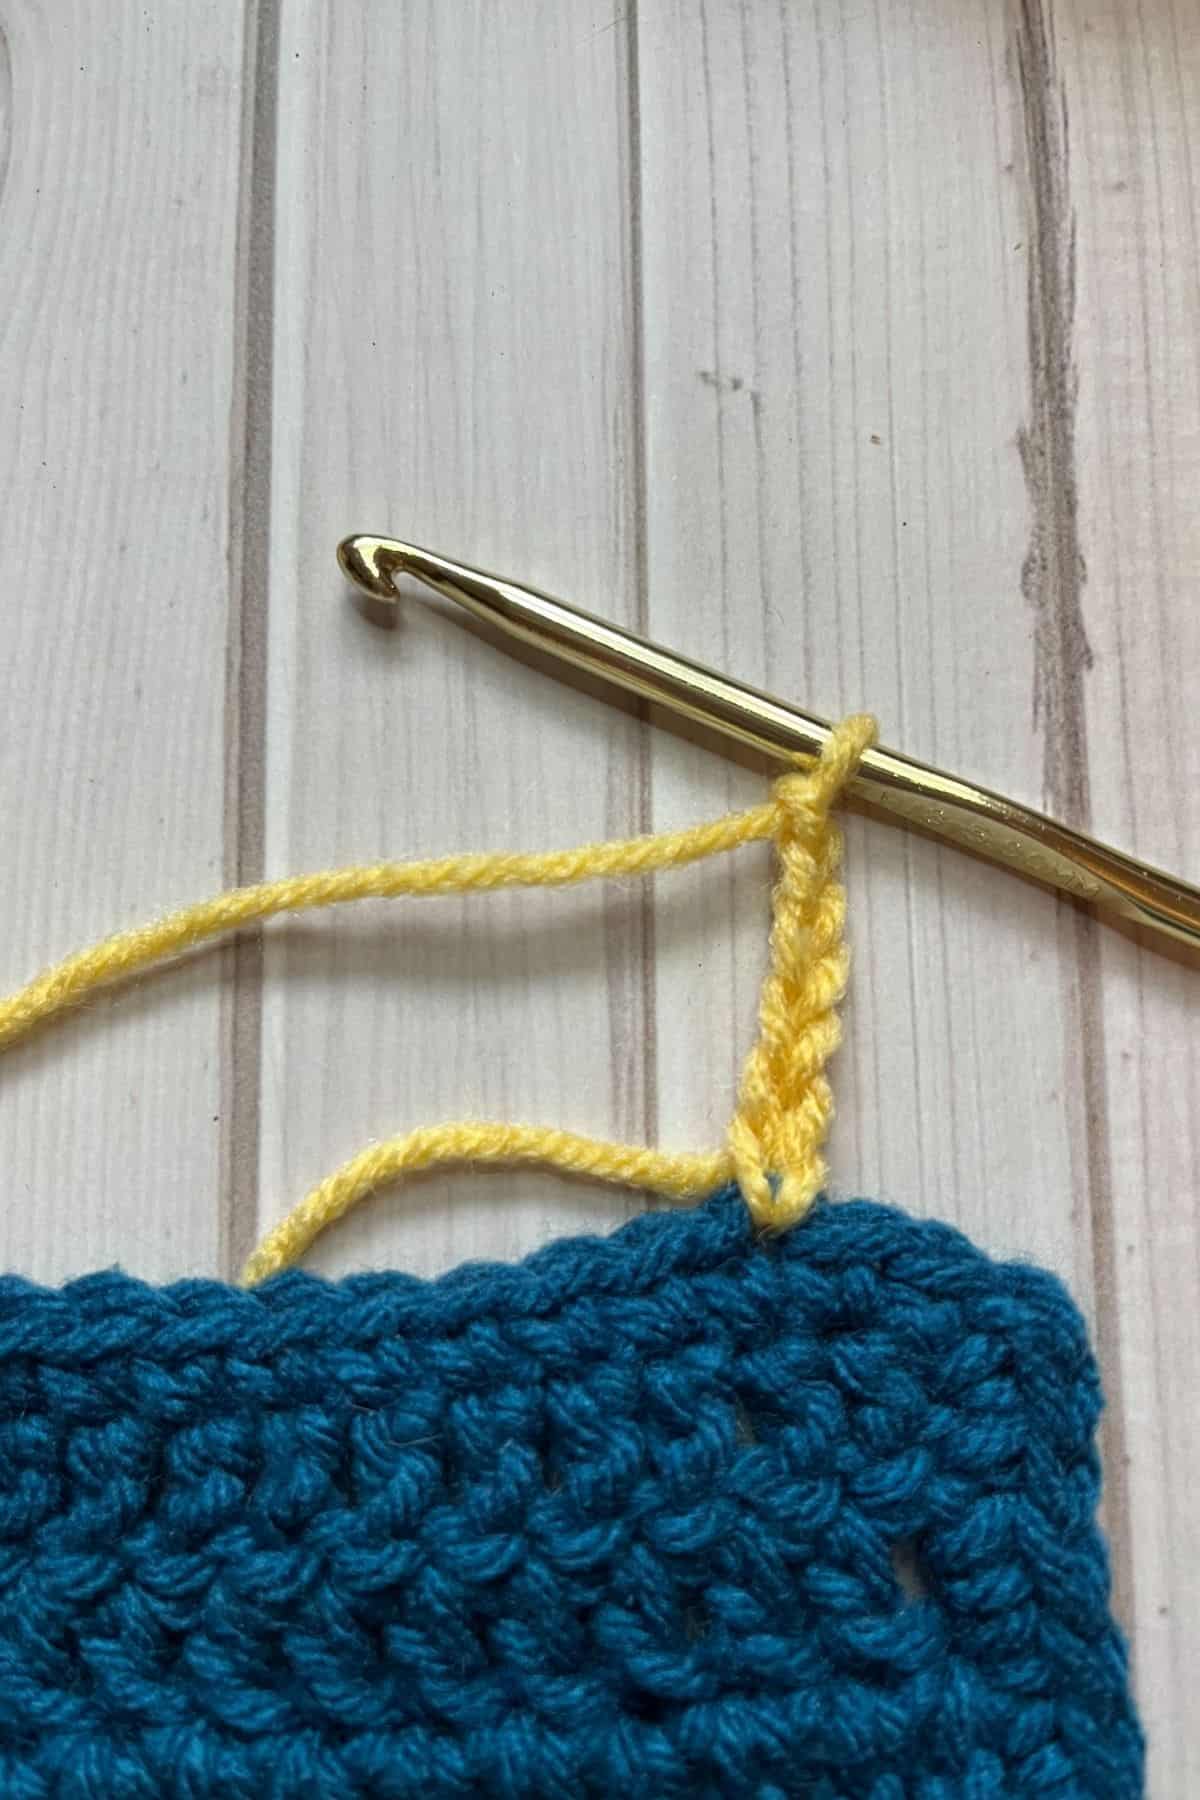
After joining the new color if you needed to, ch x6.
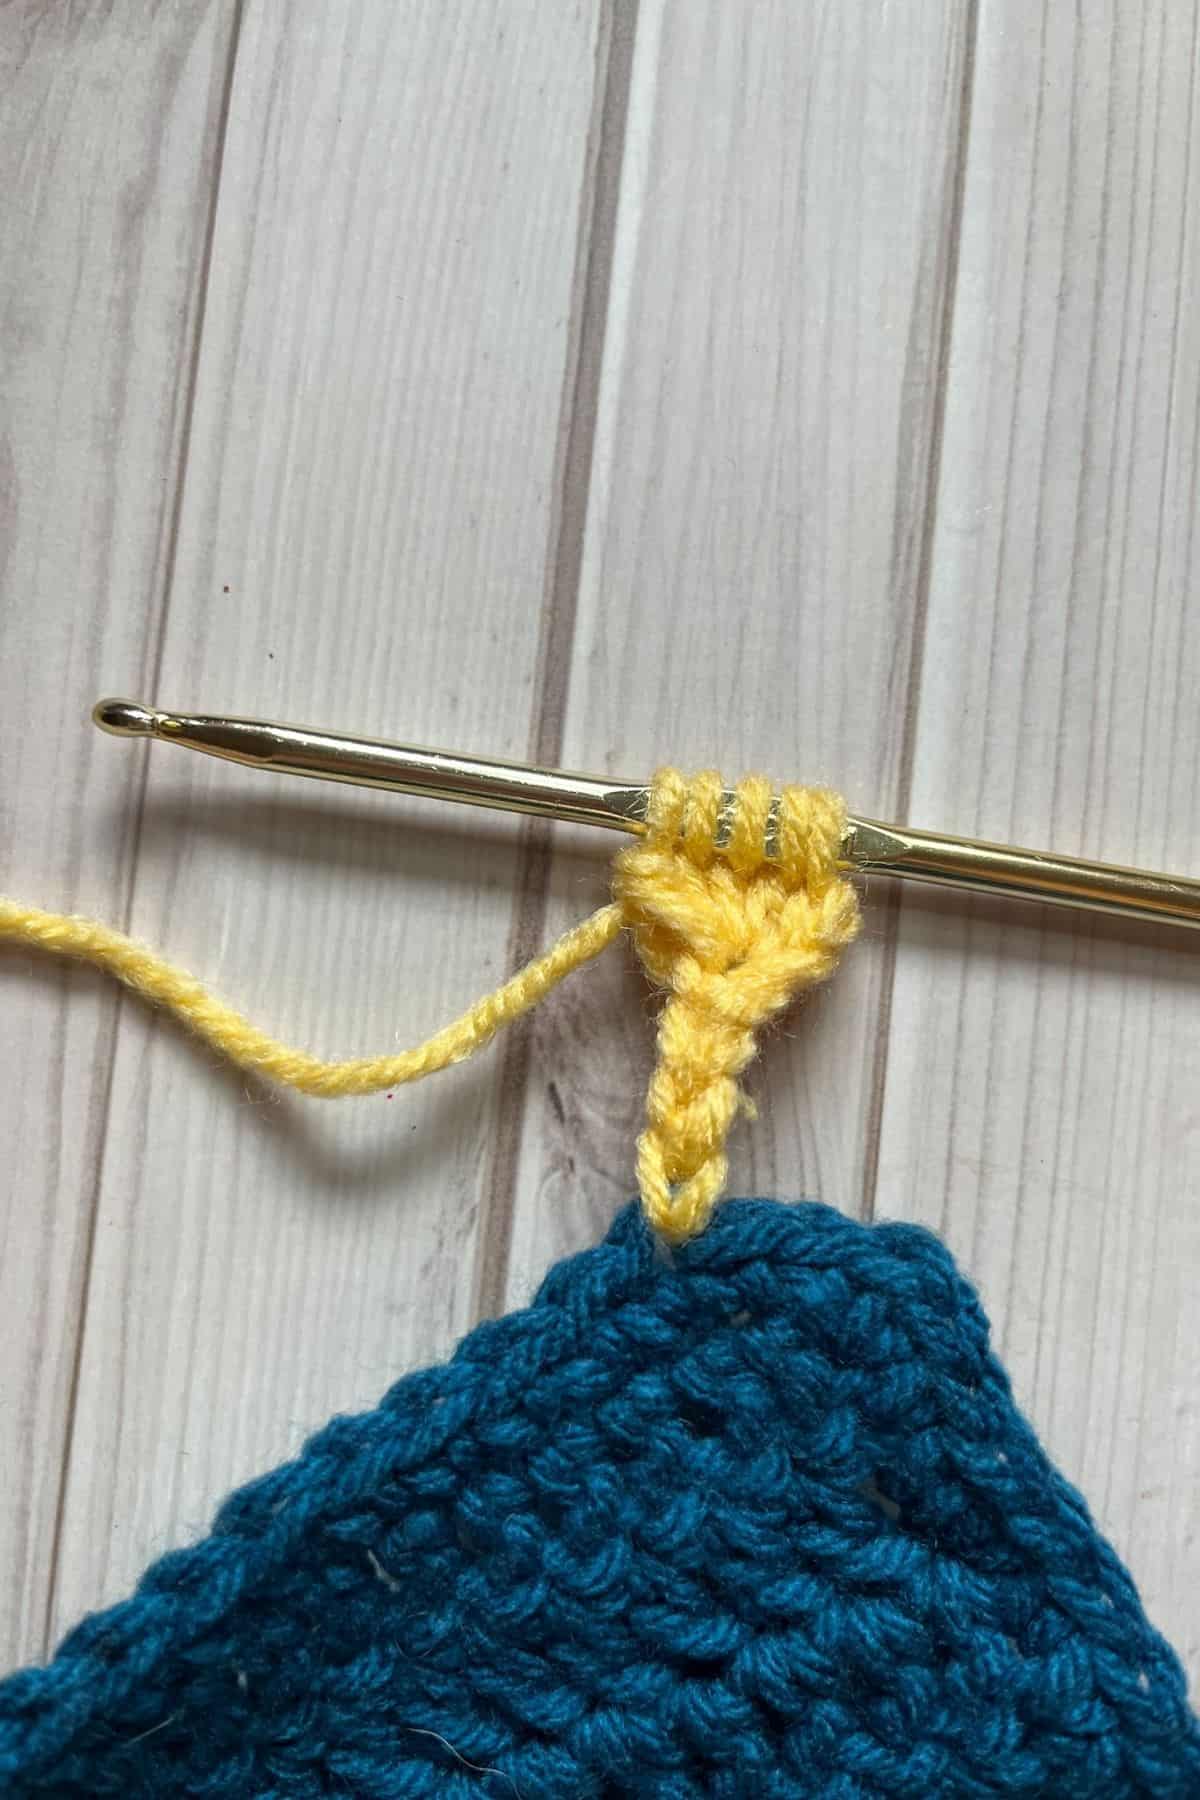
In the 3rd chain from the hook, dc 4 together. This is similar to the cluster or bobble stitch, but with 4 dc’s instead of 3 and 5 respectively. To make the stitch make a normal dc but instead of going through the last 2 loops on your hook you instant go to making another dc, so each time you make a dc you are gaining an extra loop on your hook. At the end, you should have 5 loops on your hook.
Then yarn over and go through all 5 loops on your hook.
Then ch x3.
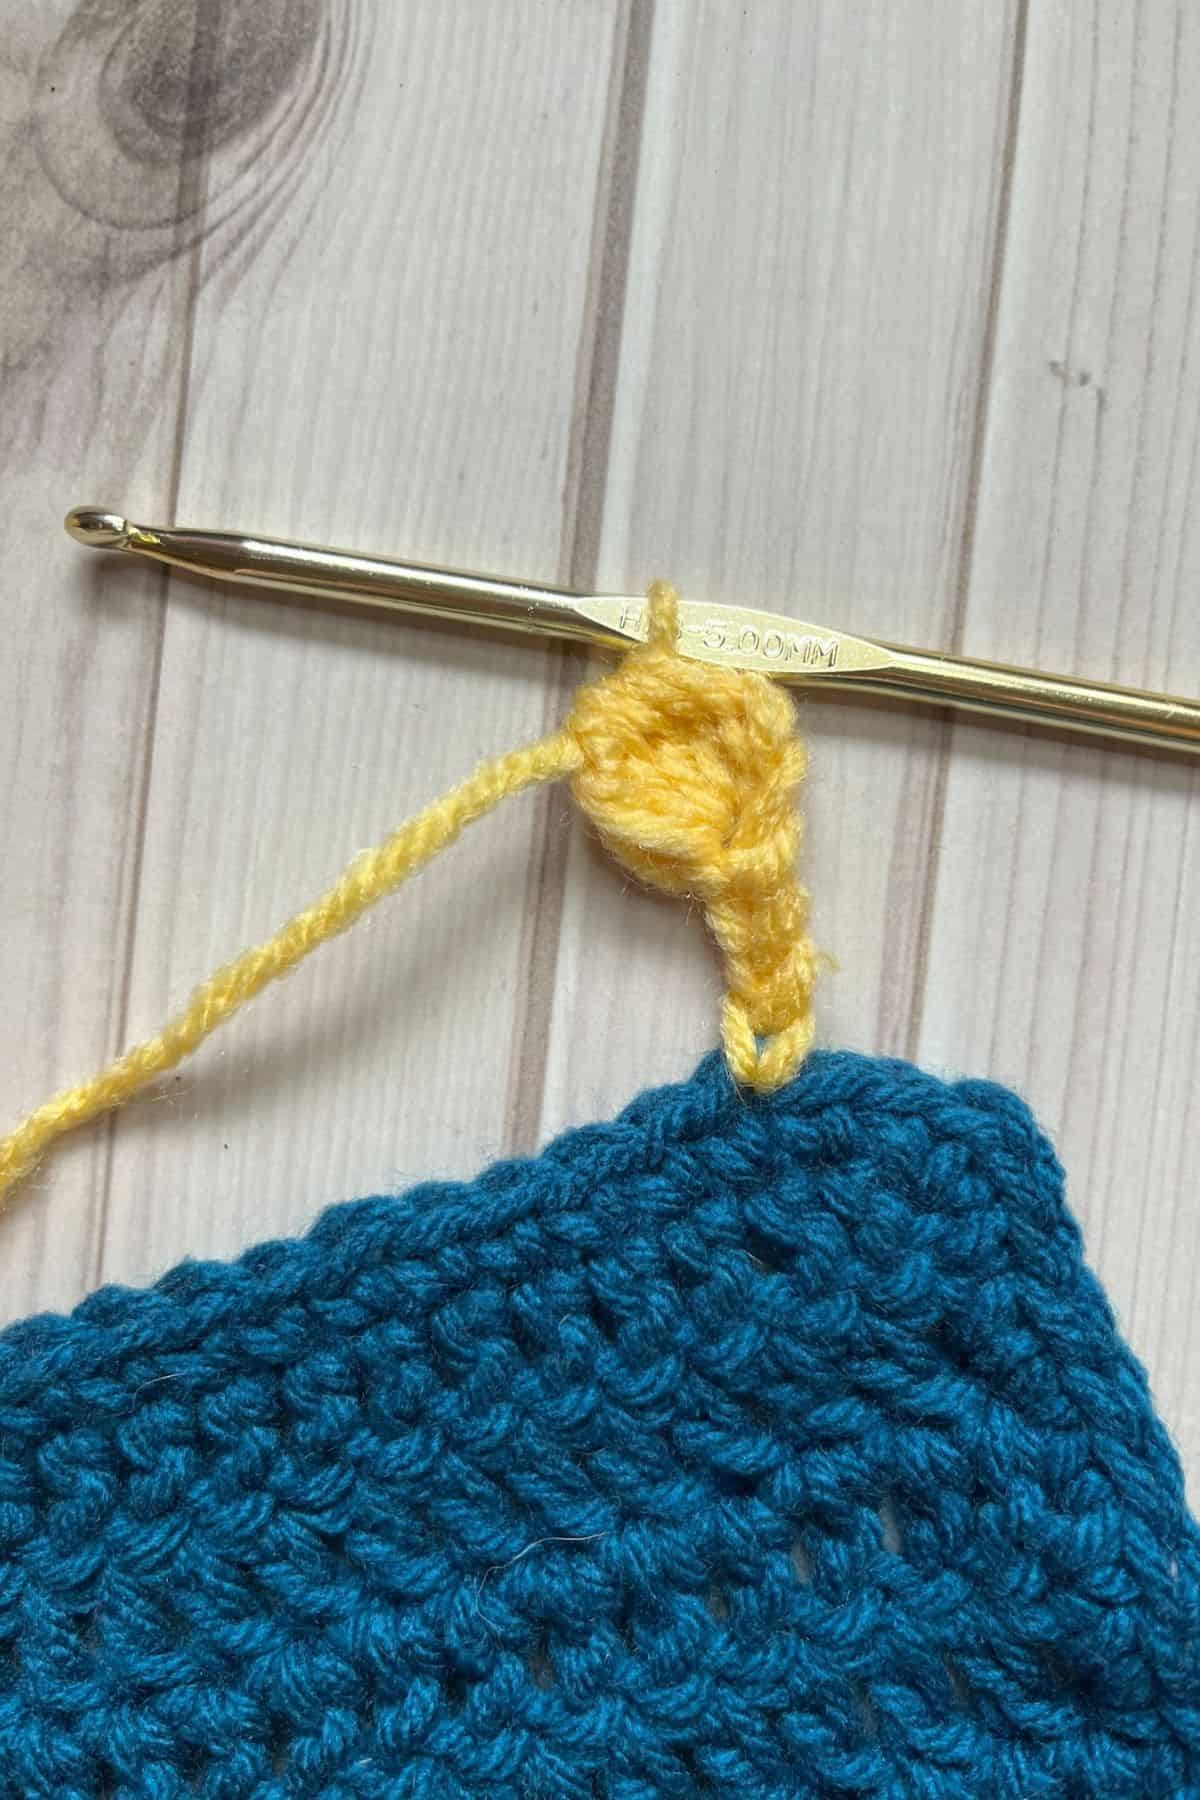
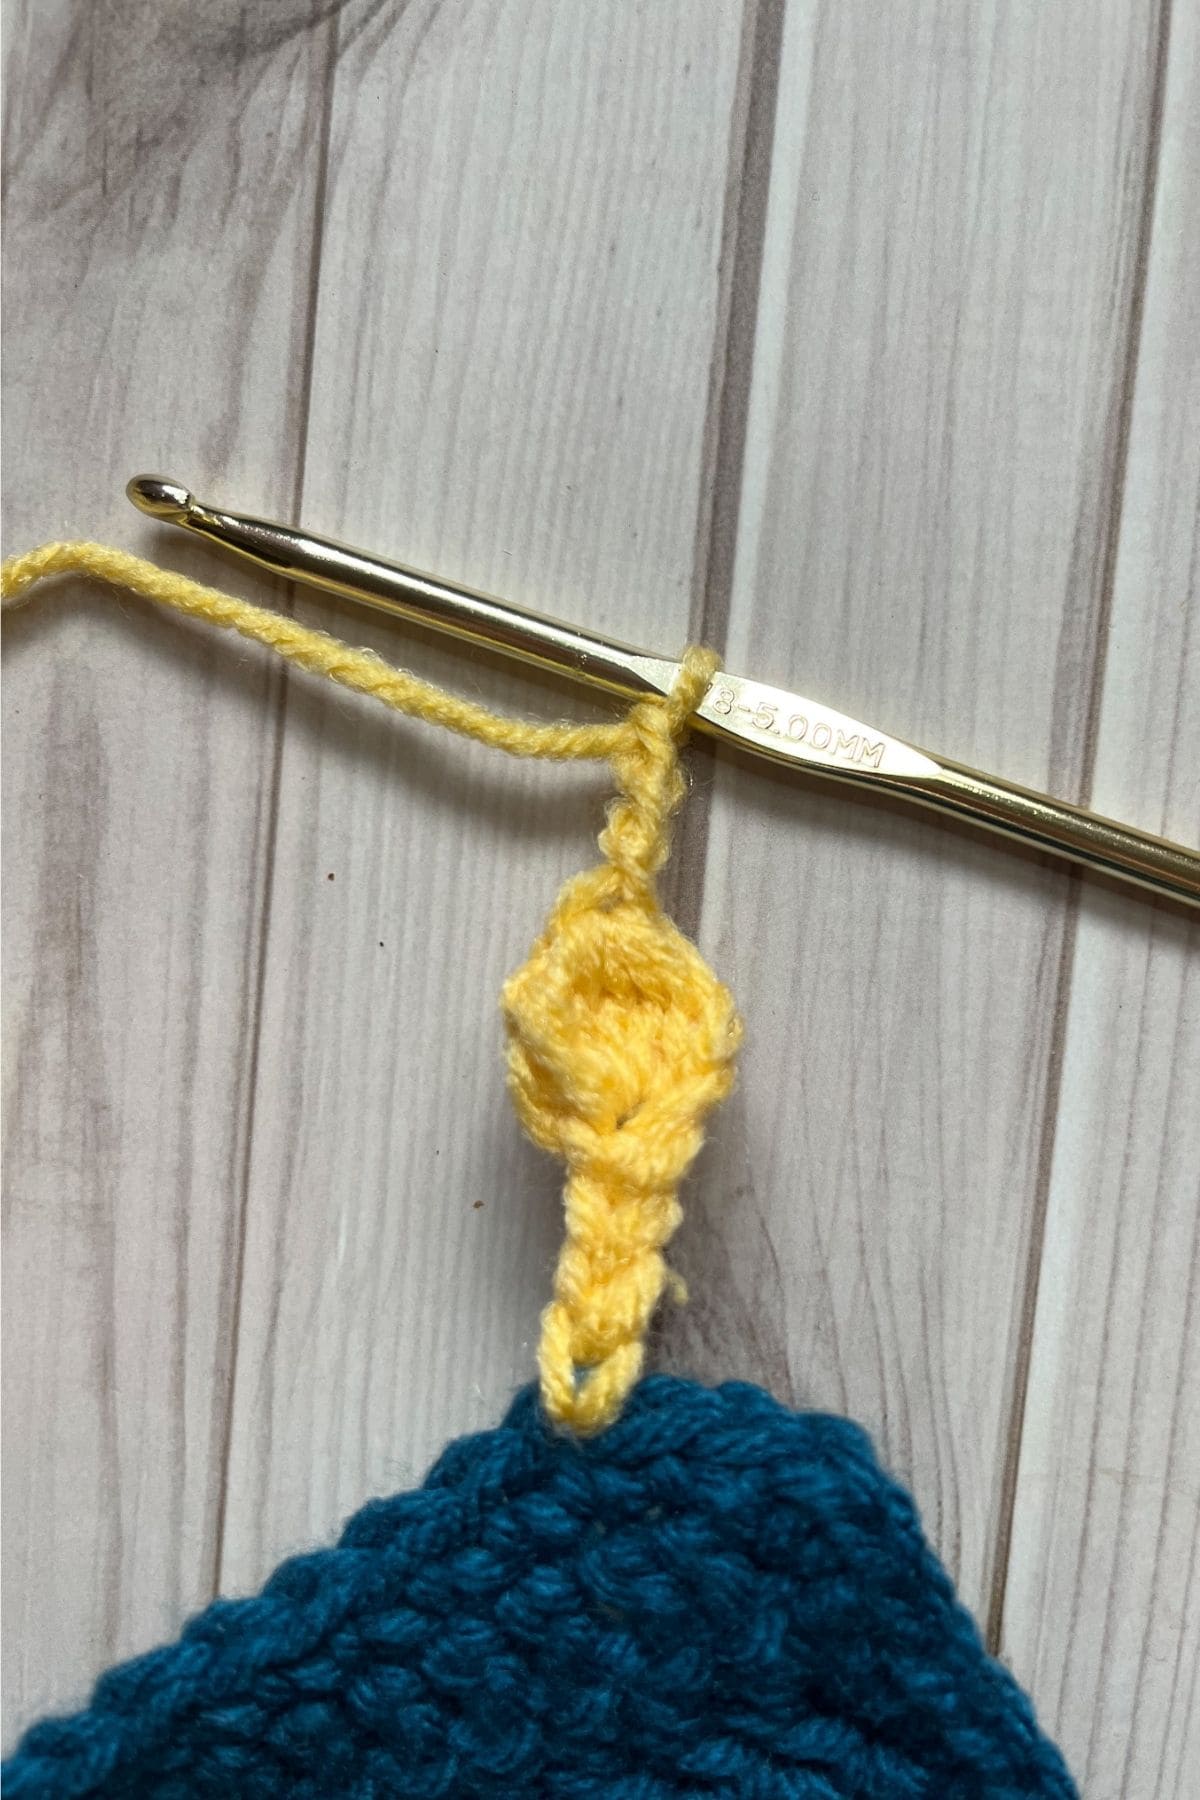
In the 3rd chain from your hook, dc 4 together again.
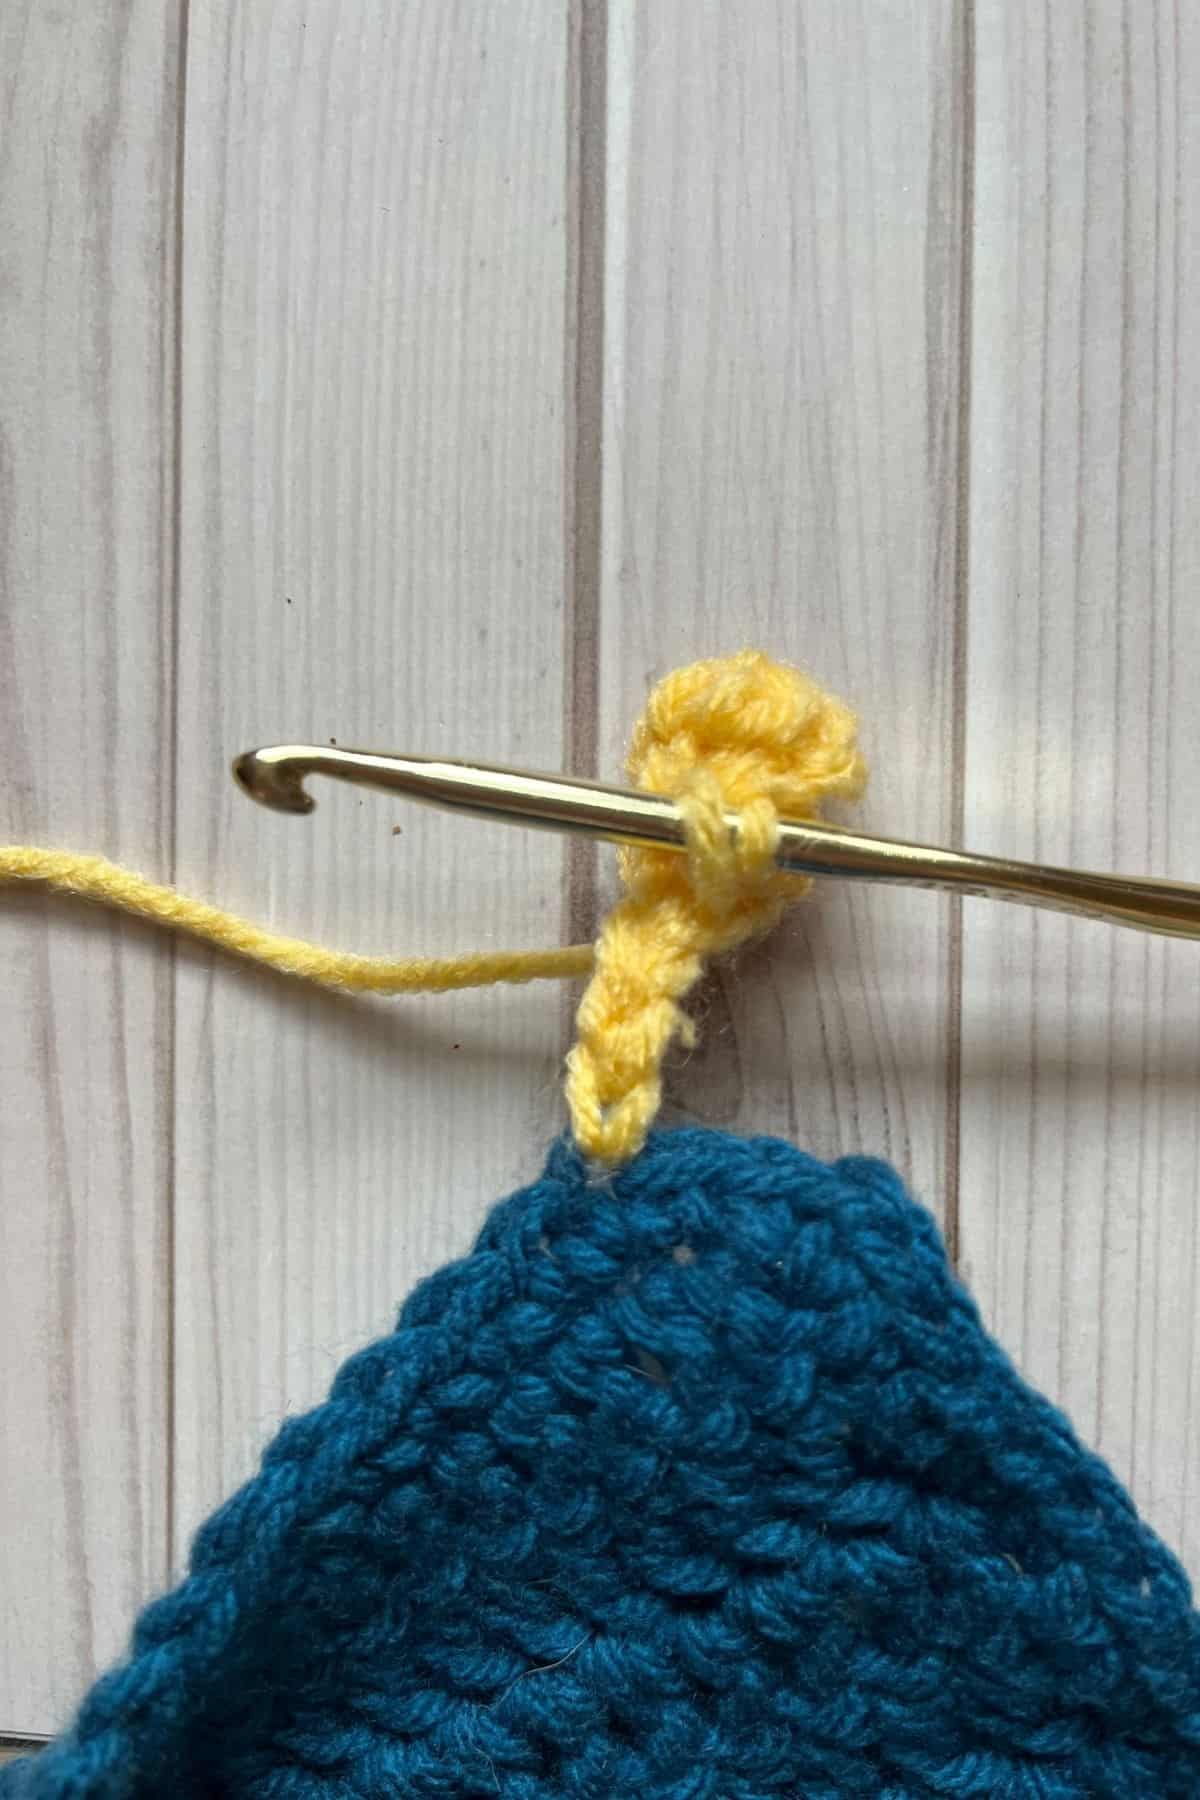
Fold the cluster of stitches over and sl st into the ch that you made your first group of dc’s in.

Then ch x3 again.
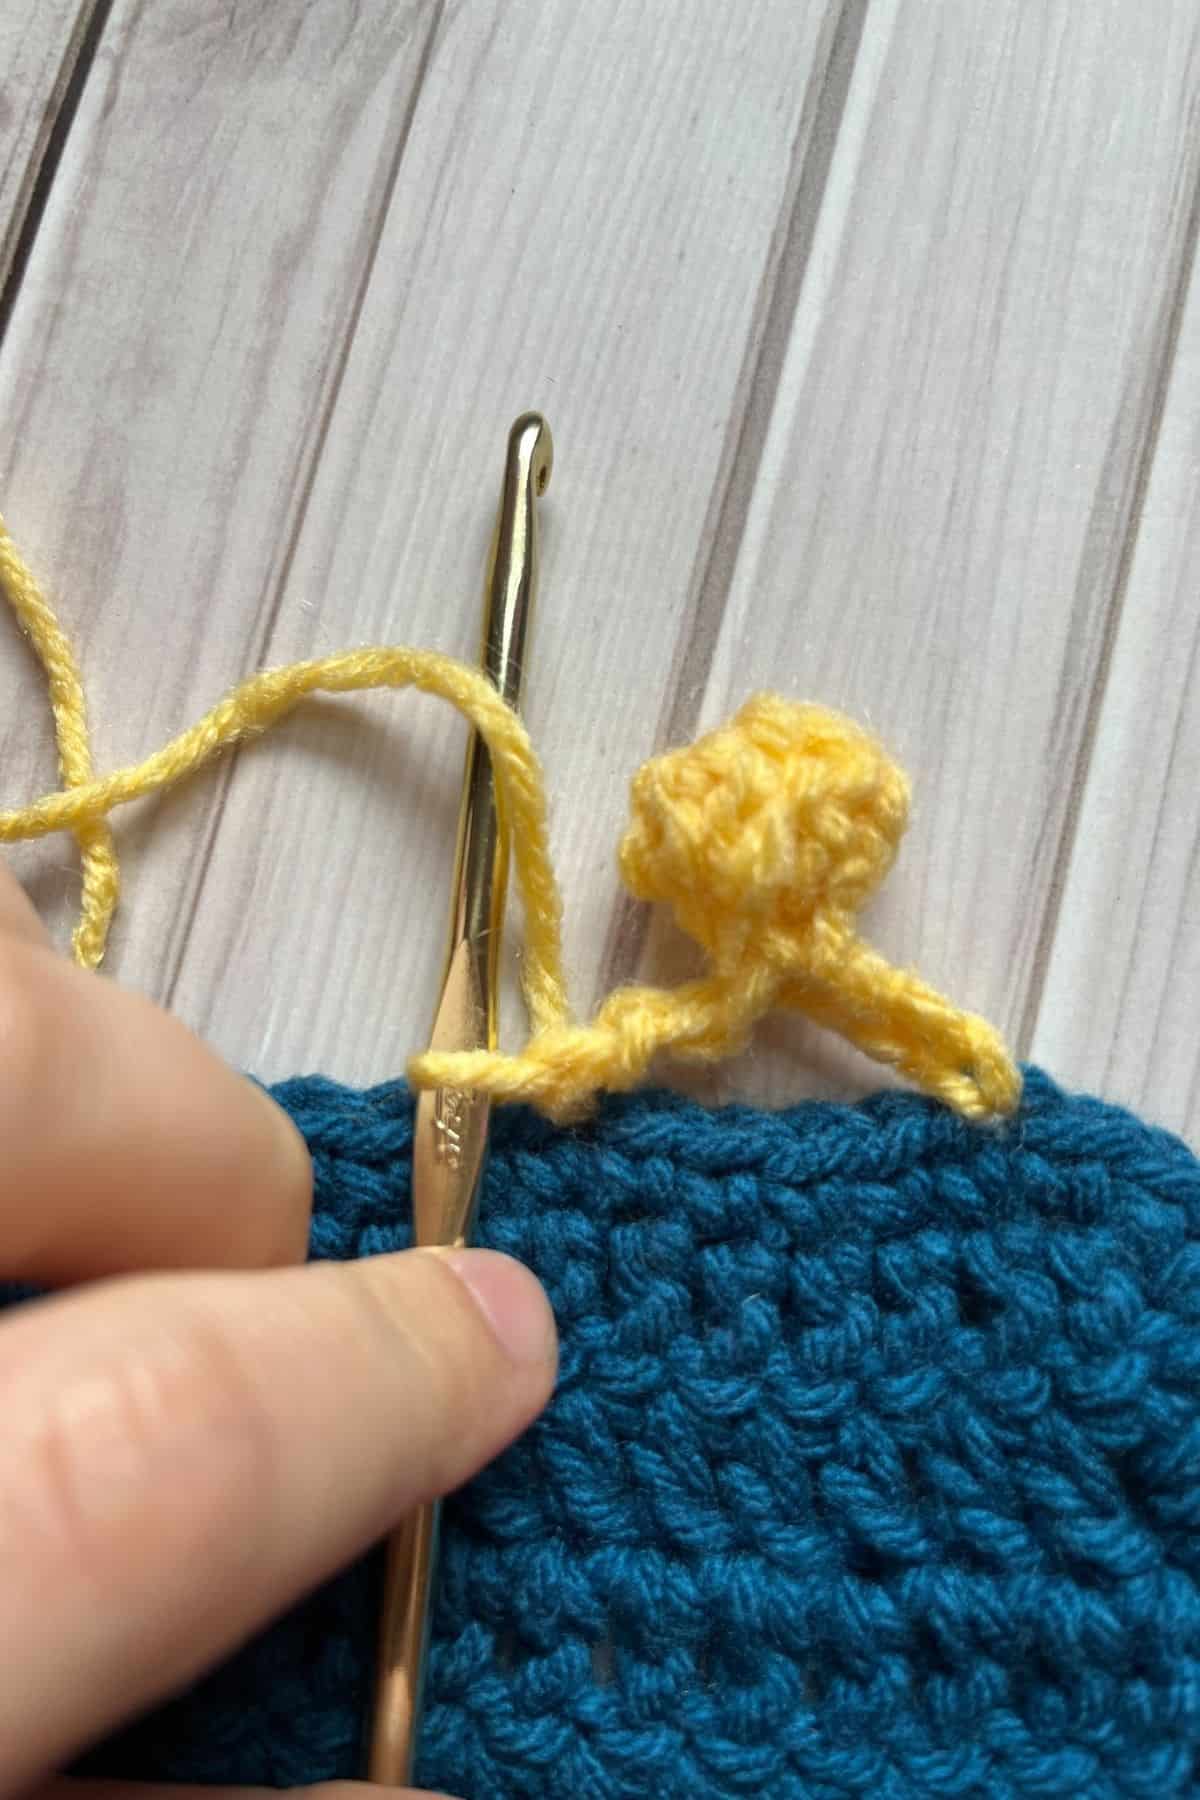
Now you want to skip 4 stitches and anchor the chain to the crochet edge with a single crochet.
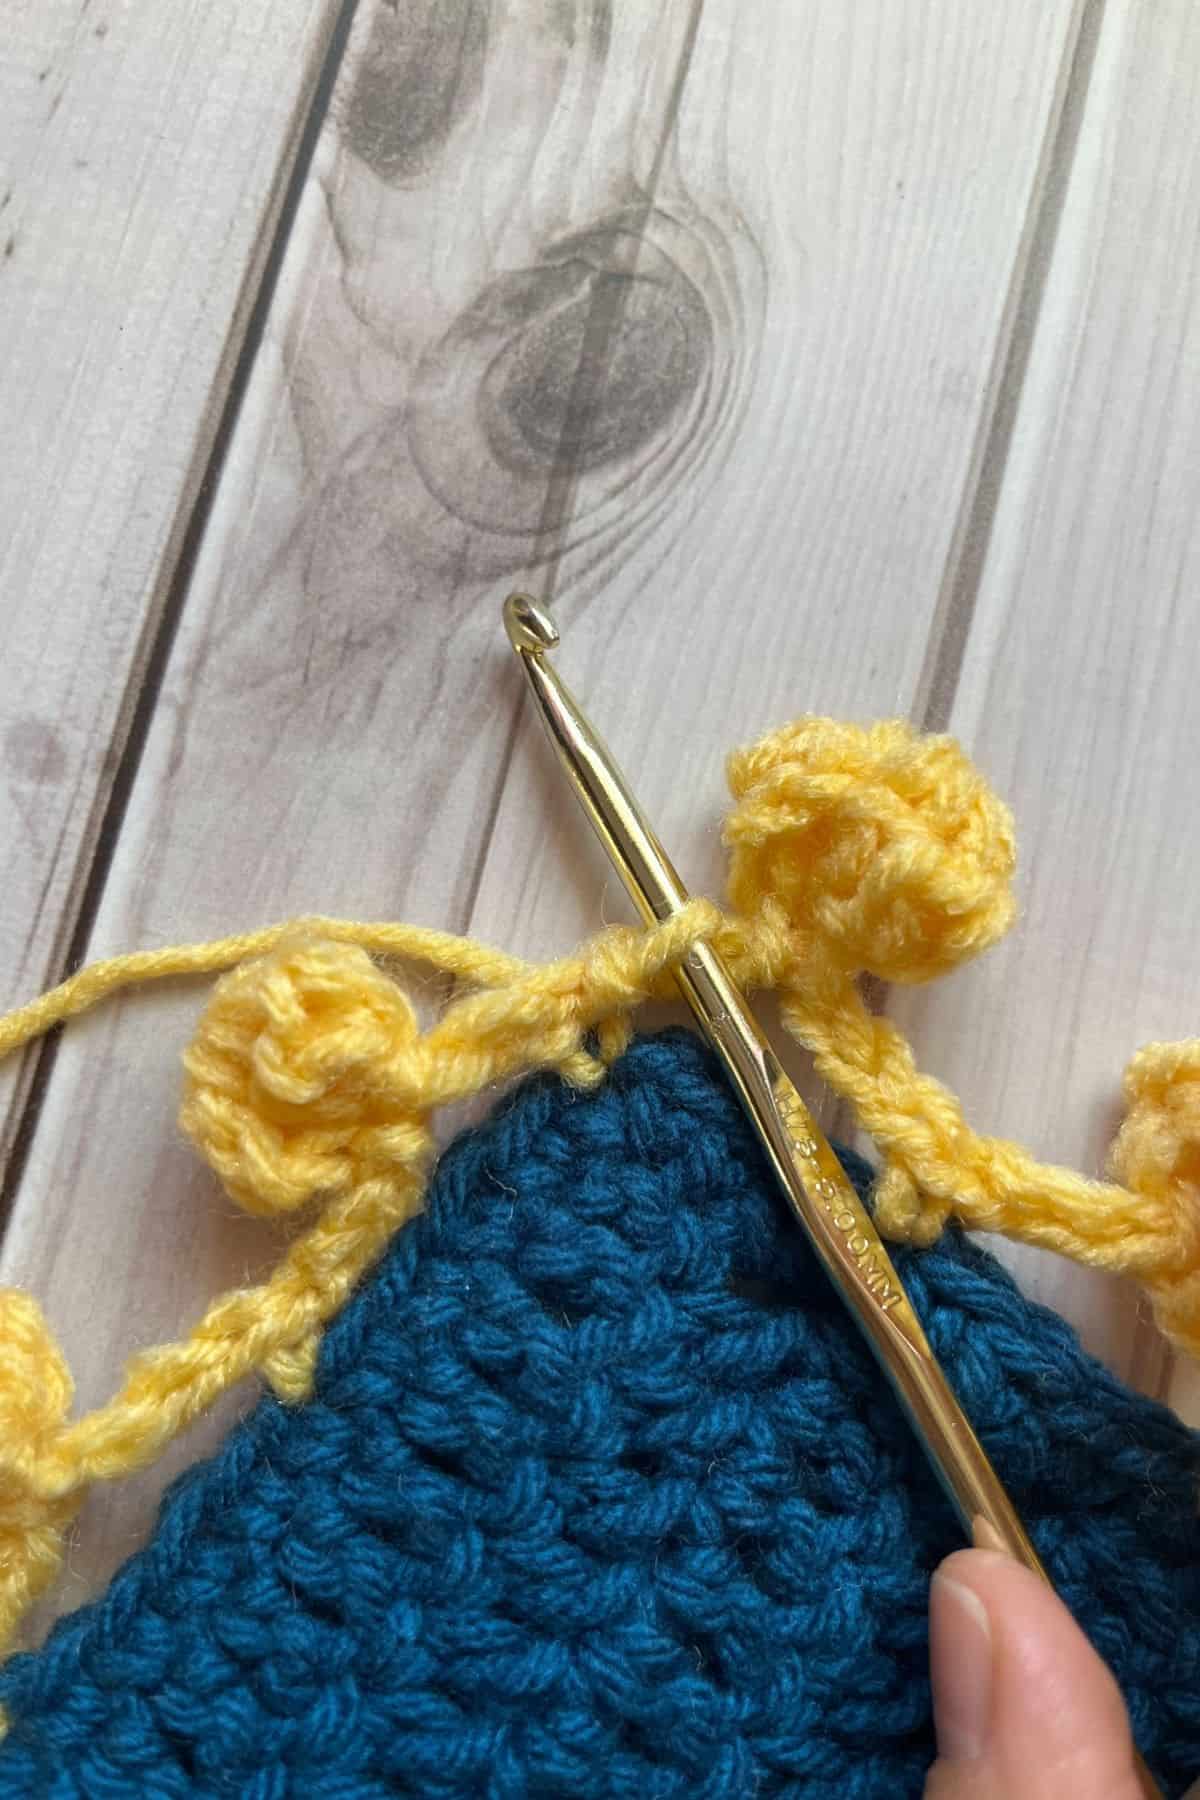
You have now successfully made your first pom pom. Repeat for the rest of the edge. Slip stitch to the beginning.
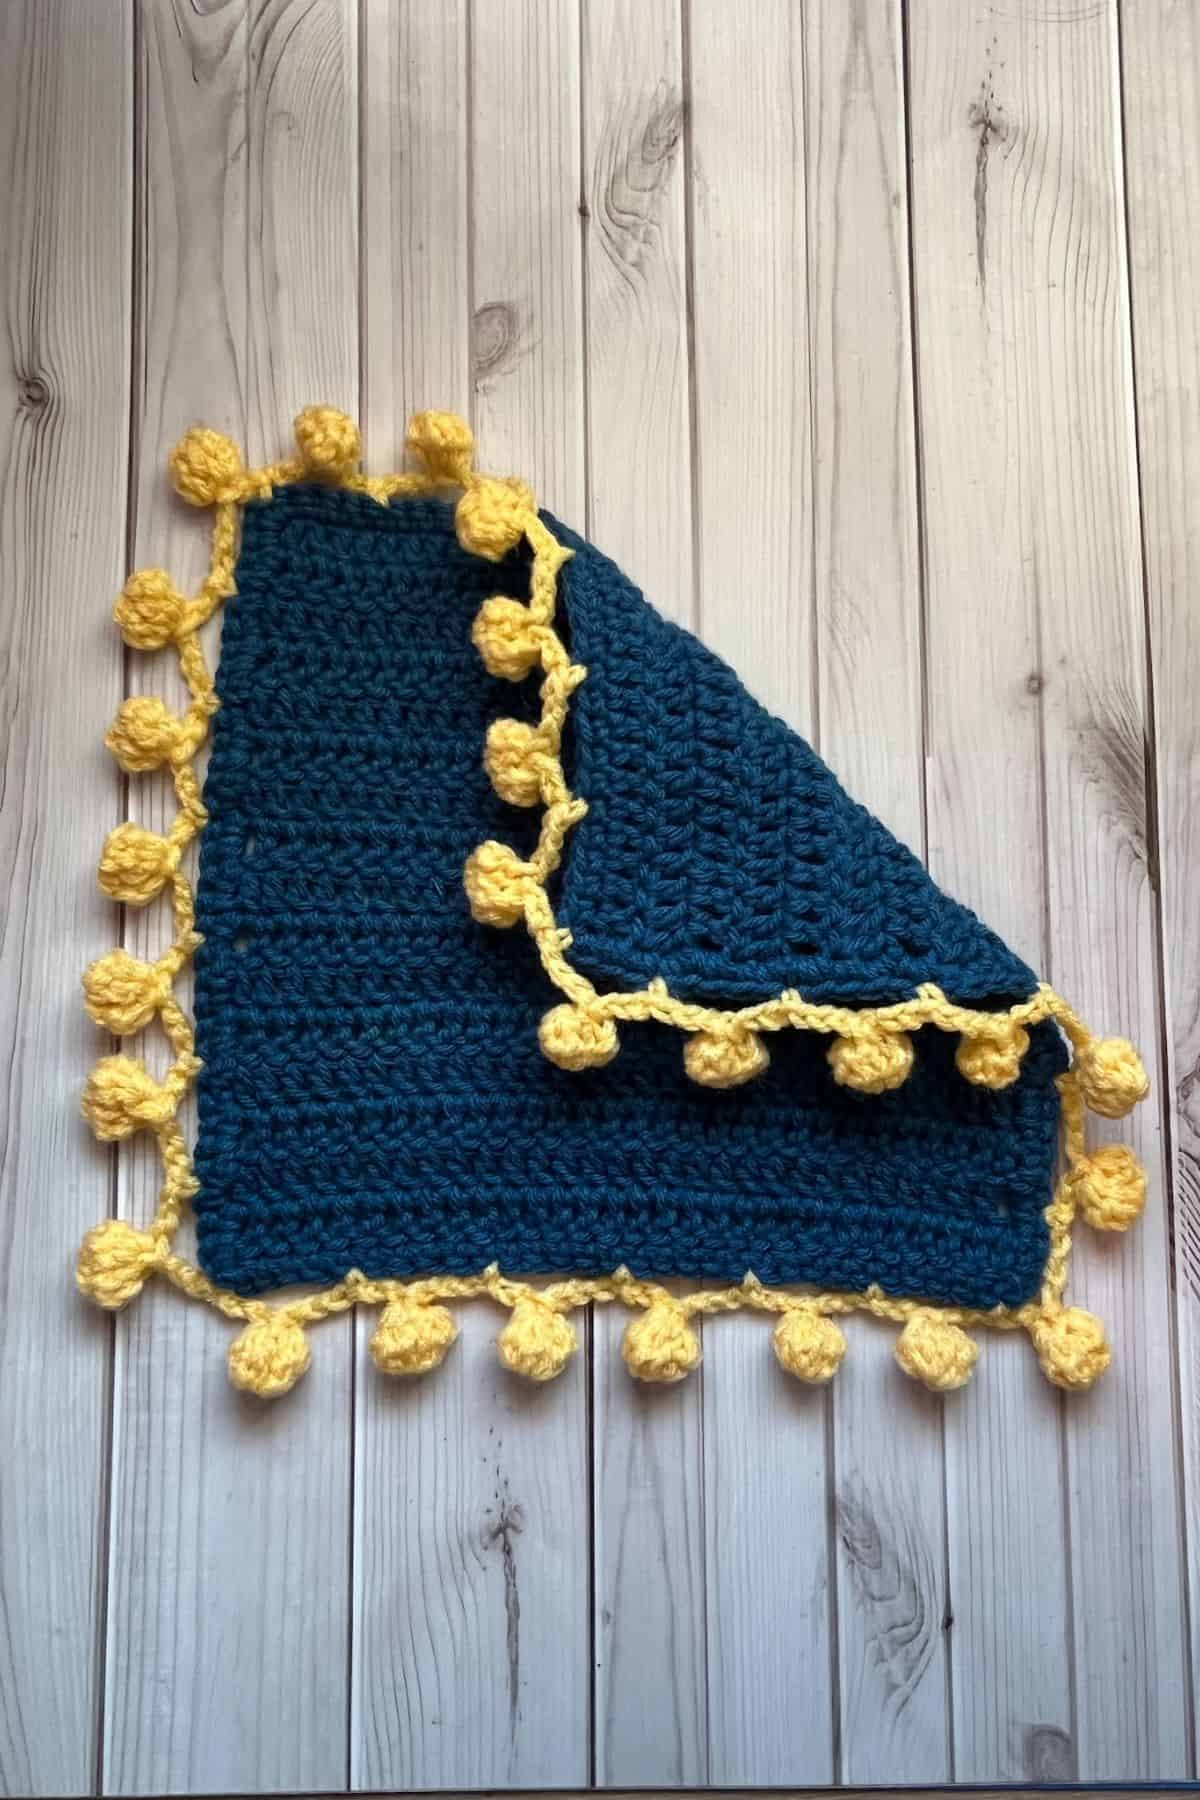
And just like that, your Crochet Pom Pom Border is complete! How fun and easy was that? Now, you’ve added a playful, whimsical touch to your blanket, making it stand out in a whole new way. The pom pom border is a great addition to any crochet project, and I hope you’re thrilled with the results!
You can even add the border to the ends of a scarf like how I did in my crochet snowflake scarf pattern or on a blanket like my crochet daisy blanket pattern.
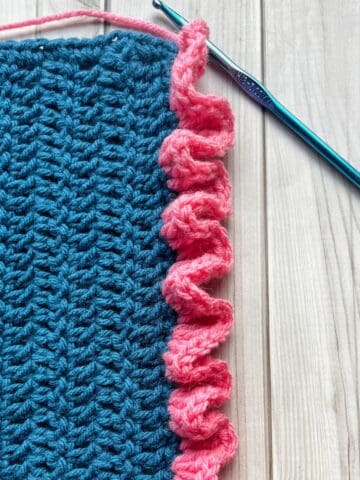
But don’t stop here! If you’re looking for more exciting ways to finish your crochet projects, I have a variety of fun crochet border patterns you can try. For example, check out my Crochet Wave Border pattern for a soothing, flowing edge that adds movement to your design. Or, if you want to add some extra flair, try the Crochet Ruffle Border pattern, which creates a soft, frilly edge that’s perfect for adding texture and charm to any project.
Or the crochet candy cane border that gives a really fun and festive striped border!
Crochet borders are a fantastic way to bring personality and style to your blankets, scarves, and other creations. They can take your crochet work from simple to spectacular with just a few extra steps, and I’m here to guide you every stitch of the way.
So, make sure to check out my other crochet border tutorials for more inspiration and fun projects. I can't wait to see what you create next! Happy crocheting, and enjoy adding those beautiful finishing touches to all your handmade masterpieces!
🐌Expert Tips
- Customizing Pom Poms: If you’d like to adjust the number of pom poms on your border, you can easily change the number of chains and stitches you skip between them. This allows you to create a border with more or fewer pom poms, depending on your desired look. Play around with the spacing to find what works best for your project!
- Experiment with Yarn Types: Don’t be afraid to experiment with different yarn types to achieve unique pom pom sizes and textures. Using thicker yarn will create larger, fluffier pom poms, while thinner yarn can result in smaller, more delicate ones. The variety in yarn textures can also add a lovely dimension to your border.
- Layered Colors: For a truly eye-catching design, consider using multiple yarn colors for your pom poms. This will add a dynamic, colorful touch to your border, making it stand out even more. You can create a rainbow effect, use complementary colors, or match the pom poms to the colors in your blanket for a cohesive look.
🧵Pattern FAQs
Yes, you can absolutely use chunky yarn for this blanket border! The pom poms will be much larger, giving your border a bold and eye-catching look. Chunky yarn adds extra texture and a cozy feel, making it a great choice if you want a thicker, more substantial edge. Keep in mind that the larger pom poms may change the overall appearance of your border, but they'll create a fun and dramatic effect. Just be sure to adjust your hook size accordingly to match the thickness of your yarn, and enjoy the results!
If you'd like the same pom pom look without crocheting individual pom poms, you can use pom pom yarn! This yarn already has fuzzy pom poms attached at regular intervals, saving you time and effort. To create the pom pom border, simply make chains and then anchor each pom pom by securing the loop to the edge of your project with a single crochet stitch. This method allows you to achieve the same playful effect with minimal work, and it’s a perfect solution if you're looking for a quicker way to add pom poms to your crochet projects.
The pom pom border is a versatile addition to many projects! You can easily add it to blankets for a fun and playful touch. It’s also perfect for pillows, adding a whimsical edge that enhances the overall design. Rugs can benefit from the pom pom border too, giving them a cozy, unique finish. Additionally, this border works well on scarves, shawls, tablecloths, and even baby items like blankets or toys. The pom pom border adds personality and charm to any project, making it a great way to elevate your crochet creations!
🧶More Crochet Border Patterns


If you tried this Crochet Pom Pom Border (or any other pattern on my website), please let me know how it went in the 📝 comments below. I'd love to hear from you!

Crochet Pom Pom Border
Materials
- 1 ball Yarn for edge
- 5mm crochet hook (or same hook you were using for your project)
- Tapestry needle
Abbreviations (US terms)
- ch = Chain
- sc = Single crochet
- sl st = Slip Stitch
- dc = Double Crochet
Notes
- The crochet pom pom border sample uses acrylic yarn, but any yarn and hook size work well.
- Border consists of crochet chain, pom pom, chain, repeated along the edge.
- Adjust as needed; slight variations of 1-2 stitch spaces are inconspicuous.
Instructions
- This pattern works best going around finished project edges.
- Round 1: Either join a new color for the edge, or you can do this first round in the same color as the blanket. For my example I did this round in blue, which is the color for my swatch.
- Work 1 round of sc around into each stitch around the blanket. Make sure to do 3 sc in each corner and to check on the border frequently to make sure it doesn't ripple or buckle. You want a smooth straight edge.
- Slip stitch to first sc at the end of the round.
- Round 2: If you haven’t switched the color yet to the color you specifically want for the pom poms and chains, now is the time to do it. This is where I switched the yarn to yellow.
- After joining the new color if you needed to, ch x6.
- In the 3rd chain from the hook, dc 4 together. This is similar to the cluster or bobble stitch, but with 4 dc’s instead of 3 and 5 respectively. To make the stitch make a normal dc but instead of going through the last 2 loops on your hook you instant go to making another dc, so each time you make a dc you are gaining an extra loop on your hook. At the end you should have 5 loops on your hook. Then yarn over and go through all 5 loops on your hook.
- Then ch x3.
- In the 3rd chain from your hook, dc 4 together again.
- Fold the cluster of stitches over and sl st into the ch that you made your first group of dc’s in.
- Then ch x3 again.
- Now you want to skip 4 stitches and anchor the chain to the crochet edge with a single crochet.
- You have now successfully made your first pom pom. Repeat for the rest of the edge. Slip stitch to the beginning.


Leave a Reply