
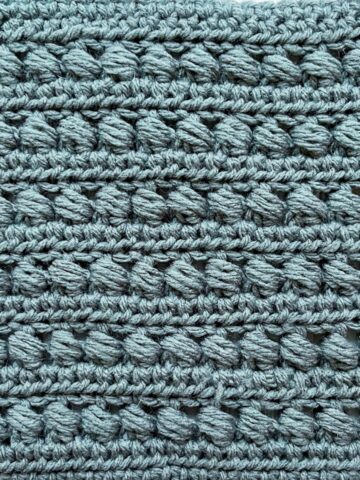
The Block Stitch in Crochet is a delightful 2-row repeat stitch that creates a lovely block motif with a peek-a-boo effect of a different color. You can keep it simple with just two colors or make it as vibrant as you like by switching colors every row.
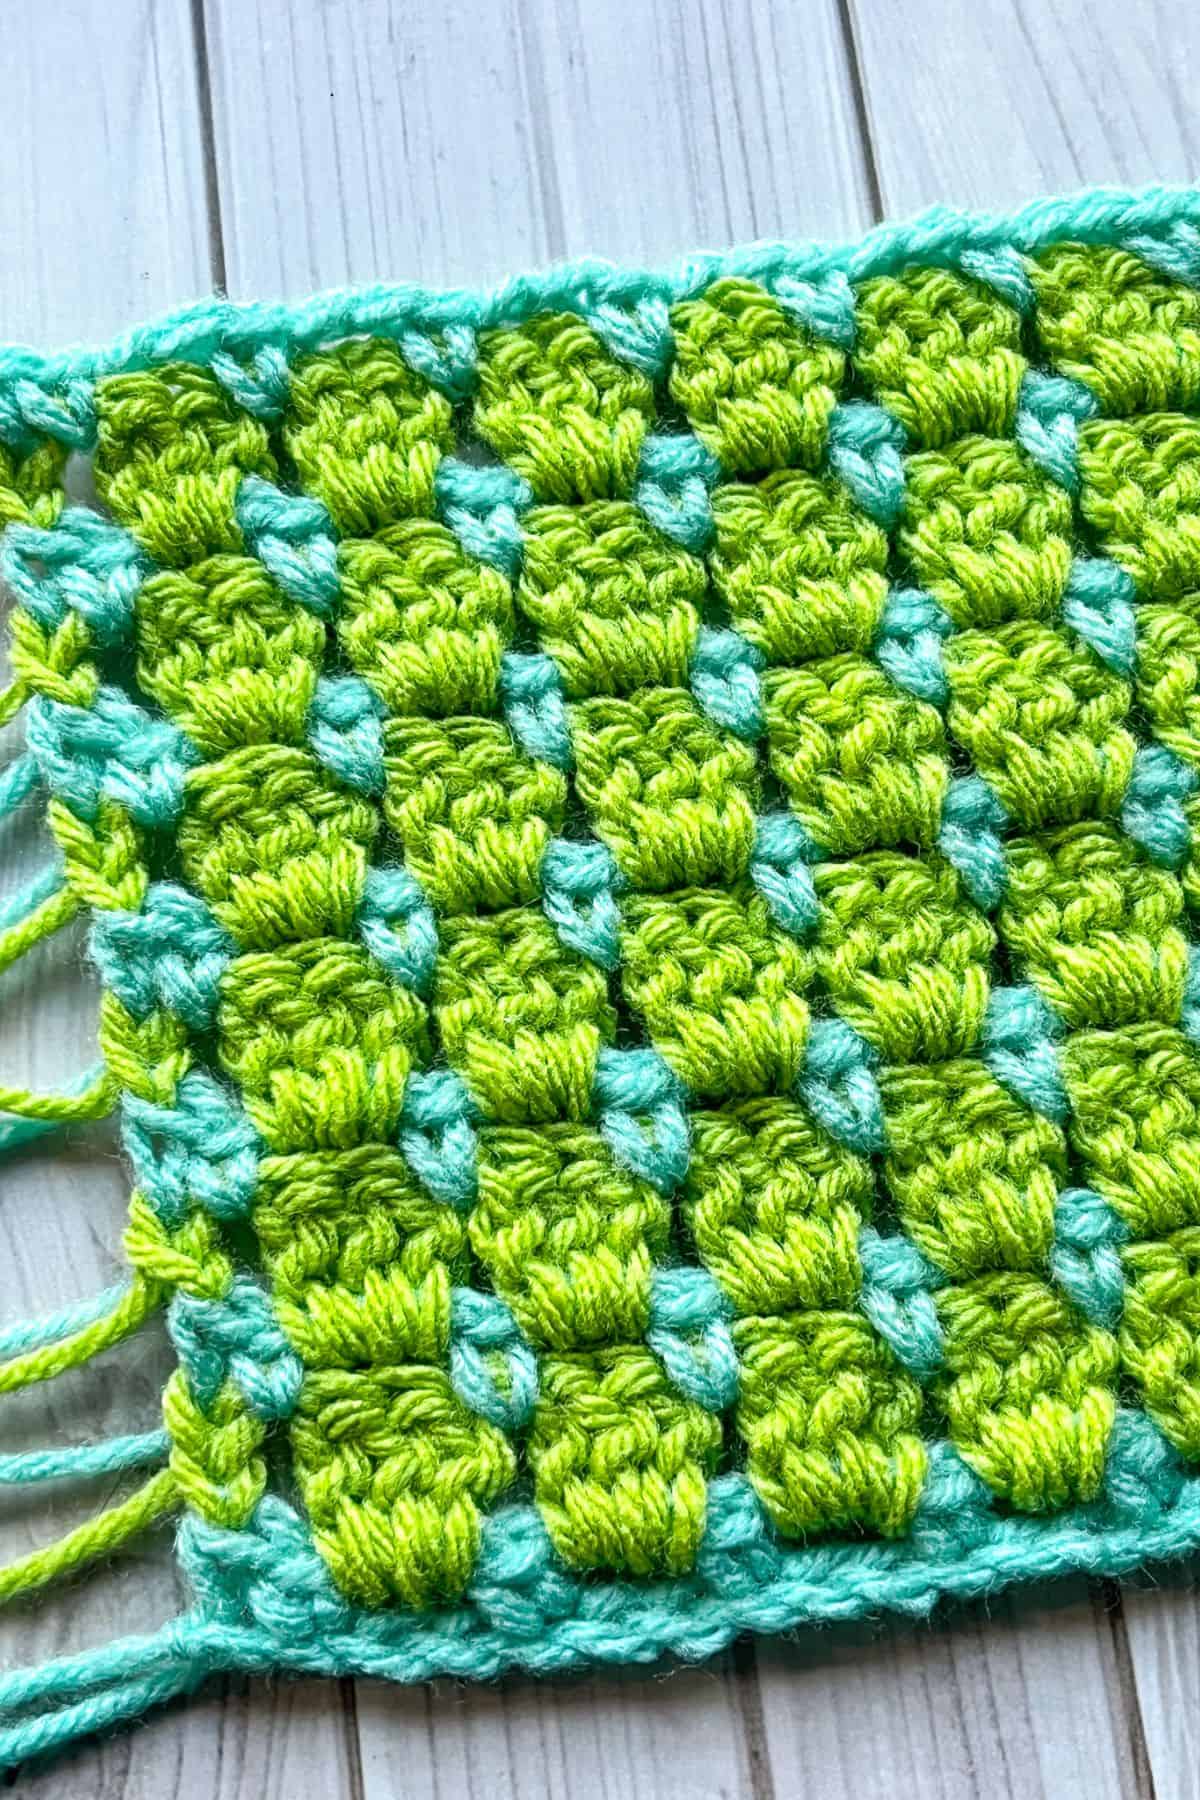
I find the crochet block stitch incredibly pretty, and it can be used for a variety of projects. Many people have created cardigans, blankets, and scarves using this stitch. It’s no wonder it’s a favorite! Not only is it beautiful, but it also has very few holes, making it perfect for keeping you warm.
There is even a stitch called the interlocking block stitch, which is similar to both this stitch and my crochet snuggle stitch tutorial and that stitch creates even less holes.
Although the block stitch is primarily a swatch pattern, you can adjust the starting chain in multiples of 2 to create a larger project.
Jump to:
✏️ Things To Note:
- Yarn Type: I used worsted weight yarn for the crochet block stitch, but any type of yarn will work well with this stitch.
- Yarn Usage: I primarily used scraps for my crochet block stitch, but you can use full skeins or whatever you have on hand! You can also use scrap yarn for my other stitch tutorials like my crochet granny spike stitch.
- Working Style: This pattern can also be made in the round, but this tutorial focuses on working in rows.
🪡 Materials Needed
- Scrap yarn, or yarn needed for size of project
- 5mm hook
- Tapestry needle
💭Abbreviations to Remember (US terms)
- Chain - ch
- Single Crochet - sc
- Double Crochet - dc
🍵Instructions for Block Stitch in Crochet
The Block Stitch in Crochet pattern is made in rows.
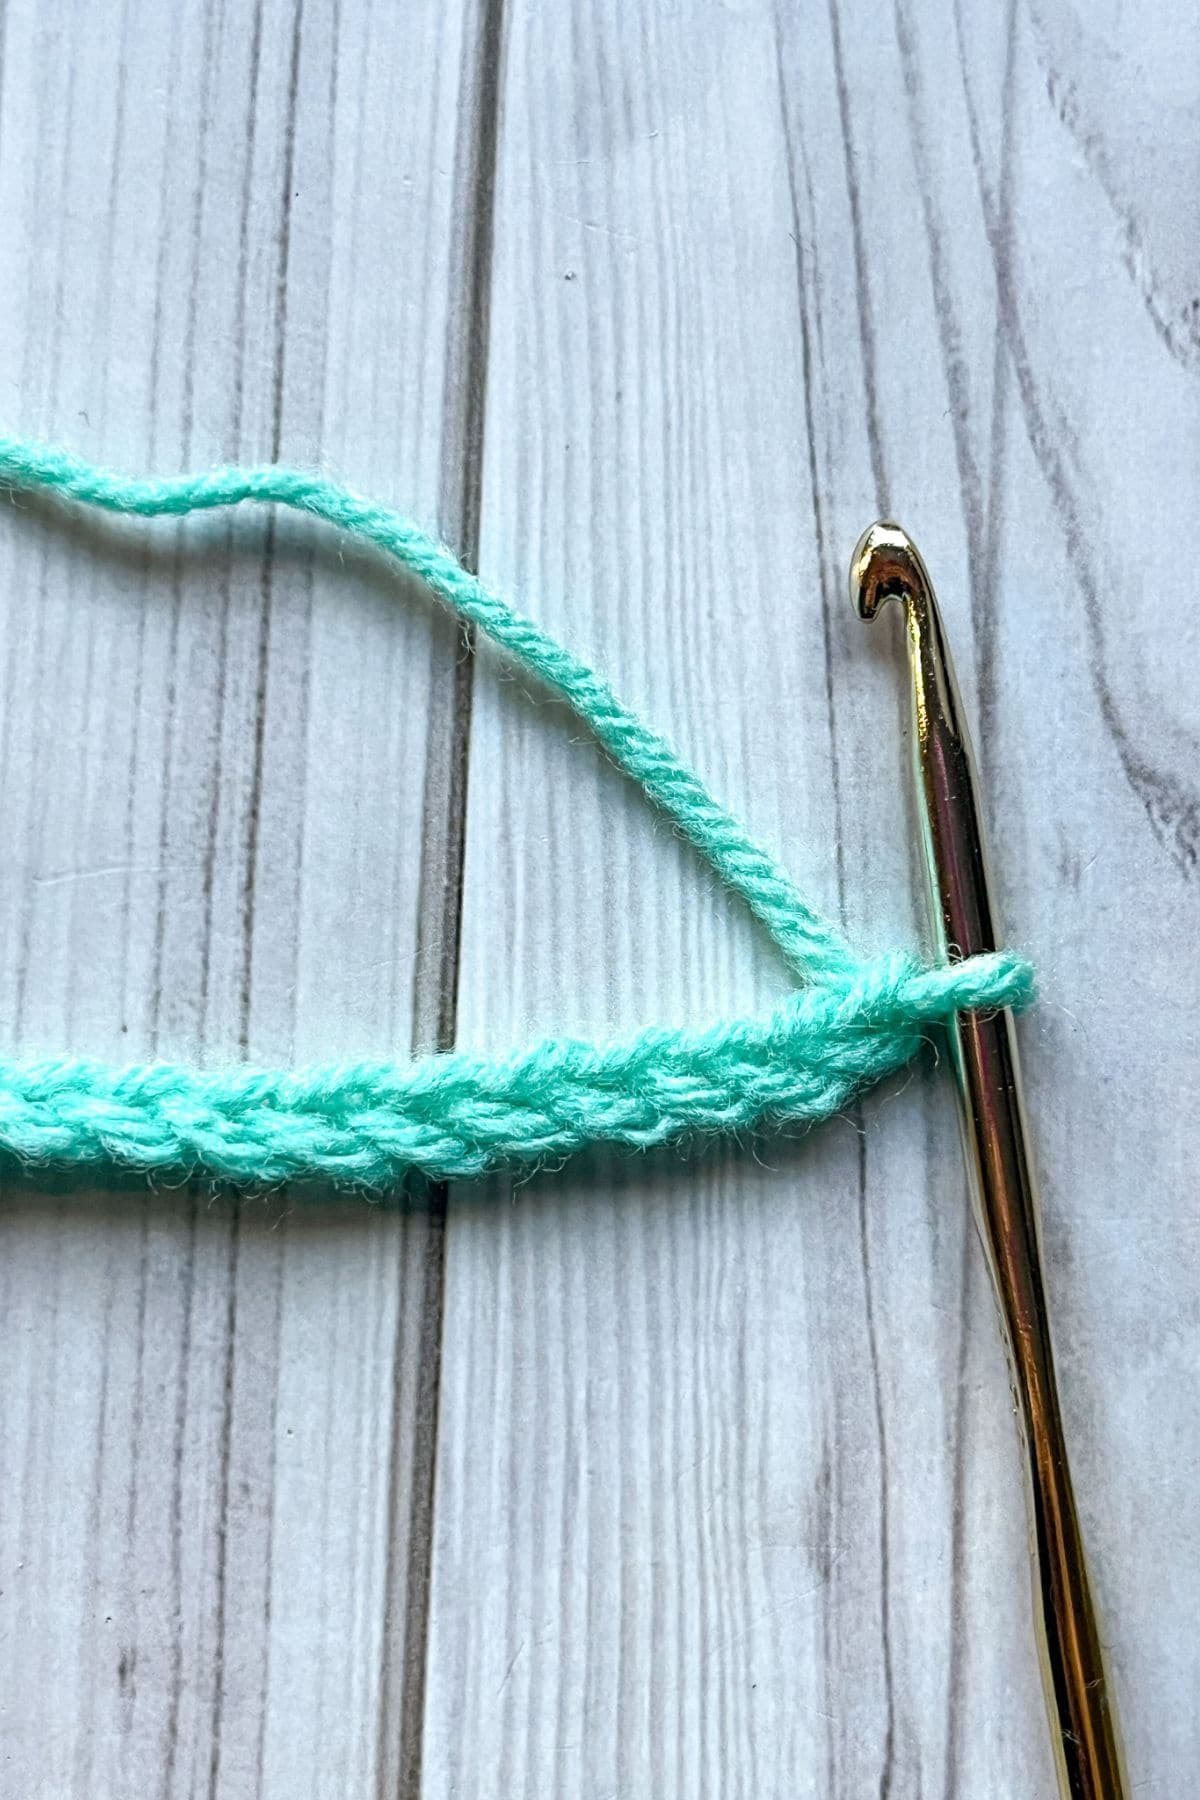
Ch x25 (or any multiple of 3 +1) with color A.
Row 1: In the second chain from the hook, make a sc. Make a sc in the next stitch too.
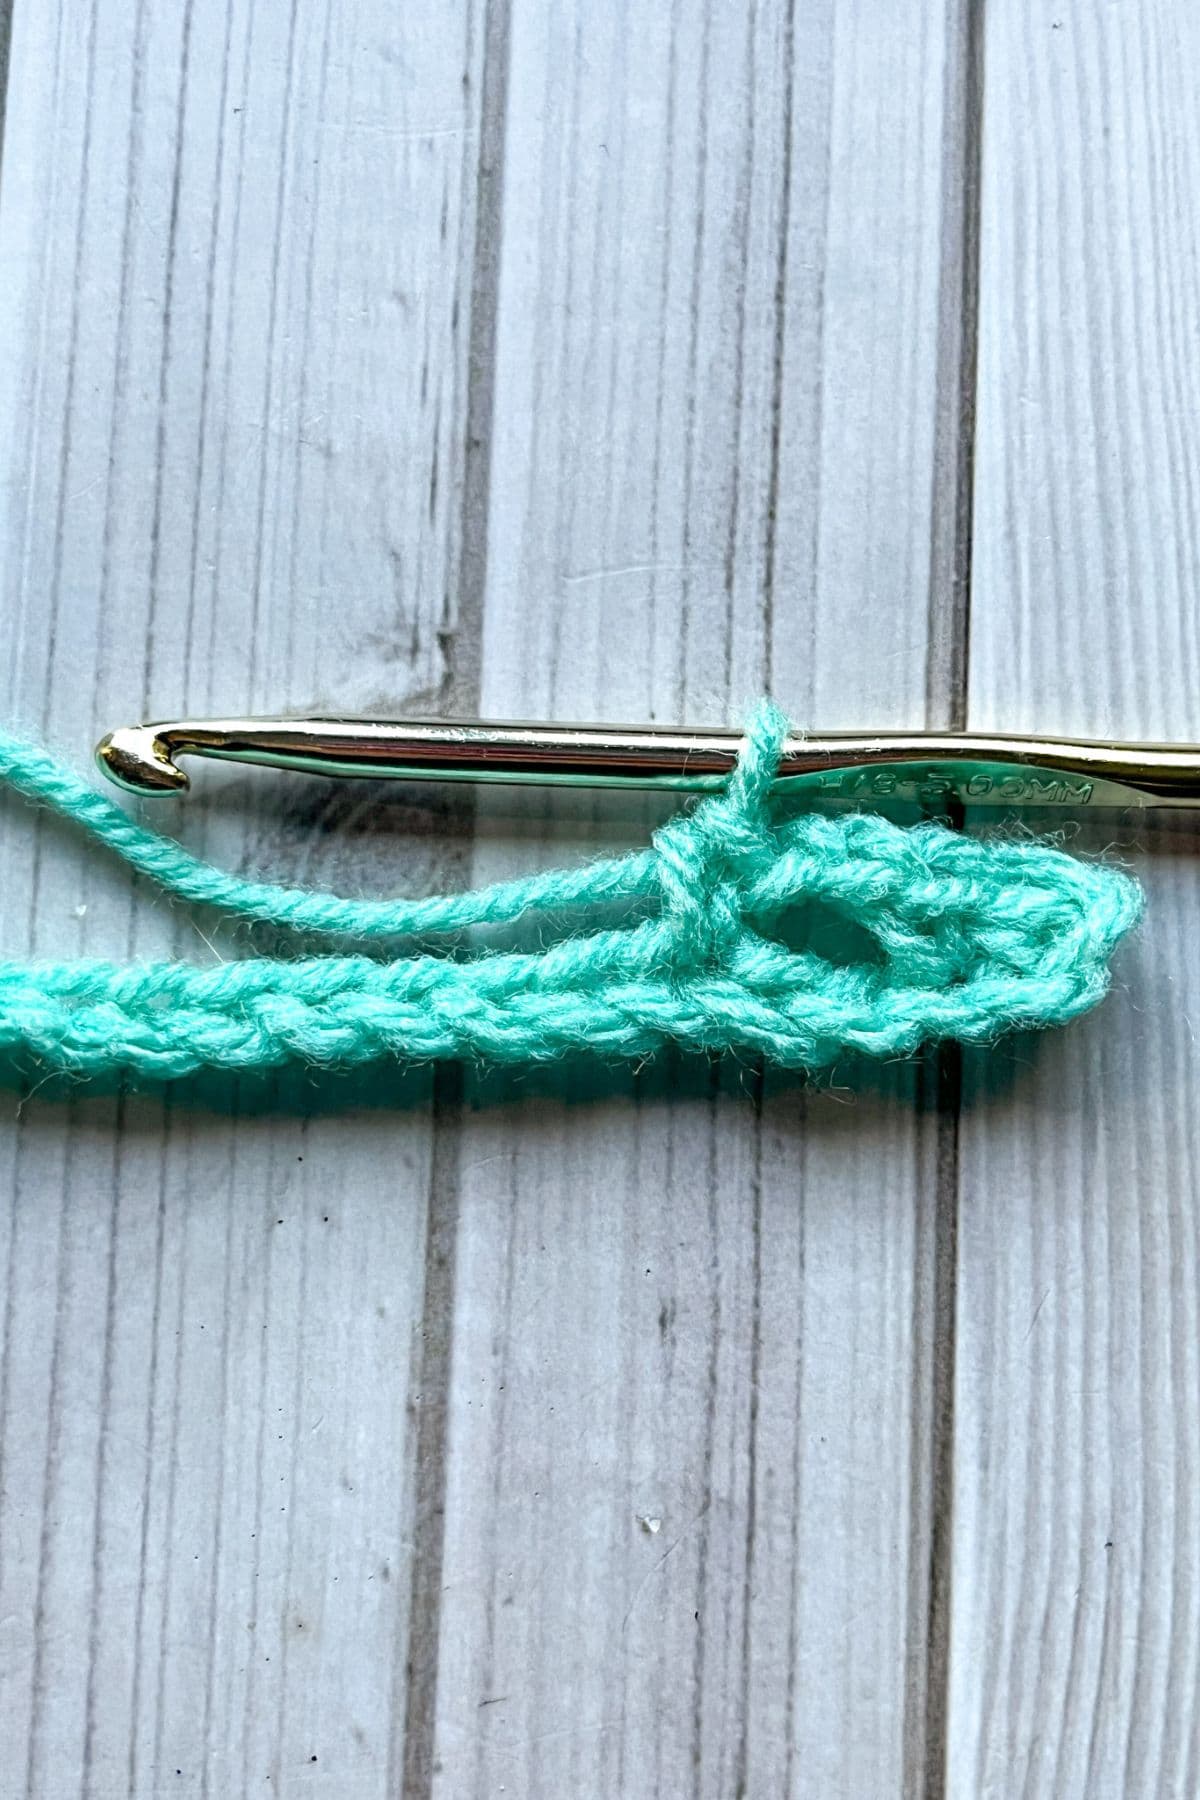
*Ch x2, skip 2 chains, sc x1 in the next chain.

Repeat from * for the rest of the row. Then sc in the last ch.
In the last stitch of the row, switch your yarn color from color A to color B.
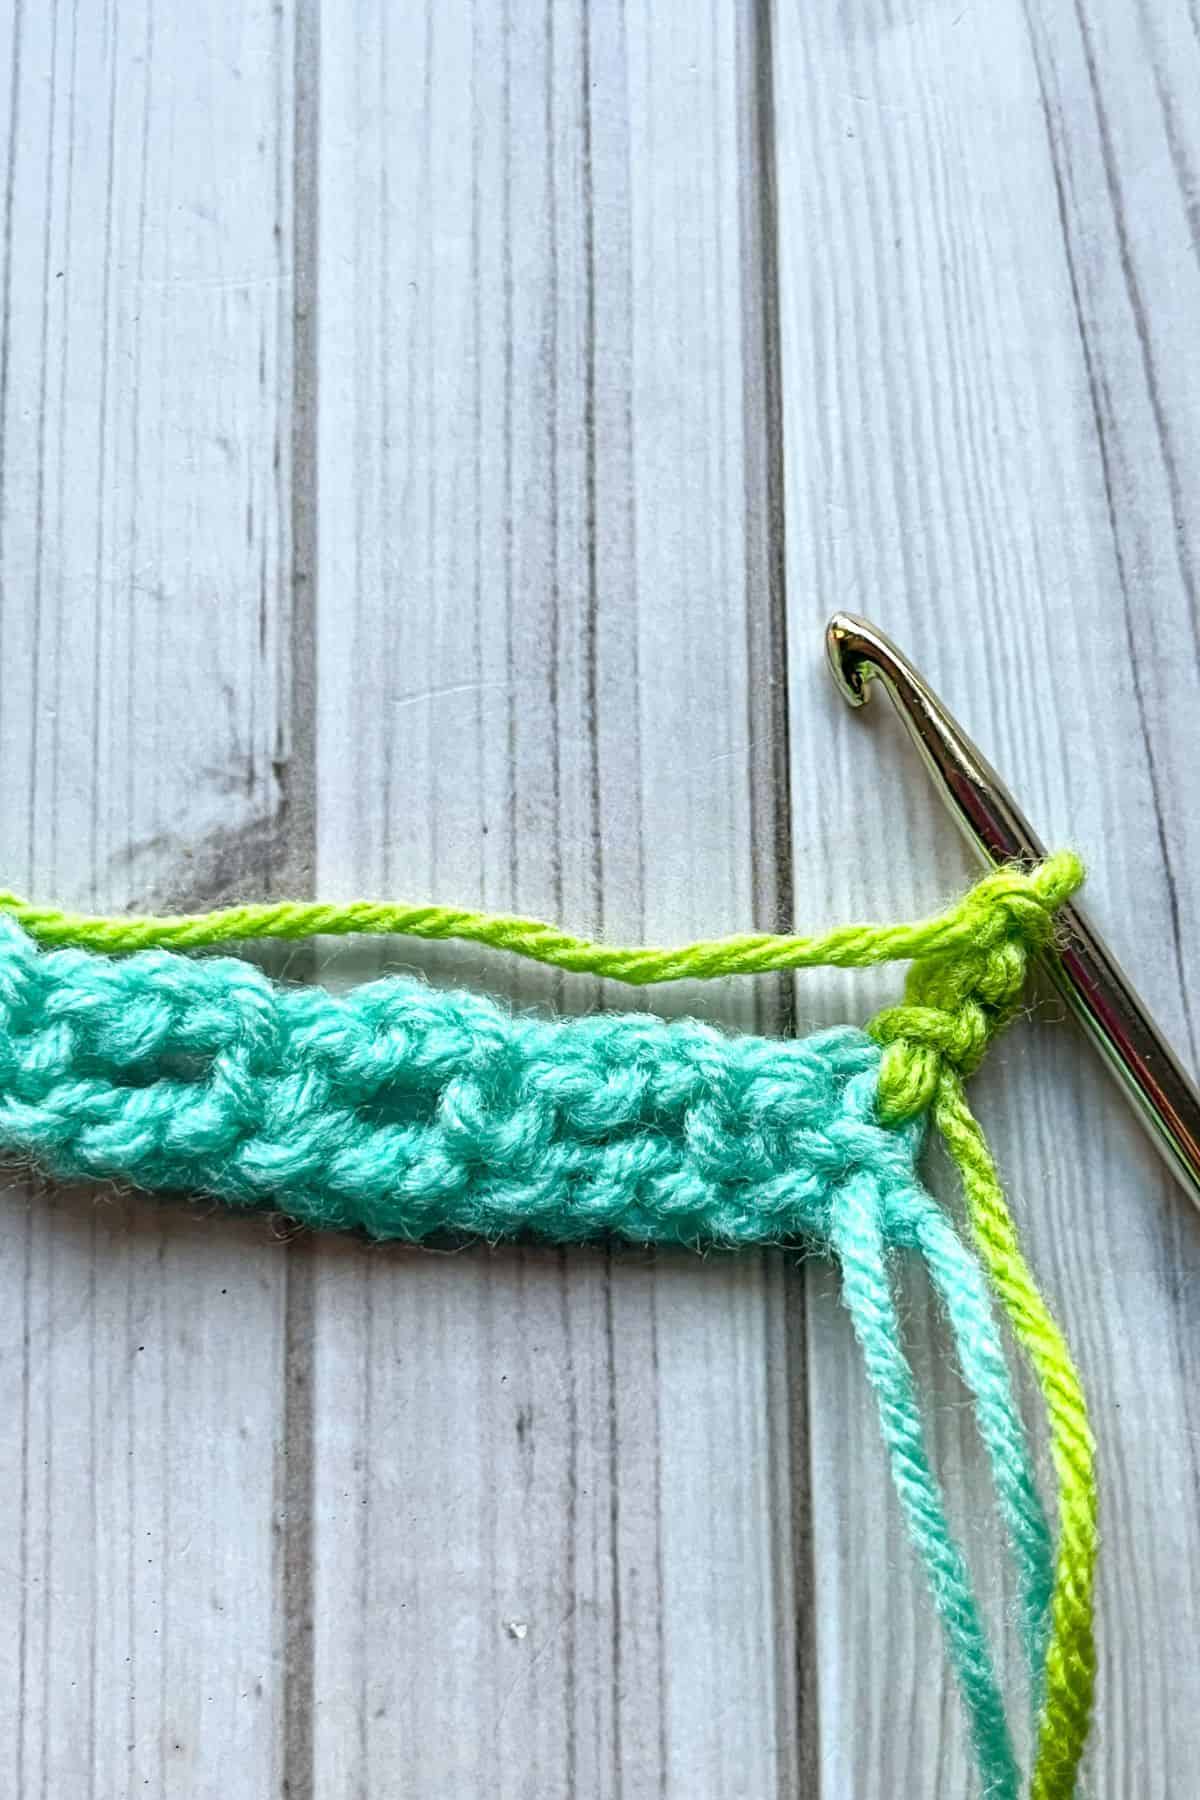
With color B ch x3 (counts as a dc) and turn.
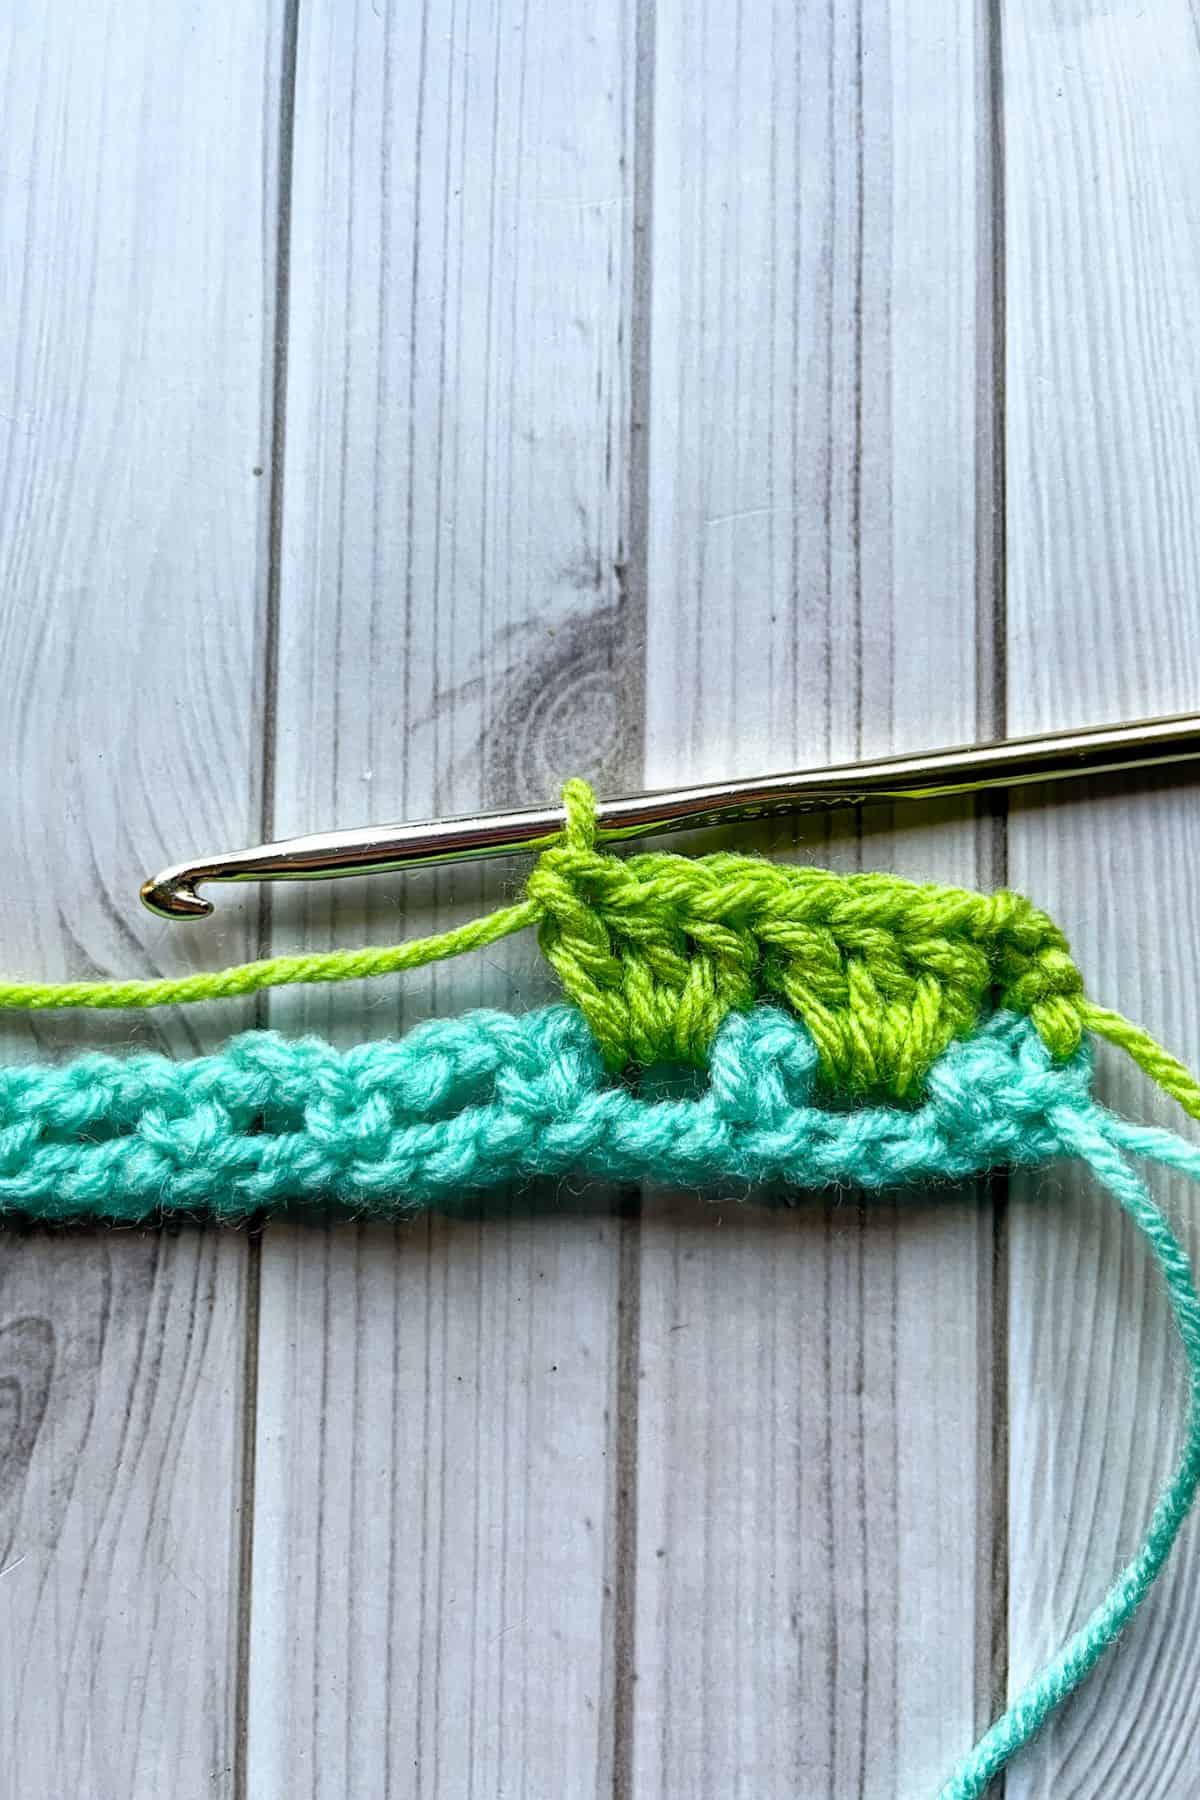
Row 2: Dc x3 into the chain spaces created in the last row. Repeat that for the rest of the row.

Make a dc in the last stitch of the row, and switch colors back to color A. Ch x1 and turn.

Row 3: Sc x2, then *ch x2 and sc in between each dc 3 cluster from the row below.
Repeat from * for the rest of the row, make a sc in the last stitch. Switch your yarn color to color B.
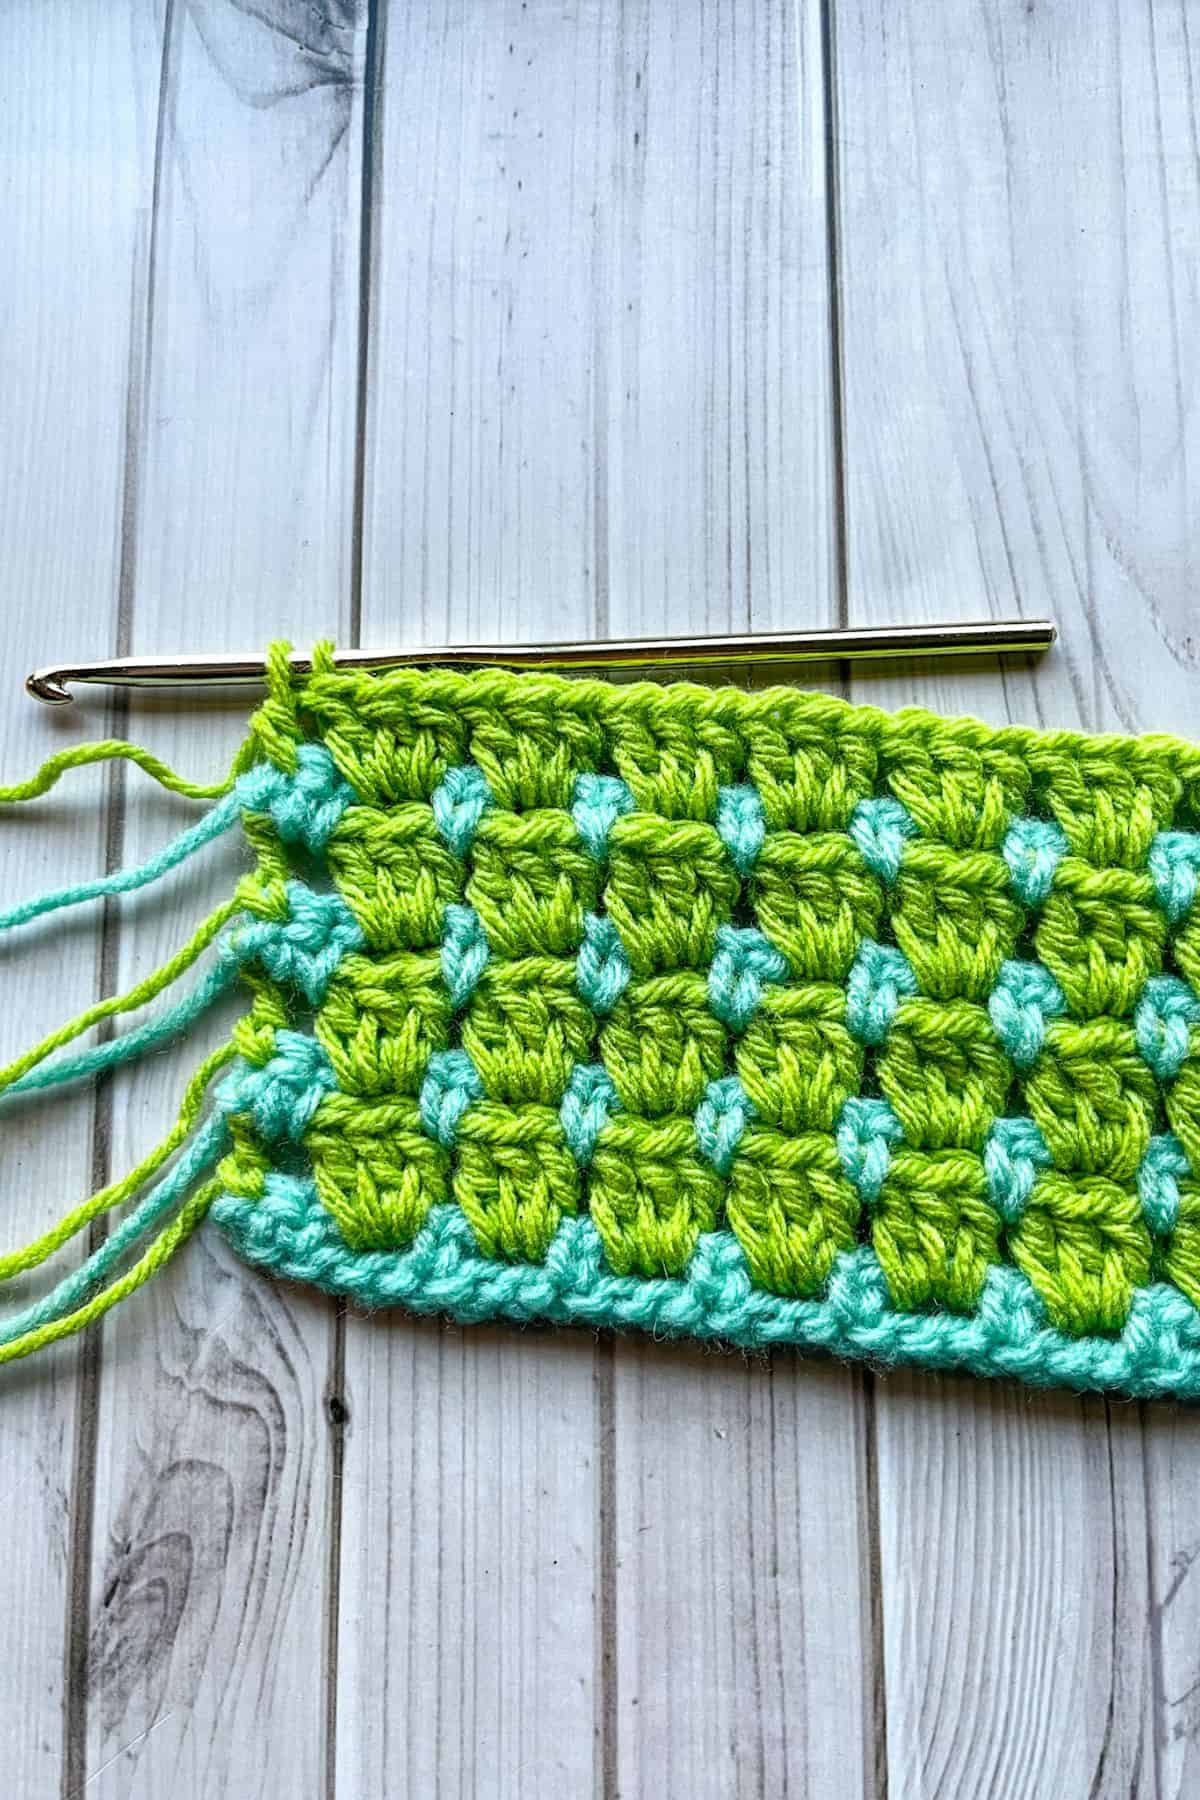
Row 4 and onwards: Repeat row 2 and 3 for the rest of the project.
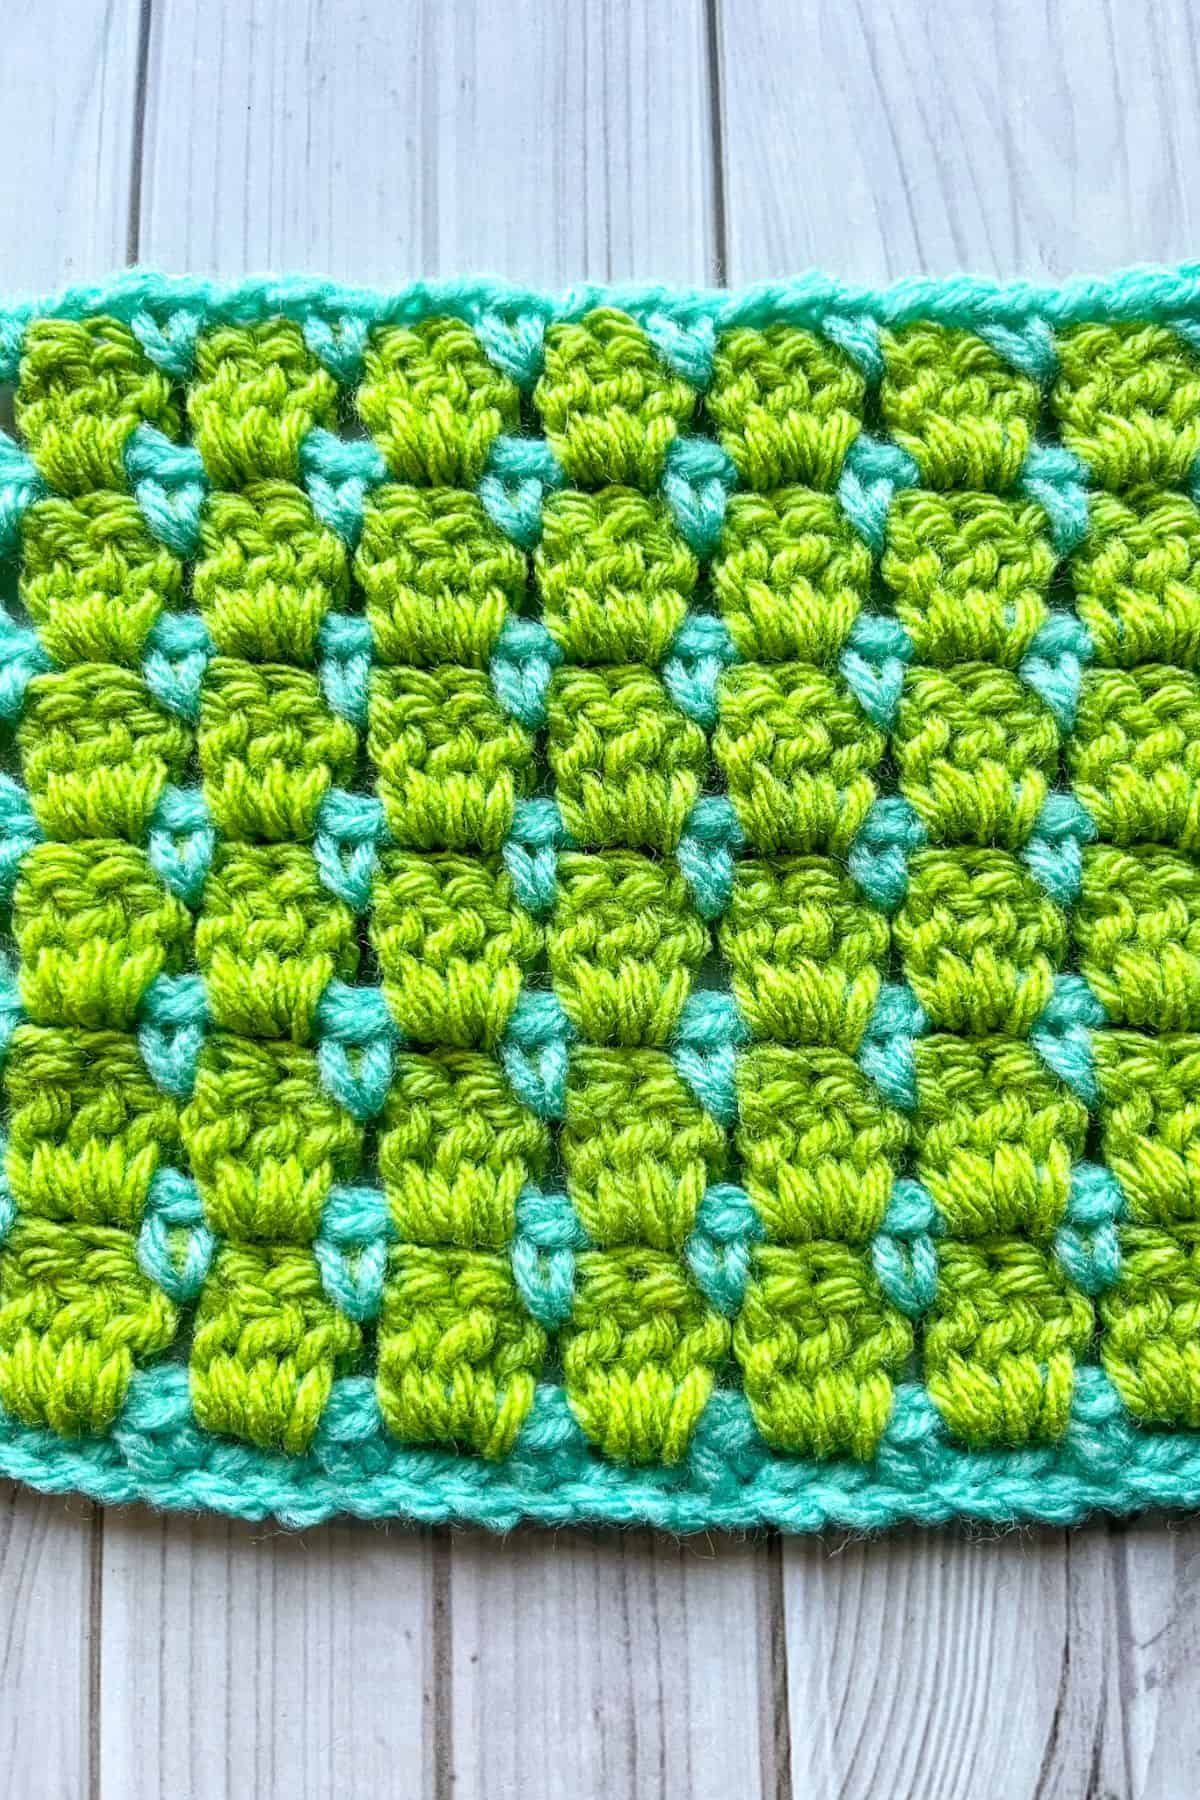
Fasten off your yarn and weave in any ends. If you prefer to not weave in your ends you can make fringe, or use the crochet envelope border pattern to hide the ends.
And now you know how to make the crochet block stitch.
You can use this stitch to create many different projects like blankets, pillows and scarves!
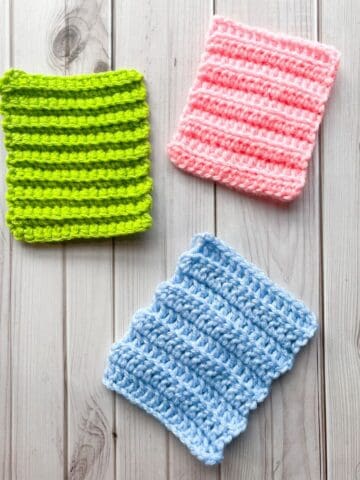
If you like this stitch tutorial and wanted to try making other colorful crochet stitches, I recommend my crochet houndstooth stitch pattern and my crochet plaid stitch pattern. Both will show you how you can use alternating rows or sections of color to create fabulous new stitches and looks.
Looking for crochet stitches that you don't have to switch yarn colors for? Check out my crochet crunch stitch pattern and crochet daisy stitch pattern. Both create beautiful texture without the hassle of trying to switch colors.
🐌Expert Tips
- Weaving in Ends: If you are changing colors often, I suggest weaving in ends as you go to avoid a bulky finish.
- Maintaining Tension: Keep your tension consistent throughout to ensure an even appearance.
- Testing Yarn Combinations: Try out different color combinations on a small swatch to find the look you love best.
🧵Pattern FAQs
If they are visible, you can always add a border to the project and hide it within the stitches of the border. Like by using the crochet envelope border which is designed to help conceal yarn ends.
Absolutely! It should work with every type of yarn
Of course! But you may need to adjust the amount of chains you need at the beginning so be aware of that.

🧶More Crochet Stitch Patterns

If you tried this Block Stitch in Crochet (or any other pattern on my website), please let me know how it went in the 📝 comments below. I'd love to hear from you!

Block Stitch in Crochet
Materials
- Scrap yarn or yarn needed for size of project
- 5 mm hook
- Tapestry needle
Abbreviations (US terms)
- Chain - ch
- Single crochet - sc
- Double crochet - dc
Notes
- Yarn Type: I used worsted weight yarn for the crochet block stitch, but any type of yarn will work well with this stitch.
- Yarn Usage: I primarily used scraps for my crochet block stitch, but you can use full skeins or whatever you have on hand! You can also use scrap yarn for my other stitch tutorials like my crochet granny spike stitch.
- Working Style: This pattern can also be made in the round, but this tutorial focuses on working in rows.
Instructions
- This pattern is made in rows.
- Ch x25 (or any multiple of 3 +1) with color A.
- Row 1: In the second chain from the hook, make a sc. Make a sc in the next stitch too.
- *Ch x2, skip 2 chains, sc x1 in the next chain.
- Repeat from * for the rest of the row. Then sc in the last ch.
- In the last stitch of the row, switch your yarn color from color A to color B.
- With color B ch x3 (counts as a dc) and turn.
- Row 2: Dc x3 into the chain spaces created in the last row. Repeat that for the rest of the row.
- Make a dc in the last stitch of the row, and switch colors back to color A. Ch x1 and turn.
- Row 3: Sc x2, then *ch x2 and sc in between each dc 3 cluster from the row below.
- Repeat from * for the rest of the row, make a sc in the last stitch. Switch your yarn color to color B.
- Row 4 and onwards: Repeat row 2 and 3 for the rest of the project.
- Fasten off your yarn and weave in any ends. If you prefer to not weave in your ends you can make fringe, or use the crochet envelope border pattern to hide the ends.
- And now you know how to make the crochet block stitch.
- You can use this stitch to create many different projects like blankets, pillows and scarves!


Leave a Reply