
Add some texture to your next blanket by using the Crochet Bobble Border Pattern for its edging. This border adds visual interest and isn't too difficult to create!

The crochet bobble edge is a great blanket edging that requires only basic skills: single crochet, double crochet, and slip stitches. What may look complicated is actually quite easy to achieve!
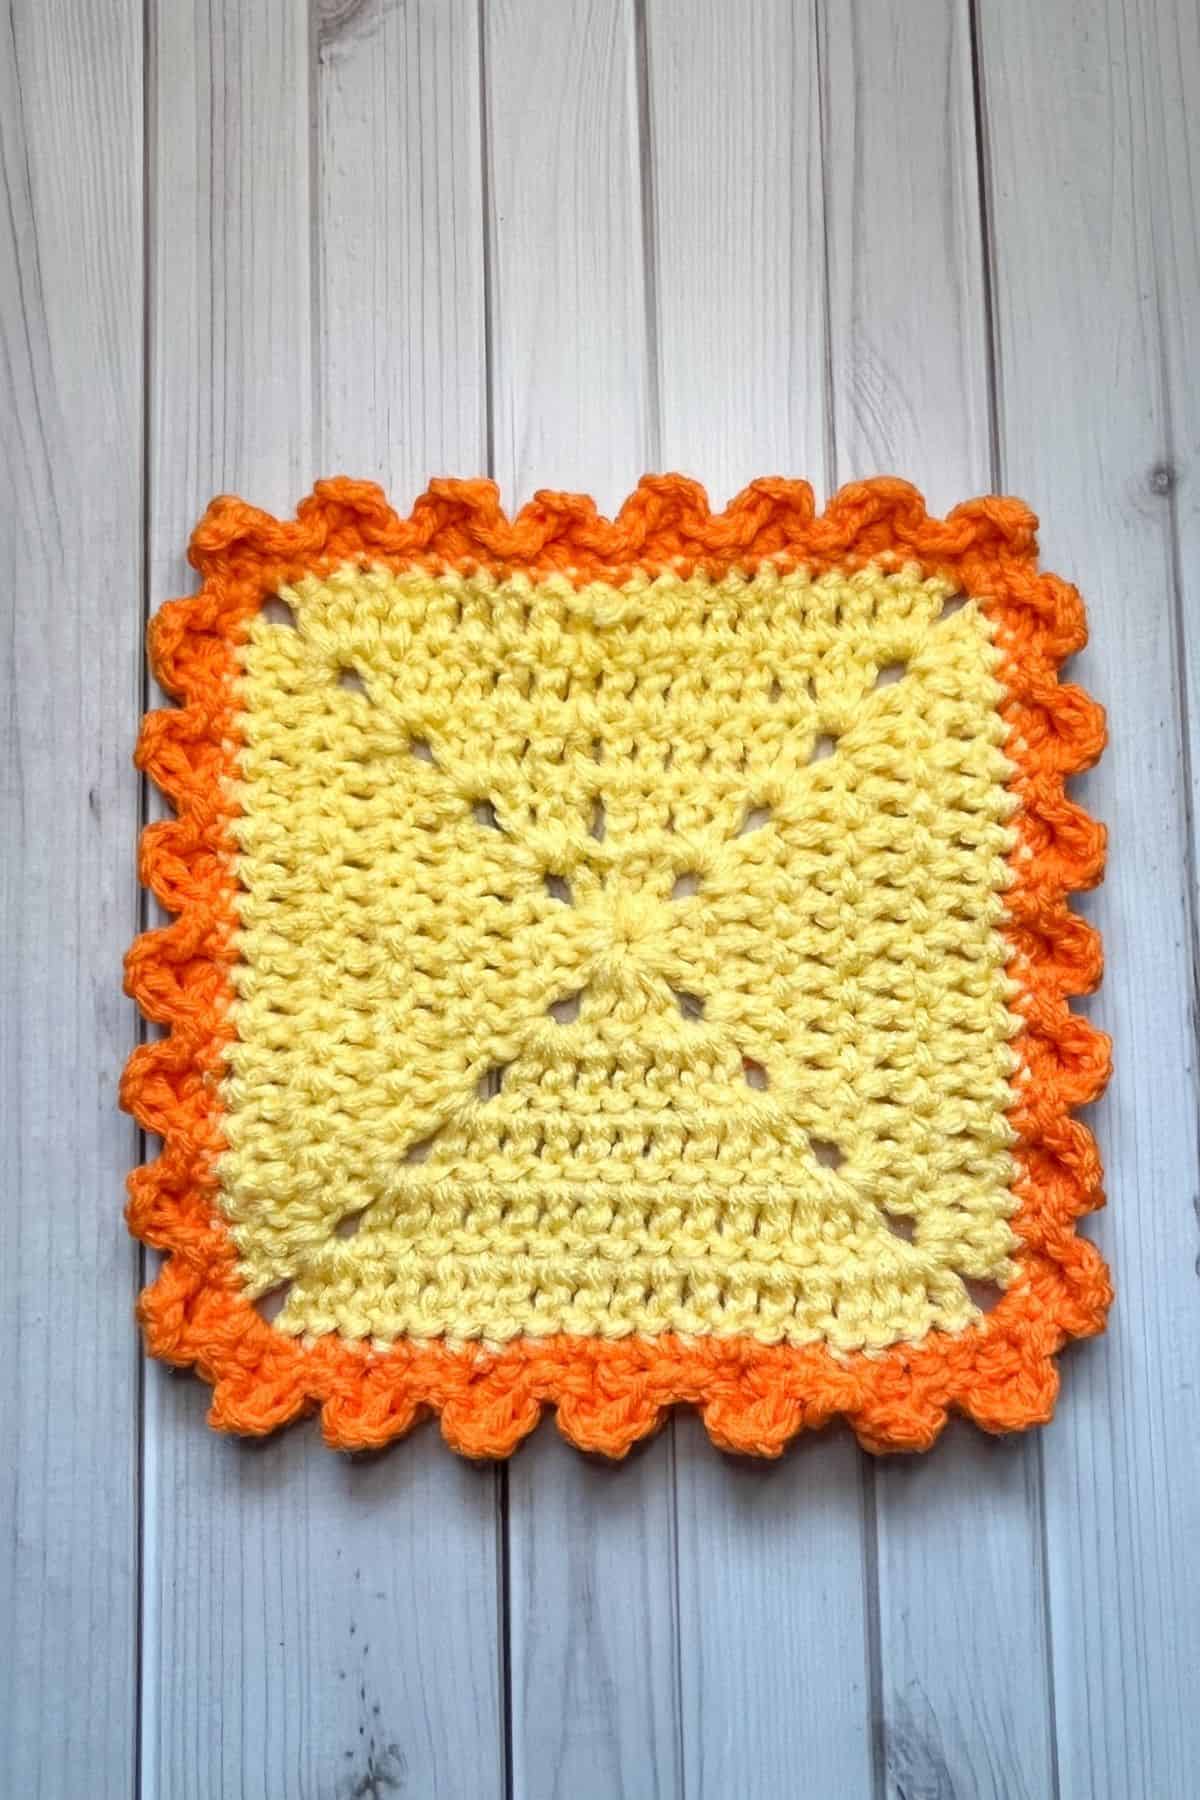
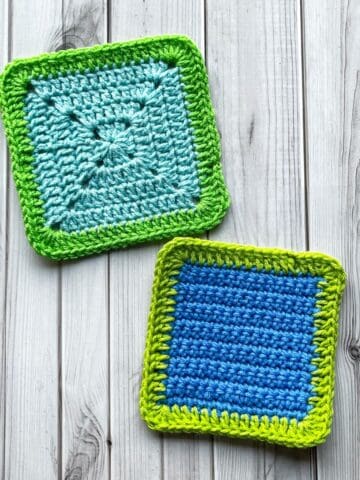
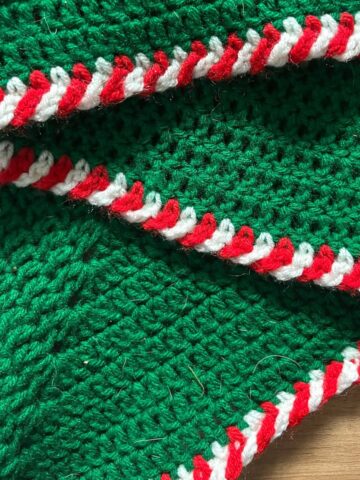
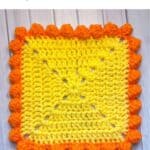
The crochet bobble border, also known as the crochet dot border, is the border that I used for my candy cane striped blanket and my crochet Halloween blanket pattern.
Although it's straightforward, it can be a bit of a yarn eater, so make sure you have more yarn than you think you'll need. Otherwise, you might find yourself running back to the yarn store—though that doesn’t sound like a bad idea either!
So let's get started on the crochet bobble border pattern!
Jump to:
✏️ Things To Note:
- Yarn Choice. For the crochet bobble border pattern, I chose acrylic worsted weight yarn, but you can easily use any type of yarn for this project. The yarn you choose will affect the texture and drape of the border, so feel free to experiment with different materials, such as cotton, wool, or even blends, to match the look and feel you want for your project.
- Spacing Between Bobbles. In this design, I used 3 slip stitches between each bobble, but the spacing is completely customizable. If you prefer the bobbles to be closer together or spaced further apart, simply adjust the number of slip stitches between each bobble. This allows you to create a border that perfectly fits your desired aesthetic, whether you want a more compact or looser, airy look.
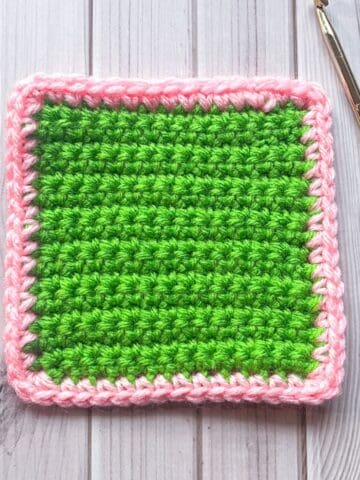
- Versatile Usage. The bobble stitch border isn't limited to just blankets—it's a highly versatile technique that can be applied to a variety of flat crochet projects. Whether you're working on scarves, shawls, dishcloths, or even home decor items like pillow covers, this bobble border adds a fun, textured finishing touch. I even use bobble stitches for my crochet rainbow keychain pattern and my crochet sheep pattern. The bold look of the bobble stitch makes it a great choice for edging any project, adding both dimension and personality. Feel free to get creative and experiment with different types of items to elevate your crochet projects!
🪡 Materials Needed
- 5mm hook or hook of choice
- Yarn for the border
- Tapestry needle
💭Abbreviations to Remember (US terms)
- Chain - ch
- Slip Stitch - sl st
- Single Crochet - sc
- Double Crochet - dc
- Bobble - bobble (no abbreviation)
🍵Instructions for Crochet Bobble Border Pattern
We will be working the crochet bobble edge in rounds.
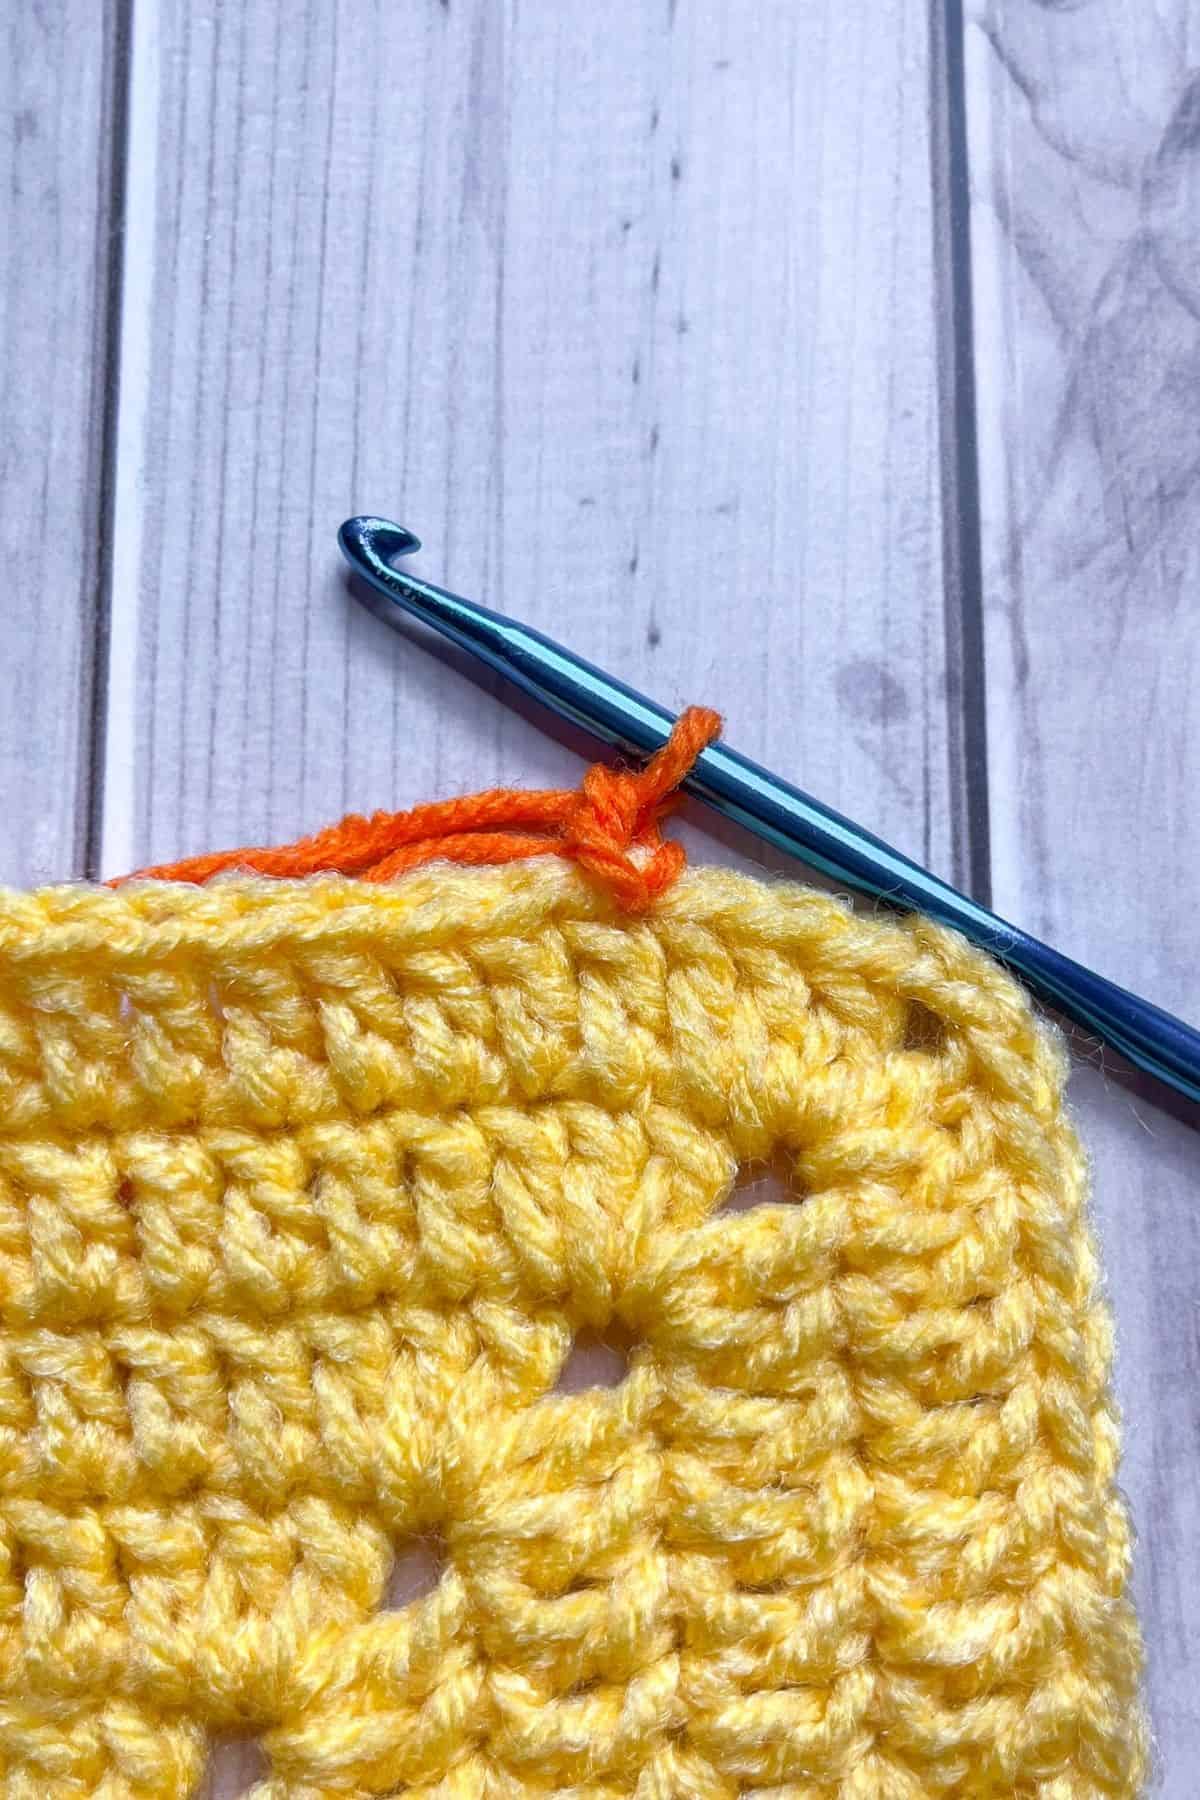
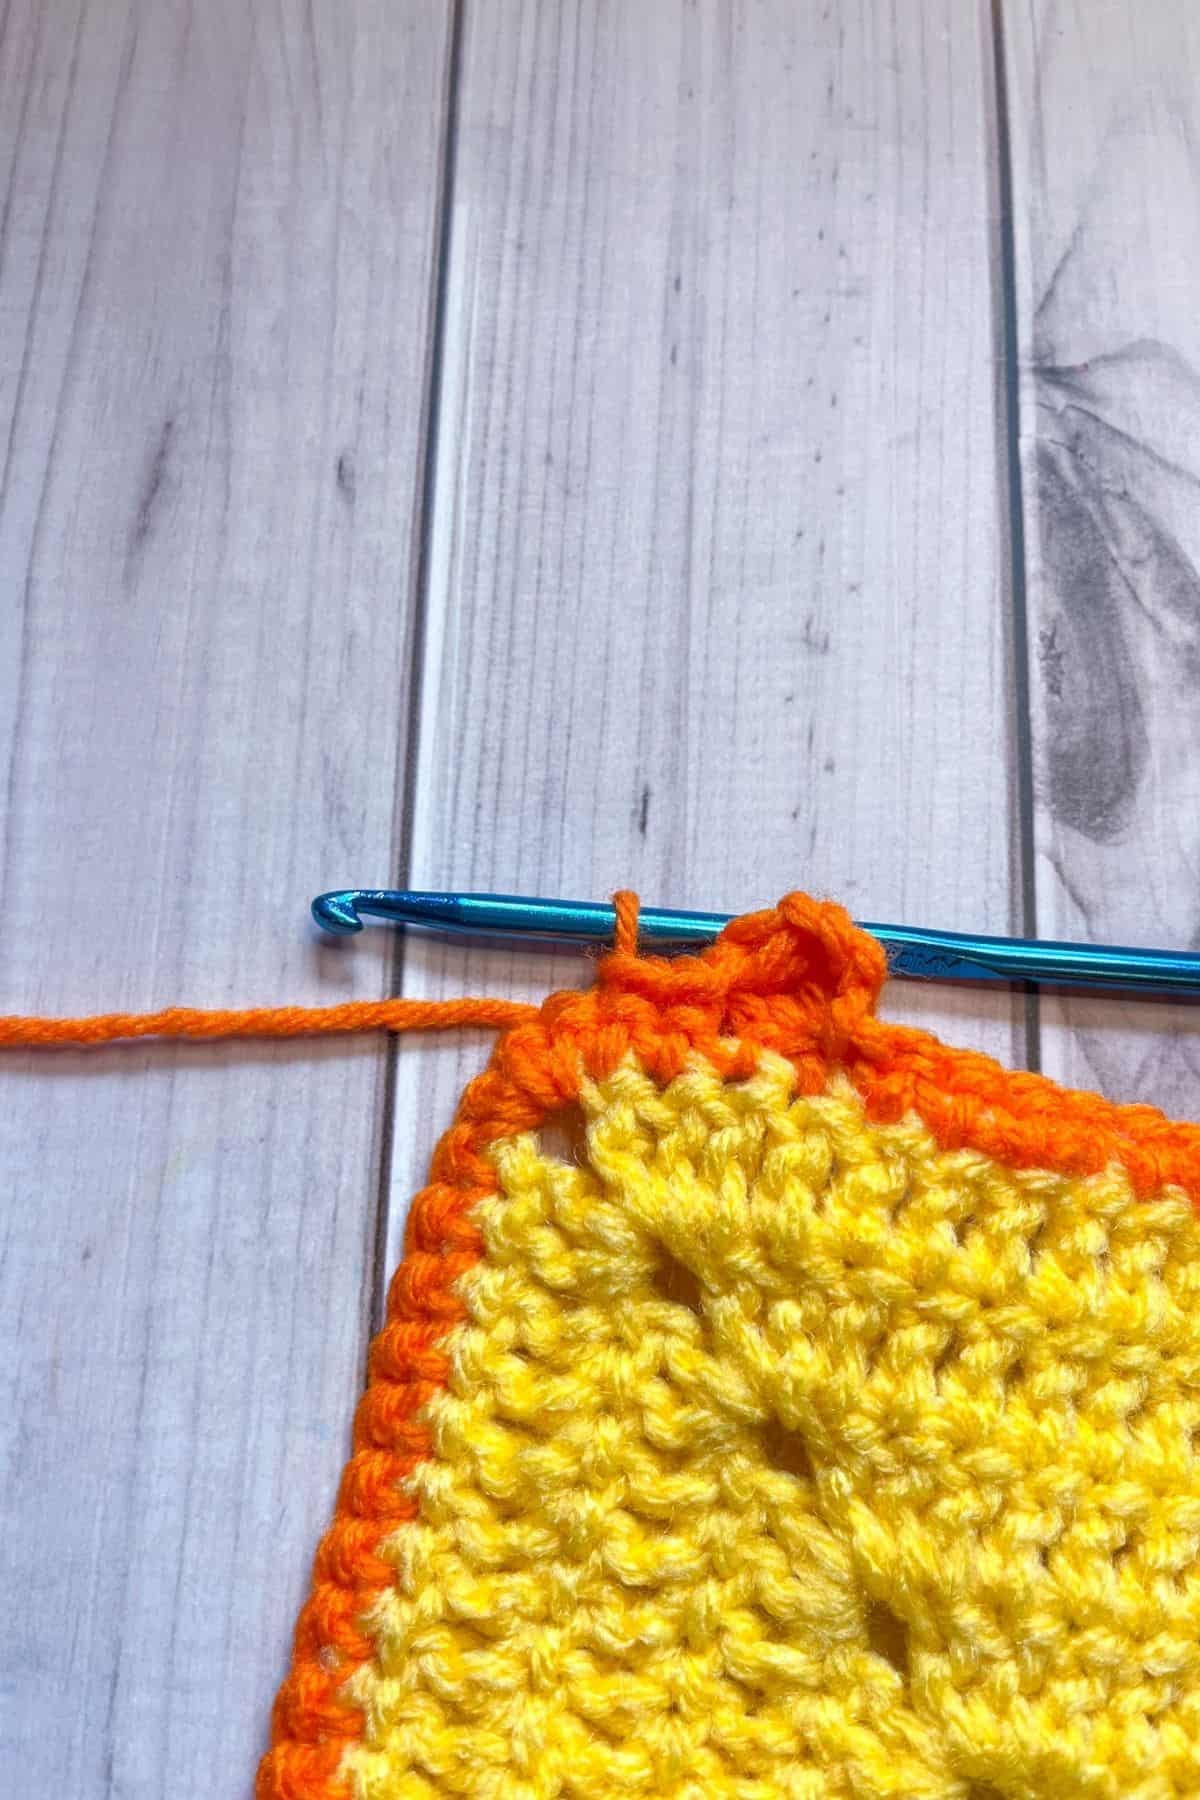
Round 1: With the orange yarn, attach the yarn to anywhere on the outer border.

Then, sc around the entire border.

If your project base is made in the round, crochet a sc in each stitch space and place 3 sc in each corner.
If you did your project base in rows, crochet a sc in each stitch space and place 3 sc in each corner and then 1-2 sc in each side of the rows (depending if you made your project base in sc or dc or another stitch).

When done, slip stitch into the first stitch in the round.
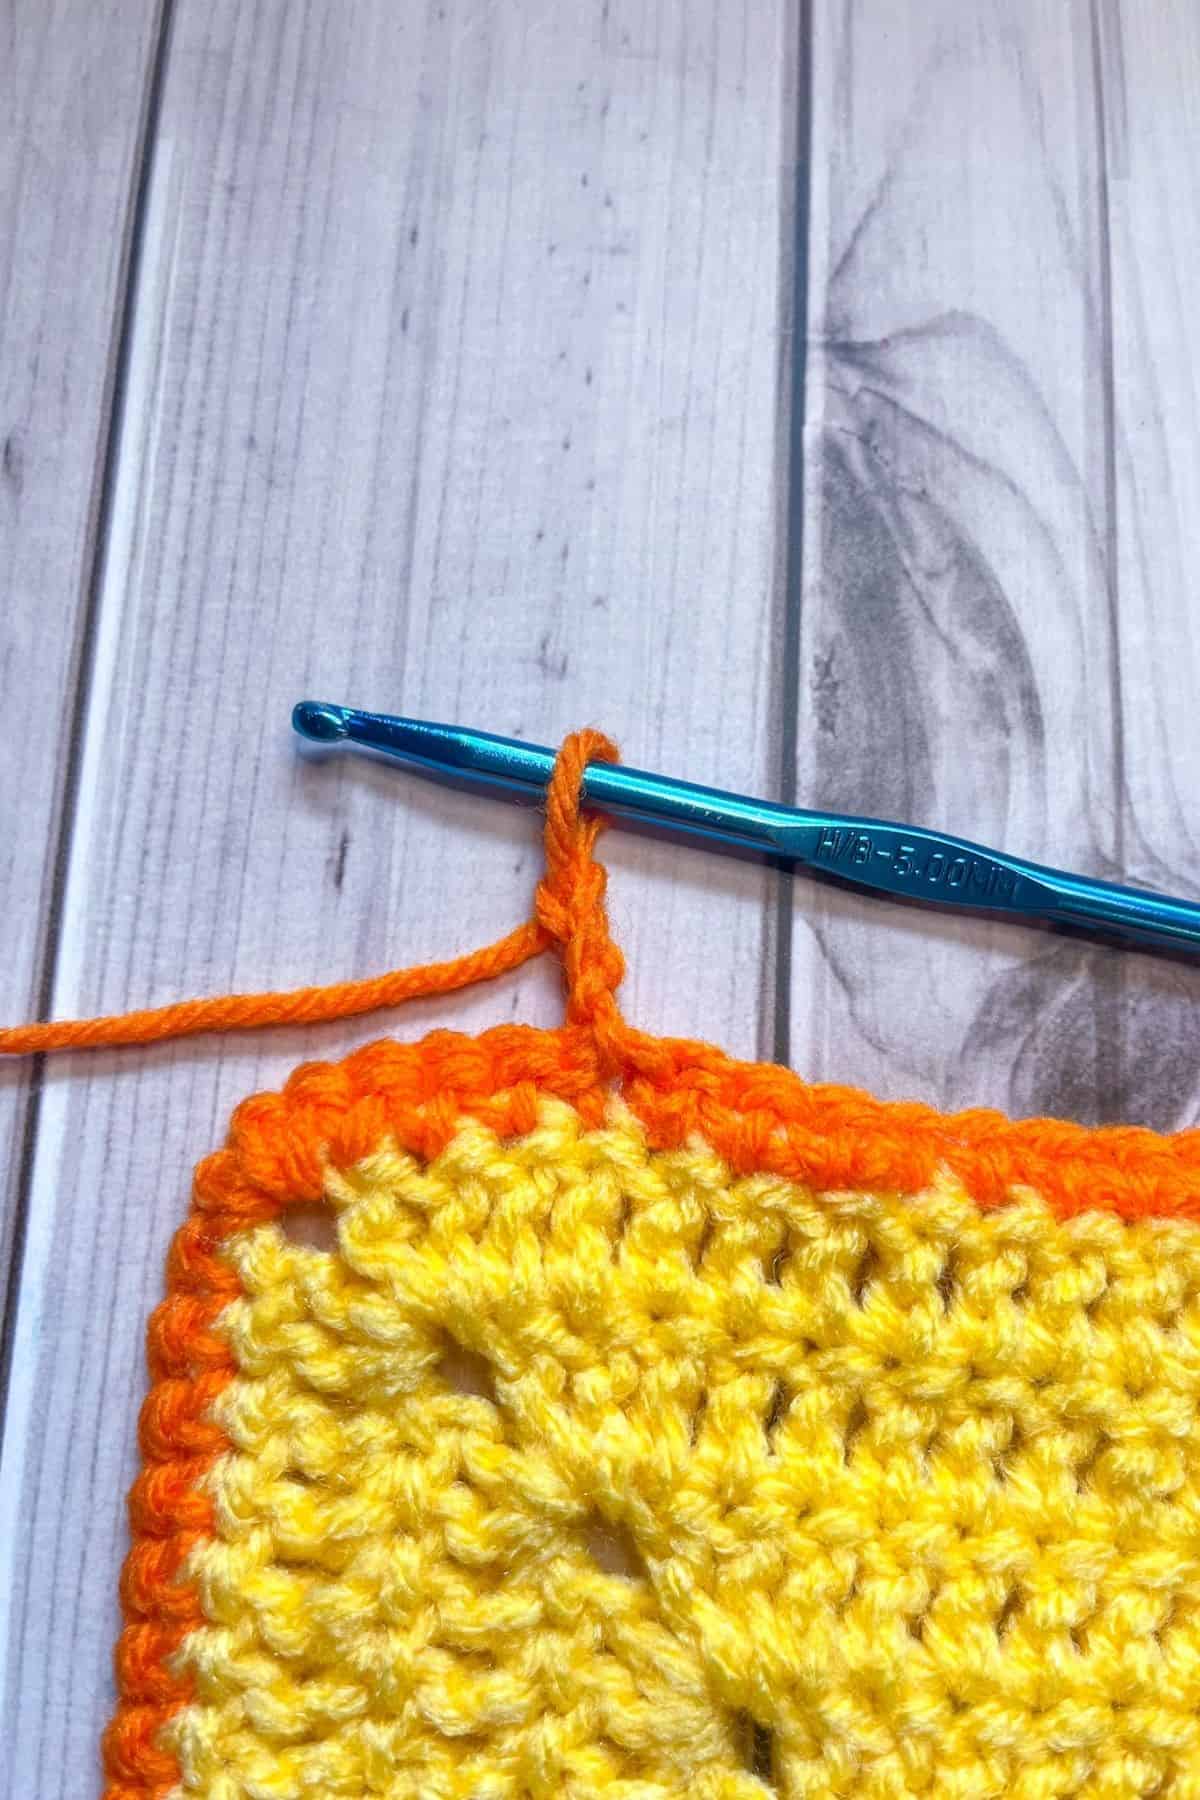
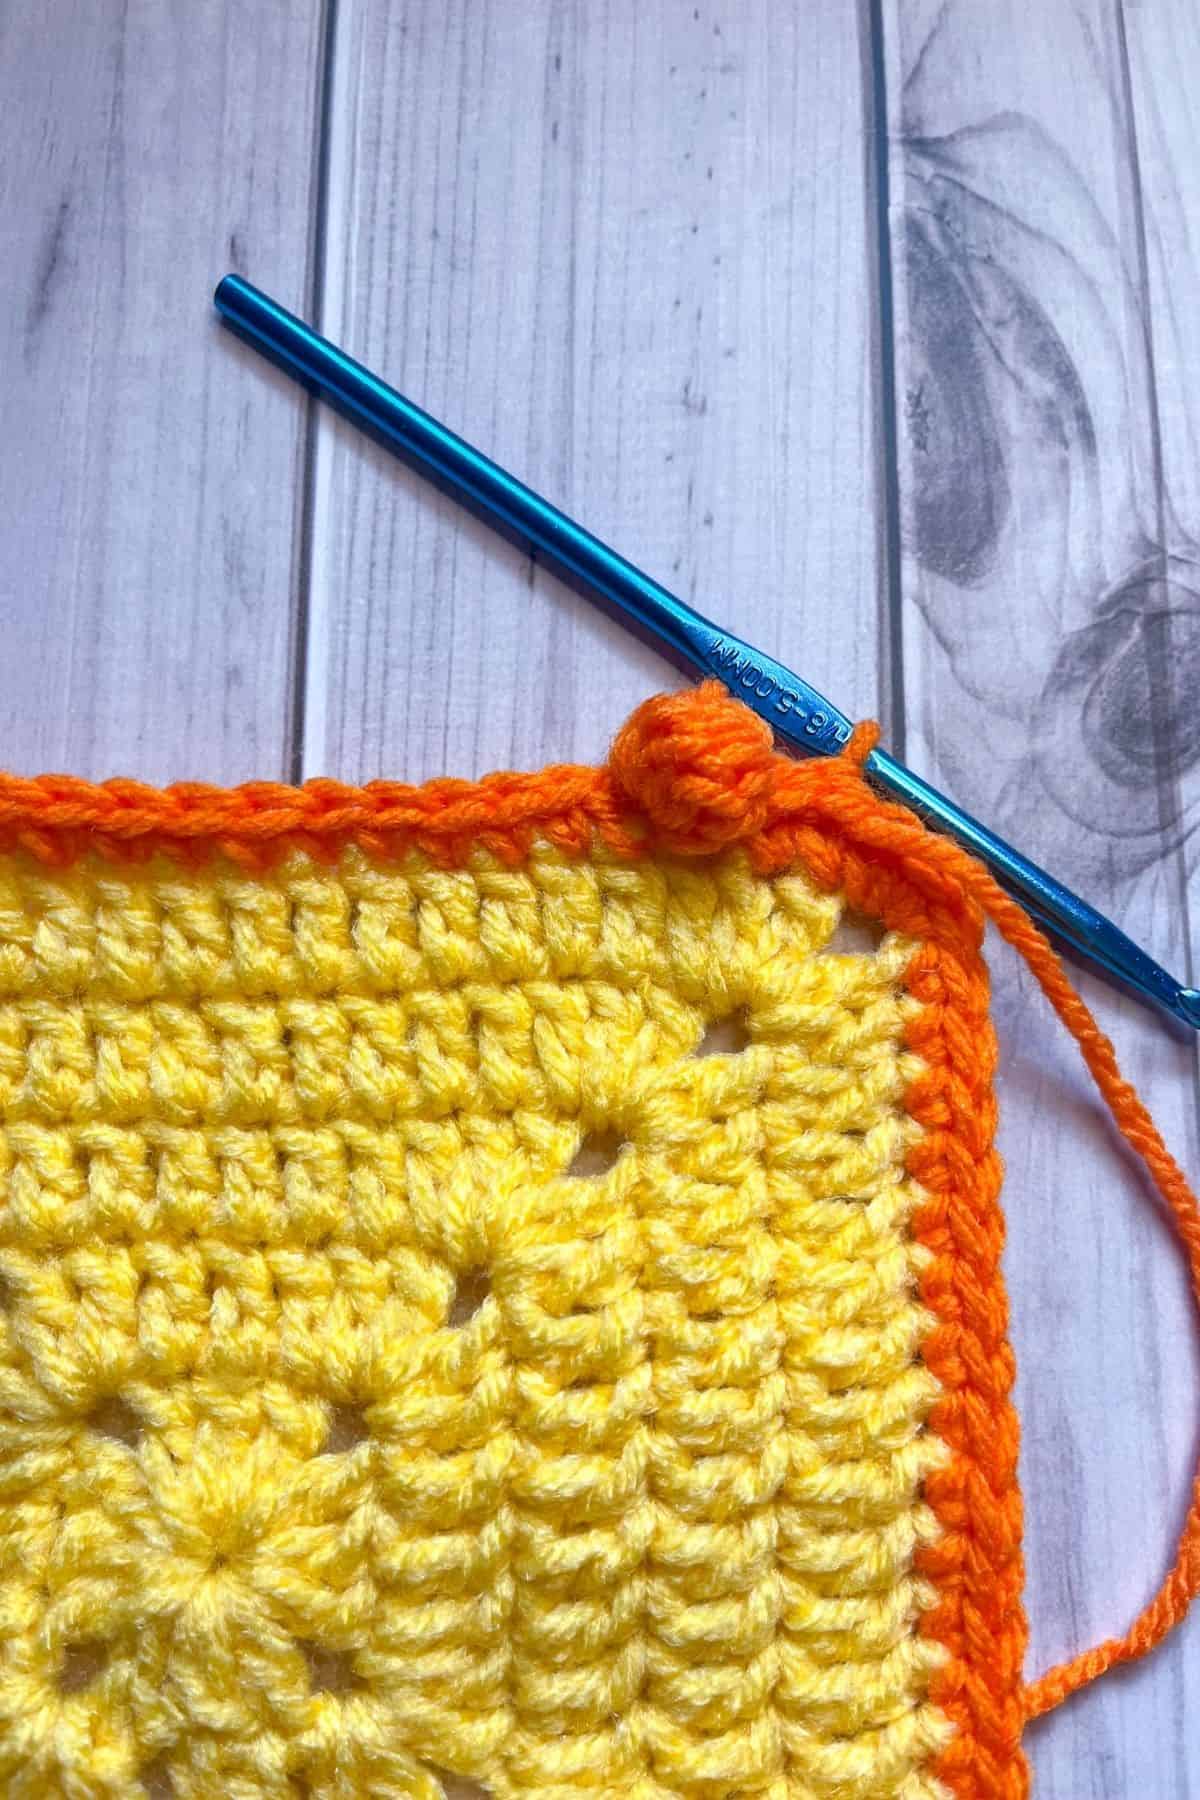
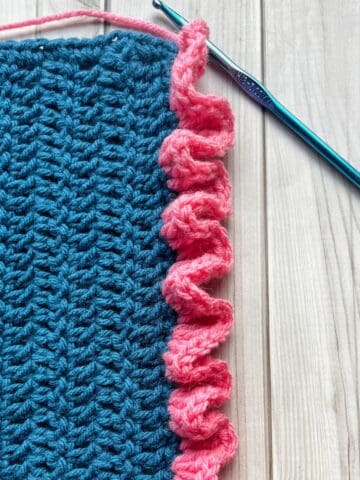
Round 2: FLIP the blanket to the wrong side of the blanket (just flip the blanket over). And now moving right to left still, [ ch x3, make a bobble stitch (see paragraph below on how to make the stitch), then sl st into the next 3 stitches.] Repeat what's in the brackets for the rest of the border.
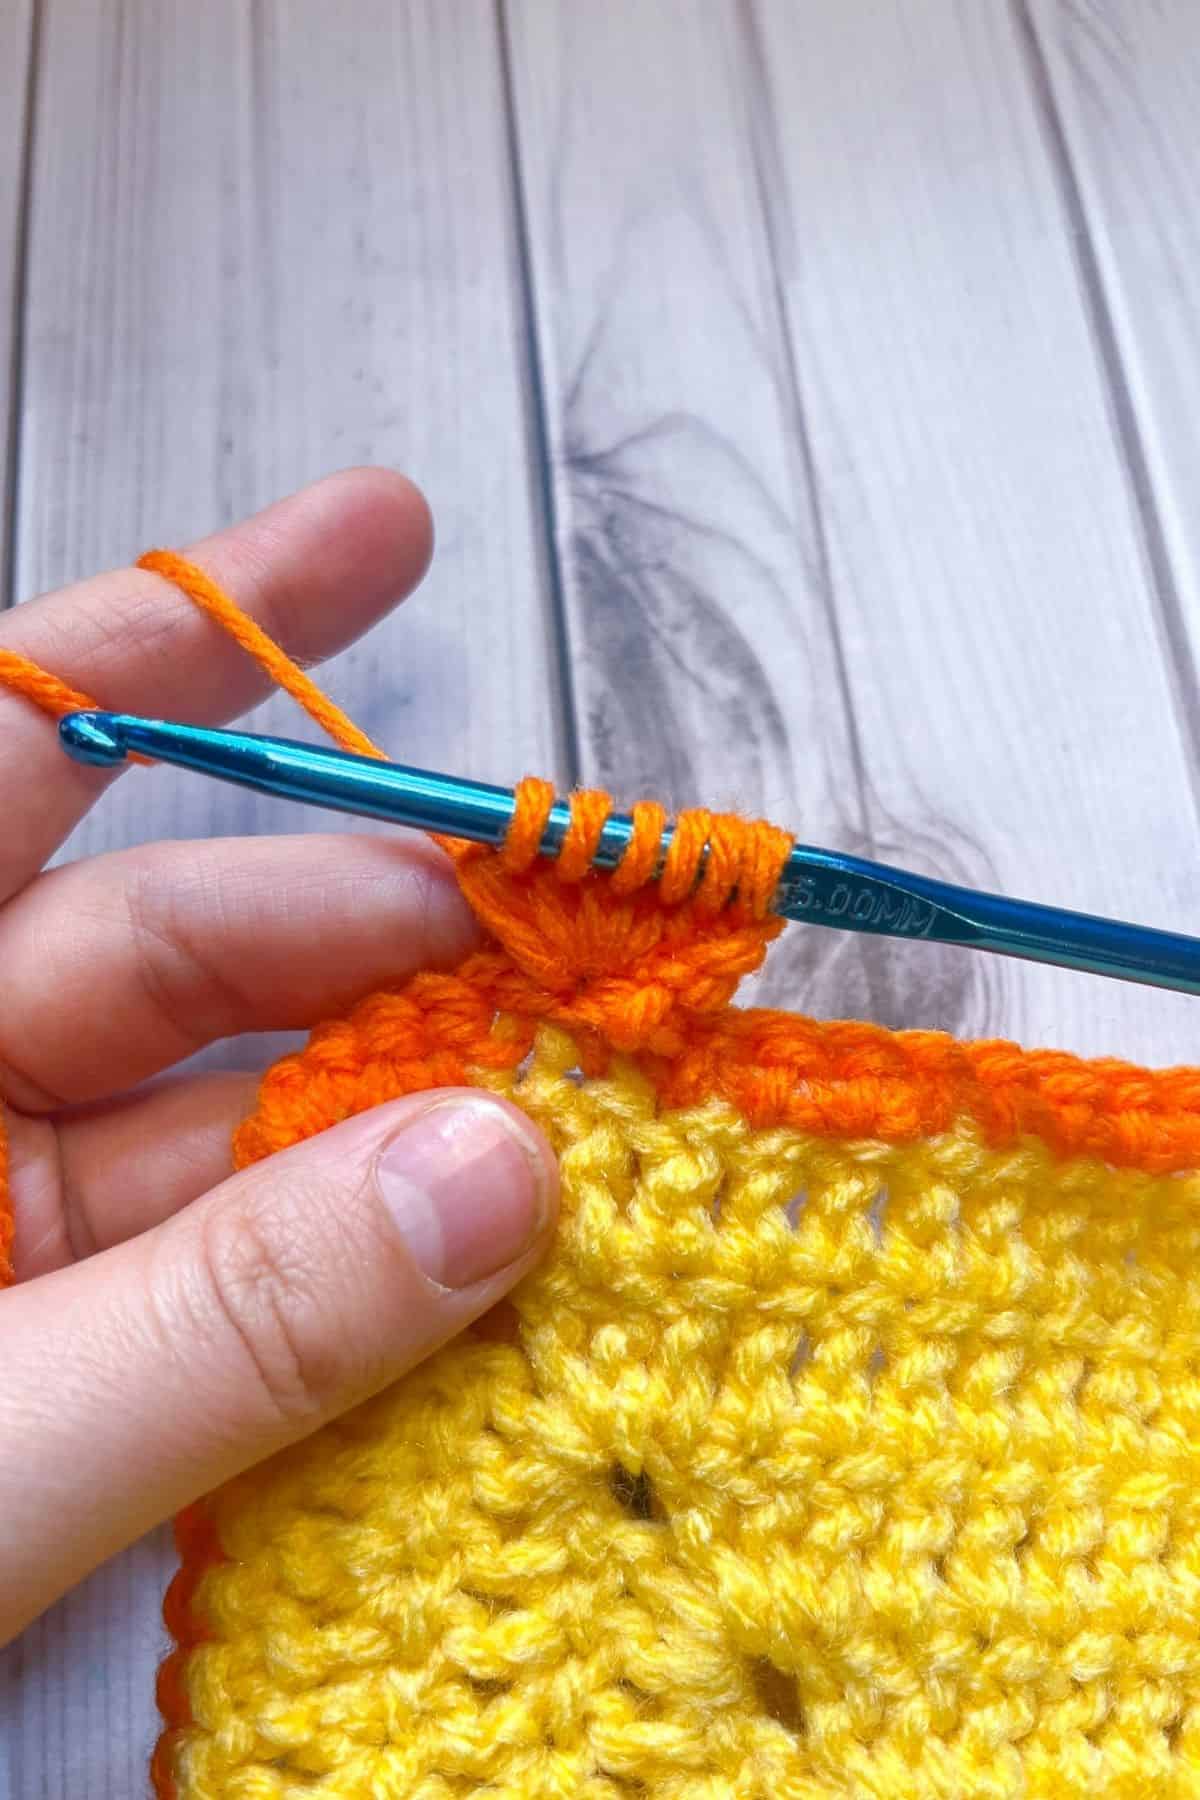
*Bobble Stitch: A bobble stitch is made by yarning over, inserting the hook into the stitch, yarn over, draw loop back through stitch, yarn over pull through 2 loops then STOP. You will have a half-completed dc hanging from your hook. Repeat the steps 4 more times until you have 5 half completed dc stitches hanging from your hook and 6 loops ON your hook. Then yarn over and pull through all 6 loops. *
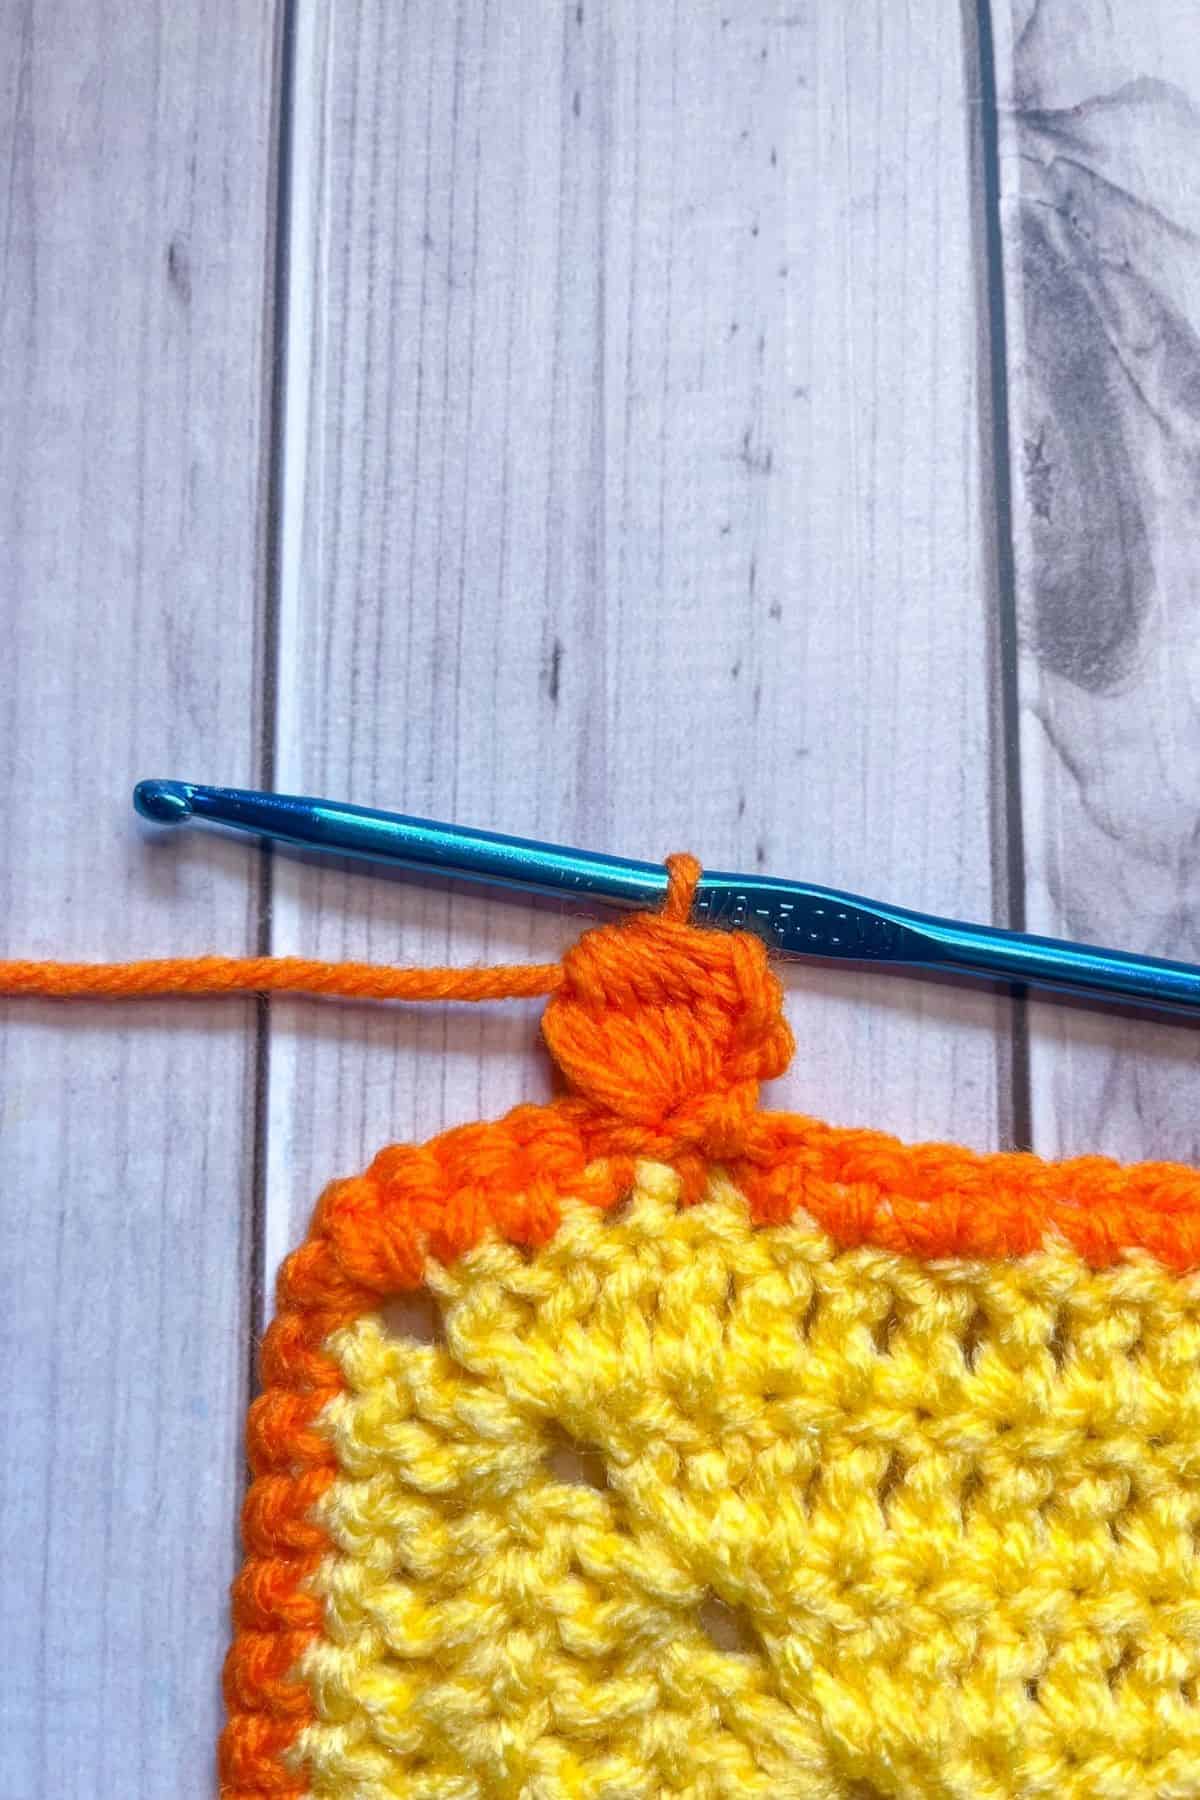
Backside of the bobble stitch.
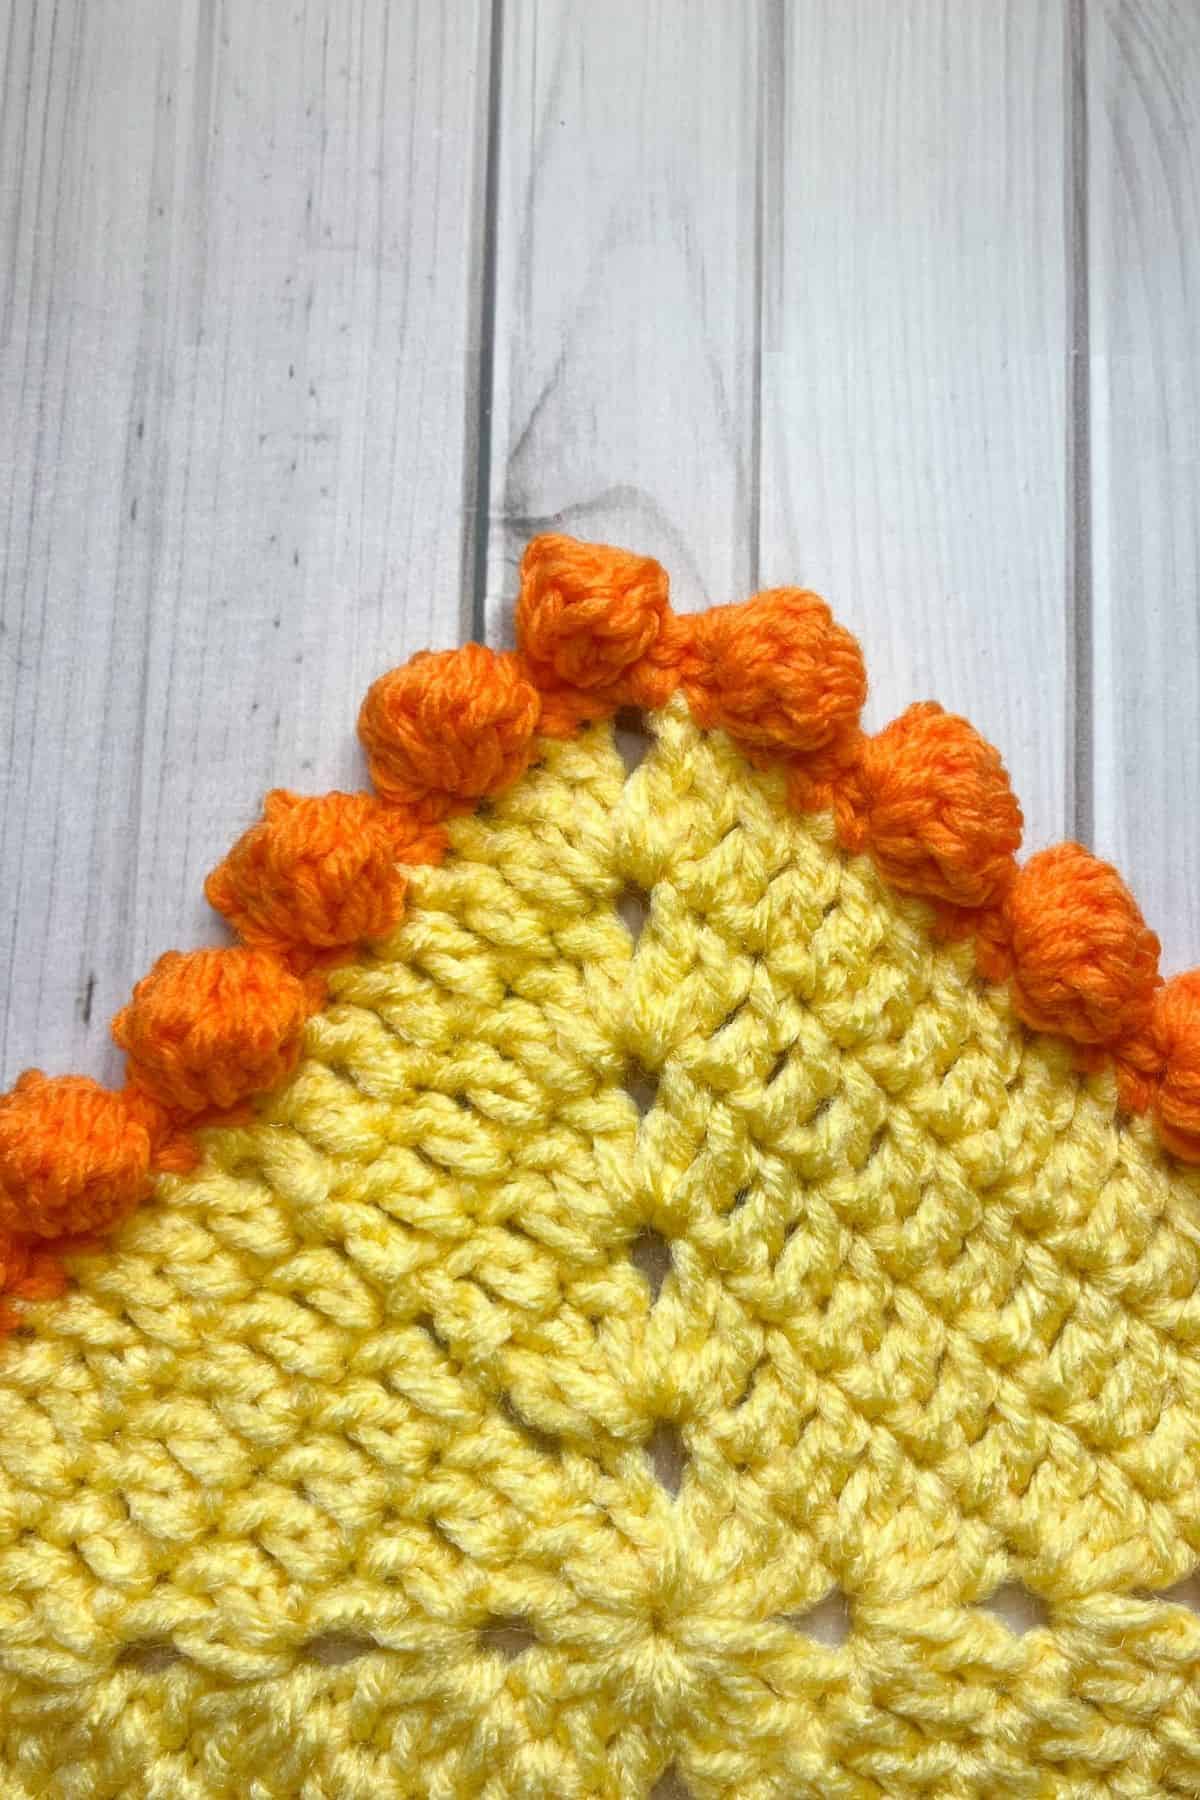
What the bobble stitch looks like from the front of the project.
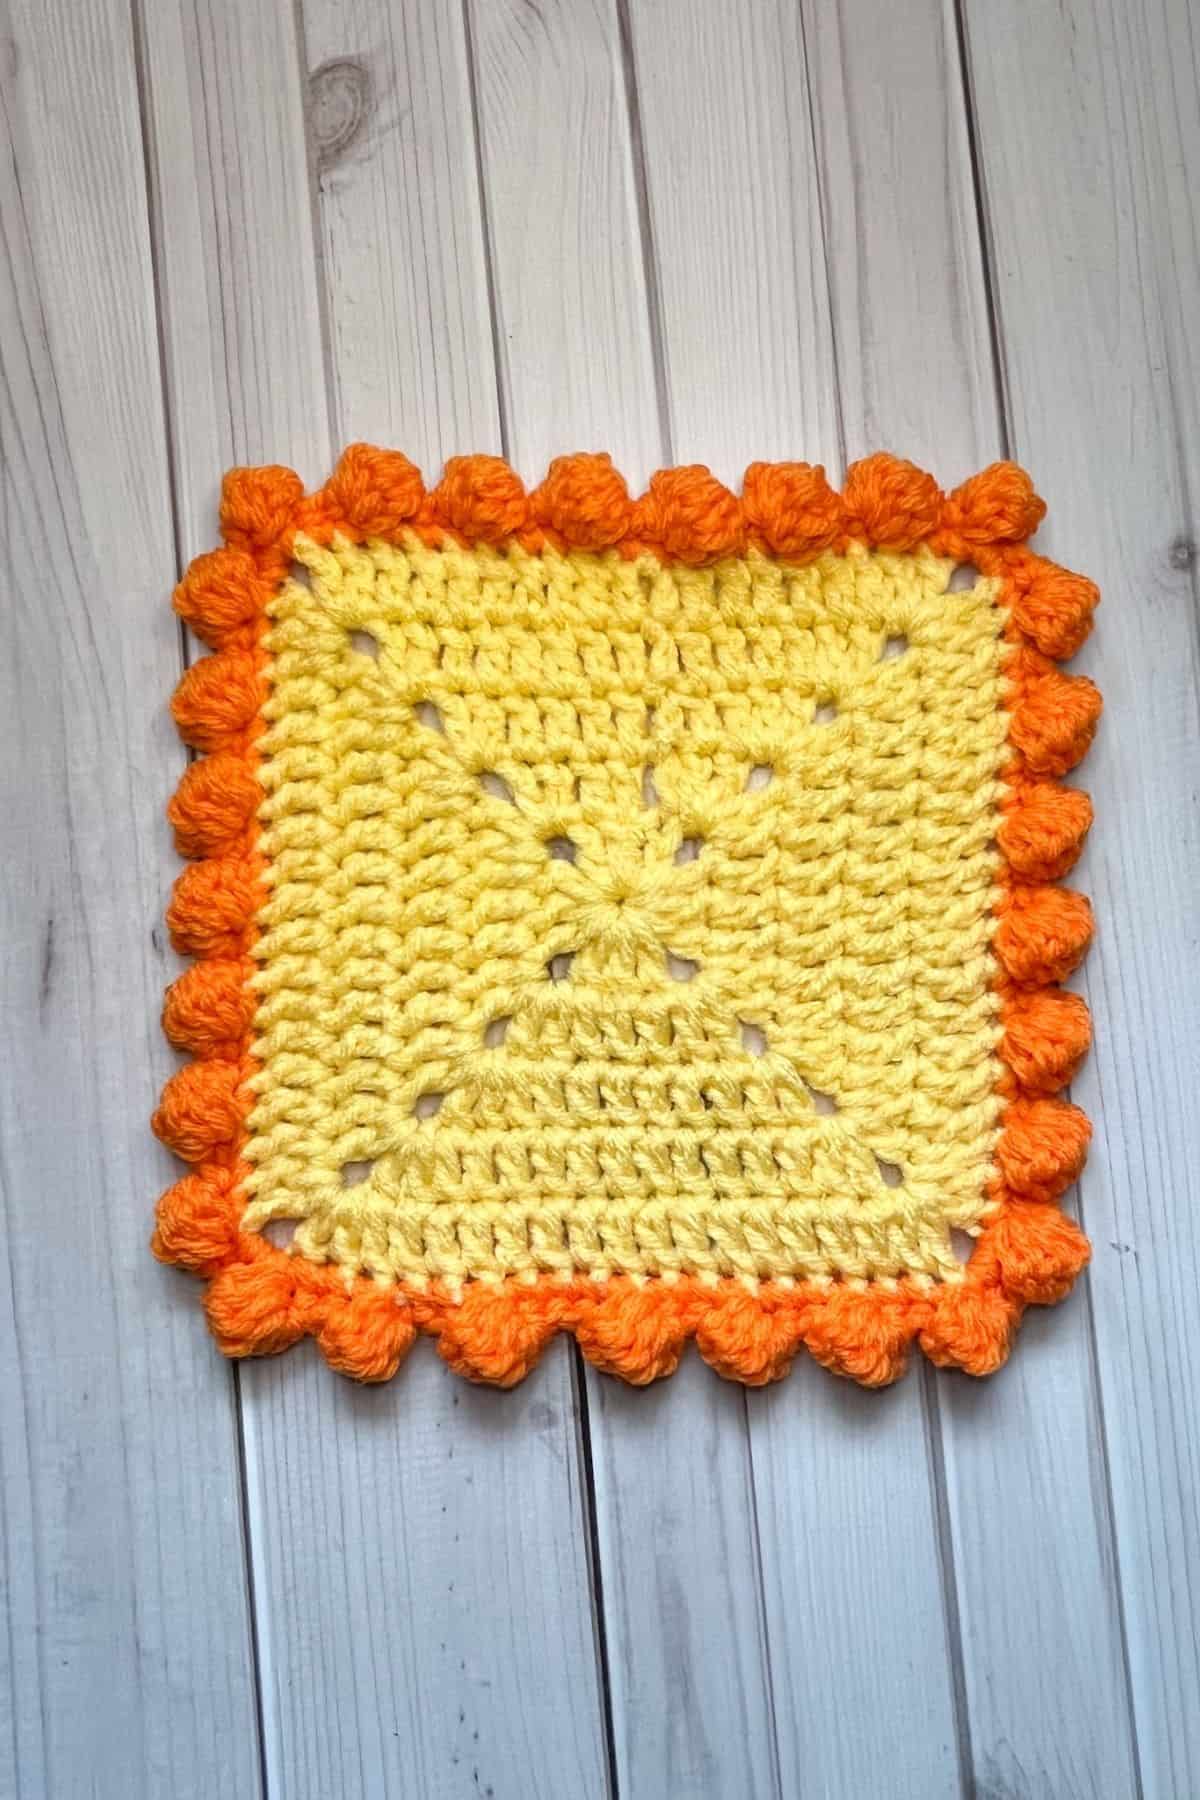
Sl st to the base of the first bobble stitch and fasten off the yarn. Then weave in any ends.
Now your crochet bobble stitch border has been completed! I hope you enjoy your finished project!
If you want to learn some other fantastic crochet borders check out my crochet envelope border pattern, perfect for hiding ends. Or the crochet picot border and single crochet border pattern for a more simple finish.
🐌Expert Tips
- Counting Loops. If you have trouble remembering how many dc stitches you completed, count the loops on your hook! You should have 6 loops—not 5, 7, or any other number.
- Yarn Weight Considerations. If using thicker yarns, be aware that the border may become heavier. Adjust the number of bobbles or slip stitches as needed to maintain a balanced look.
- Practice Bobble Stitches. If you're new to bobble stitches, practice on a smaller swatch before adding them to your main project. This will help you get comfortable with the technique.
- Experiment with Colors. Feel free to experiment with different colors for your bobbles to create a fun and vibrant border. This can really enhance the overall look of your project!
🧵Pattern FAQs
Yes, you can definitely make the crochet dot border with chunky yarn! However, keep in mind that chunky yarn is a yarn eater, meaning it will require more yarn, and the border might end up heavier than with thinner yarns. But overall, it’s completely doable and will add a bold, textured look!
The bobble border is only visible from the front side of the project. While it creates a beautiful, textured edge on the front, the reverse side will not have the same bobble effect, making it less decorative.
The bobble stitch border can be used on a variety of projects, including blankets, pillowcases, dishcloths, cardigans, and more. Its versatility allows you to add texture and a playful touch to almost any flat crochet project you create!
🧶More Crochet Border Patterns


If you tried this Crochet Bobble Border Pattern (or any other pattern on my website), please let me know how it went in the 📝 comments below. I'd love to hear from you!

Crochet Bobble Border Pattern
Materials
- Yarn for the border
- 5mm crochet hook (or hook of choice)
- Tapestry needle
Abbreviations (US terms)
- ch = Chain
- sl st = Slip Stitch
- sc = Single crochet
- dc = Double Crochet
- bobble = Bobble (no abbreviation)
Notes
-
-
- Yarn Choice. For the crochet bobble border pattern, I chose acrylic worsted weight yarn, but you can easily use any type of yarn for this project. The yarn you choose will affect the texture and drape of the border, so feel free to experiment with different materials, such as cotton, wool, or even blends, to match the look and feel you want for your project.
-
- Spacing Between Bobbles. In this design, I used 3 slip stitches between each bobble, but the spacing is completely customizable. If you prefer the bobbles to be closer together or spaced further apart, simply adjust the number of slip stitches between each bobble. This allows you to create a border that perfectly fits your desired aesthetic, whether you want a more compact or looser, airy look.
-
- Versatile Usage. The bobble stitch border isn't limited to just blankets—it's a highly versatile technique that can be applied to a variety of flat crochet projects. Whether you're working on scarves, shawls, dishcloths, or even home decor items like pillow covers, this bobble border adds a fun, textured finishing touch. The bold look of the bobble stitch makes it a great choice for edging any project, adding both dimension and personality. Feel free to get creative and experiment with different types of items to elevate your crochet projects!
-
- Yarn over, insert hook into stitch, yarn over, pull loop through.
- Yarn over, pull through 2 loops (half-completed dc).
- Repeat 4 times until 5 half-completed dc stitches are on your hook.
- Yarn over, pull through all 6 loops.
Instructions
- We will be working the crochet bobble edge in rounds.
- Round 1: With the orange yarn, attach the yarn to anywhere on the outer border. Then, sc around the entire border.
- If your project base is made in the round, crochet a sc in each stitch space and place 3 sc in each corner.
- If you did your project base in rows, crochet a sc in each stitch space and place 3 sc in each corner and then 1-2 sc in each side of the rows (depending if you made your project base in sc or dc or another stitch).
- When done, slip stitch into the first stitch in the round.
- Round 2: FLIP the blanket to the wrong side of the blanket (just flip the blanket over). And now moving right to left still, [ ch x3, make a bobble stitch (see paragraph below on how to make the stitch), then sl st into the next 3 stitches.] Repeat what's in the brackets for the rest of the border.*Bobble Stitch: A bobble stitch is made by yarning over, inserting the hook into the stitch, yarn over, draw loop back through stitch, yarn over pull through 2 loops then STOP. You will have a half-completed dc hanging from your hook. Repeat the steps 4 more times until you have 5 half completed dc stitches hanging from your hook and 6 loops ON your hook. Then yarn over and pull through all 6 loops. *
- Sl st to the base of the first bobble stitch and fasten off the yarn. Then weave in any ends.
- Now your crochet bobble stitch border has been completed! I hope you enjoy your finished project!


Ginny says
There is no paragraph explaining the actual bobble...
Kimberly Arenas says
Hi! Thank you for this comment, I double checked the pattern and it looks like it was in the blog post for round 2, but didn't transfer over to the pattern card at the bottom of the page - it should be fixed now 🙂