

Here are 10 of the best crochet borders for blankets! Now you can find the cutest crochet border patterns all in one place! And the best part is that all of them are free!
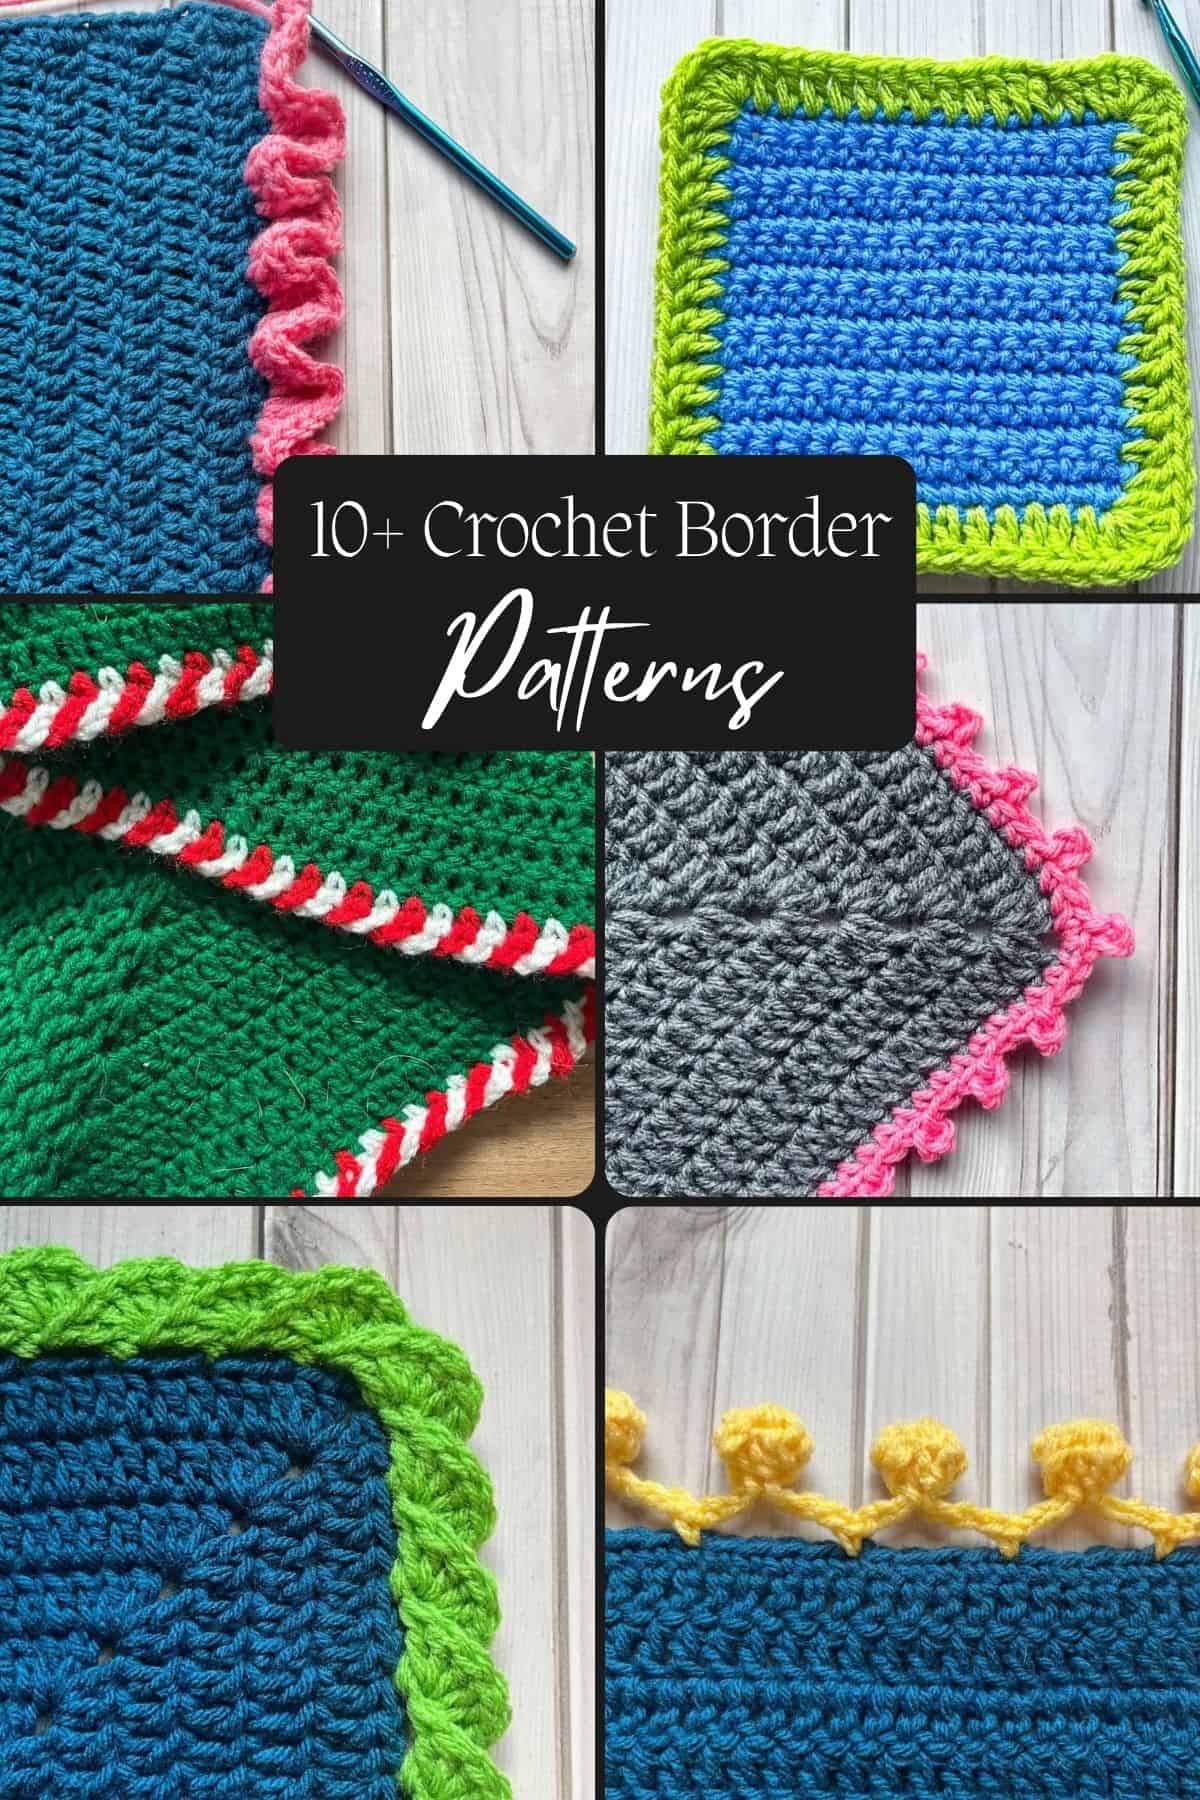
I am branching out a little and trying my hand at round up posts! I think these types of posts will be great so you can find some other fantastic crochet designers especially for your specific want/need that I may not be able to fulfill with my patterns alone!
My first round up post will be about crochet borders for blankets! I always wonder to myself, "What border should I add to my crochet blanket?" and now instead of endlessly searching the internet, I can look right here and see all the pretty crochet blanket edging patterns all in one place!
I'll be adding more patterns to this post as I get the ok to link other sites from other designers, so always check back!
Jump to:
Why You'll Love These Crochet Borders
- Variety of Crochet Edges: From the classic double crochet border to something a bit more unique like a crochet pom pom border, you are sure to find a border design that compliments your project.
- Easy to Follow: With clear instructions that include photos, these crochet borders for blankets patterns are accessible for any skill level.
- Creative and Fun: Crochet borders for blankets don't have to be boring; you can make them as fun and creative as you want!
- Use Them for More Than Blankets: Typical crochet borders for blankets can be used for other projects. You can use them for placemats, coasters, pillows, and more!
💭 Crochet Borders FAQs
This all depends on the project! I will say the easiest is to simply do a single crochet border, and probably the most popular is the crochet shell border. I love both but am actually impartial to having fringe for a border.
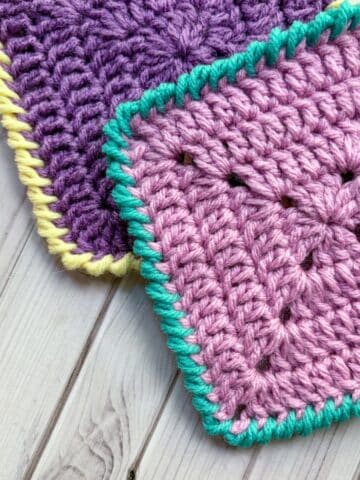
The best border for a granny square blanket, in my opinion, is a couple rounds of double crochet to help the blanket edges appear straighter if they are wonky and then a simple decorative border like single crochet in a different color, or a shell border for the last round.
If your blanket is curling, it might be a good idea. Then you will have a straighter edge to apply the border to. But it isn't necessary. You can always add the border and then block it after the blanket has been completed.
Once you are done with your crochet border, I like to slip stitch to where I started the border. Then fasten off and weave in the ends.
If you were making your blanket in rows, I always suggest going around the blanket with single crochet in the color you were using for the blanket, this will create stitches around the whole border, and it will look more even all the way around. Then use a different color for the more decorative portion of the pattern. It will look neater and more professional.
Easy Crochet Border Patterns:
While some crochet borders can be tricky, its always a good idea to start with the basics!
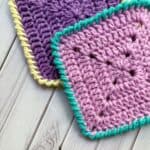
my favorite easy crochet edge is the single crochet border! Knowing how to make a sc border not only elevates blankets, but it allows you to create a smoother and more professional finish for other flat projects that are worked in rows. It creates a smooth border without any lumps and bumps that those raw edges can leave behind.

Textured Crochet Borders
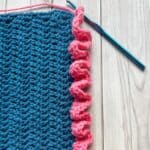
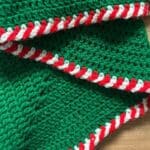
Some crochet borders are used to add texture to a finished project. This creates an eye catching and more interesting crochet piece!
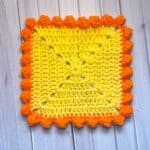
I personally love the crochet pom pom border. I have added this crochet edge to blankets and scarves! I am actively thinking about adding it to a pillow too. I just love the movement this stitch has and how fun it is to create!


Now that you've seen so many great crochet borders for blankets all in one place, which one will you choose for your next project?
Do you have any favorite crochet blanket borders? Drop them in the comments below! I love trying new crochet techniques!
❤️ More Crochet Blanket Patterns to Try


If you've given any of these Crochet Borders for Blankets a try, don't forget to share your experience and your thoughts in the 📝 comments below. I would truly appreciate it!

Leave a Reply