
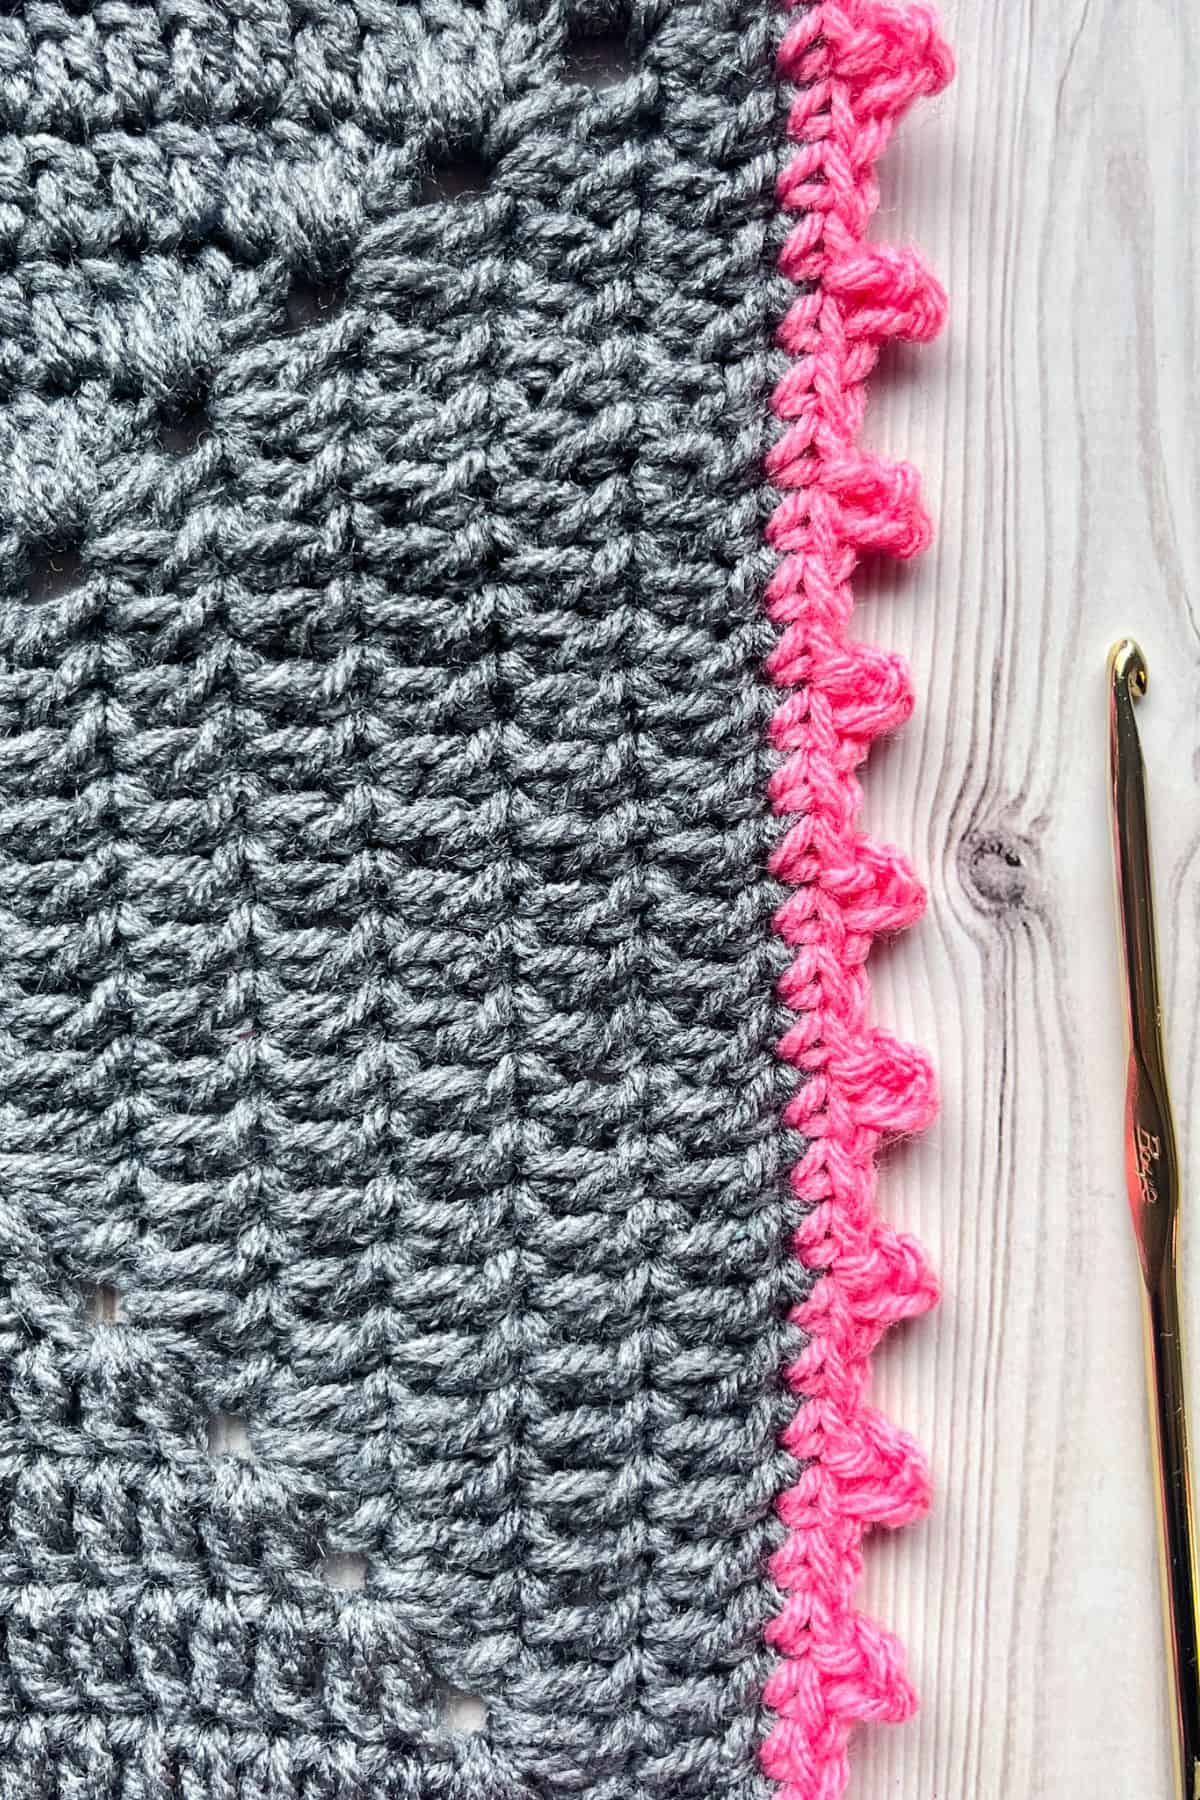
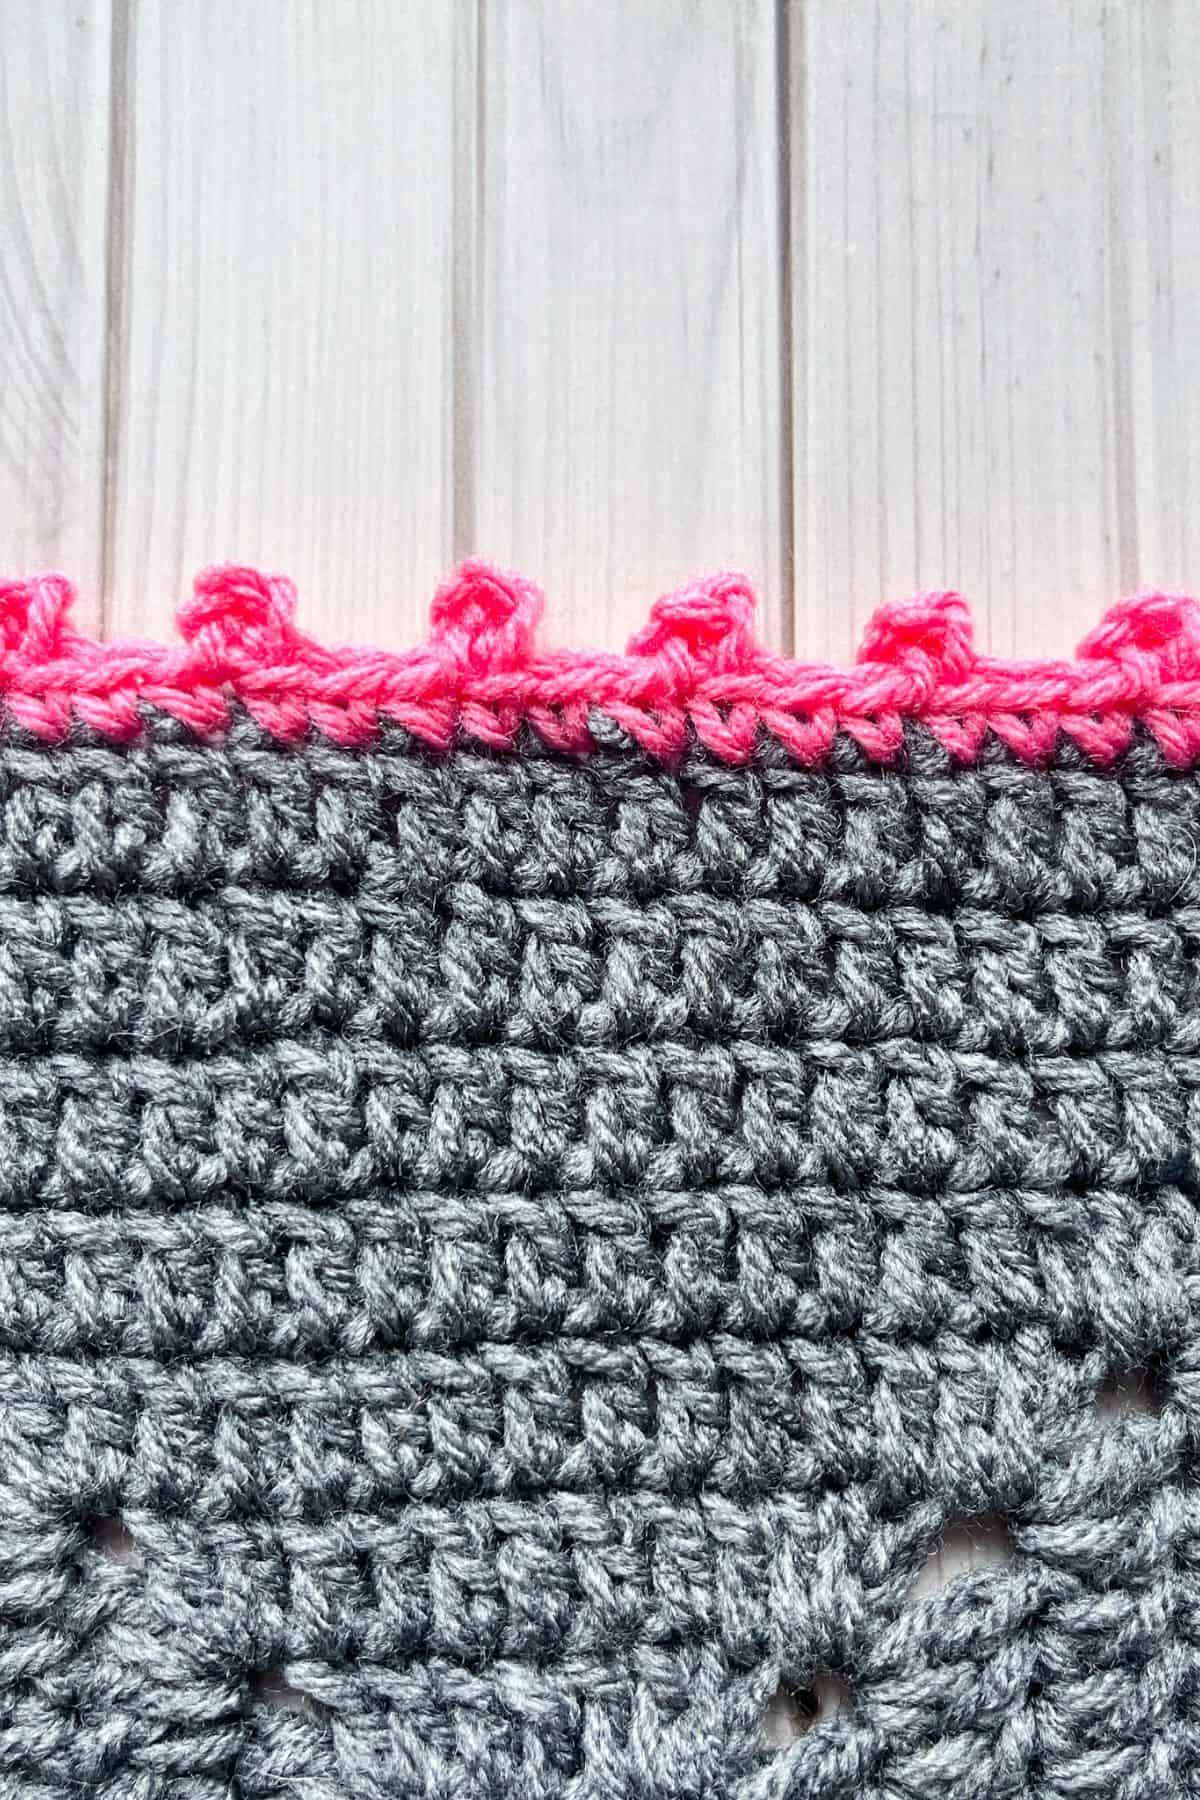
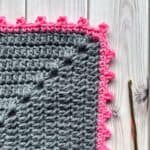
The Crochet Picot Border Pattern is a simple yet stunning way to finish off your crochet projects. The charming, delicate crochet picot edge gives a polished, professional look to your work, no matter what project you're working on.

One of the best features of this picot stitch crochet border is its simplicity. With just a few basic stitches—single crochet, chains, and slip stitches—this border is easy enough for even beginners to try. It’s a great way to crochet a border that looks impressive but doesn’t require complex techniques or skills. You can use this picot crochet border to add a lovely, lacy touch to any piece, making it perfect for blankets, shawls, or scarves.
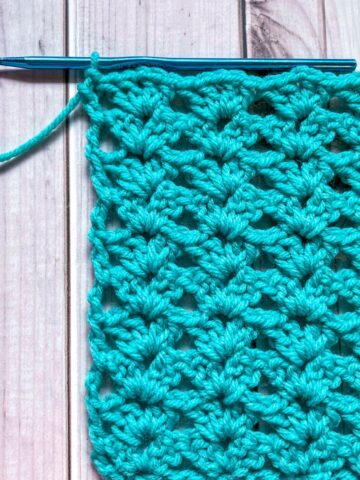
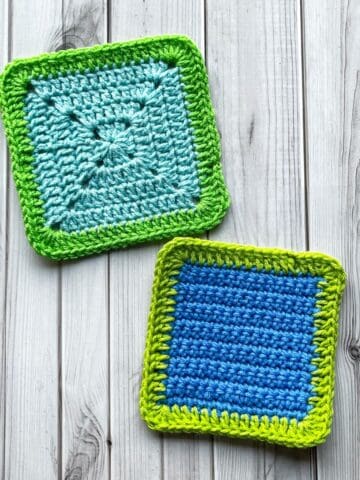
If you're looking for a simpler border, consider my single crochet border pattern or double crochet border pattern, both of which provide a clean and elegant look without the need for extra steps.
But if you want to up the ante and explore a more intricate design, check out my crochet wave border pattern or the playful crochet bobble border pattern. These patterns will challenge your skills while giving your crochet projects an extra boost of creativity.
No matter which option you choose, the crochet decorative border will always enhance your work. Whether you're a beginner or a seasoned crocheter, this picot crochet border is a fantastic way to add a touch of elegance and beauty to your handmade creations!
Jump to:
✏️ Things To Note:
- Stitch Count: Pay attention to the number of stitches around your work to maintain an even and balanced look. The picot points should align neatly across your project for a uniform effect.
- Picot Size: The size of your picots will depend on how many chains you use in each crochet picot stitch. Generally, three chains per picot is a standard choice, but you can adjust the number for larger or smaller picots, depending on your preference and the size of your project.
- Tension: Consistent tension is key. Make sure that your stitches are evenly spaced on the crochet picot border and that you’re not pulling too tightly on your chains or slip stitches. This will ensure that your picots stay neat and don’t become too stiff or floppy. Creating a uniform crochet picot edge.
🪡 Materials Needed
- Any yarn
- Hook that you used for the base of the project
- Tapestry needle
💭Abbreviations to Remember (US terms)
- st – stitch
- sc – single crochet
- ch – chain
- sl st – slip stitch
🧋Variations
- Larger Picot: Increase the number of chains you use in your crochet picot stitch. For example, instead of using three chains for each picot, try five or seven for a more dramatic, lacy effect. Larger picots can add a more delicate, airy feel to your project.
- Beaded Picot Edge: Add beads to the chains of your picot stitch for an extra touch of sparkle and elegance. This variation works well for fancy projects like evening shawls, tablecloths, or accessories.
🍵Instructions for Crochet Picot Border Pattern
For this crochet picot border pattern, we will be working in the round as an edge around your project.
Make sure that you have a base to put the stitches on. If you haven’t worked in the round for your project, you will need to add a round of single crochet stitches around your project.

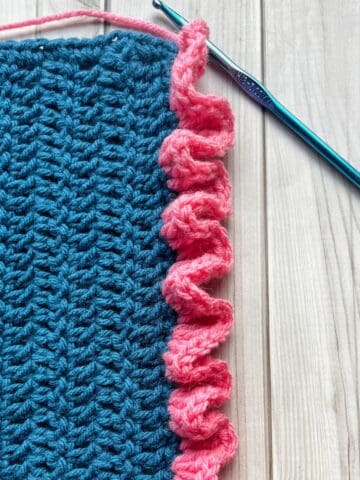
Step 1: Join yarn to any stitch along the border. Sc x3, then ch 3.
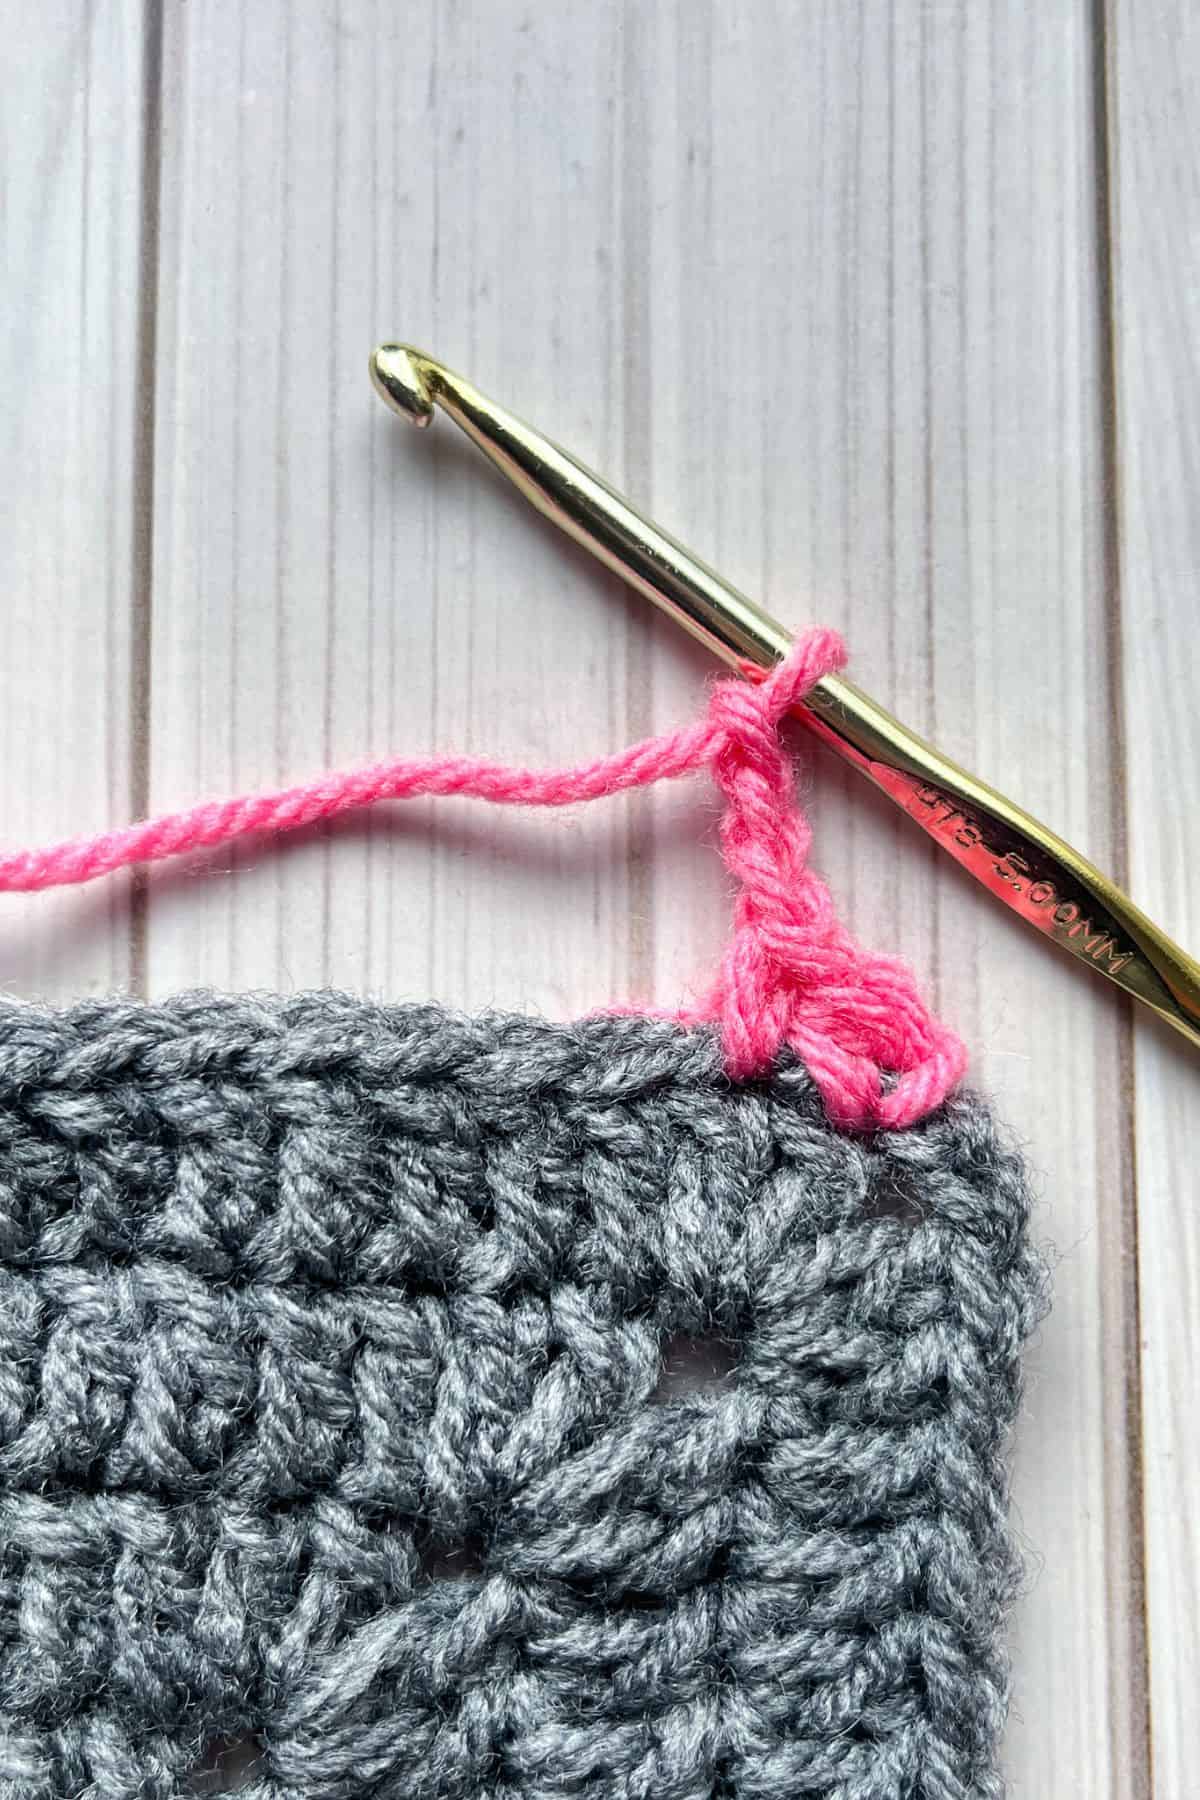
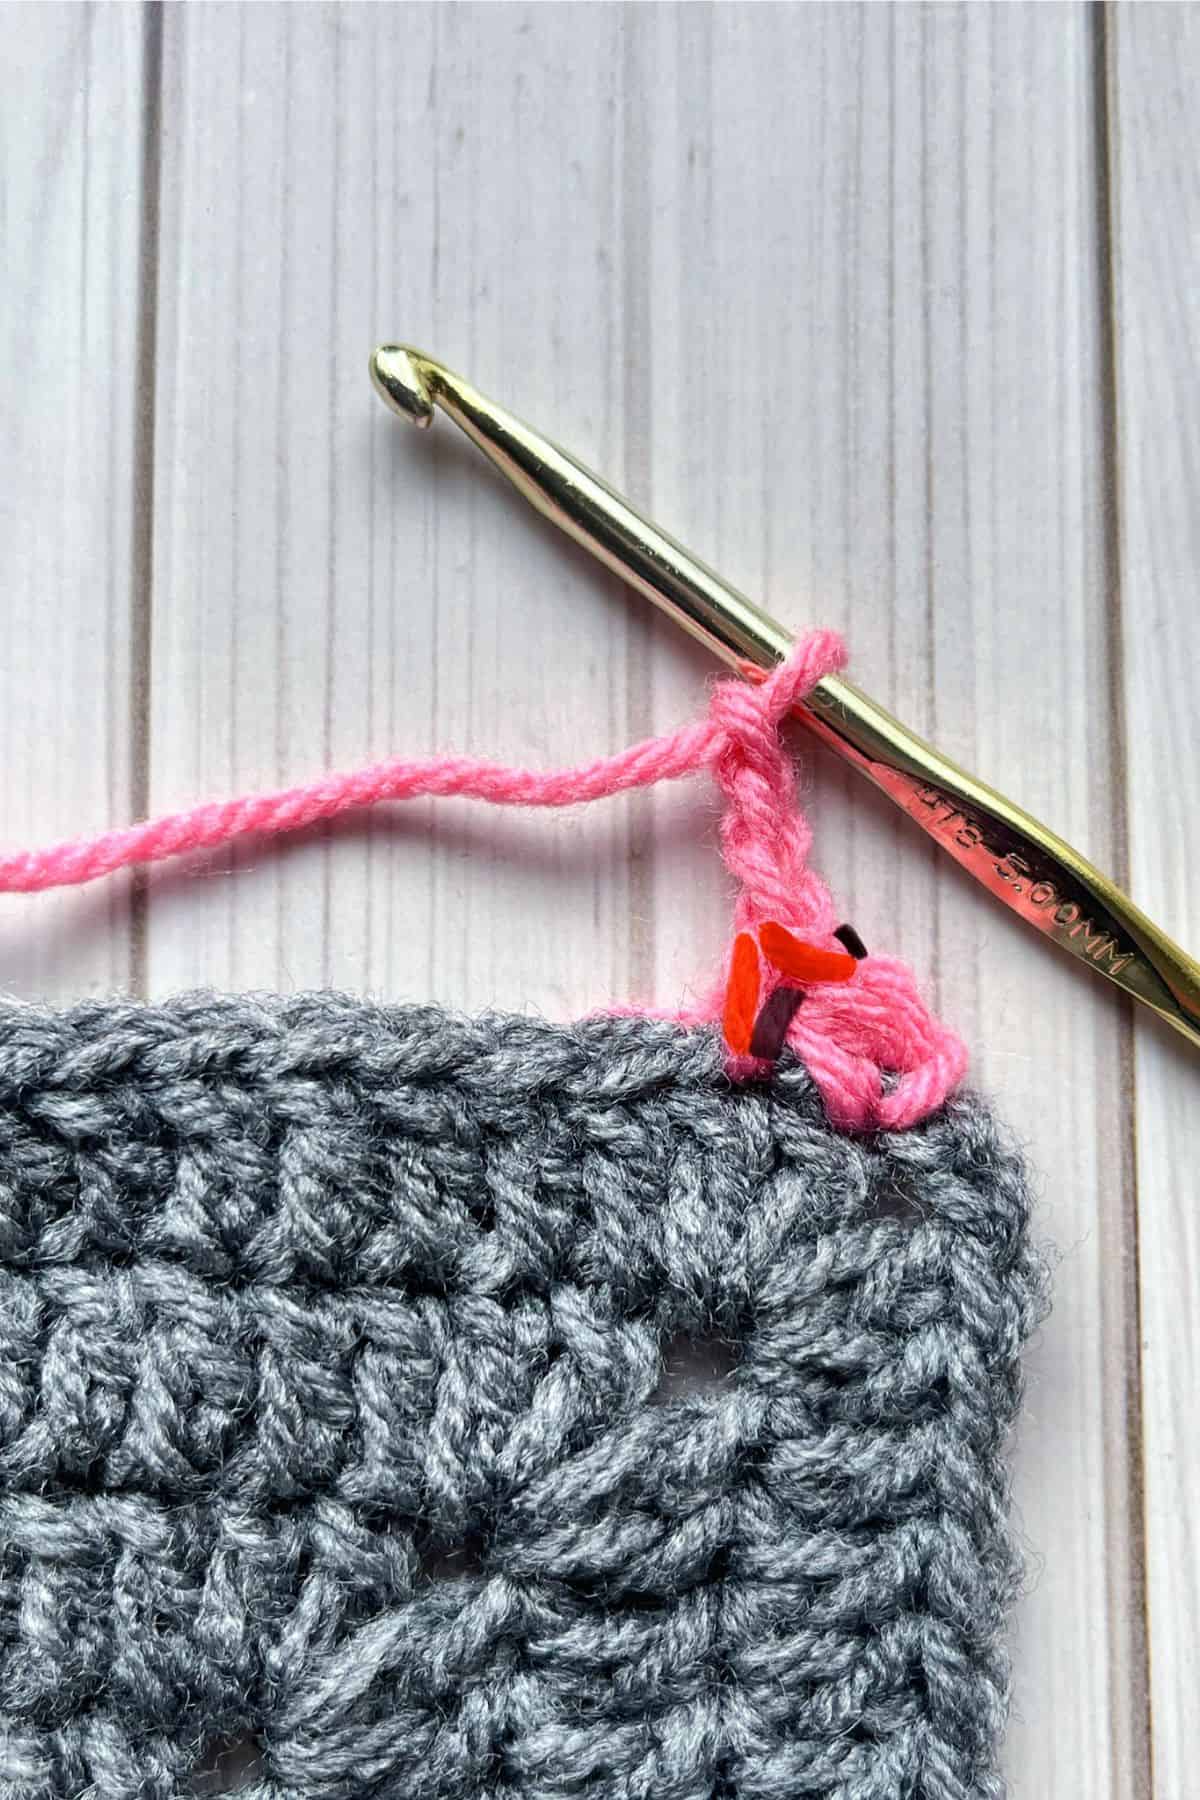
Step 2: Insert your hook downward through the front loop of the last sc you made, and then through the left vertical bar (or "leg") of the stitch directly in front of it (these loops are shown in red in the photo for reference).
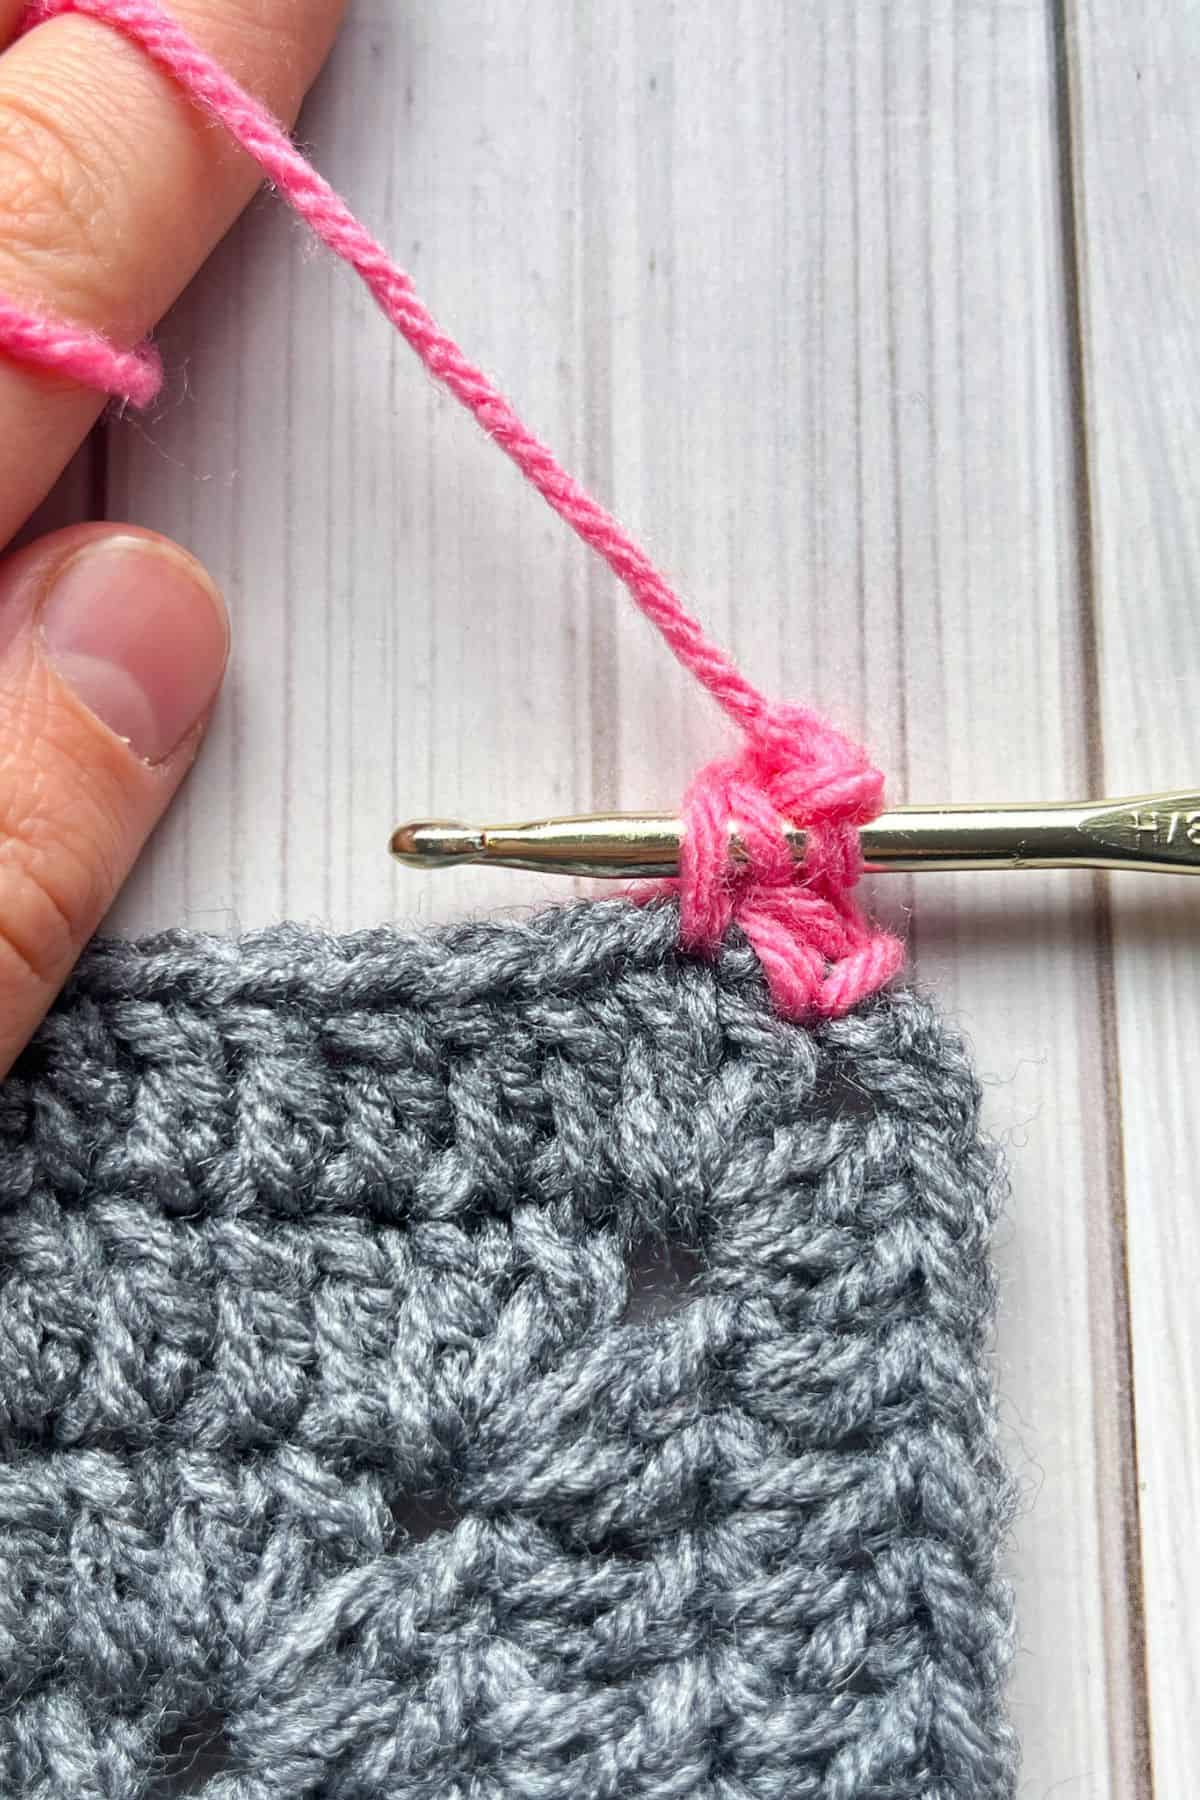
Step 3: Yarn over and pull through three loops on the hook.


Step 4: Sc x3.
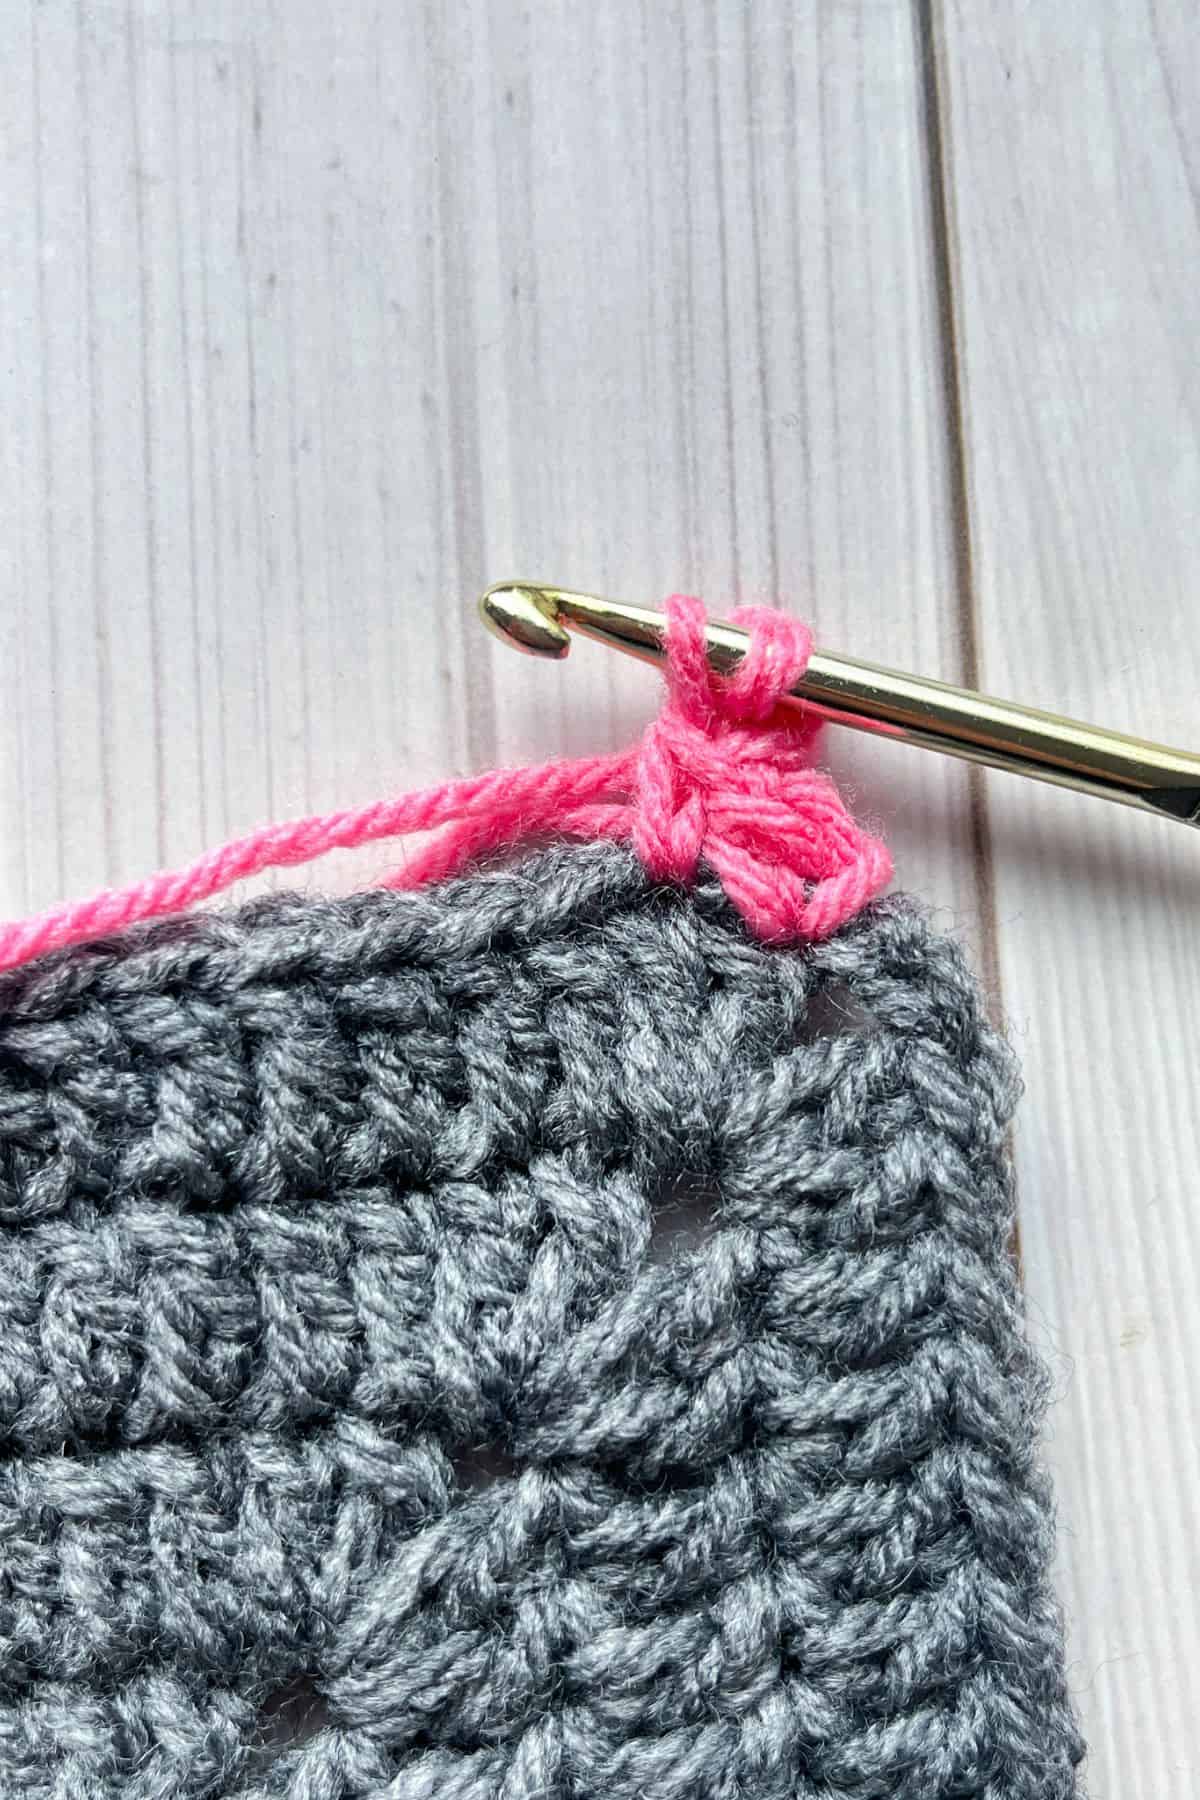
Repeat steps 2-4 as many times as you need.
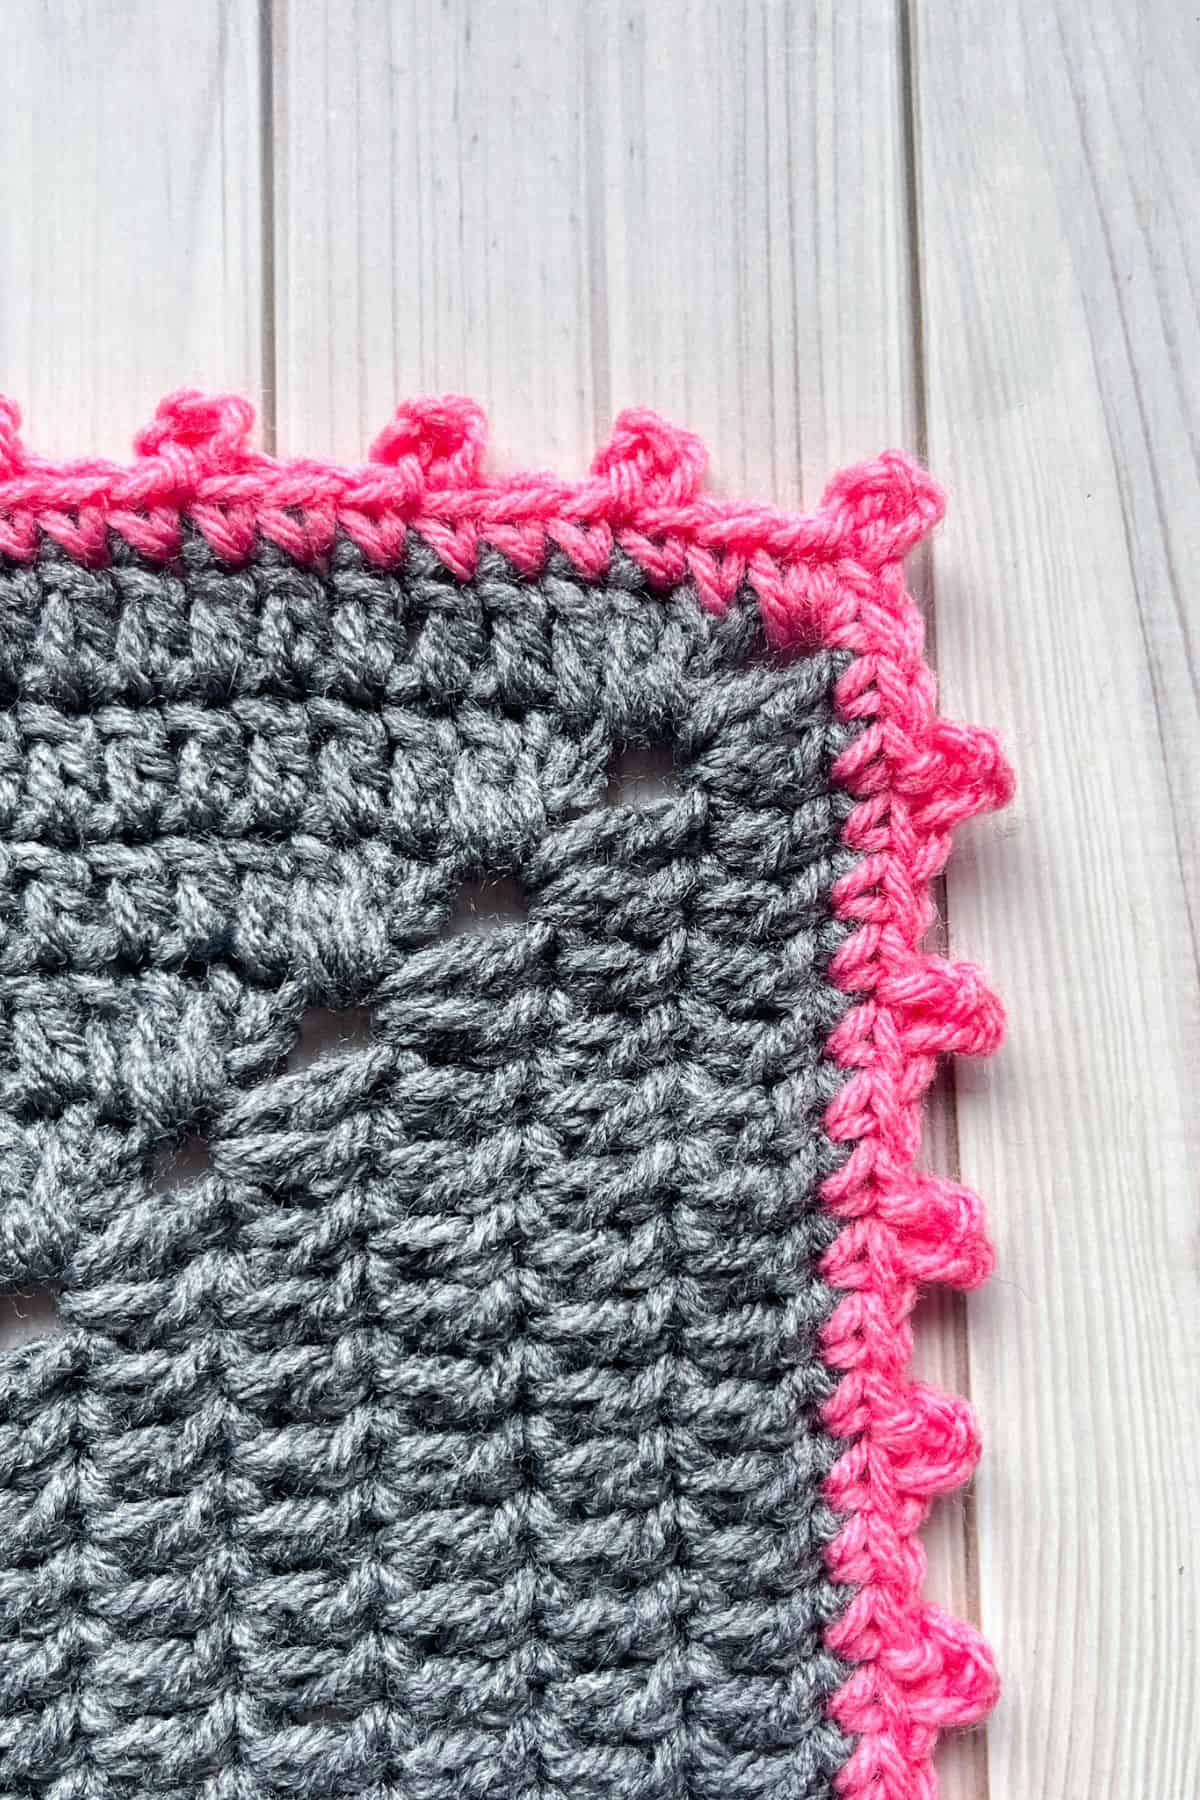
When you get to corners, I suggest 3 sc stitches in each corner with the crochet picot stitch being made in the middle stitch.
If your project doesn’t evenly divide between picot stitches, it’s perfectly fine to add an extra single crochet stitch between picots. This small adjustment won’t be noticeable. Alternatively, you can adjust the number of stitches between each crochet picot stitch to create a more even spacing.
To finish off, make a sl st to the first sc in the round.
I hope you enjoyed making the crochet picot stitch border! It’s a beautiful, simple way to add a delicate finish to any project. If you're looking for more creative crochet edges, be sure to check out my crochet pom pom border pattern for a fun and playful touch.
The picot border also makes a great alternative to the crochet shells used in my crochet rainbow baby blanket pattern and crochet hexagon blanket pattern, offering a fresh and unique look.
Happy crocheting, and I can’t wait to see what you create!
🐌Expert Tips
- Pinch the Picot: After making the chain portion of the picot, pinch it lightly between your fingers before slip stitching it into place. This will help ensure the picot sits flat and doesn’t twist or bend out of shape.
- Slip Stitch Loosely: When joining the picot with a slip stitch, avoid pulling the slip stitch too tight. It should be just loose enough to allow the picot to stand out without being too floppy. This gives a neat, crisp finish to each picot.
- Count Your Stitches: Make sure to count your stitches carefully to avoid uneven picot placement on the crochet picot border. This ensures your picots align properly and the border looks neat.
🧵Pattern FAQs
The picot stitch is a decorative technique used in crochet, typically made by chaining a few stitches (usually 3) and then joining the chains back to the base with a slip stitch, forming a small "bump" or "loop" along the edge of your project.
While the most common number of chains used is 3, you can adjust this depending on the look you want. For larger picots, you might use 4 or 5 chains, while smaller picots can be made with just 2 chains.
Yes! The picot stitch can be added to almost any crochet project, whether it's blankets, shawls, scarves, or hats. It's especially popular for adding a delicate border or edging.
🧶More Crochet Stitch Patterns

If you tried this Crochet Picot Border Pattern (or any other pattern on my website), please let me know how it went in the 📝 comments below. I'd love to hear from you!
Crochet Picot Border Pattern
Materials
- Any yarn
- Hook that you used for the base of the project
- Tapestry needle
Abbreviations (US terms)
- Chains - ch
- Single crochet - sc
- Slip stitch - sl st
- Stitch - st
Notes
- Stitch Count: Pay attention to the number of stitches around your work to maintain an even and balanced look. The picot points should align neatly across your project for a uniform effect.
- Picot Size: The size of your picots will depend on how many chains you use in each crochet picot stitch. Generally, three chains per picot is a standard choice, but you can adjust the number for larger or smaller picots, depending on your preference and the size of your project.
- Tension: Consistent tension is key. Make sure that your stitches are evenly spaced and that you’re not pulling too tightly on your chains or slip stitches. This will ensure that your picots stay neat and don’t become too stiff or floppy. Creating a uniform crochet picot edge.
Instructions
- For this crochet picot border pattern, we will be working in the round as an edge around your project.
- Make sure that you have a base to put the stitches on. If you haven’t worked in the round for your project, you will need to add a round of single crochet stitches around your project.
- Step 1: Join yarn to any stitch along the border. Sc x3, then ch 3.
- Step 2: Insert your hook downward through the front loop of the last sc you made, and then through the left vertical bar (or "leg") of the stitch directly in front of it (these loops are shown in red in your reference).
- Step 3: Yarn over and pull through three loops on the hook.
- Step 4: Sc x3.
- Repeat steps 2-4 as many times as you need.
- When you get to corners I suggest 3 sc stitches in each corner with the crochet picot stitch being made in the middle stitch.
- If your project doesn’t evenly divide between picot stitches, it’s perfectly fine to add an extra single crochet stitch between picots. This small adjustment won’t be noticeable. Alternatively, you can adjust the number of stitches between each crochet picot stitch to create a more even spacing.
- To finish off, make a sl st to the first sc in the round.
- I hope you enjoyed making the crochet picot stitch border! It’s a beautiful, simple way to add a delicate finish to any project. If you're looking for more creative crochet edges, be sure to check out my crochet pom pom border pattern for a fun and playful touch.
- The picot border also makes a great alternative to the crochet shells used in my crochet rainbow baby blanket pattern and crochet hexagon blanket pattern, offering a fresh and unique look.
- Happy crocheting, and I can’t wait to see what you create!


Leave a Reply