
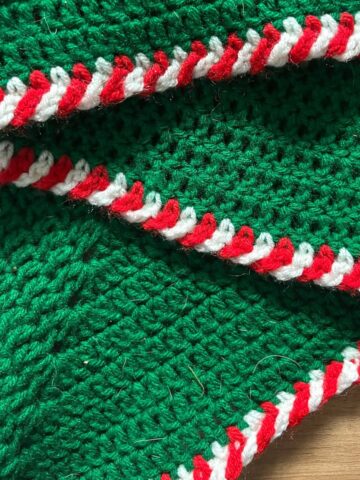
The Double Crochet Border for Beginners is the perfect finishing touch for blankets and other flat panel projects. Follow my step-by-step tutorial to learn how to create this easy and elegant crochet border.
Enhance your crochet skills by learning how to add a clean, simple border to your work. Crochet borders are great because they can hide mistakes, conceal yarn tails, and make the edges appear straighter. I usually use a single crochet border for a simple finish or crochet envelope border for concealing ends, but a double crochet border also produces a lovely finish.
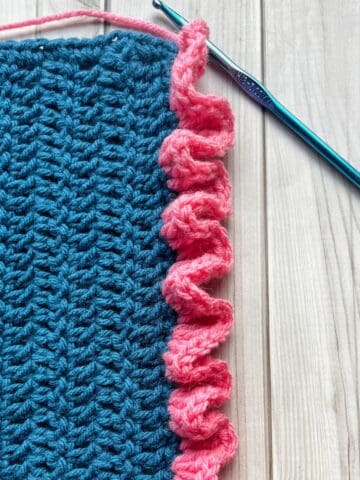
As I said crochet borders can be more complicated, like my wave crochet border or crochet pom pom border. The options for crochet borders are endless!
To create the dc border, all you need to know is how to perform a double crochet stitch and where to place the stitches on your project.
For the top row or round, place one double crochet where there's a stitch. For the sides of your project, aim for one double crochet per row, unless you're working with double crochet or a larger stitch as the base. In that case, aim for two per stitch.
Always adjust according to the tension of your project. If it buckles or bends, add more double crochet stitches; if it waves, use fewer.
Jump to:
✏️ Things To Note:
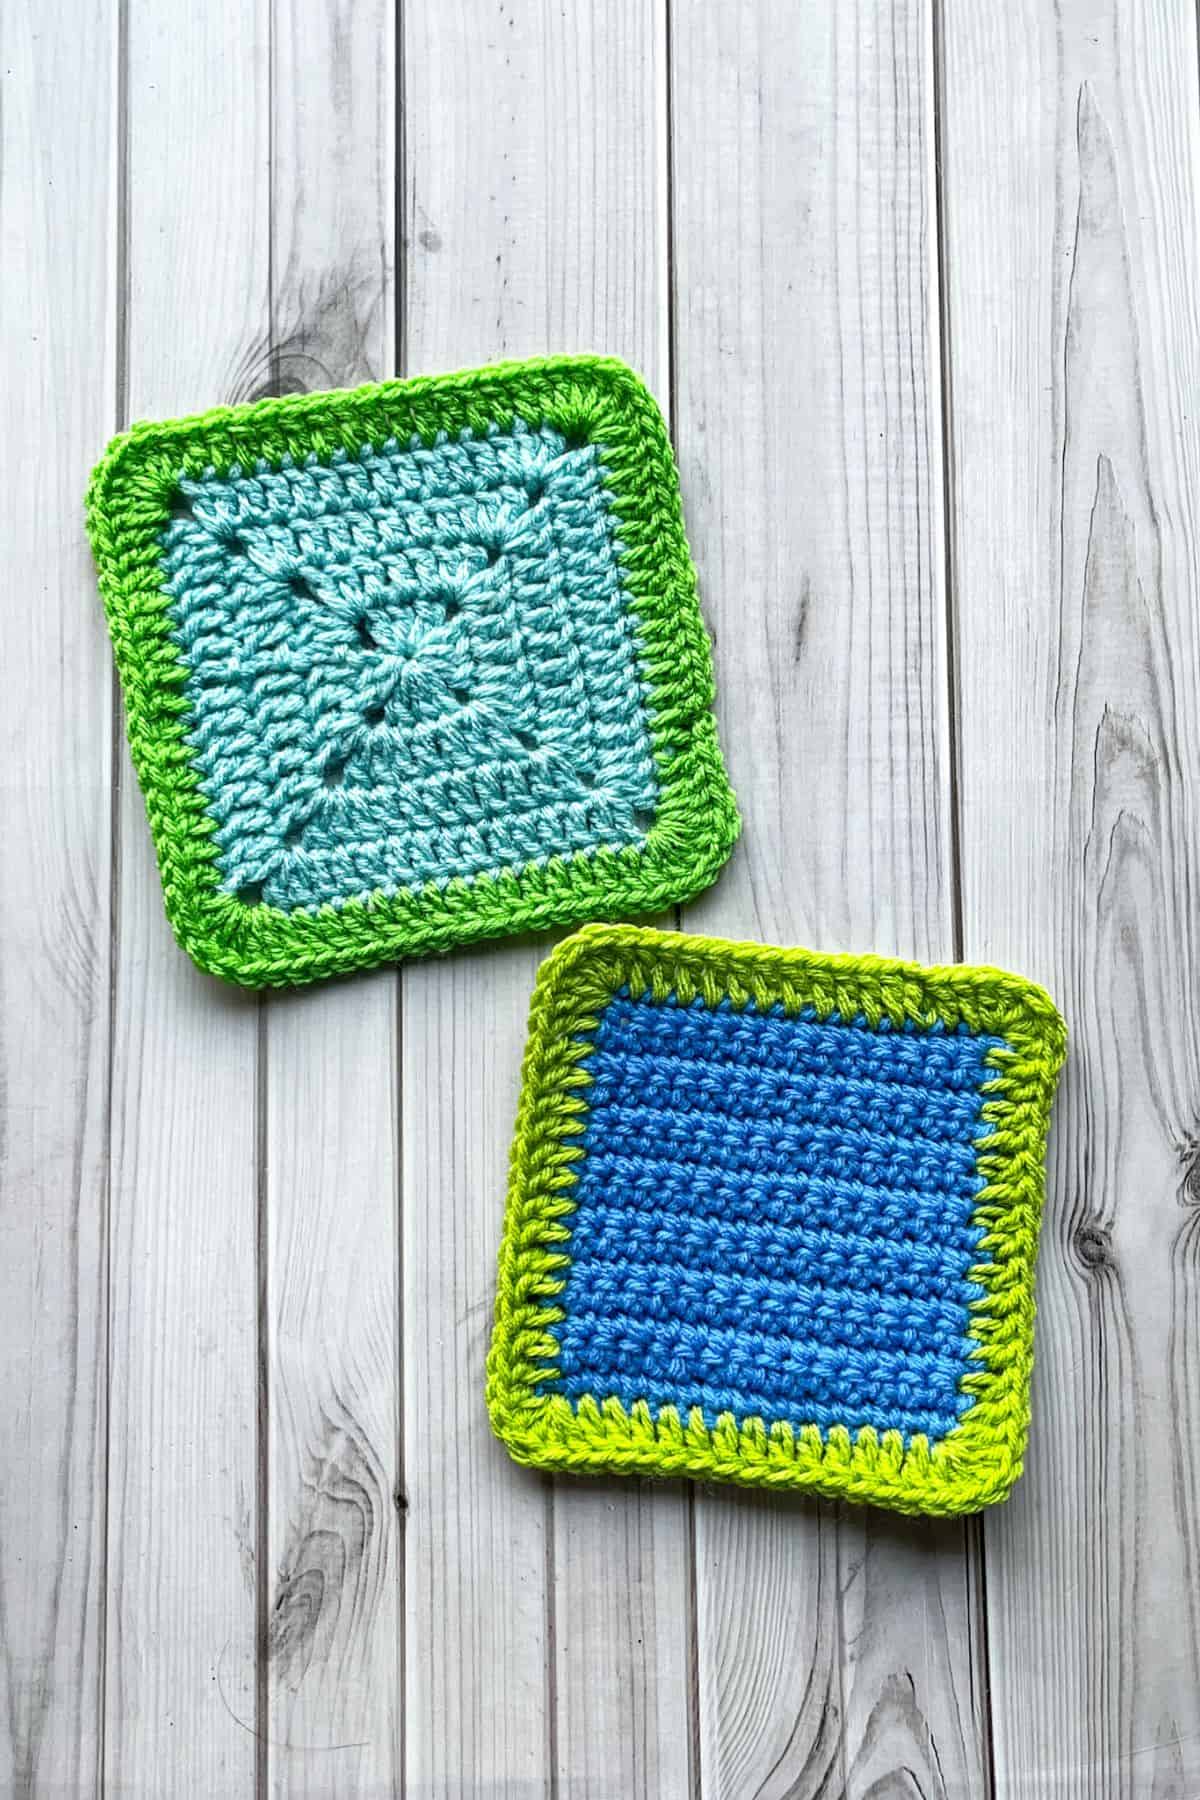
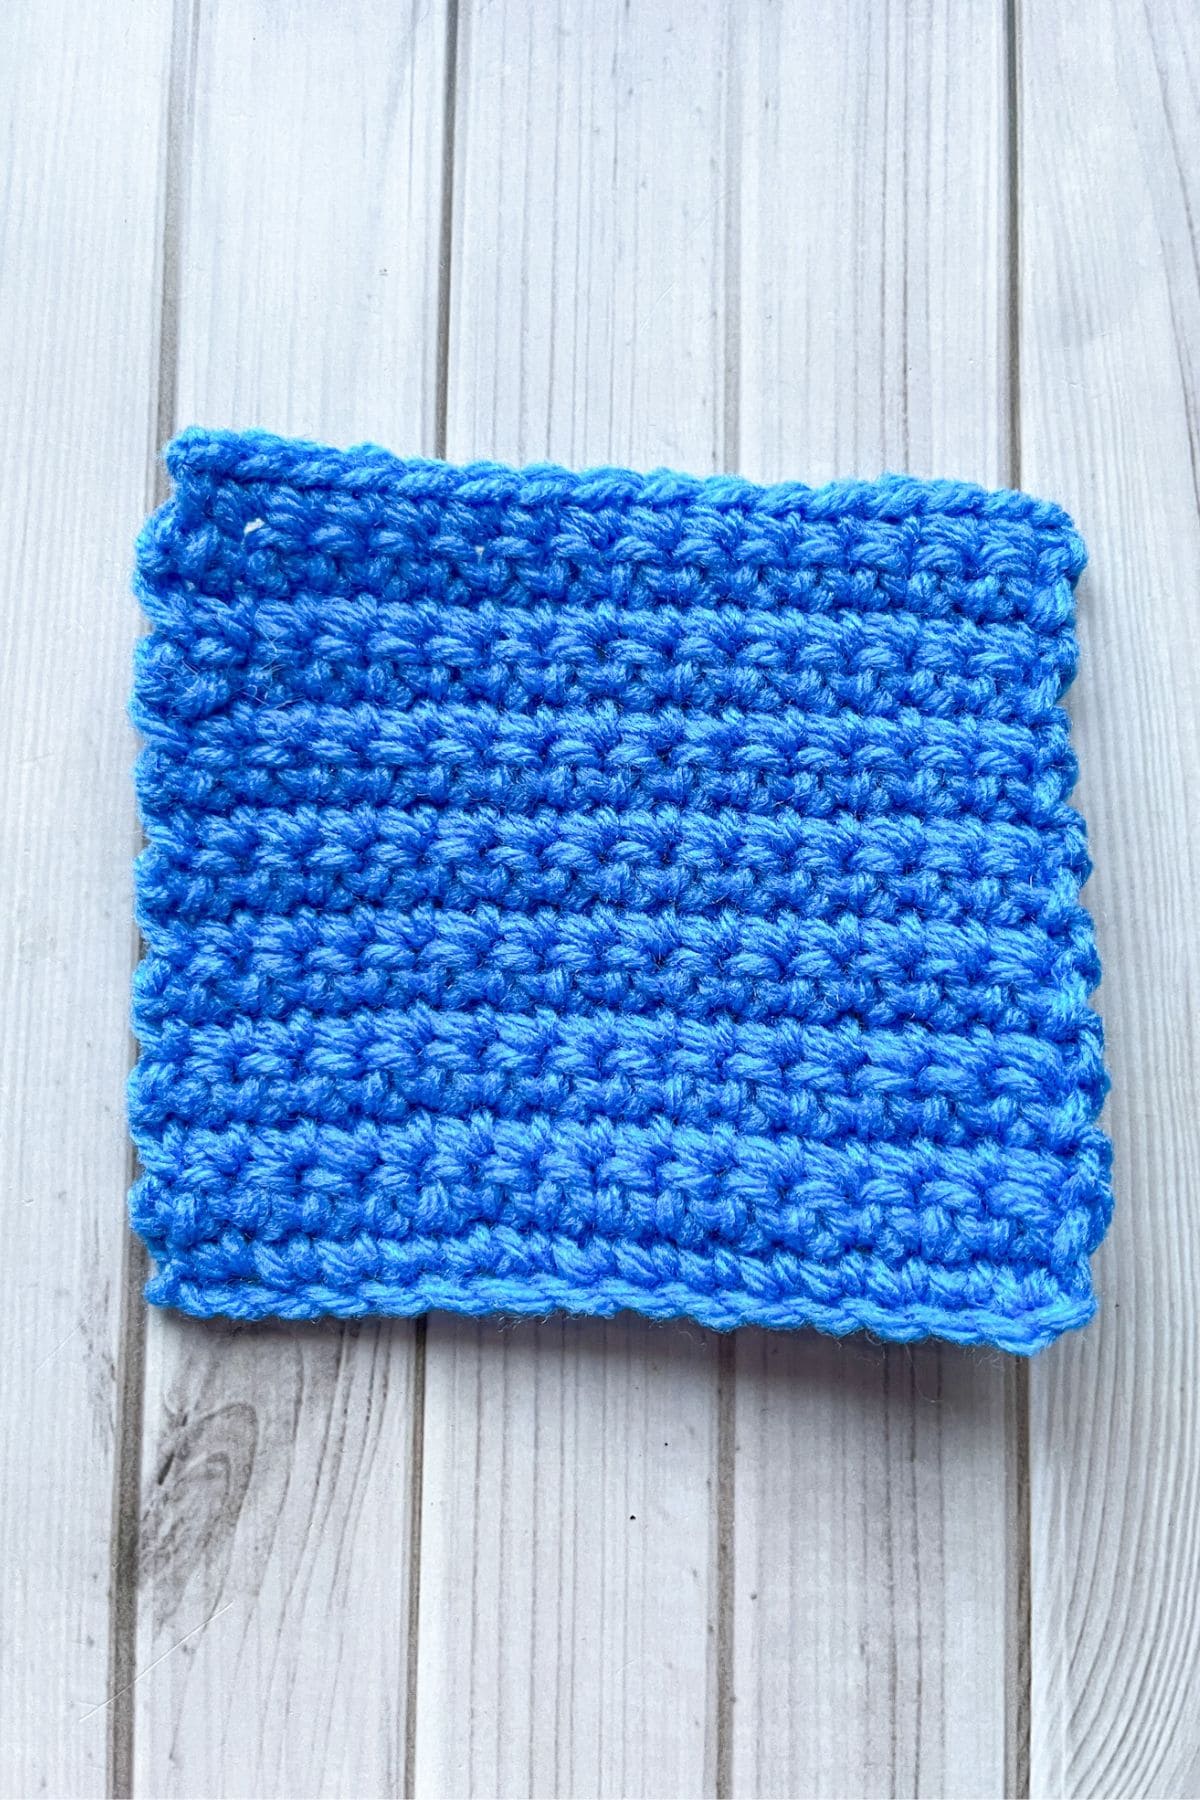
- Yarn Type. This is just a stitch tutorial, so I am using a crochet swatch from a previous project. You can apply this border to any flat project.
- Yarn Weight. Any yarn weight works well for this stitch. Specialty yarns, like fuzzy yarns, can also be used.
- Row Options. I made my dc border with only one row, but you can add more rows for a bigger border.
🪡 Materials Needed
- Scrap yarn or yarn of choice (use the same weight yarn as the project you are working on for best results)
- Tapestry needle
- 5mm hook, or the same size hook you were using for your project.
💭Abbreviations to Remember (US terms)
- Chain - ch
- Double Crochet - dc
- Slip Stitch - sl st
🍵Instructions for the Double Crochet Border for Beginners
This pattern is made in the round.
Step 1: If you’re using a different color yarn than the main body, reattach your yarn to the last stitch (or anywhere on the border) of your last row.
Overall, the placement of the yarn doesn’t matter for this border.
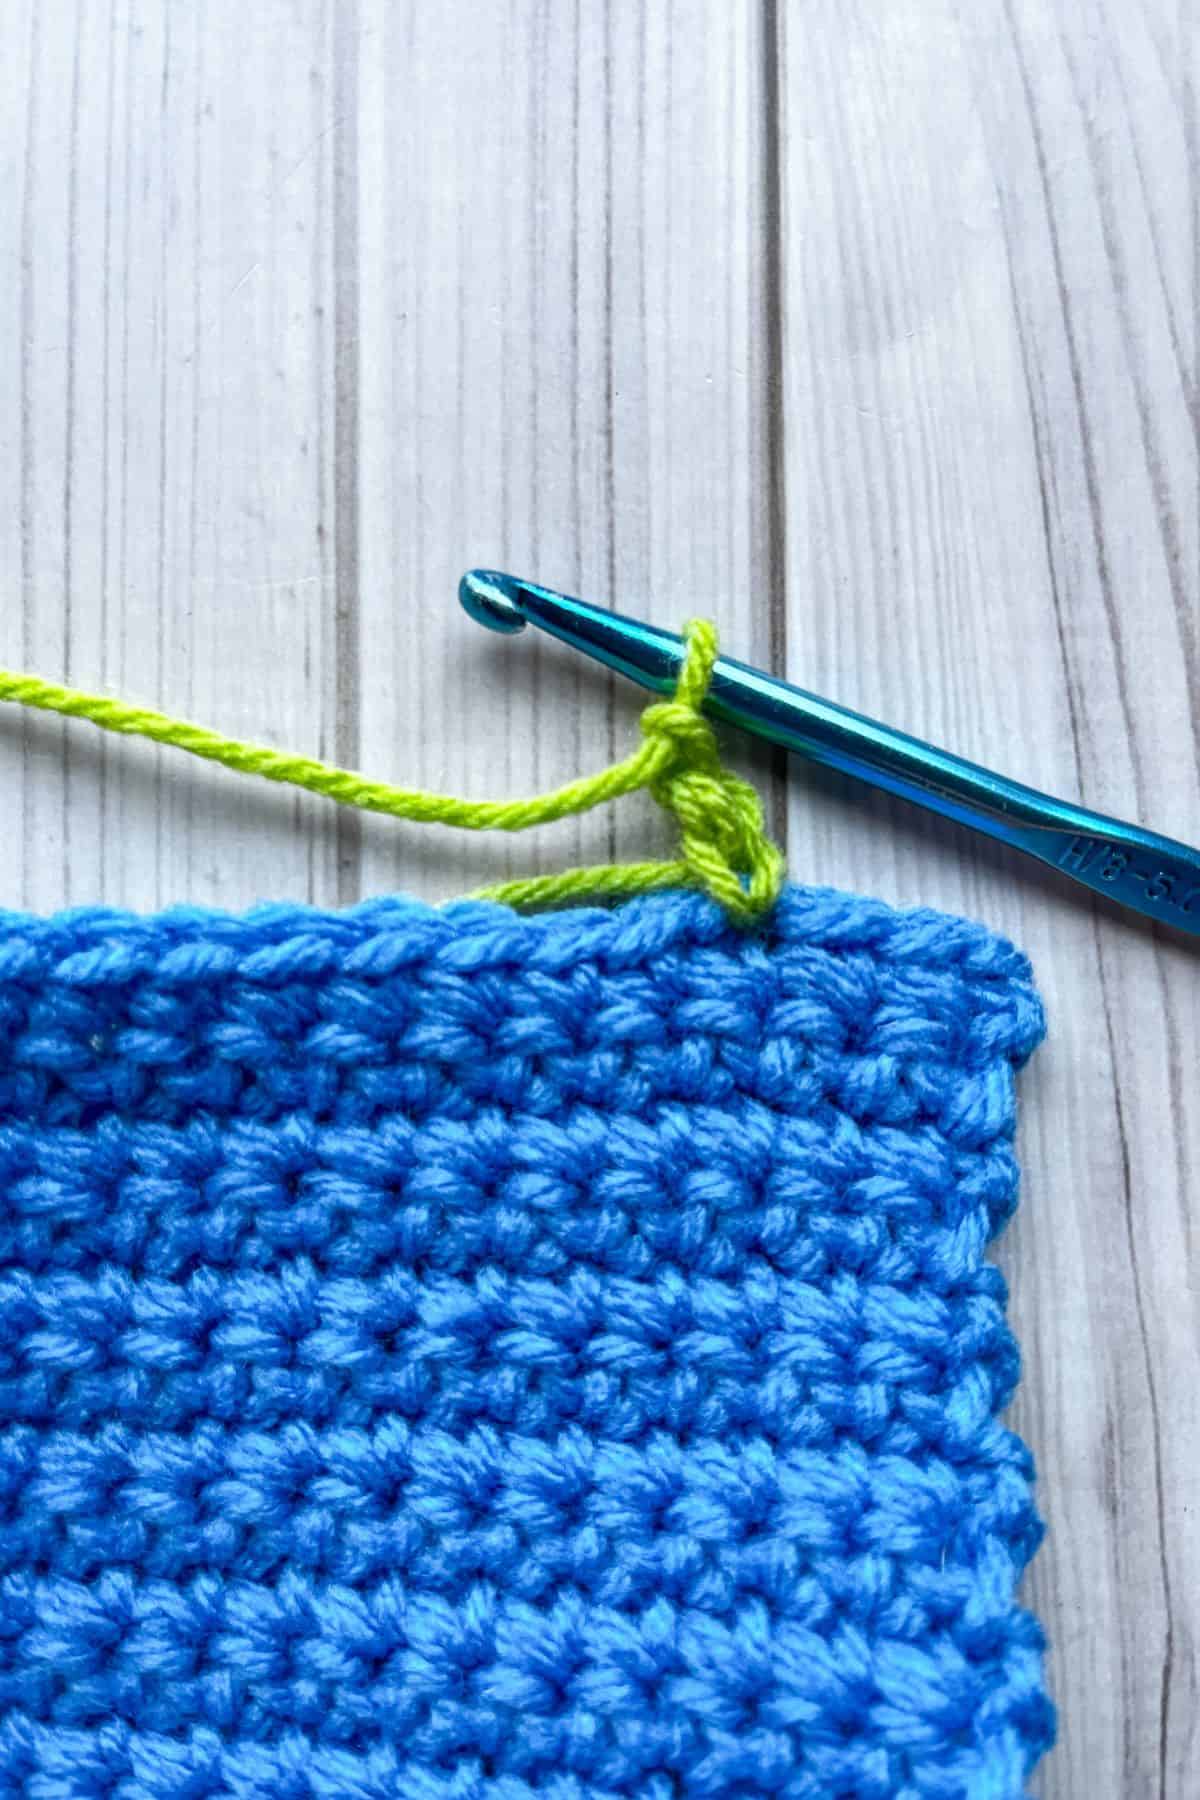
Step 2: Then ch x3 and then make a dc in the next stitch you attached your yarn to.
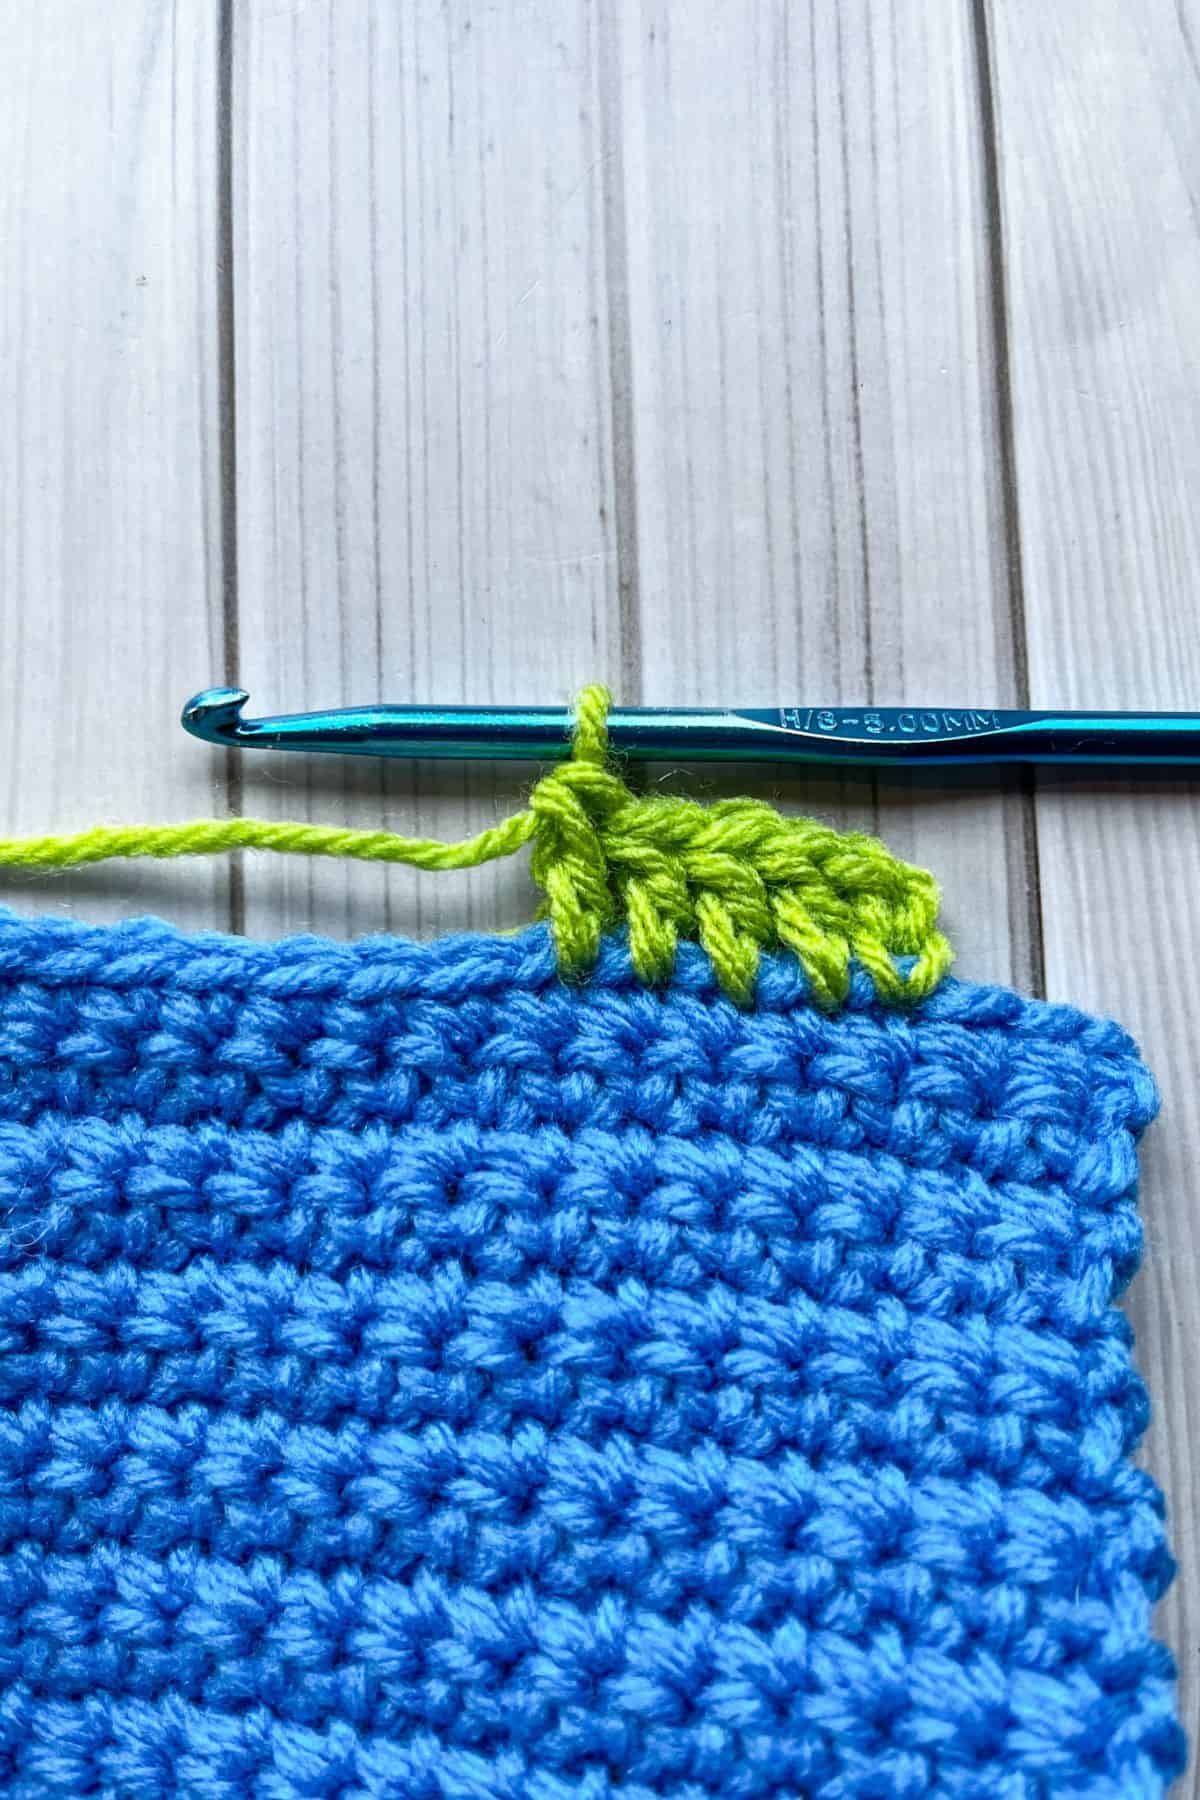
Step 3: Continue making dc stitches into each top of the stitches from the row below.
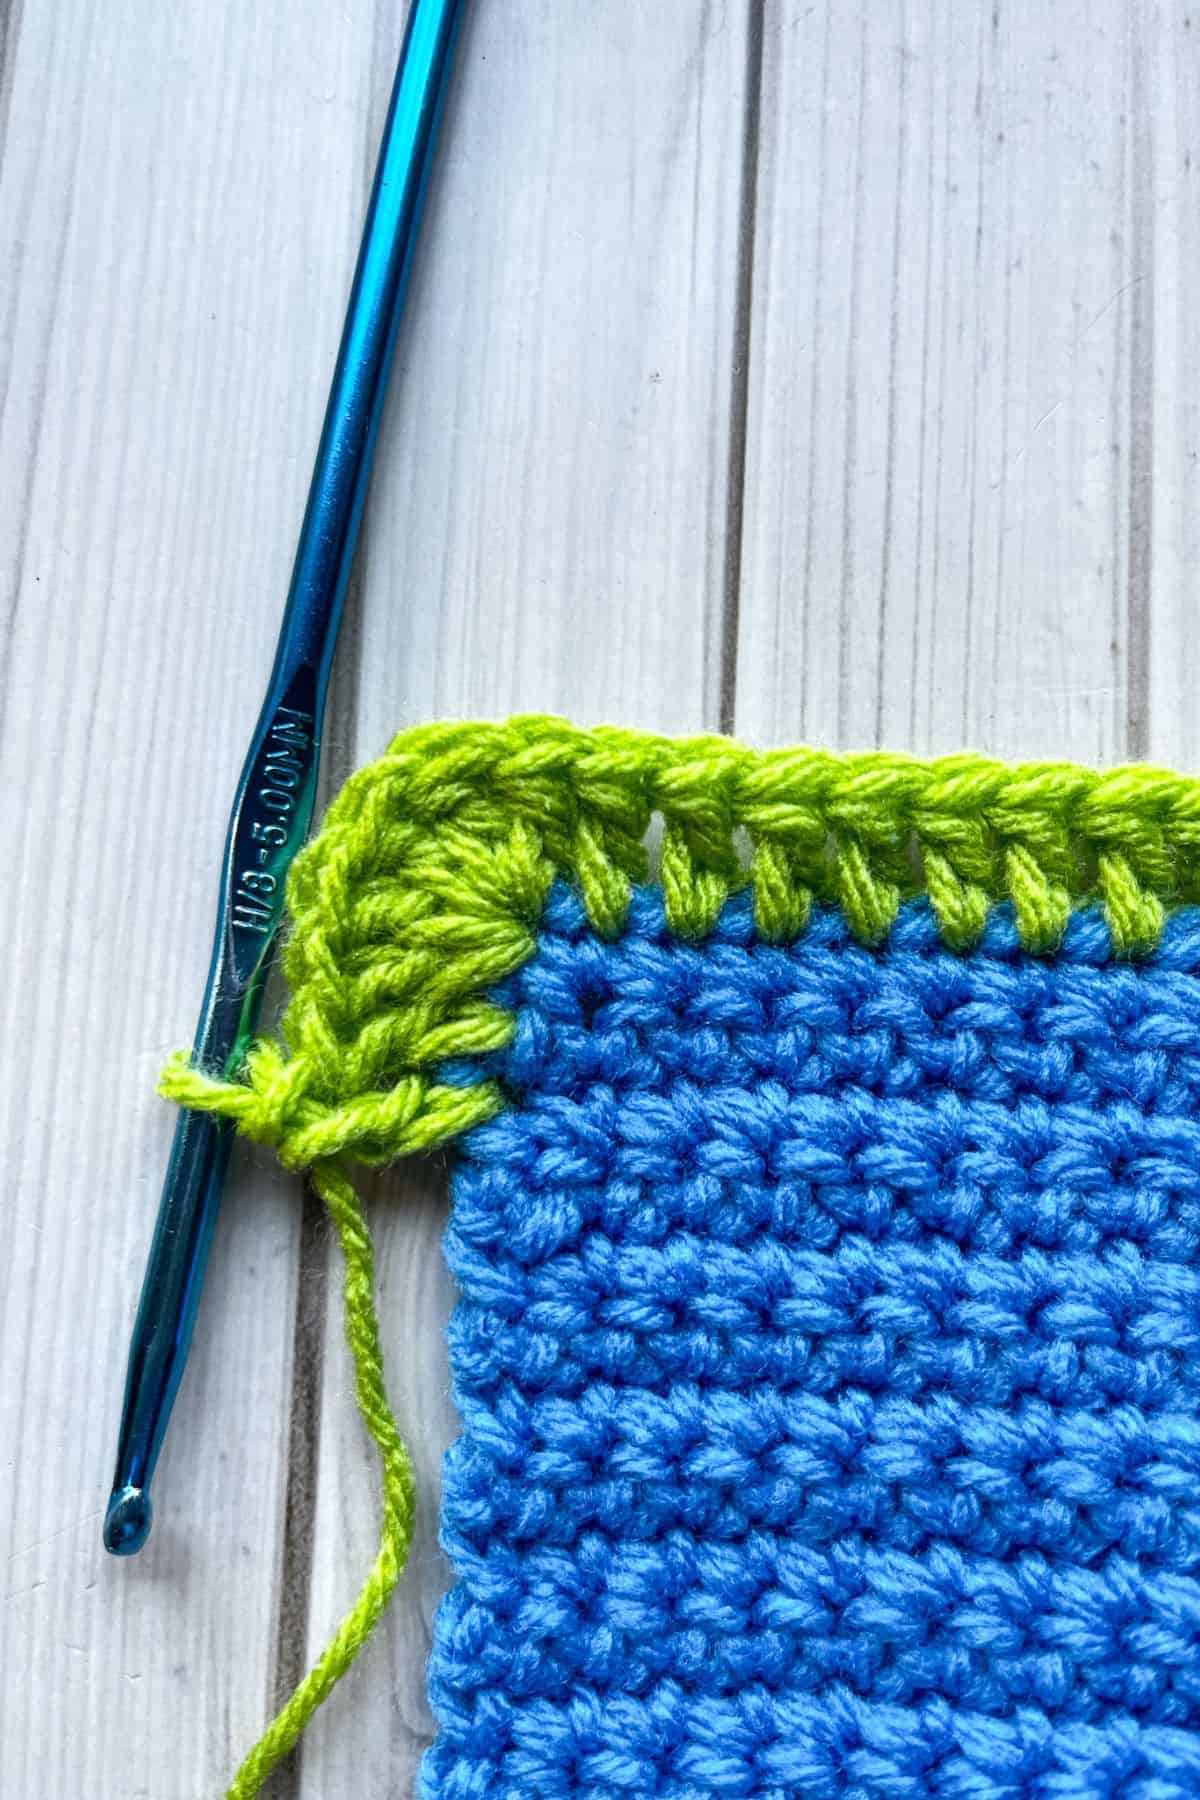
Step 4: When you get to the corner make 5 or 6 dc stitches.
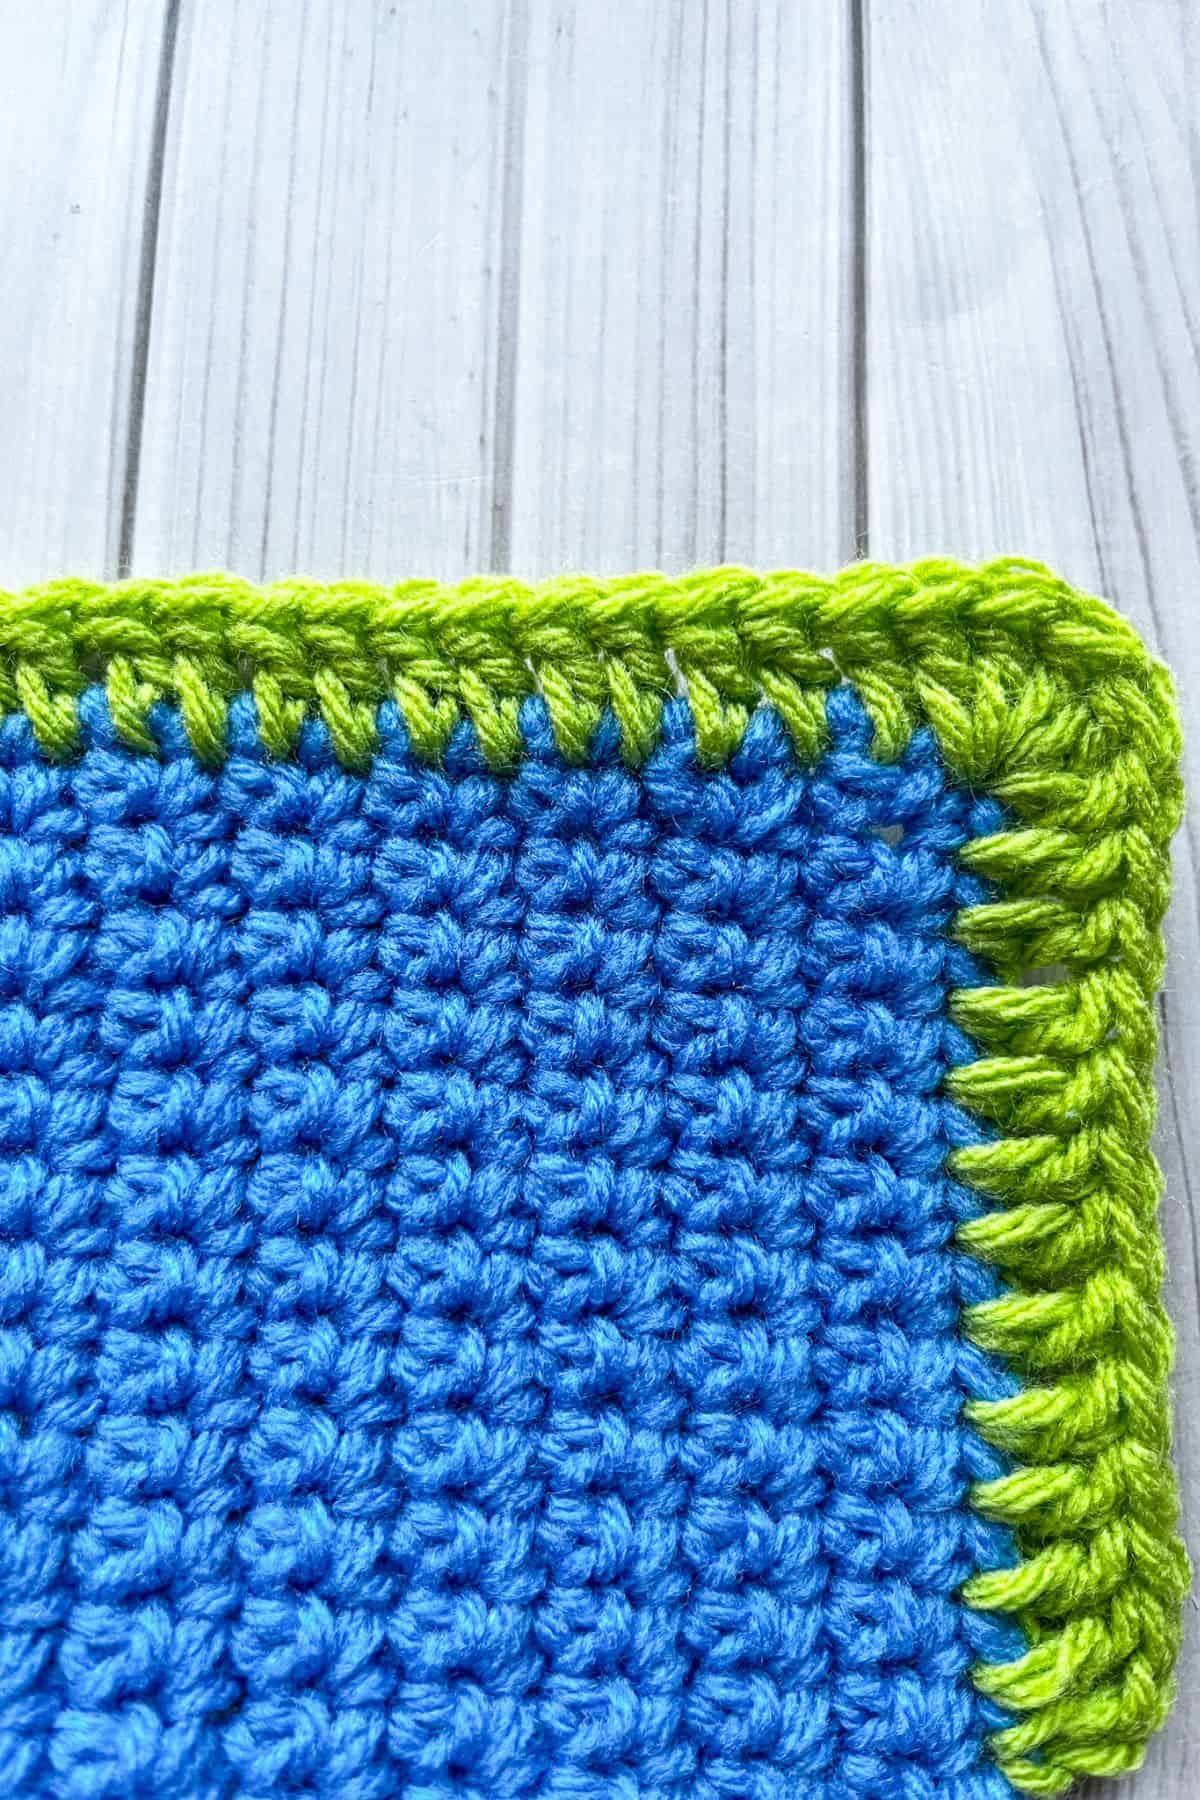
Step 5: When you get to the raw edge of the project, make 1 dc stitch into each row. If your project uses dc stitches for rows, make 2 stitches per dc. If your project is made in the round like a granny square, just make 1 stitch into each stitch top.

Step 6: When you are done going around the project, make a sl st to the starting chains. Then fasten off the yarn and weave in any ends.
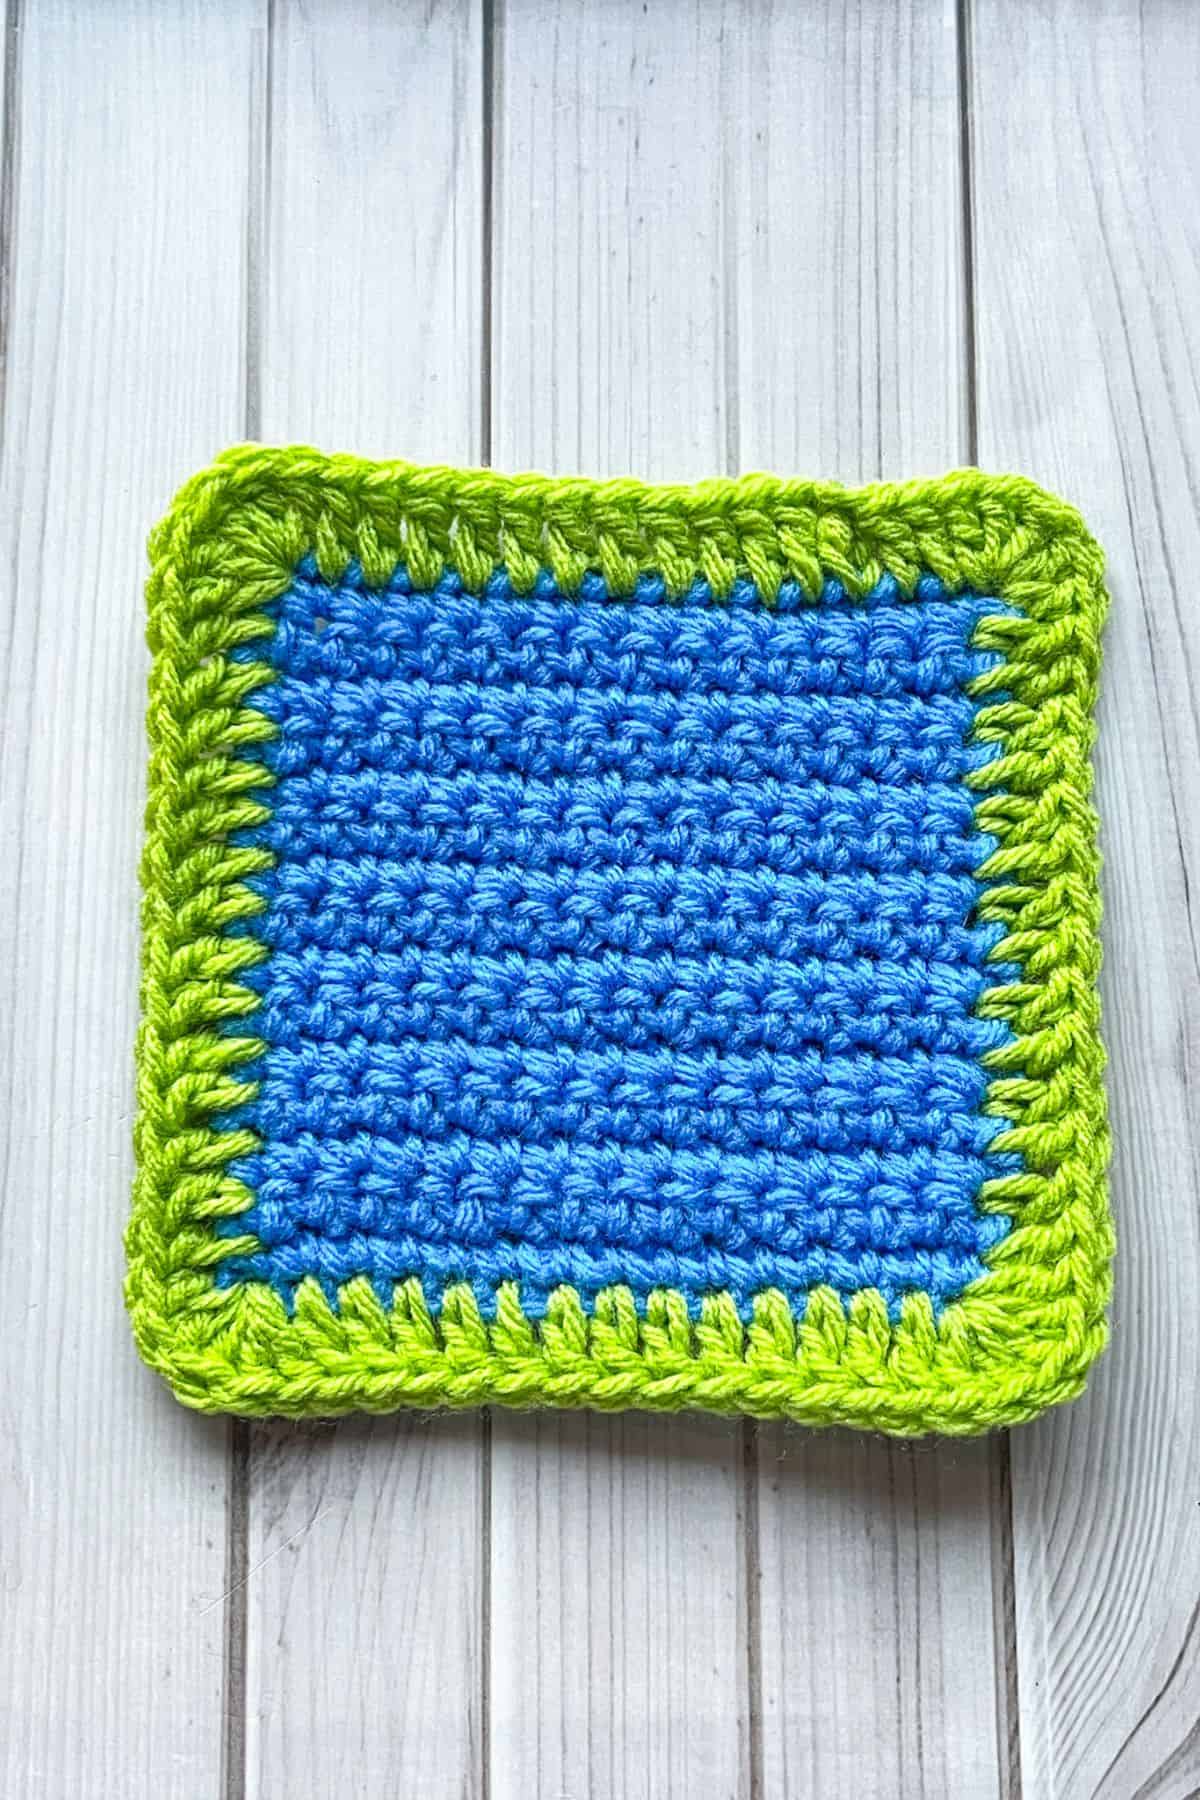
And now you know how to make a double crochet border! A great foundational crochet border perfect for beginners.
If you want to try a few other double crochet stitch patterns, check out my crochet winter scarf pattern to learn to make a plaid pattern using double crochets, the crochet iris stitch pattern for a lacey effect, or learn how to make double crochet in back loop only.
🐌Expert Tips
- Yarn Weight and Hook Size. For best results, always use the same yarn weight and hook size as you used for the main project for your border.
- Smooth Edges. To achieve a smooth edge, ensure your tension is consistent throughout your stitches. If you find the border pulling or curling, check your stitch count.
- Experiment with Colors. Don’t hesitate to experiment with different colors for your border. A contrasting color can add an eye-catching detail to your project.
- Double Border Option. For a more decorative look, consider adding a second row of double crochet or a different stitch to create visual interest.
🧵Pattern FAQs
You can join the yarn anywhere, but it's probably easier to do so at the corner where you just left off.
Absolutely! Double crochet borders are easy to do once you get the hang of it, so any type of yarn can be used.
You can use it for blankets, dishcloths, sweaters, cardigans—the opportunities are endless!

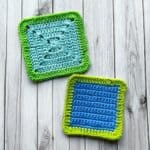
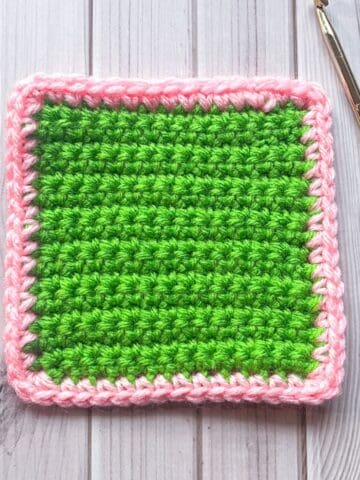
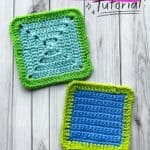
🧶More Crochet Border Patterns


If you tried this Double Crochet Border for Beginners (or any other pattern on my website), please let me know how it went in the 📝 comments below. I'd love to hear from you!
Double Crochet Border for Beginners
Materials
- Scrap yarn or yarn of choice use the same weight yarn as the project you are working on for best results
- Tapestry needle
- 5 mm hook
Abbreviations (US terms)
- Chain - ch
- Double crochet - dc
- Slip stitch - sl st
Notes
- Yarn Type. This is just a stitch tutorial, so I am using a crochet swatch from a previous project. You can apply this border to any flat project.
- Yarn Weight. Any yarn weight works well for this stitch. Specialty yarns, like fuzzy yarns, can also be used.
- Row Options. I made my double crochet border with only one row, but you can add more rows for a bigger border.
Instructions
- This pattern is made in the round.
- Step 1: If you’re using a different color yarn than the main body, reattach your yarn to the last stitch (or anywhere on the border) of your last row.
- Overall, the placement of the yarn doesn’t matter for this border.
- Step 2: Then ch x3 and then make a dc in the next stitch you attached your yarn to.
- Step 3: Continue making dc stitches into each top of the stitches from the row below.
- Step 4: When you get to the corner make 5 or 6 dc stitches.
- Step 5: When you get to the raw edge of the project, make 1 dc stitch into each row. If your project uses dc stitches for rows, make 2 stitches per dc. If your project is made in the round like a granny square, just make 1 stitch into each stitch top.
- Step 6: When you are done going around the project, make a sl st to the starting chains. Then fasten off the yarn and weave in any ends.
- And now you know how to make a double crochet border! A great foundational crochet border perfect for beginners.


Leave a Reply