

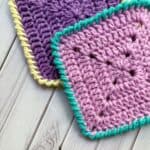
Want to create a cute crochet border that is a fun twist on single crochet? Try my crab stich crochet border (aka reverse single crochet border) tutorial! Once you've mastered the small learning curve, you will be a pro at this crochet border!
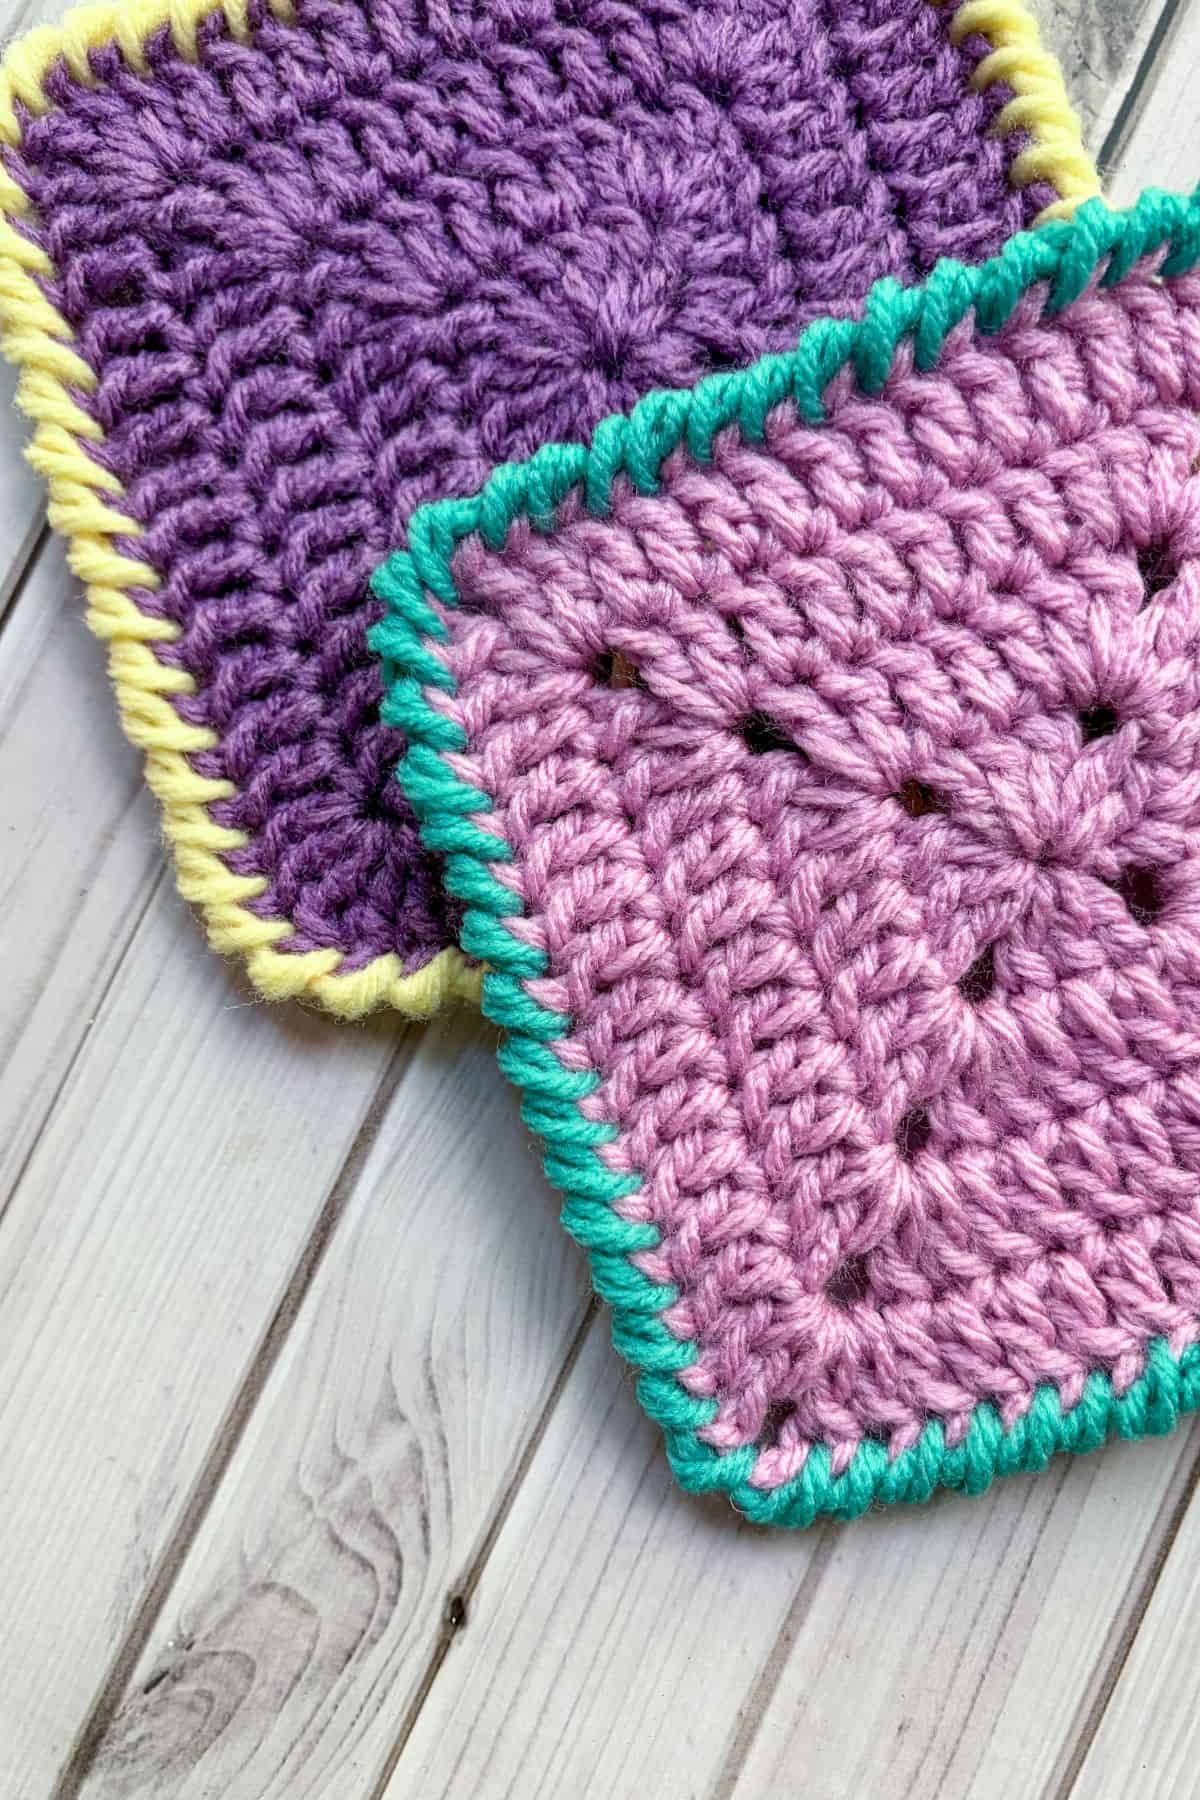
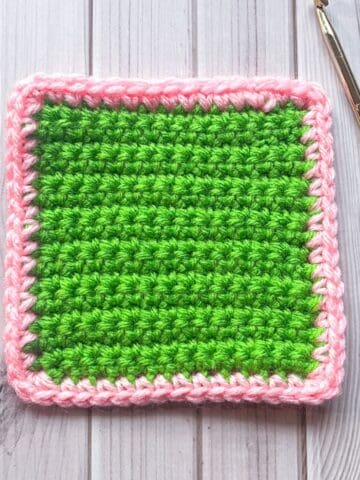
The crochet crab stitch border, also known as the reverse single crochet border or crochet rope border is just the single crochet stitch done in reverse. That's it. But instead of working right to left, you are working left to right.
Sounds easy enough? Well, theoretically yes. But I will say this stitch will need to be practiced. It feels a bit unnatural at first because you are working backwards, but once you get the hang of it - it becomes second nature. If you are looking for easier crochet border patterns, I do suggest the Single Crochet Border Pattern or the Crochet Picot Border Pattern if you are wanting some texture to the crochet edge.
Now let me show you how to crochet the crab stitch edging!
Jump to:
✏️ Things To Note:
- Reverse Single Crochet: Treat this stitch exactly like a single crochet, except that you are working to the RIGHT not the LEFT!
- Practice: While in theory the crab stitch crochet border pattern is easy, it may take some practice to get the tension right. I also feel practice is needed for the Candy Cane Crochet Border.
- Border Only: The reverse single crochet is used for border decoration only; you cannot use this stitch within projects because it twists the yarn to create a rope or twisted texture. It is for decorative finishes only. My Crochet Acorn Bag Pattern uses the crab stitch border for the lid edge to give it stability and structure.
🪡 Materials Needed
- Yarn of your choice (make sure it's the same weight as your main project)
- Crochet hook that you were using for your main project
- Tapestry needle
💭Abbreviations to Remember (US terms)
- Slip stitch - sl st
- Chain - ch
🍵Instructions for Crab Stitch Crochet Border Tutorial
Here is the step-by-step tutorial for the crab stitch border
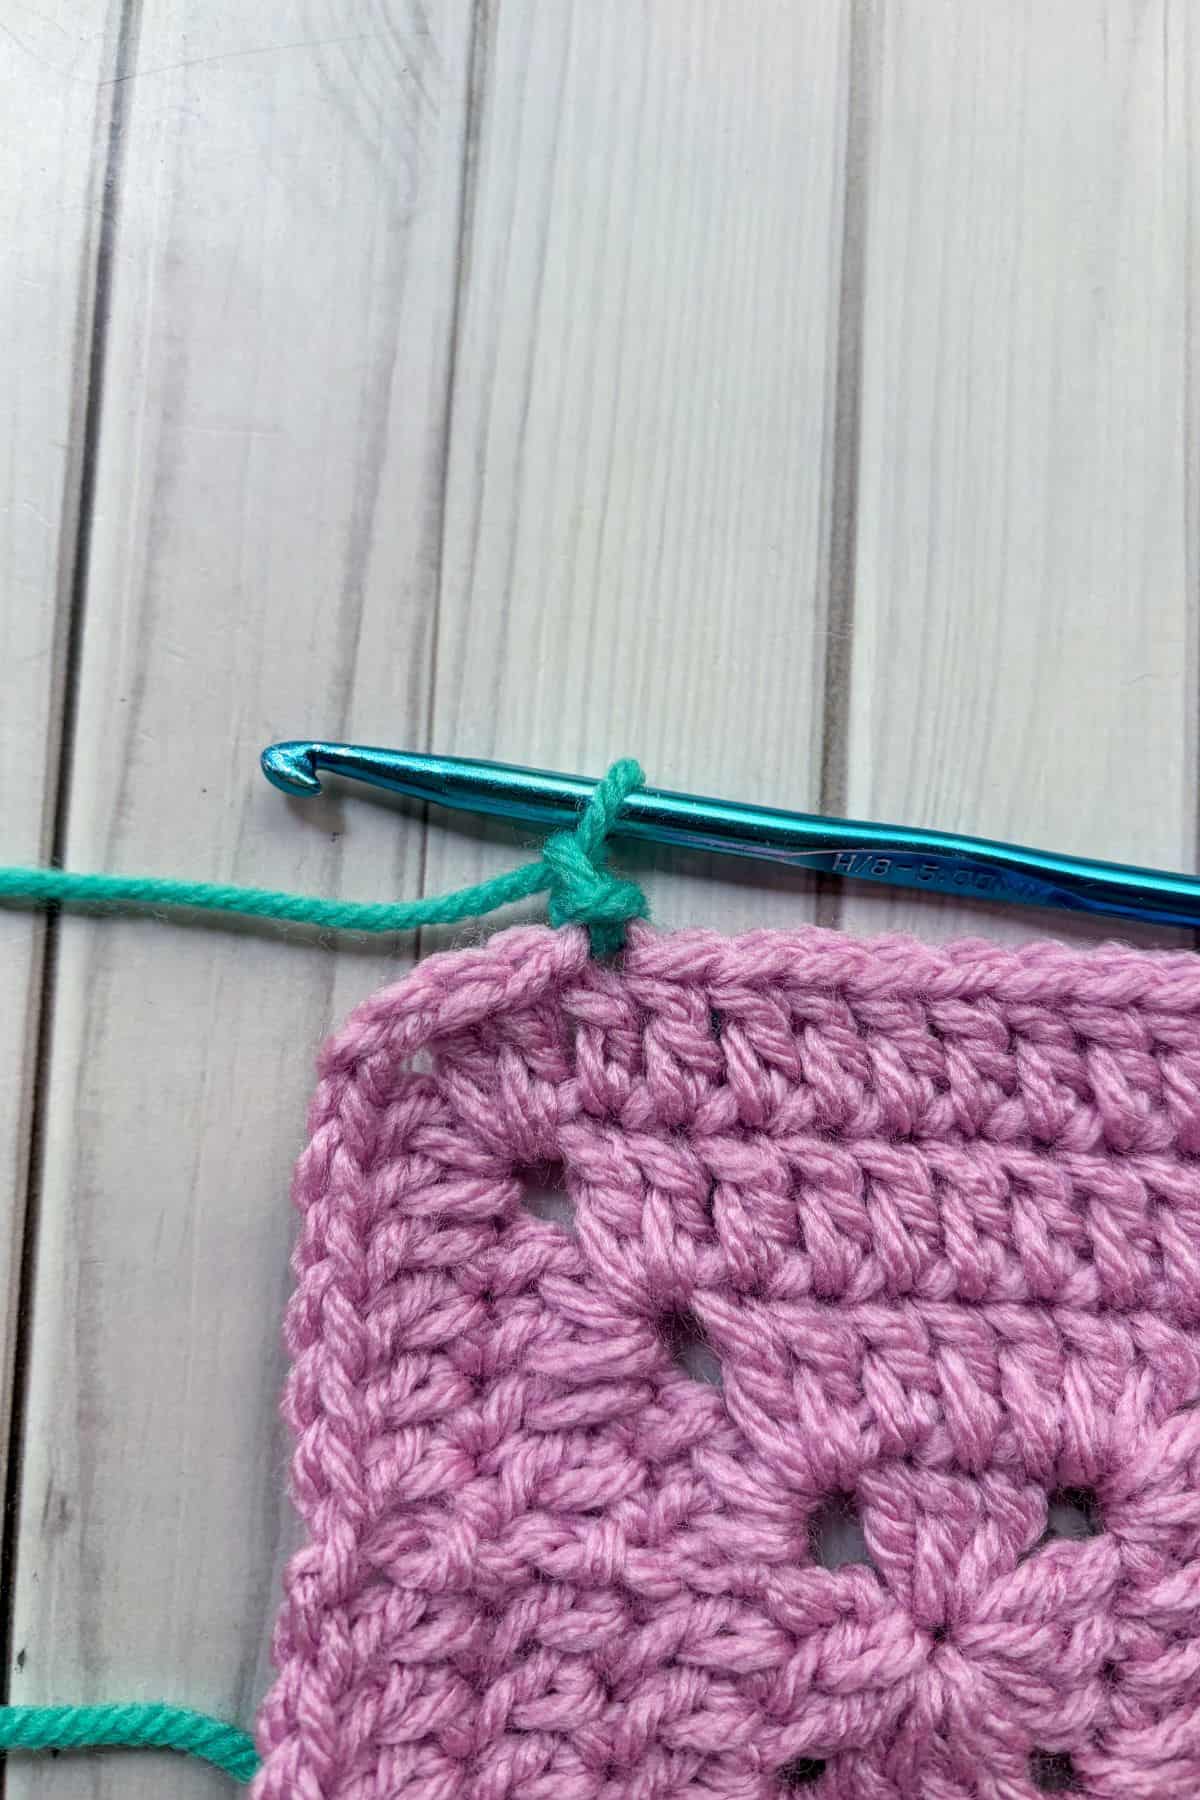
Step 1: Join your yarn anywhere onto the border, then ch x1.
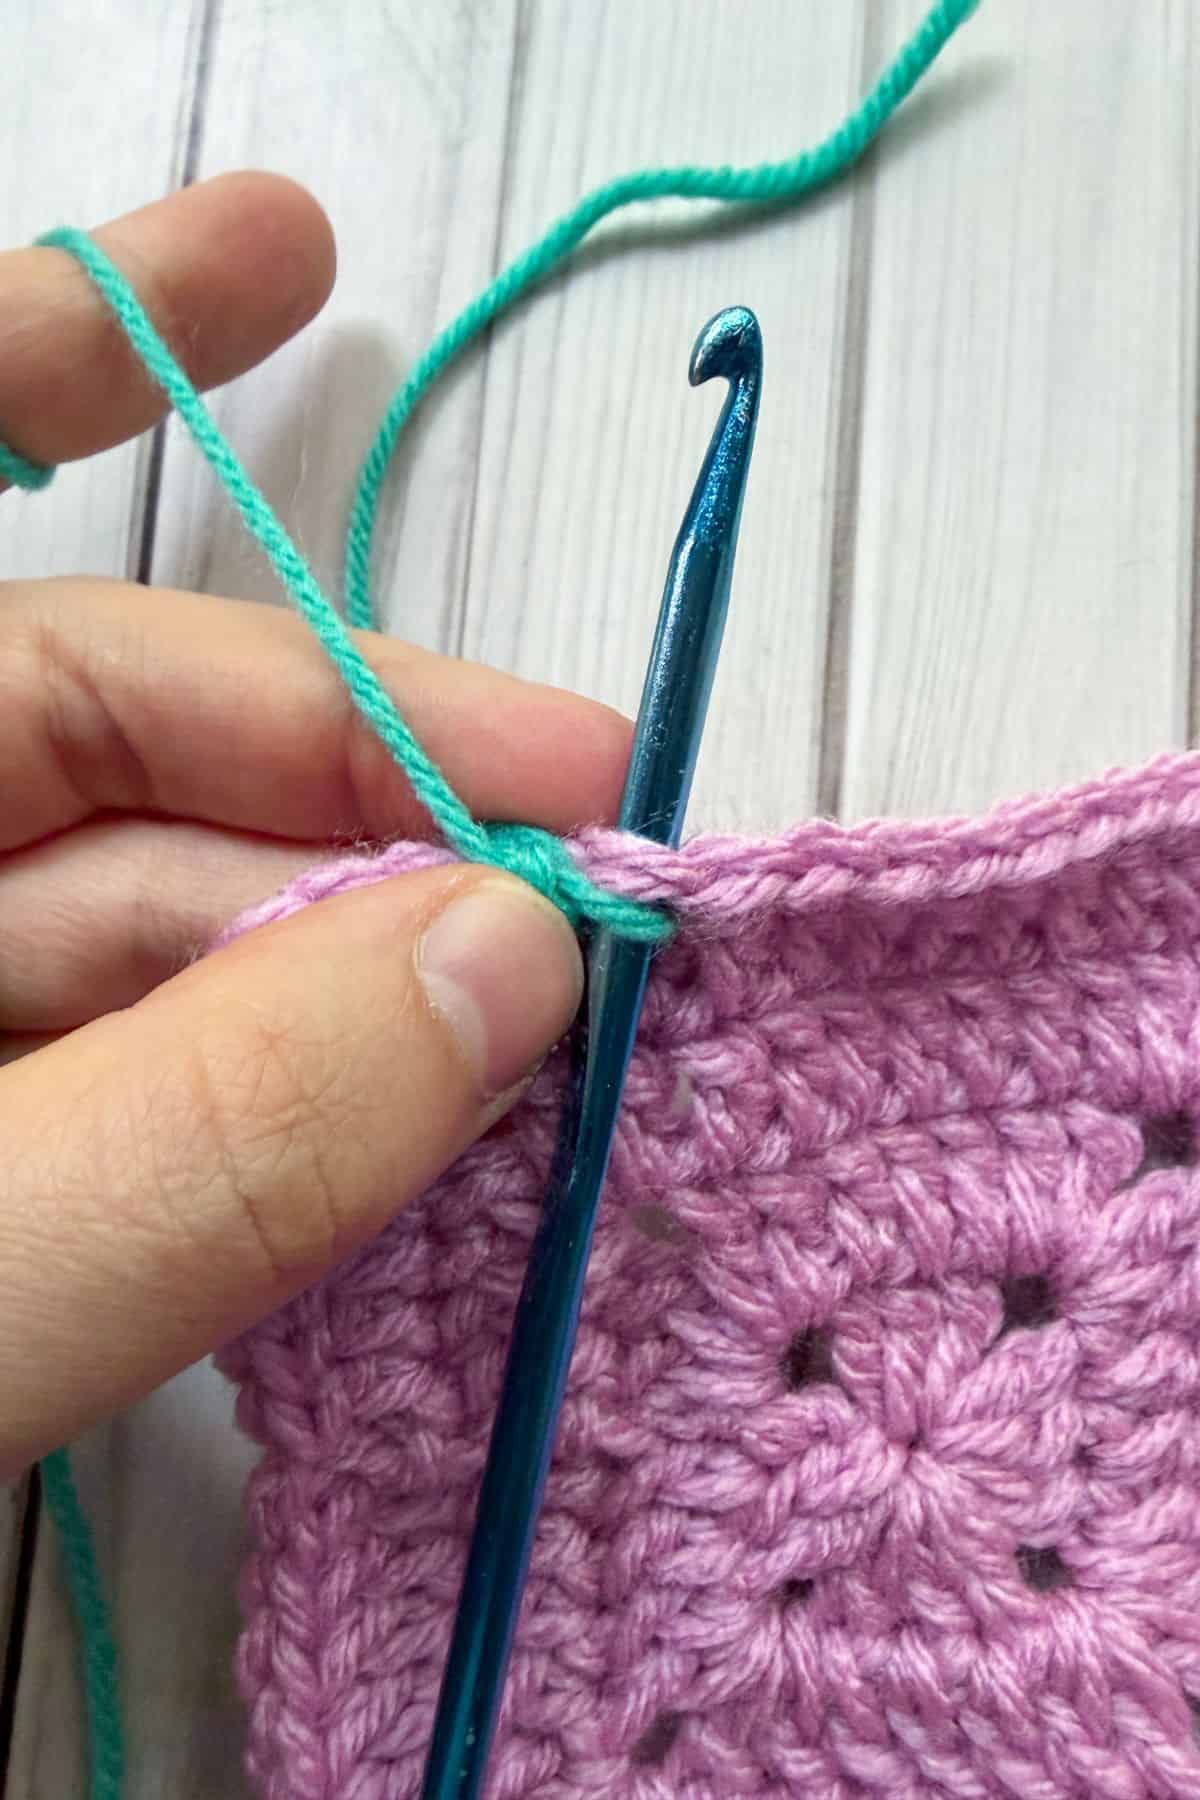
Step 2: Insert the hook into the next stitch to the RIGHT.
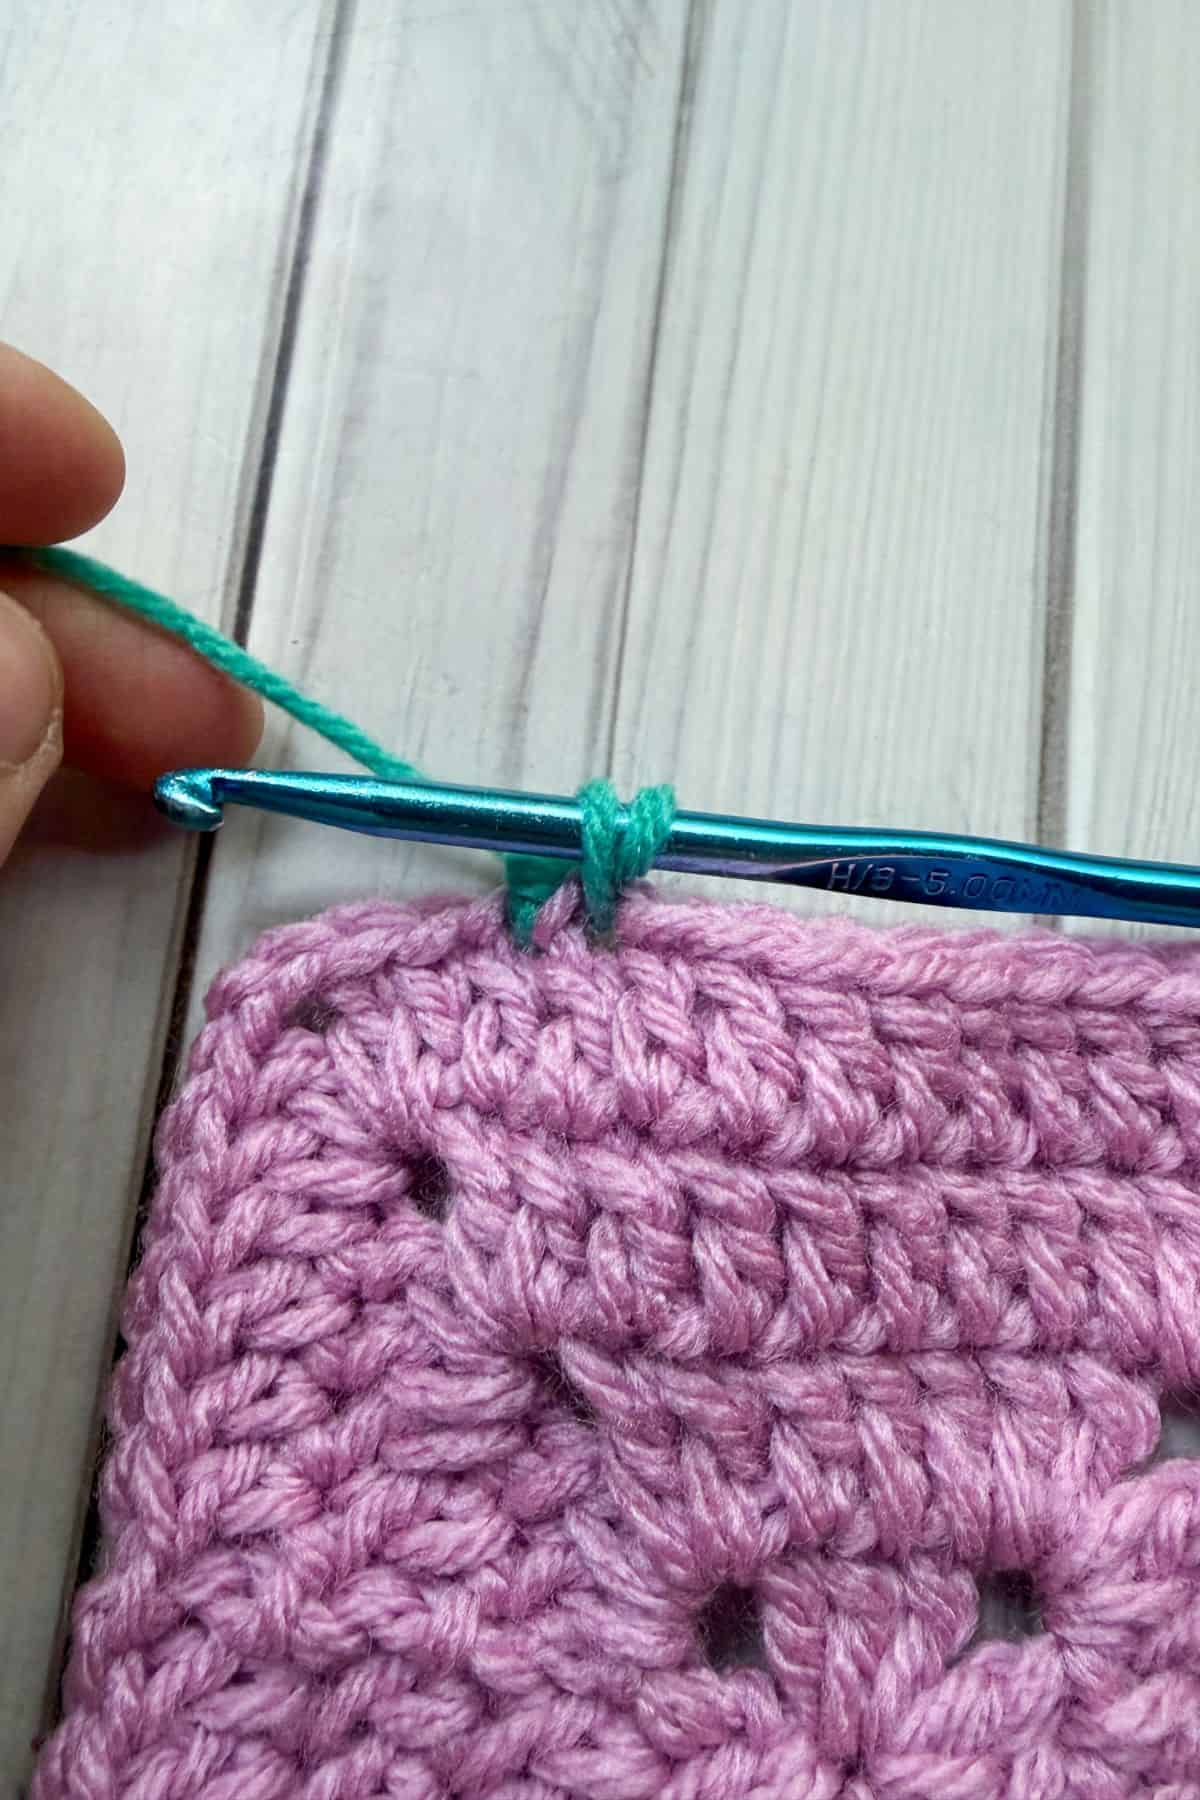
Step 3: Yarn over and pull up a loop.
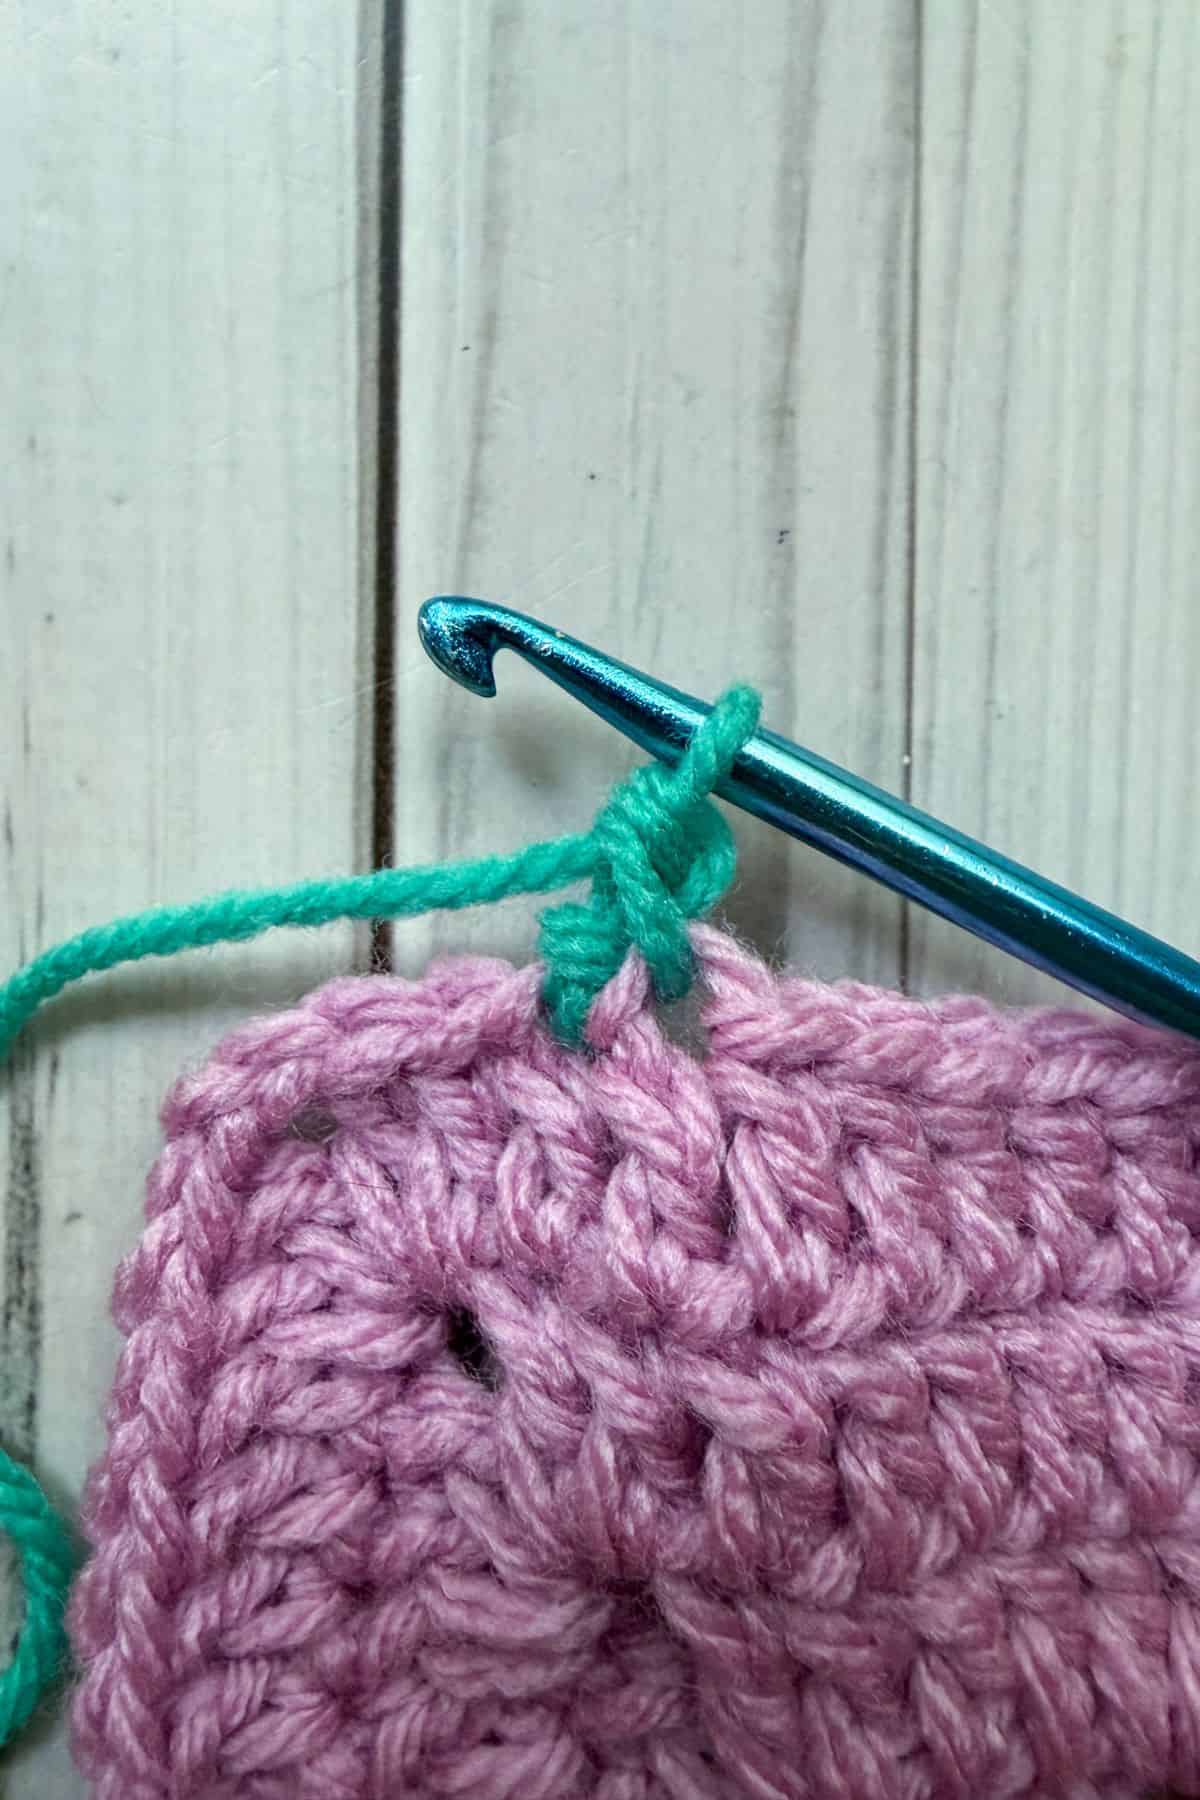
Step 4: Yarn over and pull through both loops. And now your first crab stitch has been made!
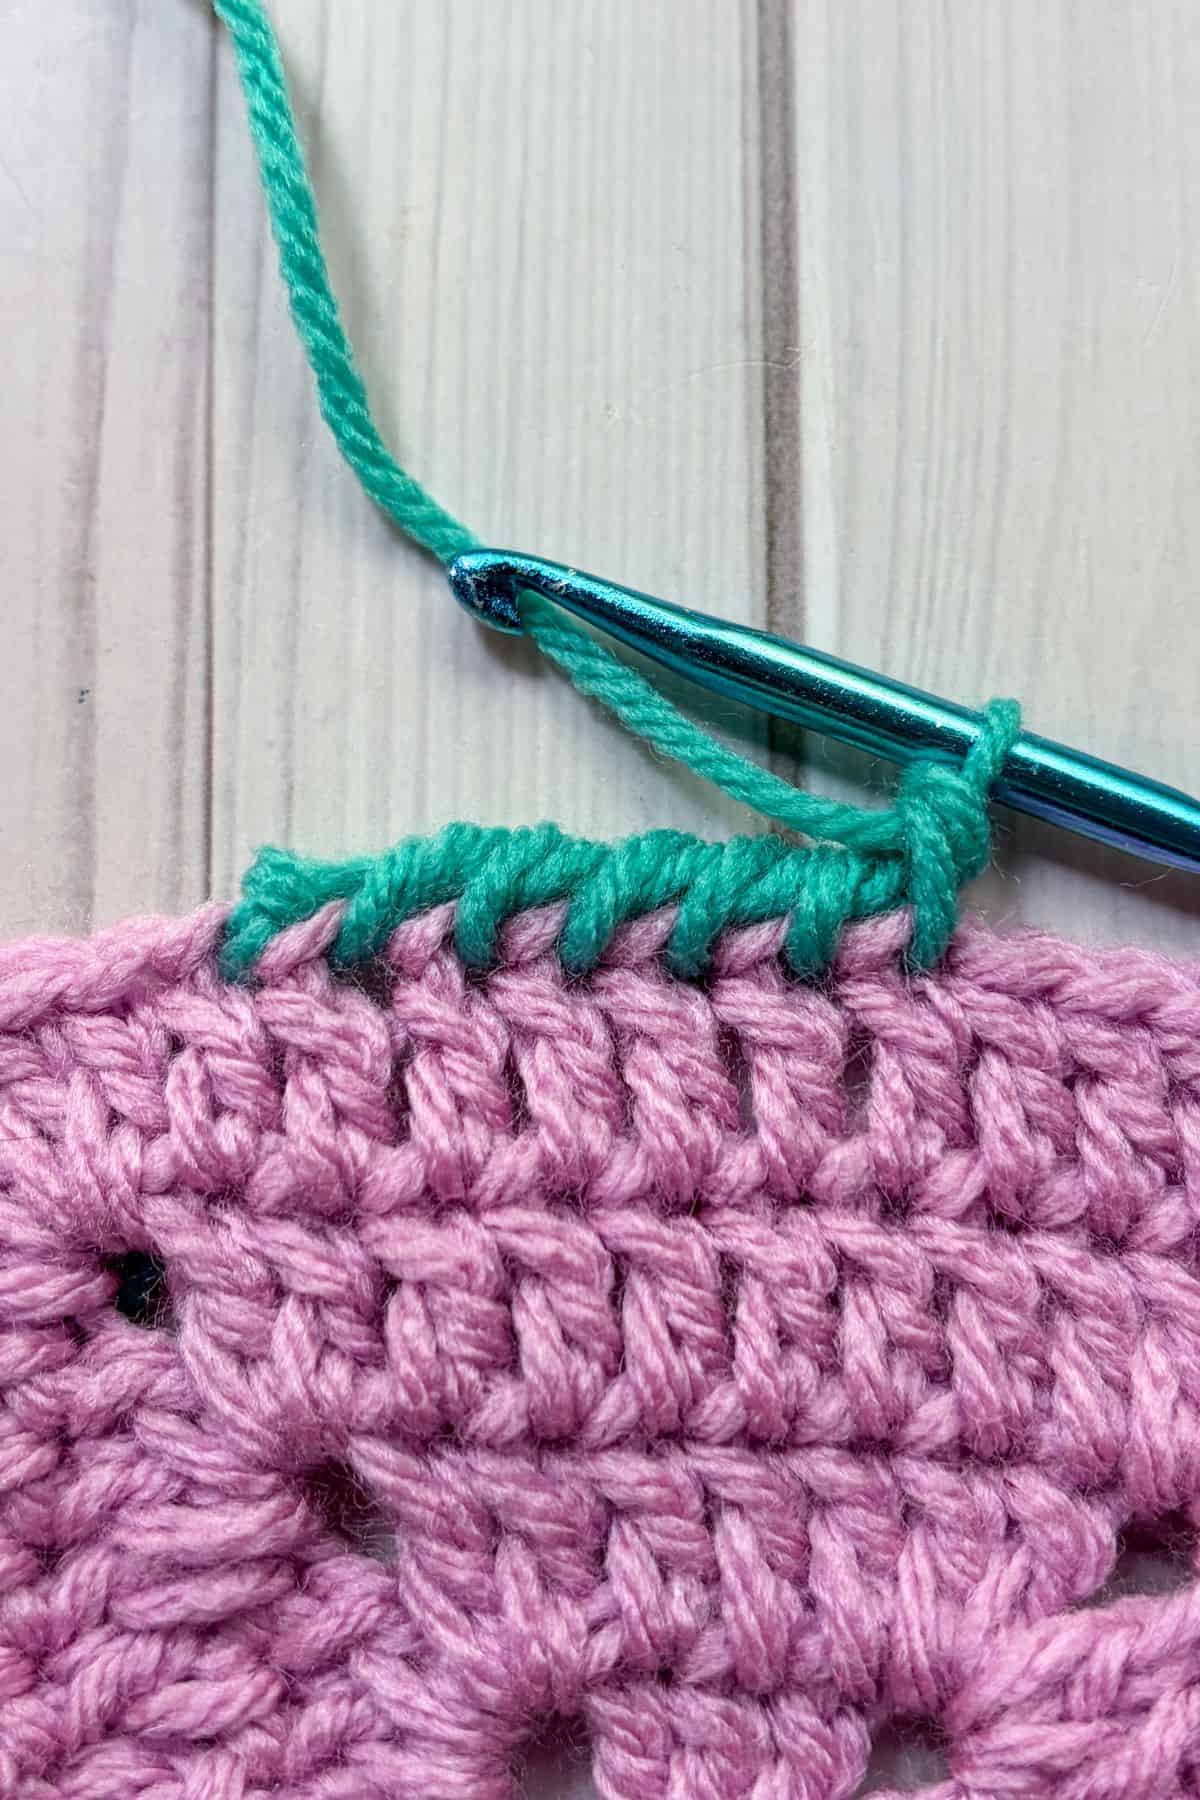
Repeat steps 2-4 for the rest of the project.
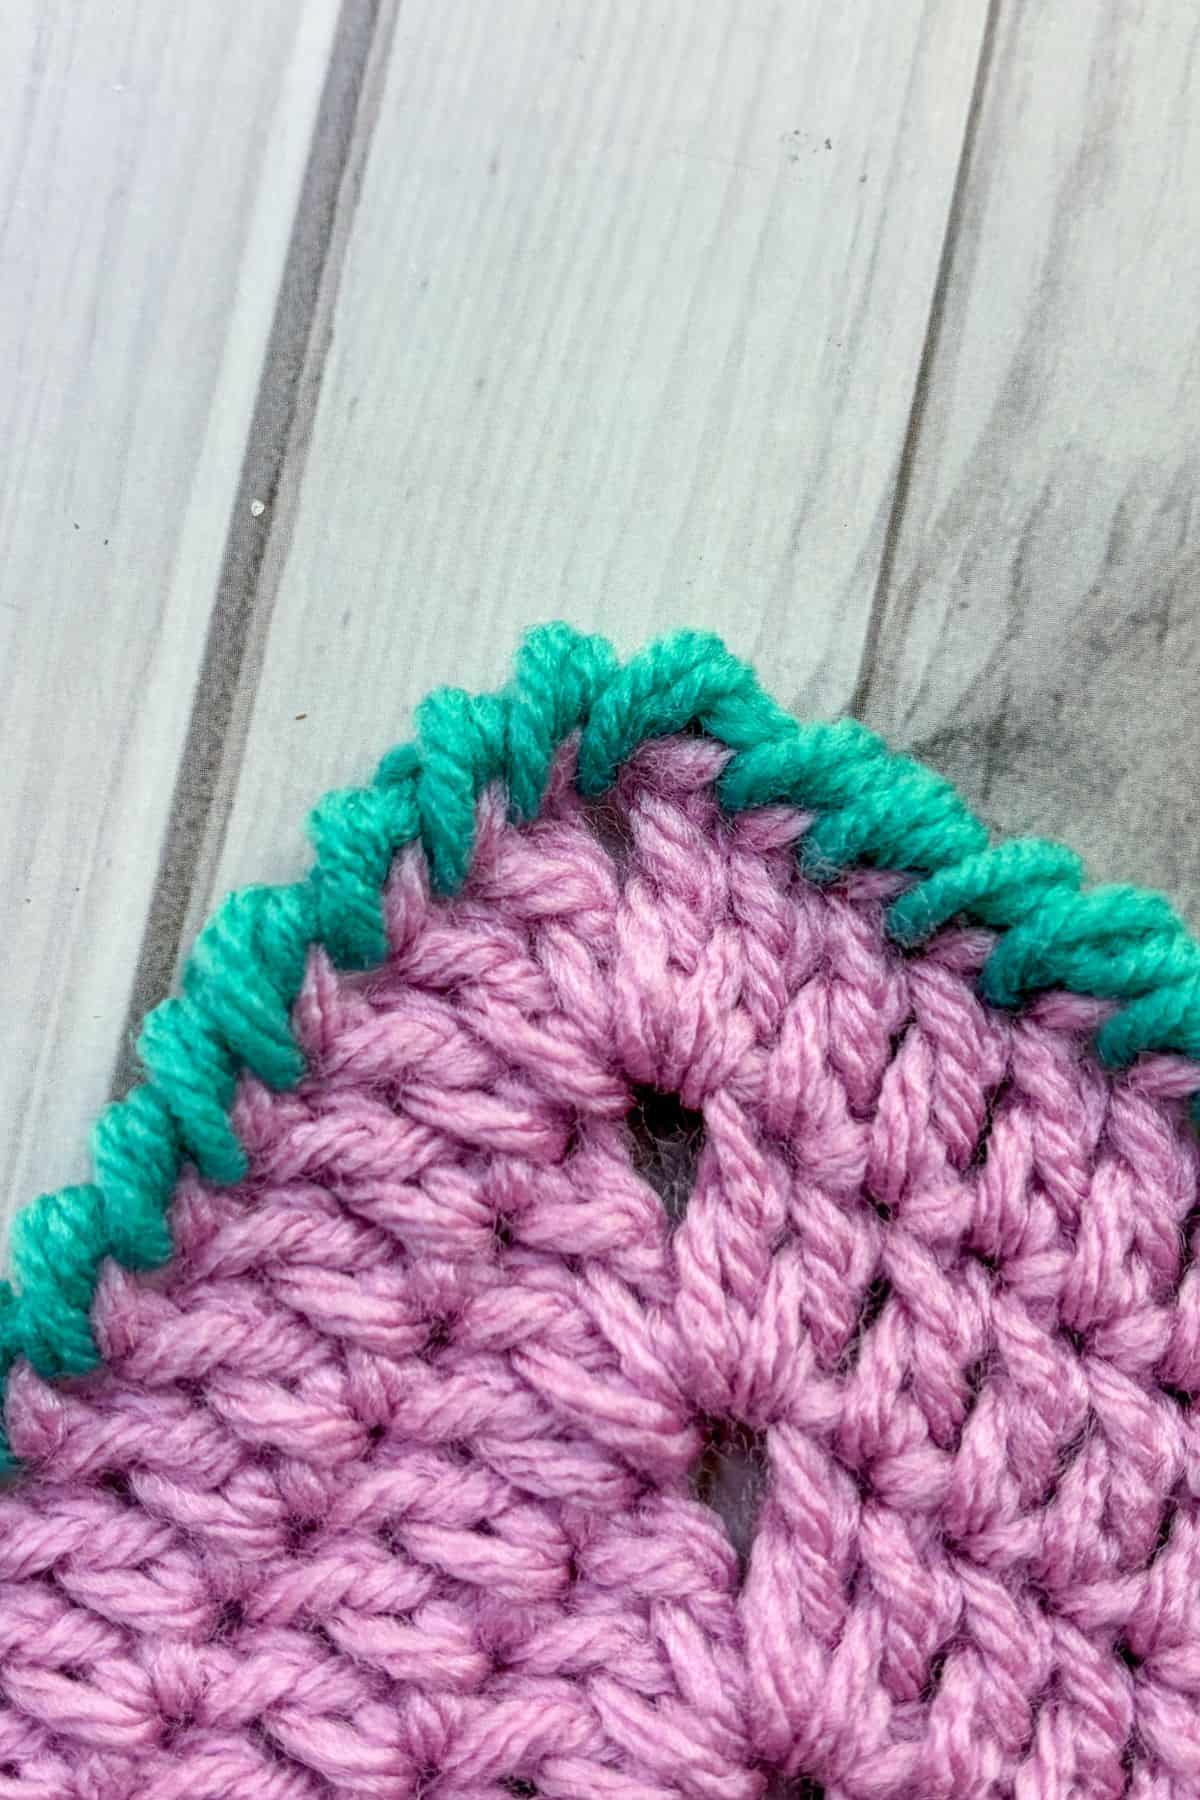
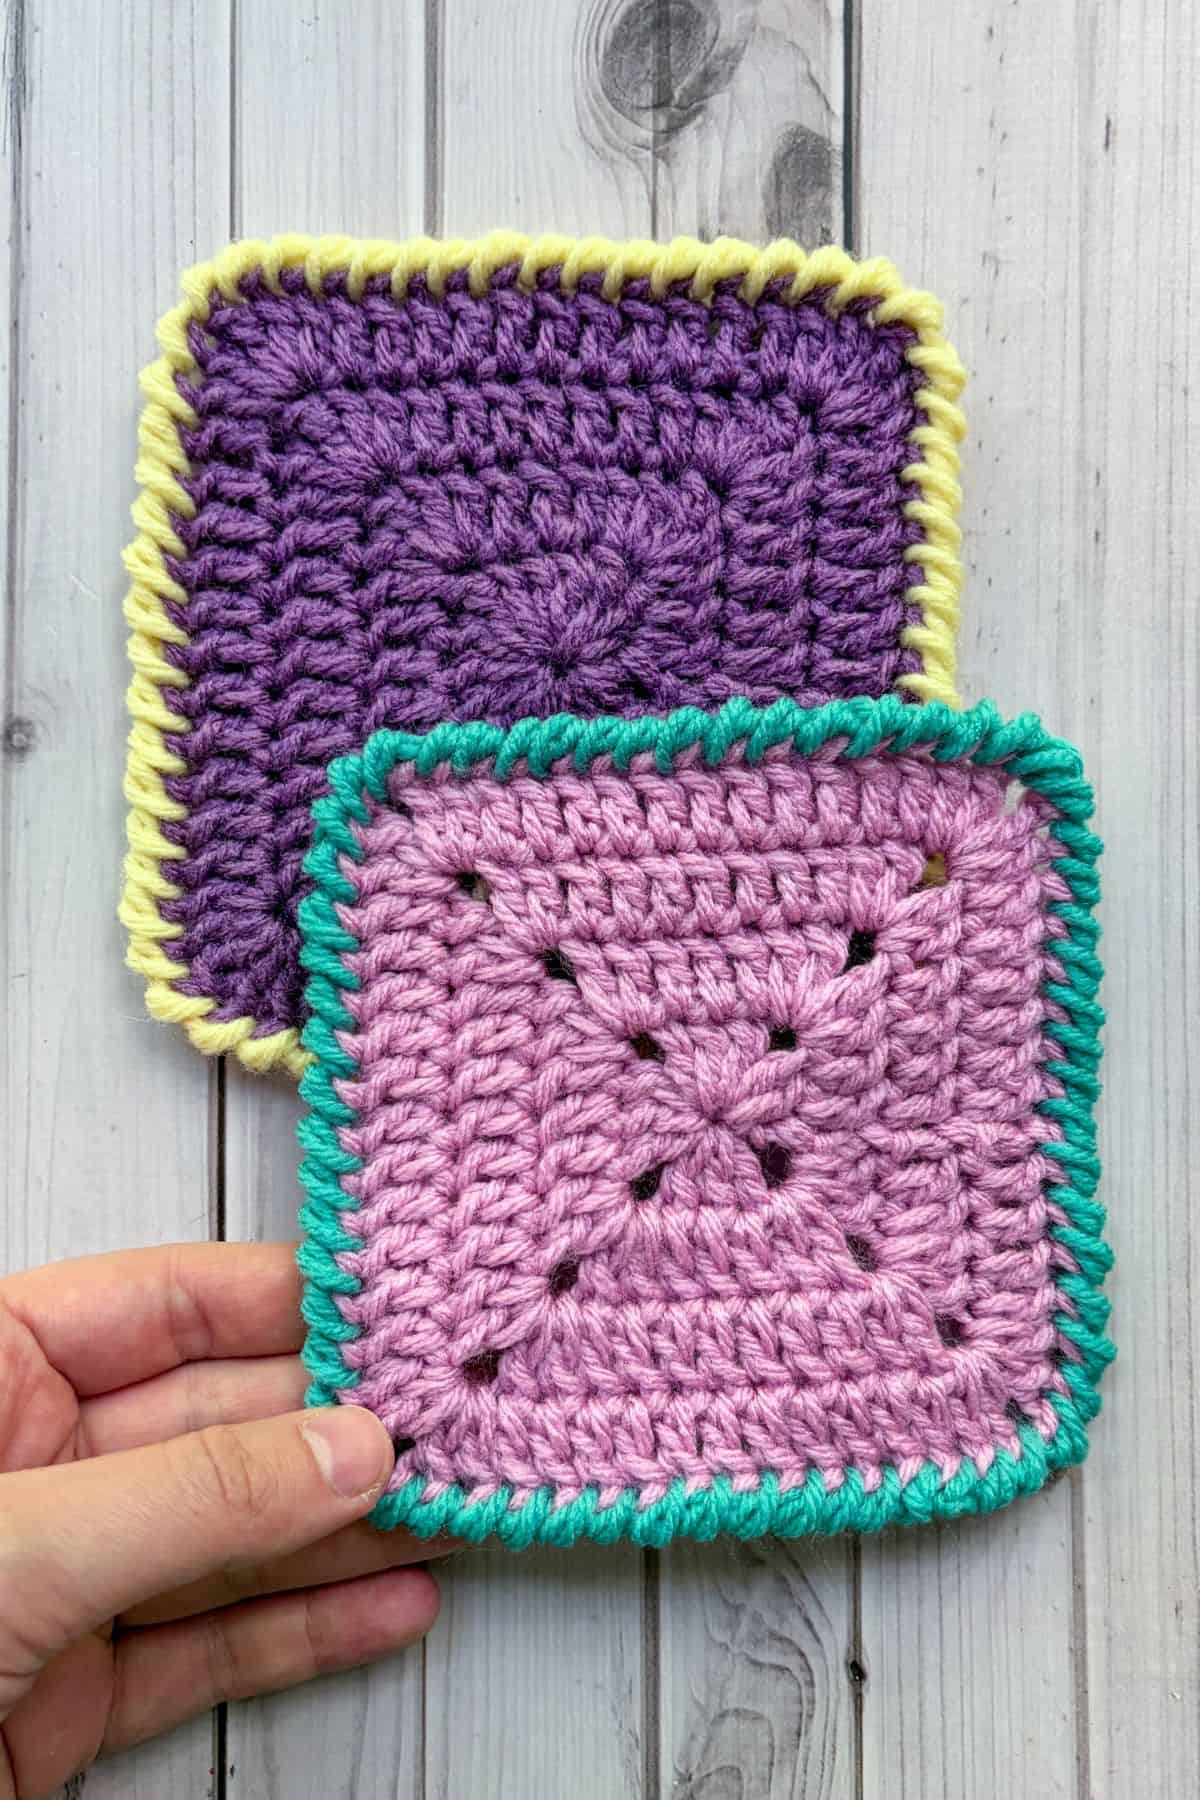
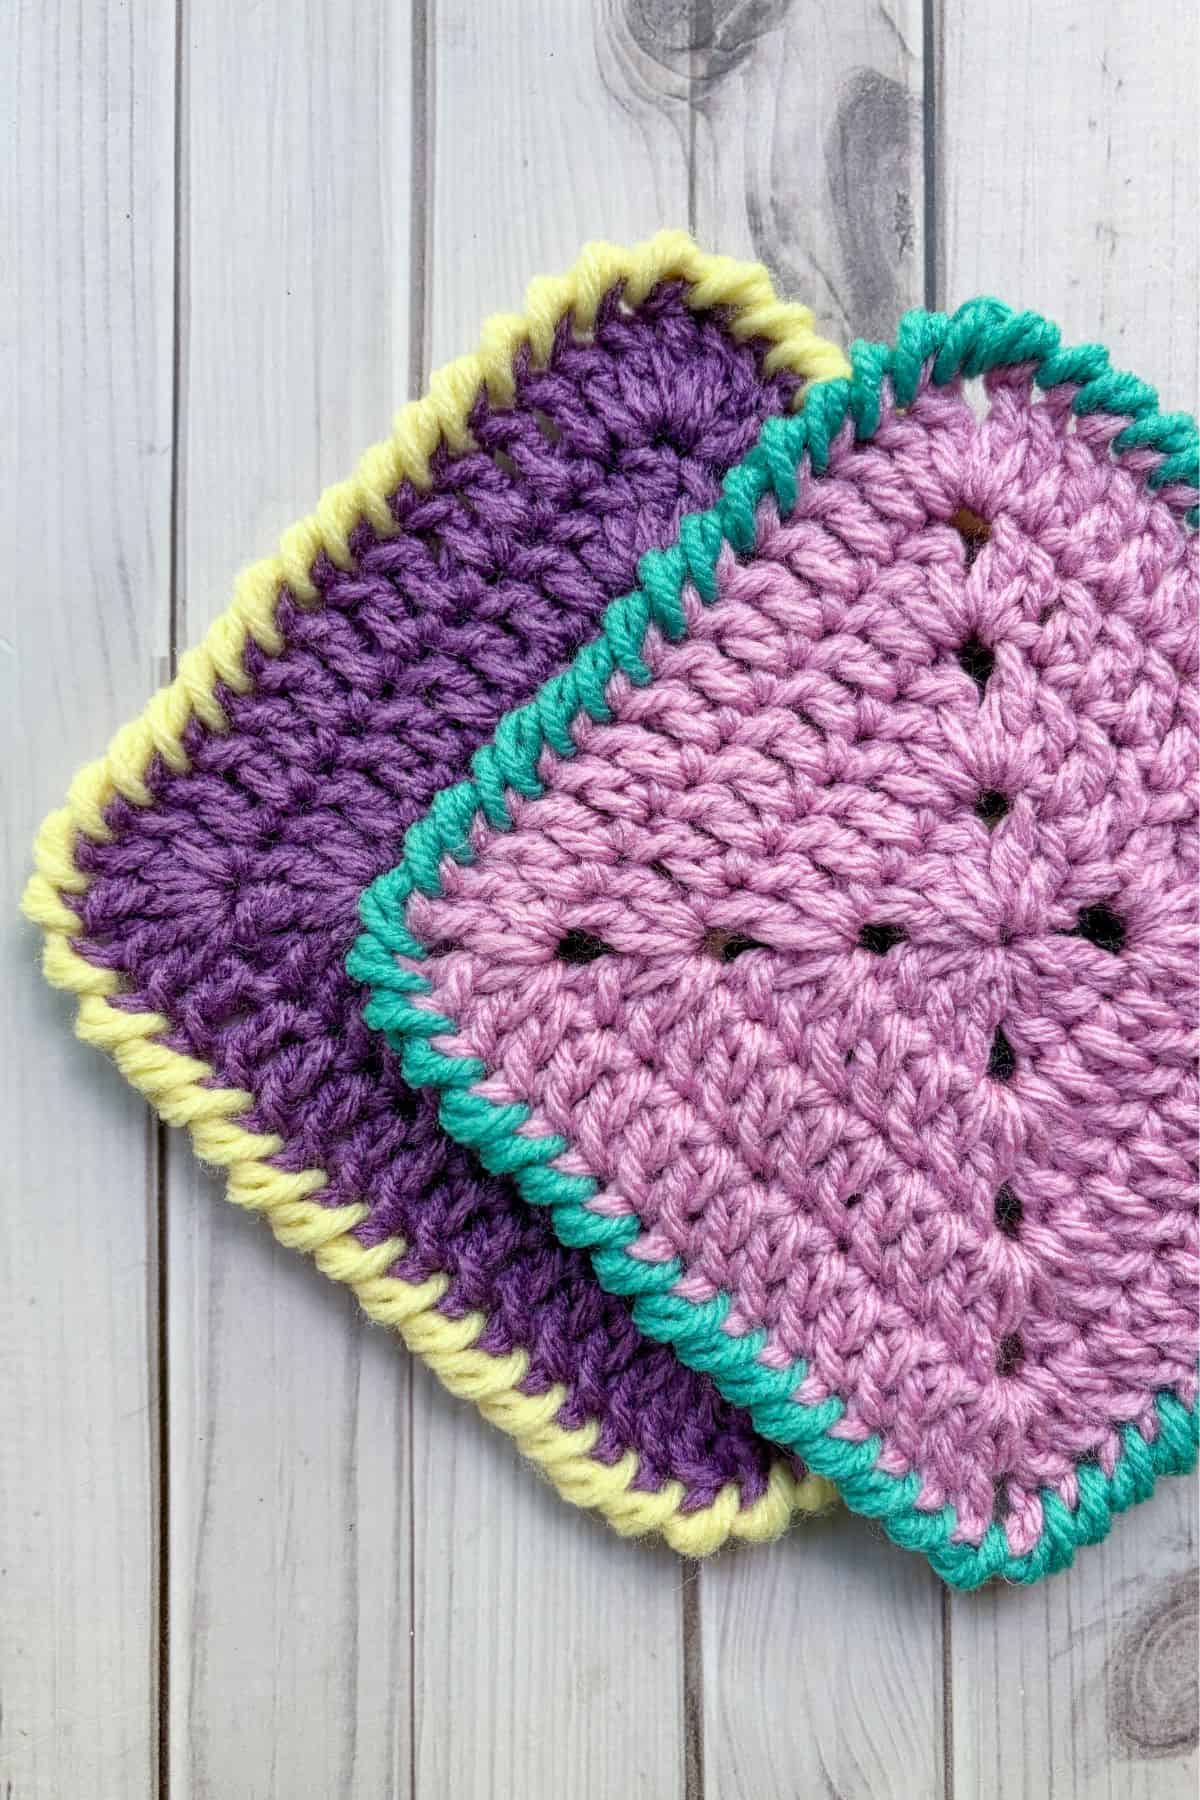
When you get to a corner, still just make 1 crab stitch per stitch. Here I made 2 crab stitches in the corner since I had 2 chains.
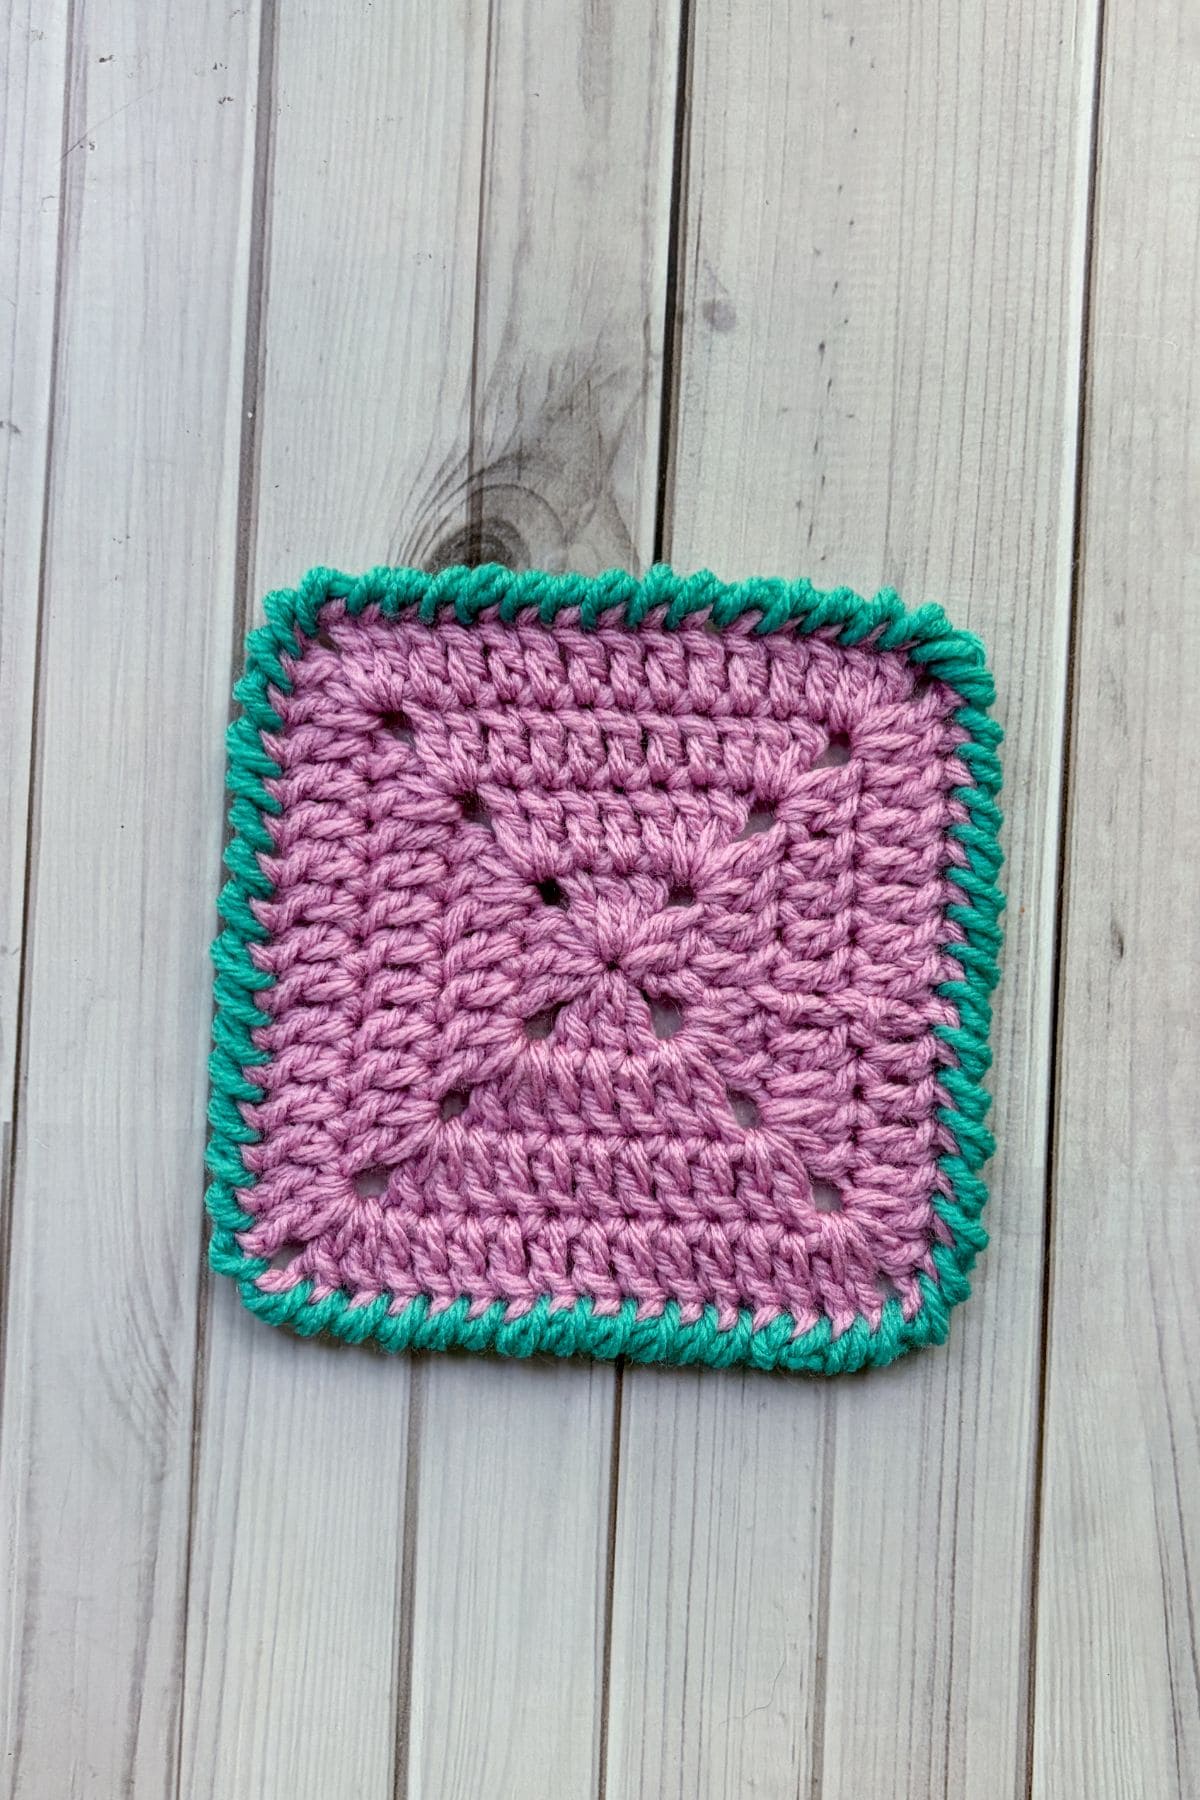
When you are done with the pattern sl st to the beginning, fasten off the yarn and weave in the tails.
I hope you enjoyed the crochet crab stitch tutorial! If you want to try a border pattern that is a little bit trickier, but has the cutest results, check out my Crochet Wave Border Pattern or my Crochet Pom Pom Border.
The crab stitch would look great as a border around my Daisy Crochet Blanket Pattern, just swap out the pom pom border for it!
🐌Expert Tips
- Handle corners carefully. For square corners aim for 2-3 stitches in each corner. If it curls up, add an extra crab stitch.
- Slow down at first: The first few stitches often feel awkward because you're working in reverse. After about 10–20 stitches, most crocheters develop a rhythm and the stitches become much more consistent.
- Choose the right yarn:
- Crab stitch shows best with smooth yarns, solid or lightly heathered colors, or yarn that produces good stitch definition
- Highly textured, fuzzy, or eyelash yarns can hide the twisted edging.
- Crab stitch shows best with smooth yarns, solid or lightly heathered colors, or yarn that produces good stitch definition
🧵Pattern FAQs
Reverse Single Crochet (also known as Crab Stitch) is just like single crochet, but is worked in the opposite direction. It creates a simple textured edging giving your projects a beautiful finishing touch.
The most common error made when working this stitch is reversing the processes even further by inserting the hook from the wrong side of the fabric, Insert the hook from the front like normal.
The crab stitch is the perfect finishing touch on crochet baby blankets, washcloths, or accessories.
🧶More Crochet Edging Stitches


If you tried this Crab Stitch Crochet Border Tutorial (or any other pattern on my website), please let me know how it went in the 📝 comments below. I'd love to hear from you!
Crab Stitch Crochet Border Tutorial
Materials
- Yarn of your choice make sure it's the same weight as your main project
- Crochet hook that you were using for your main project
- Tapestry needle
Abbreviations (US terms)
- Slip stitch - sl st
- Chain - ch
Notes
- Reverse Single Crochet: Treat this stitch exactly like a single crochet, except that you are working to the RIGHT not the LEFT!
- Practice: While in theory the crab stitch crochet border pattern is easy, it may take some practice to get the tension right. I also feel practice is needed for the Candy Cane Crochet Border.
- Border Only: The reverse single crochet is used for border decoration only; you cannot use this stitch within projects because it twists the yarn to create a rope or twisted texture. It is for decorative finishes only. My Crochet Acorn Bag Pattern uses the crab stitch border for the lid edge to give it stability and structure.
Instructions
- Here is the step-by-step tutorial for the crab stitch border
- Step 1: Join your yarn anywhere onto the border, then ch x1.
- Step 2: Insert the hook into the next stitch to the RIGHT.
- Step 3: Yarn over and pull up a loop.
- Step 4: Yarn over and pull through both loops. And now your first crab stitch has been made!
- Repeat steps 2-4 for the rest of the project.
- When you get to a corner, still just make 1 crab stitch per stitch. Here I made 2 crab stitches in the corner since I had 2 chains.
- When you are done with the pattern sl st to the beginning, fasten off the yarn and weave in the tails.
- I hope you enjoyed the crochet crab stitch tutorial!


Leave a Reply