
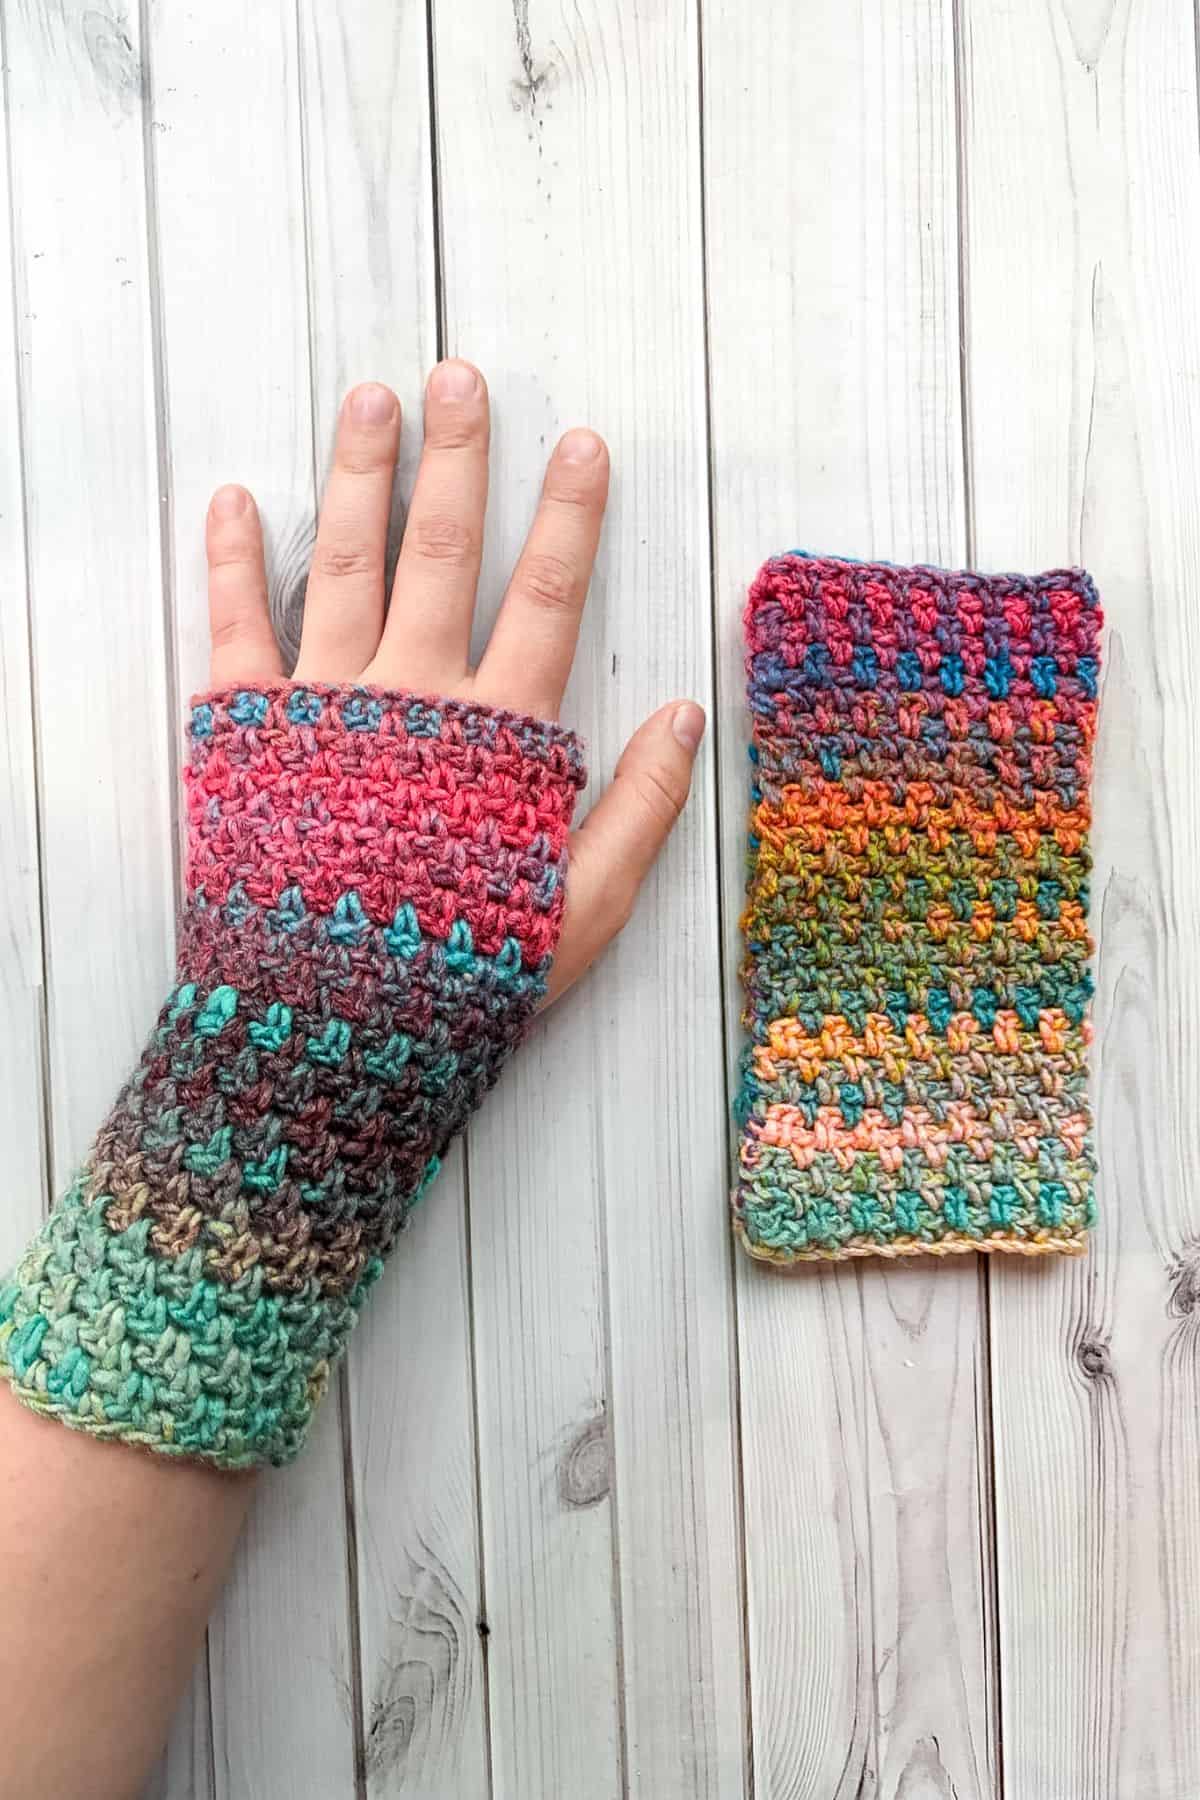
Crochet Fingerless Gloves in Granite Stitch are perfect for keeping your hands warm while allowing your fingers to move freely! The granite stitch provides a stretchy fabric that will fit your hands comfortably—like a glove!

My hands are often cold, which I attribute to poor circulation and the cold weather we experience for most of the year where I live.
Since wearing full gloves all the time isn't practical, I prefer fingerless gloves that keep most of my hands warm. They are a great accessory and are quick and easy to make, whether you're new to crochet or have years of experience.
My version of Crochet Fingerless Gloves in Granite Stitch is more like wrist warmers, featuring a dense and beautifully woven fabric that provides warmth while giving your fingers freedom of movement.
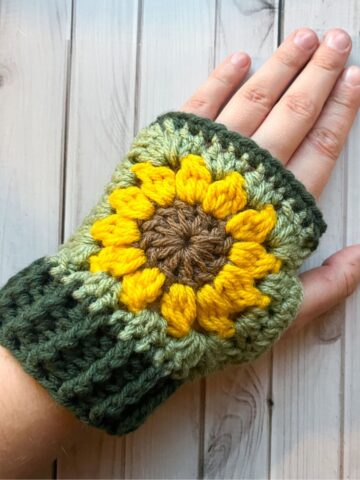
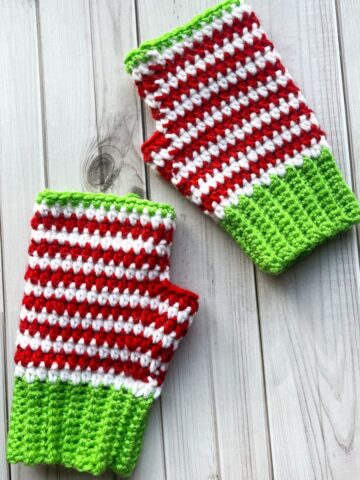
If you like this easy project and want more crochet fingerless gloves, check out my crochet striped gloves pattern and my crochet sunflower glove pattern.
Jump to:
What Makes the Granite Stitch Unique?
- Yarn Efficiency: It uses less yarn than a single crochet due to the use of chains.
- Stretchy Yet Thick: This stitch is stretchier than a normal single crochet, providing solid coverage with minimal holes—perfect for gloves, pillows, blankets, etc.
- Fewer Holes: Compared to double crochet or granny squares, the granite stitch has fewer gaps, making it ideal for projects that require a solid yet stretchy fabric, such as baby blankets or clothing.
🪡 Materials Needed
- Red Heart Melange Yarn - Show TIme
- I hook (5.5mm)
- Tapestry needle for weaving in the ends.
💭 Abbreviations to Remember (US Terms)
- Single crochet - (sc)
- Chains - (ch)
🧋 Variations
- Adjust Length: Change the glove length by adding or subtracting rows.
- Experiment with Colors: Mix up the yarn colors to create unique and stylish gloves.
🍵 Instructions for Crochet Fingerless Gloves in Granite Stitch
The crochet fingerless gloves pattern is worked in rows.
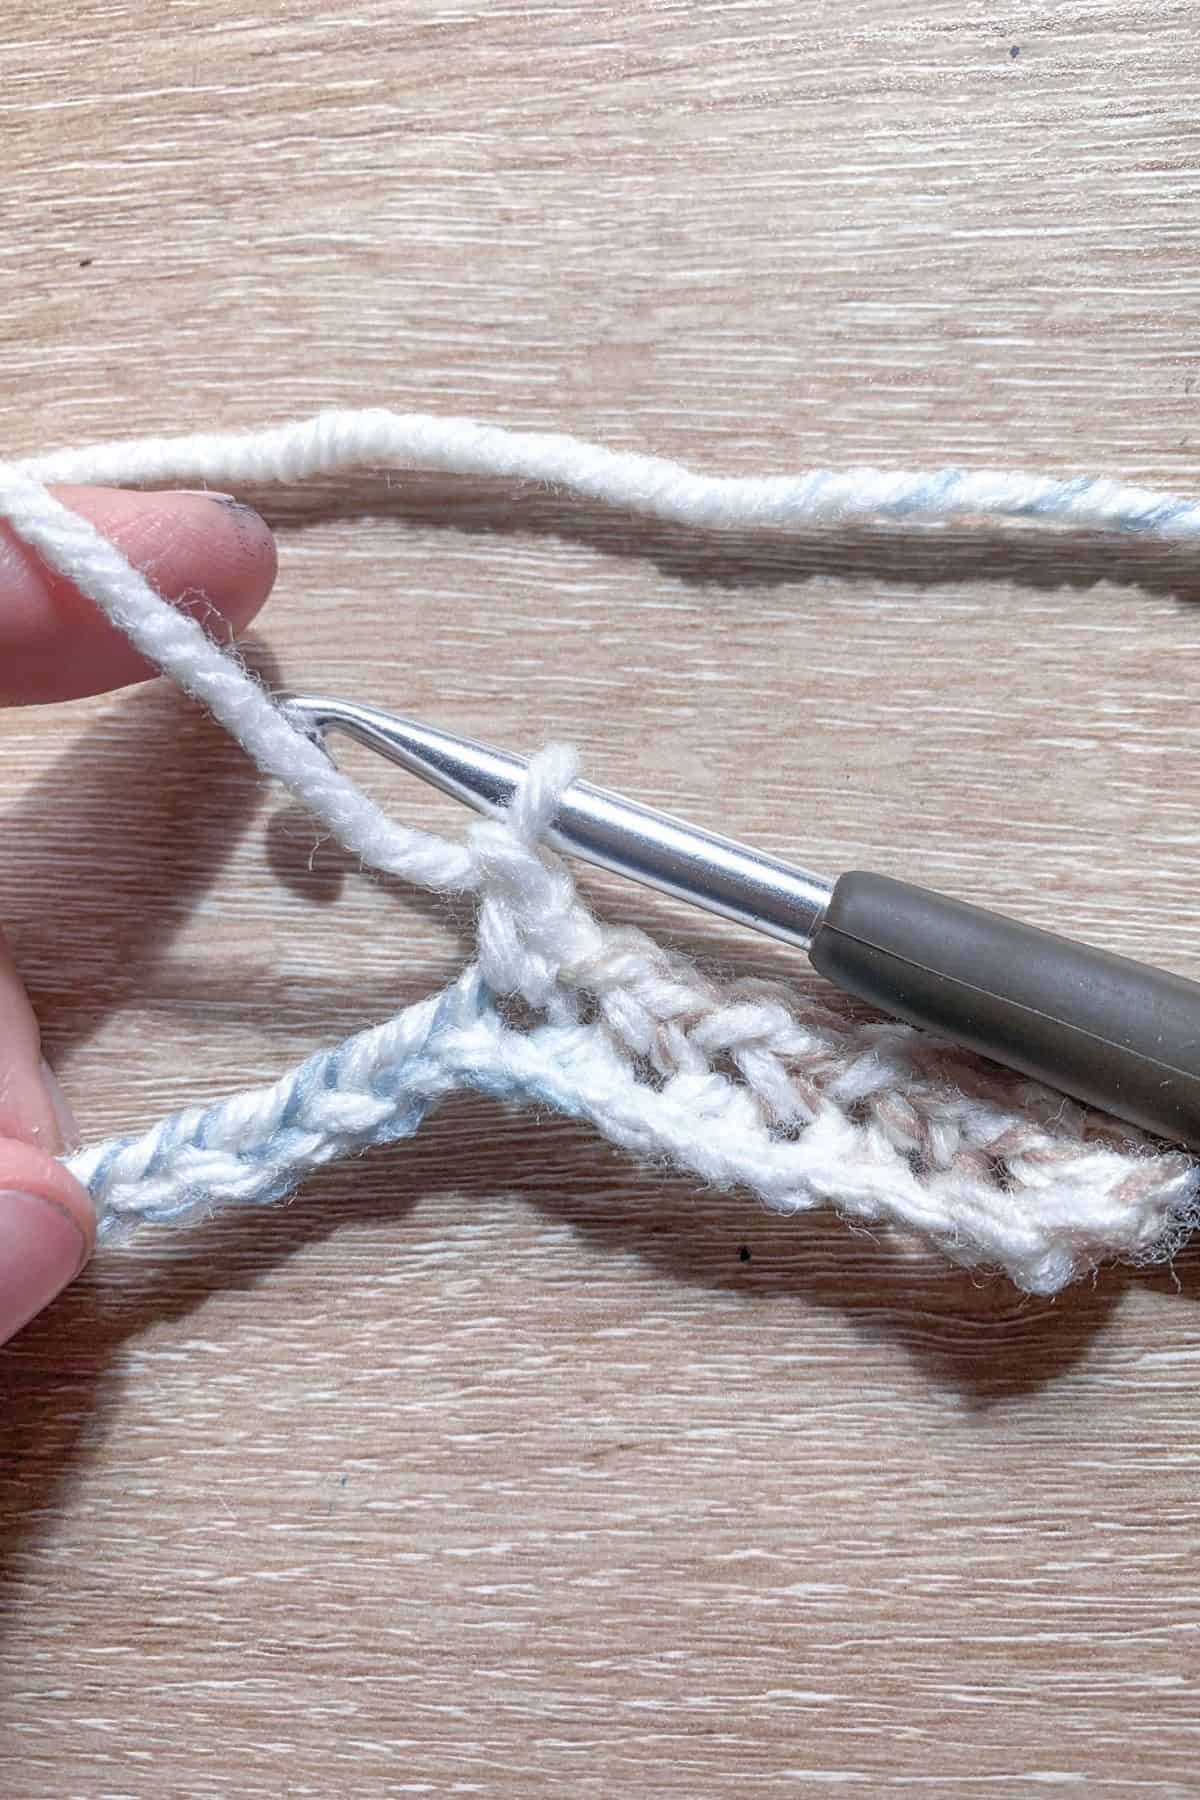
Ch x34 or any even number of stitches.
Row 1: In the 4th ch from hook, make a sc.
Then ch x1.
*Skip the next foundation chain and make a sc into the following chain. Then ch x1. Repeat from * for the rest of the row. When you have 1 foundation chain left make a sc (31). Ch x1 and turn. The ch x1 will count as a chain space for the next row.

Rows 2-30: *Sc into the chain space, make a ch and skip the last rows sc. Repeat from * for the rest of the row. Sc into the last chain space (31). Ch x1 and turn. After the last row fasten off and leave a tail for sewing.
If you want the gloves longer feel free to add more rows!

Once you complete the square, fold it in half and sew the side closed, leaving a hole near the top for your thumb.

Complete one more of these and now you have 2 fingerless gloves to keep your hands nice and toasty! Perfect for keeping your hands warm when you are crocheting another project!
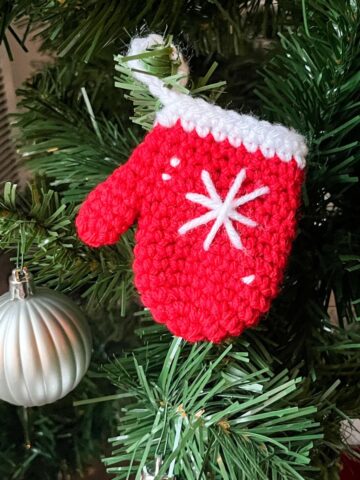
These crochet fingerless gloves also make great things to sell at markets, or last-minute Christmas gifts since it takes about an hour to complete the pair.
If you love this crochet stitch and want to use it in more projects check out my crochet moss stitch scarf and crochet linen stitch scarf pattern. You can also do this stitch in the round as shown in my moss stitch granny square pattern.
Looking for more patterns that uses variegated yarn? My crochet pint ice cream holder pattern and crochet v-stitch scarf pattern are great patterns to make!

🐌Expert Tips
- Thumb Hole Sewing: For a neat finish, knot your yarn, fasten off, and weave in the ends. Skip a few stitches for the hole and restart sewing. You can also crochet around the thumb hole, but ensure the tension is not too tight.
- Switching Colors: To switch colors without visible tails, weave in the ends at least 4-5 inches. This ensures the gloves stay secure.
- Alternative Yarn Choices: Acrylic yarn is great for these gloves, but you can also use wool for extra warmth.
- Market & Gift Potential: These gloves make great items to sell at markets or as last-minute gifts. They take about an hour to complete a pair!
🧵 Pattern FAQs
Knot your yarn, fasten off, and weave in the ends, skipping stitches for the thumb hole. Then, restart sewing.
Yes! I didn't because fingerless gloves don't necessarily need it, but if you do crochet around the hole just make sure the tension is nice and it isn't too tight for your thumbs!
The only way to make sure the gloves don't come unraveled is to weave in every yarn tail 4-5 inches.
🧶More Great Crochet Patterns


If you tried this Crochet Fingerless Gloves in Granite Stitch (or any other pattern on my website), please let me know how it went in the 📝 comments below. I'd love to hear from you!

Crochet Fingerless Gloves in Granite Stitch
Materials
Abbreviations (US terms)
- Single crochet - sc
- Chains - ch
Notes
- Yarn Efficiency: It uses less yarn than a single crochet due to the use of chains.
- Stretchy Yet Thick: This stitch is stretchier than a normal single crochet, providing solid coverage with minimal holes—perfect for gloves, pillows, blankets, etc.
- Fewer Holes: Compared to double crochet or granny squares, the granite stitch has fewer gaps, making it ideal for projects that require a solid yet stretchy fabric, such as baby blankets or clothing.
Instructions
The crochet fingerless gloves pattern is worked in rows.
- Ch x34 or any even number of stitches
- Row 1: In the 4th ch from hook, make a sc.
- Then ch x1.
- *Skip the next foundation chain and make a sc into the following chain. Then ch x1. Repeat from * for the rest of the row. When you have 1 foundation chain left make a sc (31). Ch x1 and turn. The ch x1 will count as a chain space for the next row.
- Rows 2-30: *Sc into the chain space, make a ch and skip the last rows sc. Repeat from * for the rest of the row. Sc into the last chain space (31). Ch x1 and turn. After the last row fasten off and leave a tail for sewing.
- If you want the gloves longer feel free to add more rows!
- Once you complete the square, fold it in half and sew the side closed, leaving a hole near the top for your thumb.
- Complete one more of these and now you have 2 fingerless gloves to keep your hands nice and toasty! Perfect for keeping your hands warm when you are crocheting another project!
Leave a Reply