
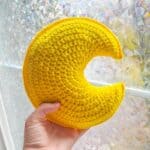
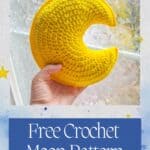
This Crochet Moon Pillow Pattern is perfect for snuggling or displaying on a shelf for a touch of celestial decor. Whether you have it on your couch during October or leave it out all year round, it's suitable for any celestial occasion.
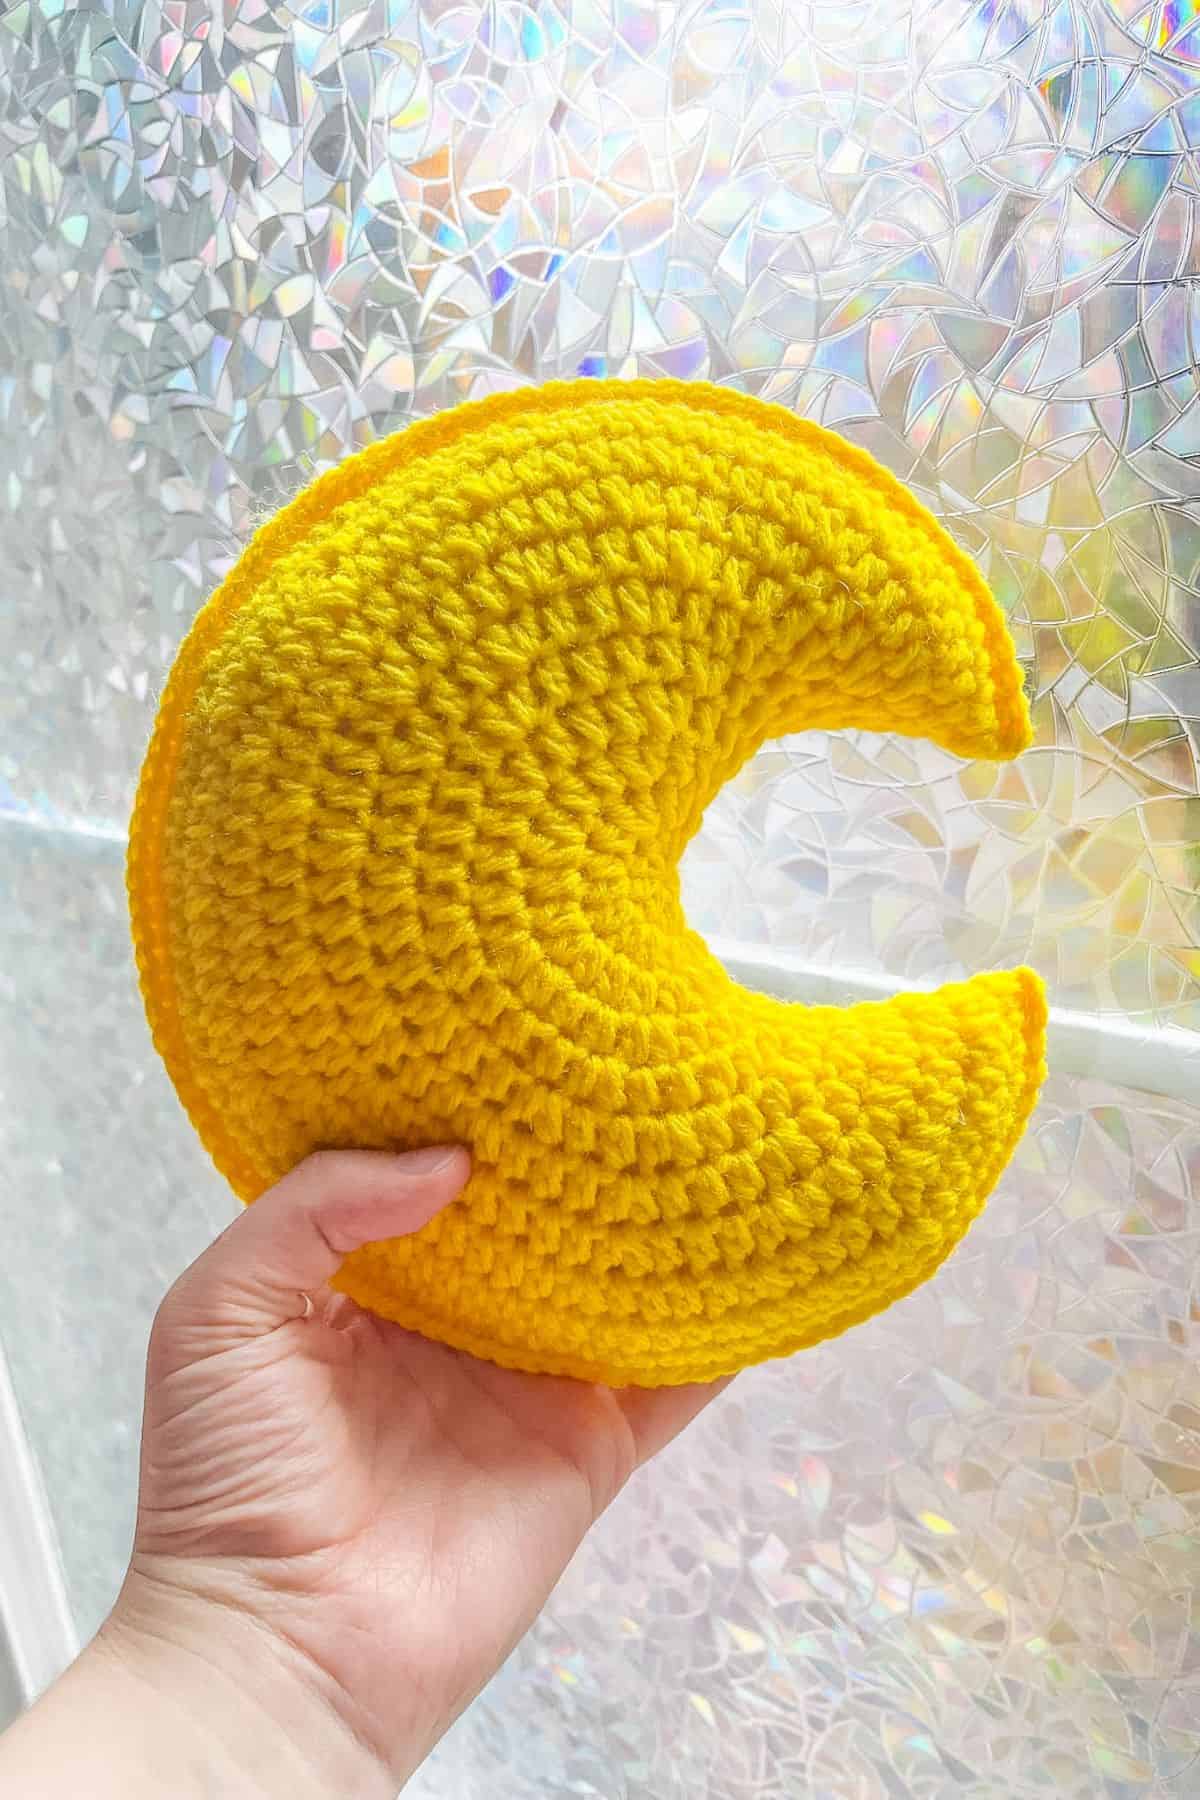
The crochet moon pattern is quick and easy to make, making it an ideal project for yourself or a thoughtful crochet gift for your witchy, crystal-loving friends.
When I made this, my fellow witchy friend immediately claimed it! It’s fair enough since it's so quick and easy to create. I ended up giving her one and making myself another. One of these moons can be completed in less than an hour, perfect for last-minute gifts. You can even pair it with some crochet star garland for more celestial fun! Or crochet star coasters to pair with a nice tea or coffee.
The crochet moon pillow pattern is also fantastic for Halloween decor or nursery decoration. If you are using it for Halloween, check out my crochet potion bottle pillow pattern for some more spooky fun.
So let's get started on the crochet crescent moon pattern.
Jump to:
✏️ Things To Note:
- Yarn Type: I made the crochet moon pillow pattern with acrylic yarn since it's what I had on hand, but this project can be completed with any type of yarn. I highly suggest using cotton, acrylic, or chunky yarn. Keep in mind that if you use chunky yarn, the moon will be quite large!
- Finished Size: The finished size of the moon crochet pattern is about 8 inches, if you want it larger use thicker yarn and a larger hook.
- Curvature Adjustment: If you want your moon to be curvier, you can always increase each row more than what I do, especially toward the last few rounds.
🪡 Materials Needed
💭 Abbreviations to Remember (US Terms)
- Magic ring (mr)
- Chains (ch)
- Single crochet (sc)
- Increase (inc) - 2 stitches in the same stitch
- Half double crochet (hdc)
🧋 Variations
You can vary the increases at the beginning of the pattern to create different curvatures in the moon. You can even add a face to make it resemble an amigurumi moon.
🍵 Instructions for Crochet Moon Pillow Pattern
The crochet moon pattern is made in rounds and uses hdc as the main stitch.
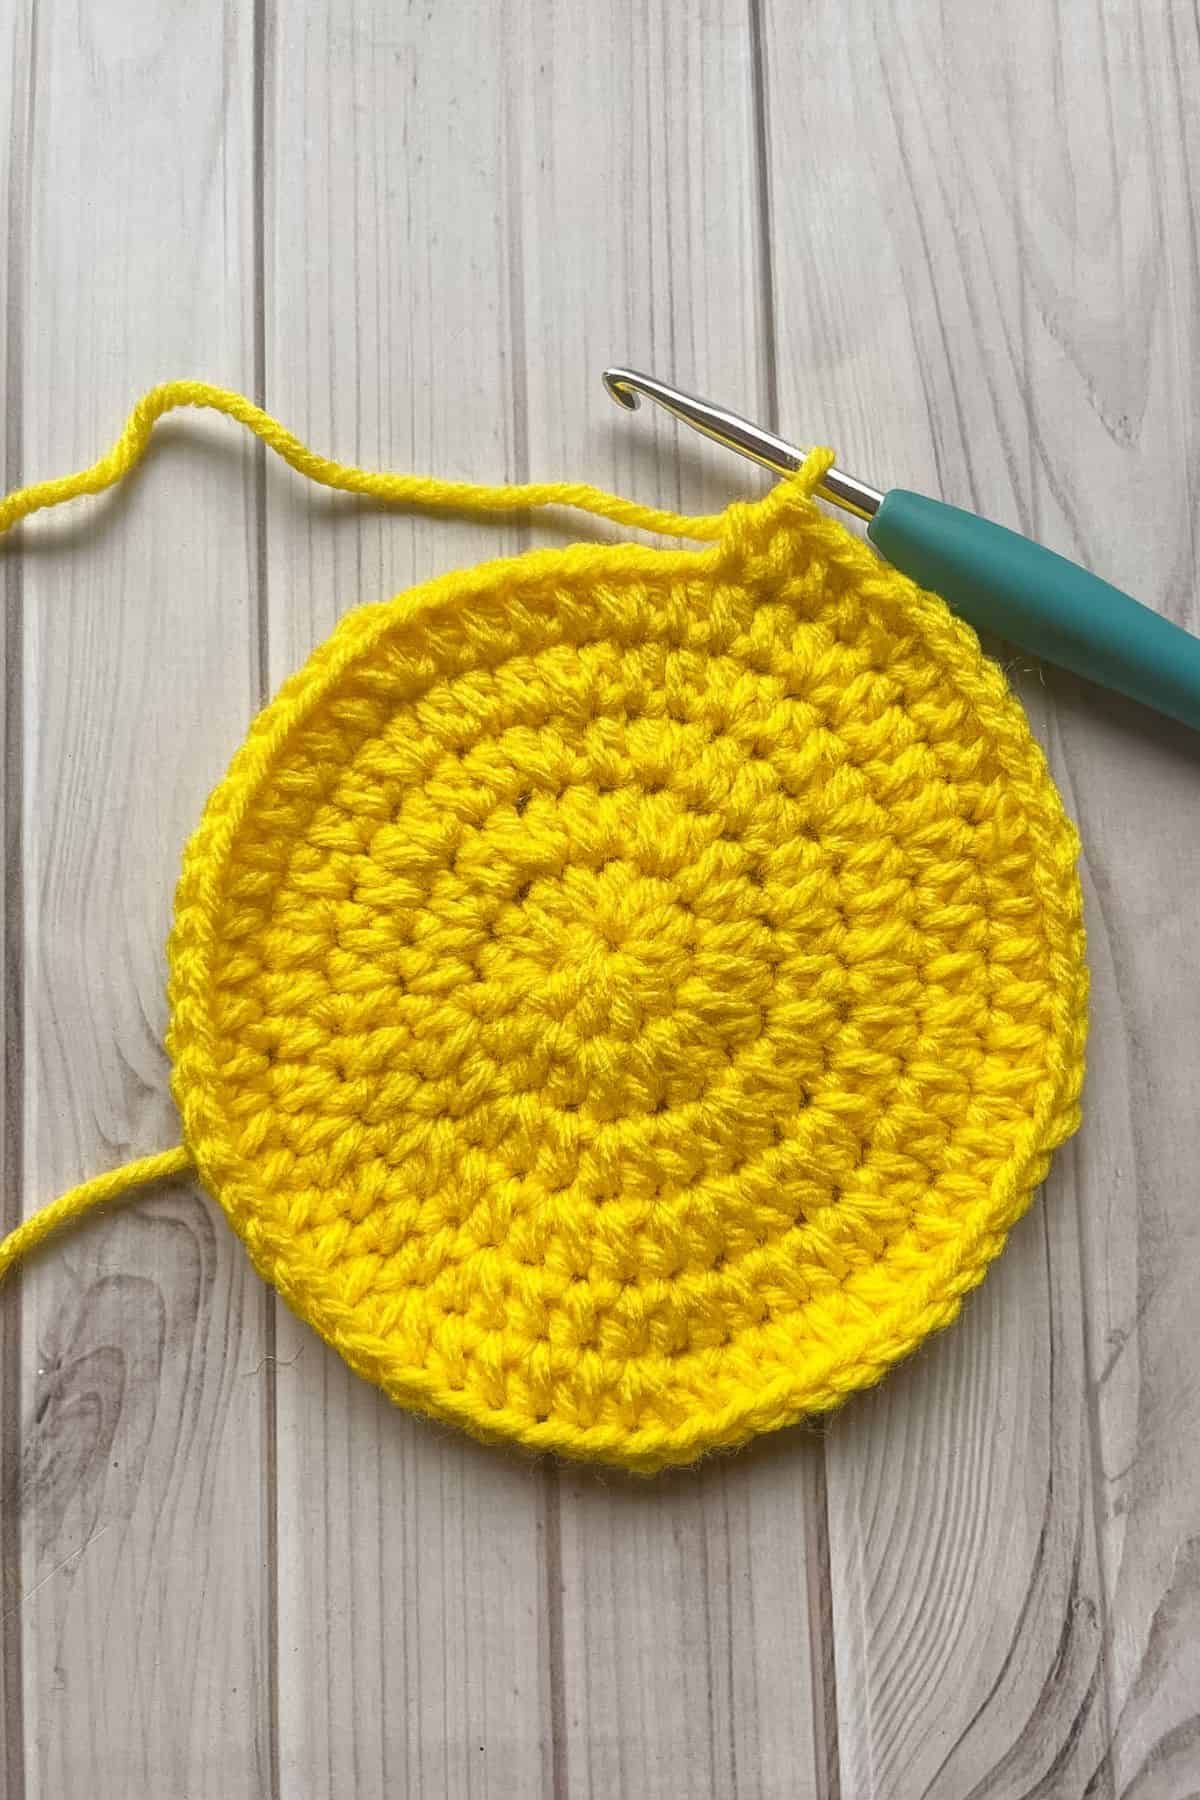
Round 1: Using the yellow yarn, make a mr and make hdc x10 in the circle. If you find it difficult making a magic ring you can chain 2 and then hdc x10 into the second chain from the hook (10).
Round 2: Inc in every hdc (20).
Round 3: Inc, hdc. Then repeat for the rest of the round (30).
Round 4: Inc, hdc x2. Then repeat for the rest of the round (40).
Round 5: Inc, hdc x3. Then repeat for the rest of the round (50).
Round 6: Inc, hdc x4. Then repeat for the rest of the round (60).
Round 7: Inc, hdc x2. Then repeat for the rest of the round (80).
Round 8: Inc, hdc x3. Then repeat for the rest of the round (100).
Round 9: Inc, hdc x3. Then repeat for the rest of the round (125).
Round 10: Inc, hdc x4. Then repeat for the rest of the round (150).
Round 11: Inc, hdc x5. Then repeat for the rest of the round (175).
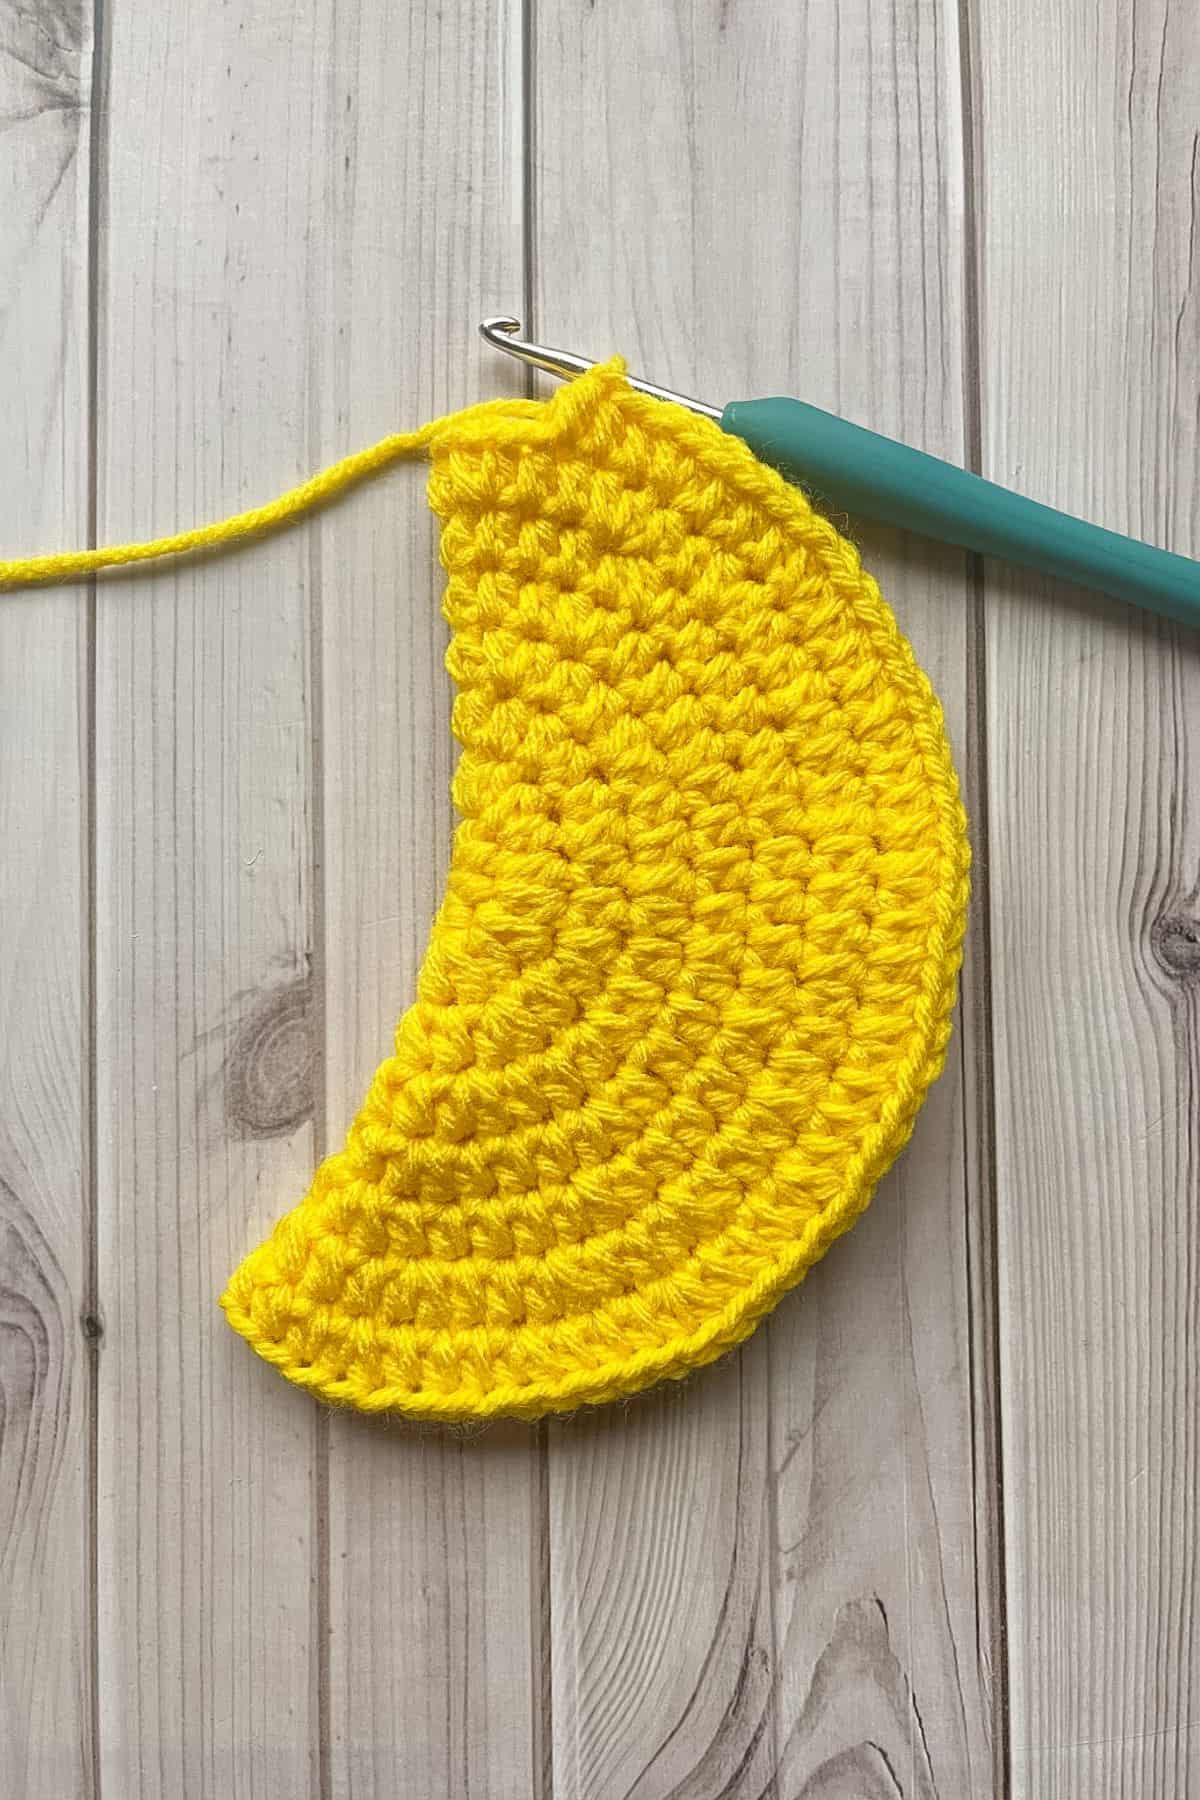
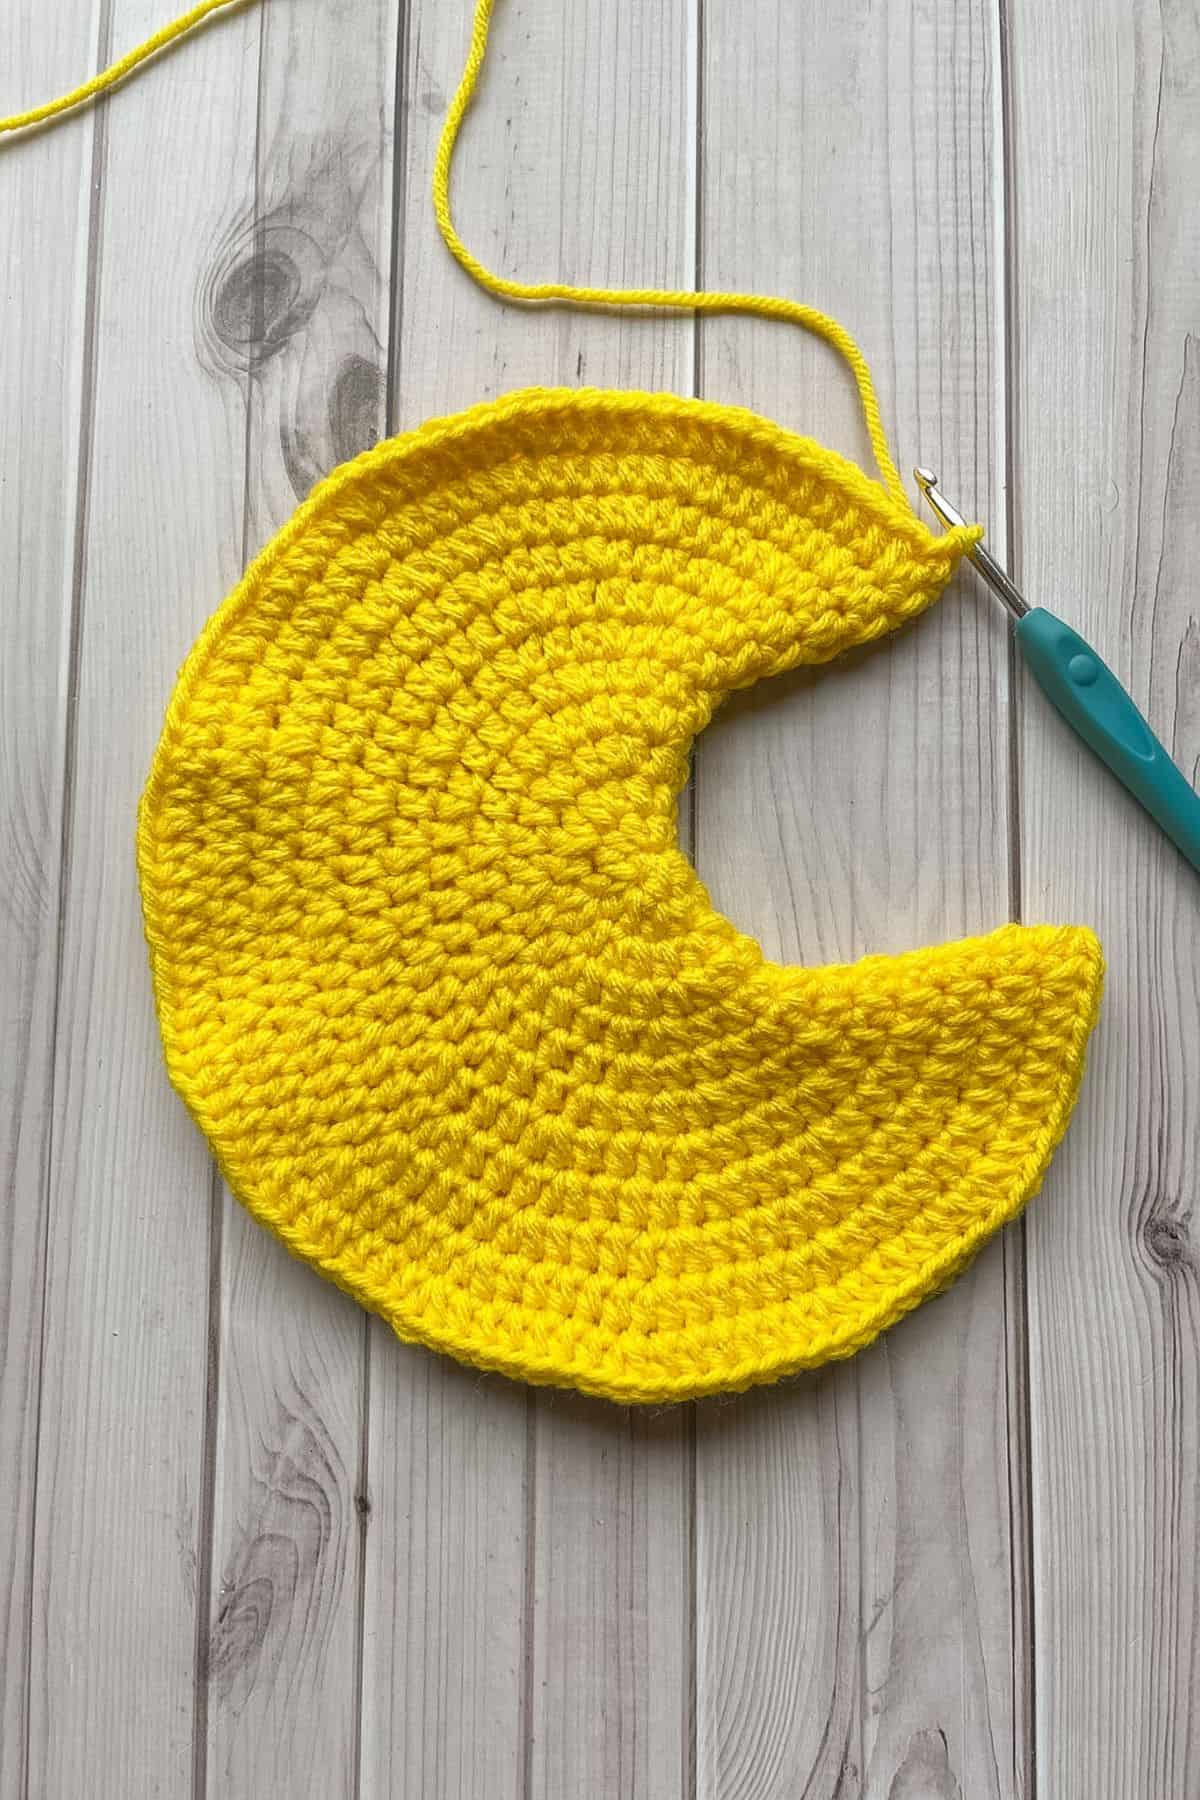
Round 12: Inc, hdc x6. Then repeat for the rest of the round (200). After completing the round make a sc in the next stitch and then a sl st in the following one.
Fold the moon in half, the sl st you just made is the top stitch where you folded the moon.
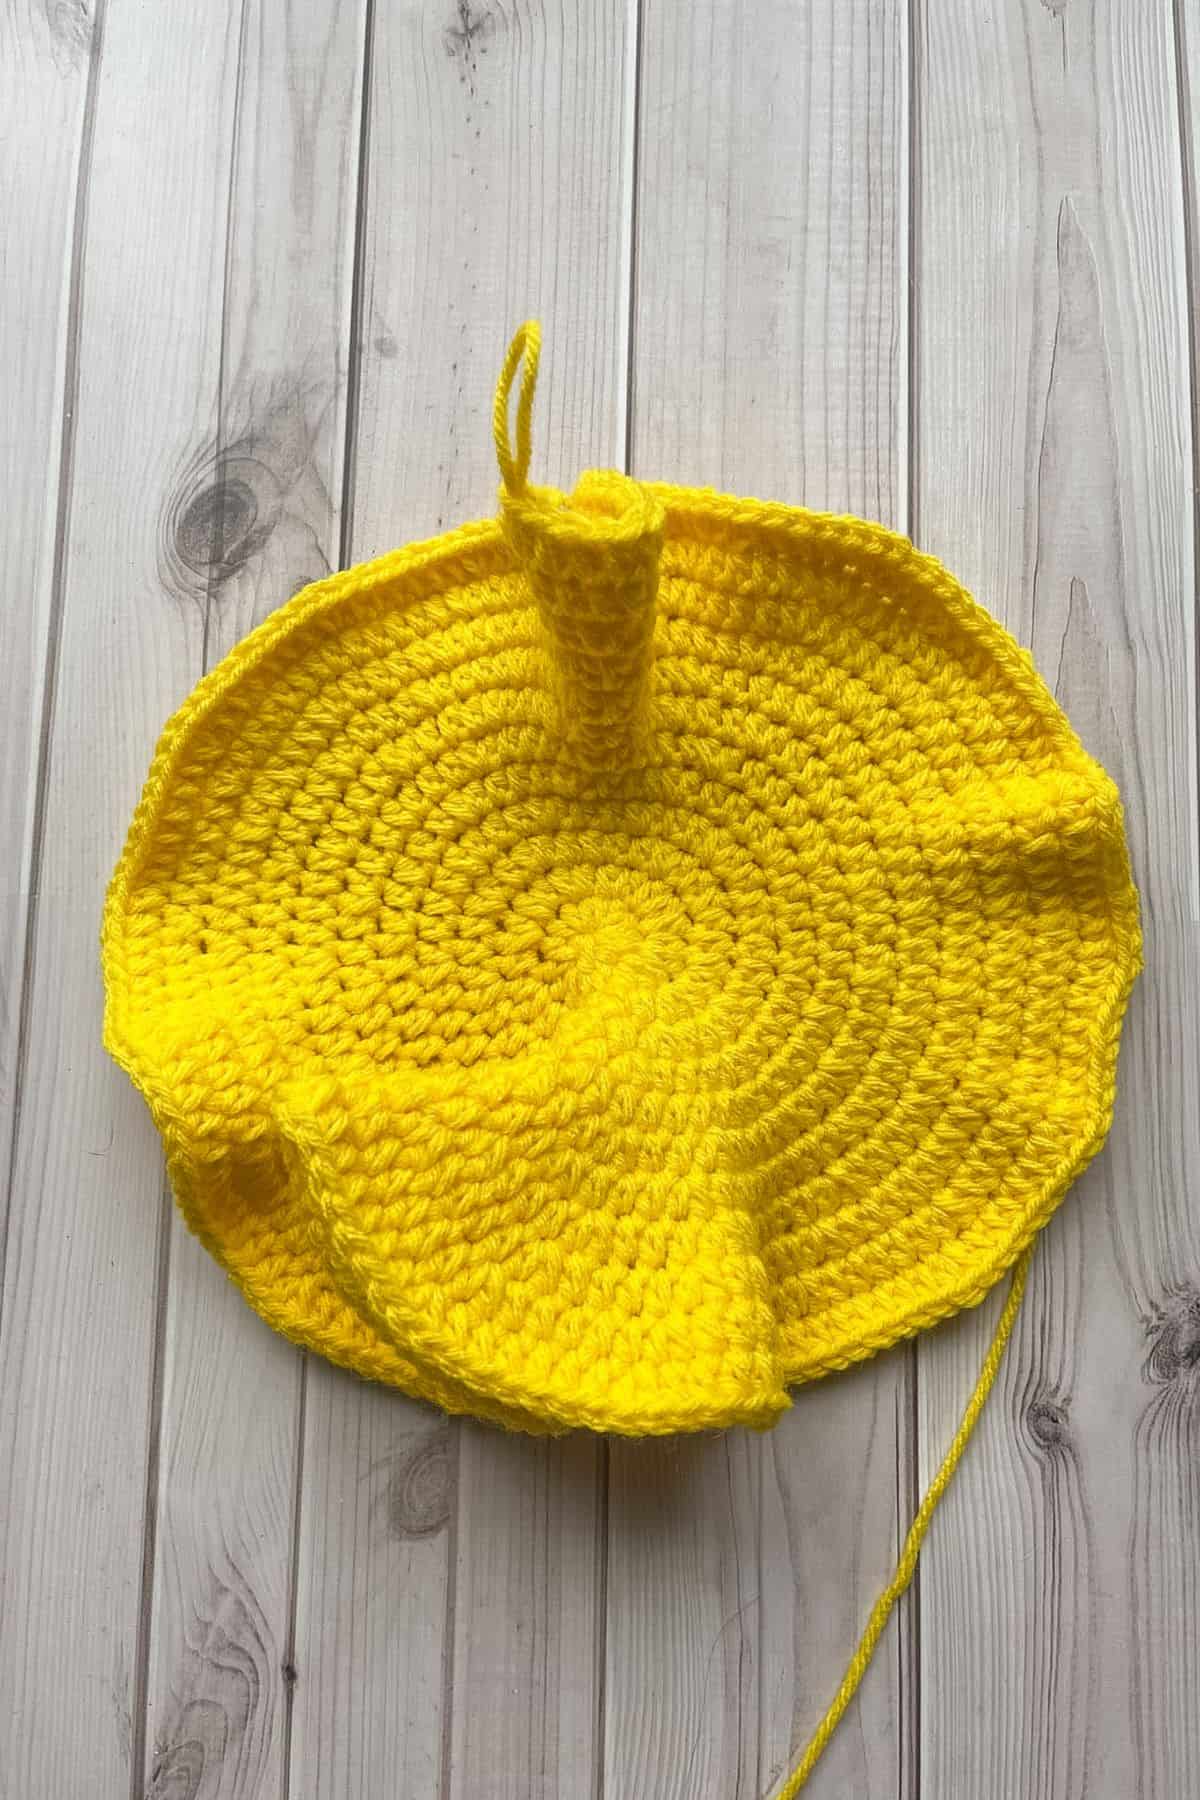
Sc the moon closed by going through both the front and back hdc stitches.
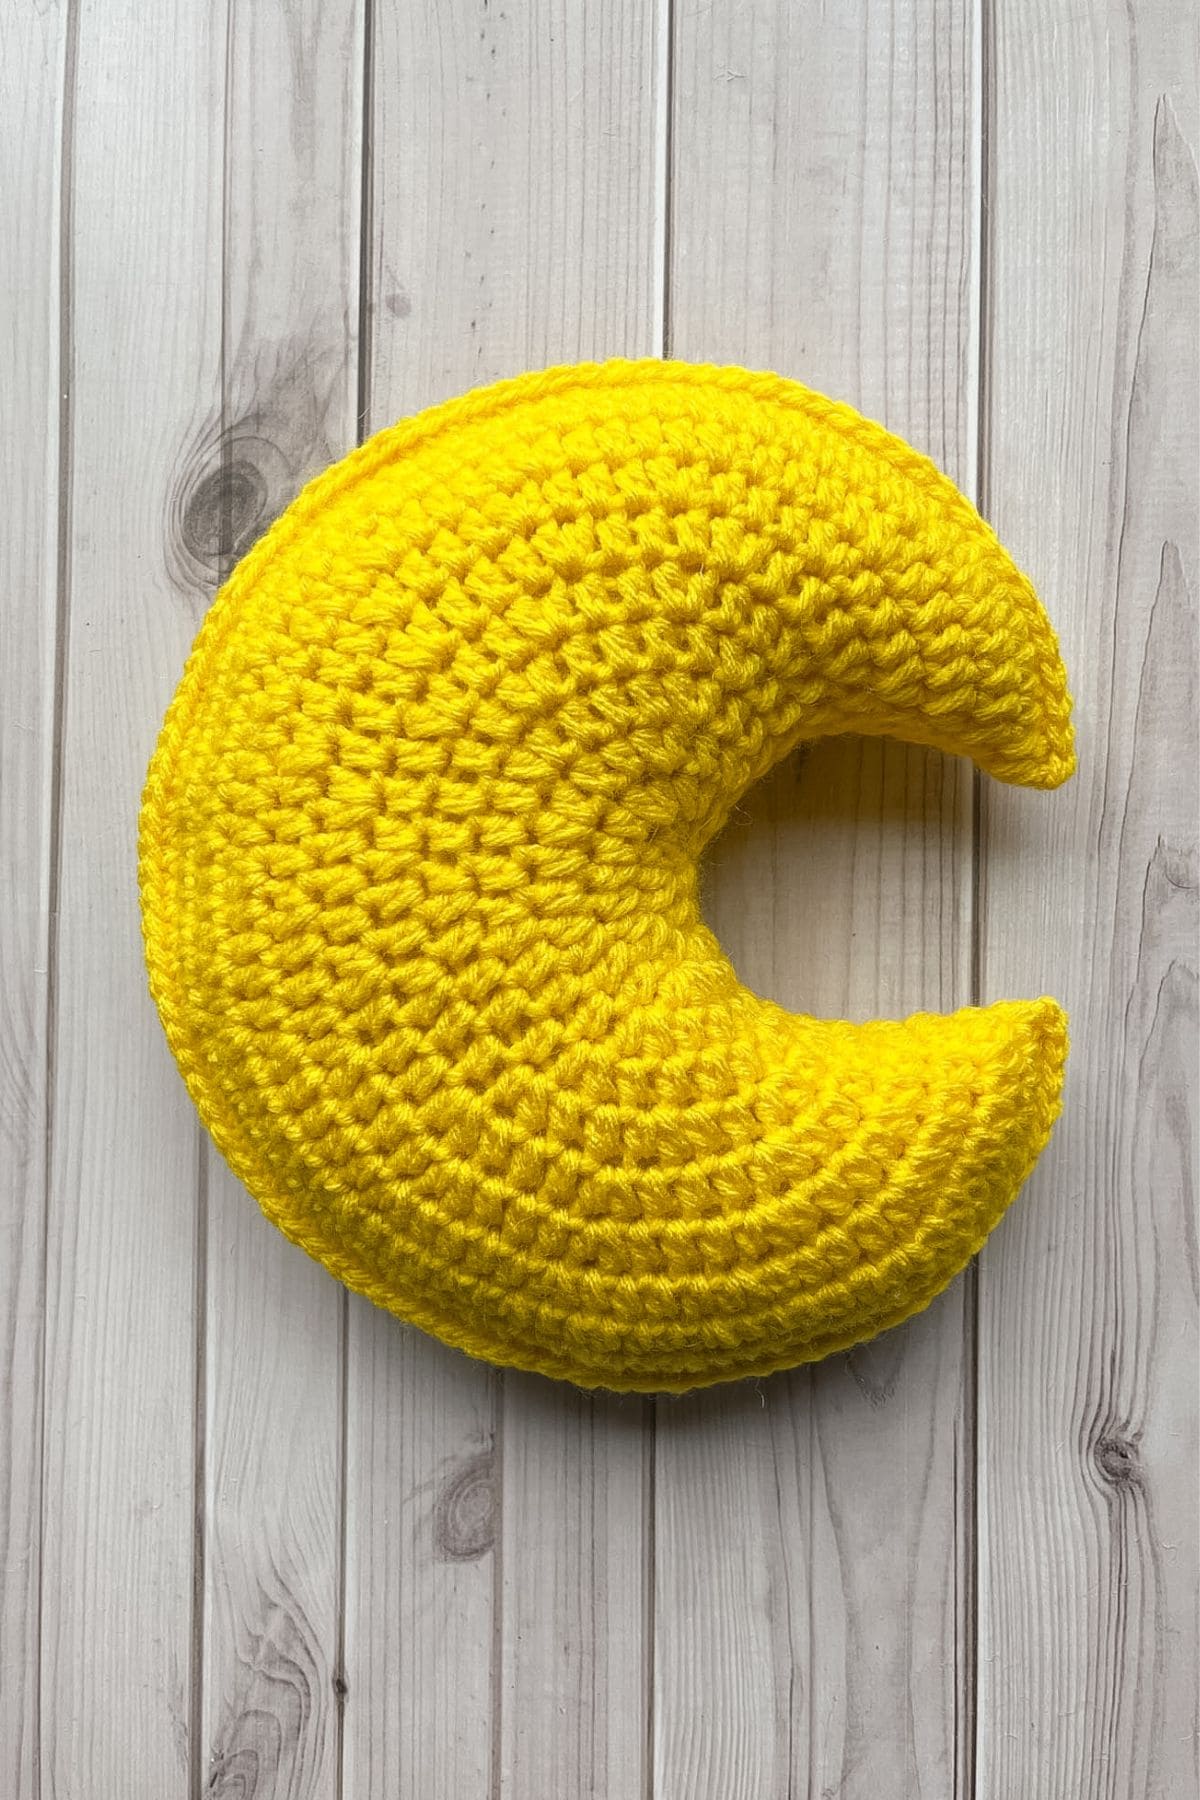
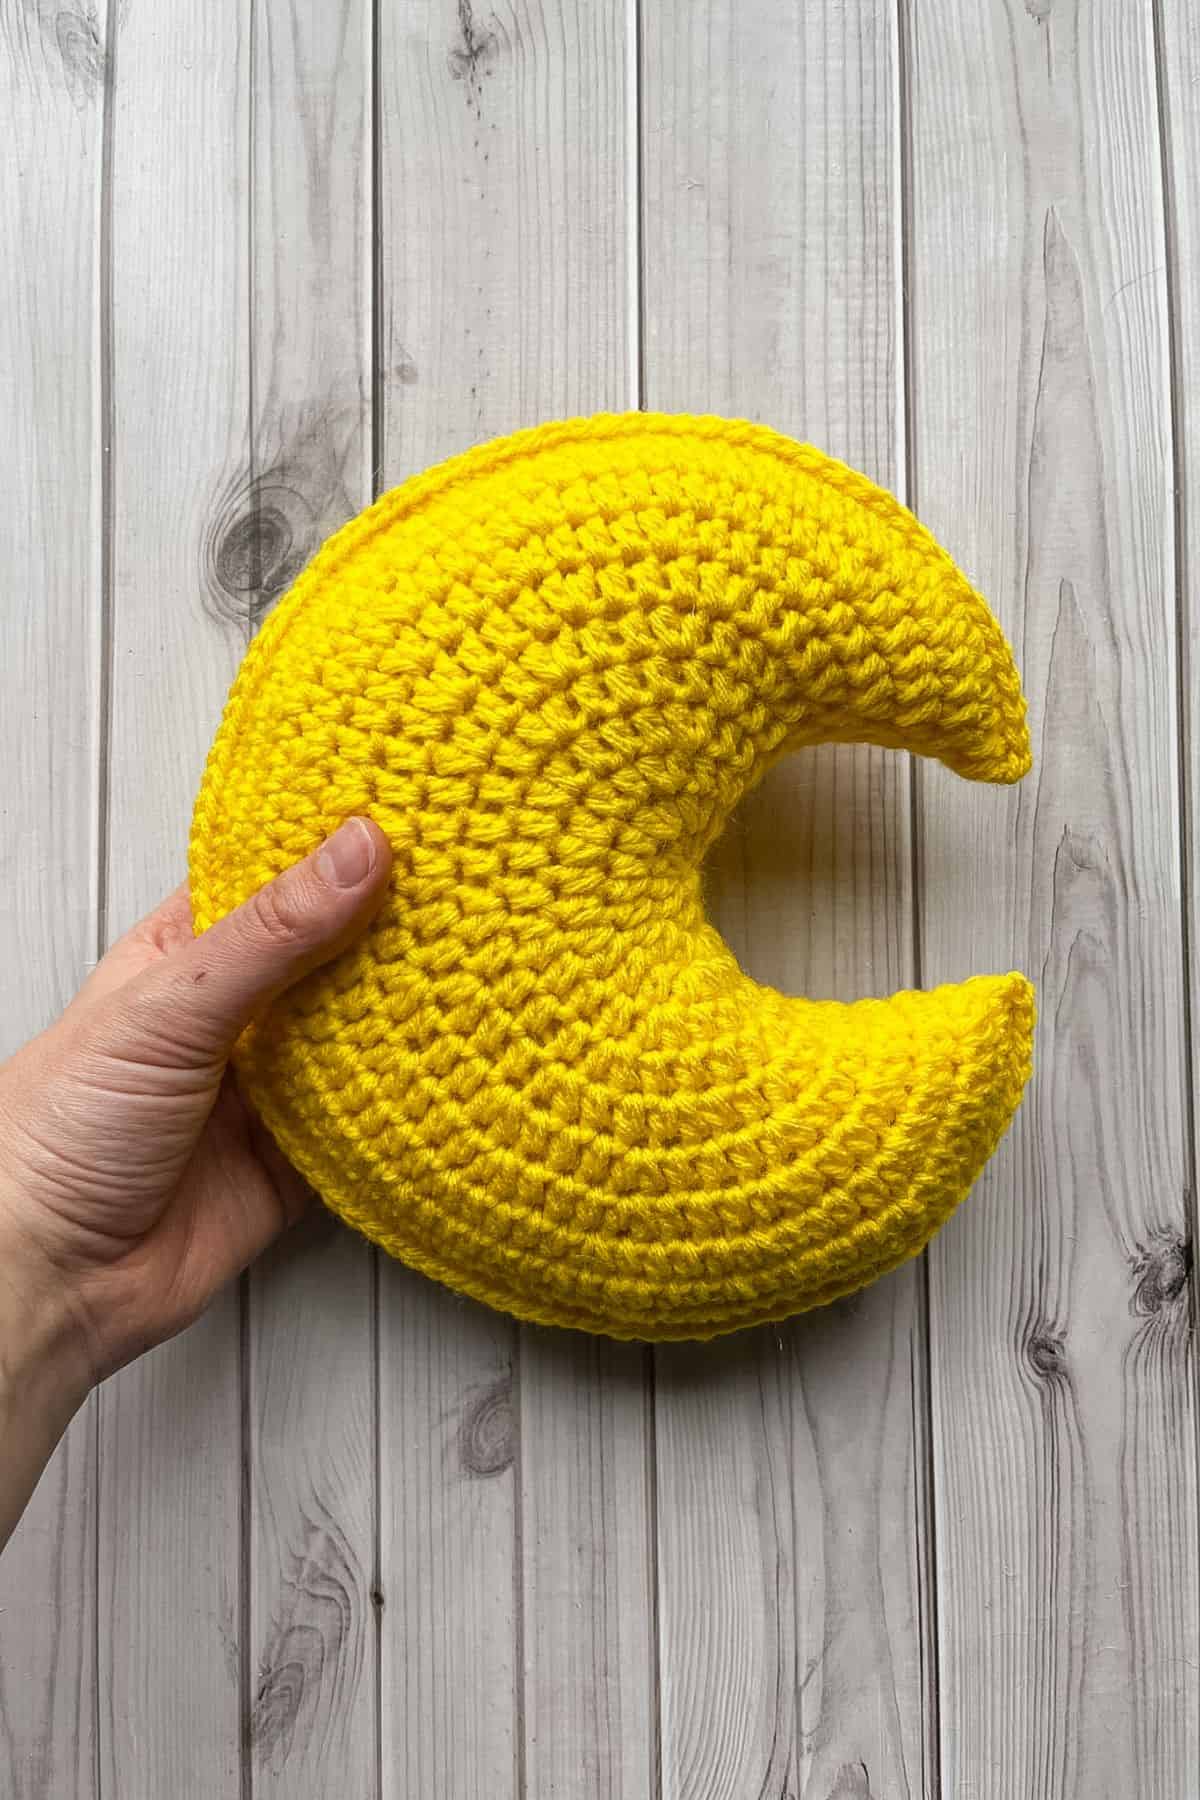
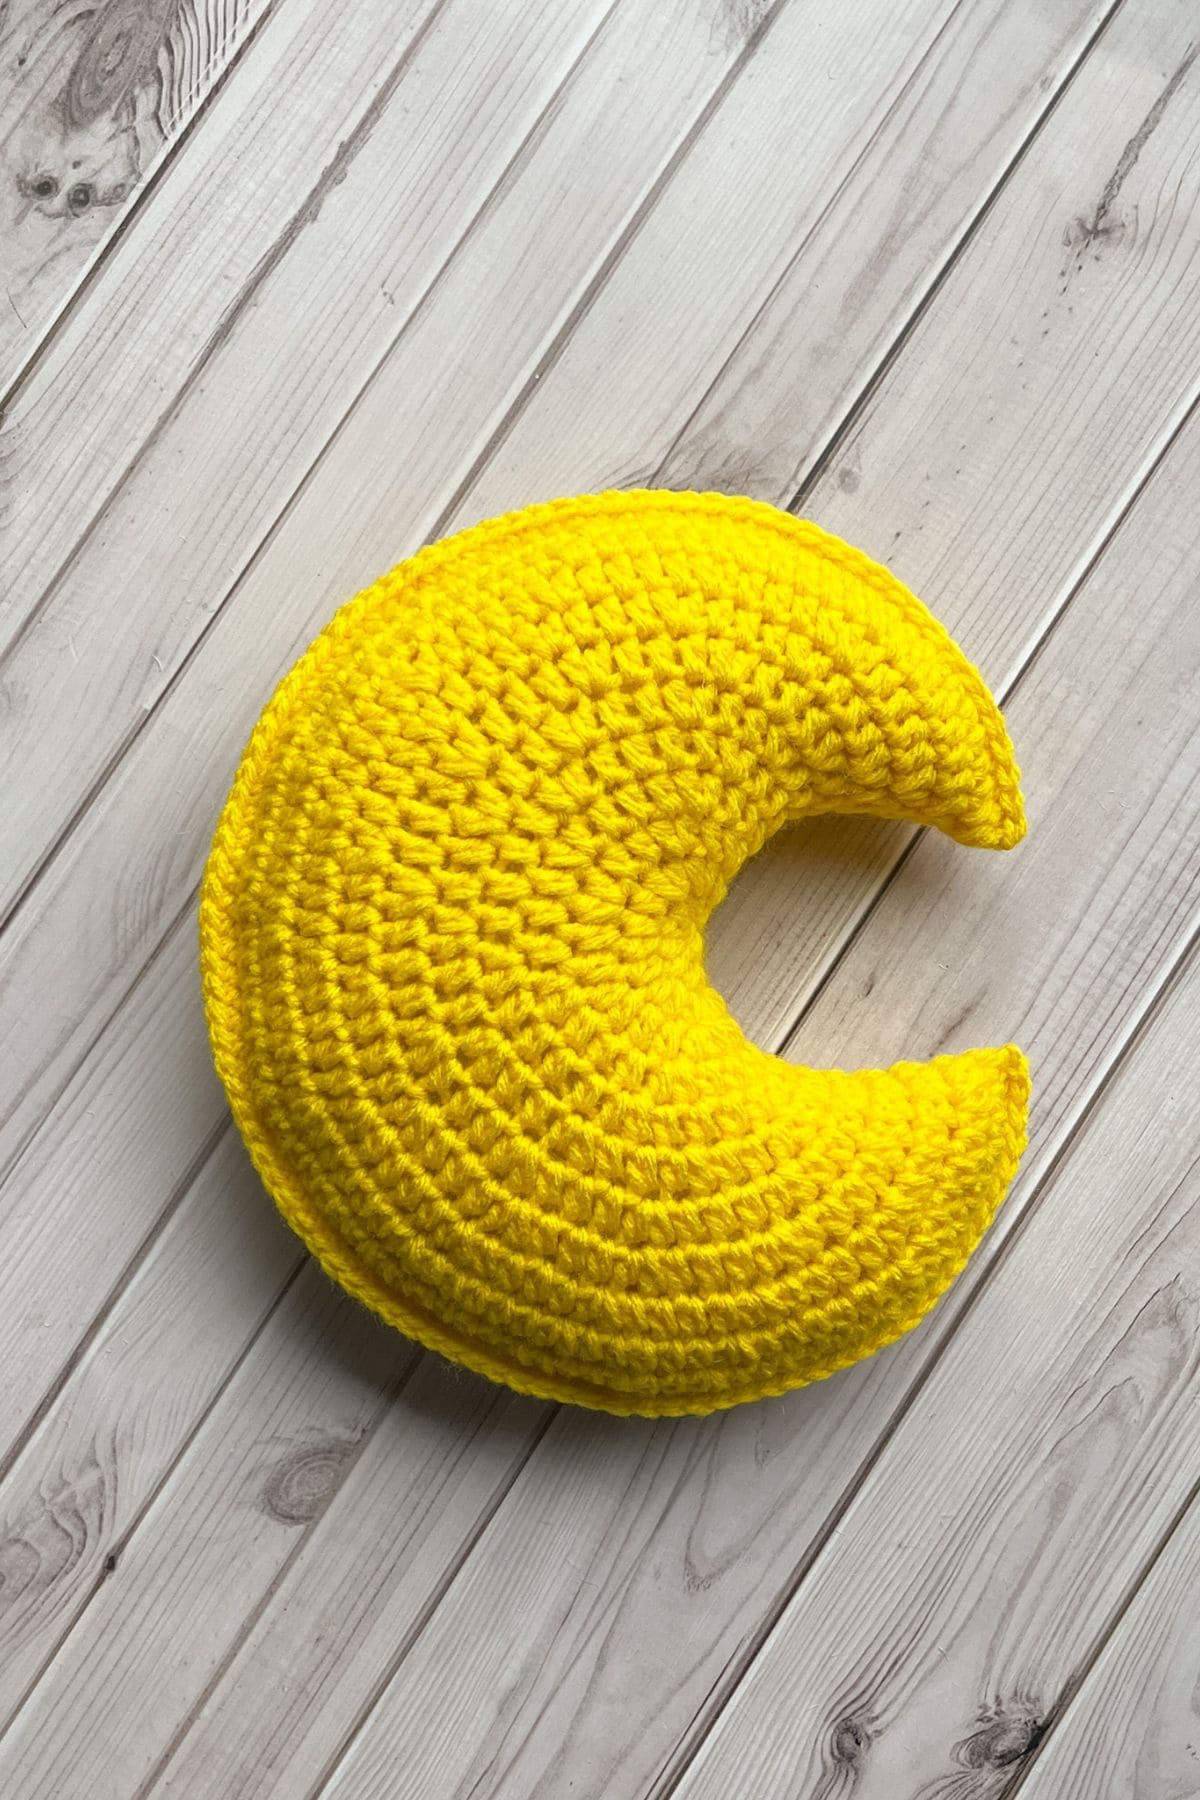
Stuff the moon as you go. Pay careful attention to the curve and stuff as needed to make it appear smooth and have a nice rounded shape to it.
When you are done, fasten off the yarn and weave in the ends.
And now you have a crochet moon pillow! Now you just need some stars to go with it.
If you want to make a crochet star and moon bag to increase your crochet moon inspired projects, check out my sun crochet granny square pattern and my crochet moon granny square pattern.
If you want more cosmic and fun patterns, my crochet planets and solar system playset is fun and it uses up a lot of scrap yarn that you may be hoarding!
Have leftover yellow yarn? Make a crochet lemon!
🐌Expert Tips
- Choose the Right Yarn: For optimal results, select yarn that is soft yet durable. Cotton yarn oracrylic yarn is recommended for its washability and strength.
- Experiment with Sizes: Vary your hook size or yarn thickness to create larger or smaller moon pillows for different decor styles.
- Add Personal Touches: Consider adding embroidered details, like stars or faces, for a unique touch.
- Perfect for All Ages: This pattern is suitable for crafters of all ages, making it a fun project for kids under supervision.
🧵 Pattern FAQs
You can make it into a giant fortune cookie if you would like! Just make the yarn a tan color, and then add a little bit of white paper coming from one of the sides.
Can I use a different color for my crochet moon pillow?
Absolutely! Feel free to use any color that suits your decor. A blue moon would be perfect for a nighttime theme!
Hand wash your crochet pillow with mild soap and lay it flat to dry to maintain its shape and texture.
Simply use a larger hook and thicker yarn to create a bigger moon pillow.
🧶More Crochet Pillow Patterns


If you tried this Crochet Moon Pillow Pattern (or any other pattern on my website), please let me know how it went in the 📝 comments below. I'd love to hear from you!
Crochet Moon Pillow Pattern
Abbreviations (US terms)
- Magic ring - mr
- Chains - ch
- Single crochet - sc
- Increase (inc) - 2 stitches in the same stitch
- Half double crochet - hdc
Notes
- Yarn Type: I made the crochet moon pillow pattern with acrylic yarn since it's what I had on hand, but this project can be completed with any type of yarn. I highly suggest using cotton, acrylic, or chunky yarn. Keep in mind that if you use chunky yarn, the moon will be quite large!
- Finished Size: The finished size of the moon crochet pattern is about 8 inches, if you want it larger use thicker yarn and a larger hook.
- Curvature Adjustment: If you want your moon to be curvier, you can always increase each row more than what I do, especially toward the last few rounds.
Instructions
The crochet moon pillow pattern is made in rounds and uses hdc as the main stitch.
- Round 1: Using the yellow yarn, make a mr and make hdc x10 in the circle. If you find it difficult making a magic ring you can chain 2 and then hdc x10 into the second chain from the hook (10).
- Round 2: Inc in every hdc (20).
- Round 3: Inc, hdc. Then repeat for the rest of the round (30).
- Round 4: Inc, hdc x2. Then repeat for the rest of the round (40).
- Round 5: Inc, hdc x3. Then repeat for the rest of the round (50).
- Round 6: Inc, hdc x4. Then repeat for the rest of the round (60).
- Round 7: Inc, hdc x2. Then repeat for the rest of the round (80).
- Round 8: Inc, hdc x3. Then repeat for the rest of the round (100).
- Round 9: Inc, hdc x3. Then repeat for the rest of the round (125).
- Round 10: Inc, hdc x4. Then repeat for the rest of the round (150).
- Round 11: Inc, hdc x5. Then repeat for the rest of the round (175).
- Round 12: Inc, hdc x6. Then repeat for the rest of the round (200). After completing the round make a sc in the next stitch and then a sl st in the following one.
- Fold the moon in half, the sl st you just made is the top stitch where you folded the moon.
- Sc the moon closed by going through both the front and back hdc stitches.
- Stuff the moon as you go. Pay careful attention to the curve and stuff as needed to make it appear smooth and have a nice rounded shape to it.
- When you are done, fasten off the yarn and weave in the ends.
- And now you have a crochet moon pillow! Now you just need some stars to go with it.


Shannon says
Is this a continuous round or do we join with sl st
Kimberly Arenas says
Continuous 🙂
Gabrielle says
When you do the increase stitch, is it just a single crochet both times? I can’t tell if I’m doing this right LOL
Kimberly Arenas says
Since the pattern uses half double crochet it would be a half double crochet - generally if a pattern is in 1 type of stitch the increases and decreases will also be that stitch - sc, hdc, dc etc. Hope that helps!
Kara says
The math does not add up for wa h round.
For instance round 3 (48 stitches) to round 4 would be 61 and not 60?
I wrote it all down an charted it and every time I get 61.
The numbers at the end of each round does not match the stitches you say to do.
Kimberly Arenas says
In each round you are only increasing by 12 stitches so Rnd 1 starts off with 12 hdc, then rnd 2 is an increase in every stitch so the stitch count increases to 24, then rnd 3 is an increase and then a single hdc in the following stitch (repeat increase, hdc for the rest of the round) which brings the stitch count to 36. Rnd 4 is increase, hdc in the next 2 stitches and repeat so it should be 48 at the end of rnd 4.
Kara says
I wrote it down a still kept struggling then I realize I missed row 3 all togther. So my row 3 was actually like 4.
I have since wrote down the pattern correctly and I was even able to easily continue going until I reached the size moon pillow I wanted.
So anyone reading all this
The math DOES add up. Just be mindful to not skip row 3 cuz that’s going to throw everything way off!
Wish I could add a picture my pillow turned out perfect.
Kimberly Arenas says
I am glad it worked out for you!