
Okay, I’ll admit it—I was feeling a little spooky even though it was only mid-summer when I came up with the idea for this crochet spider coaster pattern. Maybe it was the heat getting to me, or maybe I just really missed Halloween, but once the idea popped into my head, I had to make it.
The inspiration actually came right after I finished my crochet crab pattern (yep, crab!). The body and leg placement were just close enough that I thought, "Hey…this could totally work as a spider too!" And that’s how this creepy-cute coaster came to life.
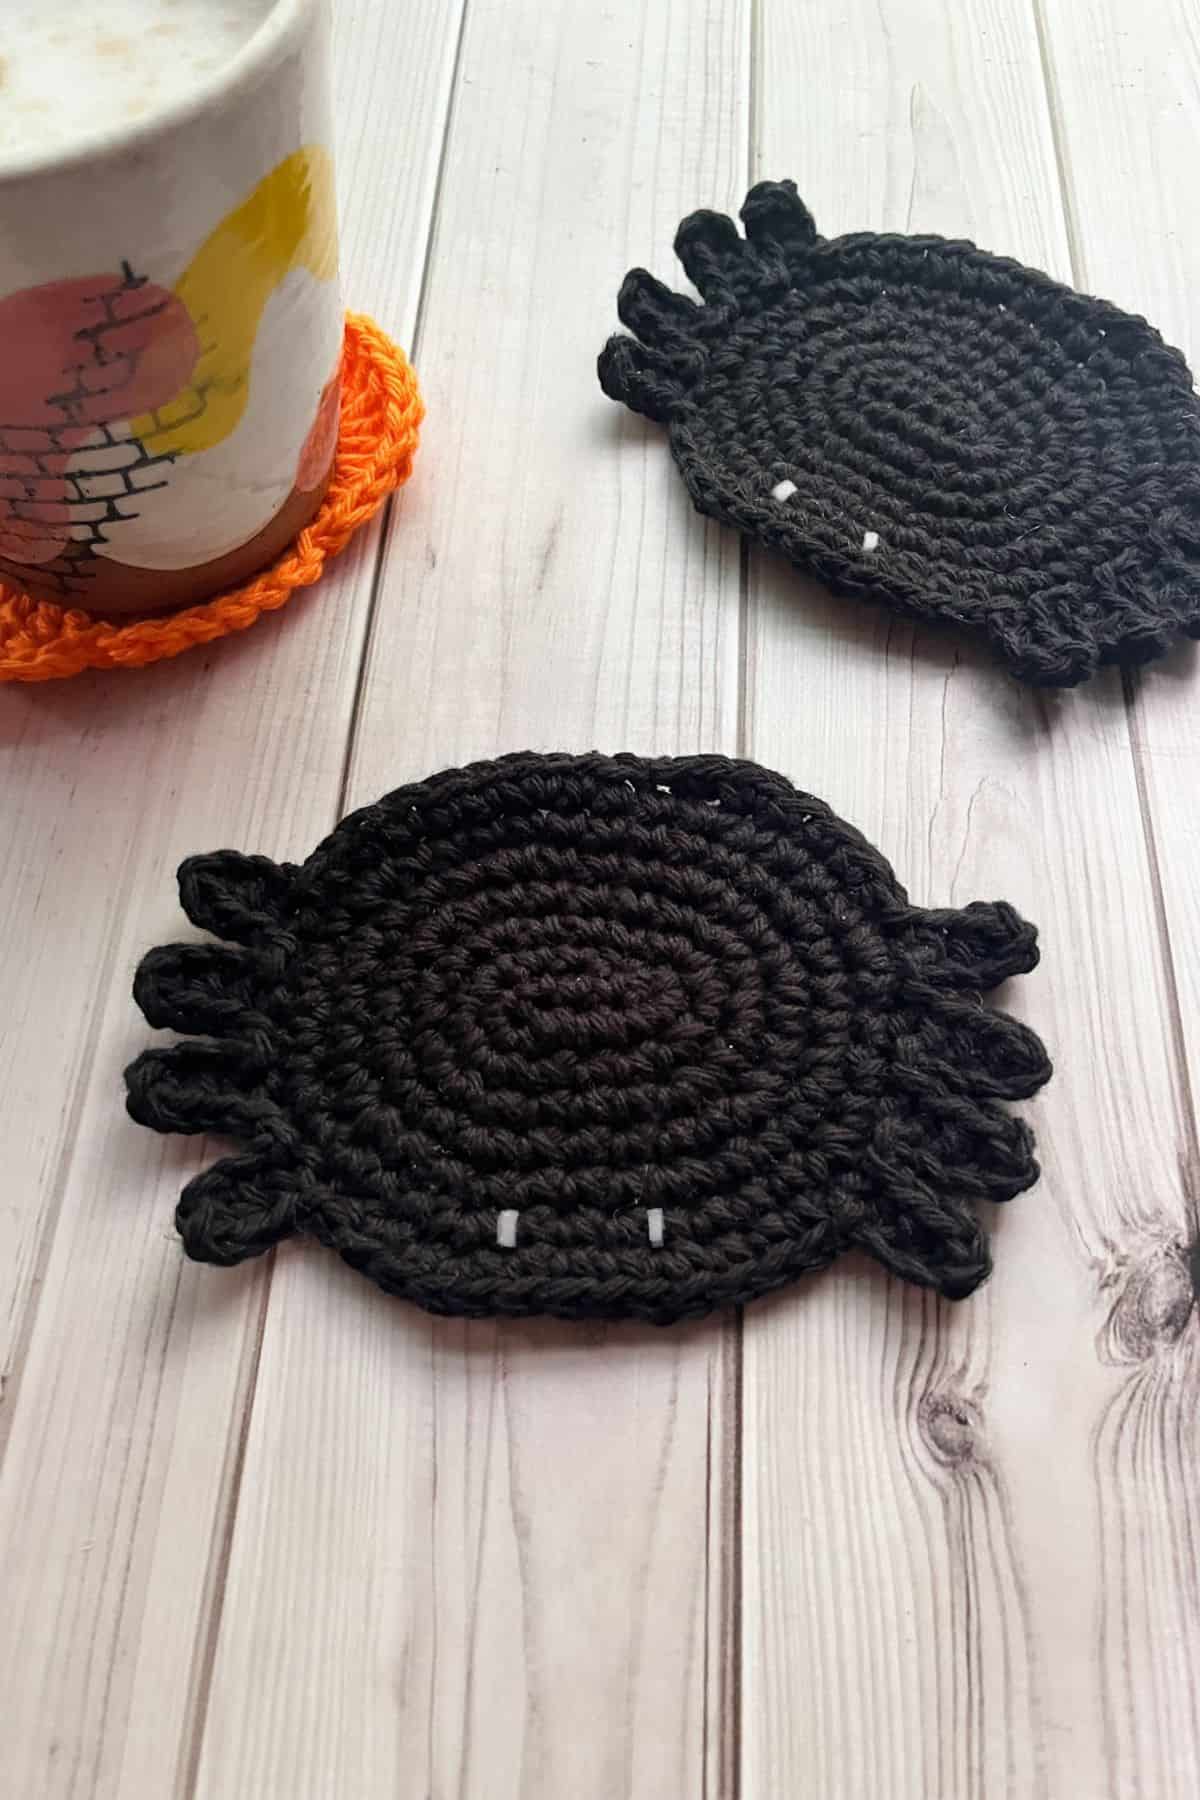
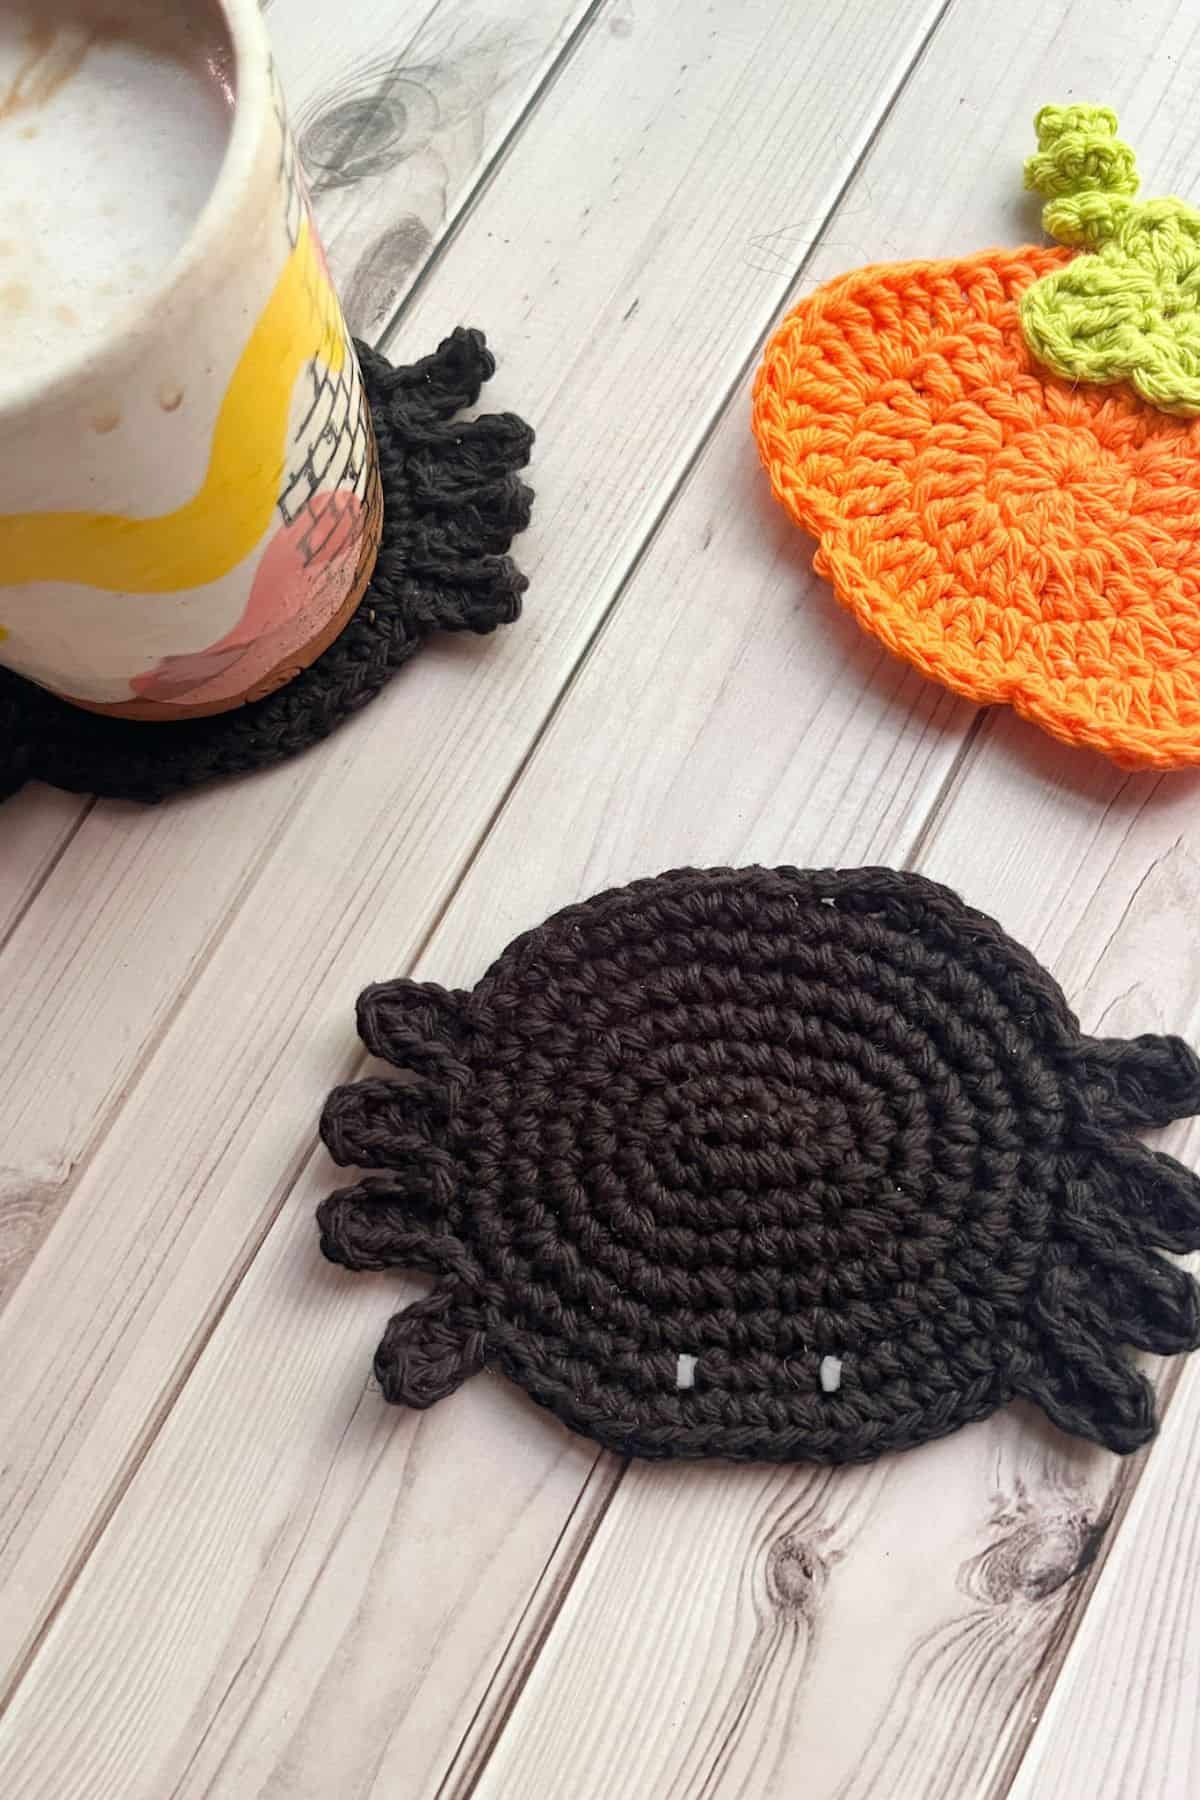
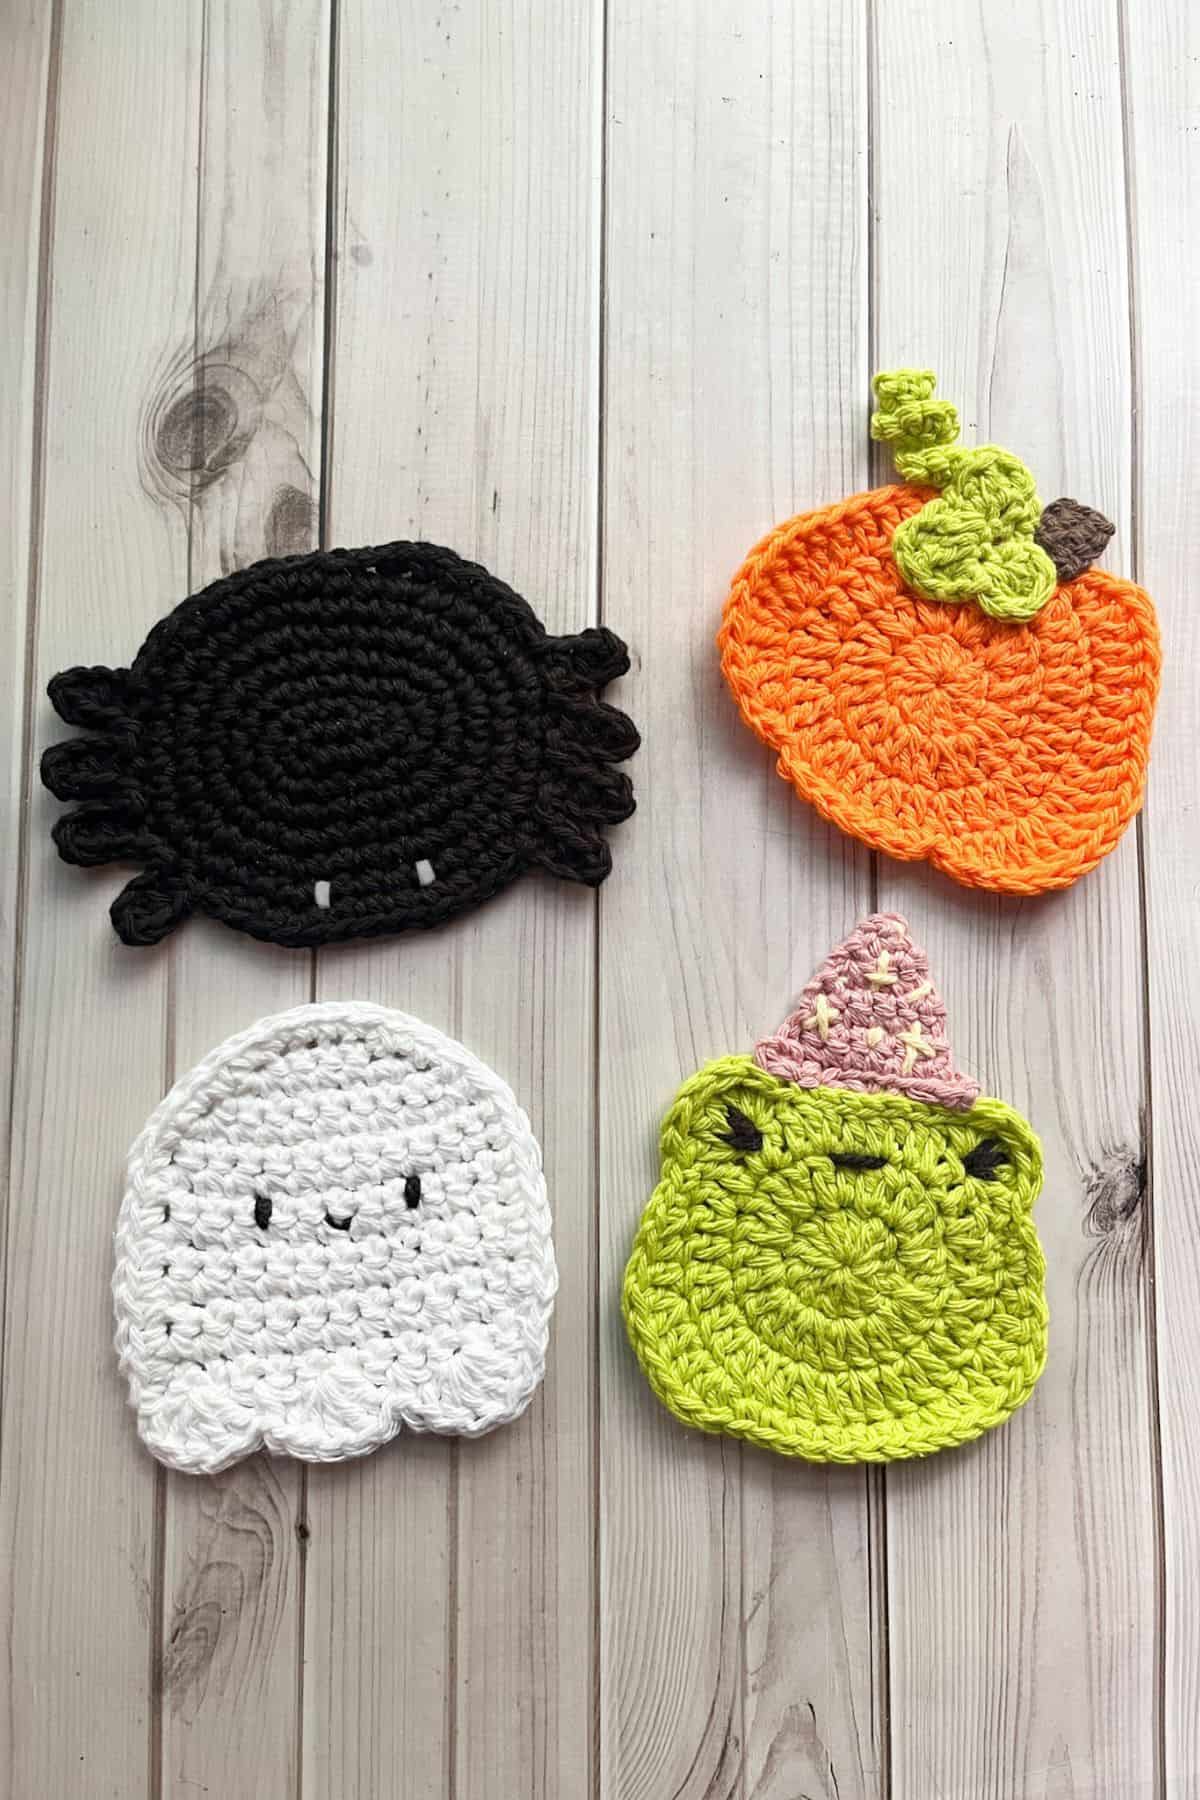
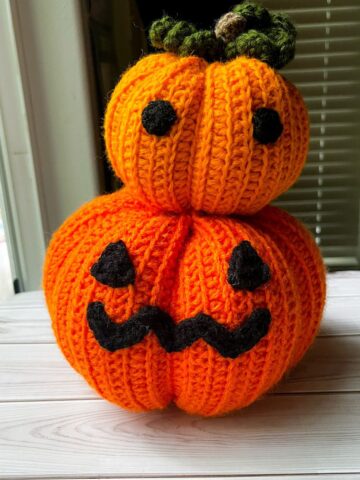
This crochet spider coaster pattern is the perfect addition to your spooky setup, whether you're throwing a Halloween party or just sipping pumpkin spice lattes all October long. It’s part of my growing collection of crochet Halloween coaster patterns, and I have to say—it fits right in with my crochet ghost coasters and crochet pumpkin coasters. I love how playful and slightly eerie it looks on the table, and it always gets a few smiles when guests see it.
Even if you’re not in full Halloween mode yet, this project is a great way to ease into the fall season. It’s quick, beginner-friendly, and super satisfying to make. Plus, it’s one of those patterns that looks way more complicated than it actually is (and who doesn’t love that kind of win?).
So grab your yarn, your hook, and maybe a candy corn or two—because it’s time to get started on your new favorite Halloween crochet coaster!
Jump to:
✏️ Things To Note:
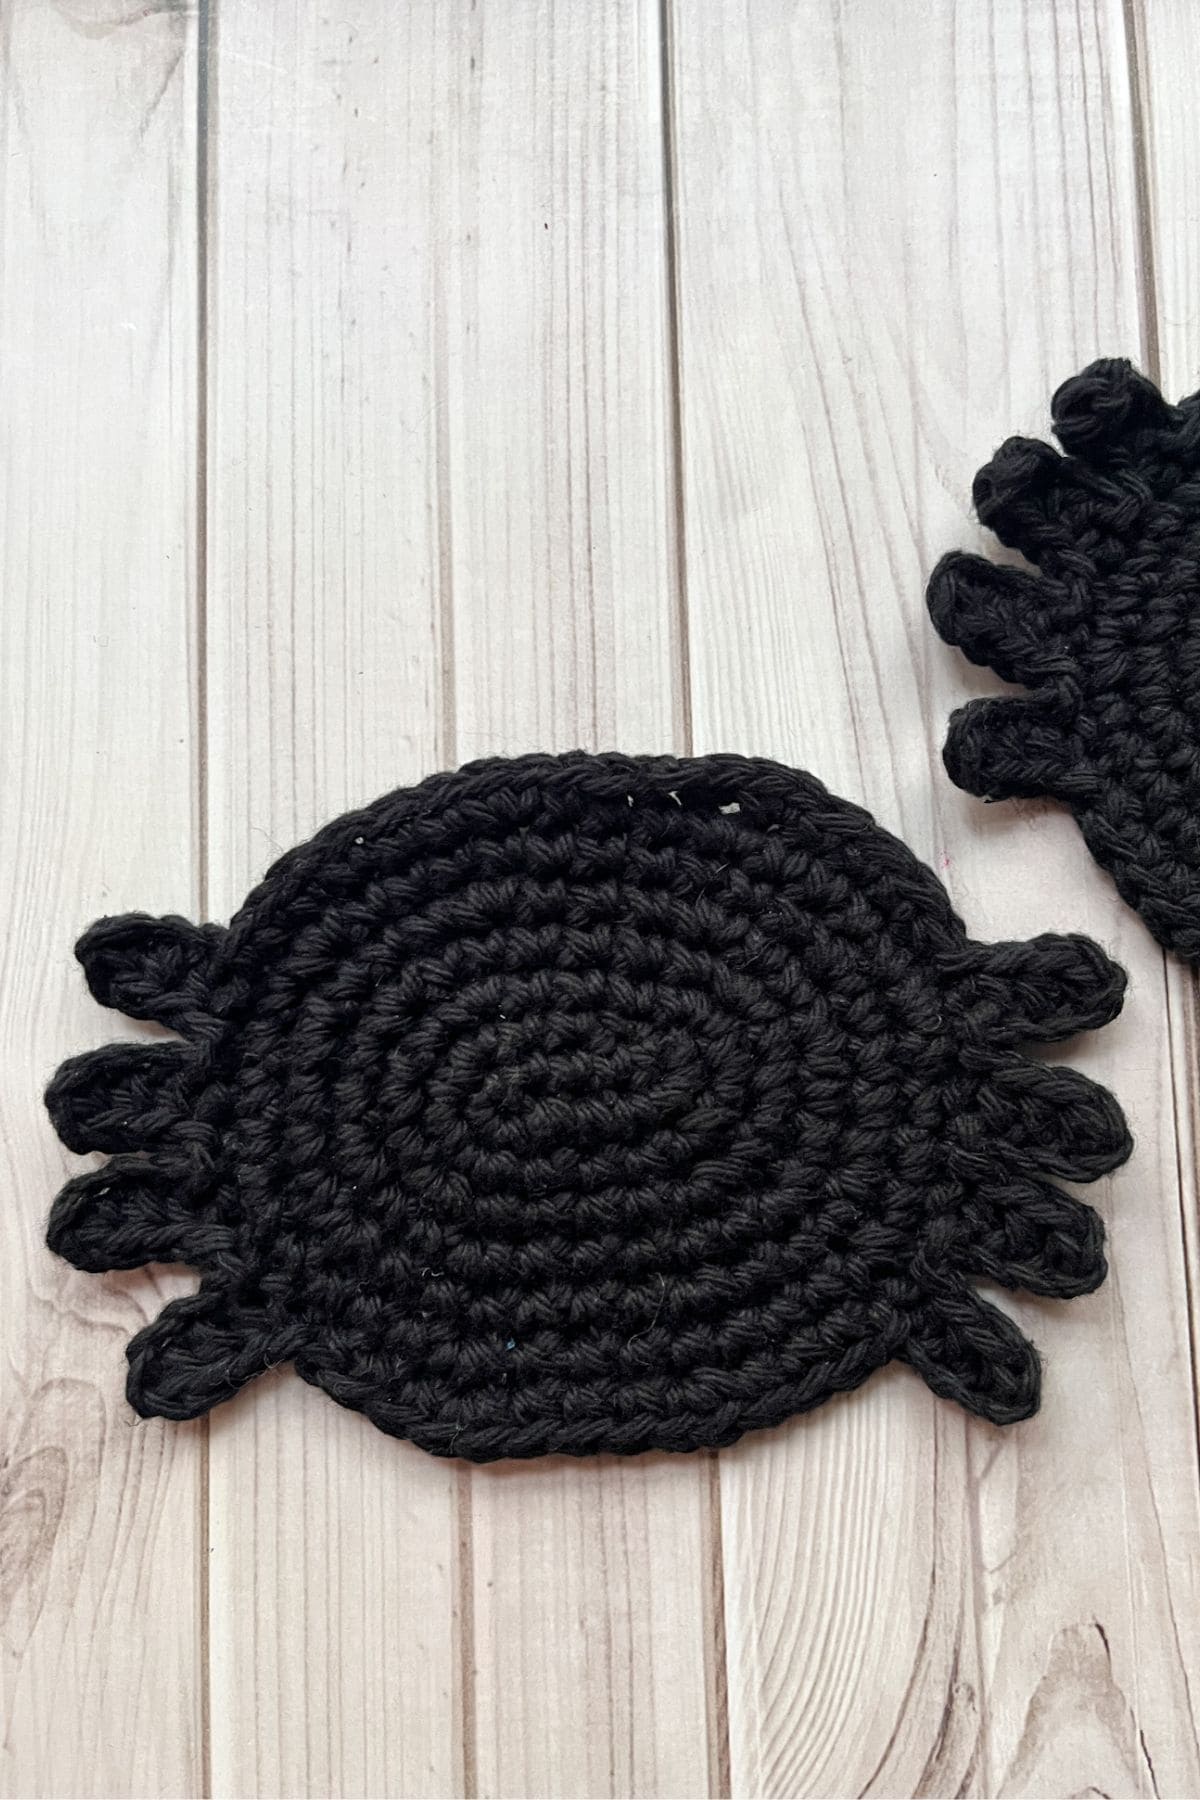
- Shape: This crochet spider coaster pattern is worked in an oval around a foundation chain, which gives the spider its long, slightly stretched body. If you’ve never worked in an oval before, don’t worry—it’s similar to working in the round, just with a different starting shape. It’s a great technique to learn and adds nice structure to the coaster.
- Size: The finished coaster measures about 5 inches long, which makes it a great size for holding coffee mugs, small bowls, or Halloween treats. It’s just the right size to be functional, but still decorative and eye-catching.
- Yarn Type: You’ll want to use 100% cotton yarn for this pattern instead of acrylic. Cotton is more absorbent and lays flatter, making it much more practical for a coaster. It also holds its shape better over time, especially if you plan to use or wash your coasters regularly.
🪡 Materials Needed
💭Abbreviations to Remember (US terms)
- Chains - ch
- Single crochet - sc
- Half double crochet - hdc
- Increase - inc
- Slip stitch - sl st
* If you see a stitch abbreviation with "x" after it, it means how many times you do that stitch in the following amount of stitches. For example: sc x6 would mean you make a single crochet in the next 6 stitches. Inc x2 means you make an inc in the next 2 stitches.
🍵Instructions for Crochet Spider Coaster Pattern
For this crochet spider coaster pattern, we will be working in rounds but start with a chain.
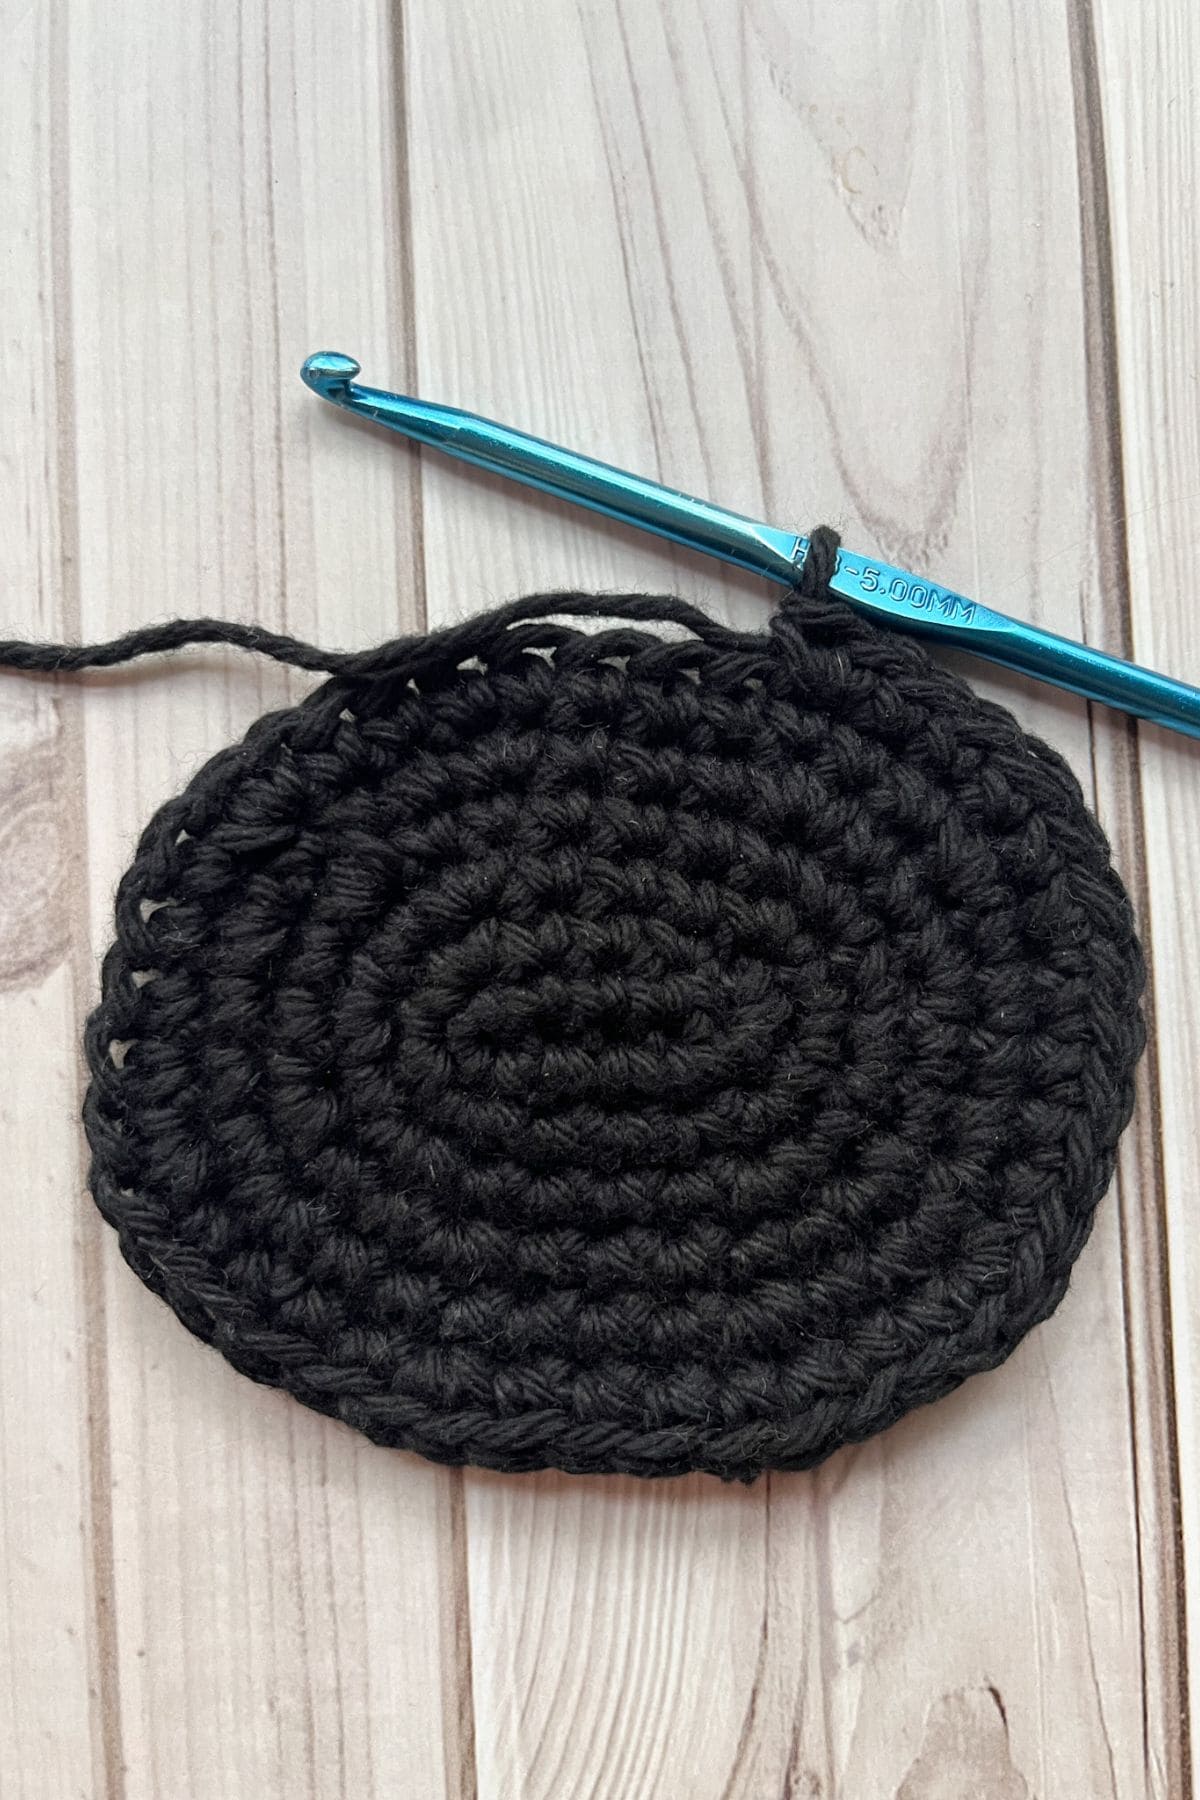
Round 1: Ch x6, then in the 2nd ch from the hook make a sc. Sc in the next 3 chains. In the last stitch make 3 sc, all the while turning to the underside of the chain. Now working on the unworked side of the chain, sc x3. Inc in the last stitch. Then sl st to the next stitch. This sl st marks the end of the round (12).
Round 2: In the following stitch make a sc, then sc x2. Inc x3 (in the 3 stitches you made at the end), sc x3, inc x3 (18).
Round 3: Sc x3, (inc, sc) x3. Then repeat for the other side of the round (24).
Round 4: Sc x3, (sc x2, inc) x3. Then repeat for the other side of the round (30).
Round 5: Sc x3, (inc, sc x3) x3. Then repeat for the other side of the round (36).
Round 6: Sc x3, (sc x4, inc) x3. Then repeat for the other side of the round (42).
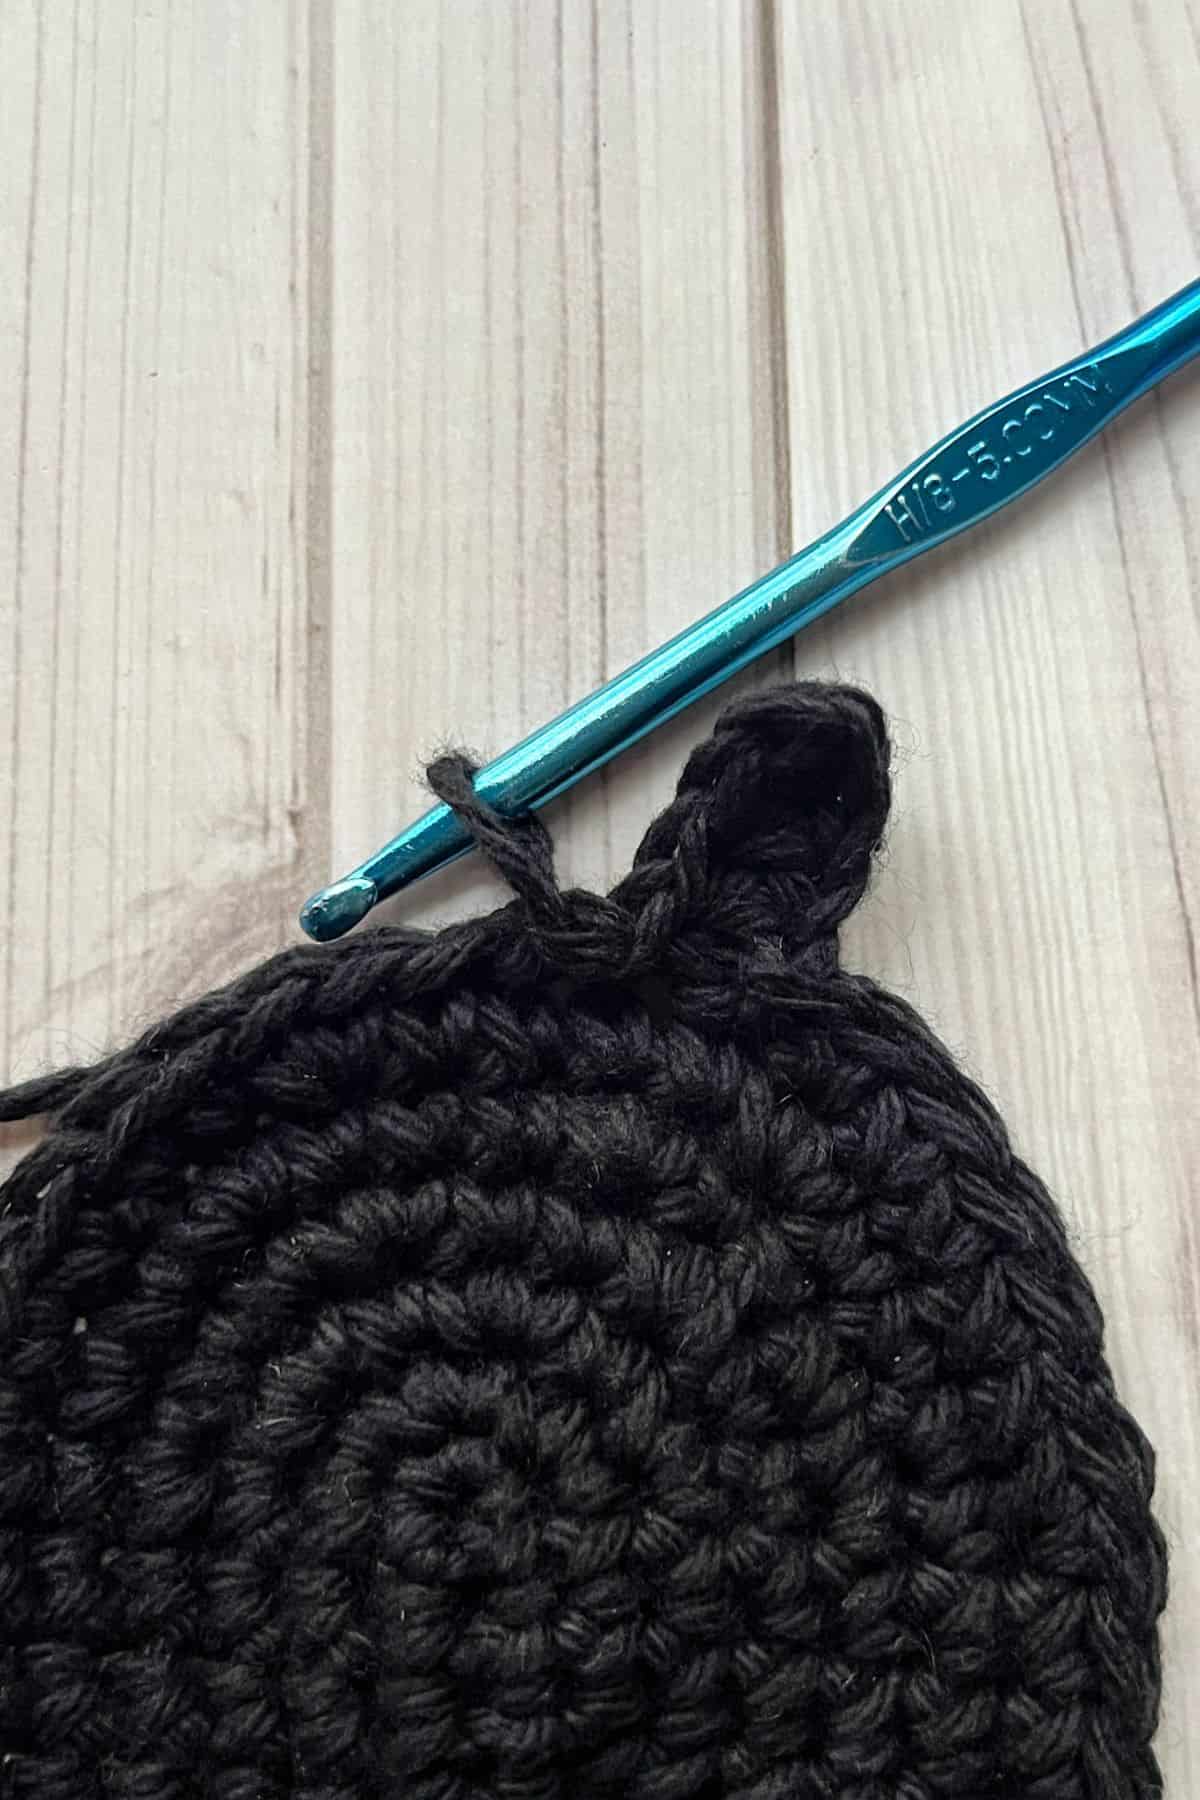
Round 7: Sc x3, inc, then sc x5.
Now we will make a spider leg. In the next stitch make a (sl st, then ch x4 and in the 2nd ch from the hook make a hdc. Hdc in the other 2 chains. Sl st to the next stitch.)
Repeat what is in parentheses 3 more times (total of 4 legs).
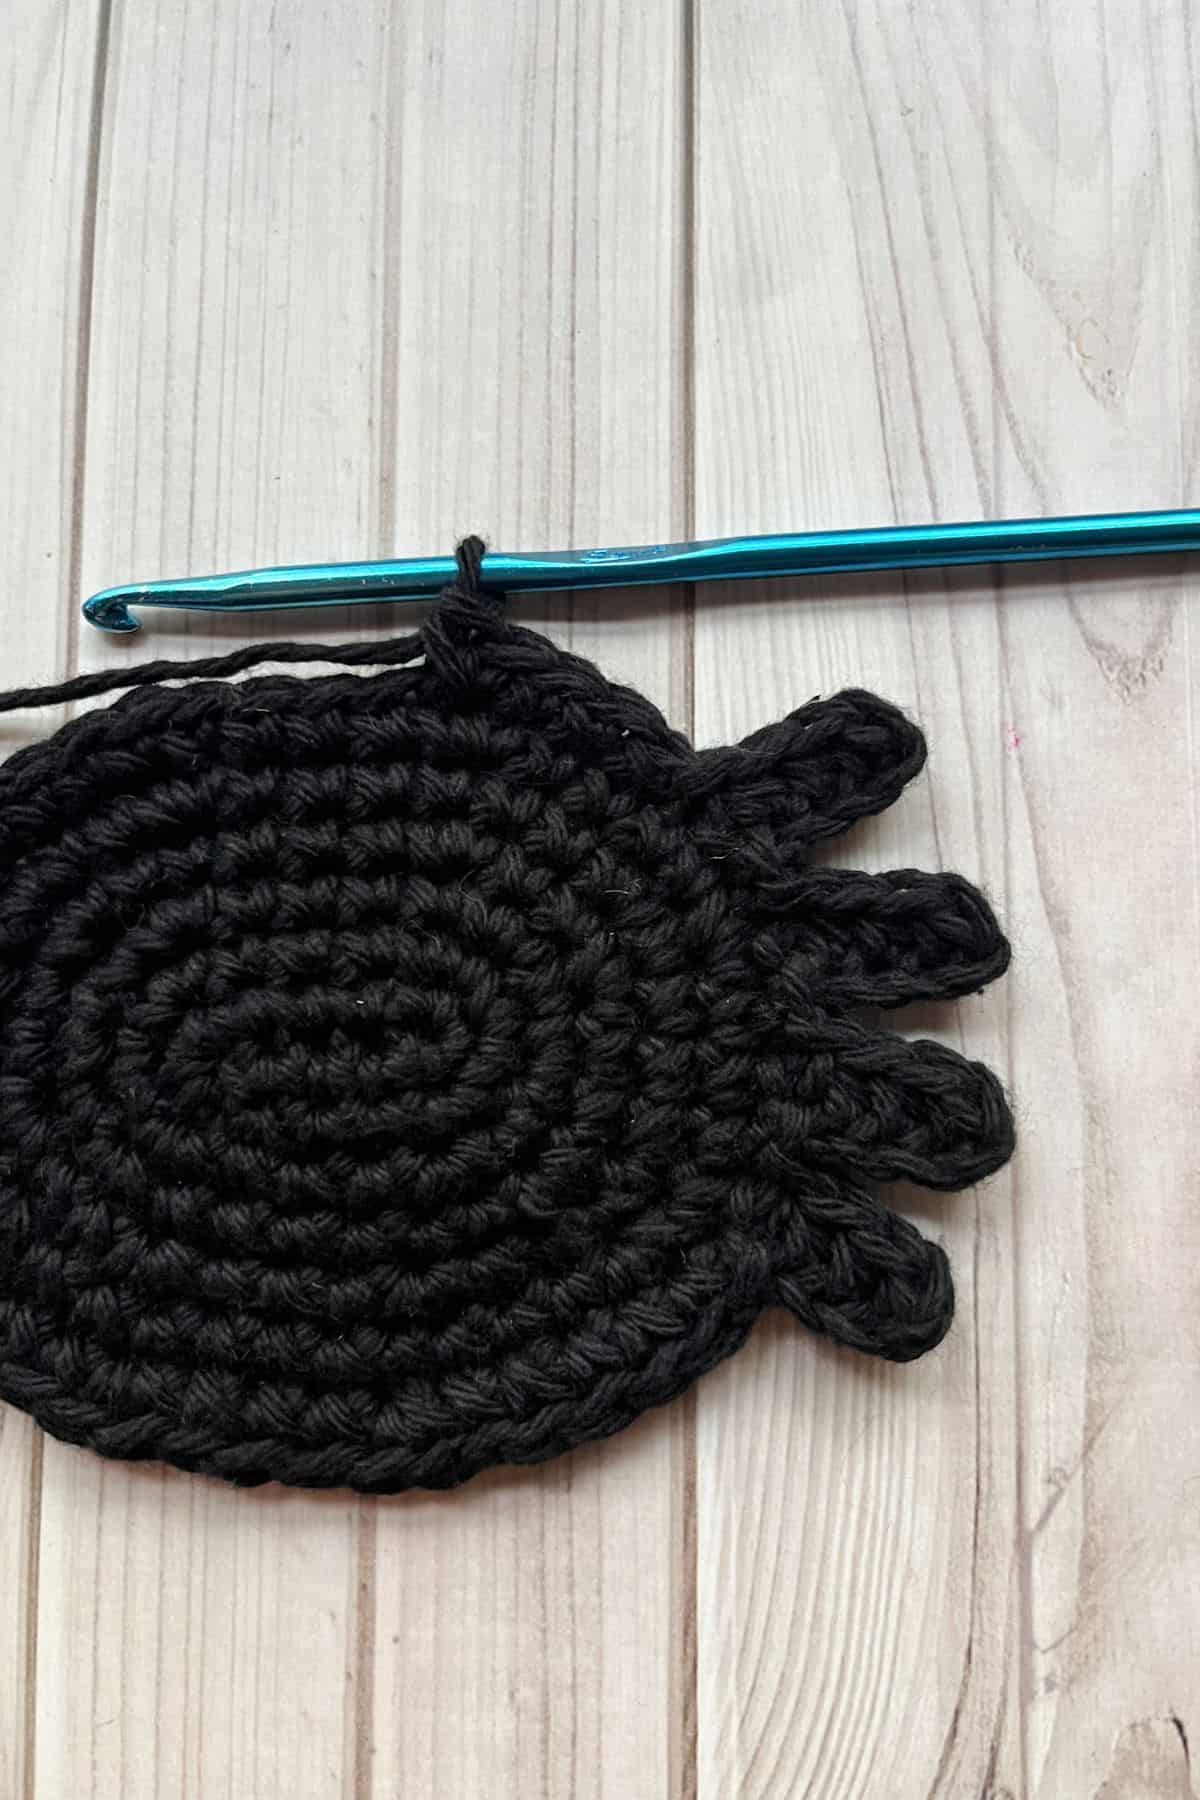
(Sc x3, inc) x2, sc x3, then begin the other set of legs.
Make a (sl st, then ch x4 and in the 2nd ch from the hook make a hdc. Hdc in the other 2 chains. Sl st to the next stitch.) Repeat what is in parentheses 3 more times (total of 4 legs).
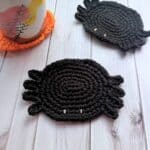
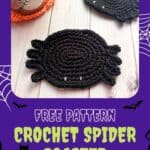
Sc x4, inc, sc and then sl st to the first stitch and fasten off your yarn. Weave in the ends. Look at how fast the crochet spider coaster pattern came to life!
And that’s it—you’ve officially finished your crochet spider coaster! I hope you had as much fun making it as I did designing it. Whether you're using it to hold your favorite fall drink or just adding a little spooky flair to your space, this coaster is a fun and festive way to celebrate the Halloween season.
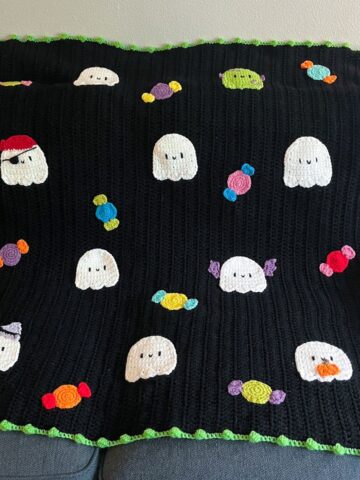
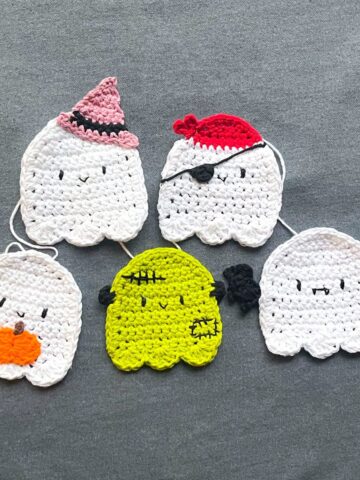
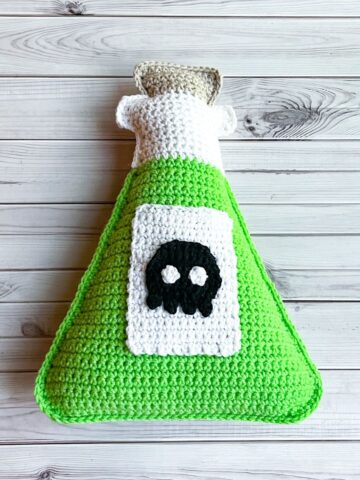
If you enjoyed this project, be sure to check out some of my other Halloween crochet patterns to keep the spooky creativity going. My crochet Halloween garland pattern is perfect for decorating your walls or party space with festive charm. For more creepy-cute creations, try my crochet spider amigurumi—it makes an adorable little companion to your coaster. If you’re in the mood for something wearable, the crochet bat bag pattern is a fun accessory for trick-or-treating or adding a Halloween twist to your outfit. And don’t miss my crochet cat coaster pattern—you can use it to make spooky black cat coasters that pair perfectly with your spider design.
Thanks so much for joining me in this Halloween-inspired make. I hope your hooks stay busy and your yarn stash stays spooky. Happy crocheting and happy haunting!
🐌Expert Tips
- Tension: Keep your tension consistent, especially when working in an oval shape. Uneven tension can cause your coaster to look lopsided or wavy. If you notice puckering or curling, try adjusting your hook size or loosening your grip slightly.
- Foundation Chain: When working around the foundation chain, be sure to place your stitches evenly along both sides to keep the oval symmetrical. It's easy to accidentally add or skip a stitch at the turning points—mark those ends if needed to stay on track.
- Stitch Markers: Use a stitch marker to mark the beginning of each round. Since you’re working continuously in an oval, it’s easy to lose track of where a round ends. A marker helps you stay consistent and avoid unintentional increases or skipped stitches.
- Blocking: For the best durability and function, block your coaster after finishing. A light steam block or pinning it flat while it dries will help smooth out the shape and set the stitches in place, especially helpful if the coaster edges curl slightly.
🧵Pattern FAQs
For coasters, 100% cotton yarn is the best choice. Cotton is durable, absorbent, and holds its shape well—perfect for catching condensation from drinks or holding hot mugs. Acrylic yarn can melt or warp with heat.
If your coaster curls or warps, it’s usually a tension or stitch count issue. Double-check that you’re not accidentally adding or skipping stitches. After finishing, block your coaster by lightly steaming or wetting it and laying it flat to dry—it helps shape and smooth everything out.
Yes! That’s another reason why cotton yarn is ideal. Most cotton coasters can be hand-washed or machine-washed on a gentle cycle, then laid flat to dry. Avoid machine drying unless your yarn label says it’s safe.
Most coasters are around 4.5 to 5 inches across, which is the perfect size for standard mugs or cups. My crochet spider coaster measures about 5 inches long, giving it a cute oval shape that still functions great for everyday use.
🧶More Crochet Halloween Patterns
If you tried this Crochet Spider Coaster Pattern (or any other pattern on my website), please let me know how it went in the 📝 comments below. I'd love to hear from you!
Crochet Spider Coaster Pattern
Materials
Abbreviations (US terms)
- Chains - ch
- Single crochet - sc
- Half double crochet - hdc
- Increase - inc
- Slip stitch - sl st
Notes
- Shape: This crochet spider coaster is worked in an oval around a foundation chain, which gives the spider its long, slightly stretched body. If you’ve never worked in an oval before, don’t worry—it’s similar to working in the round, just with a different starting shape. It’s a great technique to learn and adds nice structure to the coaster.
- Size: The finished coaster measures about 5 inches long, which makes it a great size for holding coffee mugs, small bowls, or Halloween treats. It’s just the right size to be functional, but still decorative and eye-catching.
- Yarn Type: You’ll want to use 100% cotton yarn for this pattern instead of acrylic. Cotton is more absorbent and lays flatter, making it much more practical for a coaster. It also holds its shape better over time, especially if you plan to use or wash your coasters regularly.
Instructions
- Round 1: Ch x6, then in the 2nd ch from the hook make a sc. Sc in the next 3 chains. In the last stitch make 3 sc, all the while turning to the underside of the chain. Now working on the unworked side of the chain, sc x3. Sc inc in the last stitch. Then sl st to the next stitch. This sl st marks the end of the round (12).
- Round 2: In the following stitch make a sc, then sc x2. Inc x3 (in the 3 stitches you made at the end), sc x3, inc x3 (18).
- Round 3: Sc x3, (inc, sc) x3. Then repeat for the other side of the round (24).
- Round 4: Sc x3, (sc x2, inc) x3. Then repeat for the other side of the round (30).
- Round 5: Sc x3, (inc, sc x3) x3. Then repeat for the other side of the round (36).
- Round 6: Sc x3, (sc x4, inc) x3. Then repeat for the other side of the round (42).
- Round 7: Sc x3, inc, then sc x5.
- Now we will make a spider leg. In the next stitch make a (sl st, then ch x4 and in the 2nd ch from the hook make a hdc. Hdc in the other 2 chains. Sl st to the next stitch.) Repeat what is in parentheses 3 more times (total of 4 legs).
- (Sc x3, inc) x2, sc x3, then begin the other set of legs.
- Make a (sl st, then ch x4 and in the 2nd ch from the hook make a hdc. Hdc in the other 2 chains. Sl st to the next stitch.) Repeat what is in parentheses 3 more times (total of 4 legs).
- Sc x4, inc, sc and then sl st to the first stitch and fasten off your yarn. Weave in the ends.
- And that’s it—you’ve officially finished your crochet spider coaster! I hope you had as much fun making it as I did designing it.


Leave a Reply