

The crochet chicken potholder pattern is one of those delightfully silly, yet practical makes that somehow finds its way into everyone’s kitchen. It’s an easy crochet potholder that works up quicker than you’d think, and it’s double layered, which means your hands will stay safe pulling things from the oven.

This tutorial will go over how to crochet a chicken potholder - a pattern that I have always wanted to reinvent. Chicken potholders are crochet projects that I have seen since I was a kid, but from the ones I remember seeing 30 years ago and the ones I see today - they all look the same. It’s the same pattern, with little to no changes over the past 30+ years.
I feel that the chicken potholder is hard to reinvent because it is a harder shape to reinvent, but I think I did the crochet chicken potholder justice! It is worked in 2 panels, shaped like a heart, that are crocheted together with the details of the chicken added afterwards. Sounds like an easy crochet potholder to me!
My crochet chicken potholder pattern is not my only crochet potholder pattern! I also have a crochet pumpkin pie potholder - perfect for fall, and my crochet Christmas potholder patterns which are great for the holidays!
Jump to:
✏️ Things To Note:
- Time: The crochet chicken hot pad is made in single crochet, so it does take some time to complete, but if you work at a medium pace you can complete a potholder in less than 2 hours!
- Size: The finished crochet chicken potholder is 9 inches in height and width.
- Beginner friendly: This specific crochet chicken potholder pattern is perfect for beginners because it uses single crochet stitches. The only fancy stitches this pattern uses is for the tail where you make stacked single crochet stitches, but you can swap those out for chains if needed.
🪡 Materials Needed
- Lily sugar n cream - white
- Lily sugar n cream - sunshine yellow
- Lily sugar n cream - country red
- Lily sugar n cream - potpourri print
- Lily sugar n cream - black
- 4.5mm hook
- Tapestry needle
- As a side note, if you have extra yarn leftover, you can make my crochet daisy coasters, 6 petal crochet flower coaster, or my crochet egg coaster pattern!
💭Abbreviations to Remember (US terms)
- Chains - ch
- Slip stitch - sl st
- Decrease - dec
- Single crochet - sc
- Half double crochet - hdc
- Double crochet - dc
- Increase - inc
- Will also need to know how to do stacked single crochet stitches.
* If you see a stitch abbreviation with "x" after it, it means how many times you do that stitch in the following amount of stitches. For example: sc x6 would mean you make a single crochet in the next 6 stitches. Inc x2 means you make an inc in the next 2 stitches.
🧋Variations
- You can change the color of the chicken to add a variety of chickens to your stash! I chose white, and a light speckled color, but you can choose black, brown, gray etc.
- This pattern can also double as a crochet heart potholder, just minus the chicken elements!
🍵Instructions for Crochet Chicken Potholder Pattern
This crochet chicken potholder pattern is made in rows.


Row 1: With your main chicken color, ch x29. Then in the second ch from the hook make a sc. Continue to make sc stitches for the rest of the chain length (28).
Row 2: Inc, sc x27 (29). Then ch x1 and turn.
Row 3: Sc x28, inc (30). Then ch x1 and turn.
Row 4: Inc, sc x29 (31). Then ch x1 and turn.
Row 5: Sc in every stitch (31). Then ch x1 and turn.
Row 6: Inc, sc x30 (32). Then ch x1 and turn.
Row 7-17: Sc in every stitch (32). Then ch x1 and turn.
Row 18: Dec, sc x30 (31). Then ch x1 and turn.
Row 19: Sc in every stitch (31). Then ch x1 and turn.
Row 20: Dec, sc x29 (30). Then ch x1 and turn.
Row 21: Sc x28, dec (29). Then ch x1 and turn.
Row 22: Dec, sc x27 (28). Then ch x1 and turn.
Row 23: Sc in every stitch (28). Then ch x1 and turn.
Row 24: Dec, sc x26 (27). Then ch x1 and turn.
Row 25: Now we will be working on the head part of the chicken. Sc x18, then ch x1 and turn (18).
Row 26-30: Sc in every stitch (18). Then ch x1 and turn.
Row 31: Dec, sc x14, dec (16). Then ch x1 and turn.
Row 32: Dec, sc x12, dec (14). Then ch x1 and turn.
Row 33: Dec, sc x10, dec (12). Then ch x1 and turn.
Row 34: Dec, sc x8, dec (10). Then ch x1 and turn.
Row 35: Dec, sc x6, dec (8). Then ch x1 and turn.
Make x2 of these flat pieces.
Crocheting the Flats Together:


After making the second one DO NOT FASTEN OFF. Instead, line up the 2 flat pieces together and crochet them together. This is a looser portion of the pattern as it is based on tension - the rule of thumb is 1 sc in each row or top of the stitch - just make sure you go through both sides. Now if it is curling - you will need to add extra stitches, and if it is starting to wave - you need to make less.
KEY STITCHES FOR CROCHETING THE PIECES TOGETHER:
- Where the back of the head and body meet, sc3tog (single crochet 3 together).
- At the end of the top of the body (where you would put the tail feathers) make sc and *then stack 10 single crochets on top of each other (a stacked single crochet is where you add a single crochet on top of the other by going through the left leg of the single crochet, instead of the next stitch, and then making a sc like normal). Then make a sc back into the stitch you made the starting sc in and repeat from * 2 more times.
- Note: if you are having trouble with the stacked single crochet - you can just do chains, it will just be thinner tail feathers.
- At the point of the heart shape, make 2 sc.
Crochet Chicken Comb:


Join the red yarn to the top right of the chickens head - placement isn't too crucial just start near the last rows decrease. In the next stitch hdc x4, then sl st into the next stitch. *SKIP a stitch and dc x6 into the following stitch, skip a stitch and sl st into the next. Repeat from *2 more times. Then after the last sl st to anchor the 3rd shell, hdc x4 into the next stitch and sl st into the following. Fasten off the yarn and weave in your ends.
Crochet Chicken Beak:
The beak has a more specific row that it is made in.
Look at the chickens head right where the body connects. Join your yarn to the 3rd short row up from where the head and body connect. This should be done on the right side of the chicken since it is facing out.
Ch x3, in the second stitch from the hook make a sl st, then hdc in the following. Sl st to the next sc. Then fasten off and weave in the ends.
Embroidered Eye:
With black yarn, embroider an eye in the 5th and 6th row, roughly 4-5 stitches inward. I went around the row 3 times. To make a bolder eye. Secure the ends, fasten off and weave in any tails.
And now you have a crochet chicken hot pad! I hope you enjoyed my easy crochet chicken potholder pattern! If you want matching coasters, check out my crochet chicken coaster pattern. Or if you have a lot of yarn leftover, check out my crochet market bag pattern - perfect for hauling groceries, or even use as a day bag for the beach!
🐌Expert Tips
- Warping: If it starts to warp as you are crocheting the pieces together, remember to use less or more stitches as outlined above.
- Stitches: Make sure your stitches are tight, if your tension is loose - go down to a smaller hook. You don’t want holes in the potholder.
- Tail: The tail loops are made so you can hang up the chicken potholder, if you wanted, however you can do the tail feathers in any way you would like.
🧵Pattern FAQs
For potholders, it’s important to use a yarn that is both durable and heat-resistant. Cotton yarn is the best choice because it’s absorbent, sturdy, and holds its shape well. Avoid acrylic yarn for potholders, as it can melt under high heat.
The key is to maintain consistent tension. If your stitches are too tight, your potholder might turn out small and stiff; if they’re too loose, it might not be as sturdy. Aim for a medium tension for flexibility and durability.
Absolutely! The base pattern is actually a heart so you can use this as a heart potholder as well.

🧶More Crochet Animal Patterns
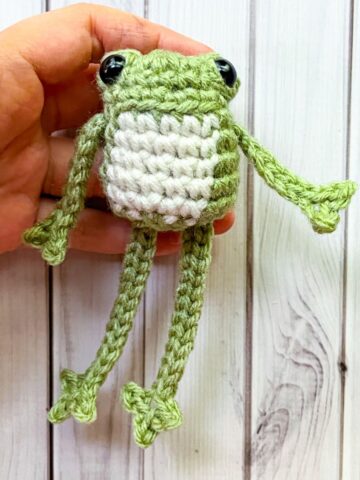
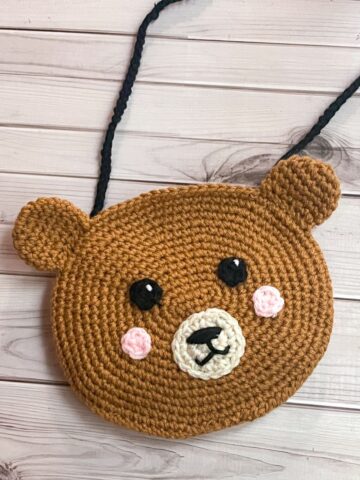
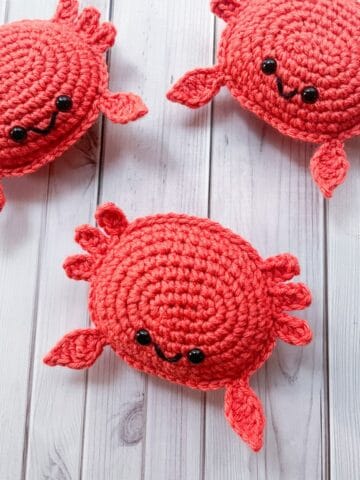
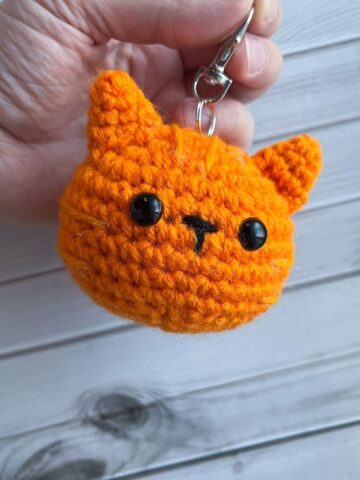
If you tried this Crochet Chicken Potholder Pattern (or any other pattern on my website), please let me know how it went in the 📝 comments below. I'd love to hear from you!

Crochet Chicken Potholder Pattern
Materials
Abbreviations (US terms)
- Chains - ch
- Slip stitch - sl st
- Decrease - dec
- Single crochet - sc
- Half double crochet - hdc
- Double crochet - dc
- Increase - inc
- Will also need to know how to do stacked single crochet stitches.
Notes
- Time: The crochet chicken hot pad is made in single crochet, so it does take some time to complete, but if you work at a medium pace you can complete a potholder in less than 2 hours!
- Size: The finished crochet chicken potholder pattern is 9 inches in height and width.
- Beginner friendly: This specific crochet chicken potholder pattern is perfect for beginners because it uses single crochet stitches. The only fancy stitches this pattern uses is for the tail where you make stacked single crochet stitches, but you can swap those out for chains if needed.
Instructions
- This crochet chicken potholder pattern is made in rows.
- Row 1: With your main chicken color, ch x29. Then in the second ch from the hook make a sc. Continue to make sc stitches for the rest of the chain length (28).
- Row 2: Inc, sc x27 (29). Then ch x1 and turn.
- Row 3: Sc x28, inc (30). Then ch x1 and turn.
- Row 4: Inc, sc x29 (31). Then ch x1 and turn.
- Row 5: Sc in every stitch (31). Then ch x1 and turn.
- Row 6: Inc, sc x30 (32). Then ch x1 and turn.
- Row 7-17: Sc in every stitch (32). Then ch x1 and turn.
- Row 18: Dec, sc x30 (31). Then ch x1 and turn.
- Row 19: Sc in every stitch (31). Then ch x1 and turn.
- Row 20: Dec, sc x29 (30). Then ch x1 and turn.
- Row 21: Sc x28, dec (29). Then ch x1 and turn.
- Row 22: Dec, sc x27 (28). Then ch x1 and turn.
- Row 23: Sc in every stitch (28). Then ch x1 and turn.
- Row 24: Dec, sc x26 (27). Then ch x1 and turn.
- Row 25: Now we will be working on the head part of the chicken. Sc x18, then ch x1 and turn (18).
- Row 26-30: Sc in every stitch (18). Then ch x1 and turn.
- Row 31: Dec, sc x14, dec (16). Then ch x1 and turn.
- Row 32: Dec, sc x12, dec (14). Then ch x1 and turn.
- Row 33: Dec, sc x10, dec (12). Then ch x1 and turn.
- Row 34: Dec, sc x8, dec (10). Then ch x1 and turn.
- Row 35: Dec, sc x6, dec (8). Then ch x1 and turn.
- Make x2 of these flat pieces.
- After making the second one DO NOT FASTEN OFF. Instead, line up the 2 flat pieces together and crochet them together. This is a looser portion of the pattern as it is based on tension - the rule of thumb is 1 sc in each row or top of the stitch - just make sure you go through both sides. Now if it is curling - you will need to add extra stitches, and if it is starting to wave - you need to make less.
KEY STITCHES FOR CROCHETING THE PIECES TOGETHER:
- Where the back of the head and body meet, sc3tog (single crochet 3 together).
- At the end of the top of the body (where you would put the tail feathers) make sc and *then stack 10 single crochets on top of each other (a stacked single crochet is where you add a single crochet on top of the other by going through the left leg of the single crochet, instead of the next stitch, and then making a sc like normal). Then make a sc back into the stitch you made the starting sc in and repeat from * 2 more times.
- Note: if you are having trouble with the stacked single crochet - you can just do chains, it will just be thinner tail feathers.
- At the point of the heart shape, make 2 sc.
Crochet Chicken Comb:
- Join the red yarn to the top right of the chickens head - placement isn't too crucial just start near the last rows decrease. In the next stitch hdc x4, then sl st into the next stitch. *SKIP a stitch and dc x6 into the following stitch, skip a stitch and sl st into the next. Repeat from *2 more times. Then after the last sl st to anchor the 3rd shell, hdc x4 into the next stitch and sl st into the following. Fasten off the yarn and weave in your ends.
Crochet Chicken Beak:
- The beak has a more specific row that it is made in.
- Look at the chickens head right where the body connects. Join your yarn to the 3rd short row up from where the head and body connect. This should be done on the right side of the chicken since it is facing out.
- Ch x3, in the second stitch from the hook make a sl st, then hdc in the following. Sl st to the next sc. Then fasten off and weave in the ends.
Embroidered Eye:
- With black yarn, embroider an eye in the 5th and 6th row, roughly 4-5 stitches inward. I went around the row 3 times. To make a bolder eye. Secure the ends, fasten off and weave in any tails.
- And now you have a crochet chicken hot pad! I hope you enjoyed my easy crochet chicken potholder pattern!


Shelia says
How would I be able to make this into a placemat? Could I double the start stitches by doubling them the work out the rest.of the.pattern? It would make an adorable place mat!
Kimberly Arenas says
That could work!