
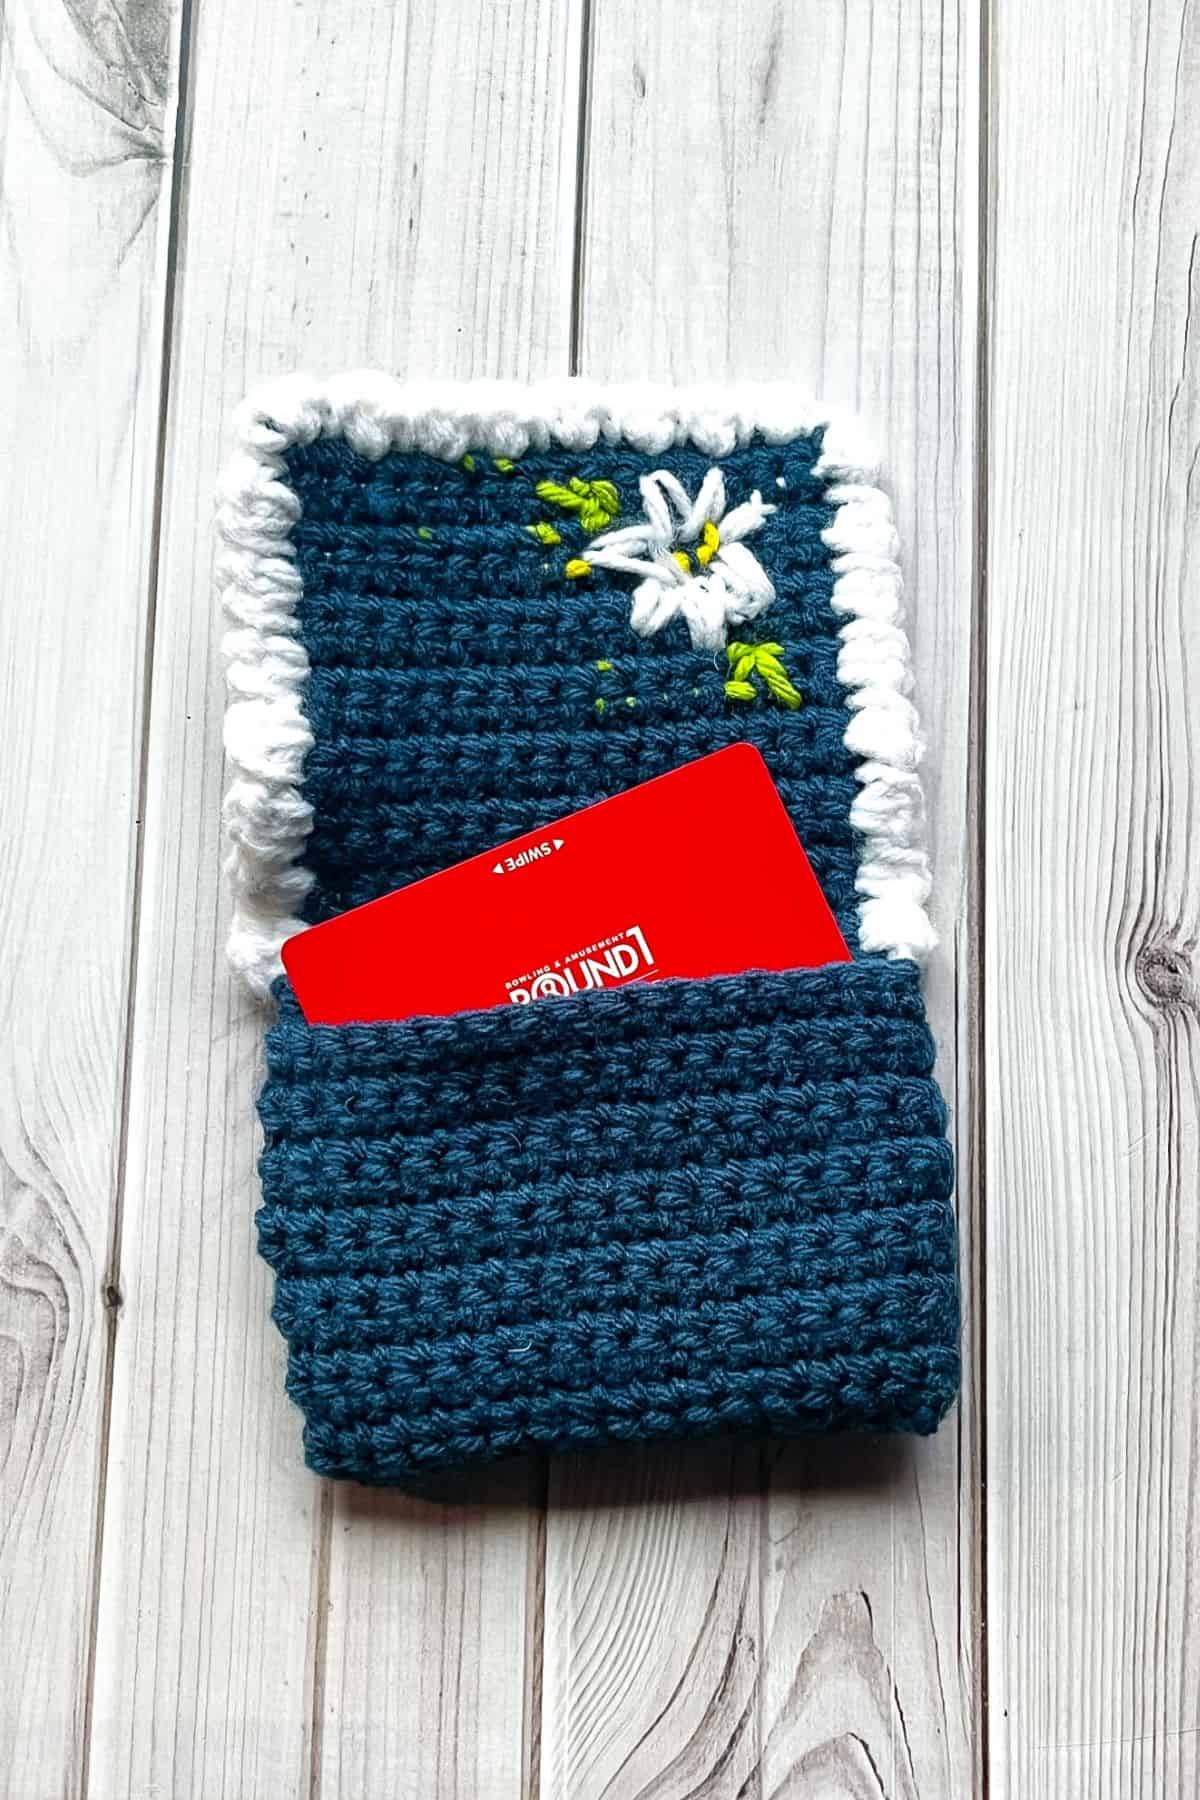
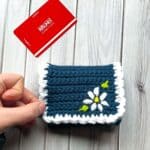
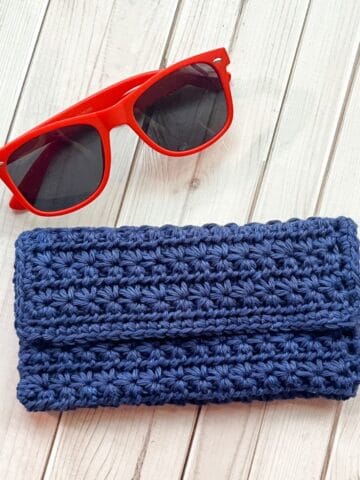
My Crochet Wallet Pattern is the perfect way to accessorize and keep all your important cards safe! The best part is you can make this crochet wallet in less than an hour.
I’m not a fan of traditional wallets, purses, or even backpacks. I usually hand my I.D. and debit card to my husband to hold in his wallet because I dislike having things in my pockets. Plus, women's clothes rarely have big enough pockets to accommodate a wallet, but my husband would rather I carry at least my ID and debit card with me, which I agree lol (I just hate carrying things!)
Recently, I bought a larger tote bag for my on-the-go crochet supplies, allowing me to carry snacks and other necessities throughout the day—and finally giving me room for a wallet! And what kind of wallet? A crochet wallet, of course!
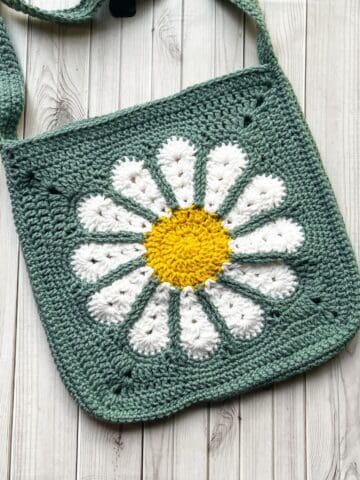
The crochet wallet pattern is perfect for beginners, and if you are wanting to make other beginner friendly bag patterns check out my crochet market bag pattern and my crochet coin purse pattern.
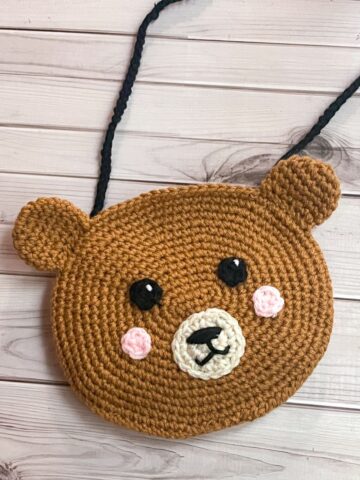
I love crochet wallets because they’re quick to make and can be easily personalized with a crochet appliqué or embroidery.
Now let's get started so I can show you how to crochet a wallet of your very own.
Jump to:
✏️ Things To Note:
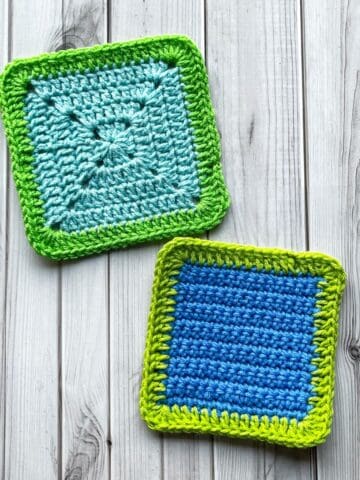
- Yarn Type: I used acrylic yarn for the crochet wallet pattern. You can also use cotton yarn. If you use cotton yarn and have leftover yarn, feel free to make my crochet granny square coaster pattern!
- Stitch Simplicity: The base of the crochet wallet pattern only calls for single crochet (sc), with no fancy stitches involved. Also most of my amigurumi patterns use single crochet so if you wanted to stretch your skills you could crochet a clam, or even a crochet croissant!
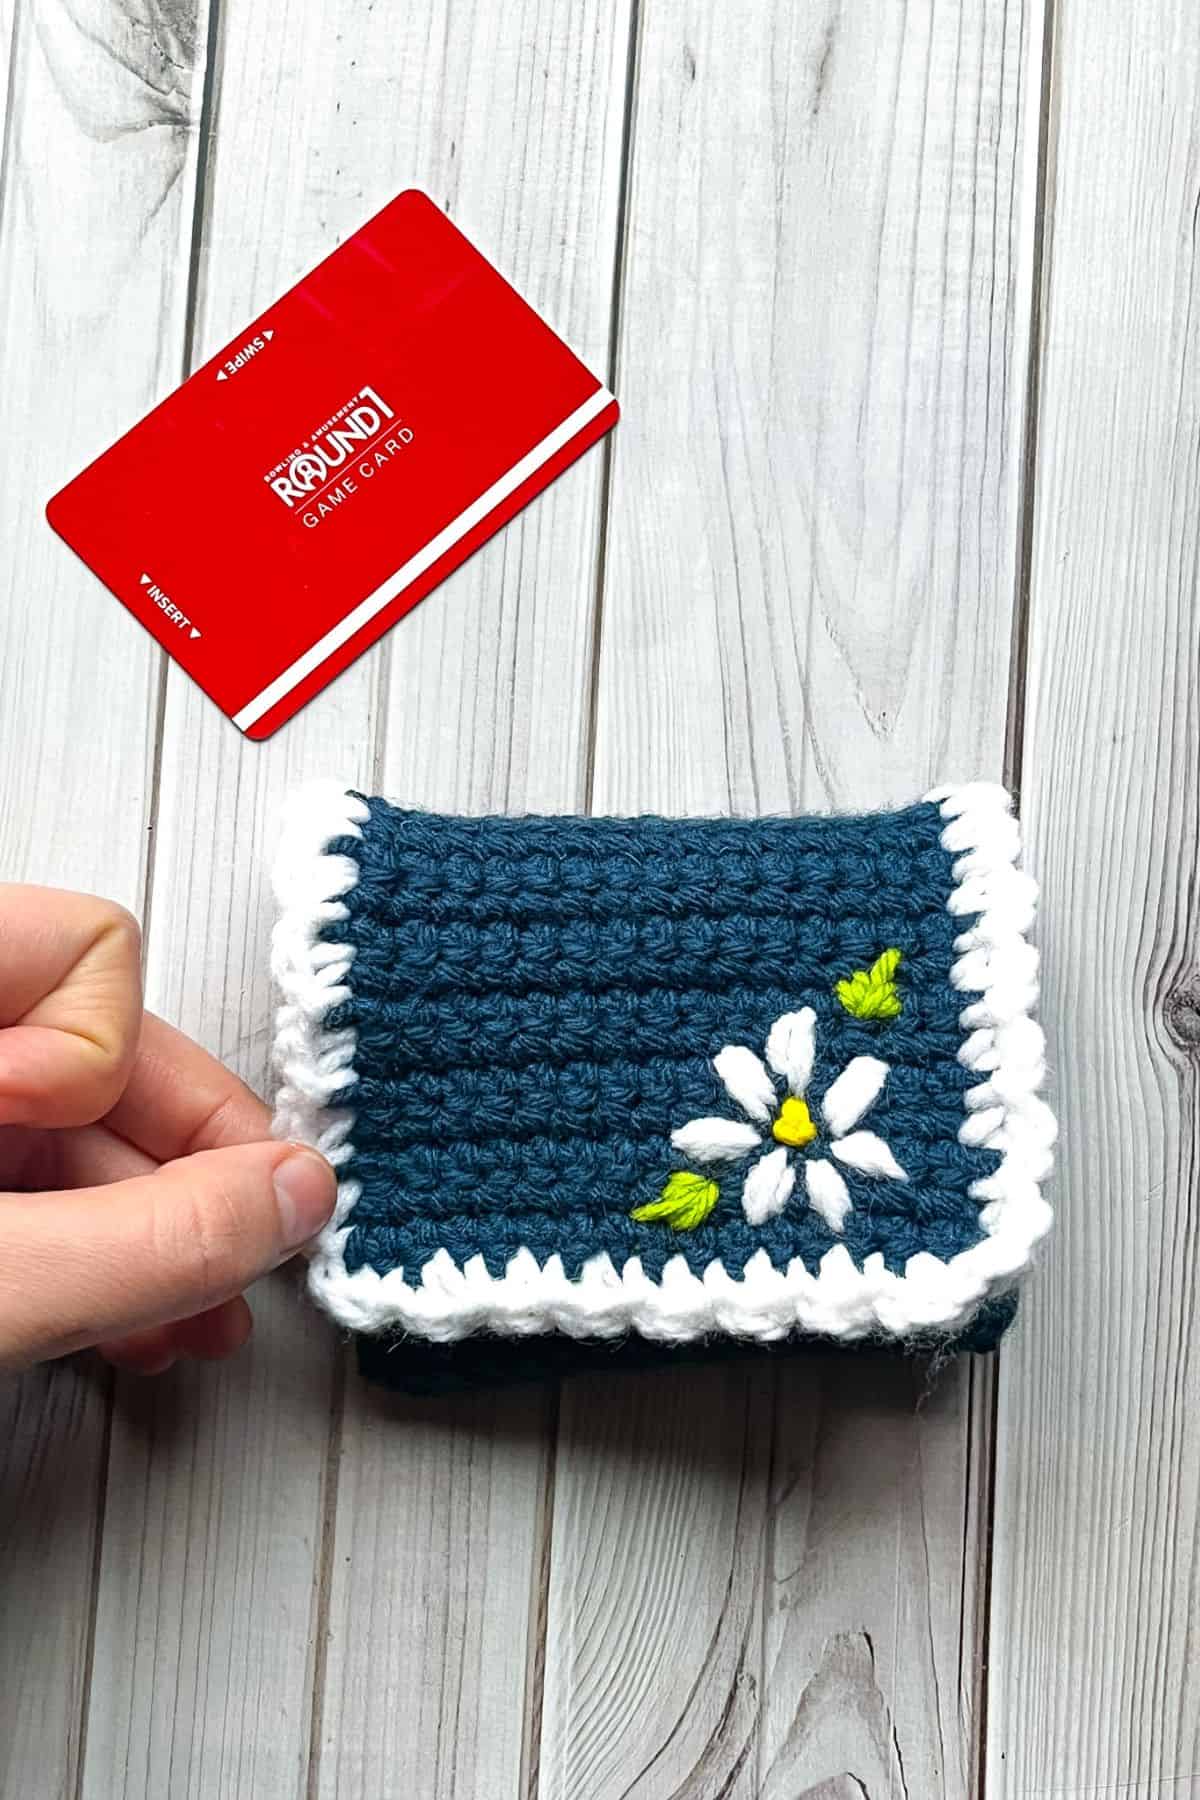
- Finished Size: The finished wallet measures about 3 inches tall and 4 inches wide. Perfect for cards.
🪡 Materials Needed
- Caron One Pound - Cape Cod
- 4mm hook
- Tapestry needle for weaving in the ends
- Velcro or button for closure
- Sewing thread and needle for button/velcro.
💭 Abbreviations to Remember (US Terms)
- Single crochet (sc)
- Half double crochet (hdc)
- Slip stitch (sl st)
- Chains (ch)
🧋 Variations
You can add different appliques to the top of the wallet, use different colors, or add embroidery like I did!
🍵 Instructions for Crochet Wallet Pattern
The crochet wallet pattern is worked in rows.
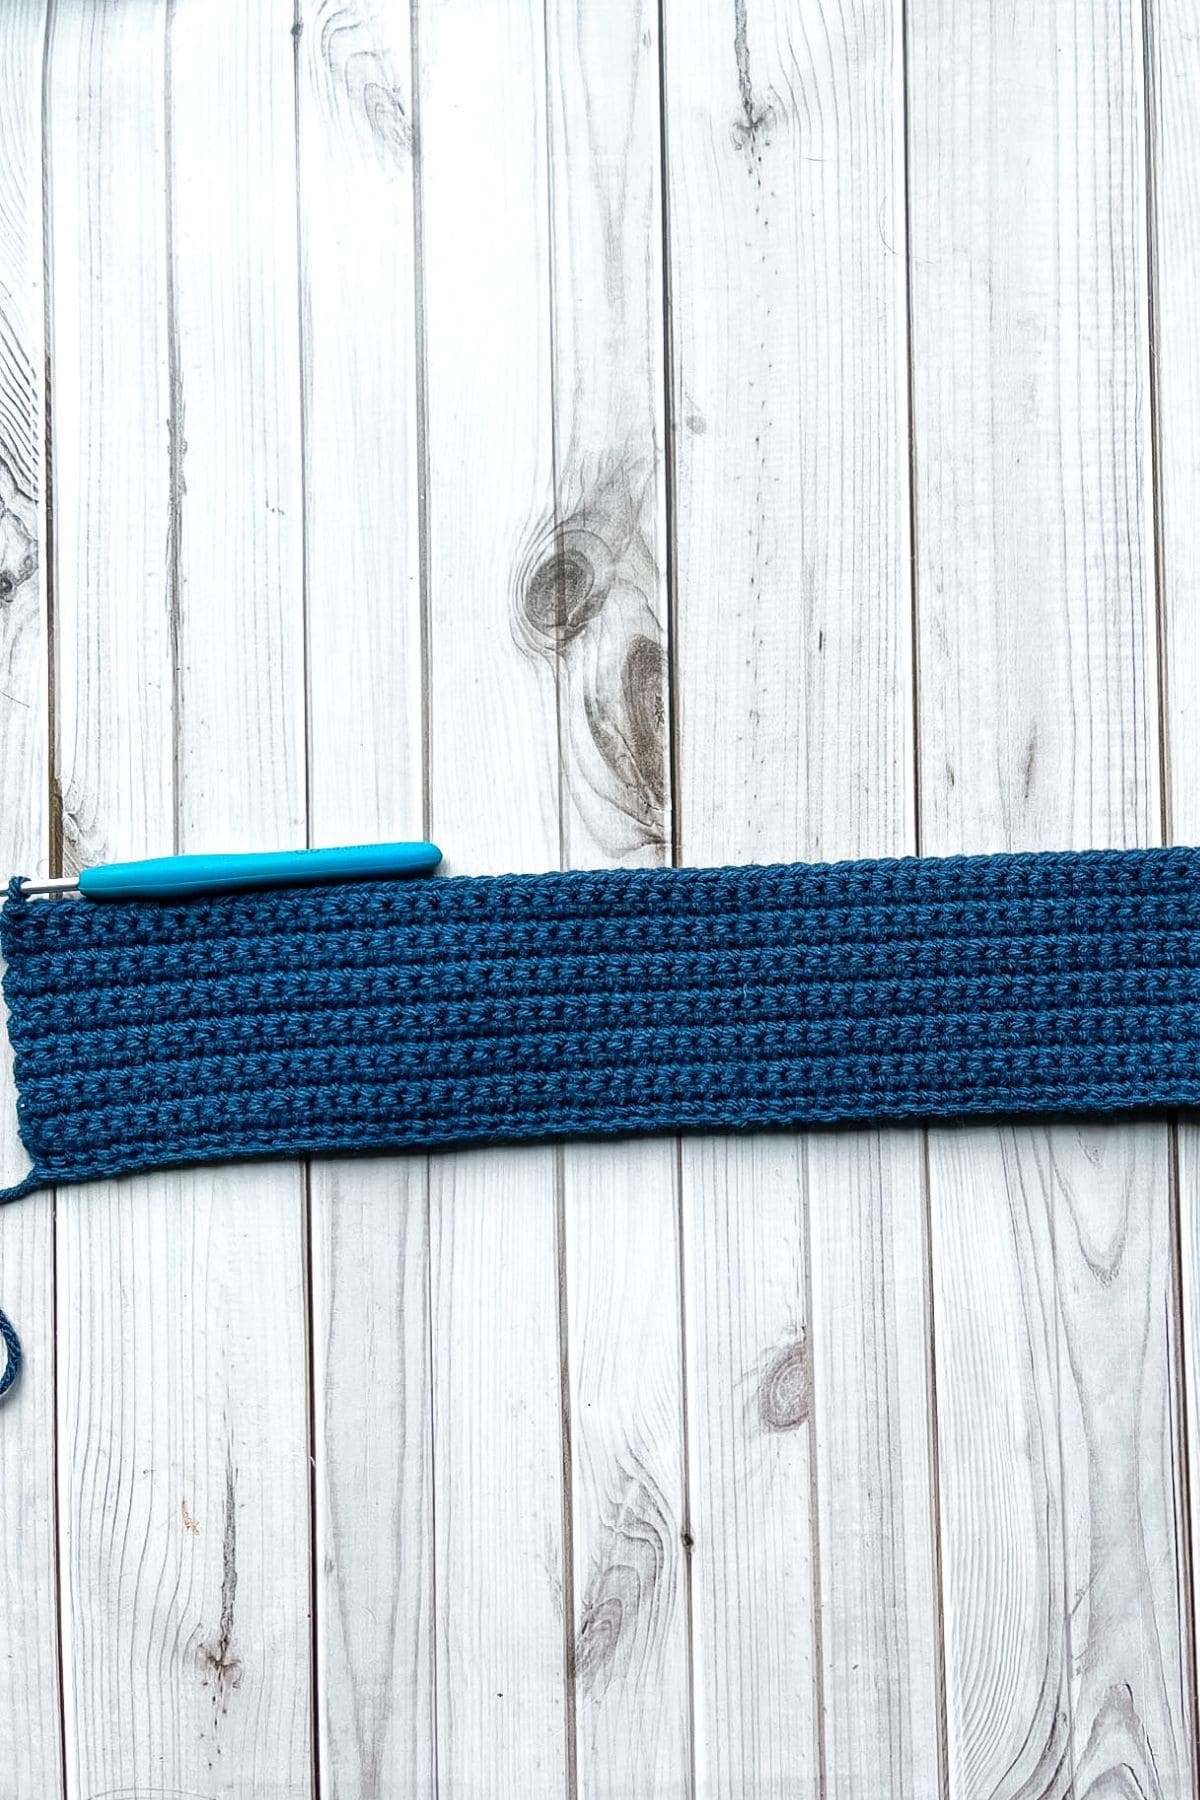
Ch x66 (66). This should be 15.5-16 inches long.
Row 1: Starting in the second ch from hook, sc in every stitch (645. Then ch x1 and turn.
Row 2-13: Sc in every stitch (64). Then ch x1 and turn
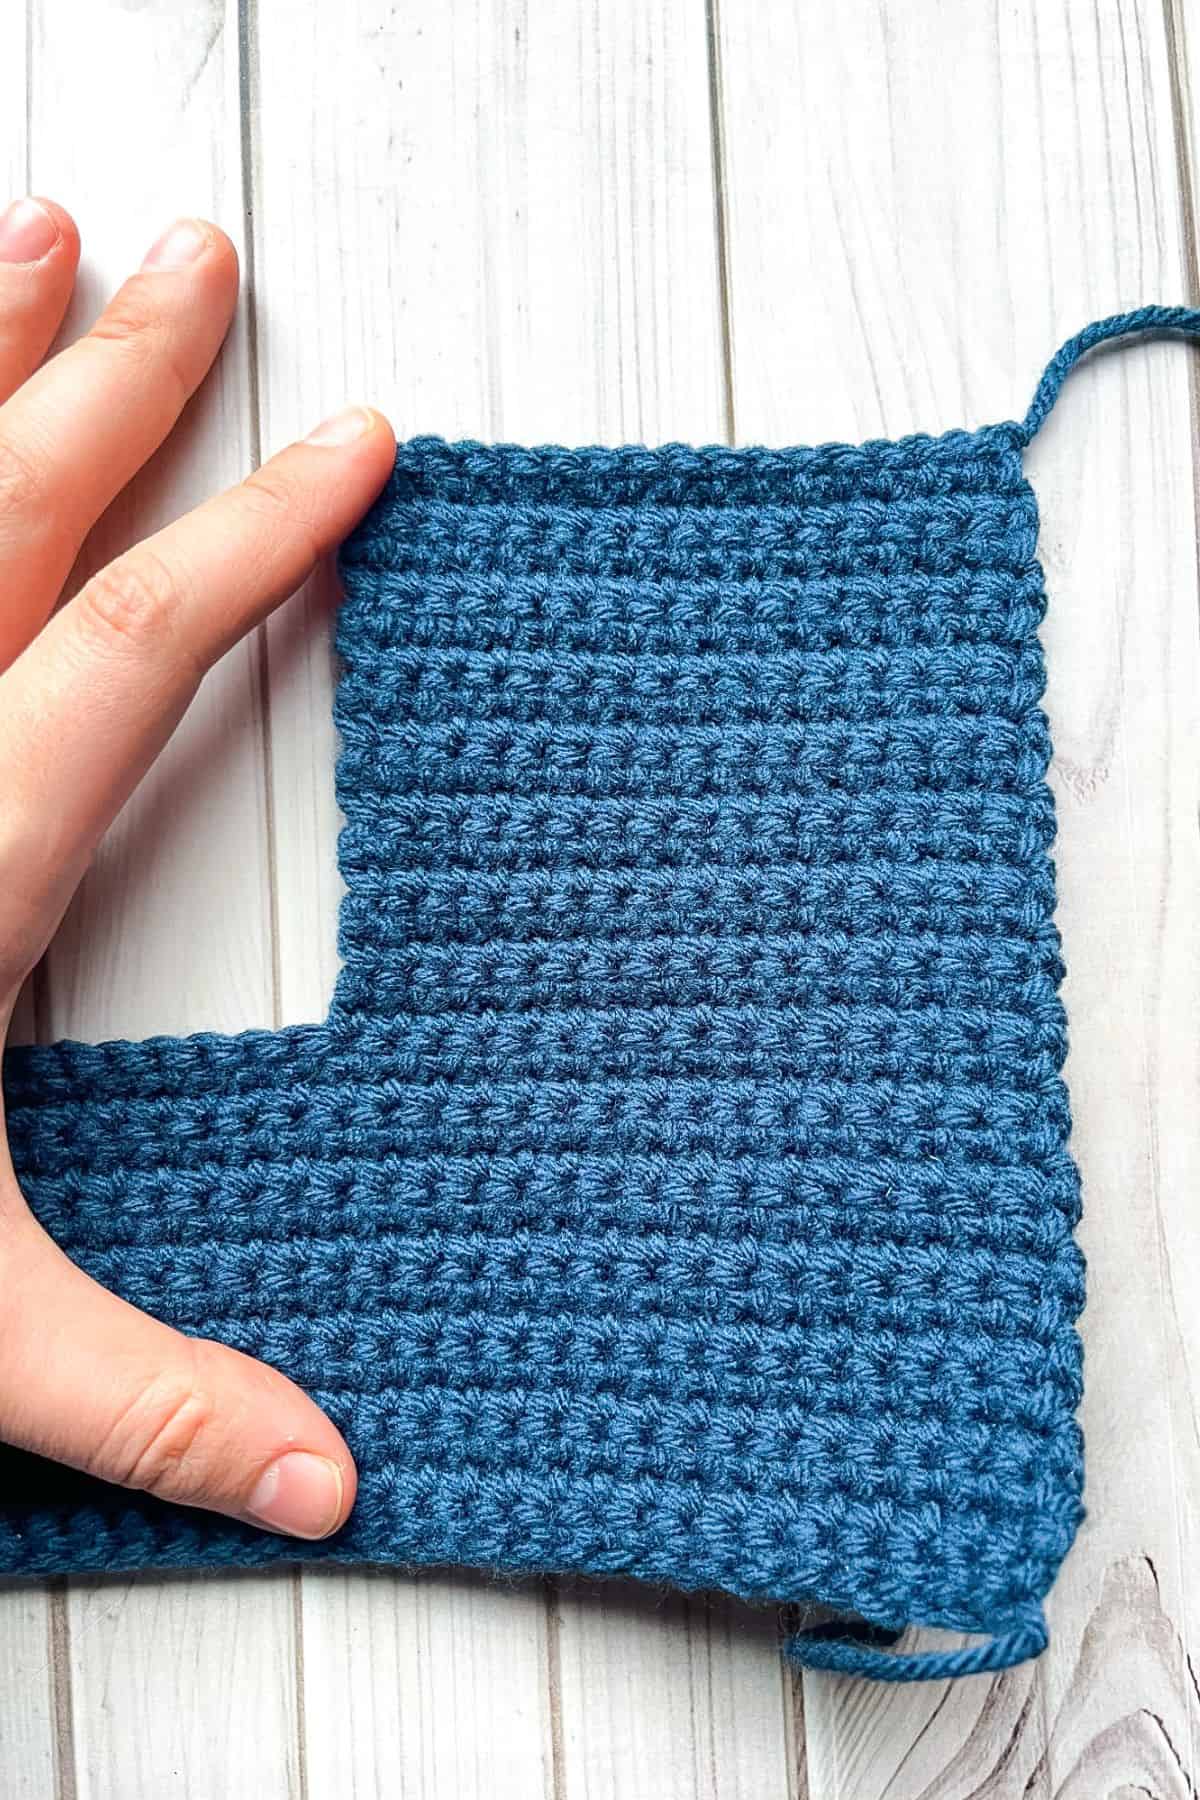
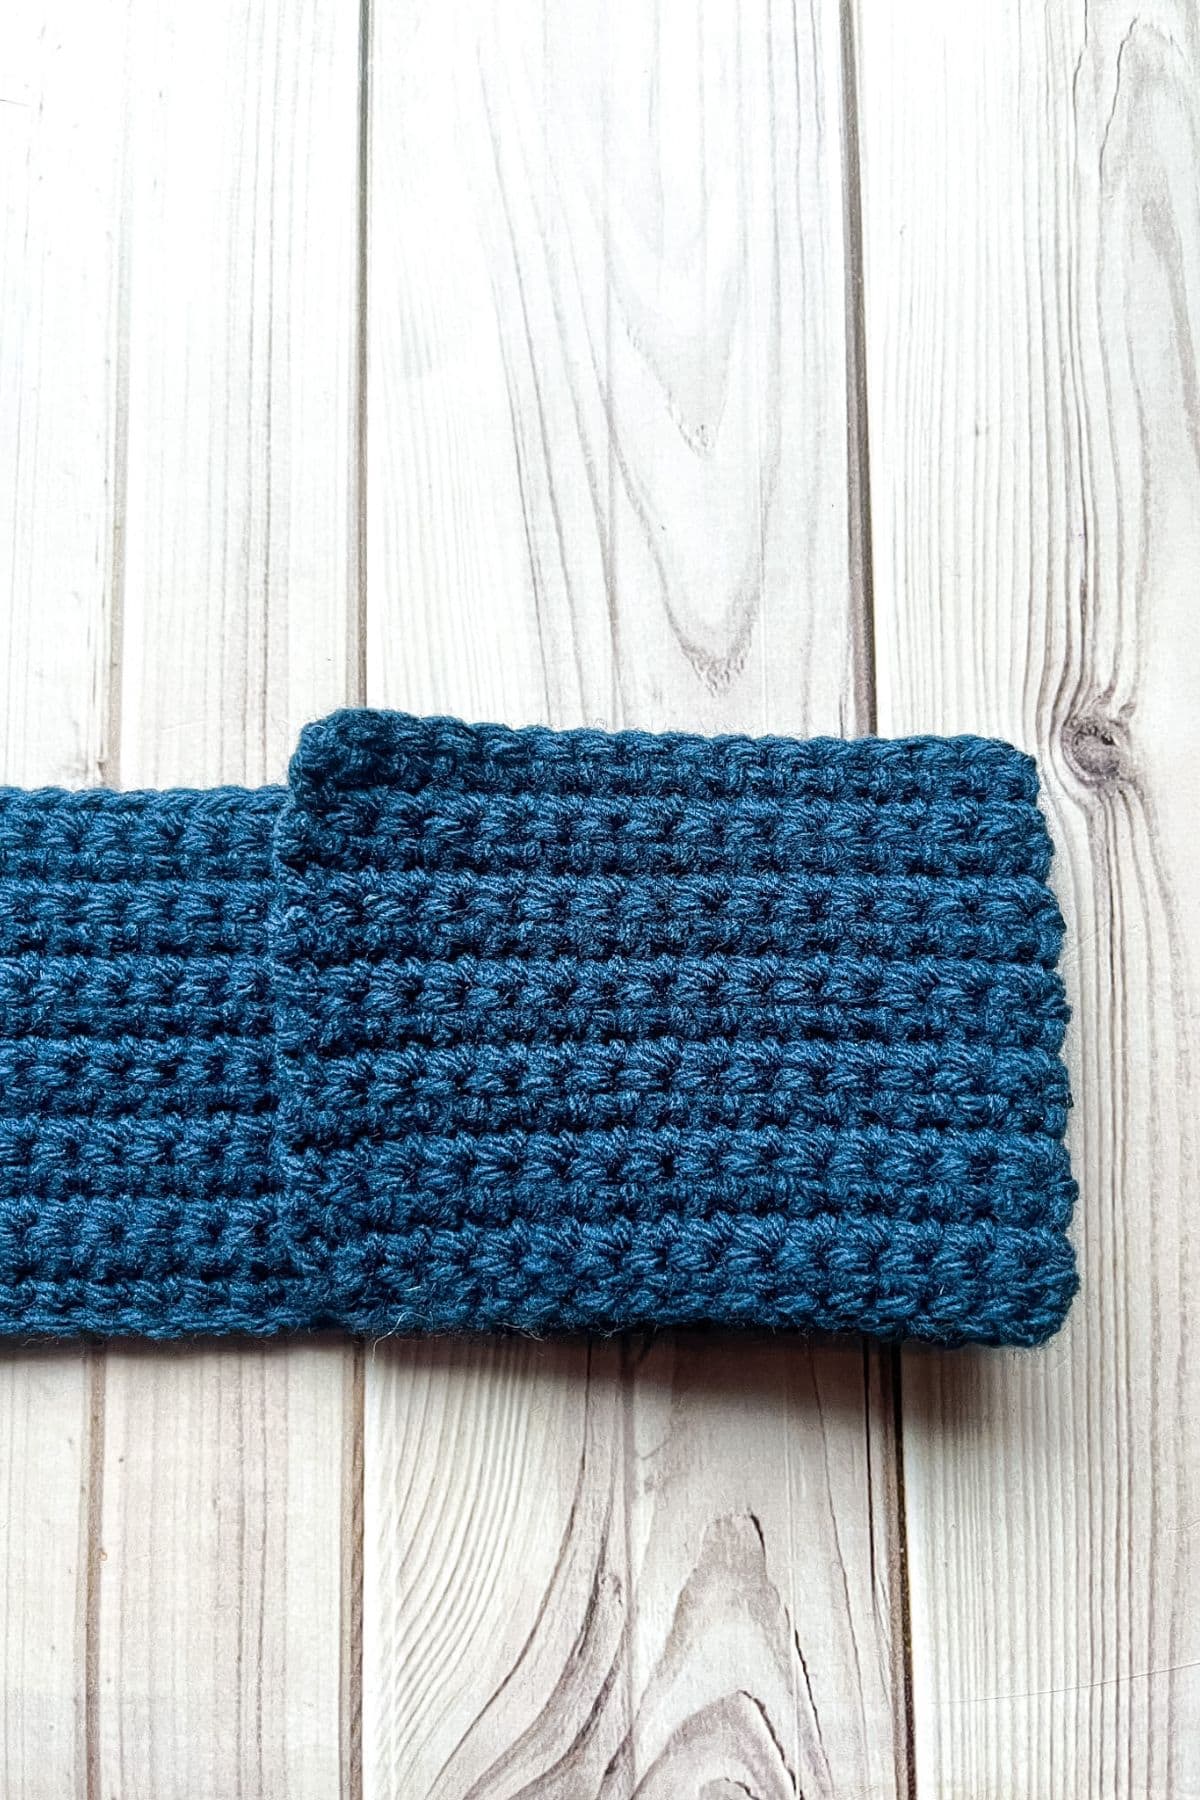
Row 14-28: Sc x16 (16). Then ch x1 and turn. After all the rows are done, fasten off and weave in the tail. This section is the wallet lid.
Now that the base of the wallet is done, it is time to add trim and then fold it and sew it into a wallet!
Lay the piece flat so that the long portion of the wallet is at the bottom, and the shorter rows are in the upper right.
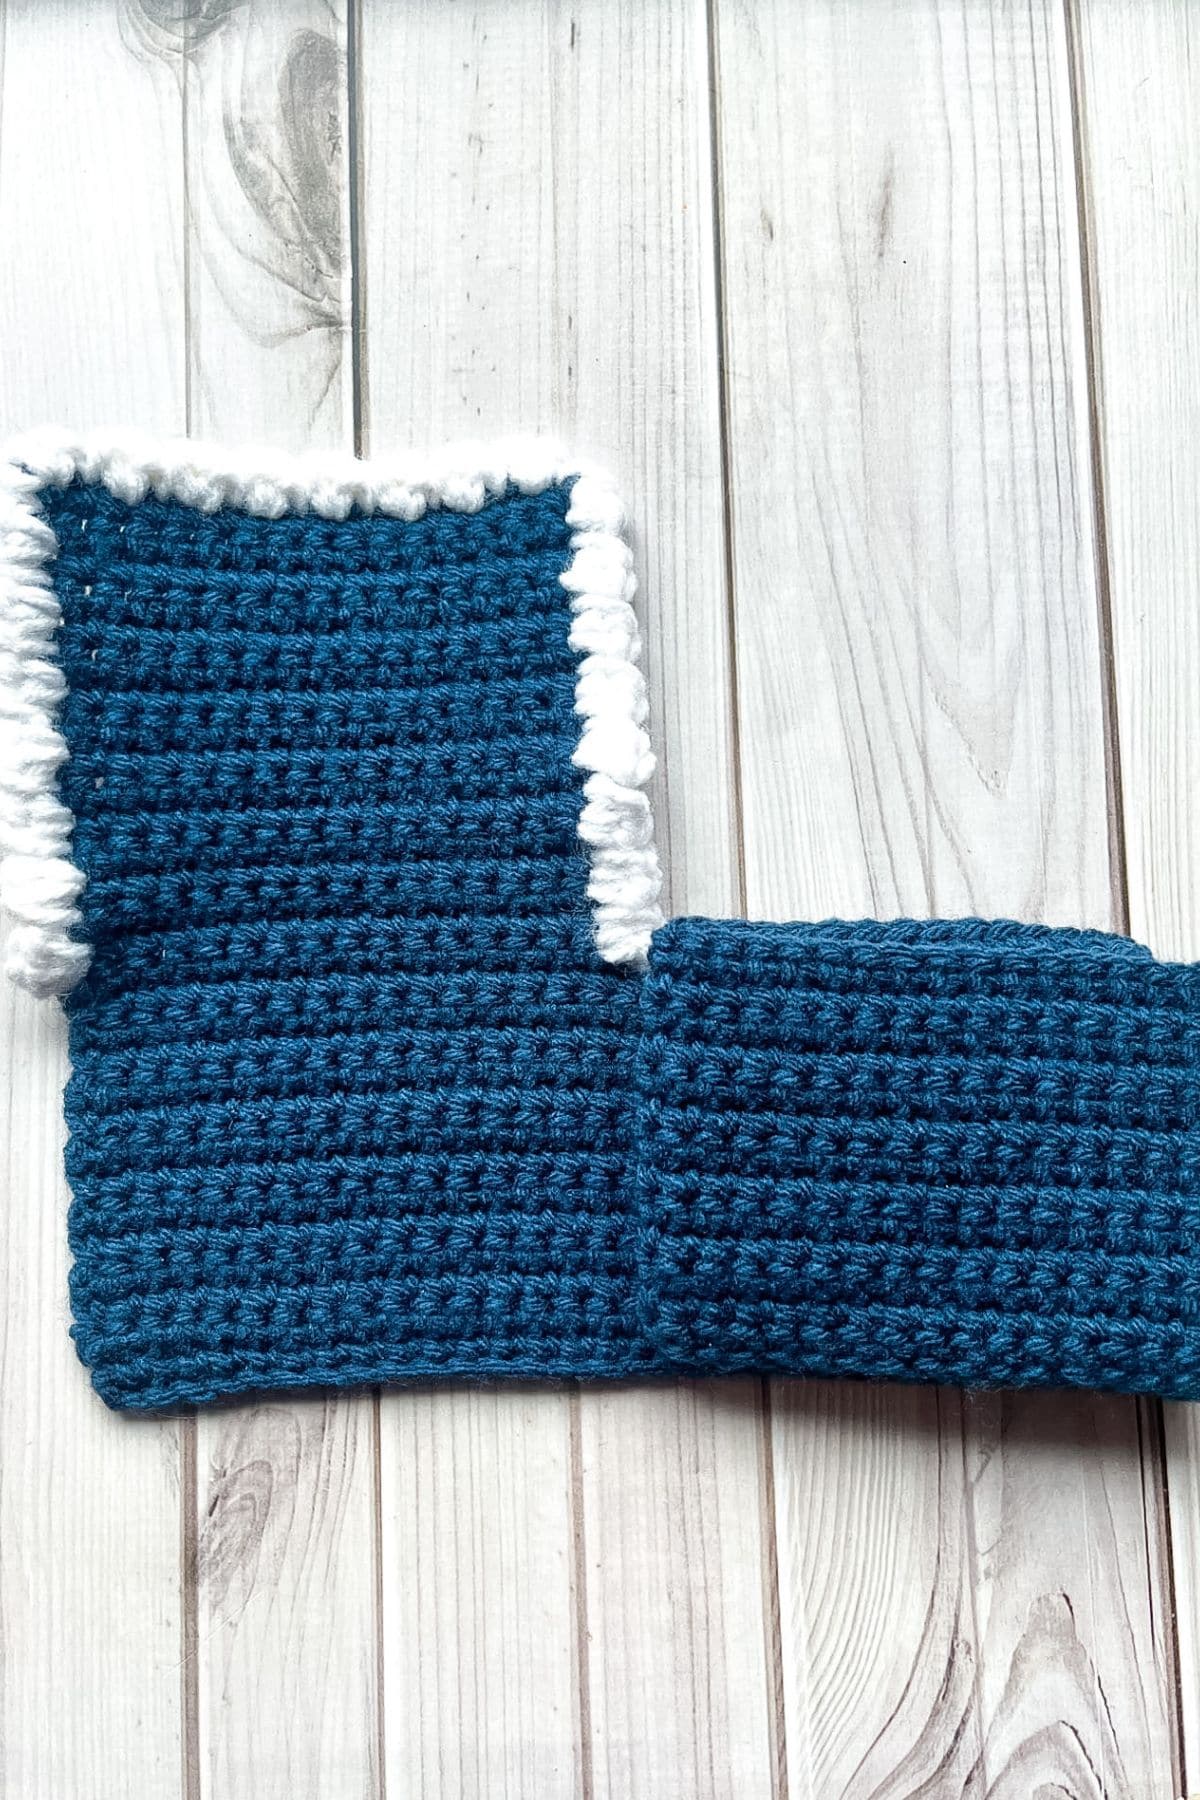
Crochet Wallet Trim:
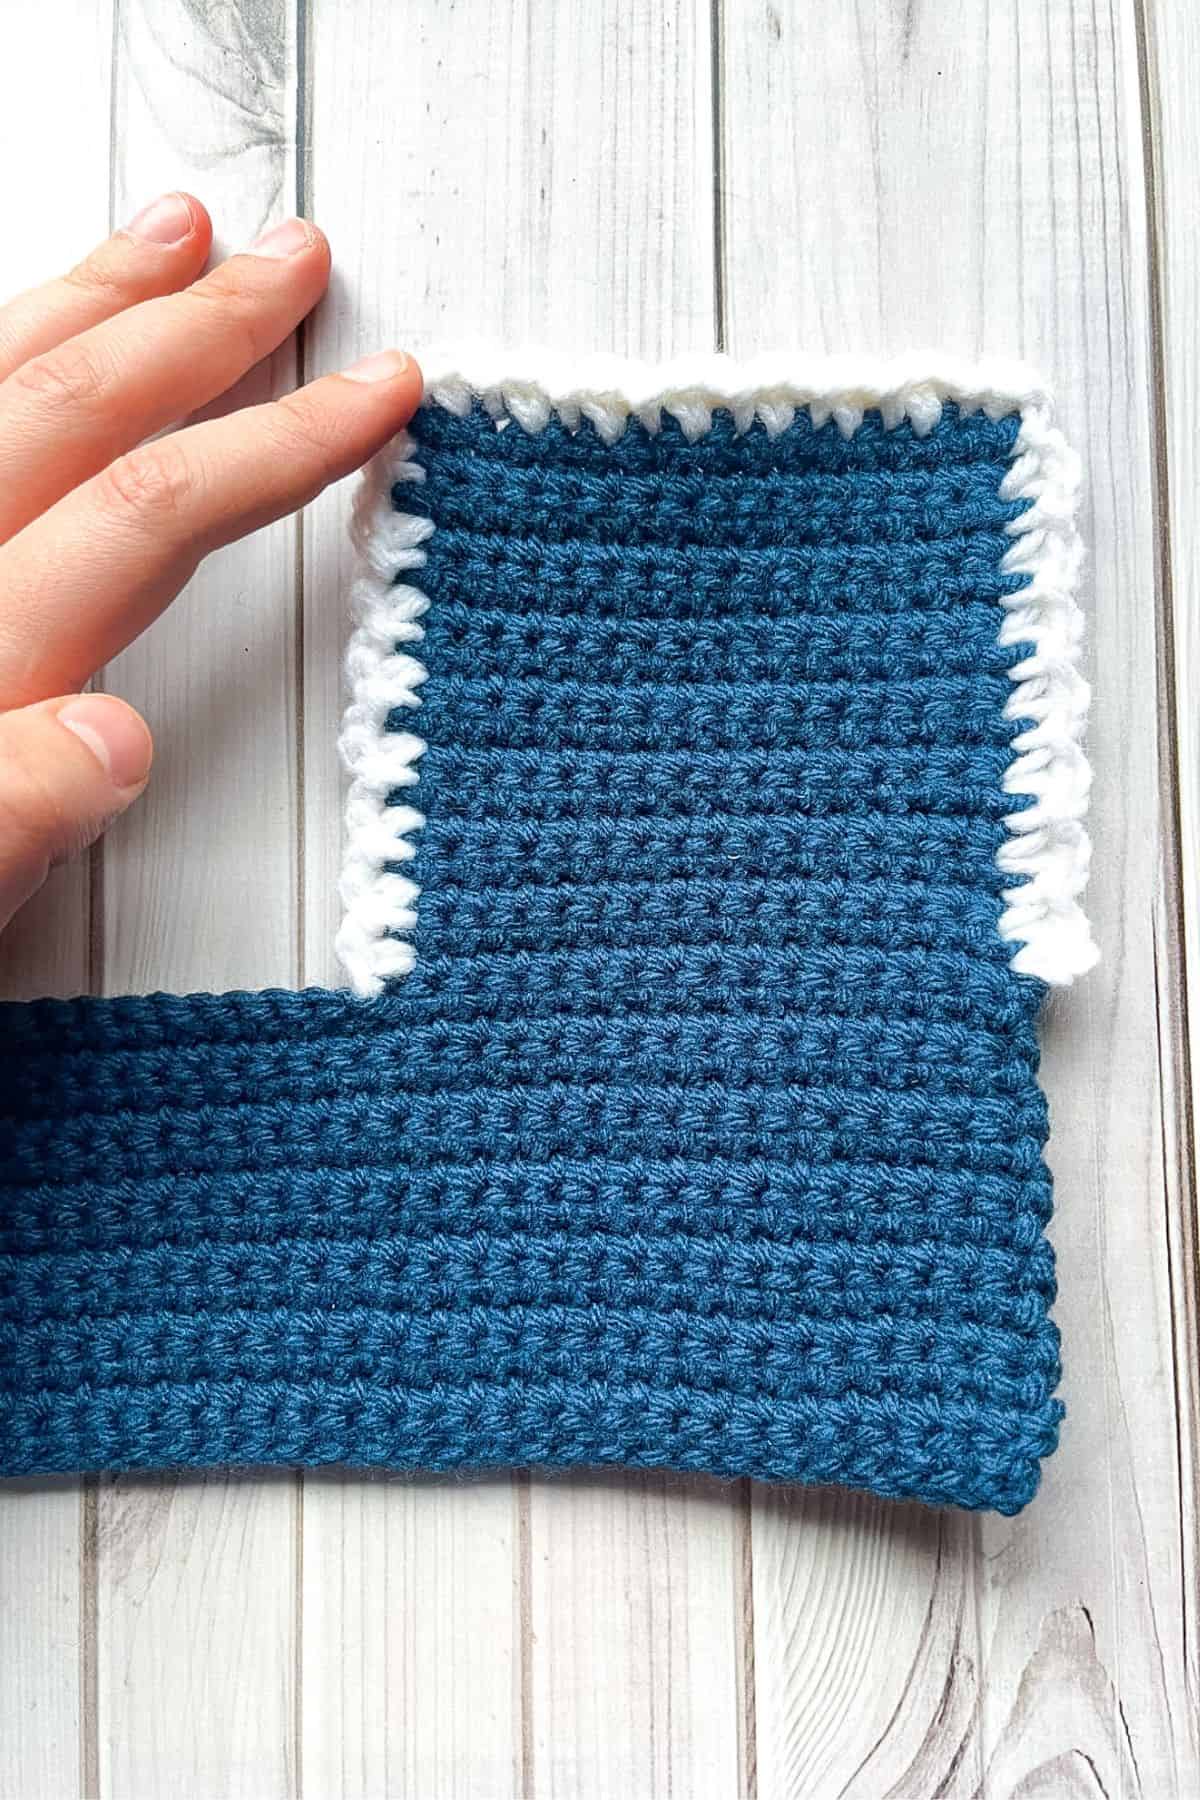
Join white yarn to the outer side of row 14.
In the next stitch *hdc x2, then sl st into the next stitch. Repeat from * for the rest of the rest of the section until you reach row 28, then go across row 28, and back down to row 14. Fasten off the white yarn.
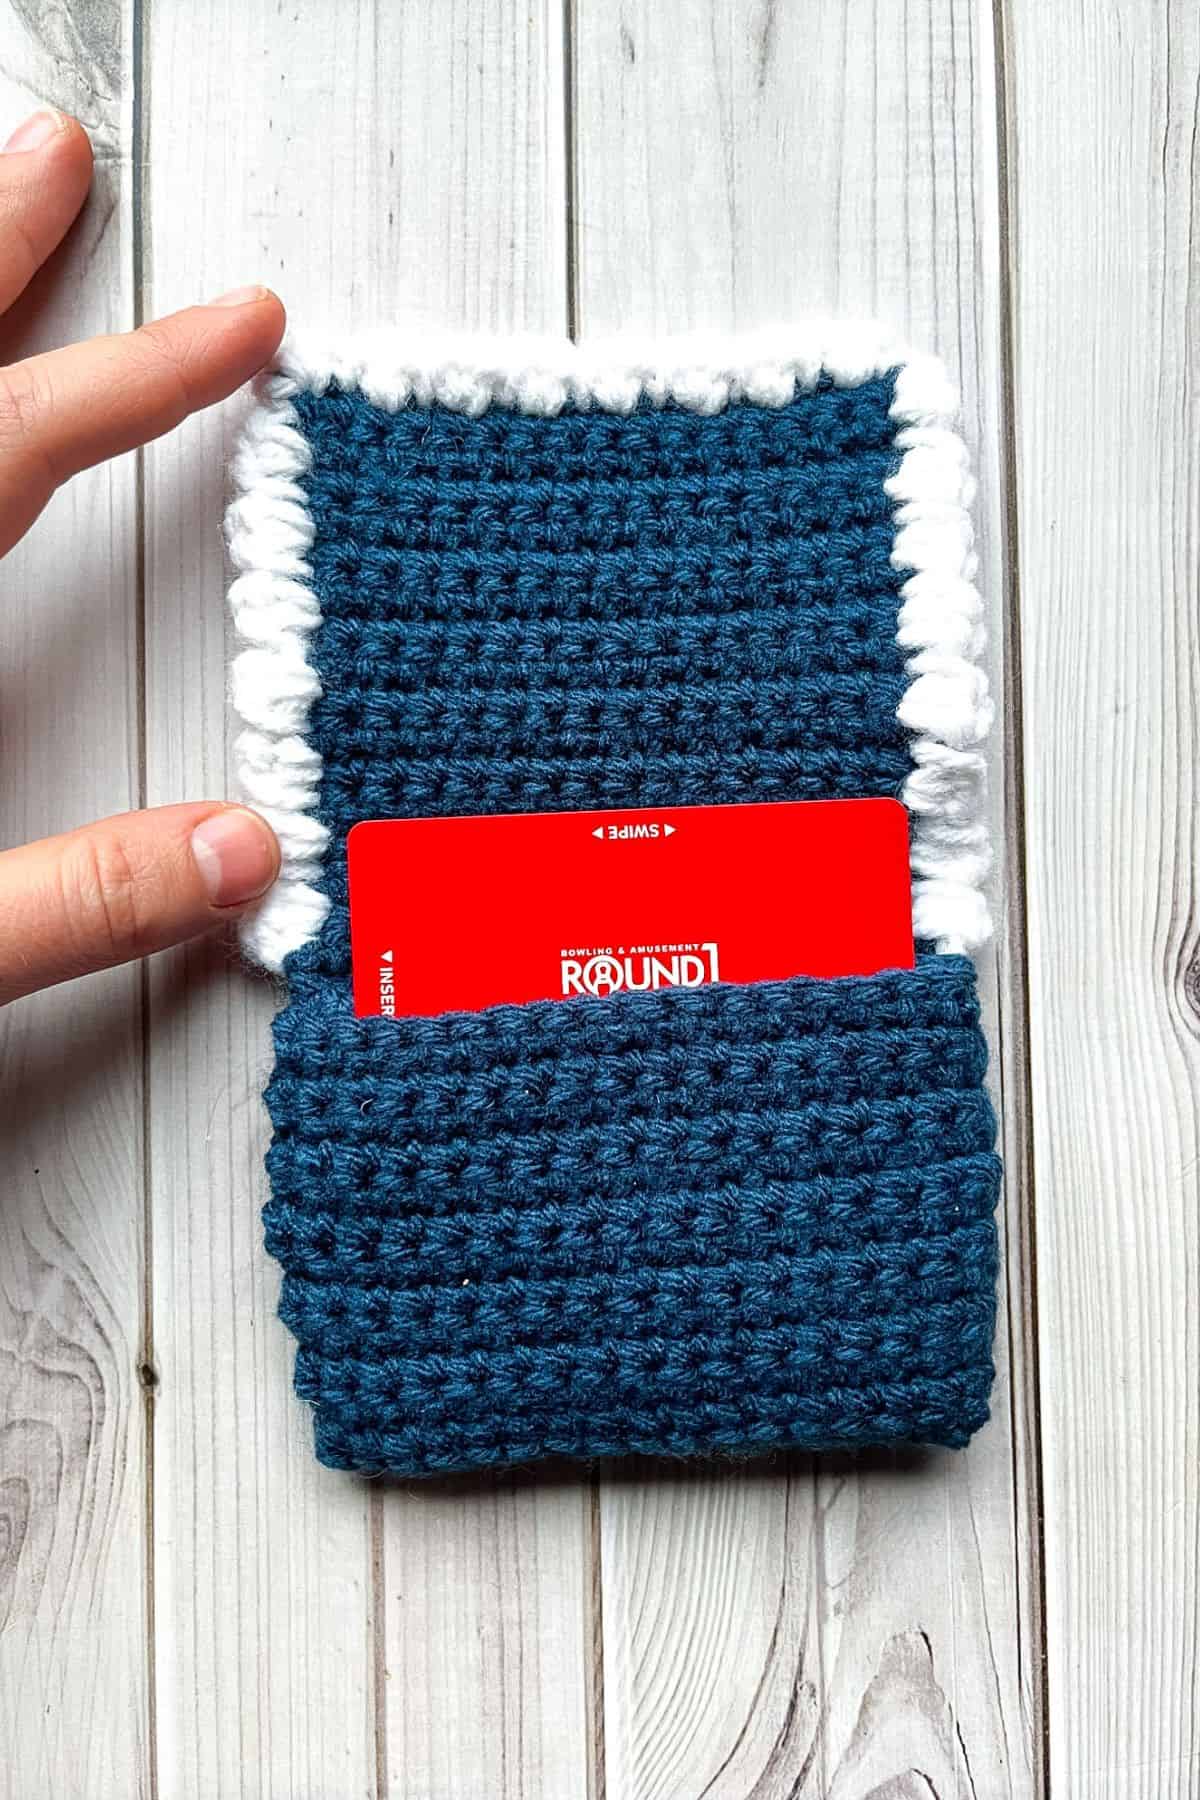
From left to right, fold the bottom portion of the wallet 3 times so that there are 4 walls to the wallet and then ultimately you end up with 3 pockets.
First fold.
Second Fold.
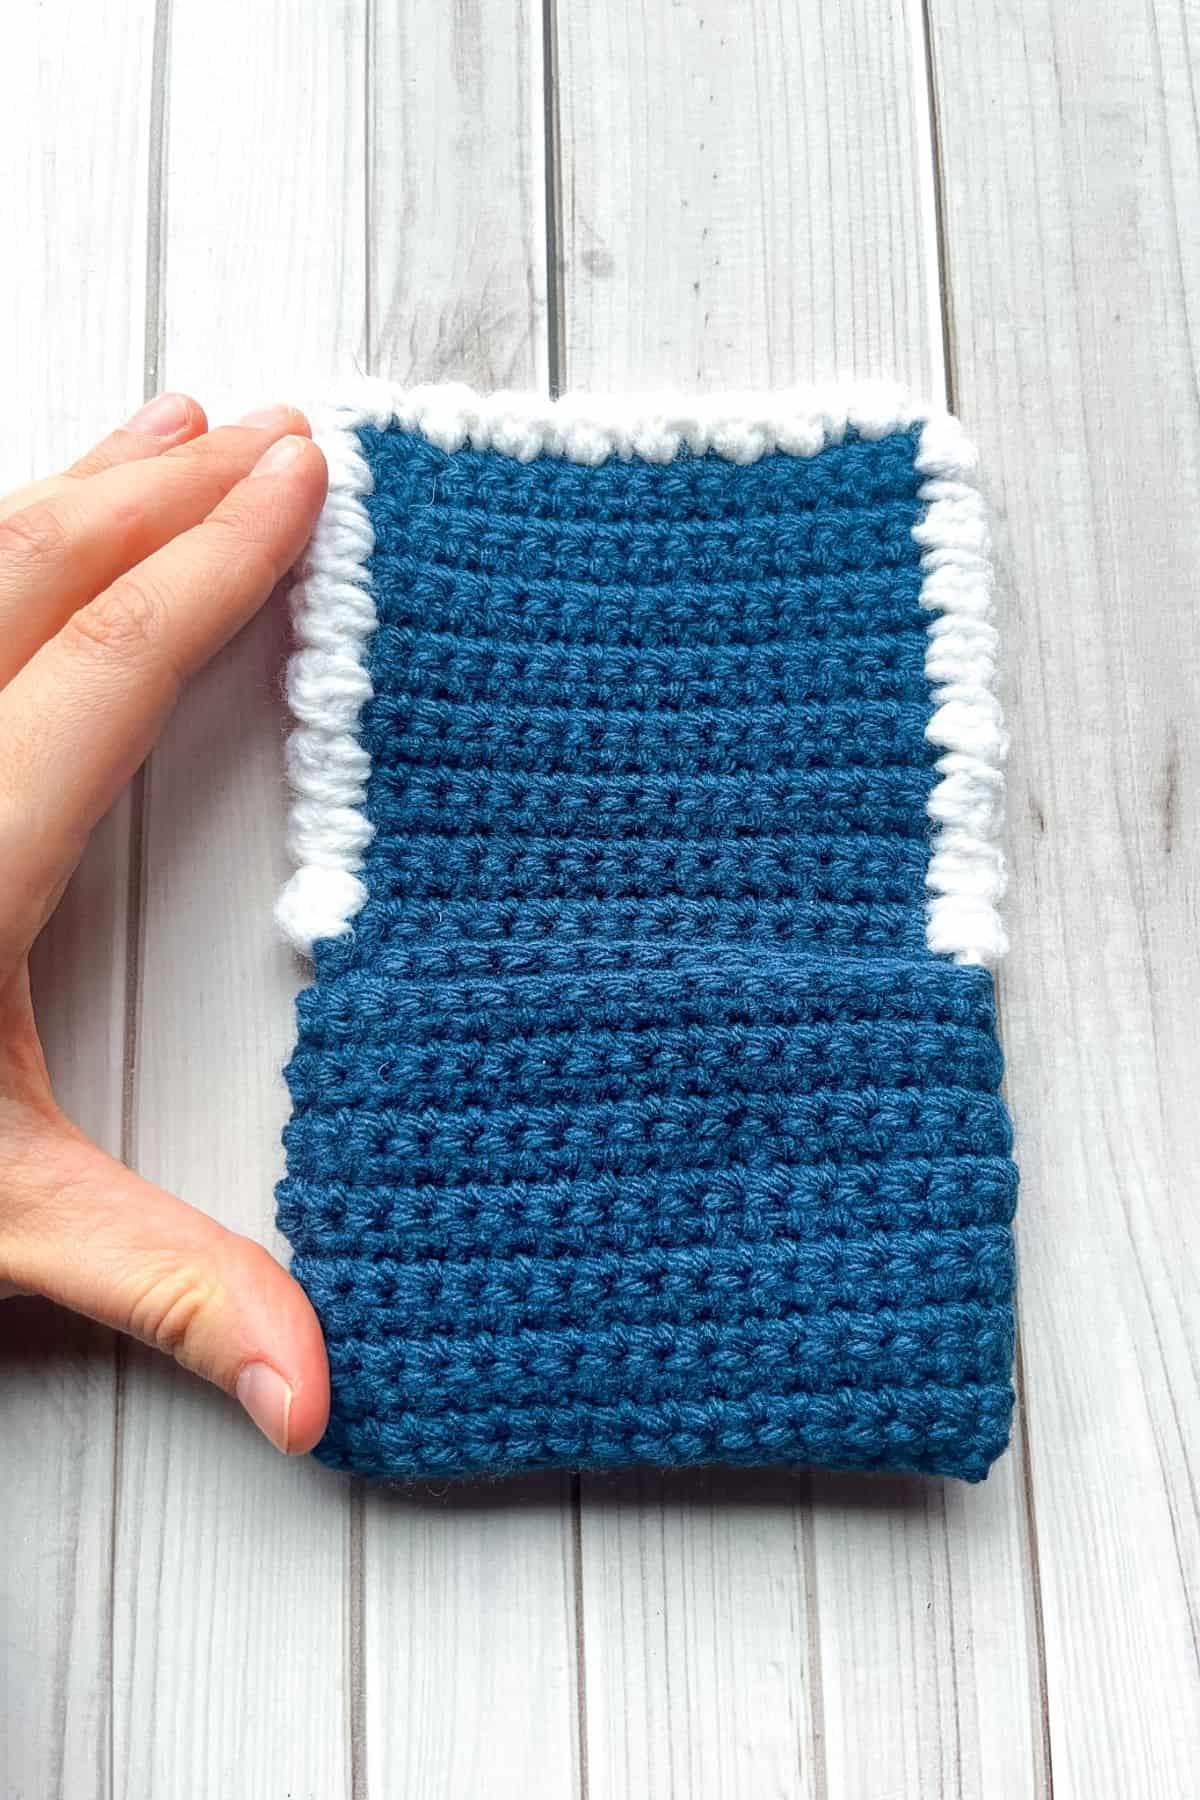
Third fold.
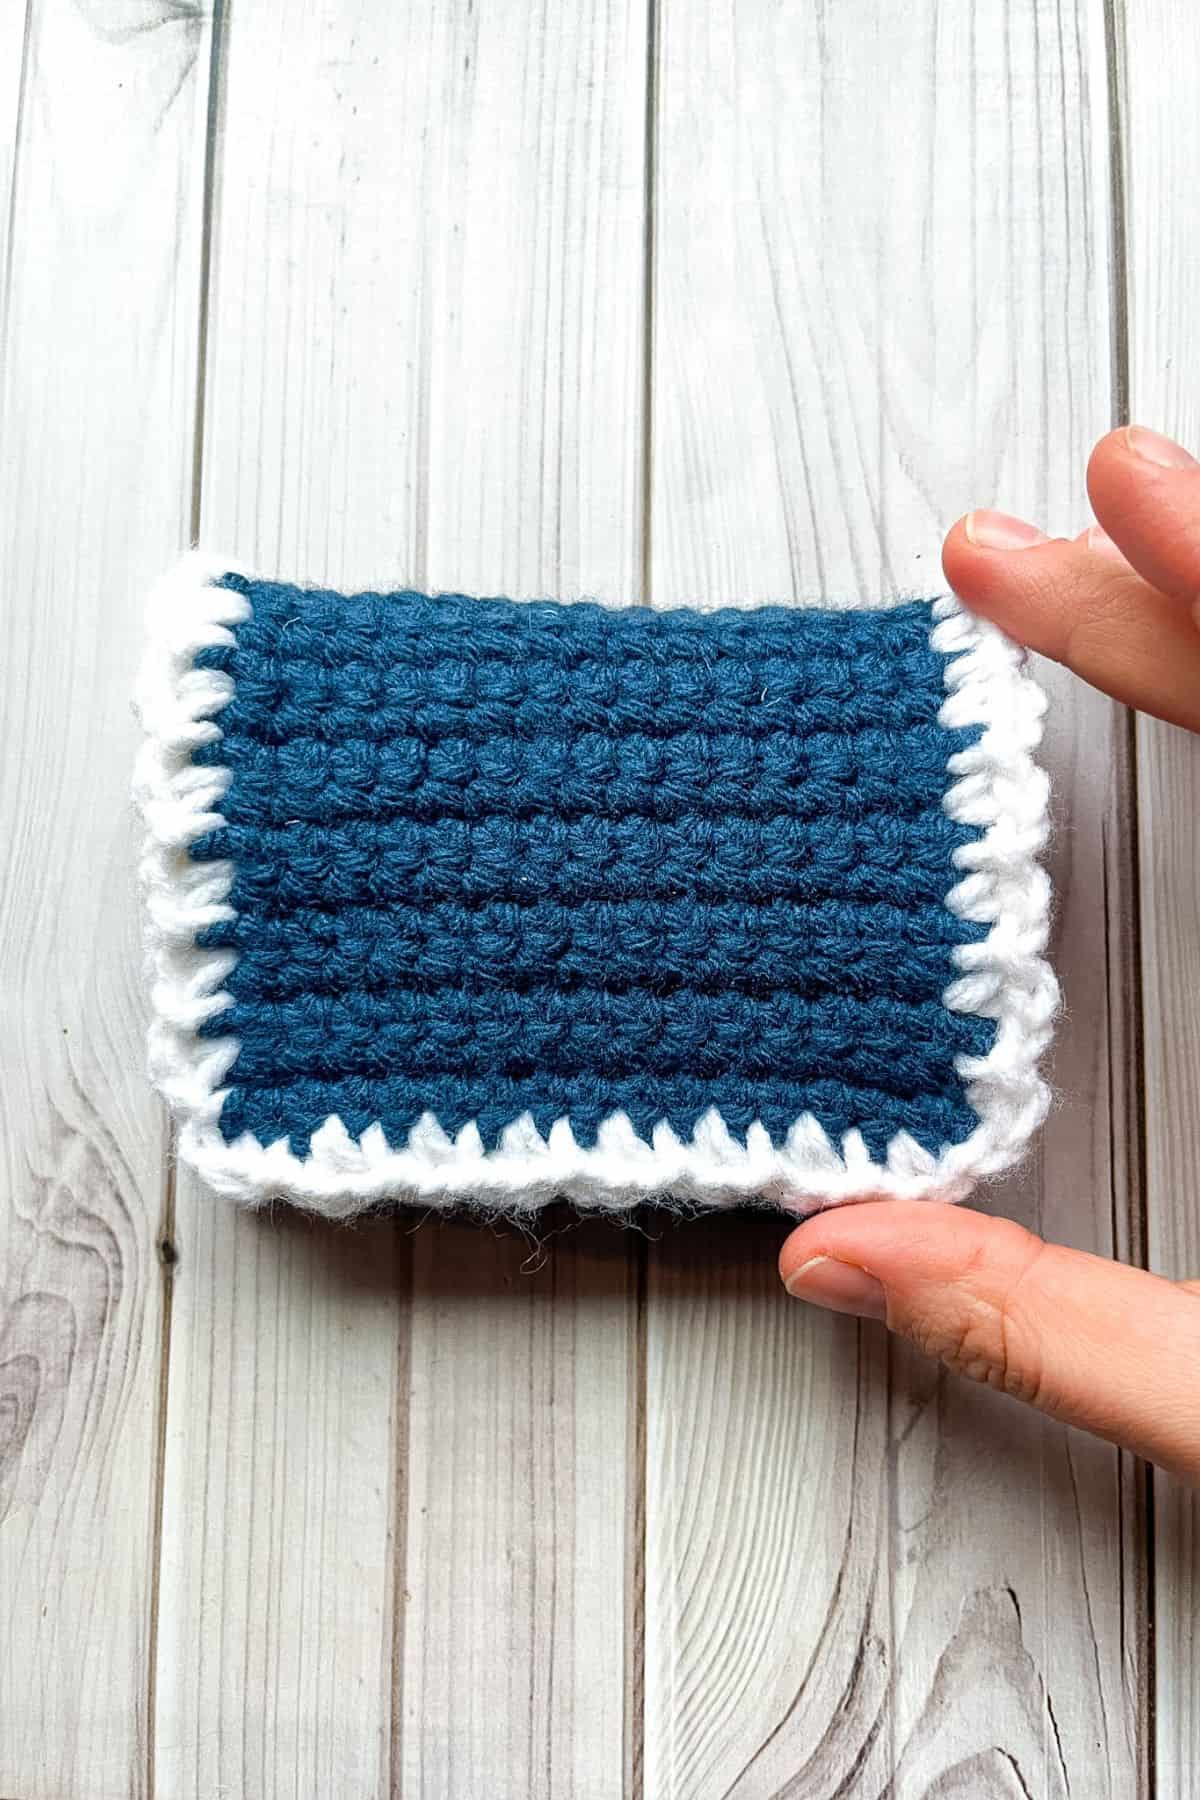
With yarn and tapestry needle, sew alongside the edges being careful not to sew too far into the wallet that it makes it harder to insert cards.
Embroidery:
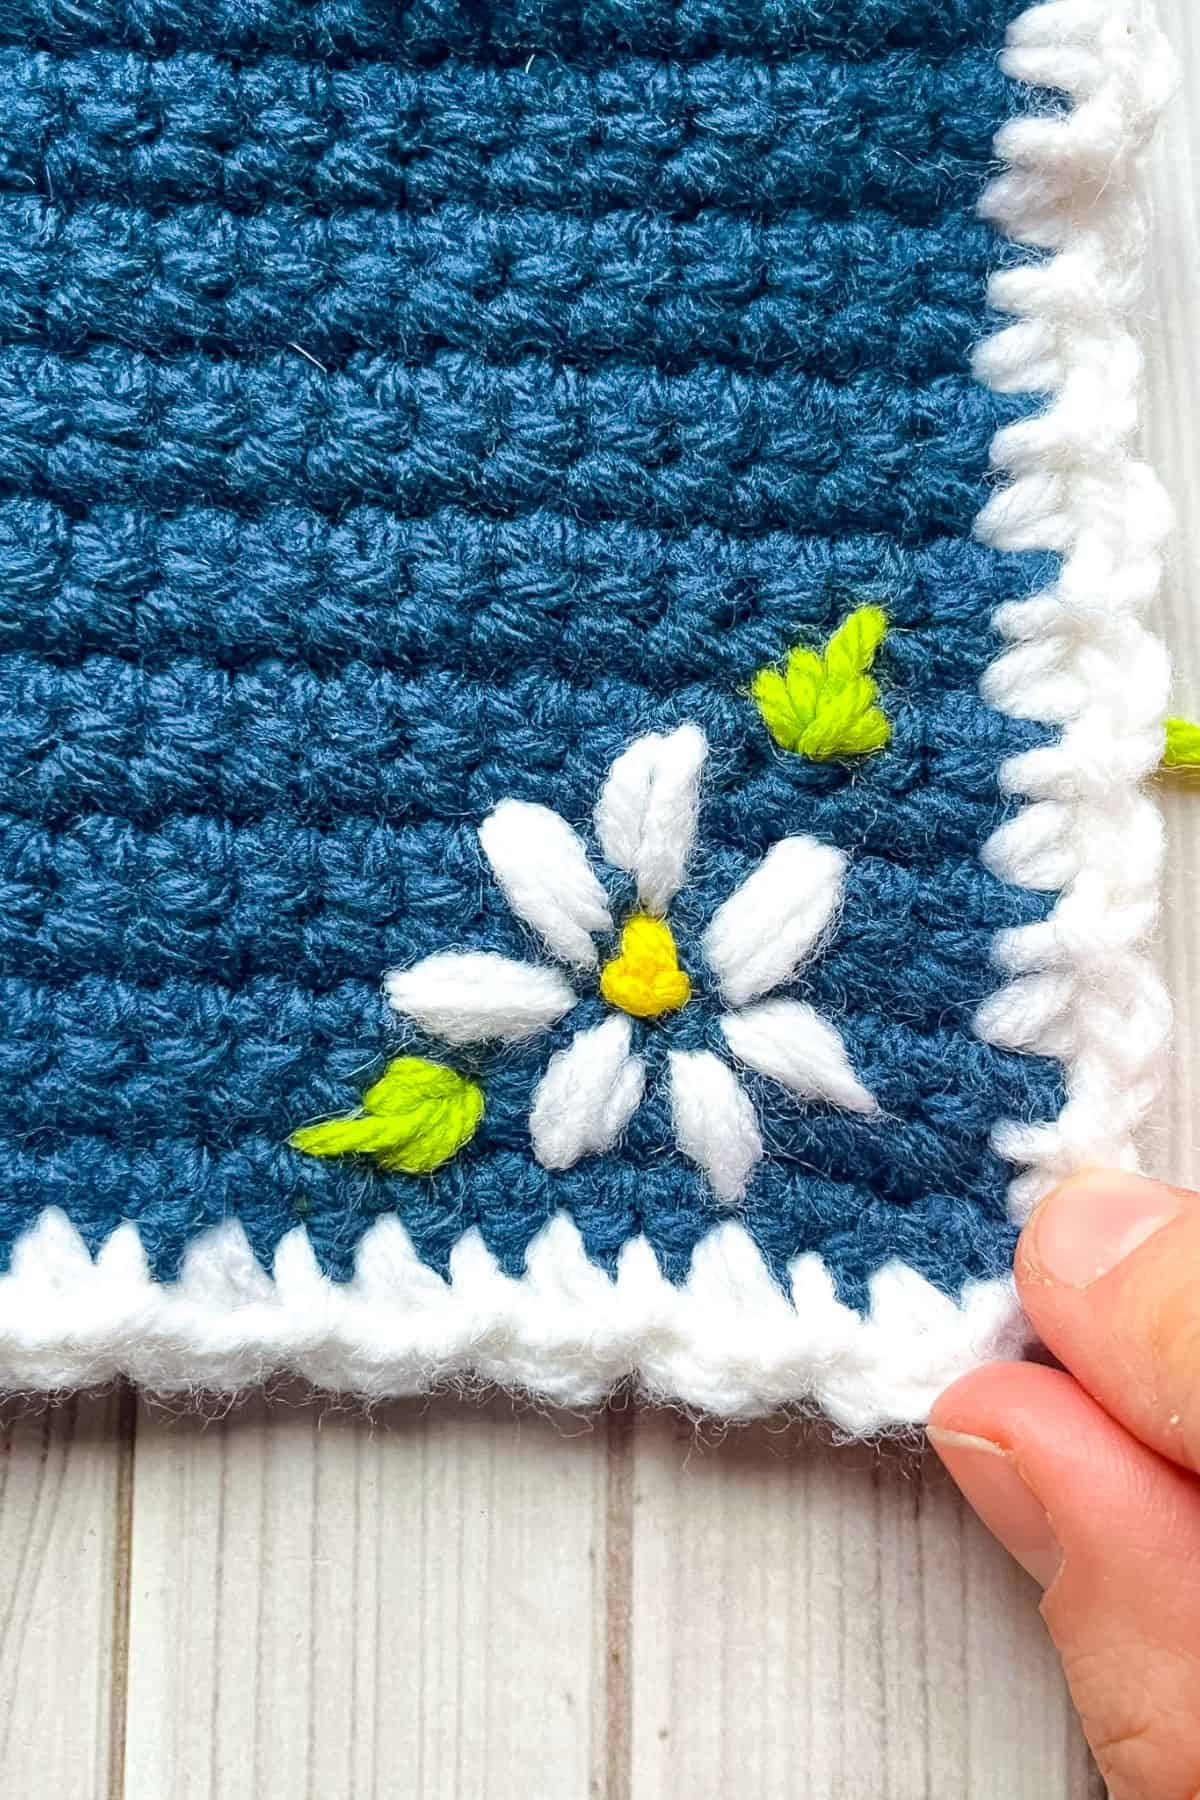
I chose to do a little embroidery of a daisy in the bottom left corner. This is optional, and uses minimal amounts of white, yellow and green yarn.
To close the wallet. You can either sew a button on or velcro for secure closing and opening.
As you can see the crochet wallet design is fairly simple and can be completed pretty fast.
If you are looking for other fast crochet patterns, check out my crochet ladybug pattern and crochet football pattern.
🐌Expert Tips
- Choose Your Yarn Wisely: For a sturdier wallet, consider using a cotton yarn, as it offers more durability than acrylic.
- Customize the Size: If you want a larger wallet, simply increase the starting chains. Adjust the number of chains based on how many pockets you desire (e.g., 48 chains for two pockets, 32 chains for one).
- Explore Stitch Options: Feel free to experiment with other stitches. Adding a few double crochets (dc) can give your wallet a unique texture.
- Finishing Touches: Consider using decorative stitches around the edges to enhance the wallet's appearance and add a personalized touch.
🧵 Pattern FAQs
Yes, you can adjust the number of chains to create a wallet with fewer pockets. For a two-pocket wallet, chain 48; for one pocket, chain 32.
Absolutely! This is a base pattern that can be customized to your preferences.
Yes, you can enlarge the wallet by increasing the number of starting chains. The end shape should remain the same, just enlarged.
🧶More Crochet Beginner Friendly Patterns


If you tried this Crochet Wallet Pattern (or any other pattern on my website), please let me know how it went in the 📝 comments below. I'd love to hear from you!
Crochet Wallet Pattern
Materials
- Caron One Pound - white
- Caron One Pound - cape cod
- 4mm hook
- Tapestry needle
- Velcro or button for closure
- Sewing thread and needle for button/velcro.
Abbreviations (US terms)
- Single crochet - sc
- Half double crochet - hdc
- Slip stitch - sl st
- Chains - ch
Notes
- Yarn Type: I used acrylic yarn for the crochet wallet pattern. You can also use cotton yarn.
- Stitch Simplicity: The base of the crochet wallet pattern only calls for single crochet (sc), with no fancy stitches involved.
- Finished Size: The finished wallet measures about 3 inches tall and 4 inches wide.
Instructions
- The crochet wallet pattern is worked in rows.
- Ch x66 (66). This should be 15.5-16 inches long.
- Row 1: Starting in the second ch from hook, sc in every stitch (645. Then ch x1 and turn.
- Row 2-13: Sc in every stitch (64). Then ch x1 and turn
- Row 14-28: Sc x16 (16). Then ch x1 and turn. After all the rows are done, fasten off and weave in the tail. This section is the wallet lid.
- Now that the base of the wallet is done, it is time to add trim and then fold it and sew it into a wallet!
- Lay the piece flat so that the long portion of the wallet is at the bottom, and the shorter rows are in the upper right.
Crochet Wallet Trim:
- Join white yarn to the outer side of row 14.
- In the next stitch *hdc x2, then sl st into the next stitch. Repeat from * for the rest of the rest of the section until you reach row 28, then go across row 28, and back down to row 14. Fasten off the white yarn.
- From left to right, fold the bottom portion of the wallet 3 times so that there are 4 walls to the wallet and then ultimately you end up with 3 pockets.
- With yarn and tapestry needle, sew alongside the edges being careful not to sew too far into the wallet that it makes it harder to insert cards.
Embroidery:
- I chose to do a little embroidery of a daisy in the bottom left corner. This is optional, and uses minimal amounts of white, yellow and green yarn.
- To close the wallet. You can either sew a button on or velcro for secure closing and opening.
- As you can see the crochet wallet design is fairly simple and can be completed pretty fast.


Donna says
Awesome simple wallet! Love it
domique walker says
Hello I really enjoyed your pattern it was fast and easy!!! I've been crocheting for over 14 years myself!!
Kimberly Arenas says
I am glad you liked the pattern!