
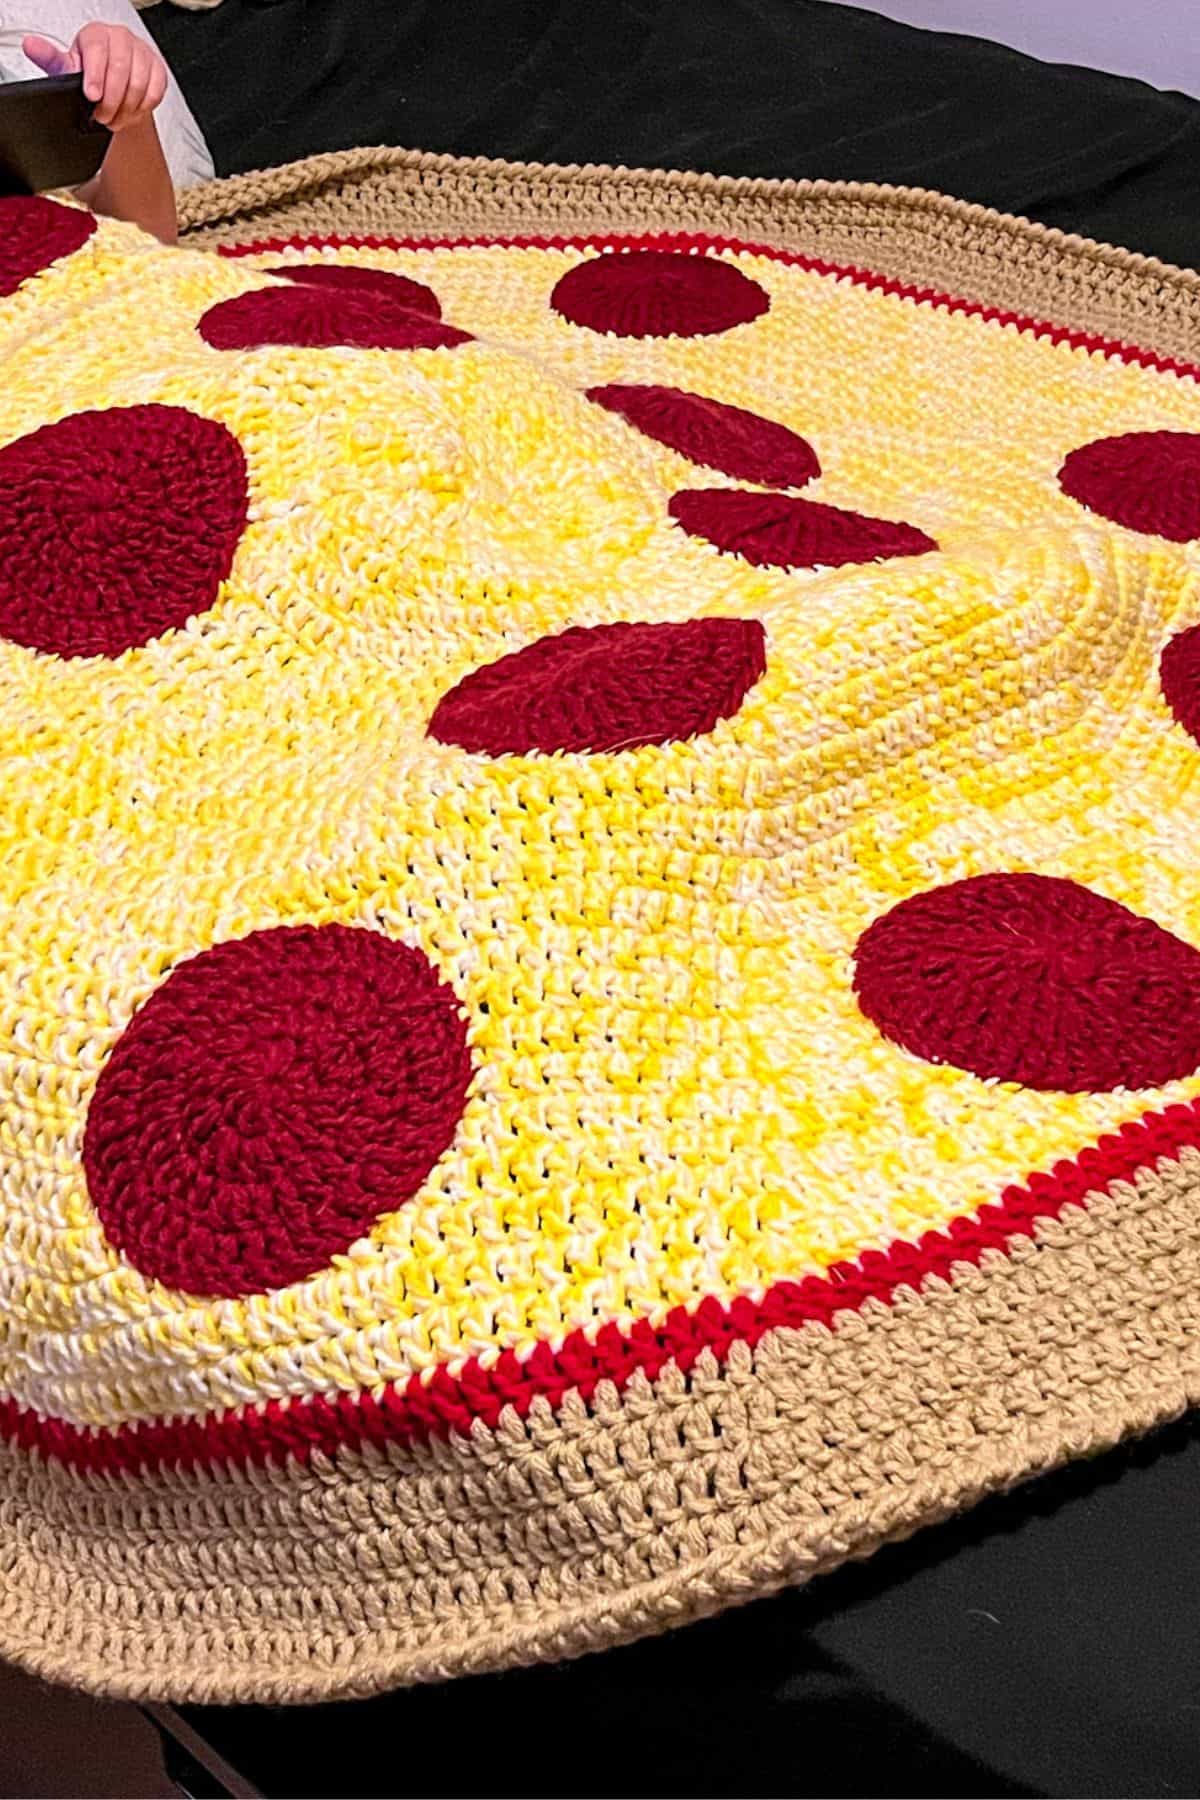
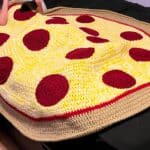
What’s better than making my Pizza Blanket Crochet Pattern and snuggling under it while eating actual pizza? Experience pizza-ception and create the crochet pizza blanket with the help of my tutorial!
Struggling to find a gift for a few people on your Christmas list? Look no further! The crochet pizza blanket is the perfect novelty gift that’s sure to bring a smile to anyone's face.
The pizza blanket crochet pattern has a playful design and cozy warmth make it a fantastic choice for boys, teens, gamers, and avid pizza aficionados alike.
Not only is it a unique and fun gift, but it also offers a personal touch that store-bought presents simply can't match. Handmade gifts show thoughtfulness and creativity, making them even more special to the recipient.
Because the pizza blanket crochet pattern is worked up in a worsted double strand, you can complete it in just a few days with determination and grit. This makes it an excellent choice for gifts during the holidays, birthdays, or just because. And if you have time, gift it with a crochet gift tag for some added crochet cuteness!
Whether you’re surprising a friend or treating yourself, this crochet pizza blanket will be a cherished addition to any home.
Jump to:
✏️ Things To Note:
- Marbled Cheese Effect. I double-stranded two worsted weight skeins (yellow and white) to create the marbled cheese effect for my pizza blanket crochet pattern. You can also use blanket yarn; just be sure to use a larger hook (like an S or 19mm) if you choose to marble two strands of blanket yarn.
- Adjustable Stitch Count. I started with 10 double crochet stitches, but some prefer to begin with 12 double crochets and increase in 12s for flat circles. This pattern is quite adjustable, so feel free to customize based on your preference and tension.
- Finished Size. The finished size of the pizza blanket crochet pattern is approximately 52” by 52”, making it large enough to be a throw blanket. If you’d like a bigger blanket, buy more yarn than what is suggested below.
🪡 Materials Needed
- 1 skein of Caron 1 lb white yarn
- 1 skein of Caron 1 lb yellow yarn
- 1 skein of Caron 1 lb claret yarn (split into 2 balls)
- 1 skein of Caron 1 lb red yarn (a small amount is only needed)
- 2 skeins Red Heart With Love tan yarn
- 1 6.5mm hook
- 1 tapestry needle
💭Abbreviations to Remember (US terms)
- Magic Ring - mr
- Chain - ch
- Slip Stitch - sl st
- Double Crochet - dc
- Increase - inc (because there is no single crochet in this pattern increase will only refer to a double crochet increase)
- Crab Stitch - no abbreviation
🧋Variations
- You can easily switch to blanket yarn for a more plush look for the pizza blanket crochet pattern. Adjusting the overall size of the blanket and pepperonis is fairly simple.
- If you're feeling adventurous, try making different types of pizza toppings! Use light brown yarn, double-stranded, to create mushroom slices using my crochet mushroom applique pattern.
🍵Instructions for Pizza Blanket Crochet Pattern
The crochet pizza blanket pattern is made in rounds with 2 strands of yarn at all times.
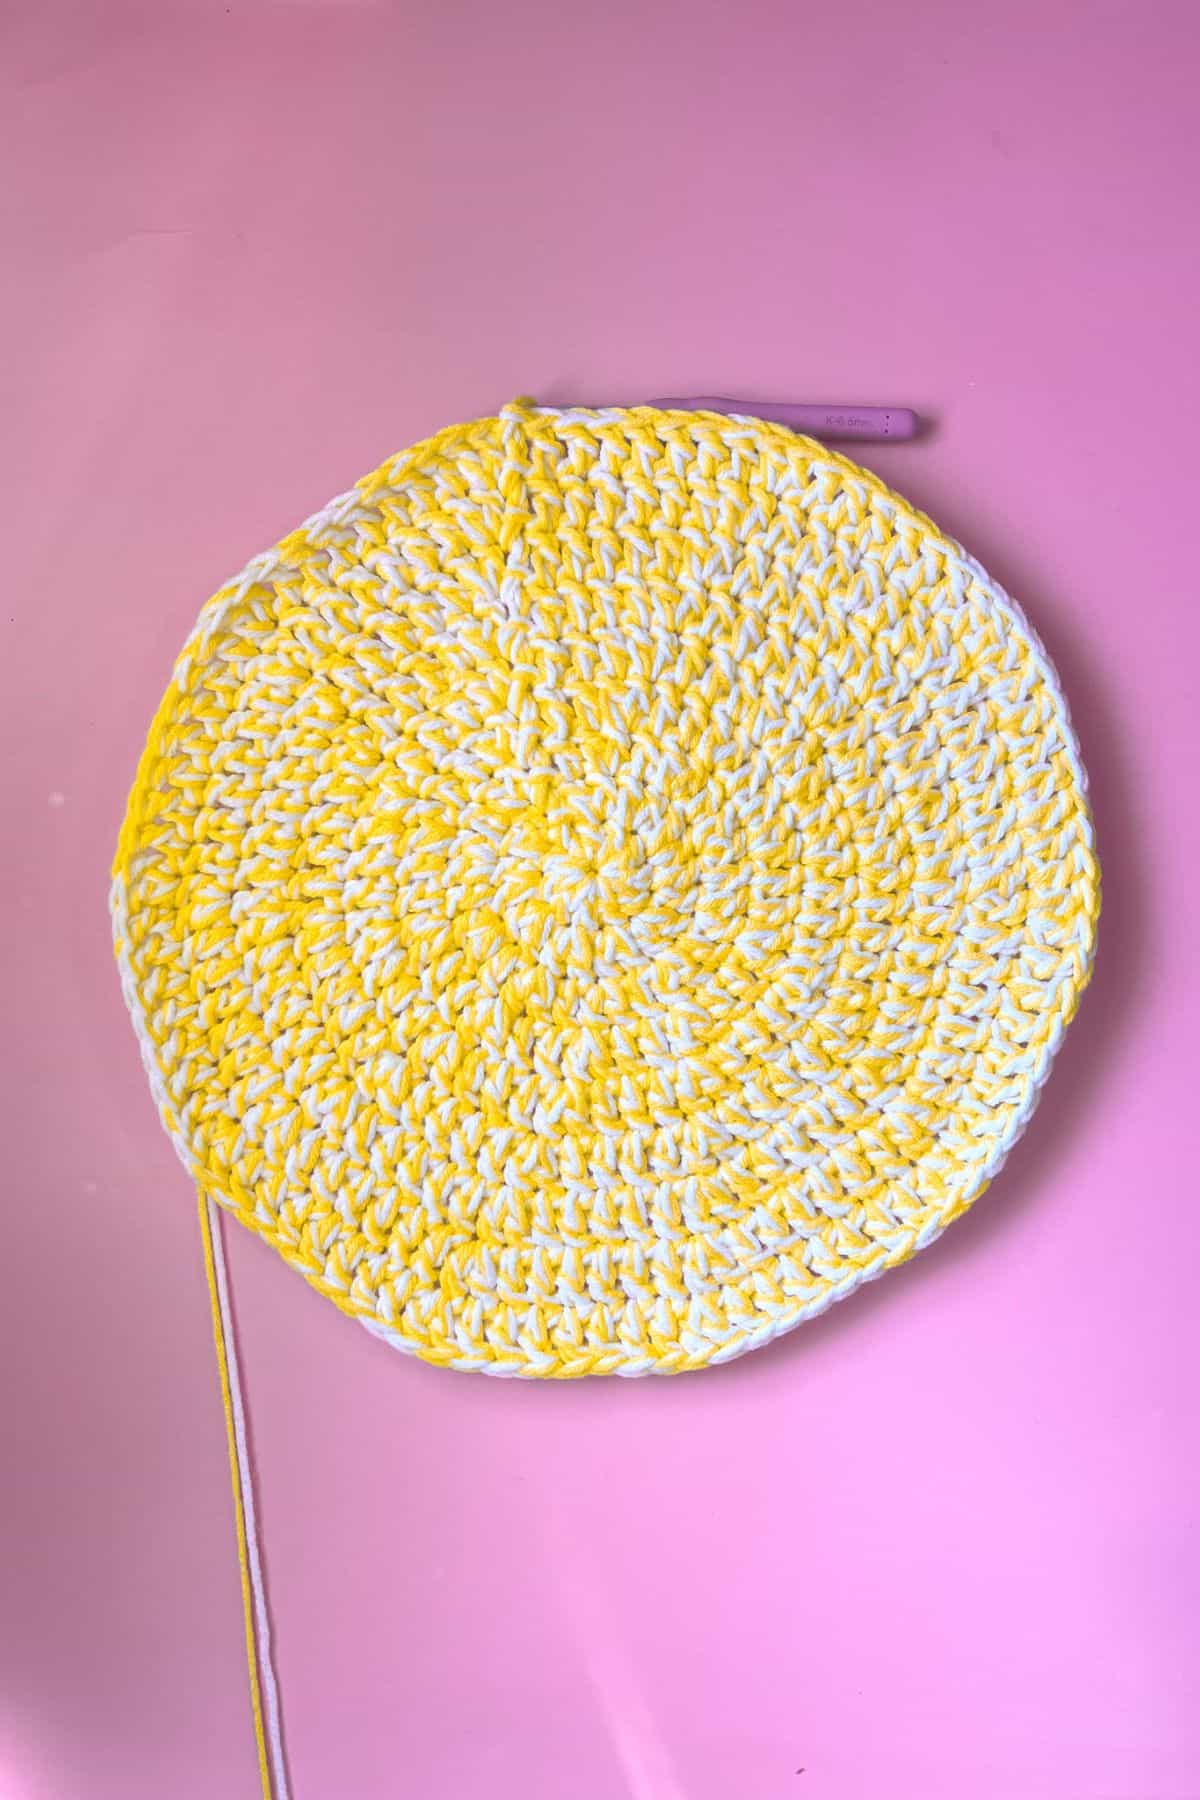

Round 1: With 1 strand of white and 1 strand of yellow yarn, make a mr, immediately ch x2 (does NOT count as a DC) and then dc x10 into the mr. Then sl st to the FIRST DC. (10) (If you prefer making flat circles with 12s instead of 10s please feel free to do so.)
Round 2: Ch x2 and then inc, in every stitch. Then sl st to the beginning. (20)
Round 3: Ch x2 and then inc, dc, and repeat for the rest of the round. Then sl st to the beginning. (30)
Round 4: Ch x2 and then inc, dc x2, and repeat for the rest of the round. Then sl st to the beginning. (40)
Round 5: Ch x2 and then inc, dc x3, and repeat for the rest of the round. Then sl st to the beginning. (50)
Round 6: Ch x2 and then inc, dc x4, and repeat for the rest of the round. Then sl st to the beginning. (60)
Round 7: Ch x2 and then inc, dc x5, and repeat for the rest of the round. Then sl st to the beginning. (70)
Round 8: Ch x2 and then inc, dc x6, and repeat for the rest of the round. Then sl st to the beginning. (80)
Round 9: Ch x2 and then inc, dc x7, and repeat for the rest of the round. Then sl st to the beginning. (90)
Round 10: Ch x2 and then inc, dc x8, and repeat for the rest of the round. Then sl st to the beginning. (100)
Round 11: Ch x2 and then inc, dc x9, and repeat for the rest of the round. Then sl st to the beginning. (110)
Round 12: Ch x2 and then inc, dc x10, and repeat for the rest of the round. Then sl st to the beginning. (120)
Round 13: Ch x2 and then inc, dc x11, and repeat for the rest of the round. Then sl st to the beginning. (130)
Round 14: Ch x2 and then inc, dc x12, and repeat for the rest of the round. Then sl st to the beginning. (140)
Round 15: Ch x2 and then inc, dc x13, and repeat for the rest of the round. Then sl st to the beginning. (150)
Round 16: Ch x2 and then inc, dc x14, and repeat for the rest of the round. Then sl st to the beginning. (160)
Round 17: Ch x2 and then inc, dc x15, and repeat for the rest of the round. Then sl st to the beginning. (170)
Round 18: Ch x2 and then inc, dc x16, and repeat for the rest of the round. Then sl st to the beginning. (180)
Round 19: Ch x2 and then inc, dc x17, and repeat for the rest of the round. Then sl st to the beginning. (190)
Round 20: Ch x2 and then inc, dc x18, and repeat for the rest of the round. Then sl st to the beginning. (200)
Round 21: Ch x2 and then inc, dc x19, and repeat for the rest of the round. Then sl st to the beginning. (210)
Round 22: Ch x2 and then inc, dc x20, and repeat for the rest of the round . Then sl st to the beginning. (220)
Round 23: Ch x2 and then inc, dc x21, and repeat for the rest of the round. Then sl st to the beginning. (230)
Round 24: Ch x2 and then inc, dc x22, and repeat for the rest of the round. Then sl st to the beginning. (240)
Round 25: Ch x2 and then inc, dc x23, and repeat for the rest of the round. Then sl st to the beginning. (250)
Round 26: Ch x2 and then inc, dc x24, and repeat for the rest of the round. Then sl st to the beginning. (260)
Round 27: Ch x2 and then inc, dc x25, and repeat for the rest of the round. Then sl st to the beginning. (270)
Round 28: Ch x2 and then inc, dc x26, and repeat for the rest of the round. Then sl st to the beginning. (280)
Round 29: Ch x2 and then inc, dc x27, and repeat for the rest of the round. Then sl st to the beginning. (290)
Round 30: Ch x2 and then inc, dc x28, and repeat for the rest of the round. Then sl st to the beginning. (300) Fasten off the yellow an white yarns and leave tails to weave in. Then join 2 strands of red yarn to where you just fastened off the yarn.


Round 31: With 2 strands of red yarn, ch x2 and then inc, dc x29, and repeat for the rest of the round. Then sl st to the beginning. (310) Fasten off the red yarn and leave a tail to weave in. Then join 2 strands of tan yarn to where you just fastened off the yarn.
Round 32: With 2 strands of tan yarn, ch x2 and then inc, dc x30, and repeat for the rest of the round. Then sl st to the beginning. (320)
Round 33: Ch x2 and then inc, dc x31, and repeat for the rest of the round. Then sl st to the beginning. (330)
Round 34: Ch x2 and then inc, dc x32, and repeat for the rest of the round. Then sl st to the beginning. (340)
Round 35: Ch x2 and then inc, dc x33, and repeat for the rest of the round. Then sl st to the beginning. (350)
Round 36: Ch x2 and then inc, dc x34, and repeat for the rest of the round. Then sl st to the beginning. (360)
Crab Stitch Edging:

Round 37: Ch x1 and do the crab stitch all along the edge.
Crab stitch: Working from left to right versus right to left, insert your hook into the stitch you worked last, then yarn over, pull up a loop (2 loops on the hook), yarn over and then go through the 2 loops on the hook. Repeat.
Fasten off and weave in all the tails on the blanket.
Pepperoni Circles x14:


Round 1: With 2 strands of claret yarn, make a mr, immediately ch x2 (does not count as a stitch) and then dc x10 into the mr. Then sl st to the FIRST DC. (10)
Round 2: Ch x2 and then inc in every stitch. Then sl st to the beginning. (20)
Round 3: Ch x2 and then inc, dc, and repeat for the rest of the round. Then sl st to the beginning. (30)
Round 4: Ch x2 and then inc, dc x2, and repeat for the rest of the round. Then sl st to the beginning. (40) Fasten off and leave a long tail for sewing.
Finishing:
Sew on the pepperoni and then weave in any loose ends.
And now you have a completed pizza crochet blanket made from my pizza blanket crochet pattern! Perfect to give as gifts for any occasion!
If you are pairing the blanket with another fun crochet gift, try my crochet bubble tea pattern! It makes for a great squishable plush. I mean who doesn't love pizza and bubble tea?
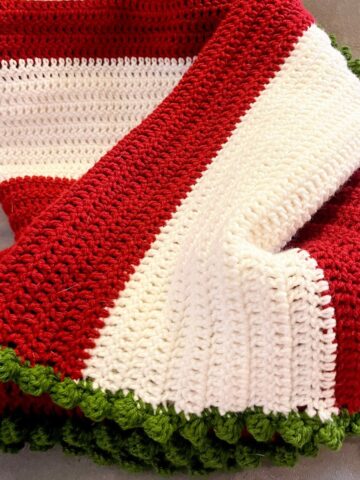
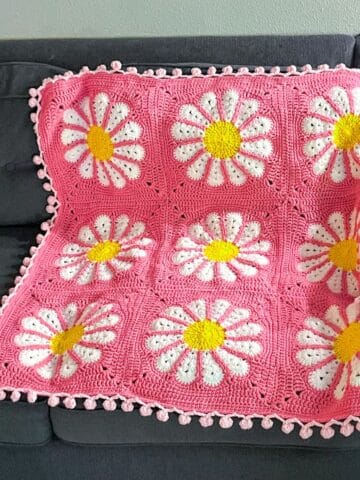
Another great food blanket pattern is my crochet strawberry blanket pattern! It is made using appliques and granny squares.
If you have any leftover yarn check out my crochet dumpling pattern, crochet bao pattern and my crochet bear keychain pattern.

🐌Expert Tips
- Sewing on Pepperonis: To prevent the pizza crochet blanket from puckering, do not pull too tightly on the sewing yarn. Instead, pull until just snug, and secure the pepperoni only with yarn that is underneath it when it’s lying flat. Avoid stretching the pepperoni while sewing them on.
- Add Extra Warmth: If you want the pizza crochet blanket to be even warmer, consider adding a layer of fleece backing to it for extra coziness.
🧵Pattern FAQs
Absolutely! If using only one strand of blanket yarn, follow the pizza blanket crochet pattern as written. If using two strands, you'll need to adjust your hook size and overall rounds to make the blanket.
I suggest using a 5mm hook and doing nearly twice as many rounds to achieve the same size and look of the pizza blanket crochet pattern.
Keep increasing every row by 10 double crochets to achieve the desired size for the pizza blanket crochet pattern.
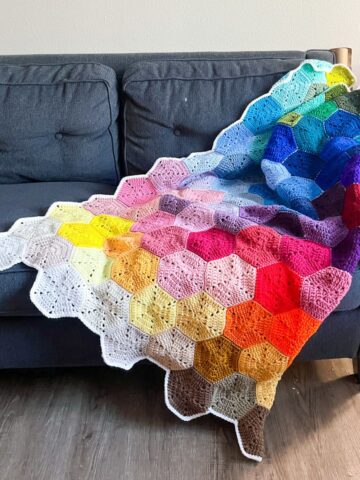
🧶More Crochet Blanket Patterns

If you tried this Pizza Blanket Crochet Pattern (or any other pattern on my website), please let me know how it went in the 📝 comments below. I'd love to hear from you!
Pizza Blanket Crochet Pattern
Materials
- 1 skein of Caron 1 lb white yarn
- 1 skein of Caron 1 lb yellow yarn
- 1 skein of Caron 1 lb claret yarn
- 1 skein of Caron 1 lb red yarn
- 1 skein Red Heart With Love tan yarn
- 6.5mm hook
- Tapestry needle
Abbreviations (US terms)
- Crab Stitch (no abbreviation)
- mr = Magic ring
- ch = Chain
- sl st = Slip Stitch
- dc = Double Crochet
- inc = Increase (because there is no single crochet in this pattern increase will only refer to a double crochet increase)
Notes
Instructions
- The crochet pizza blanket pattern is made in rounds with 2 strands of yarn at all times.
- Round 1: With 1 strand of white and 1 strand of yellow yarn, make a mr, immediately ch x2 (does NOT count as a DC) and then dc x10 into the mr. Then sl st to the FIRST DC. (10) (If you prefer making flat circles with 12s instead of 10s please feel free to do so.)
- Round 2: Ch x2 and then inc, in every stitch. Then sl st to the beginning. (20)
- Round 3: Ch x2 and then inc, dc, and repeat for the rest of the round. Then sl st to the beginning. (30)
- Round 4: Ch x2 and then inc, dc x2, and repeat for the rest of the round. Then sl st to the beginning. (40)
- Round 5: Ch x2 and then inc, dc x3, and repeat for the rest of the round. Then sl st to the beginning. (50)
- Round 6: Ch x2 and then inc, dc x4, and repeat for the rest of the round. Then sl st to the beginning. (60)
- Round 7: Ch x2 and then inc, dc x5, and repeat for the rest of the round. Then sl st to the beginning. (70)
- Round 8: Ch x2 and then inc, dc x6, and repeat for the rest of the round. Then sl st to the beginning. (80)
- Round 9: Ch x2 and then inc, dc x7, and repeat for the rest of the round. Then sl st to the beginning. (90)
- Round 10: Ch x2 and then inc, dc x8, and repeat for the rest of the round. Then sl st to the beginning. (100)
- Round 11: Ch x2 and then inc, dc x9, and repeat for the rest of the round. Then sl st to the beginning. (110)
- Round 12: Ch x2 and then inc, dc x10, and repeat for the rest of the round. Then sl st to the beginning. (120)
- Round 13: Ch x2 and then inc, dc x11, and repeat for the rest of the round. Then sl st to the beginning. (130)
- Round 14: Ch x2 and then inc, dc x12, and repeat for the rest of the round. Then sl st to the beginning. (140)
- Round 15: Ch x2 and then inc, dc x13, and repeat for the rest of the round. Then sl st to the beginning. (150)
- Round 16: Ch x2 and then inc, dc x14, and repeat for the rest of the round. Then sl st to the beginning. (160)
- Round 17: Ch x2 and then inc, dc x15, and repeat for the rest of the round. Then sl st to the beginning. (170)
- Round 18: Ch x2 and then inc, dc x16, and repeat for the rest of the round. Then sl st to the beginning. (180)
- Round 19: Ch x2 and then inc, dc x17, and repeat for the rest of the round. Then sl st to the beginning. (190)
- Round 20: Ch x2 and then inc, dc x18, and repeat for the rest of the round. Then sl st to the beginning. (200)
- Round 21: Ch x2 and then inc, dc x19, and repeat for the rest of the round. Then sl st to the beginning. (210)
- Round 22: Ch x2 and then inc, dc x20, and repeat for the rest of the round . Then sl st to the beginning. (220)
- Round 23: Ch x2 and then inc, dc x21, and repeat for the rest of the round. Then sl st to the beginning. (230)
- Round 24: Ch x2 and then inc, dc x22, and repeat for the rest of the round. Then sl st to the beginning. (240)
- Round 25: Ch x2 and then inc, dc x23, and repeat for the rest of the round. Then sl st to the beginning. (250)
- Round 26: Ch x2 and then inc, dc x24, and repeat for the rest of the round. Then sl st to the beginning. (260)
- Round 27: Ch x2 and then inc, dc x25, and repeat for the rest of the round. Then sl st to the beginning. (270)
- Round 28: Ch x2 and then inc, dc x26, and repeat for the rest of the round. Then sl st to the beginning. (280)
- Round 29: Ch x2 and then inc, dc x27, and repeat for the rest of the round. Then sl st to the beginning. (290)
- Round 30: Ch x2 and then inc, dc x28, and repeat for the rest of the round. Then sl st to the beginning. (300) Fasten off the yellow an white yarns and leave tails to weave in. Then join 2 strands of red yarn to where you just fastened off the yarn.
- Round 31: With 2 strands of red yarn, ch x2 and then inc, dc x29, and repeat for the rest of the round. Then sl st to the beginning. (310) Fasten off the red yarn and leave a tail to weave in. Then join 2 strands of tan yarn to where you just fastened off the yarn.
- Round 32: With 2 strands of tan yarn, ch x2 and then inc, dc x30, and repeat for the rest of the round. Then sl st to the beginning. (320)
- Round 33: Ch x2 and then inc, dc x31, and repeat for the rest of the round. Then sl st to the beginning. (330)
- Round 34: Ch x2 and then inc, dc x32, and repeat for the rest of the round. Then sl st to the beginning. (340)
- Round 35: Ch x2 and then inc, dc x33, and repeat for the rest of the round. Then sl st to the beginning. (350)
- Round 36: Ch x2 and then inc, dc x34, and repeat for the rest of the round. Then sl st to the beginning. (360)
- Round 37: Ch x1 and do the crab stitch all along the edge. Crab stitch: Working from left to right versus right to left, insert your hook into the stitch you worked last, then yarn over, pull up a loop (2 loops on the hook), yarn over and then go through the 2 loops on the hook. Repeat.
Crochet Pepperoni x14:
- Round 1: With 2 strands of claret yarn, make a mr, immediately ch x2 (does not count as a stitch) and then dc x10 into the mr. Then sl st to the FIRST DC. (10)
- Round 2: Ch x2 and then inc, in every stitch. Then sl st to the beginning. (20)
- Round 3: Ch x2 and then inc, dc, and repeat for the rest of the round. Then sl st to the beginning. (30)
- Round 4: Ch x2 and then inc, dc x2, and repeat for the rest of the round. Then sl st to the beginning. (40) Fasten off and leave a long tail for sewing.
- Finishing: Sew on the pepperoni and then weave in any loose ends.
- And now you have a completed pizza crochet blanket made from my pizza blanket crochet pattern! Perfect to give as gifts for any occasion!

Leave a Reply