
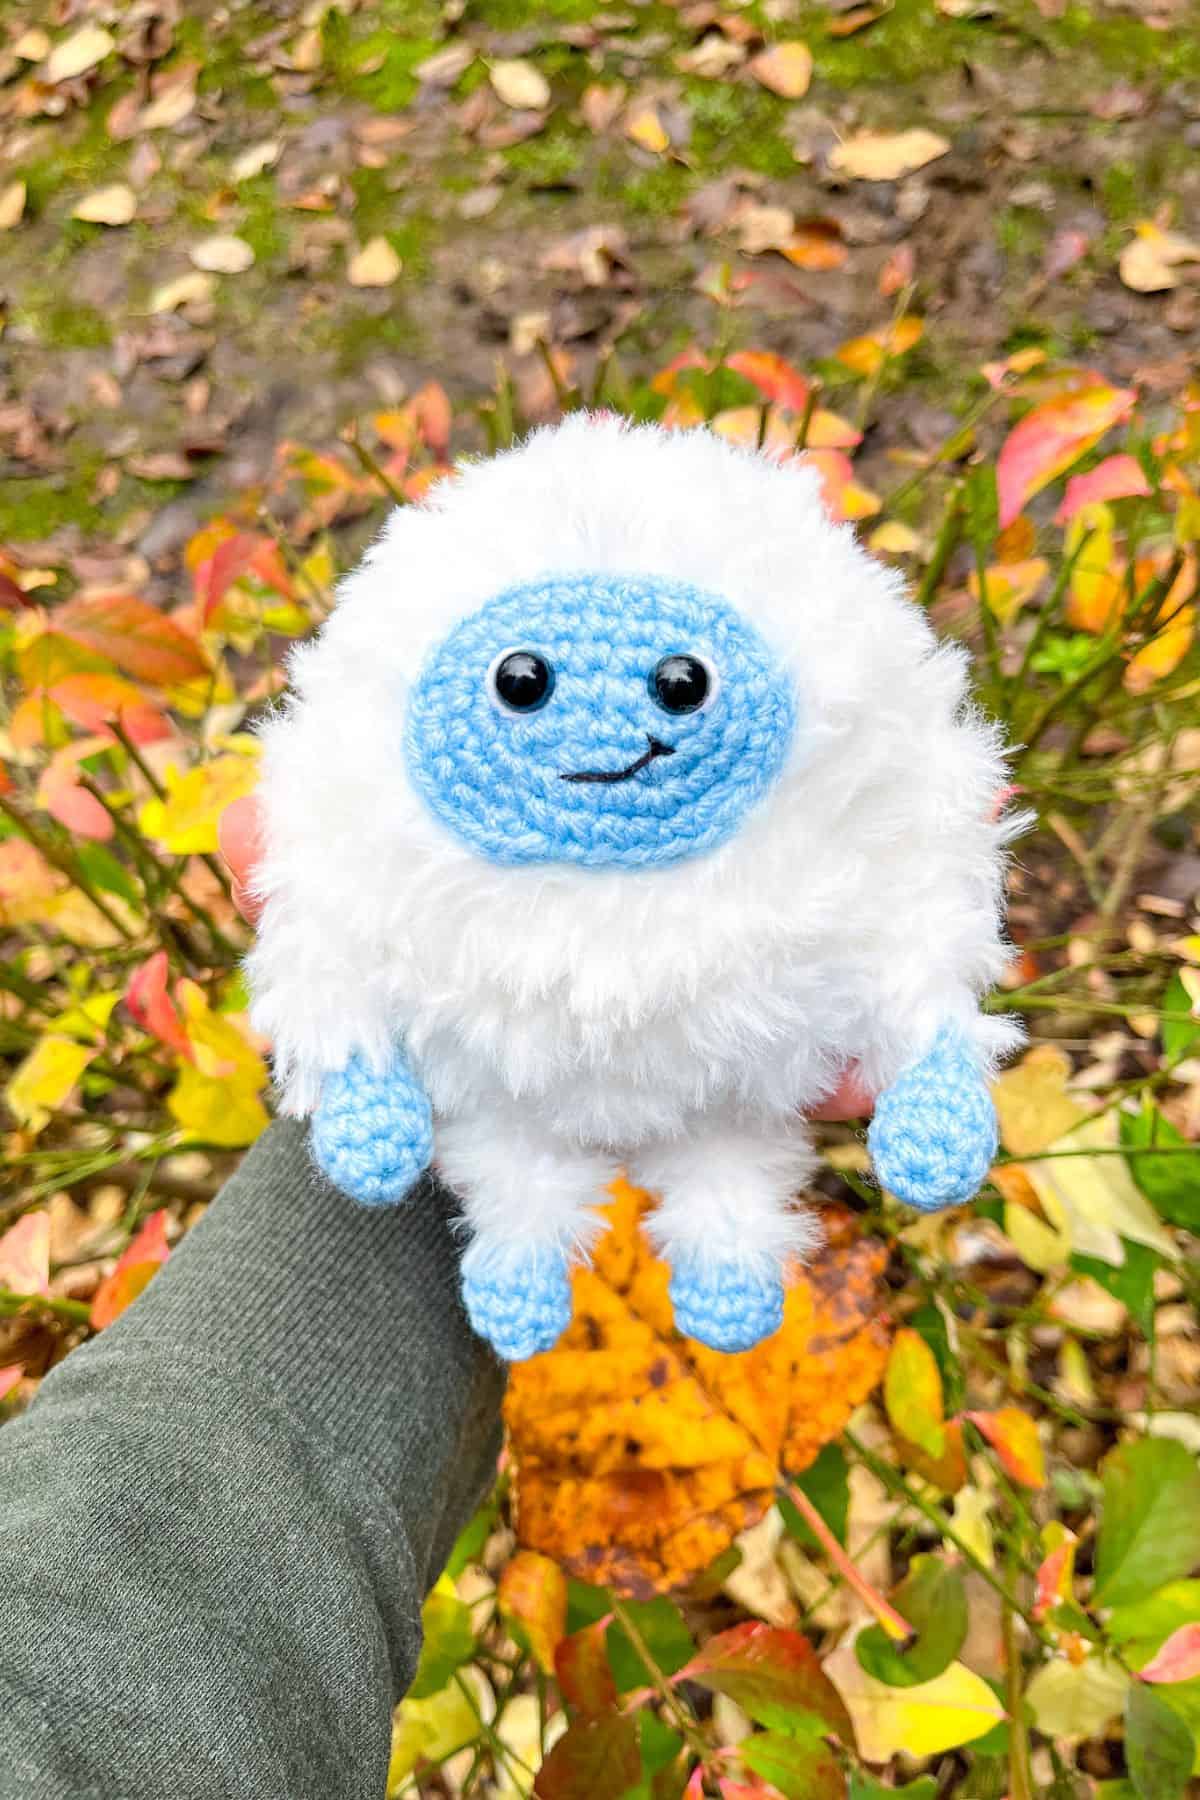
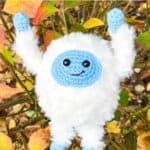
Try making my Yeti Crochet Pattern, a cute and simple take on the mysterious Abominable Snowman! No one will think this is a fearsome cryptid - just a cute little guy wanting to make friends!

Last week I asked my Instagram followers what I should crochet and I got a ton of different answers! I took the ideas that inspired me most and I am making them into patterns this week and next!
I have always wanted to make an amigurumi yeti but have always been putting it off since I knew I would have to use some furry yarn to accomplish it. And let me tell you, this yeti crochet pattern had a steep learning curve when it came to working with the yarn, and with that in mind, I kept the rest of the pattern fairly simple.
But now that I know the secret to working with this daunting furry yarn, I can let you in on the secret to working with it!
So let's get started on the crochet yeti pattern!
Jump to:
✏️ Things To Note:
- Size: The crochet abominable snowman is roughly 6-7 inches tall. The body of the crochet Yeti is roughly 5 inches so it is a fairly quick pattern and can be completed in less than 2 hours.
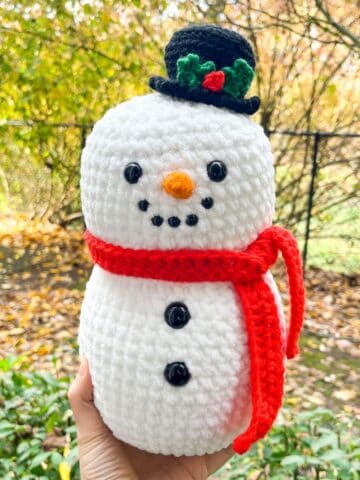
- Yarn: The fluffy yarn is daunting, and if you are not comfortable working with fur yarn you can use a chunky yarn instead but it will not have the same finished look in the end. The fur yarn is necessary to complete the look and as long as you know basic crochet stitches and can either feel the stitches OR use a copious amount of stitch markers you should be fine. For reference, white chunky yarn will have the finishing look of my crochet snowman pattern.
- Sewing: There are 2 options for sewing:
- You can make all the limbs separate and sew on, plus sew on the face. OR
- You can make the limbs directly onto the body and ONLY have to sew on the face.
🪡 Materials Needed
- Eilyee Soft Fur Yarn - White (2) - I used one and a litttttle bit of the second one. (40 yards)
- Red Heart Yarn - white (40 yards)
- Red Heart Yarn - light blue (30 yards)
- 12mm safety eyes
- Tapestry needle
- Polyfil
- 4mm hook
- 7mm hook
- Stitch markers
💭Abbreviations to Remember (US terms)
- Magic ring - mr
- Chains - ch
- Single crochet - sc
- Increase - inc
- Decrease - dec
🧋Variations
You can make the arms and legs longer or shorter in the yeti crochet pattern depending on the overall look you are wanting to achieve.
🍵Instructions for Yeti Crochet Pattern
The yeti crochet pattern is made in the round.

NOTE: The secret to working with fur yarn is to use a worsted weight yarn with it so you can see part of the stitch and feel it easier with your fingers by using a non-textured yarn - the extra yarn is not noticeable once the yeti crochet pattern is completely made.
Round 1: Starting with the 7mm hook and using a strand each of the worsted weight yarn and fur yarn (so 2 strands total!) make a mr and sc x6 into the circle and pull tight when you are done (6). If it is difficult to make a magic ring, just ch x2 and sc x6 into the second ch from the hook. If you need help counting your stitches the stitch markers will be your best friend.
Round 2: Inc in every stitch (12).
Round 3: Inc, sc. Then repeat for the rest of the round (18).
Round 4: Inc, sc x2. Then repeat for the rest of the round (24).
Round 5-9: Sc in every stitch (24).
Round 10: Dec, sc x2. Then repeat for the rest of the round (18). Stuff with polyfill.
Round 11: Dec, sc. Then repeat for the rest of the round (12).
Round 12: Dec in every stitch (6). Fasten off the yarns and then Sew the bottom of the yeti closed.
Crochet Yeti Face:
Round 1: With the blue yarn and 4mm hook, ch x6. Then starting in the second ch from the hook sc x4. Make 3 sc in the last stitch. Then sc x3 on the other side of the chain where it hasn't been worked in. Make 2 sc in the last stitch and sl st to the first sc you made in the round. This is the only time you have to make a sl st and is also the ending point for the other rounds.
Round 2: Sc x3, inc x3, sc x3, inc x3 (18).
Round 3: Sc x3, (inc, sc) x3, sc x3, (inc, sc) x3 (24).
Round 4: Sc x3, (inc, sc x2) x3, sc x3, (inc, sc x2) x3 (30). Then fasten off and leave a long tail for sewing.
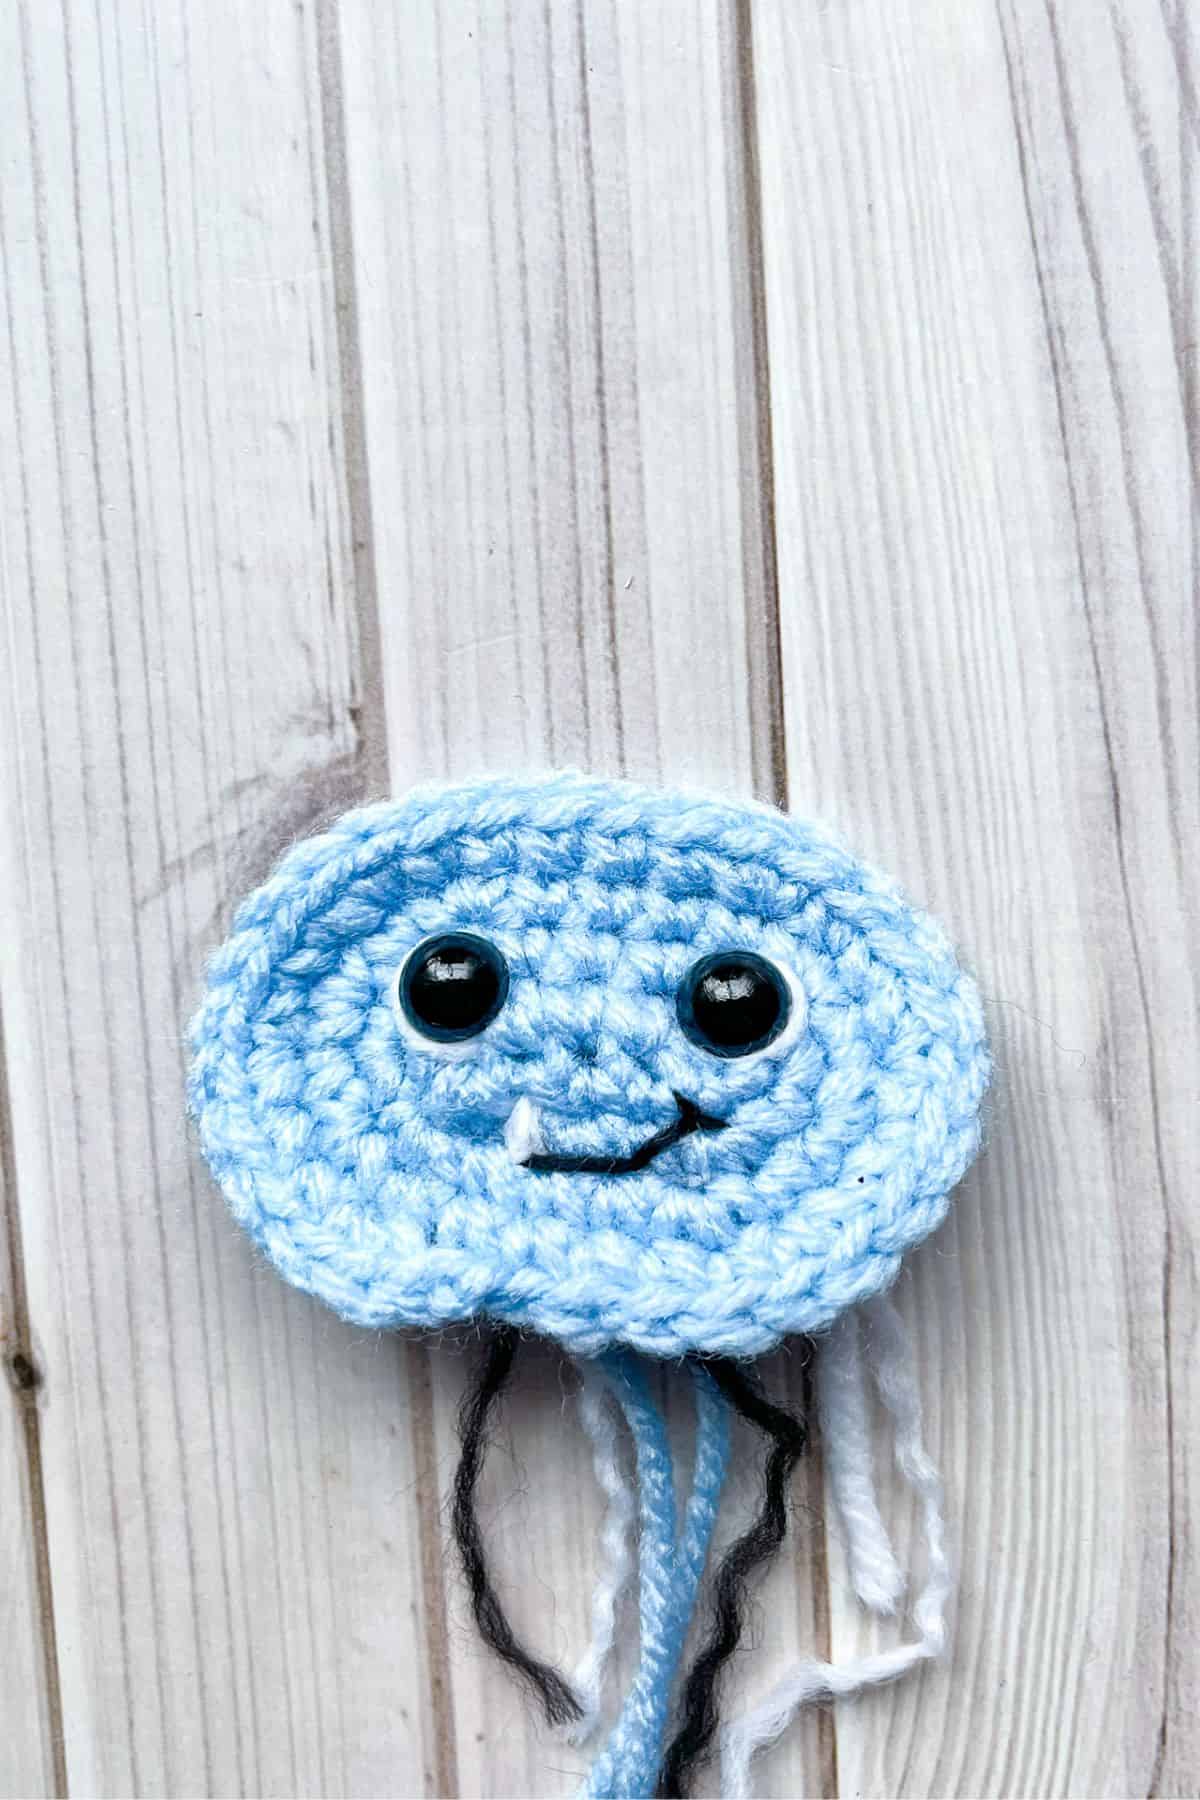
Now it's time to add the eyes and embroidery.
- Insert the eyes between rounds 1 and 2 on the upper half of the oval.
- If you want: Add little half circles of white to the edge of the outer eyes for a more expressive look, and then take some yarn or thread and embroider a simple and cute mouth to the crochet yeti pattern. I personally made a smirk on my yeti but you can do it anyway you want.
Sew the face to the yeti body. I chose to add my face to the upper half of the yeti body. To do this simply visualize your crochet Yeti in half and then sew the face to the upper half of the fluffy oval. You may need pins to hold it in place so you can test out the placement before sewing.
Hands and Feet:
The feet and hands for the yeti crochet pattern are the same so make x4.
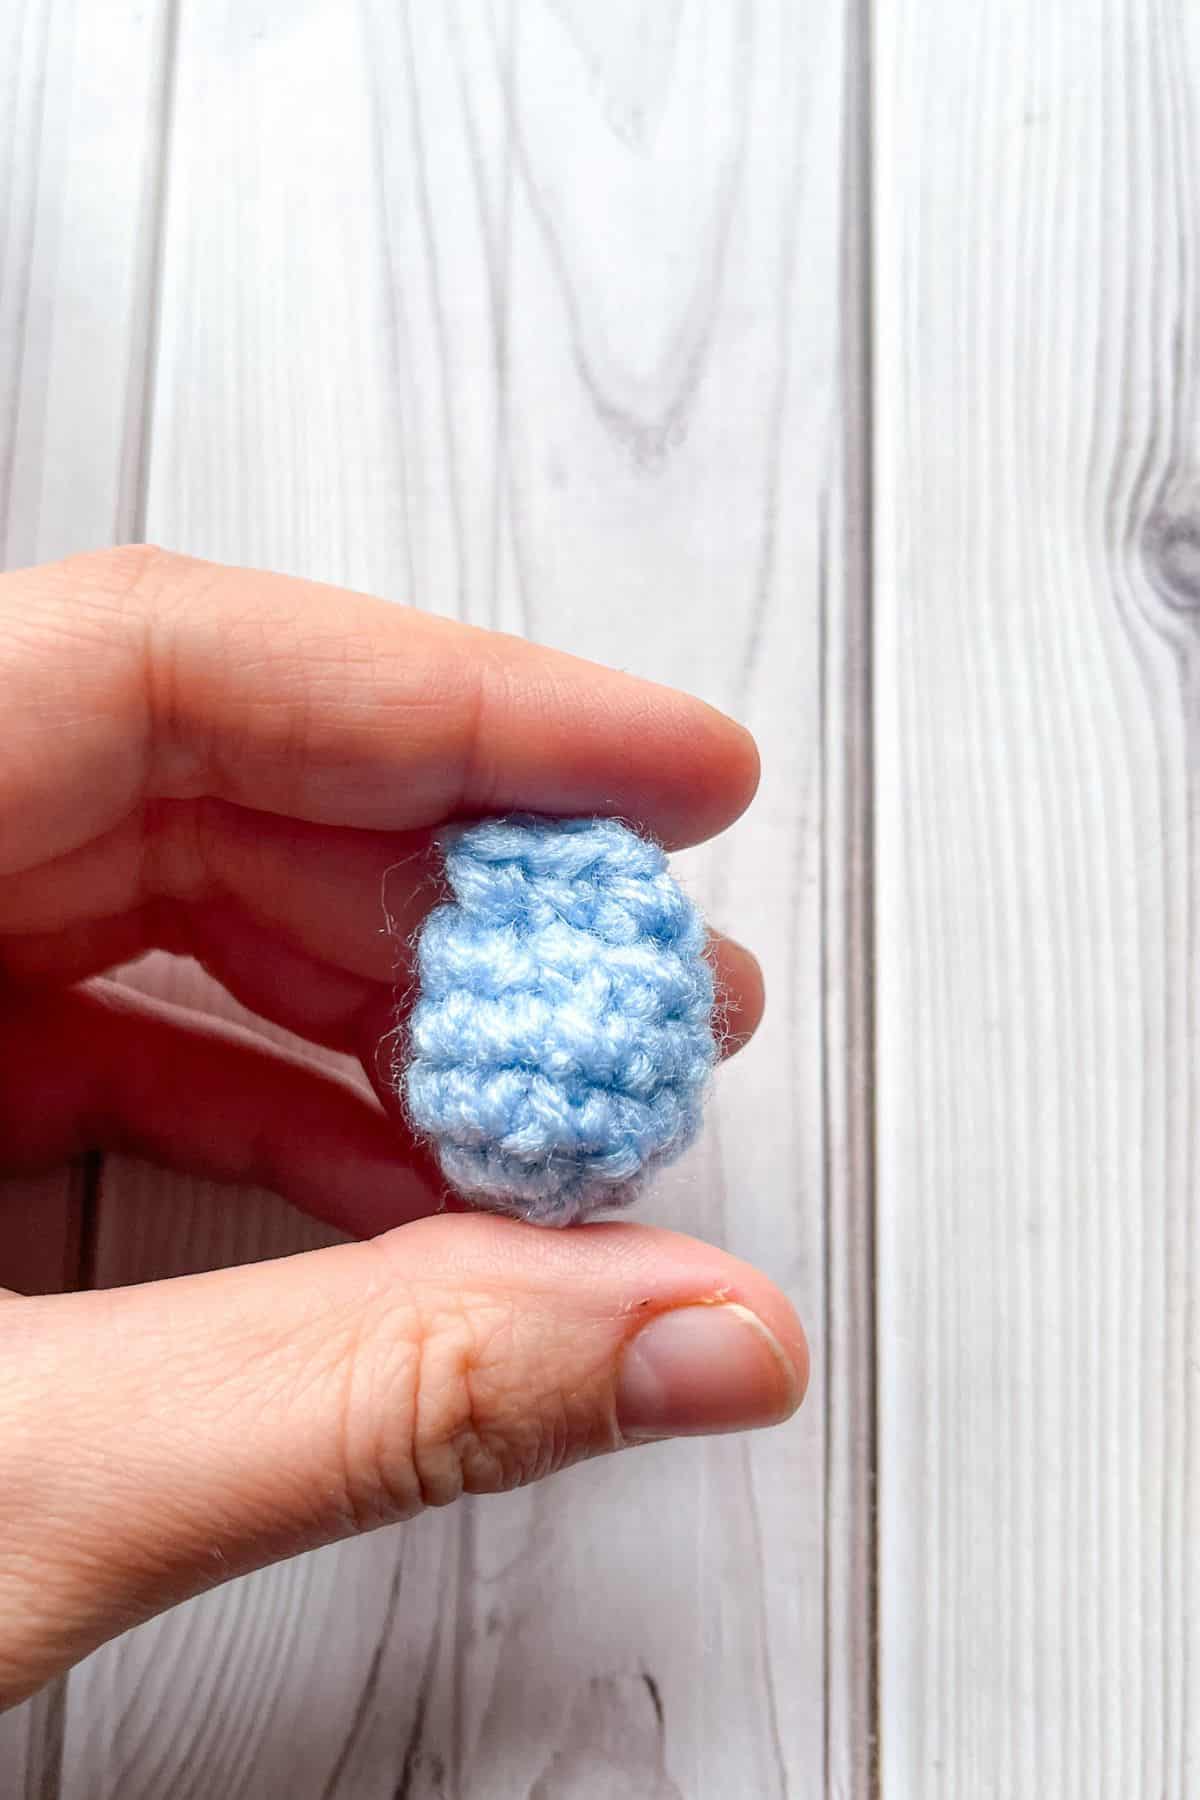
Round 1: With the blue yarn and 4mm hook make a mr and then sc x6 into it. Pull tight (6).
Round 2: Inc, sc. Then repeat for the rest of the round (9).
Round 3-4: Sc in every stitch (9). Stuff with polyfill.
Round 5: Dec, sc. Then repeat for the rest of the round (6). Once completed fold the opening in half and single crochet the opening shut by making 2 sc at the top going through both sides of the opening. Then fasten off and weave in the tail.
Now to make the arms and legs!
There are 2 different ways to make the legs and arms - you can crochet them directly into the body OR you can make them then sew them to the body so I will go over positioning first and then the pattern!
The arms are placed an inch back from the edge of the face in line with the eyes. The legs are placed at the bottom of the yeti, in line with the eyes and edges of the face.
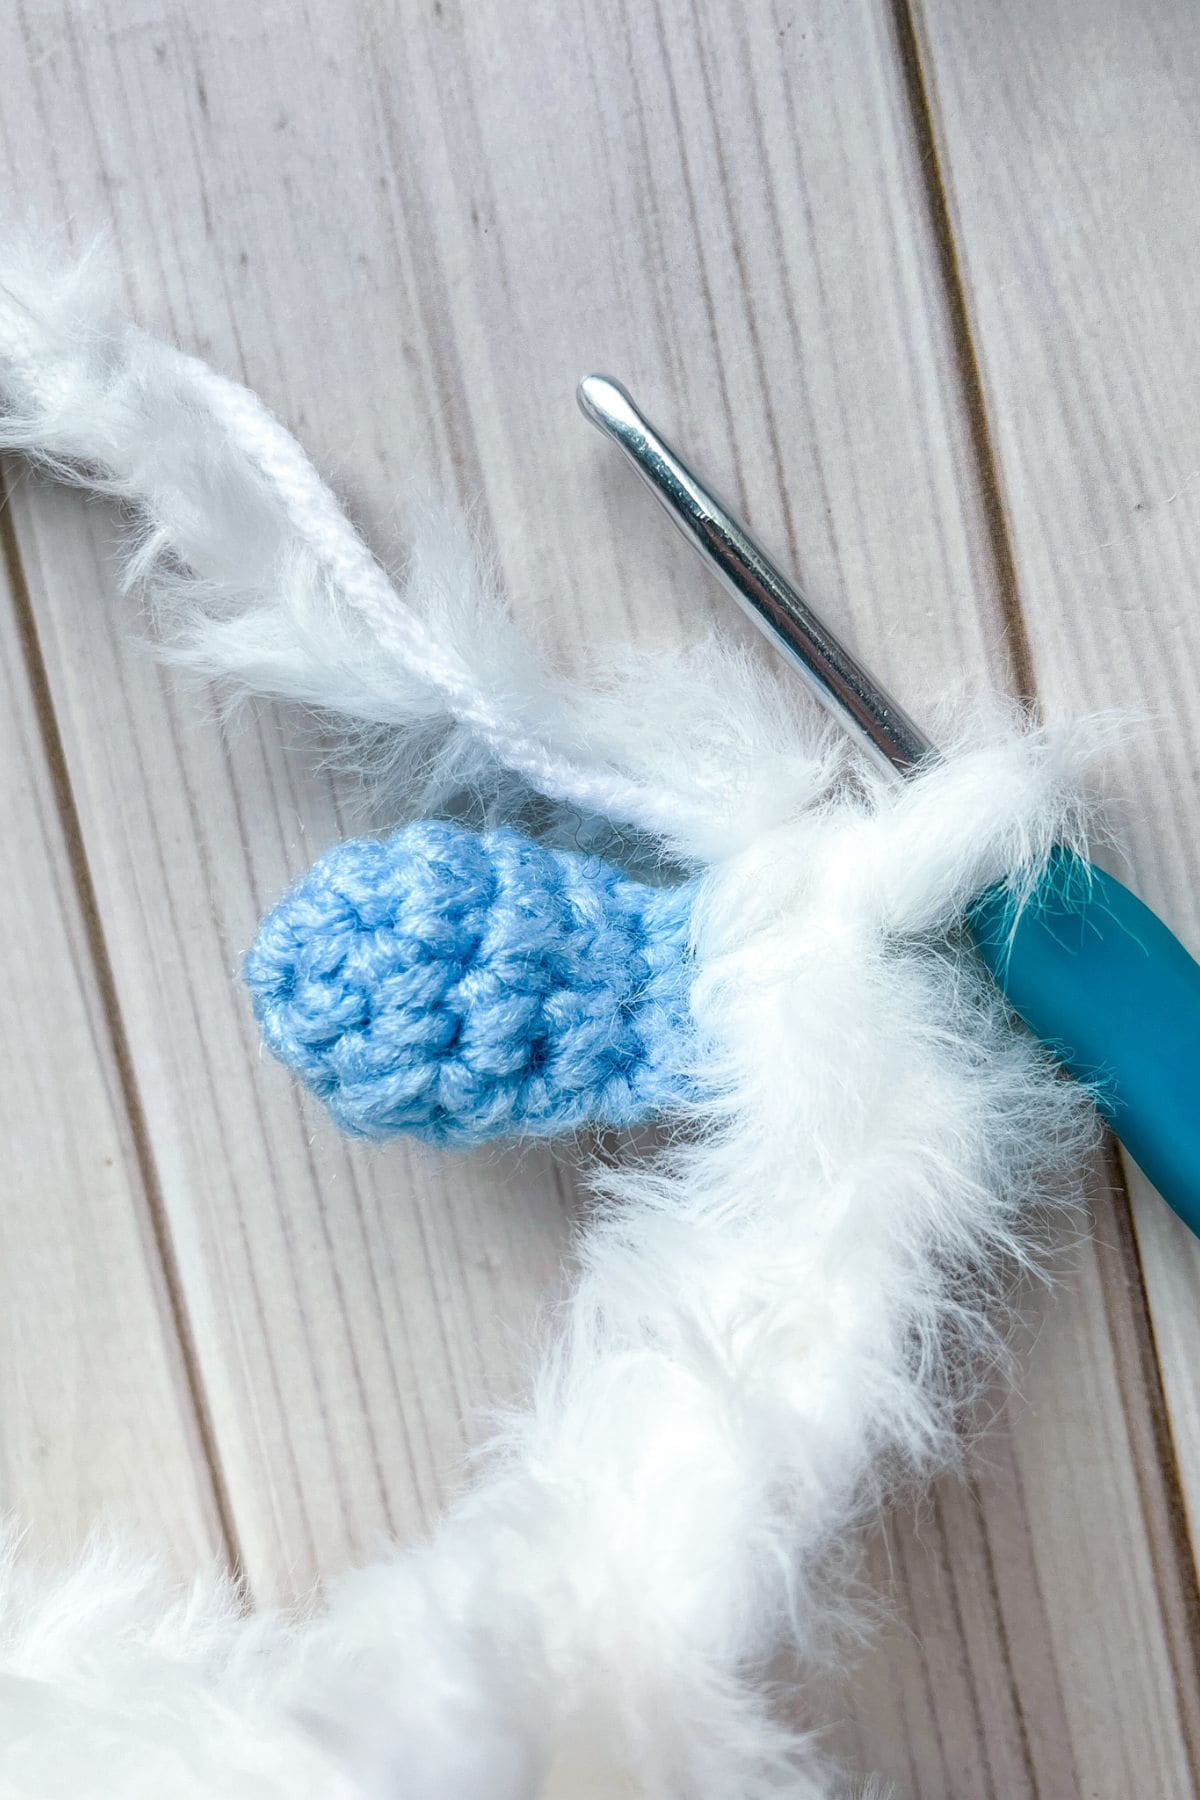
Arms:
Either join directly to the yeti body or leave a long tail to sew.
With the 7mm hook and both the worsted weight yarn and fluffy yarn ch x6. THEN SWITCH TO THE 4MM HOOK and sc into the hand in both sc spaces at the top. THEN SWITCH TO THE 7MM HOOK. Sc in each of the 6 chains. Then join back to the body. Fasten off and weave in the ends or if you choose to make it separately, sew the arm to the body.
Repeat this for the other arm.
Legs:
With the 7mm hook and both the worsted weight yarn and fluffy yarn ch x4. THEN SWITCH TO THE 4MM HOOK and sc into the foot in both sc spaces at the top. THEN SWITCH TO THE 7MM HOOK. Sc in each of the 4 chains. Then join back to the body. Fasten off and weave in the ends or if you choose to make it separately, sew the leg to the bottom of the body.
Repeat this for the other leg.
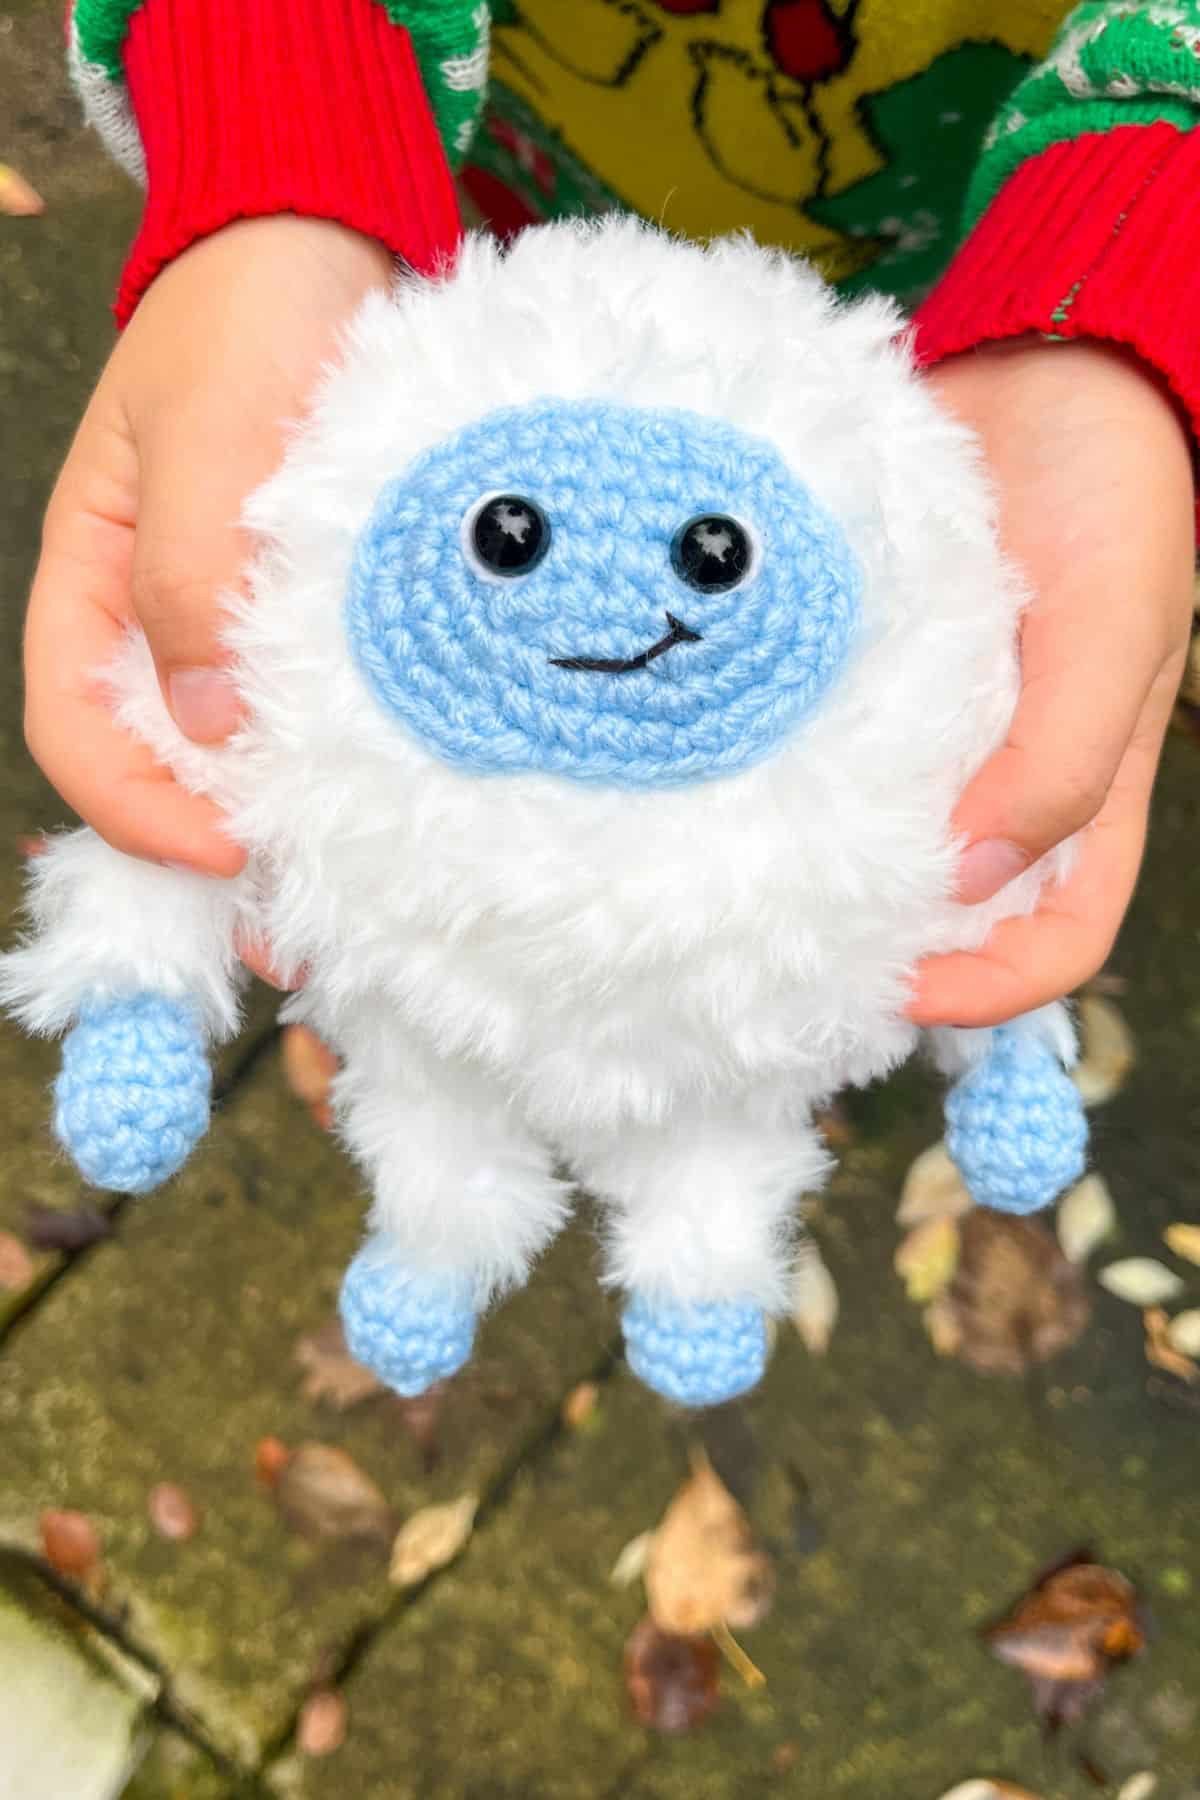
Once all the ends have been weaved in, your new abominable snowman made from my yeti crochet pattern is finished!
If you have any furry yarn leftover form the yeti crochet pattern, you can always make a few of the other patterns!
If you switch out the white chunky yarn for fur yarn you can make my crochet mitten ornament pattern or my crochet mini stocking pattern.
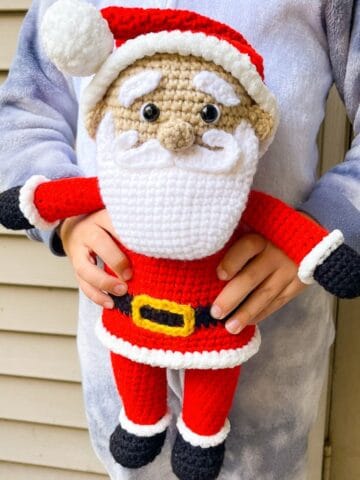
If you are looking for more crochet winter fun check out my crochet gingerbread pattern and crochet Santa pattern —both are larger amigurumis!
If you have more worsted weight white and blue yarn leftover you can make my crochet snowflake granny square pattern.
🐌Expert Tips
- Since we are working in a continuous spiral as well as with fur yarn for the yeti crochet pattern it can be hard to tell where each round begins and ends and where the stitches are. I suggest using stitch markers if you need extra help.
- The stitches for this free crochet yeti pattern are fairly simple, but the type of yarn used in this pattern makes it best suited for an intermediate to advanced crocheter.
- If you want to avoid sewing the arms and legs for the yeti crochet pattern, just join them directly to the yeti by going under a stitch in the round you want to have the arm come out from.
🧵Pattern FAQs
It took me roughly 1 hr, but it might take others shorter or longer depending on how fast they can crochet and how they manage the learning curve associated with working with the fur yarn.
Amigurumi is the Japanese term for a crochet doll made from yarn. It has gained popularity over the years so we see more and more designers using the term “amigurumi” versus a “plush toy”.
This pattern is not no sew, but maybe considered low sew since you only have to sew on the face if you directly join the arms and legs to the crochet yeti.
🧶More Crochet Winter Patterns


If you tried this Yeti Crochet Pattern (or any other pattern on my website), please let me know how it went in the 📝 comments below. I'd love to hear from you!
Yeti Crochet Pattern
Materials
- Eilyee Soft Fur Yarn - White 2 - I used one and a litttttle bit of the second one. (40 yards)
- Red Heart Yarn - white 40 yards
- Red Heart Yarn - light blue 30 yards
- 12 mm safety eyes
- Tapestry needle
- Polyfil
- 4 mm hook
- 7 mm hook
- Stitch markers
Abbreviations (US terms)
- Magic ring - mr
- Chains - ch
- Single crochet - sc
- Increase - inc
- Decrease - dec
Notes
- Size: The crochet abominable snowman is roughly 6-7 inches tall. The body of the crochet Yeti is roughly 5 inches so it is a fairly quick pattern and can be completed in less than 2 hours.
- Yarn: The fluffy yarn is daunting, and if you are not comfortable working with fur yarn you can use a chunky yarn instead but it will not have the same finished look in the end. The fur yarn is necessary to complete the look and as long as you know basic crochet stitches and can either feel the stitches OR use a copious amount of stitch markers you should be fine. For reference, white chunky yarn will have the finishing look of my crochet snowman pattern.
- Sewing: There are 2 options for sewing.
- You can make all the limbs separate and sew on, plus sew on the face. OR
- You can make the limbs directly onto the body and ONLY have to sew on the face.
Instructions
- The yeti crochet pattern is made in the round.
- Round 1: Starting with the 7mm hook and using a strand each of the worsted weight yarn and fur yarn (so 2 strands total!) make a mr and sc x6 into the circle and pull tight when you are done (6). If it is difficult to make a magic ring, just ch x2 and sc x6 into the second ch from the hook. If you need help counting your stitches the stitch markers will be your best friend.
- The secret to working with fur yarn is to use a worsted weight yarn with it so you can see part of the stitch and feel it easier with your fingers by using a non textured yarn - the extra yarn is not noticeable once the pattern is completely made.
- Round 2: Inc in every stitch (12).
- Round 3: Inc, sc. Then repeat for the rest of the round (18).
- Round 4: Inc, sc x2. Then repeat for the rest of the round (24).
- Round 5-9: Sc in every stitch (24).
- Round 10: Dec, sc x2. Then repeat for the rest of the round (18). Stuff with polyfill.
- Round 11: Dec, sc. Then repeat for the rest of the round (12).
- Round 12: Dec in every stitch (6). Fasten off the yarns and then Sew the bottom of the yeti closed.
Crochet Yeti Face:
- Round 1: With the blue yarn and 4mm hook, ch x6. Then starting in the second ch from the hook sc x4. Make 3 sc in the last stitch. Then sc x3 on the other side of the chain where it hasn't been worked in. Make 2 sc in the last stitch and sl st to the first sc you made in the round. This is the only time you have to make a sl st and is also the ending point for the other rounds.
- Round 2: Sc x3, inc x3, sc x3, inc x3 (18).
- Round 3: Sc x3, (inc, sc) x3, sc x3, (inc, sc) x3 (24).
- Round 4: Sc x3, (inc, sc x2) x3, sc x3, (inc, sc x2) x3 (30). Then fasten off and leave a long tail for sewing.
- Now it's time to add the eyes and embroidery.
- Insert the eyes between rounds 1 and 2 on the upper half of the oval.
- If you want: Add little half circles of white to the edge of the outer eyes for a more expressive look, and then take some yarn or thread and embroider a simple and cute mouth to the crochet yeti pattern. I personally made a smirk on my yeti but you can do it anyway you want.
- Sew the face to the yeti body. I chose to add my face to the upper half of the yeti body. To do this simply visualize your crochet Yeti in half and then sew the face to the upper half of the fluffy oval. You may need pins to hold it in place so you can test out the placement before sewing.
Hands and Feet:
- The feet and hands for the yeti crochet pattern are the same so make x4.
- Round 1: With the blue yarn and 4mm hook make a mr and then sc x6 into it. Pull tight (6).
- Round 2: Inc, sc. Then repeat for the rest of the round (9).
- Round 3-4: Sc in every stitch (9). Stuff with polyfill.
- Round 5: Dec, sc. Then repeat for the rest of the round (6). Once completed fold the opening in half and single crochet the opening shut by making 2 sc at the top going through both sides of the opening. Then fasten off and weave in the tail.
- Now to make the arms and legs!
- There are 2 different ways to make the legs and arms - you can crochet them directly into the body OR you can make them then sew them to the body so I will go over positioning first and then the pattern!
- The arms are placed an inch back from the edge of the face in line with the eyes. The legs are placed at the bottom of the yeti, in line with the eyes and edges of the face.
Arms:
- Either join directly to the yeti body or leave a long tail to sew.
- With the 7mm hook and both the worsted weight yarn and fluffy yarn ch x6. THEN SWITCH TO THE 4MM HOOK and sc into the hand in both sc spaces at the top. THEN SWITCH TO THE 7MM HOOK. Sc in each of the 6 chains. Then join back to the body. Fasten off and weave in the ends or if you choose to make it separately, sew the arm to the body.
- Repeat this for the other arm.
Legs:
- With the 7mm hook and both the worsted weight yarn and fluffy yarn ch x4. THEN SWITCH TO THE 4MM HOOK and sc into the foot in both sc spaces at the top. THEN SWITCH TO THE 7MM HOOK. Sc in each of the 4 chains. Then join back to the body. Fasten off and weave in the ends or if you choose to make it separately, sew the leg to the bottom of the body.
- Repeat this for the other leg.
- Once all the ends have been weaved in, your new abominable snowman made from my yeti crochet pattern is finished!

Leave a Reply