
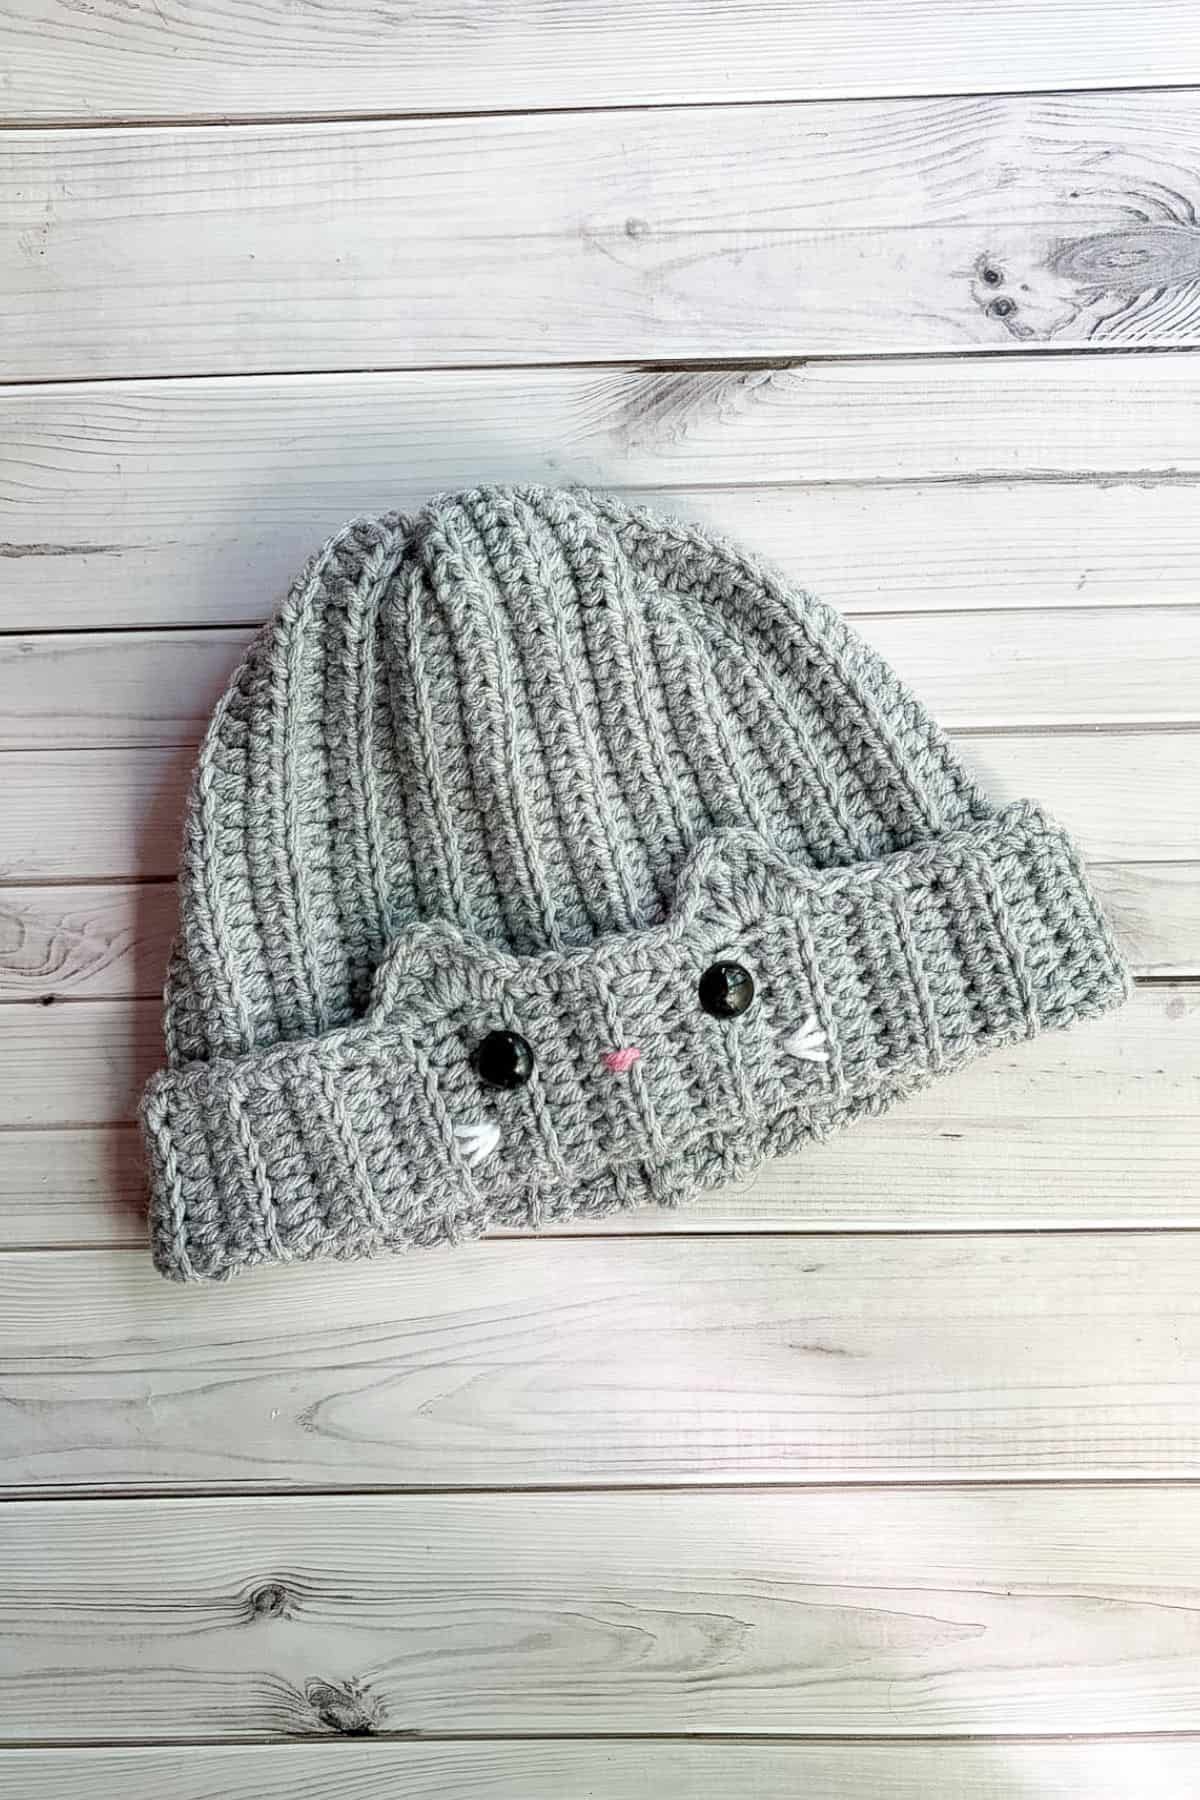
This easy Cat Hat Crochet Pattern will keep you toasty during fall and winter while being super cute! Some would say your crochet cat hat looks purrfect!

The crochet cat beanie pattern is perfect for beginners. It uses just one type of stitch for the base of the hat and is made using the simple flat rectangle method.
No need to worry about joining rounds, increasing, or decreasing—making it easy to follow. Once you've mastered this method, you can confidently make more hats.
The design is also very subtle. From a distance, the crochet cat beanie looks like a classic gray beanie. But up close, the cute cat details are more noticeable, adding a playful touch without being too flashy, my Bunny Ear Beanie Crochet Pattern is made using the same method. Subtle cuteness overload!
Ready to get started? Grab your yarn and hook, and let’s begin making this adorable crochet cat hat!
Jump to:
✏️ Things To Note:
- Yarn Choices: I used acrylic yarn for this free, easy cat beanie crochet pattern, but any type of yarn—cotton, chunky, etc.—would work well. Feel free to experiment with different textures to achieve the look you want.
- Hook Size and Measurements: By using a 5.5mm hook, my crochet rectangle for the beanie pattern measures roughly 14 inches by 22 inches. This size works well for a medium-sized adult head. If you need to adjust the height or length to fit someone else's head, please make the necessary adjustments.
- Adjusting for Child Sizes: If you are making this crochet cat hat pattern for a child, I recommend chaining 25-30 stitches and then following the pattern as normal, but only completing 30-35 rows. Adjust the number of stitches and rows as needed to ensure a comfortable fit.
🪡 Materials Needed
💭 Abbreviations to Remember (US Terms)
- Magic ring (MR)
- Single crochet (sc)
- Increase (inc) - 2 stitches in the same stitch
- Chains (ch)
- Half double crochet (hdc)
- Back loop only (blo)
- Double crochet (dc)
- Triple Crochet (tc)
🧋 Variations
Try making different colored cats by switching up the yarn color!
🍵 Instructions for Cat Hat Crochet Pattern
For this pattern we will mostly be working in rows.

Ch x41, turn.
Row 1: In the second chain from the hook, make a hdc. Then continue to make hdc for the rest of the row (40). At the end of the row, ch x1 and turn.
Row 2: In blo, hdc for the entire row (40). Then ch x1 and turn.
Row 3-44: Repeat row 3 (40). Ch x1 and turn.
Use more or less rows depending on the size of the hat you are trying to achieve

Before fastening off the yarn you want to fold the rectangle in half and then sew it or crochet it to form a tube.

After the side of the hat has been sewn together, take the yarn and cinch the top of the hat shut. Fasten off and weave in the end.
Once that is done, flip the hat inside out so now the sewn edges are on the inside of the hat.
Brim:

The seam should be the back center of the hat. Join the gray yarn at the seam and then sc a quarter of the way around the hat (if the hat is laid flat with seam at the center, you should be at the side of the hat).
Sc x8.

Now for the cat ear:
Sc and hdc in one stitch. In the next make a dc, tr, ch, tr, dc (4 stiches +1 chain in one stitch). In the next stitch make a hdc and sc.
Then sc x7.
Make the second ear just like the one above. Once that is done finish sc the rest of the brim. Fasten off and weave in the ends.
Finishing:

Insert the safety eyes about an inch below the cat ears.
With pink yarn, embroider a small line between the eyes for a little nose.
Then with white yarn, embroider the whiskers below the cat eyes. 3 lines on each side. Make sure to only sew it through the brim and not both the brim and hat.
And once all of that is done, the ends are weaved in, your crochet cat hat made from my cat hat crochet pattern is completed! I hope you enjoy your crochet cat beanie as much as I had fun designing the pattern for it!
If you want to check out more crochet animal hat patterns, check out my Crochet Reindeer Hat Pattern and Crochet Bear Hat Pattern.
Want more crochet cat patterns? My Cat Coaster Crochet Pattern pairs purrrfectly with a cup of morning coffee and my Cat Crochet Keychain Pattern looks cute on any bag!
If you are wanting to make a full crochet winter set, my Crochet Star Stitch Scarf Pattern will definitely keep your neck warm! And my Crochet Fingerless Gloves in Granite Stitch will keep your hands nice and toasty!
🐌Expert Tips
- Choosing Yarn: Use a yarn with good stitch definition to highlight your work, especially for the cat's facial features.
- Cinch the Top: When cinching the top of the hat, make sure to pull tightly to close any gaps, ensuring a neat finish.
- Customizing Size: For a looser fit, add a few extra rows or beginning chains. For a snugger fit, use less chains and rows.
🧵 Pattern FAQs
Yes, you can! Just make sure to keep the ears the same, and it should turn out fine.
You can add embellishments like bows or flowers, or even experiment with different ear shapes to personalize your cat hat.
Absolutely! If you want larger or smaller cat ears, simply add or reduce the number of stitches in each step when creating the ear shape. You can also play with the thickness by using a different yarn weight.
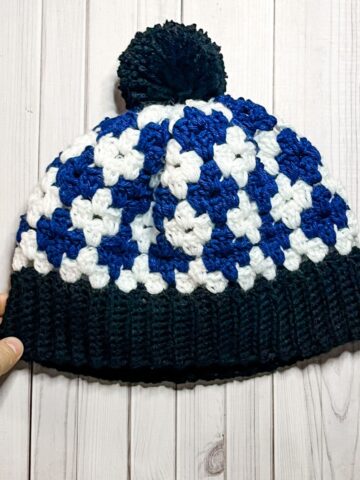
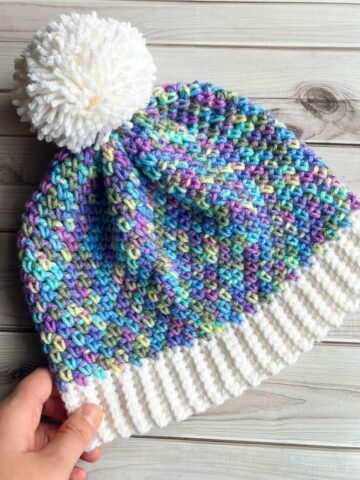
🧶More Crochet Wearable Patterns

If you tried this Cat Hat Crochet Pattern (or any other pattern on my website), please let me know how it went in the 📝 comments below. I'd love to hear from you!

Cat Hat Crochet Pattern
Materials
Abbreviations (US terms)
- Magic ring - mr
- Single crochet - sc
- Increase (inc) - 2 stitches in the same stitch
- Chains - ch
- Half double crochet - hdc
- Back loop only - blo
- Double crochet - dc
- Triple Crochet (tc)
Notes
- Yarn Choices: I used acrylic yarn for this free, easy cat hat crochet pattern, but any type of yarn—cotton, chunky, etc.—would work well. Feel free to experiment with different textures to achieve the look you want.
- Hook Size and Measurements: By using a 5.5mm hook, my crochet rectangle for the beanie pattern measures roughly 14 inches by 22 inches. This size works well for a medium-sized adult head. If you need to adjust the height or length to fit someone else's head, please make the necessary adjustments.
- Adjusting for Child Sizes: If you are making this crochet cat hat pattern for a child, I recommend chaining 25-30 stitches and then following the pattern as normal, but only completing 30-35 rows. Adjust the number of stitches and rows as needed to ensure a comfortable fit.
Instructions
- For this pattern we will mostly be working in rows.
- Ch x41, turn.
- Row 1: In the second chain from the hook, make a hdc. Then continue to make hdc for the rest of the row (40). At the end of the row, ch x1 and turn.
- Row 2: In blo, hdc for the entire row (40). Then ch x1 and turn.
- Row 3-44: Repeat row 3 (40). Ch x1 and turn.
- Use more or less rows depending on the size of the hat you are trying to achieve
- Before fastening off the yarn you want to fold the rectangle in half and then sew it or crochet it to form a tube.
- After the side of the hat has been sewn together, take the yarn and cinch the top of the hat shut. Fasten off and weave in the end.
- Once that is done, flip the hat inside out so now the sewn edges are on the inside of the hat.
Brim:
- The seam should be the back center of the hat. Join the gray yarn at the seam and then sc a quarter of the way around the hat (if the hat is laid flat with seam at the center, you should be at the side of the hat).
- Sc x8.
- Now for the cat ear:
- Sc and hdc in one stitch. In the next make a dc, tr, ch, tr, dc (4 stiches +1 chain in one stitch). In the next stitch make a hdc and sc.
- Then sc x7.
- Make the second ear just like the one above. Once that is done finish sc the rest of the brim. Fasten off and weave in the ends.
Finishing:
- Insert the safety eyes about an inch below the cat ears.
- With pink yarn, embroider a small line between the eyes for a little nose.
- Then with white yarn, embroider the whiskers below the cat eyes. 3 lines on each side. Make sure to only sew it through the brim and not both the brim and hat.
- And once all of that is done, the ends are weaved in, your crochet cat hat made from my cat hat crochet pattern is completed! I hope you enjoy your crochet cat beanie as much as I had fun designing the pattern for it!


Leave a Reply