
Long-eared bunny hats have become super popular lately, but here is a shorter, subtler Bunny Ear Beanie Crochet Pattern! Perfect for the entire winter season!

I have a long list of adorable animal hats I want to make, and I’m thrilled to finally share my perfected crochet bunny hat pattern with you.
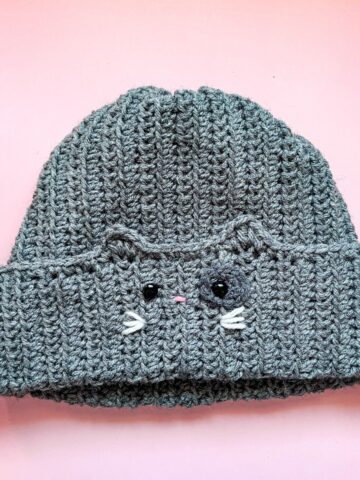
This design features rosy cheeks, long but manageable ears, and a cute "X" for the nose. It’s hard to imagine anything that could make it cuter!
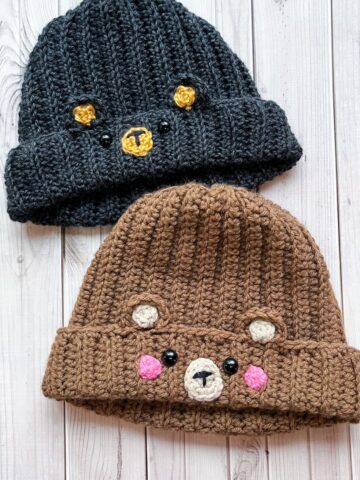
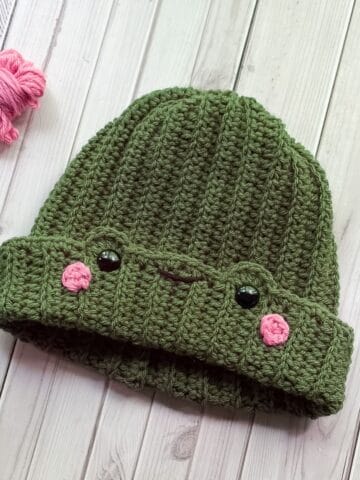
I love adding pink rosy cheeks to my animal hats because it gives them extra personality and charm—just like my crochet frog hat and crochet bear hat.
For a fun finishing touch, you can optionally add a pom pom to the top of the hat, giving it a fluffy, cotton tail look that makes it even more delightful.
So, let’s get started on my Bunny Beanie Crochet Pattern!
Jump to:
✏️ Things To Note:
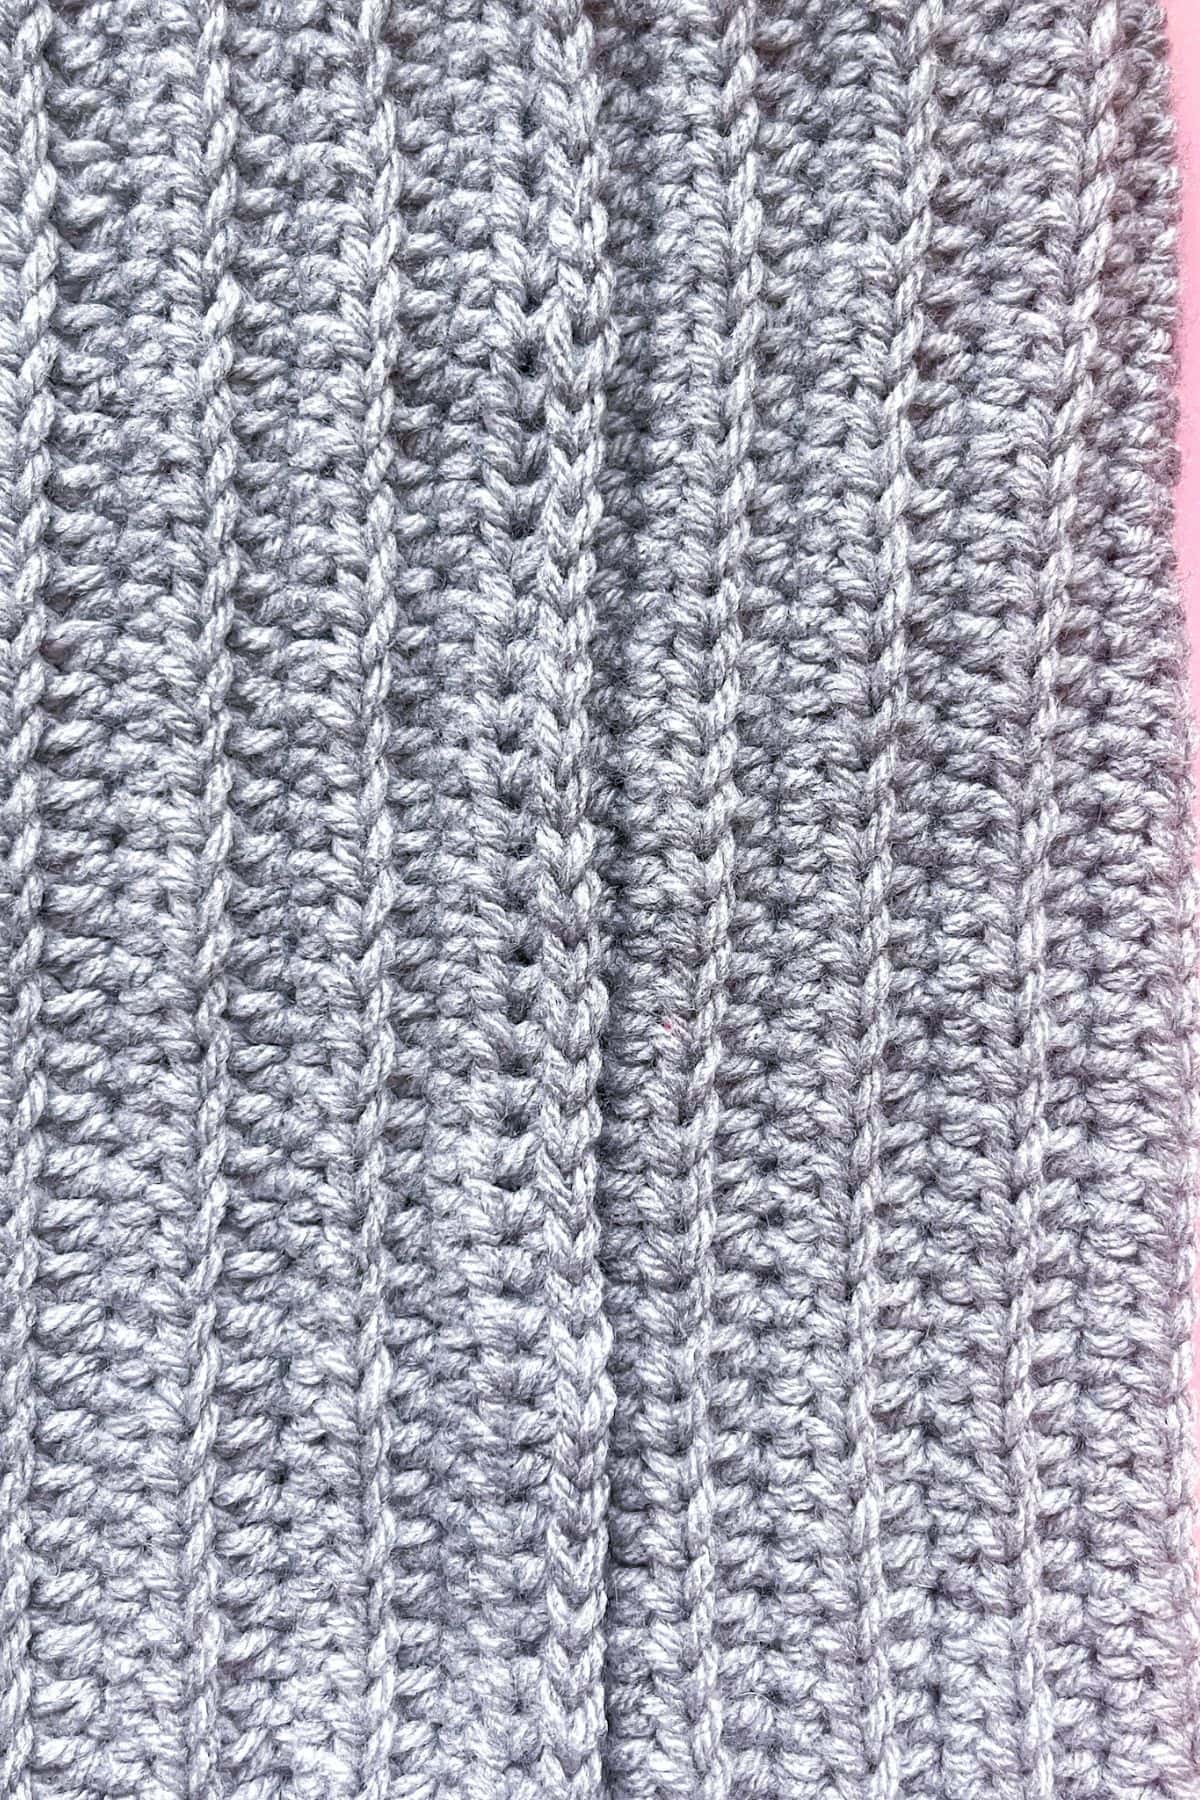
- Yarn Type. I used acrylic yarn for this crochet bunny beanie pattern, but any type of yarn would work—cotton, chunky, etc. Just adjust the stitch count and rows to accommodate different weights.
- Hook Size and Measurements. By using a 5.5mm hook, my crochet rectangle for the beanie is roughly 14 inches by 22 inches. This should fit an adult medium/large. Adjust the height or length if needed to fit the person's head.
- Kid Sizes. If you want to make this bunny ear beanie for a child, I recommend chaining 35-40 and then following the pattern as normal, but only doing 35-40 rows. Adjust as needed depending on the child's age.
🪡 Materials Needed
- 1 skein of red hearts dusty gray
- 1 skein of red hearts light raspberry
- Safety eyes
- 5.5mm hook
- Tapestry needle for weaving in the ends and sewing pieces together
- Pom pom (either handmade or bought)
💭Abbreviations to Remember (US terms)
- Magic ring (mr)
- Single crochet (sc)
- Chains (ch)
- Half double crochet (hdc)
- Back loop only (blo)
- Slip stitch (sl st)
- Double crochet (dc)
- Triple crochet (tr)
🧋Variations
You can use different colors for the bunny to add a simple variation! Experiment with pastels, bright colors, or even natural shades to give each beanie a unique look.
🍵Instructions for Bunny Ear Beanie Crochet Pattern
For this pattern we will mostly be working in rows.
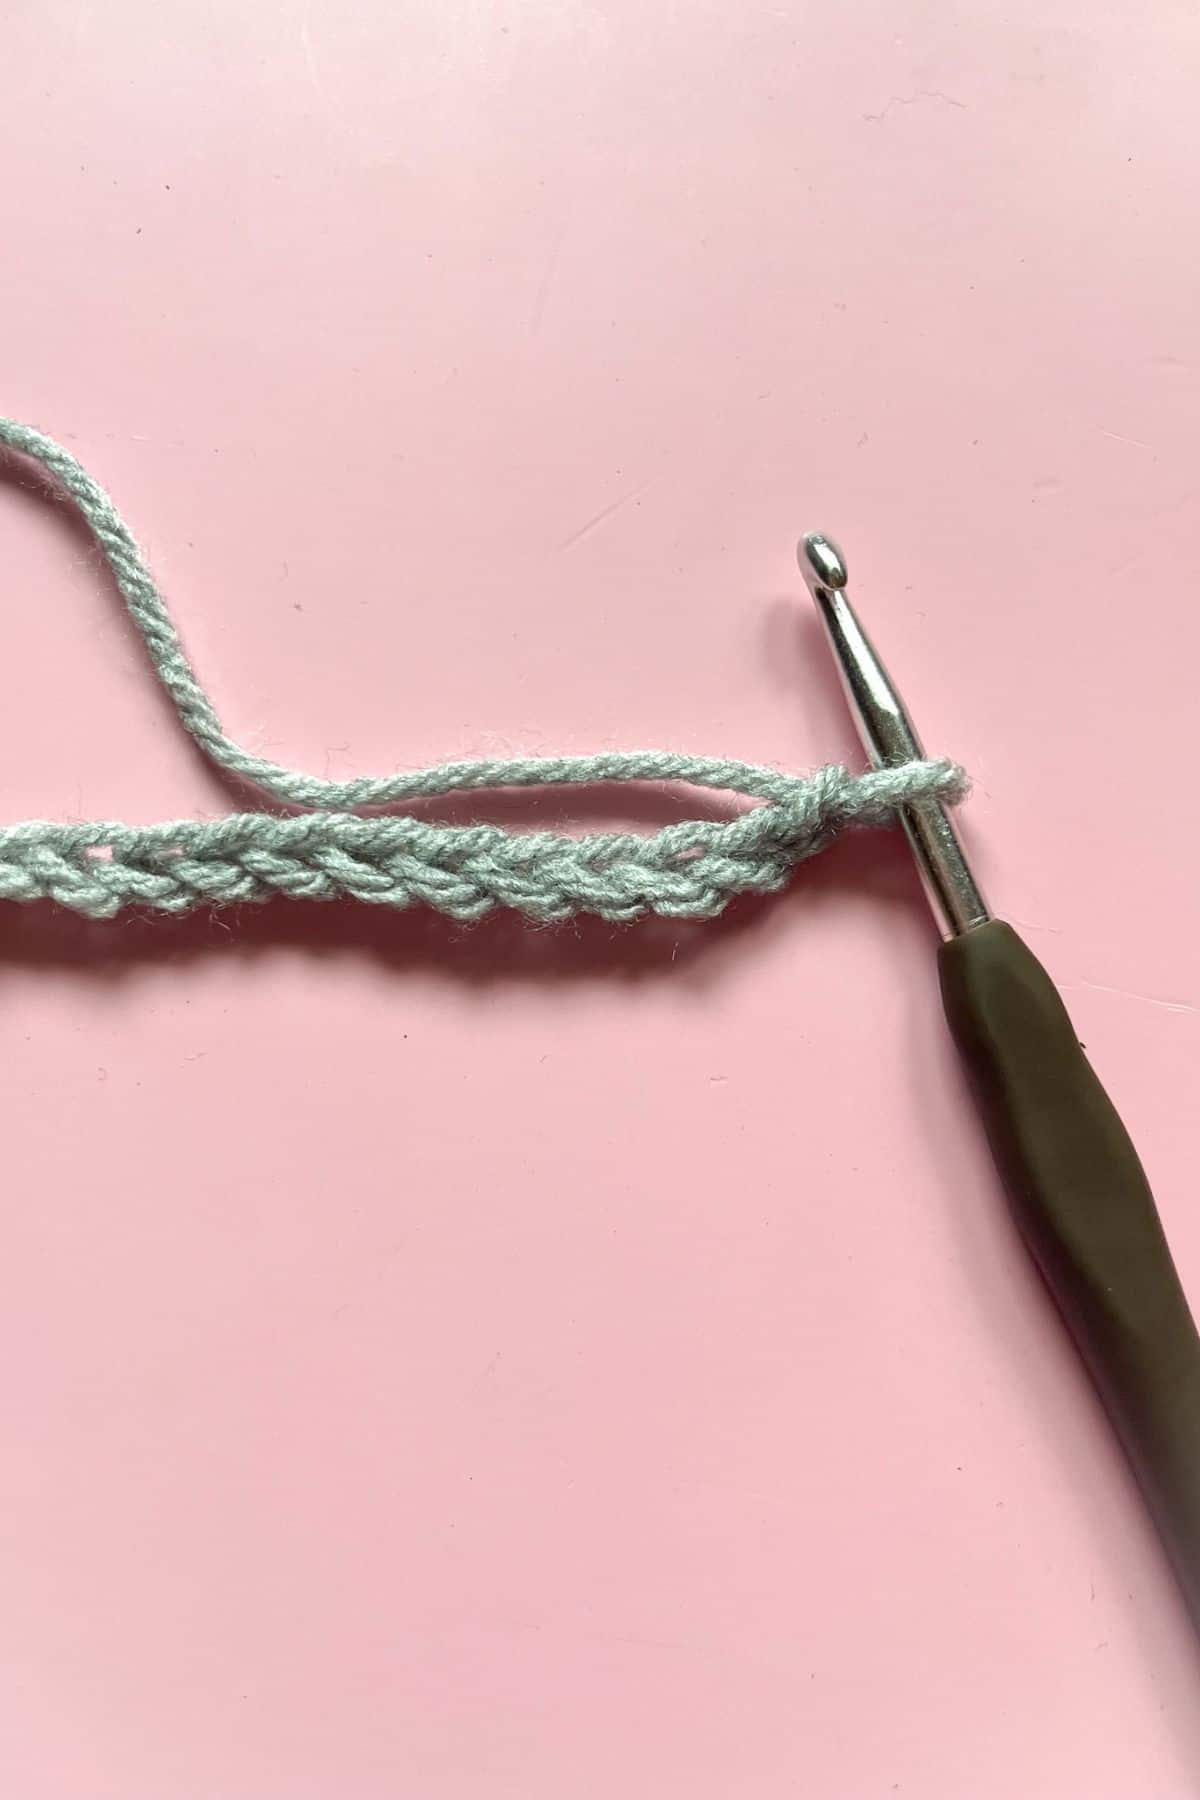
Row 1: Ch x41, turn
Row 2: In the second chain from the hook, make a hdc. Continue to make hdc for the rest of the row. (40) At the end of the row, ch x1 and turn. (The ch is a turning ch, you will be making these every row but do not work in them!)
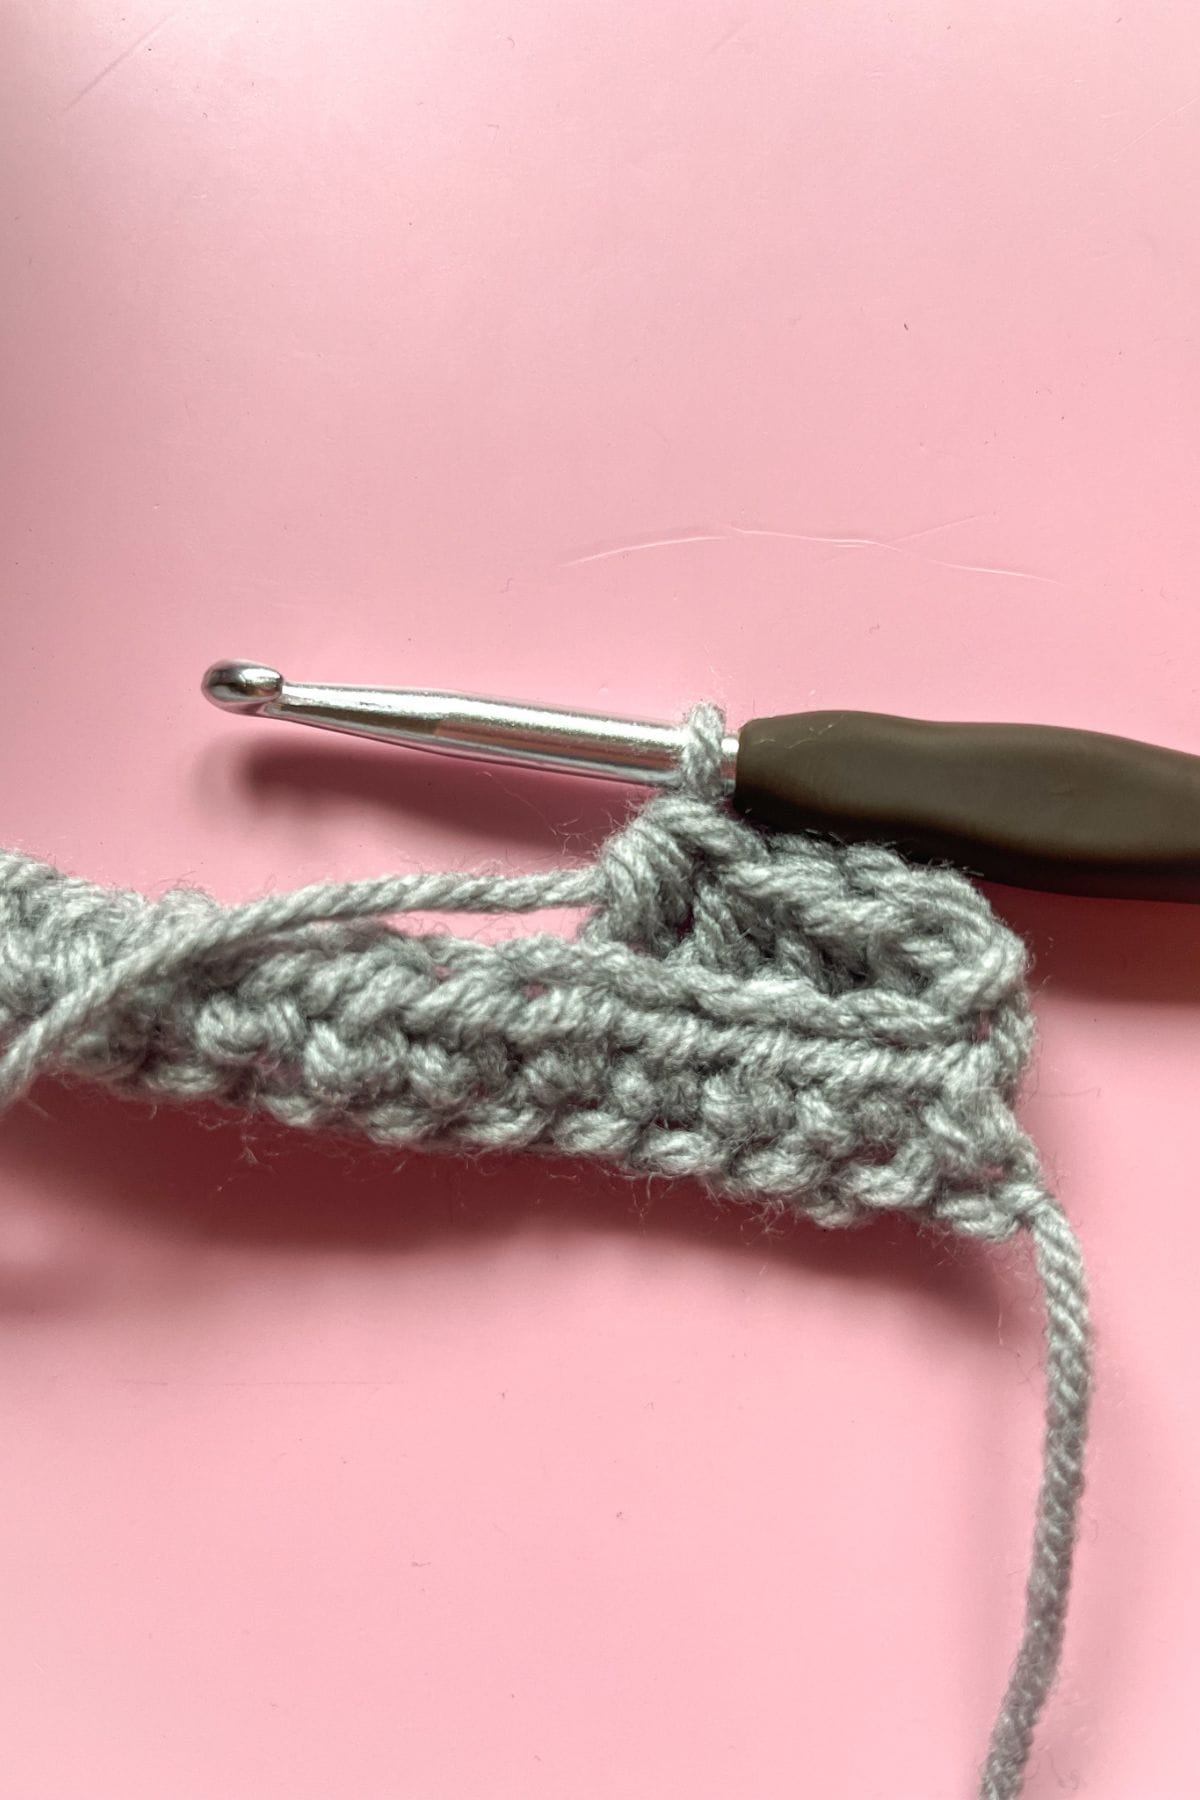
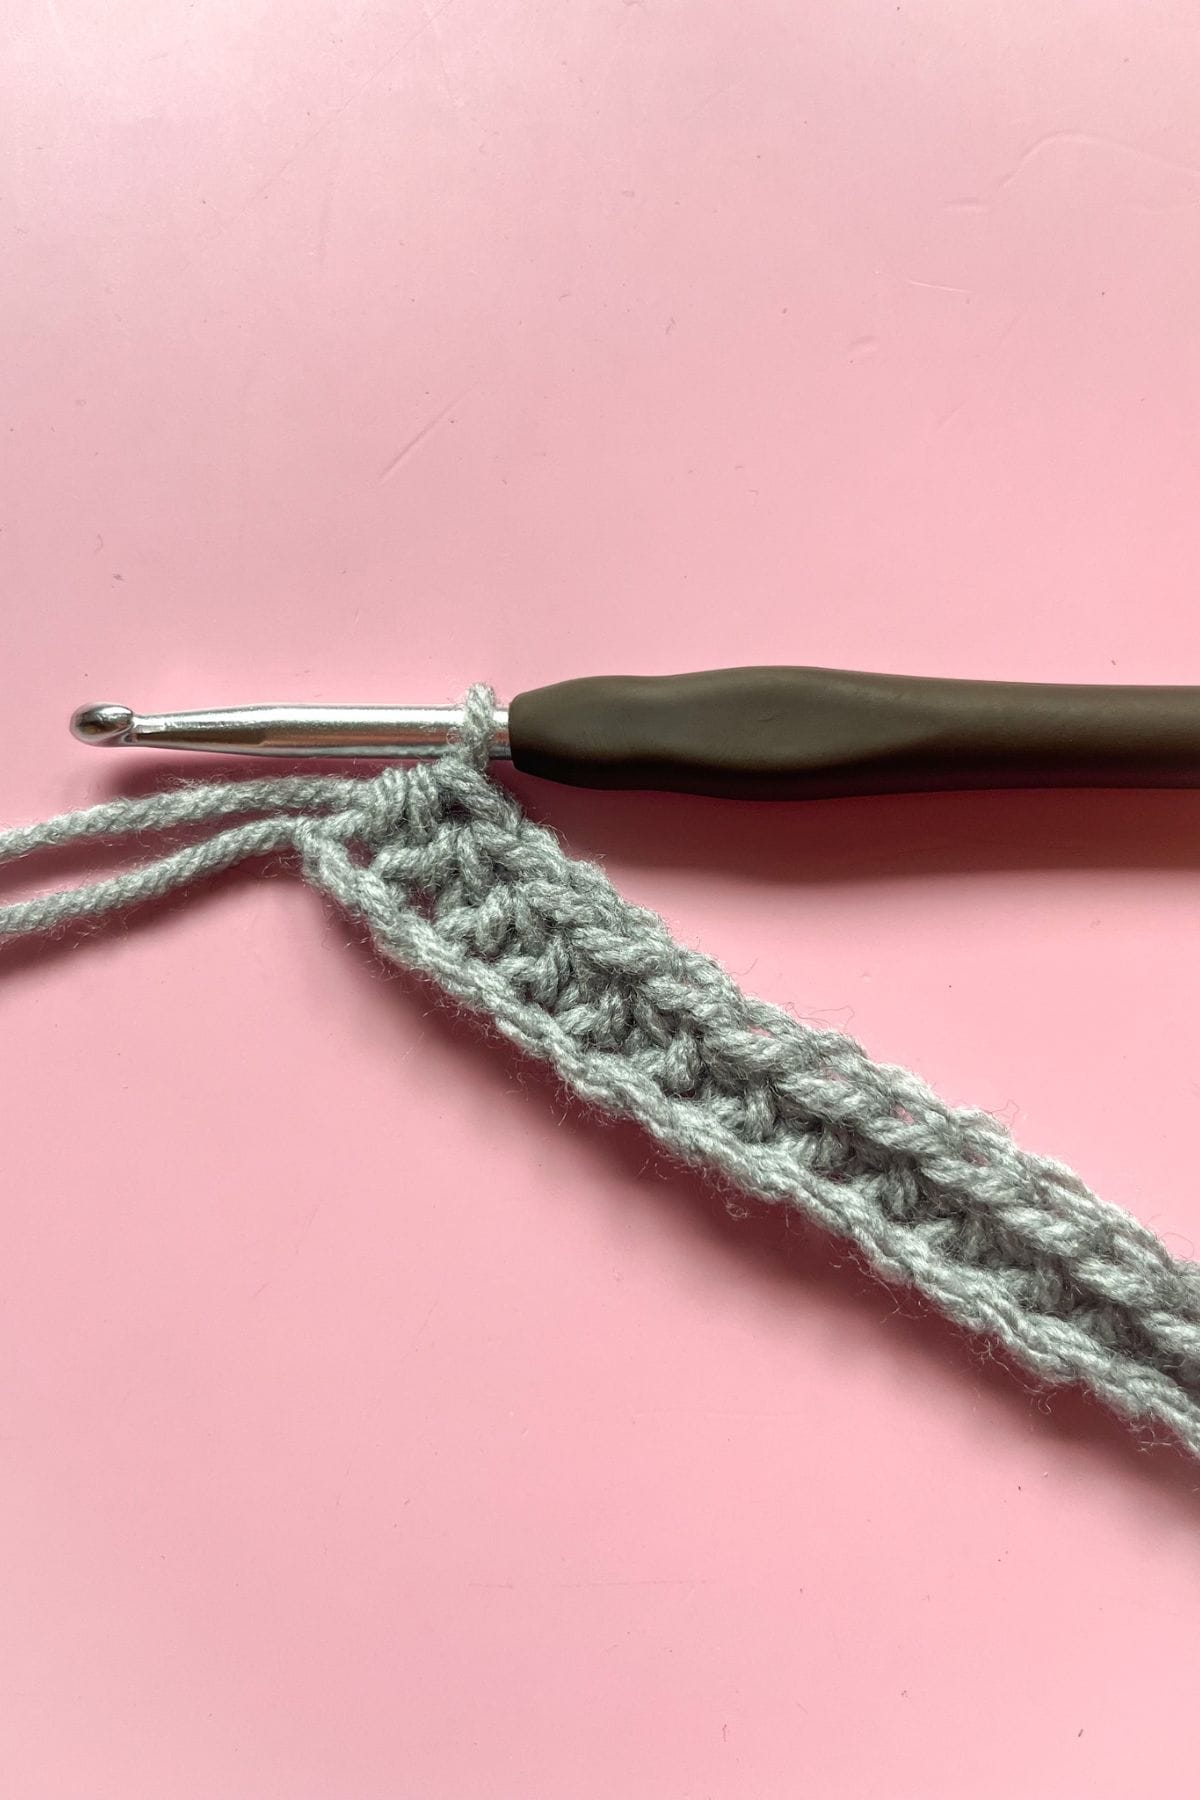
Row 3: In blo, hdc for the entire row (40). Ch x1 and turn
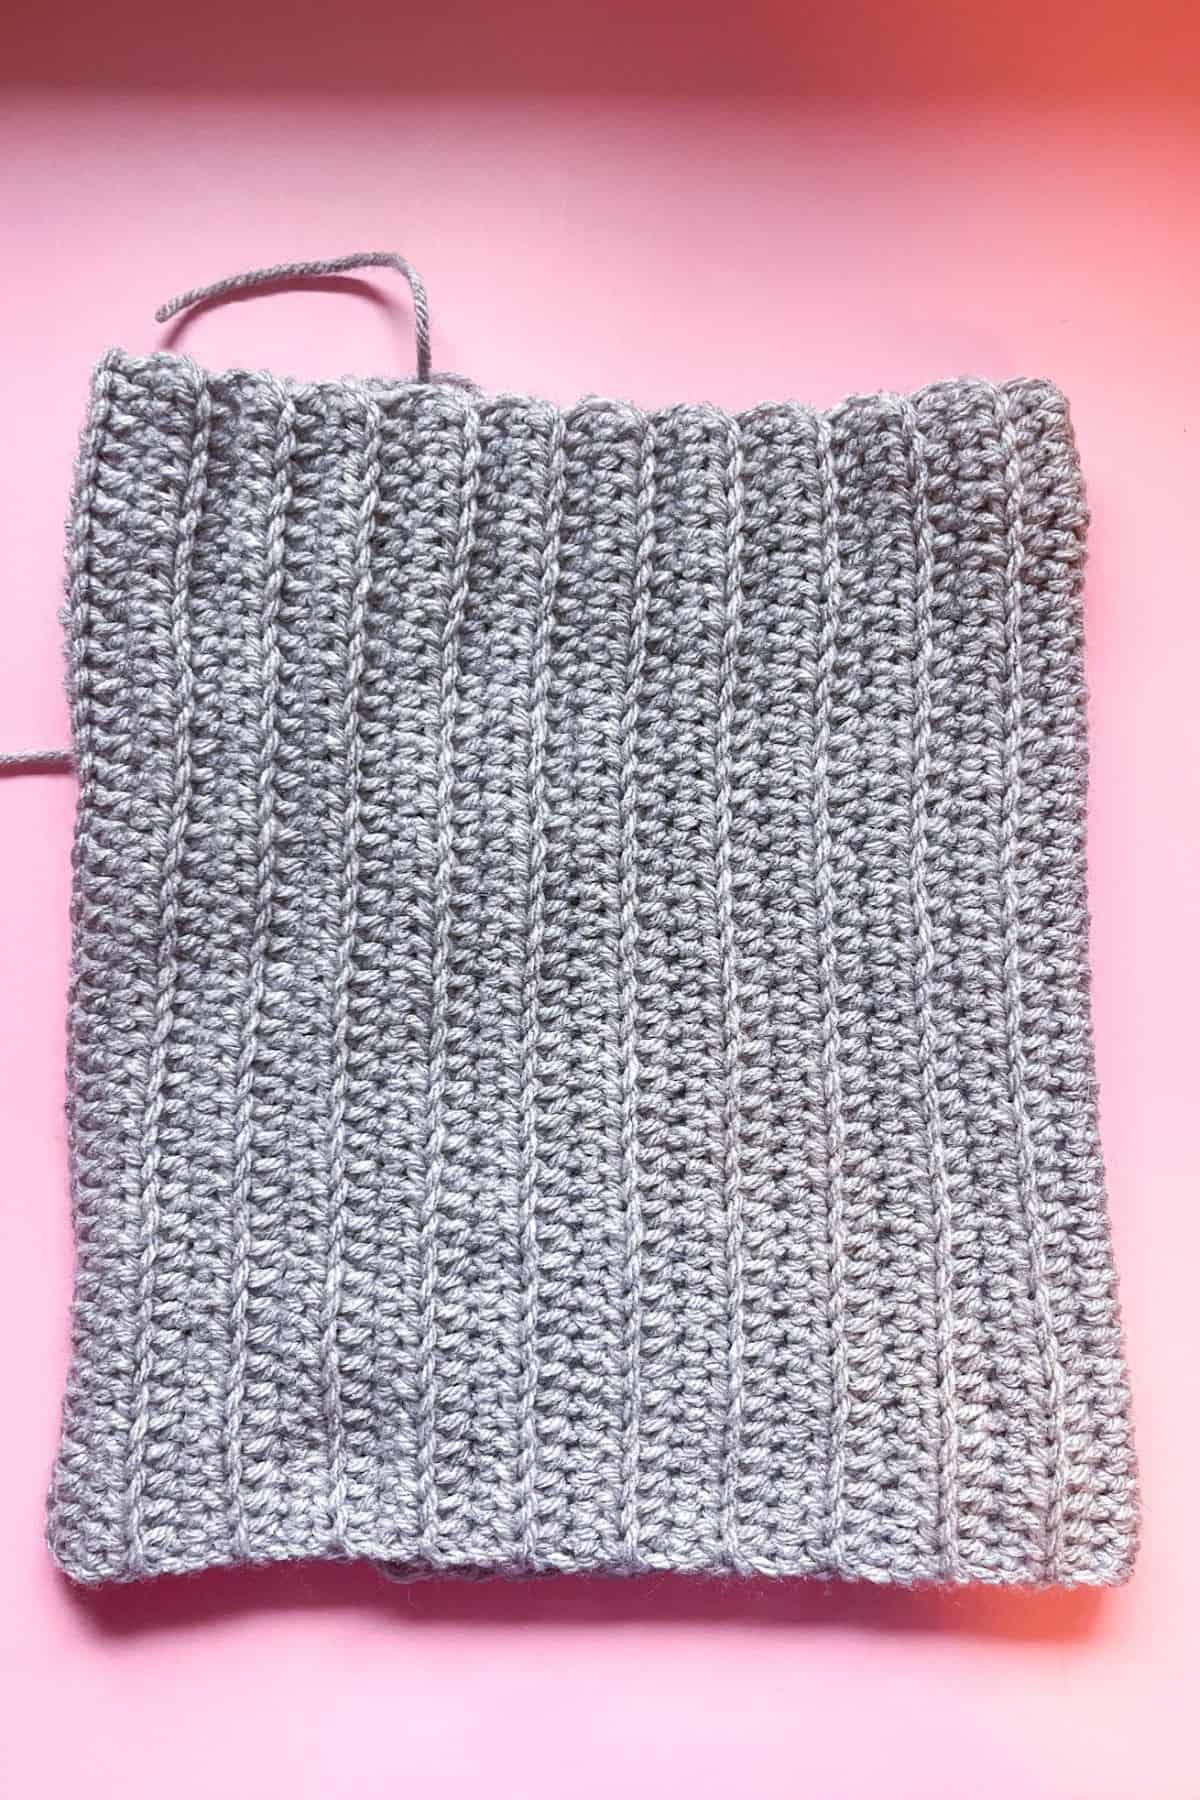
Row 4-44: Repeat row 3. (40). Ch x1 and turn.
Use more or less rows depending on the size of the hat you are trying to achieve.
Before fastening off the yarn you want to fold the rectangle in half and then sew it or crochet it shut.
After the side of the hat has been sewn shut, take the yarn and cinch the top of the hat shut. Fasten off and weave in the end.
Once that is done, flip the hat inside out so now the sewn edges are on the inside of the hat.
Brim:
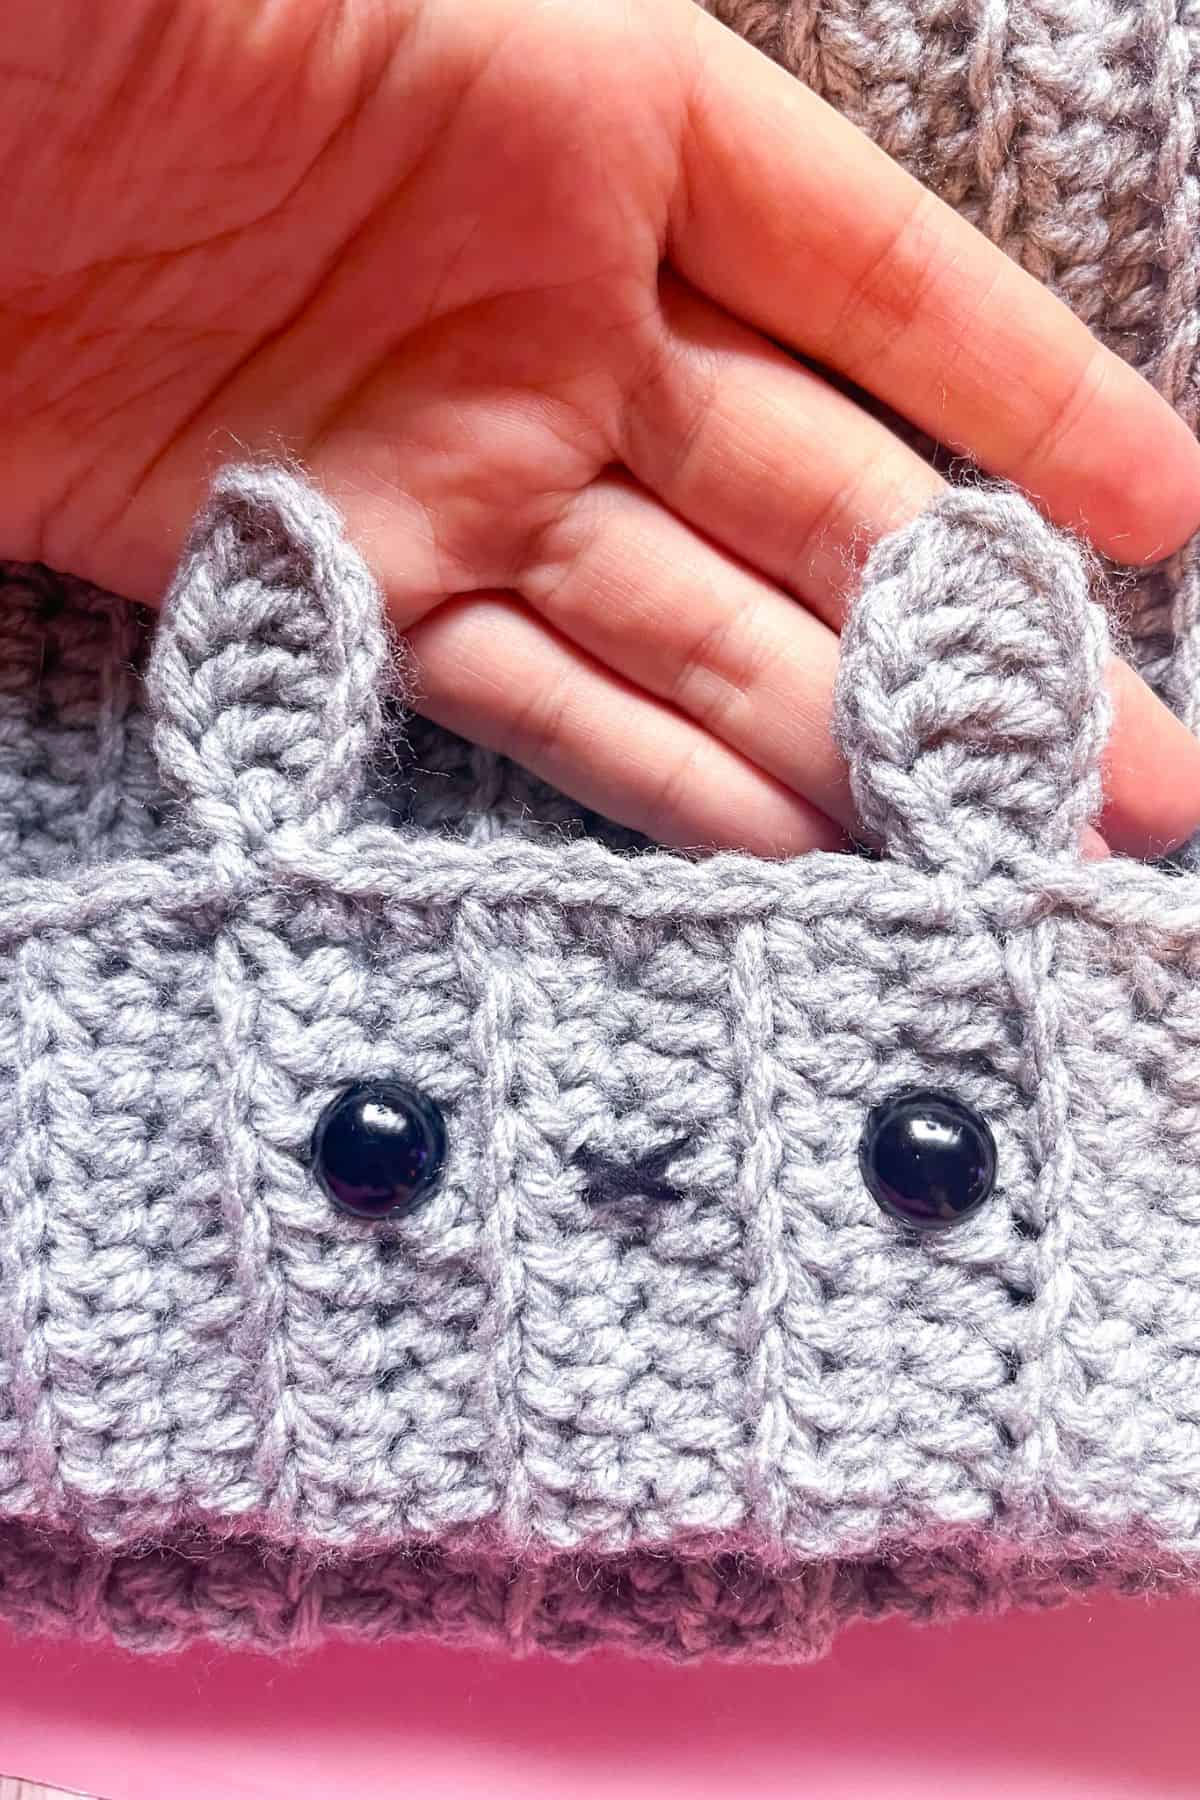
Figure out what side of the hat you want as the front side. Then insert your yarn onto the edge (preferably insert the yarn either on the side or back of the hat. I generally insert it on the seam) and make a sc. Make enough sc to get you to where you want to place your first bunny ear (the side of the hat you want as the front).
Now for the bunny ear: In the stitch where you want the ear to be placed make a sl st, then ch x7, in the 3rd chain from the hook, make a dc, in the following 3 chains make a tr in each ch. Dc in the last ch then sl st into the stitch you started making the ear.
Sc x7 and then proceed to make another crochet bunny ear.
Sc the rest of the brim. Then fasten off and weave in the tail.

Inner ear circles:
Using the pink yarn, Ch x5 and in the second ch from the hook make a sc. continue making sc in the chs until you are out of chs. Fasten off the yarn and leave a tail for sewing.
Cheeks:
Round 1: With pink yarn, make a mr and make sc x6 in the circle (6). Slip stitch to the first sc and fasten off.
Finishing:
Insert safety eyes below the ears.
Sew the inner pink ears to the ears. Then sew on the cheeks below and slightly left/right of the eyes.
And once all of that is done, the ends are weaved in, your bunny crochet hat made from my bunny ear beanie crochet pattern is completed! I hope you enjoy your crochet bunny beanie as much as I had fun designing the pattern for it!
🐌Expert Tips
- Thin Nose Lines. For the nose, I split the worsted-weight yarn into two strands and used only half. This creates a thinner line and makes the nose look more delicate.
- Alternative Ear Construction. If you want the ears to stand up more, consider adding floral wire inside to help them keep their shape.
- Adjusting Size. To adjust for different head sizes, make a sample swatch and measure the stitches per inch. This will help you calculate how many chains and rows you need for a snug fit.
🧵Pattern FAQs
Yes! But you will need to adjust the pattern because you will need a larger hook.
It's possible, but the ears might not hold their shape as well. Consider double-stranding the ears or adding floral wire to help them maintain their shape.
Yes, as long as you use the same decorations for the brim. This will give you a similar finished beanie with a different base construction.

🧶More Hat Patterns

If you tried this Bunny Ear Beanie Crochet Pattern (or any other pattern on my website), please let me know how it went in the 📝 comments below. I'd love to hear from you!

Bunny Ear Beanie Crochet Pattern
Materials
- 1 skein of red hearts dusty gray
- 1 skein of red hearts light raspberry
- Tapestry needle
- Safety eyes
- 5mm crochet hook
- Pom Pom (handmade or storebought)
Abbreviations (US terms)
- mr = Magic ring
- sc = Single crochet
- ch = Chain
- hdc = Half Double Crochet
- blo = Back Loop Only
- sl st = Slip Stitch
- dc = Double Crochet
- tr = Triple Crochet
Notes
Instructions
- For this pattern we will mostly be working in rows.
- Row 1: Ch x41, turn
- Row 2: In the second chain from the hook, make a hdc. Continue to make hdc for the rest of the row. (40) At the end of the row, ch x1 and turn. (The ch is a turning ch, you will be making these every row but do not work in them!)
- Row 3: In blo, hdc for the entire row (40). Ch x1 and turn
- Row 4-44: Repeat row 3. (40). Ch x1 and turn.
- Use more or less rows depending on the size of the hat you are trying to achieve.
- Before fastening off the yarn you want to fold the rectangle in half and then sew it or crochet it shut.
- After the side of the hat has been sewn shut, take the yarn and cinch the top of the hat shut. Fasten off and weave in the end.
- Once that is done, flip the hat inside out so now the sewn edges are on the inside of the hat.
Brim:
- Figure out what side of the hat you want as the front side. Then insert your yarn onto the edge (preferably insert the yarn either on the side or back of the hat. I generally insert it on the seam) and make a sc. Make enough sc to get you to where you want to place your first bunny ear (the side of the hat you want as the front).
- Now for the bunny ear: In the stitch where you want the ear to be placed make a sl st, then ch x7, in the 3rd chain from the hook, make a dc, in the following 3 chains make a tr in each ch. Dc in the last ch then sl st into the stitch you started making the ear.
- Sc x7 and then proceed to make another crochet bunny ear.
- Sc the rest of the brim. Then fasten off and weave in the tail.
Inner ear circles:
- Using the pink yarn, Ch x5 and in the second ch from the hook make a sc. continue making sc in the chs until you are out of chs. Fasten off the yarn and leave a tail for sewing.
Cheeks:
- Round 1: With pink yarn, make a mr and make sc x6 in the circle (6). Slip stitch to the first sc and fasten off.
Finishing:
- Insert safety eyes below the ears.
- Sew the inner pink ears to the ears. Then sew on the cheeks below and slightly left/right of the eyes.
- And once all of that is done, the ends are weaved in, your bunny crochet hat made from my bunny ear beanie crochet pattern is completed! I hope you enjoy your crochet bunny beanie as much as I had fun designing the pattern for it!


May says
Hi! Love your patterns! Just curious as to what size safety eyes ypu used for this project. thank you!
KimberlyArenas says
I believe I used 12mm for the eyes for the hat! Anything around 12-14mm (1/2 inch) should work 🙂