

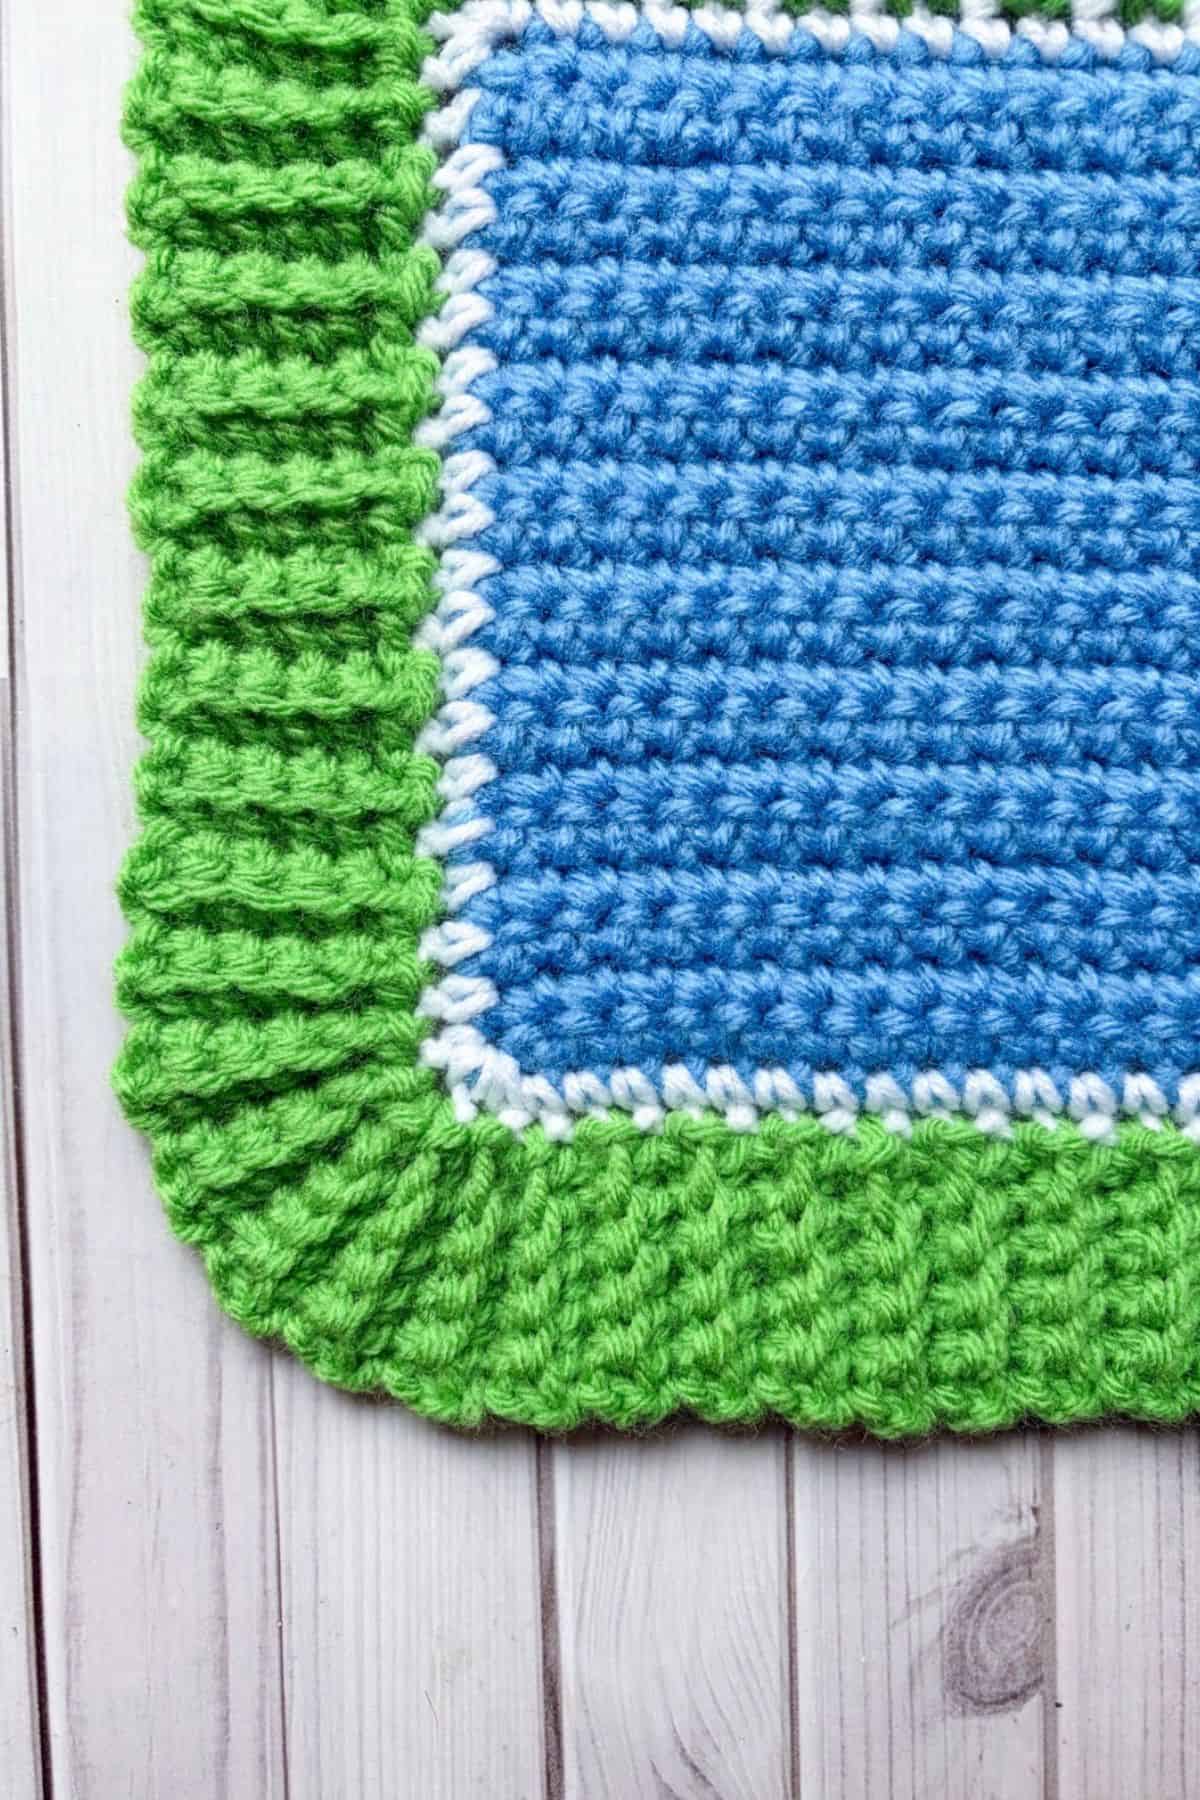
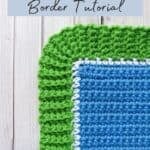
While there are many ways to make a Ribbed Crochet Border, one of the easiest ways is using the back loop single crochet stitch. Now beginner crocheters can learn how to create a beautiful border for any of their projects.
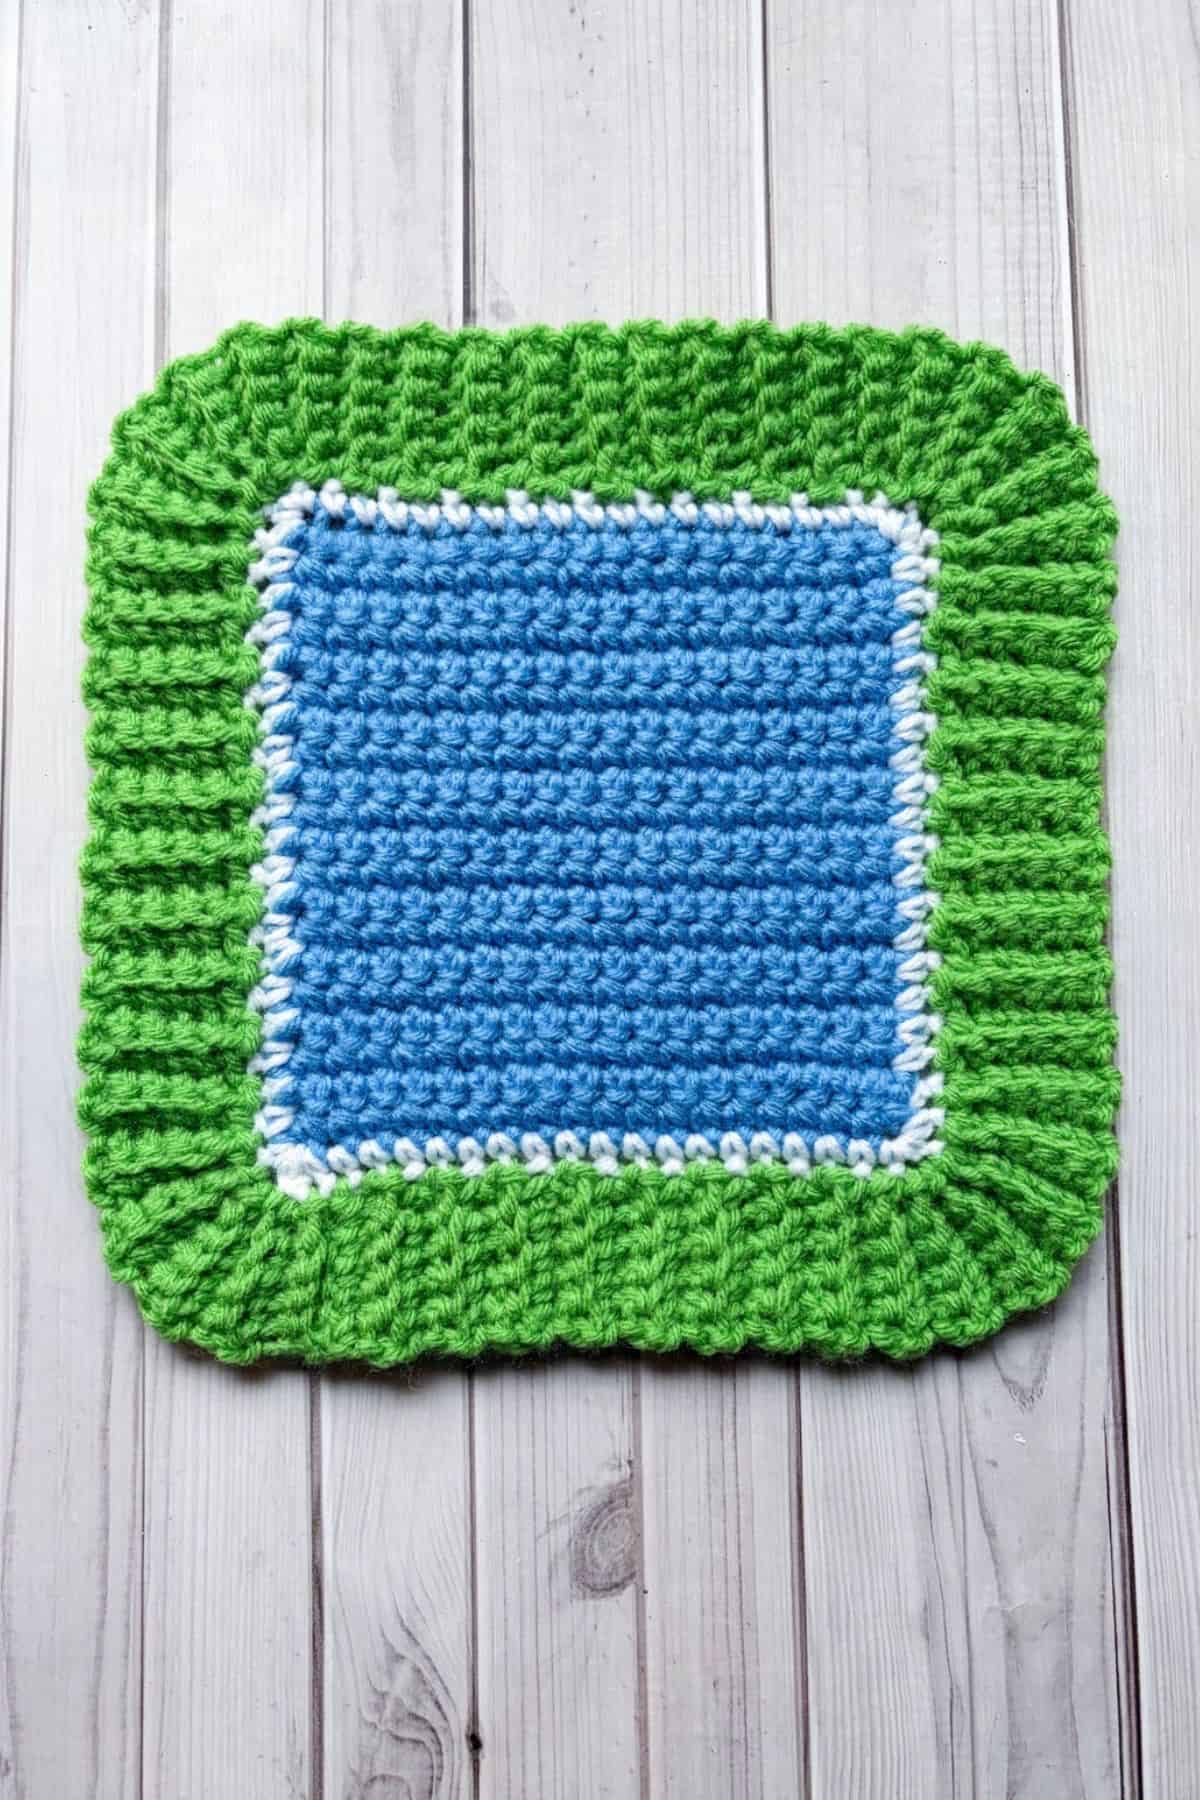
The back loop single crochet ribbing looks complicated but is actually quite easy to do if you know how to crochet in the back loop as well as make single crochets and slip stitches.
Not only can you use the single crochet ribbing for finishing projects, but you can also use it to START projects. I use it to start the Crochet Ribbed Fingerless Gloves Pattern.
Single crochet ribbing isn't the only ribbing you can do for crochet work. You can also do alternating front post and back post double crochet which is what I use for my Strawberry Cardigan Crochet Pattern.
Jump to:
✏️ Things To Note:
- Border Width: You don't add extra rounds to the crochet ribbed border, so you want to make sure you have the width you want for your project when you make the starting chains.
- Hook Size: Make sure you are using the same hook size when creating the ribbed crochet border as you did for your main project.
- Yarn: You can make this border with almost any yarn size, just make sure its a smooth texture (not blanket or something fuzzy)
🪡 Materials Needed
- Hook you used for your main project.
- Preferred yarn
- Tapestry needle
💭Abbreviations to Remember (US terms)
- Chain - ch
- Slip stitch - sl st
- Single crochet - sc
- Back loop only - blo
🍵Instructions for Ribbed Crochet border Tutorial
This tutorial is to show you how to make a ribbed border around your already crocheted project like a blanket or cardigan.
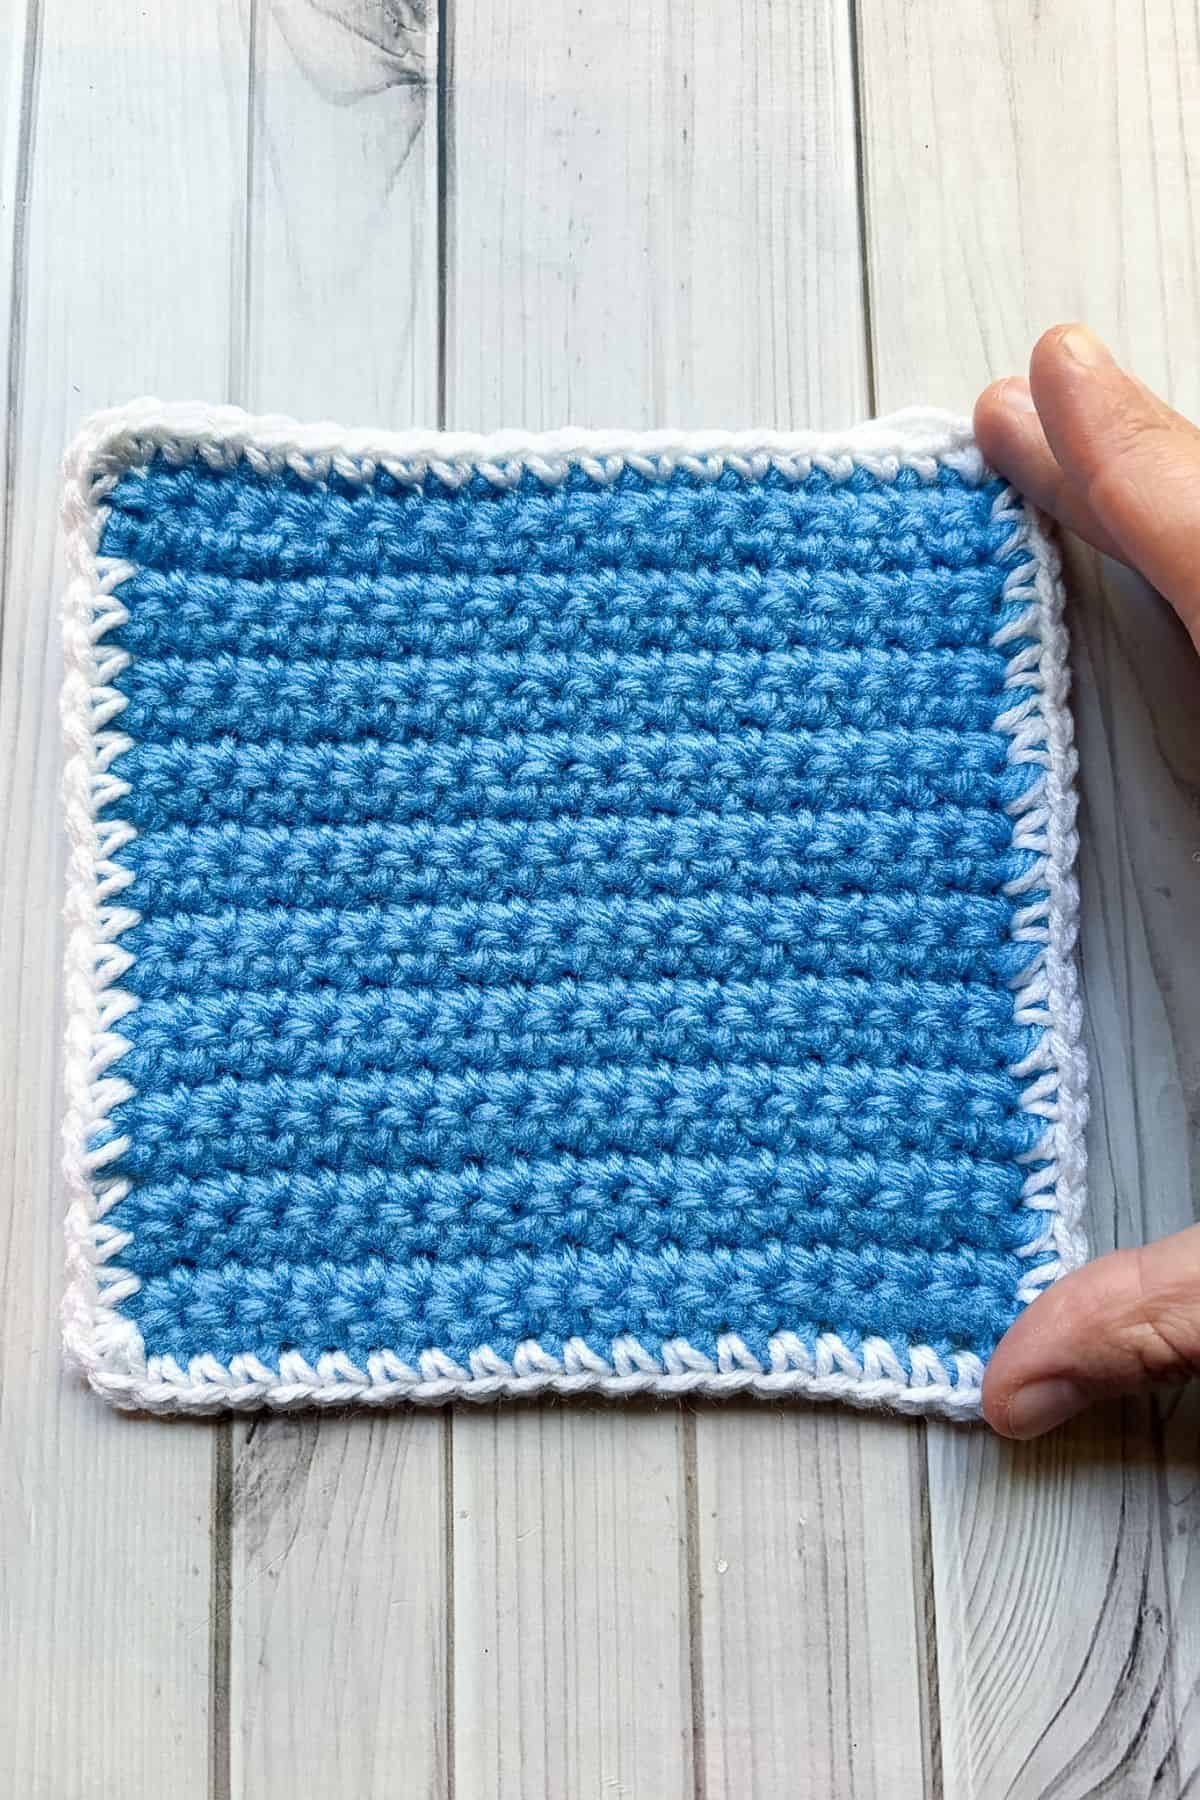
Step 1: If your project is not already made in the round, make a round of single crochets as a base. Each corner should have 3 sc.
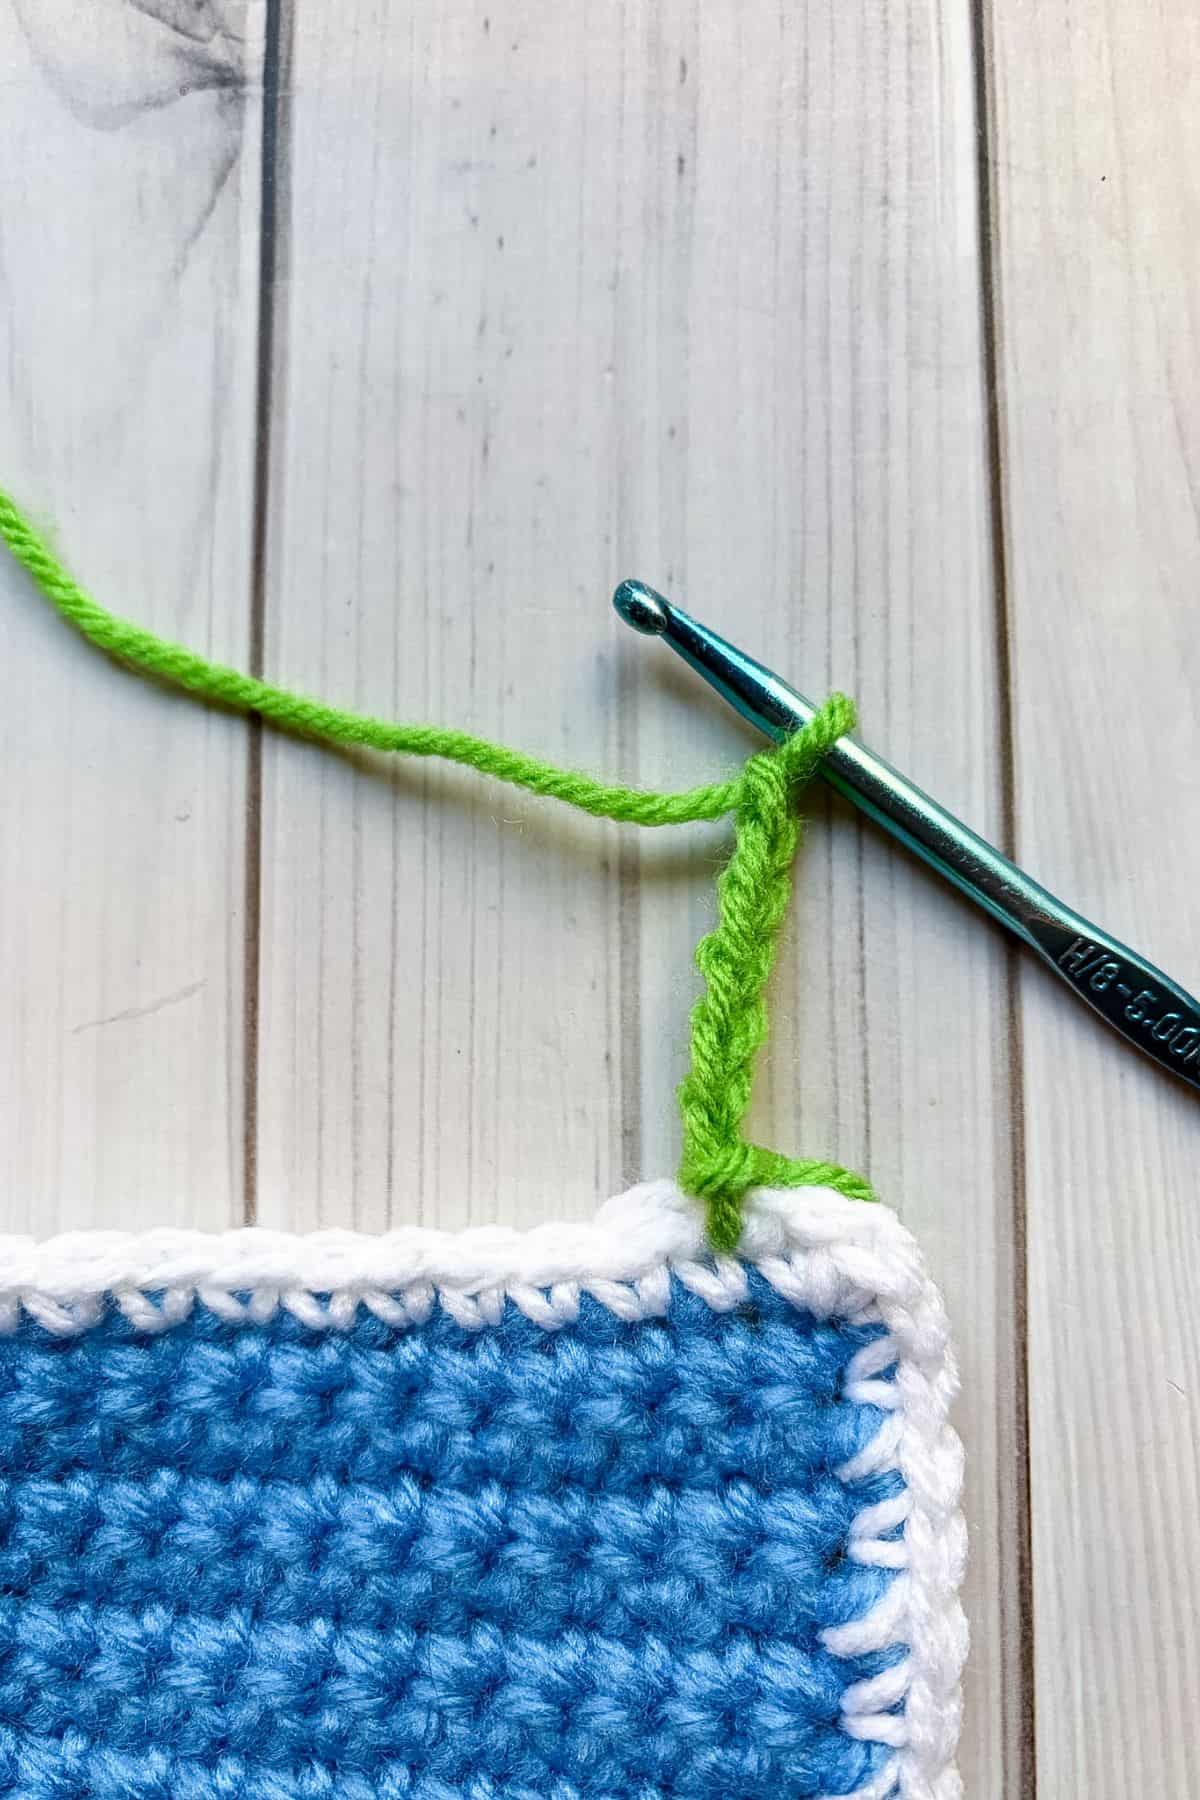
Step 2: Join the yarn you want for the border anywhere on the edge of the project. Ch x6 or however long you want your chain to be - this will be the width of your ribbed border.
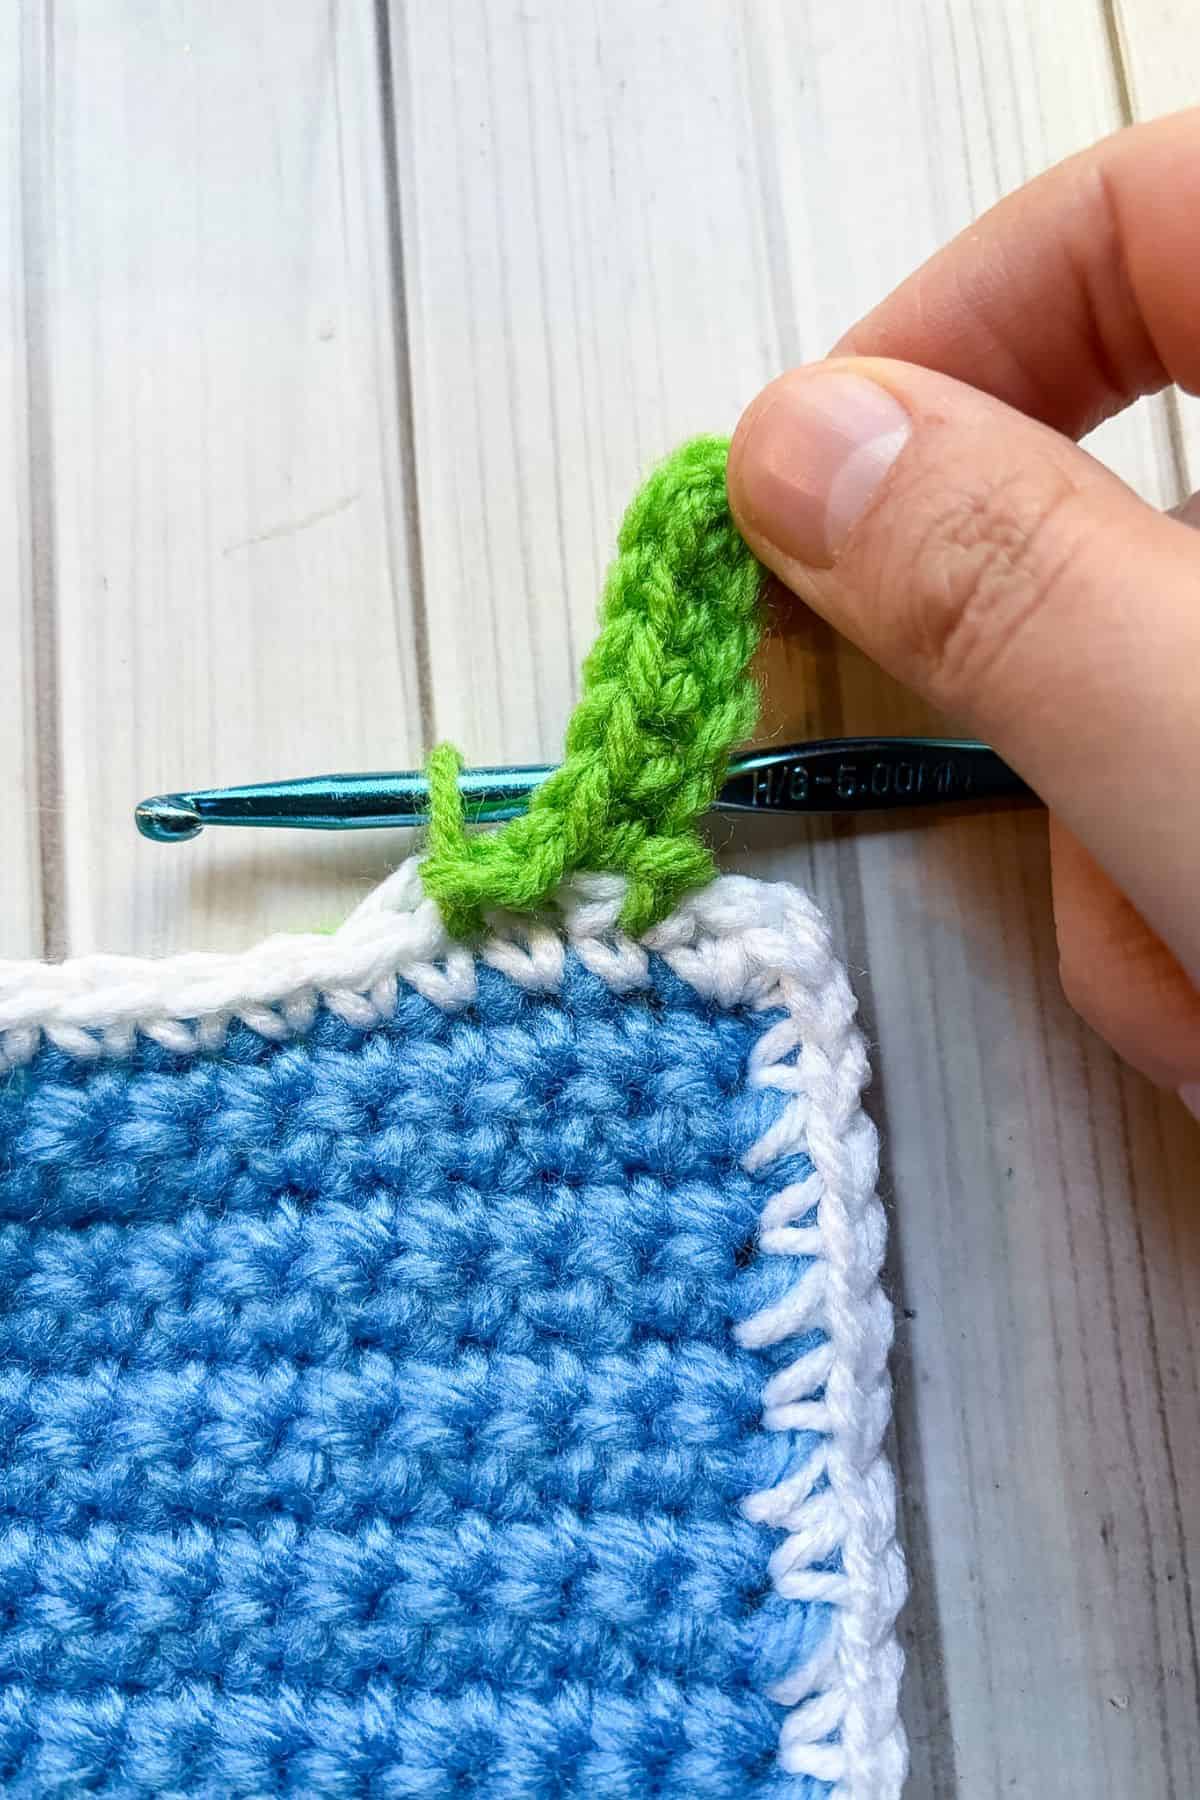
Step 3: In the second ch from the hook make a sc. Sc the rest of the way down the chains. * Sl st in the next available sc on the edge of your project, then make a sl st into the next one (2 sl st total).
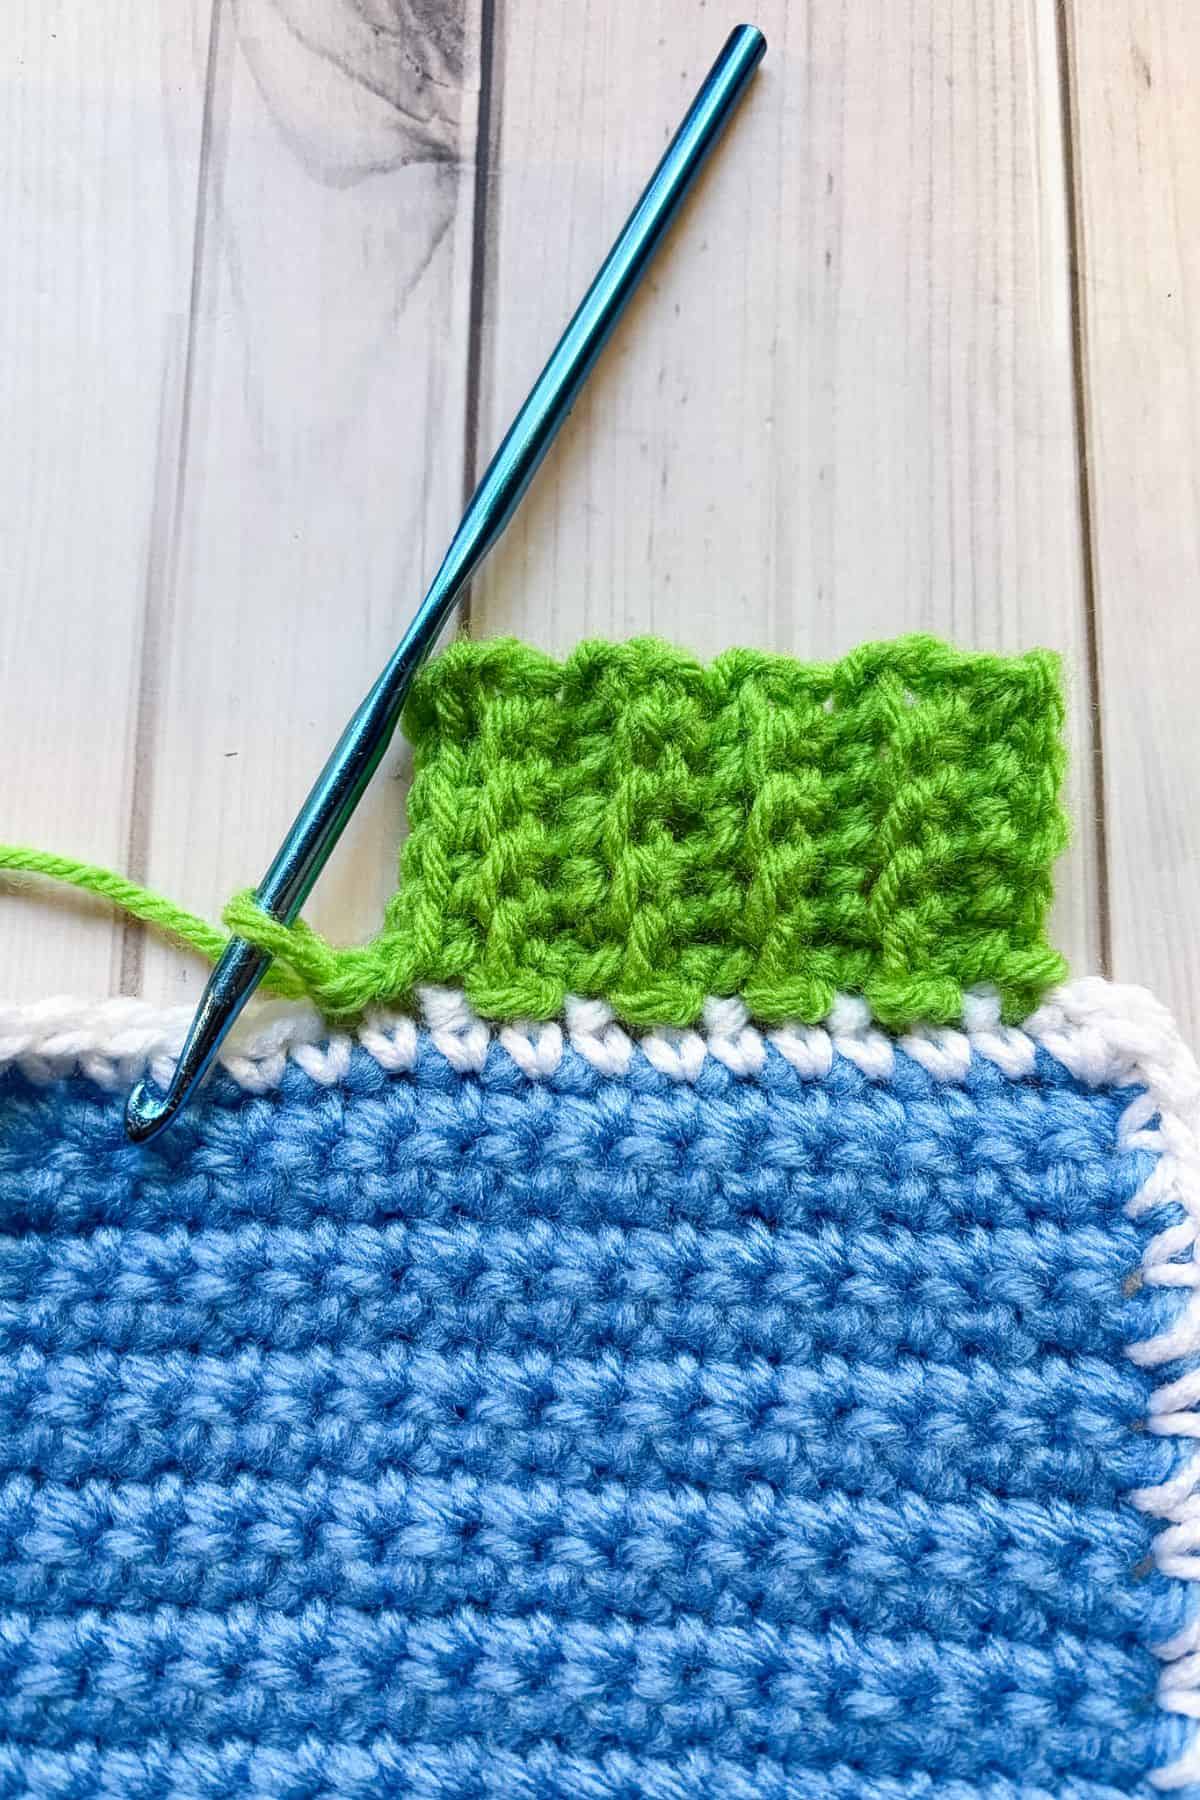
Step 4: In blo, sc up the ribbing again until you are at the top (5 blo sc for me since I started with 6 chains). Ch x1 and turn. Blo sc back down the ribbing until you reach the base of your project.
Repeat from * until you reach a corner.
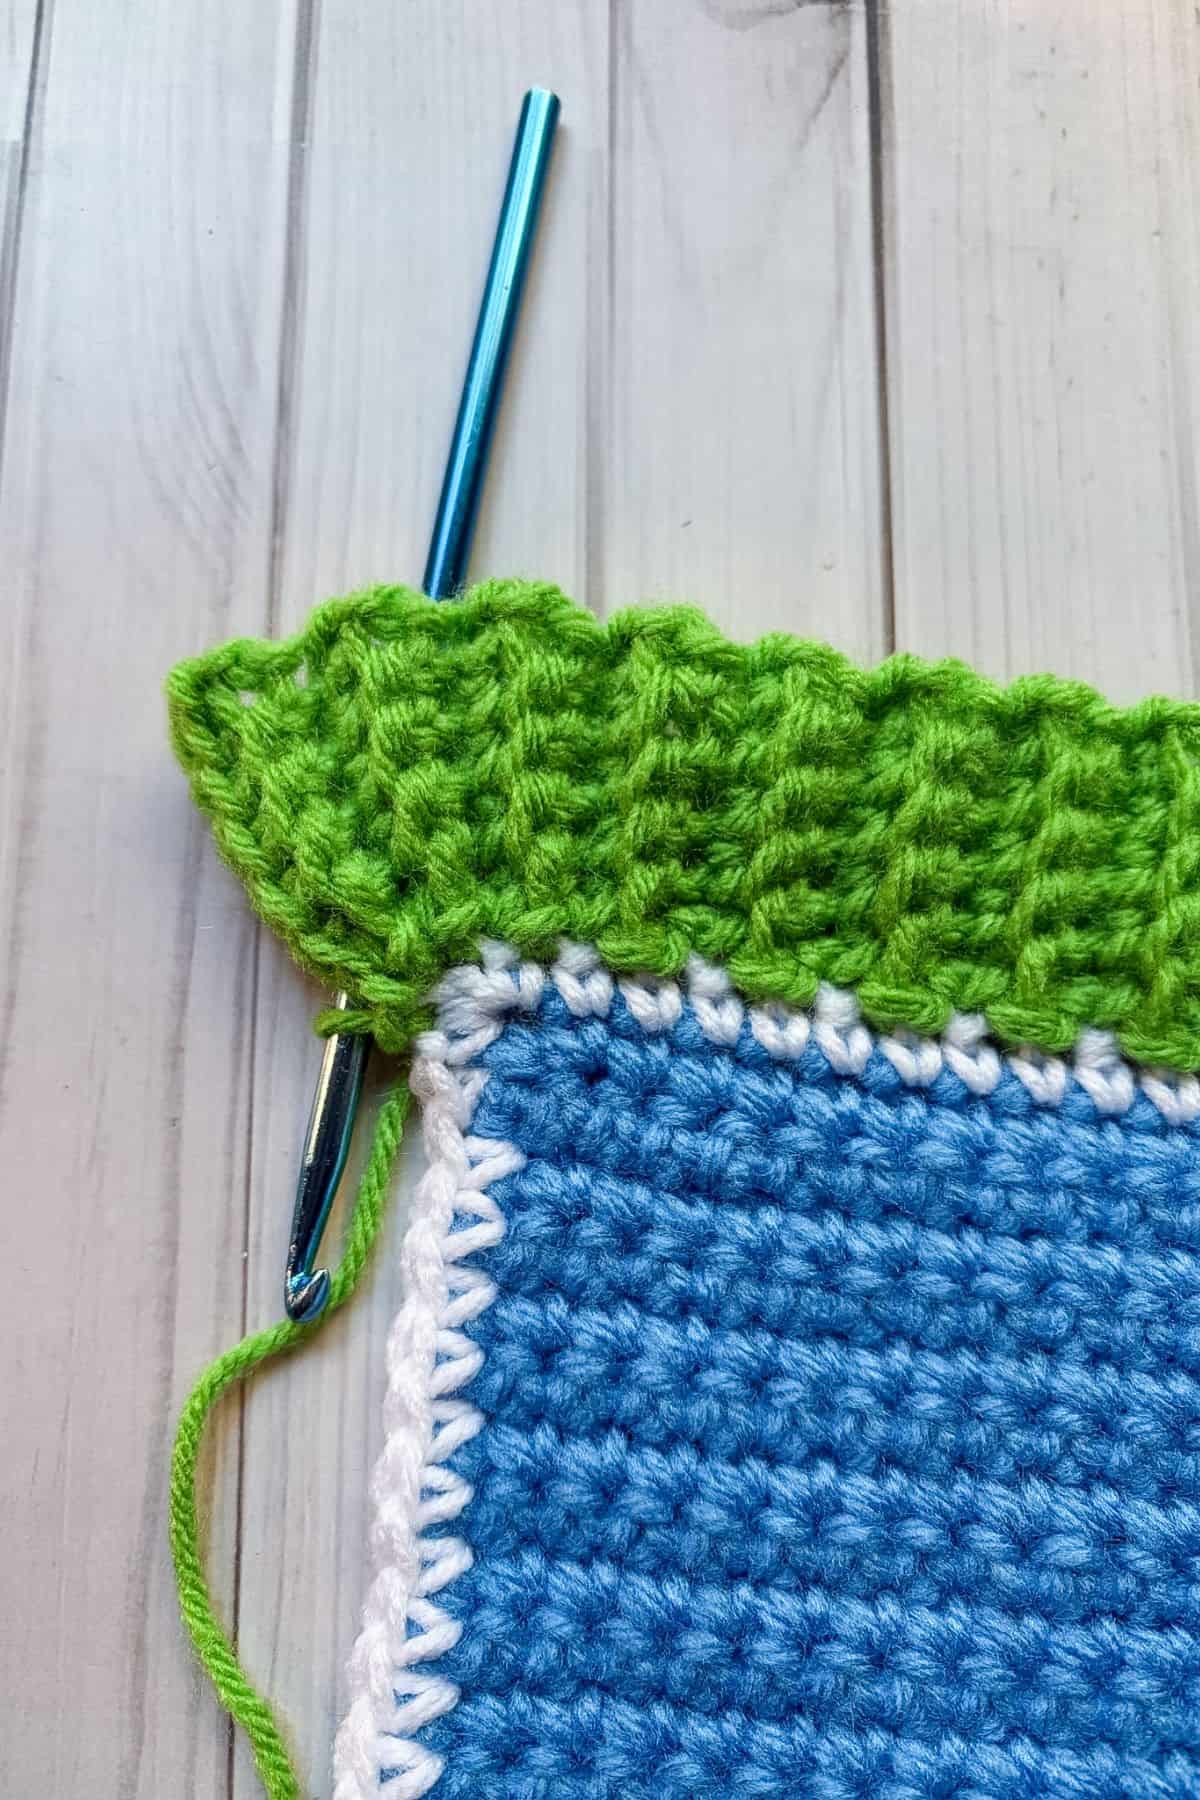
Step 5: In the first of the 3 corner sc stitches, only sl st 1 time if you can, if not that's ok, just make sure you start the corner with a sl st in the 1st stitch. Blo sc like you have been, ch x1 and then come back down.
Sl st to the middle sc, blo sc up and down 3 TIMES into the middle stitch. Each time only making a single sl st before going back up.
Once you have done that 3 times - sl st into the last corner stitch and go up and down once more.
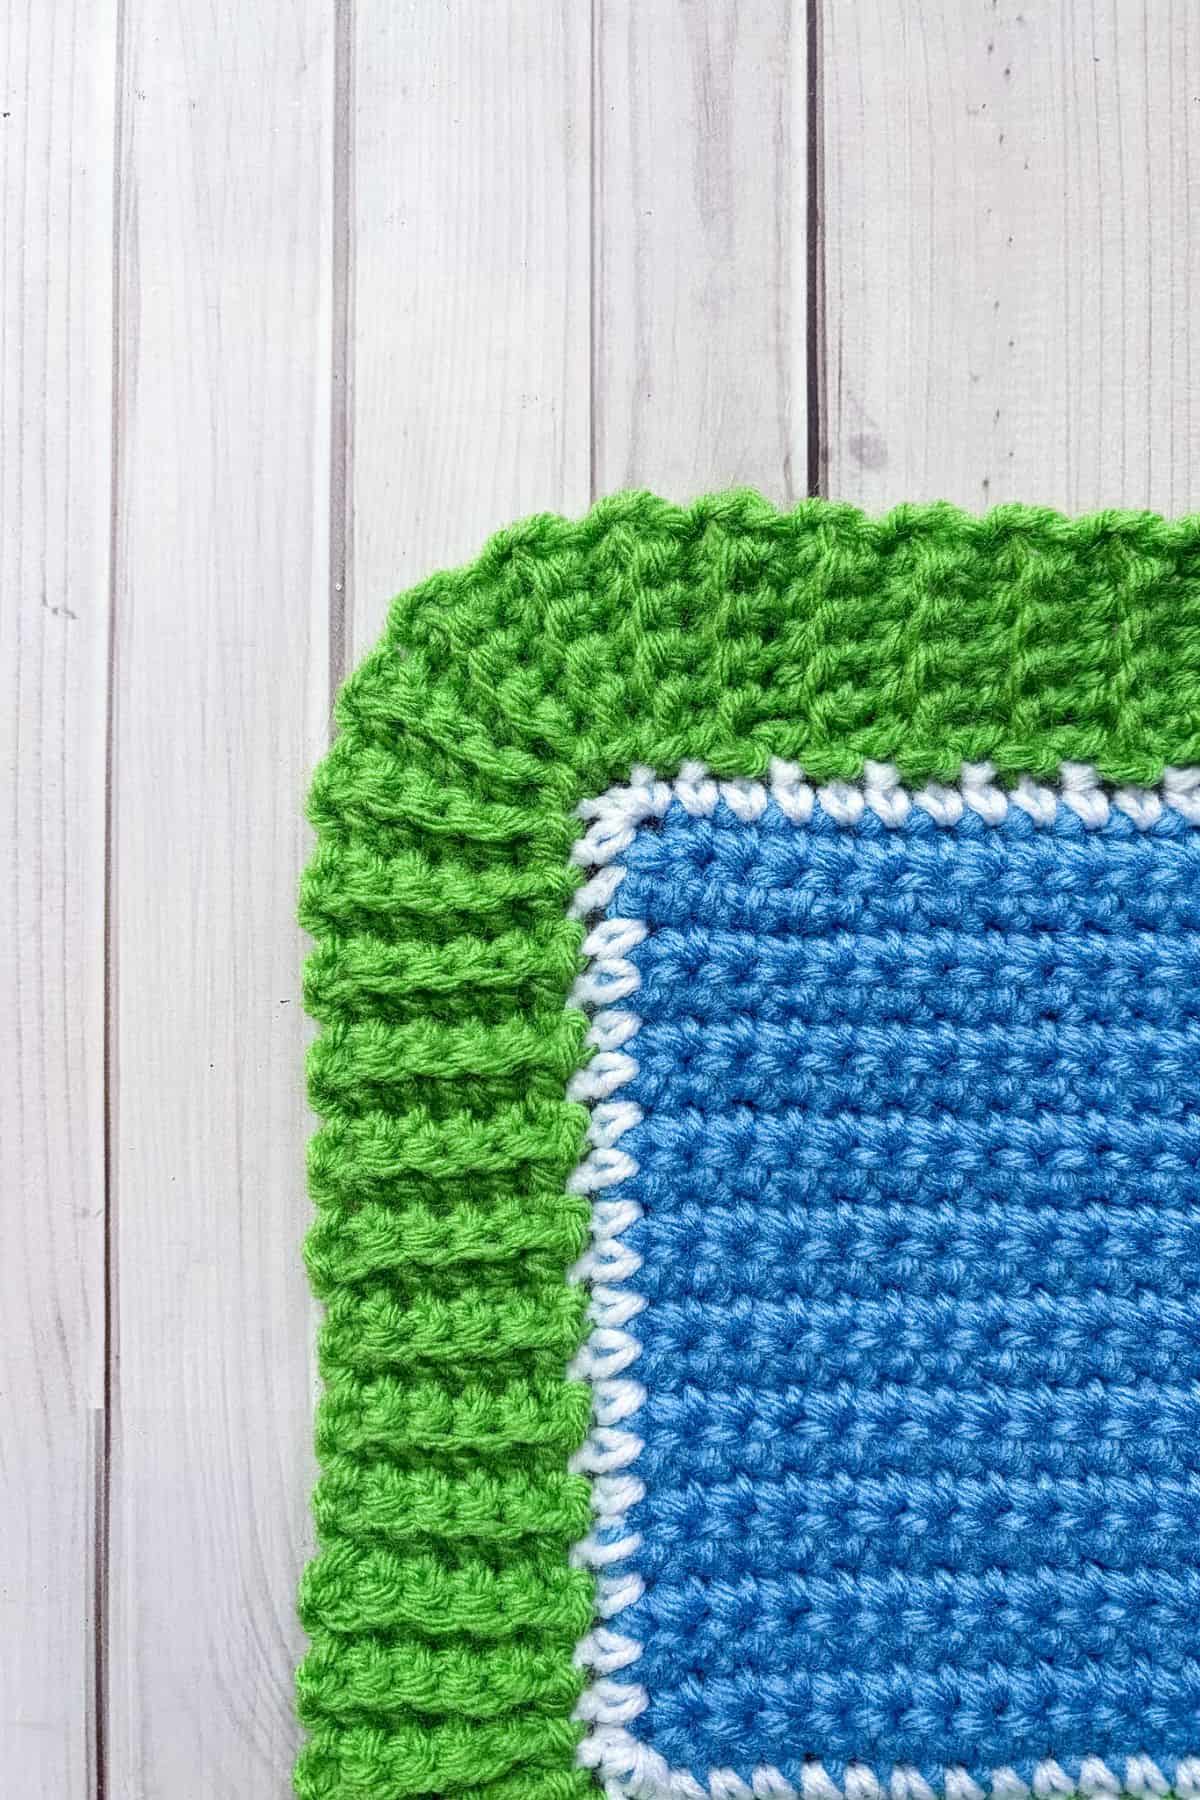
Now lay the corner on a flat surface and see if it lays flat (it should) but if it is curling up because of a tighter tension, you need to undo the last ribbing and work a 4th ribbing into the MIDDLE stitch and then proceed onto the last corner stitch.
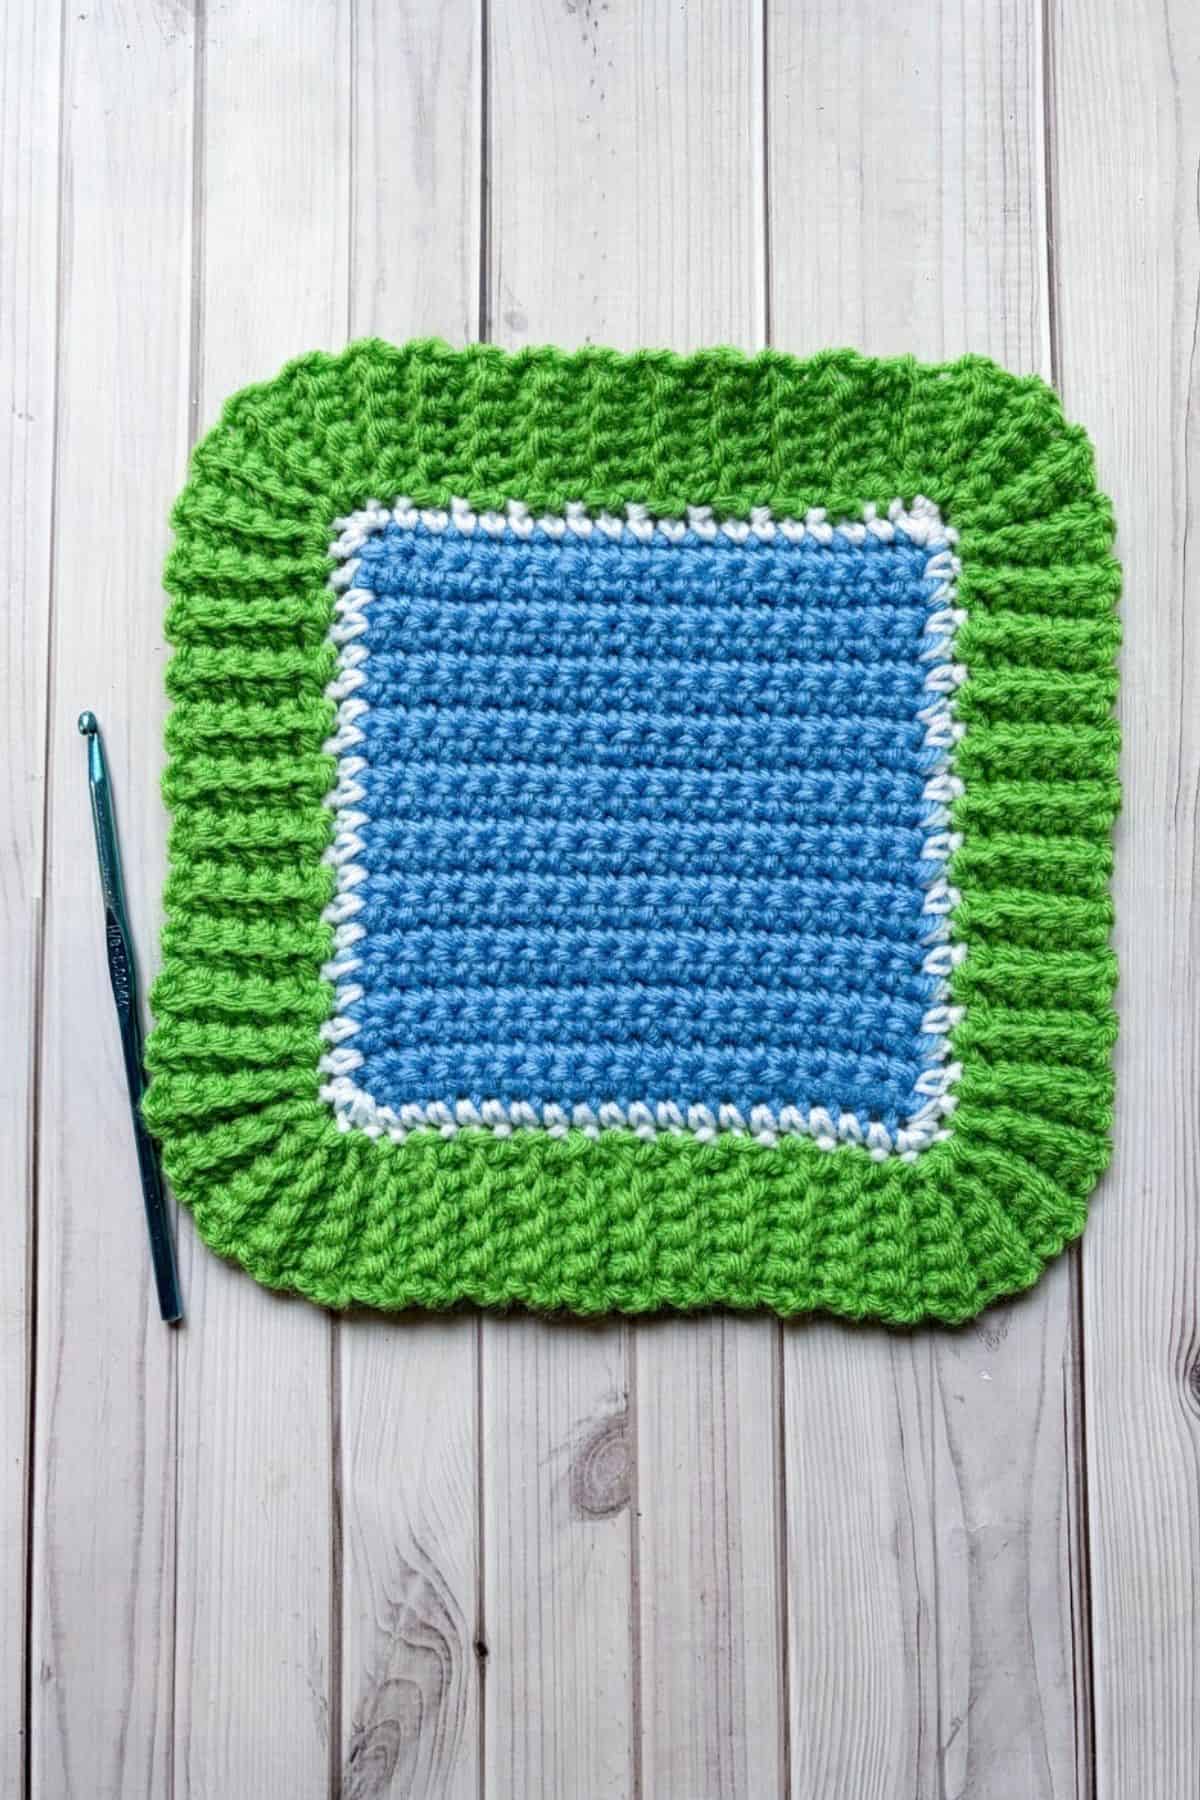
Step 6: Repeat the ribbing and corners for the rest of the round. Make sure when you're doing the sides that you sl st 2x and for the corners you sl st 1x between each row of ribbing. Then sew the beginning and end rows of ribbing together to make it look seamless and continuous. Weave in the ends.
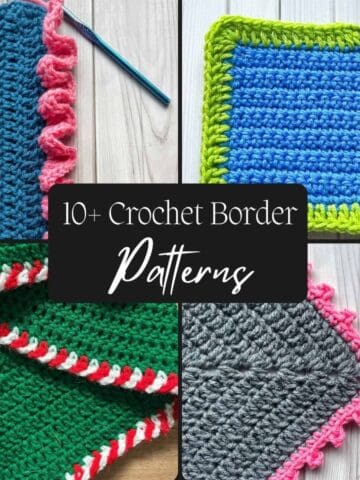
And now you know how to make the ribbed crochet border using single crochets. If you are looking for other crochet border patterns I suggest taking a look at Crochet Crab Pattern and Crochet Picot Border Pattern if you are wanting to stick to single crochets and slip stitches for borders.
If you want to try some more unique borders, try the Crochet Wave Border Pattern, Crochet Pom Pom Border, and Candy Cane Crochet Border.
🐌Expert Tips
- The last single crochet in the rows might be hard to see, always double check your count.
- To keep the border flat, aim for a consistent tension throughout your project.
- The ribbed crochet border is a double-sided stitch, so it looks the same from the front and back, perfect for blankets or other items where you would want the ability to reverse it if needed.
🧵Pattern FAQs
Yes, you can make it using slip stitches and even half double crochets. Slip stitches will create a tighter fabric while the half double crochet would make a looser border.
Ribbing is a textured technique that mimics knitted ribbing - perfect for adding borders, or cuffs to any blanket or cardigan. It helps create a snug fit or a flawless finish for any crochet project.
I've used it on cardigans, hats, gloves, and blankets!
🧶More Crochet Stitch Patterns
If you tried this Ribbed Crochet Border Tutorial (or any other pattern on my website), please let me know how it went in the 📝 comments below. I'd love to hear from you!
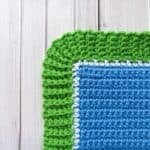
Ribbed Crochet Border Tutorial
Materials
- Hook you used for your main project.
- Preferred yarn
- Tapestry needle
Abbreviations (US terms)
- Chain - ch
- Slip stitch - sl st
- Single crochet - sc
- Back loop only - blo
Notes
- Border Width: You don't add extra rounds to the crochet ribbed border, so you want to make sure you have the width you want for your project when you make the starting chains.
- Hook Size: Make sure you are using the same hook size when creating the ribbed crochet border as you did for your main project.
- Yarn: You can make this border with almost any yarn size, just make sure its a smooth texture (not blanket or something fuzzy)
Instructions
- Step 1: If your project is not already made in the round, make a round of single crochets as a base. Each corner should have 3 sc.
- Step 2: Join the yarn you want for the border anywhere on the edge of the project. Ch x6 or however long you want your chain to be - this will be the width of your ribbed border.
- Step 3: In the second ch from the hook make a sc. Sc the rest of the way down the chains. * Sl st in the next available sc on the edge of your project, then make a sl st into the next one (2 sl st total).
- Step 4: In blo, sc up the ribbing again until you are at the top (5 blo sc for me since I started with 6 chains). Ch x1 and turn. Blo sc back down the ribbing until you reach the base of your project.
- Repeat from * until you reach a corner.
- Step 5: In the first of the 3 corner sc stitches, only sl st 1 time if you can, if not that's ok, just make sure you start the corner with a sl st in the 1st stitch. Blo sc like you have been, ch x1 and then come back down.
- Sl st to the middle sc, blo sc up and down 3 TIMES into the middle stitch. Each time only making a single sl st before going back up.
- Once you have done that 3 times - sl st into the last corner stitch and go up and down once more.
- Now lay the corner on a flat surface and see if it lays flat (it should) but if it is curling up because of a tighter tension, you need to undo the last ribbing and work a 4th ribbing into the MIDDLE stitch and then proceed onto the last corner stitch.
- Step 6: Repeat the ribbing and corners for the rest of the round. Make sure when you're doing the sides that you sl st 2x and for the corners you sl st 1x between each row of ribbing. Then sew the beginning and end rows of ribbing together to make it look seamless and continuous. Weave in the ends.
- And now you know how to make the ribbed crochet border using single crochets.


Leave a Reply