
If you're looking to add a little texture and elegance to your next project, the herringbone single crochet stitch is a fantastic choice. It might feel a bit tricky at first, but once you find the rhythm, the herringbone single crochet becomes second nature—and incredibly satisfying to work with.
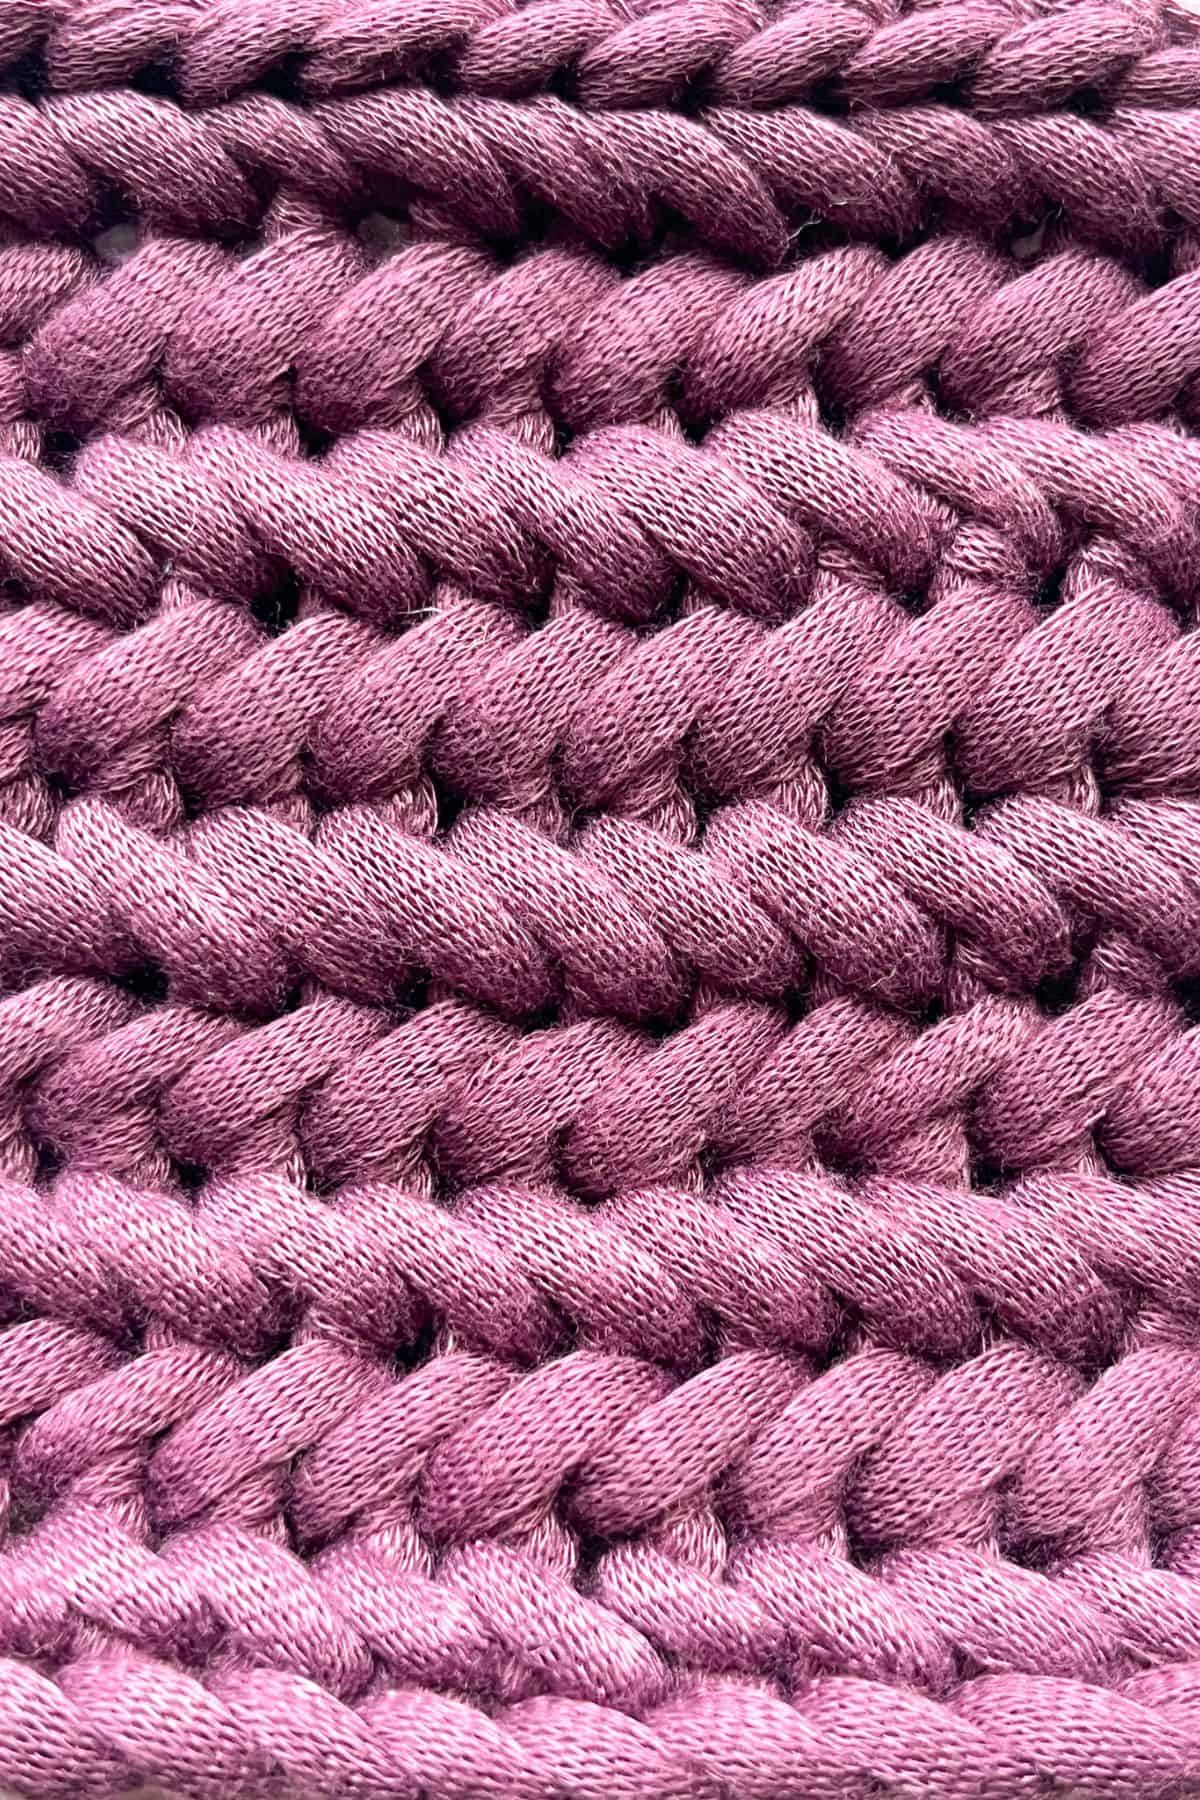
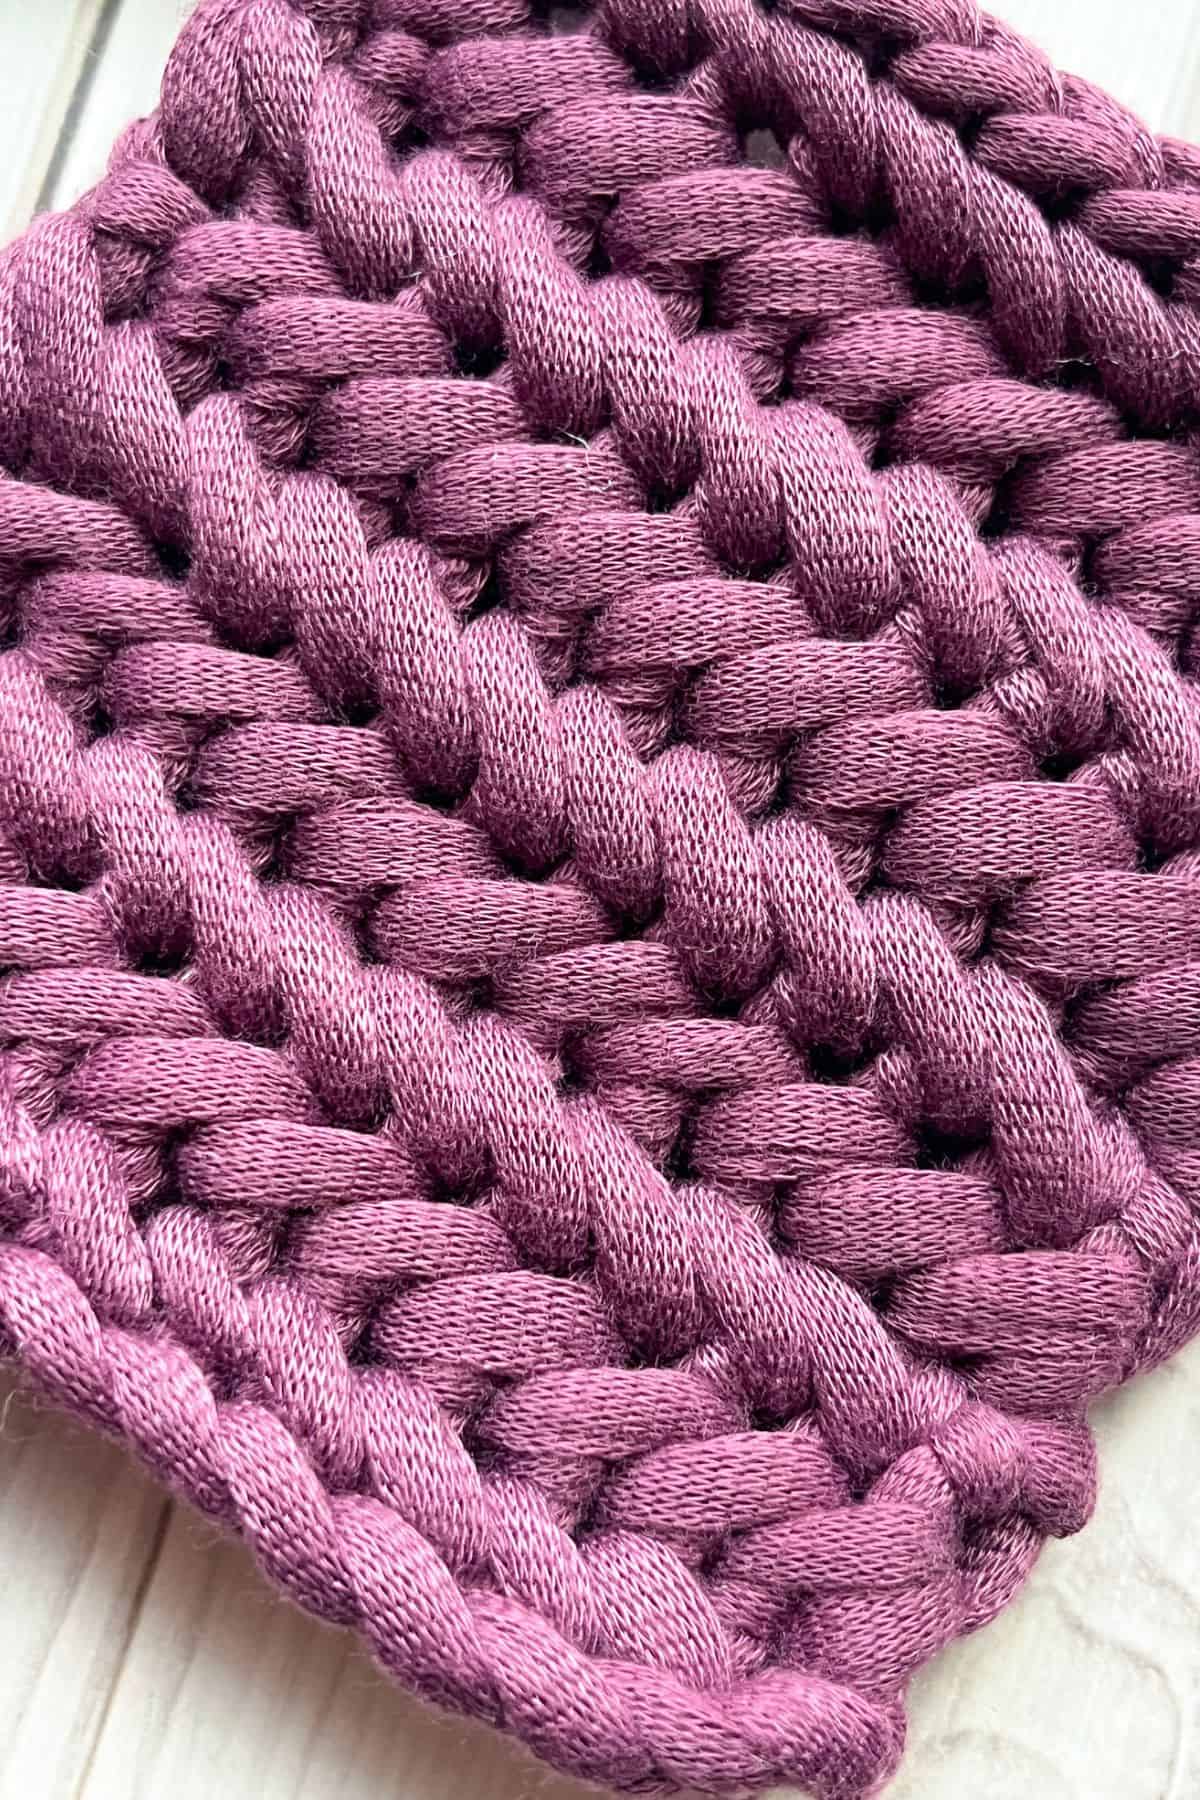
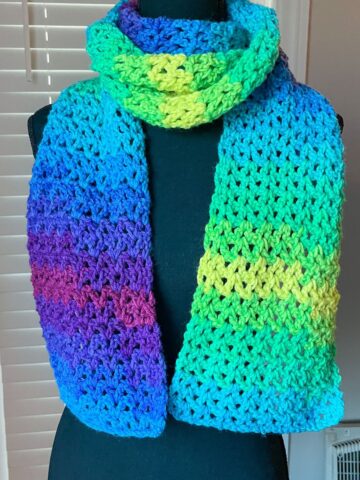
As someone who’s explored countless crochet stitches, I can confidently say the crochet herringbone family stands out for its unique aesthetic and versatility. This tutorial is all about mastering the single crochet variation, which creates a tight, fishbone texture that's ideal for structured projects or adding a modern twist to your go-to patterns. This stylish crochet textured stitch brings a beautiful, woven-like look to your fabric, making it perfect for everything from cozy scarves and hats to home décor and garments.
Don't worry I’ll walk you through each step with clear instructions, tips for getting consistent tension, and troubleshooting advice if the stitch gives you trouble early on (we’ve all been there!).
Once you’ve nailed the herringbone single crochet stitch, I highly recommend branching out and exploring the other beautiful versions of this technique, like the half double crochet herringbone stitch and the double crochet herringbone stitch. Each has its own look and feel, and experimenting with them will help you expand your stitch vocabulary and build confidence as a maker. And between you and I, both of those stitches are easier than the single crochet version.
Ready to dive in? Grab your yarn and hook—we’re going to transform your next project with this elegant and eye-catching crochet stitch. Whether you’re looking to level up your skills or just add a new texture to your toolbox, this is one of those crochet stitches you’ll want to use again and again.
Let’s stitch something beautiful together!
Jump to:
✏️ Things To Note:
- It’s a simple 2-row repeat. Once you get the flow down, the herringbone single crochet stitch is very meditative. The 2-row repeat makes it easy to memorize, and you’ll quickly settle into a rhythm. This makes it a great stitch for both mindful stitching and larger projects where you don’t want to follow a complex pattern.
- The stitches have a slight lean. One of the unique characteristics of the herringbone single crochet stitch is its gentle slant, which gives it that signature woven texture. This lean can make stitch placement a bit tricky at first, so take your time and double-check where you’re inserting your hook—especially in the first few rows.
- Busy yarns can hide the texture. The beauty of this crochet herringbone stitch is in the texture, so it’s best to use a yarn that allows that to shine. Stick with solid or softly transitioning ombré yarns for the best visual effect. Avoid yarns with heavy variegation or speckled patterns, as they tend to camouflage the detail in the stitch.
- Odd and even rows have different stitch directions. All stitches in odd-numbered rows are worked front to back, and all stitches in even-numbered rows are worked back to front. This alternating direction is what creates the subtle slant and depth in this crochet textured stitch—so be sure to stay consistent.
🪡 Materials Needed
- Any yarn, I used super bulky yarn, Lion Brand Yarns Lazy Days in Eggplant.
- 6mm Hook. Or a hook size recommended for your yarn type.
- Tapestry needle
💭Abbreviations to Remember (US terms)
- Chains (ch)
- Single crochet (sc)
- Herringbone single crochet (hbsc)
🍵Instructions for Herringbone Single Crochet Stitch
For this herringbone single crochet stitch pattern, we will be working in rows.
Odd Row:
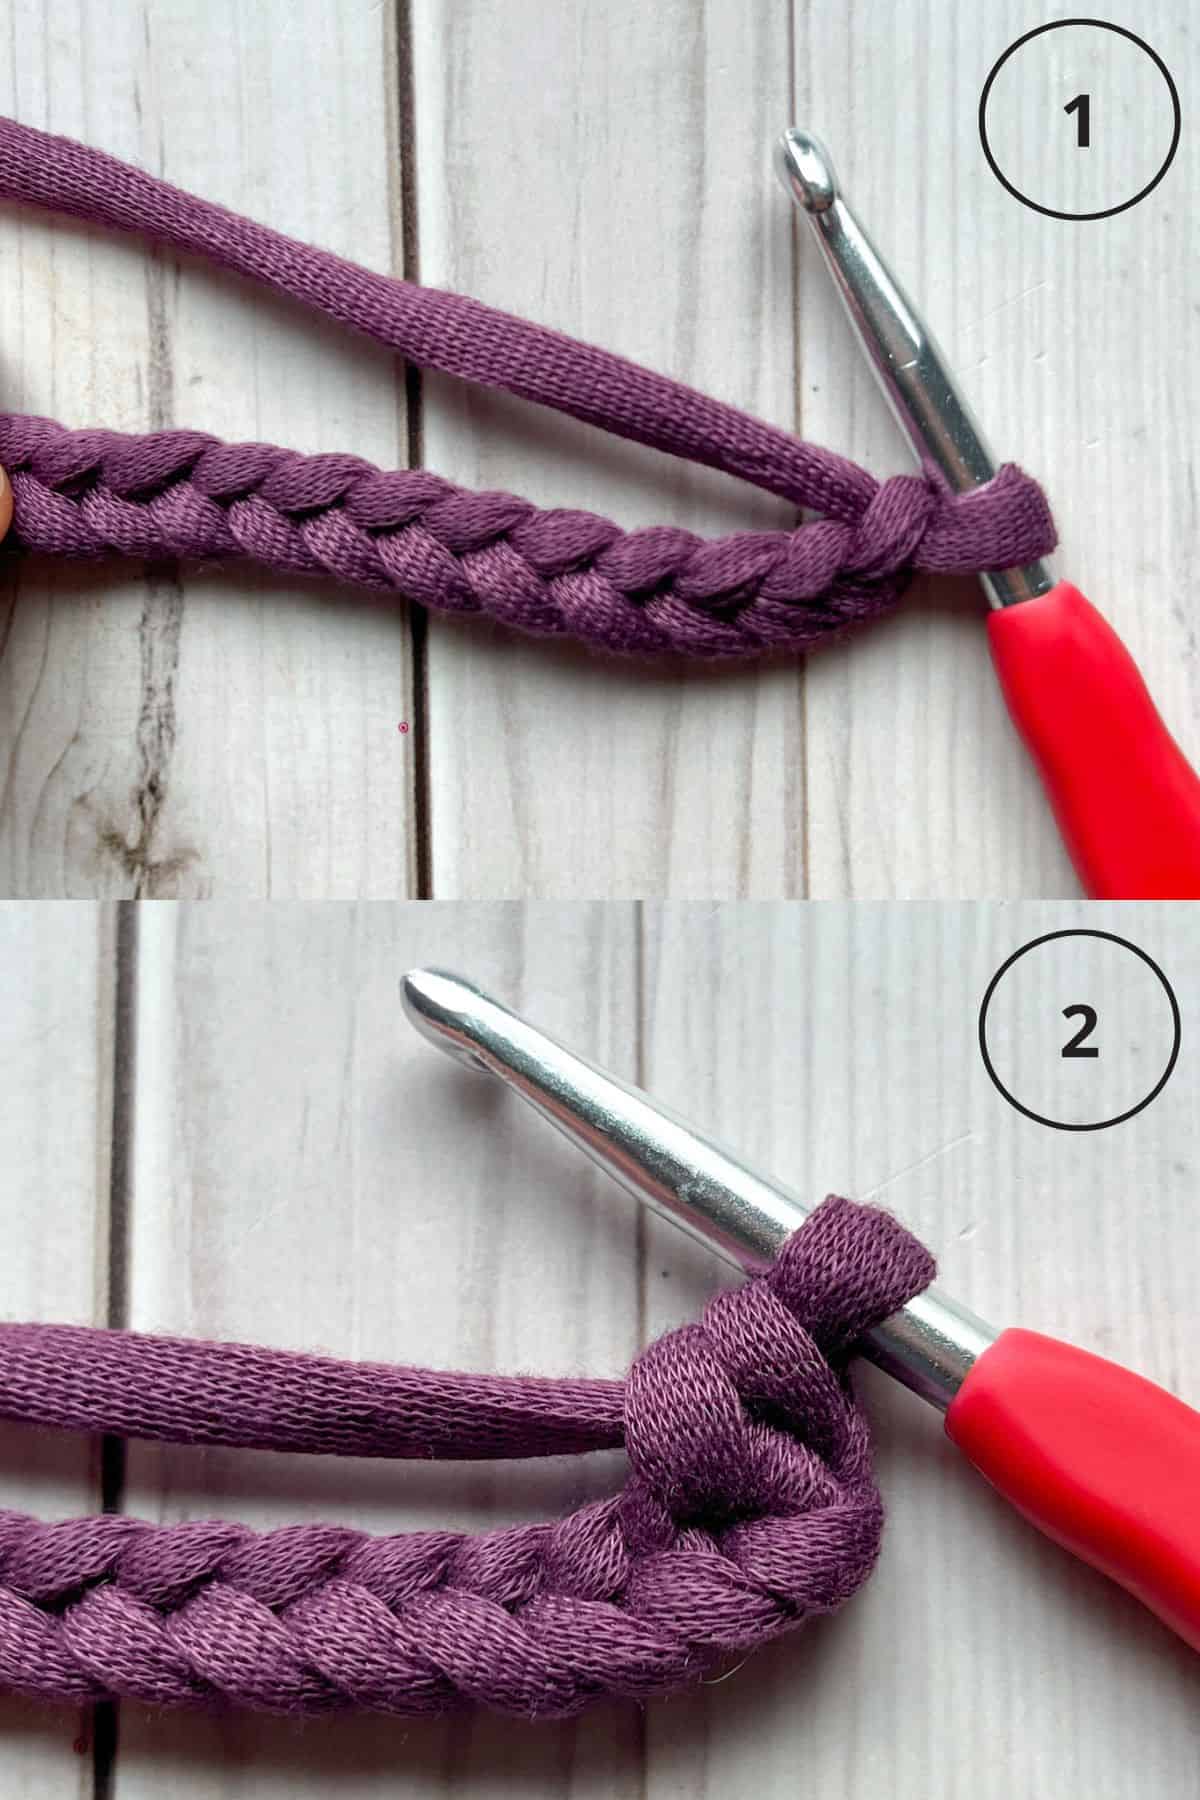
Step 1: Chain as long as you want your project to be. I would start with 20-25 stitches as a swatch before moving onto larger projects.
Step 2: Work your first sc in the second chain from the hook.
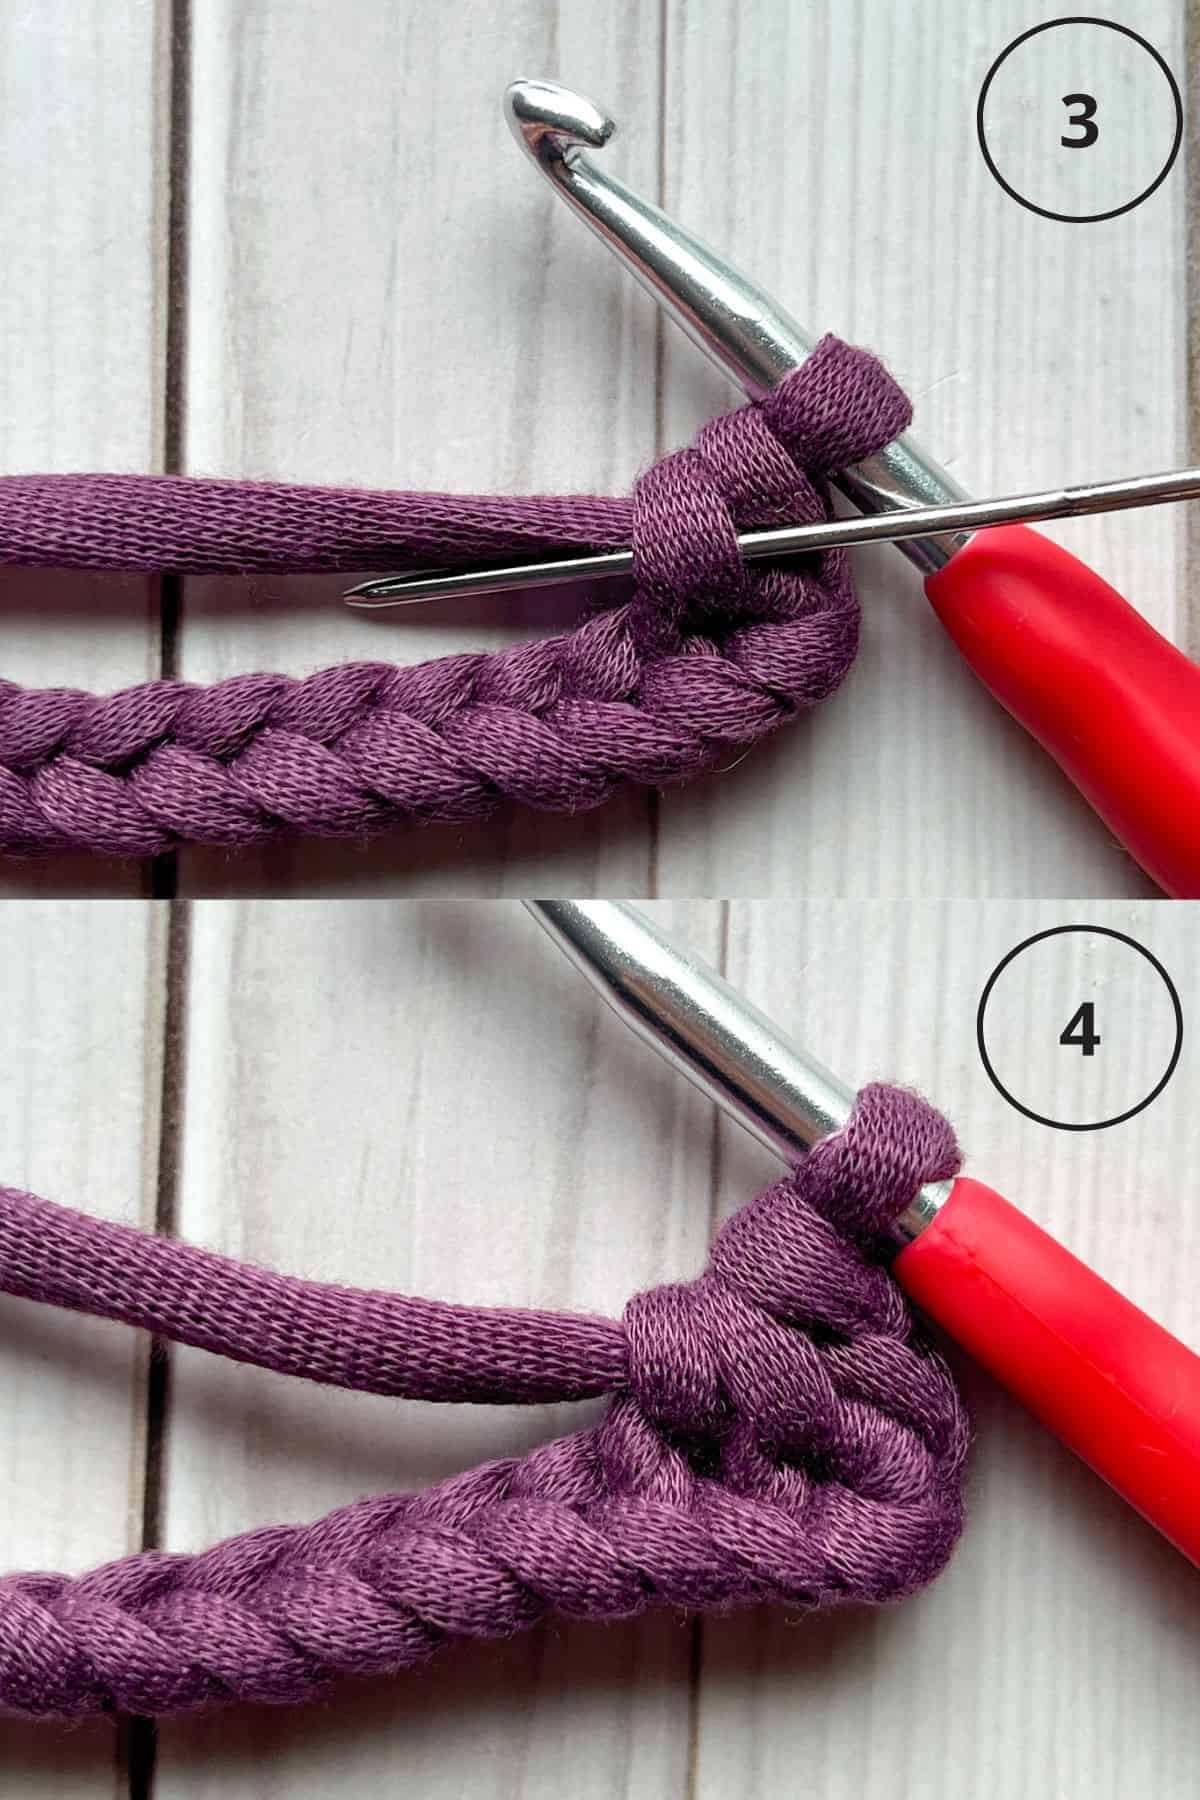
Step 3: There are 2 vertical bars on the side of the sc you JUST made in step 2. Insert your hook into the second vertical bar, the one on the left, of the single crochet. Don’t yarn over just yet.
Step 4: Without yarning over, immediately insert your hook into the next chain, THEN yarn over and pull up a loop. You should now have three loops on your hook.
Then yarn over and pull through all three loops. You've just made your first Herringbone Single Crochet (hbsc) stitch.
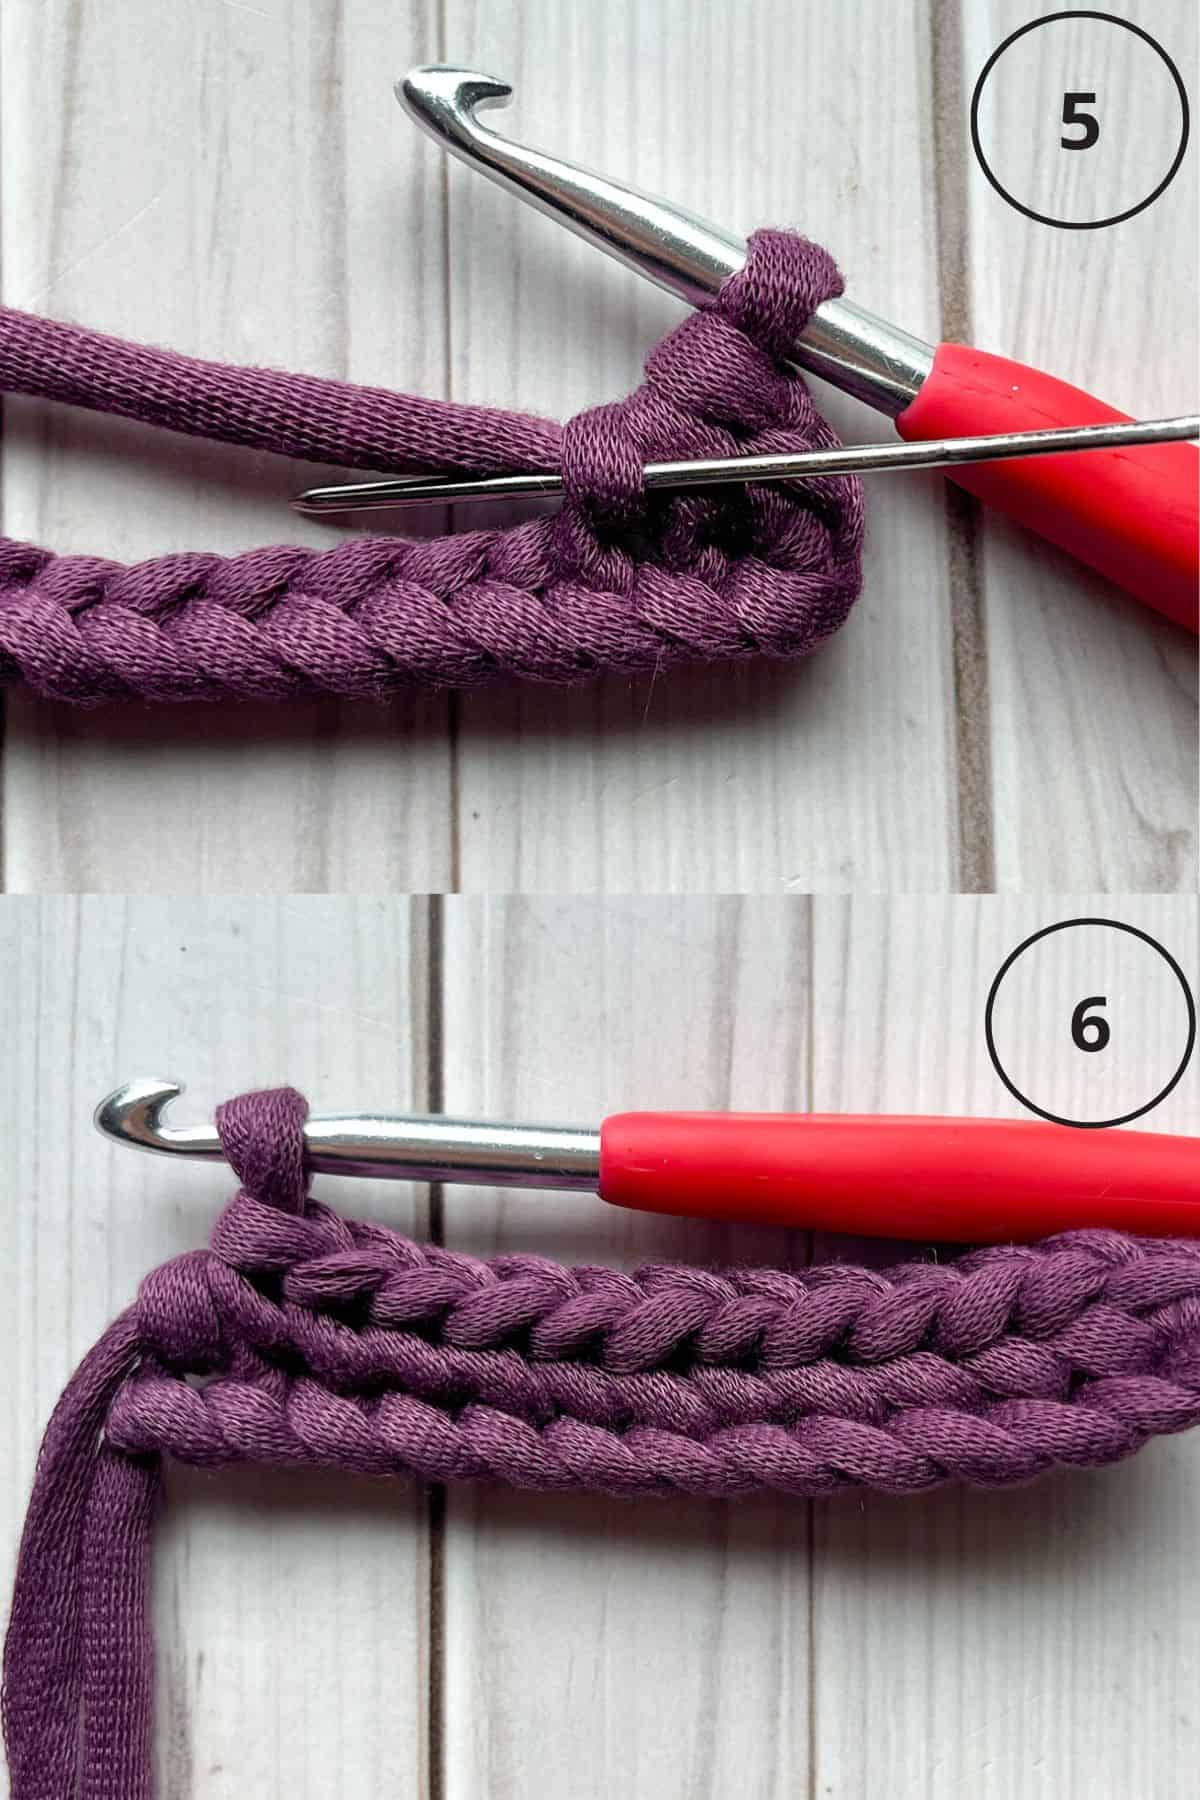
Step 5: Since there are now 3 bars on the side of the stitch, insert your hook into the farthest bar on the left. Then insert your hook into the next chain and repeat like we did previously. As you continue down the row, repeat steps 2–4.
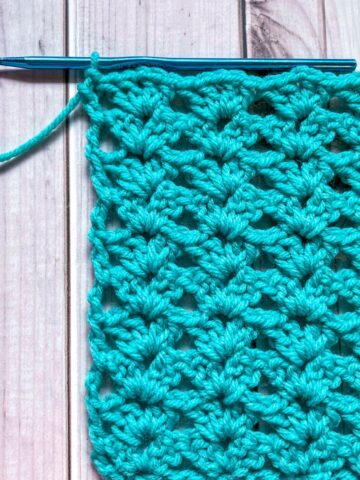
With each stitch, you’ll notice that the stitches are slanted, giving your project a distinct texture. Continue until you reach the end of the foundation chain.
Step 6: Once you finish the first row, you’ll need to turn your work to begin the next row.
Even Row:
For row 2 (and all even-numbered rows):
Ch 1. (The ch 1 doesn’t count as a stitch.) You’ll now be working into the opposite side of the crochet swatch, so tilt your work so you can see the other side, also known as the front side.
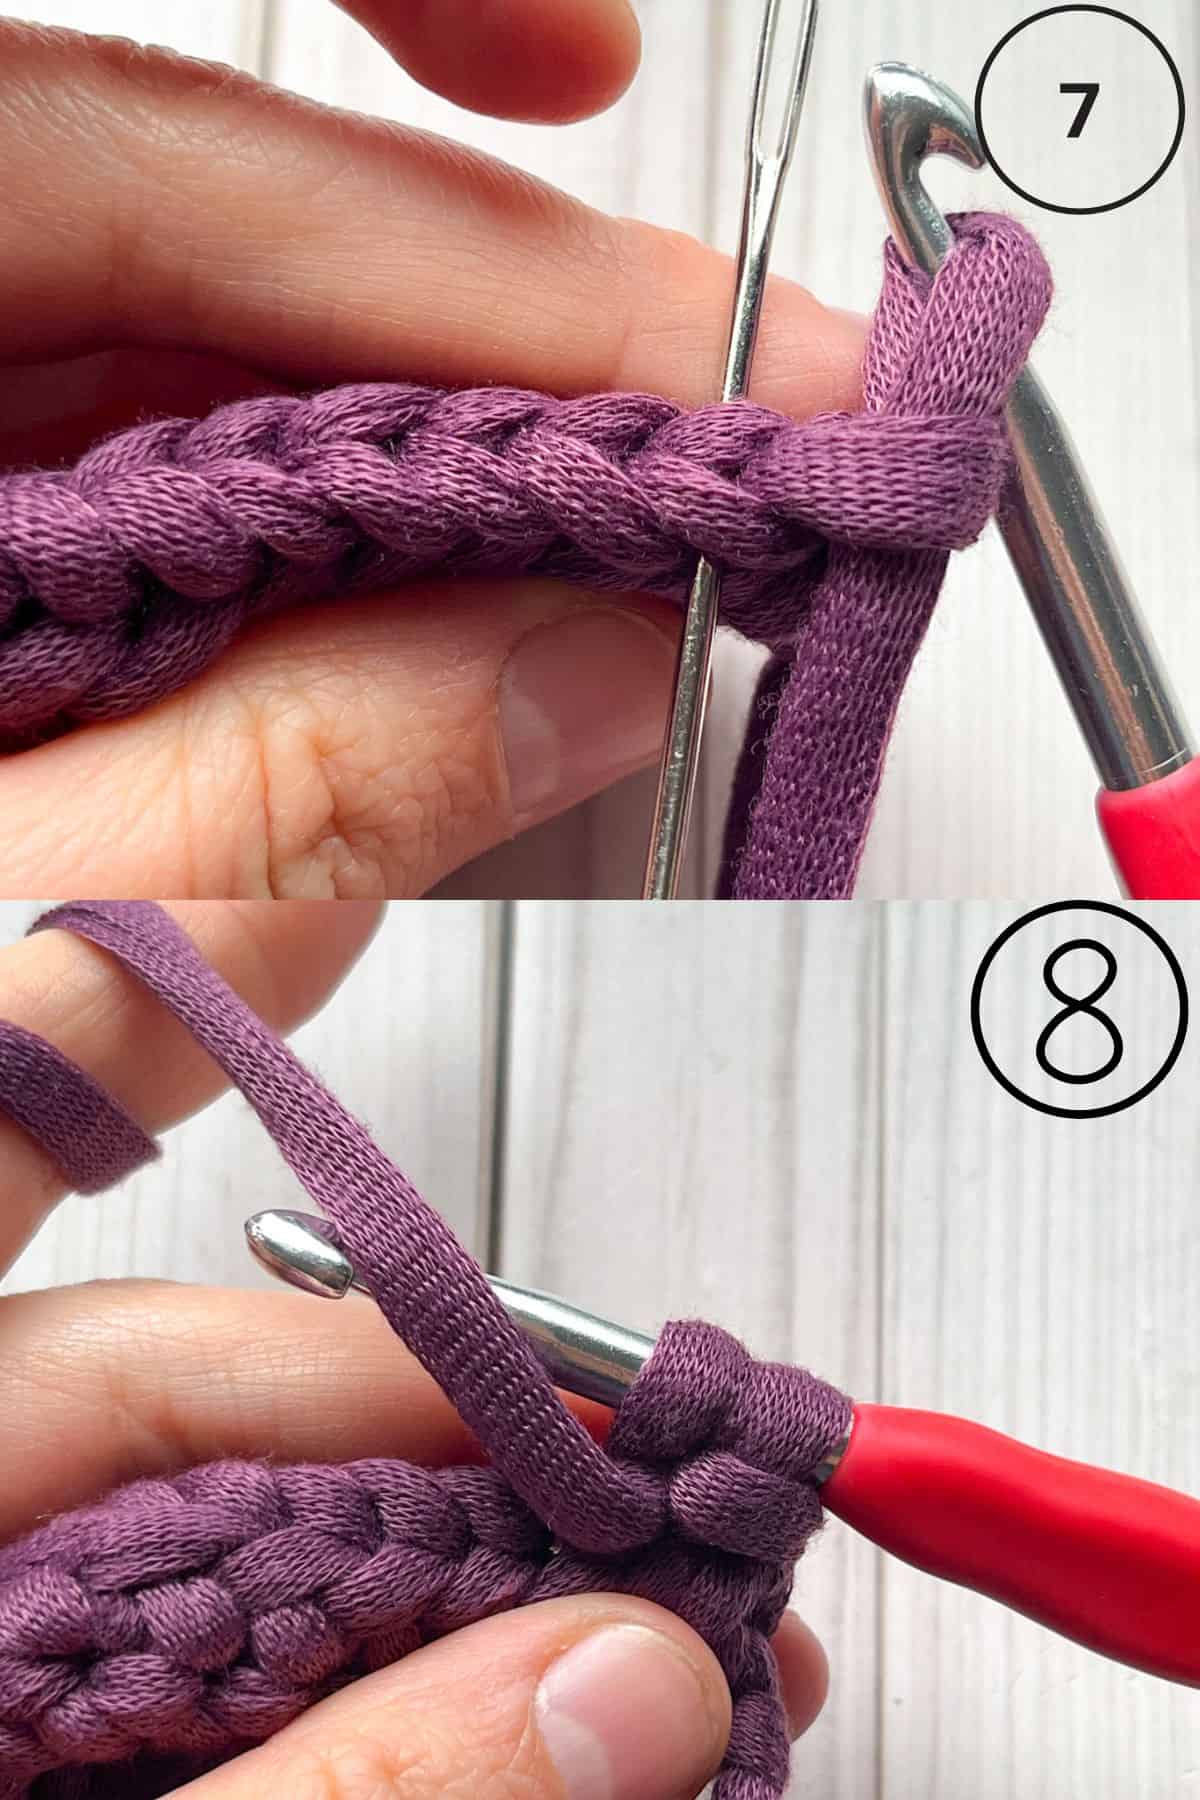
Step 7: Insert your hook from back to front into the last stitch you made in the previous row.
Step 8: With your working yarn still on the side closest to you, yarn over. Pull yarn through to the back of your work and pull up a loop (This is easier said than done, I like to twist my hook away from me to do this step otherwise the yarn will get tangled up). You now have 2 loops on your hook. With the working yarn still on the side closest to you, yarn over and pull through all 2 loops.

Step 9: You just made an inverse single crochet.
Now for the rest of the row you will make an inverse hbsc stitch.
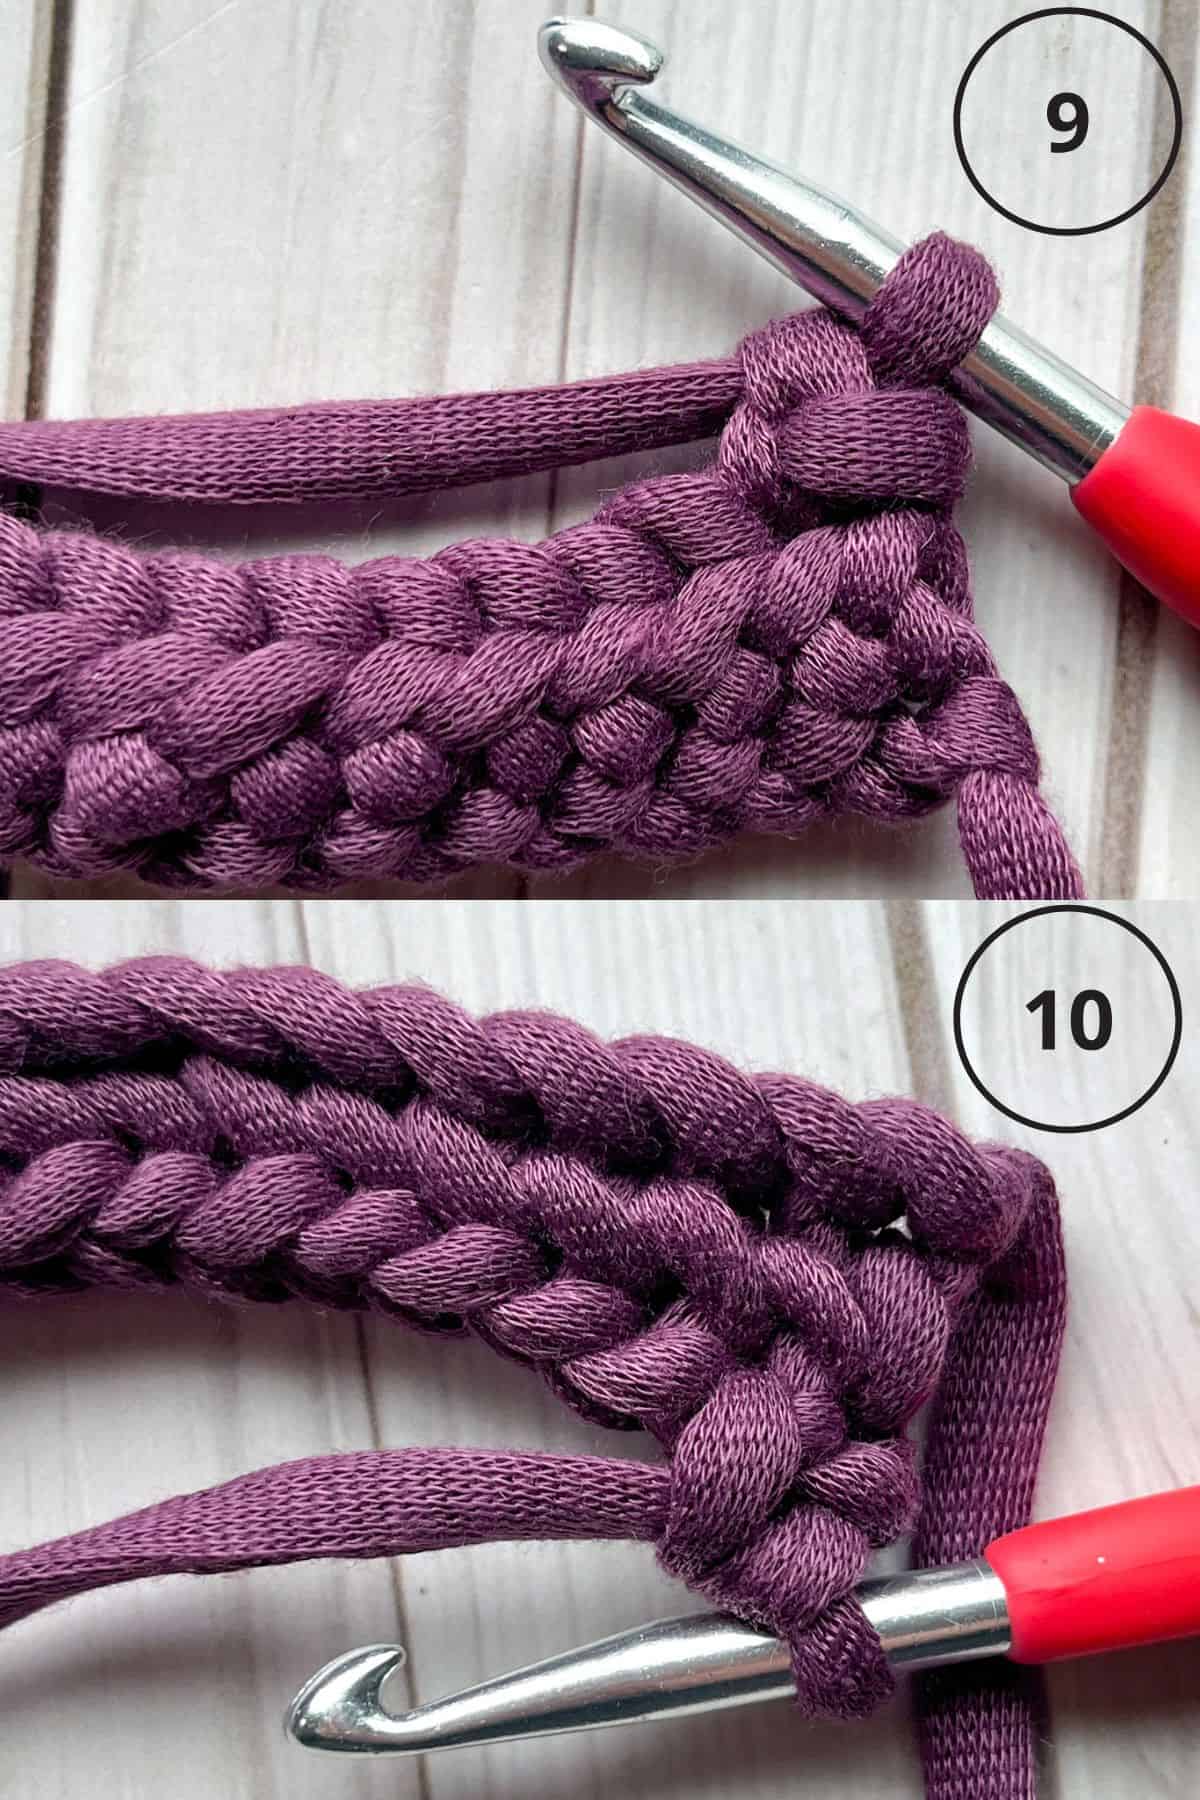
Step 10: Bend your crochet swatch to view the front side. Notice the stiches vertical bars.
Step 11: Insert your hook into the farthest left vertical bar on the front side of the inverse single crochet stitch.
Step 12: Without yarning over, insert your hook from back to front into the top of the next stitch from the previous row. Make sure the working yarn stays on the side closest to you.
Now, yarn over and pull the yarn through to the back of your work, creating a loop. You should now have three loops on your hook. Keeping the working yarn in front, then yarn over again and pull through all three loops.

Step 13: Repeat for the rest of the row, but insert the hook through the farthest left vertical bar as indicated in picture 13.
This will create the opposite slant from the first row, adding to the woven look of the pattern.
Step 14: Repeat steps 1-13 for each additional 2 rows. Remember:
- Odd-numbered rows: Work from the front (insert hook from front to back like normal). Then make the first stitch in the row a sc.
- Even-numbered rows: Work from the back (insert hook from back to front). And make the first stitch in the row an inverse sc.
And that’s it—you’ve just learned the herringbone single crochet stitch! Now that you’ve got the hang of it, you can use this beautiful texture to create all kinds of projects! Think cozy scarves, sturdy baskets, stylish sweaters, and more.
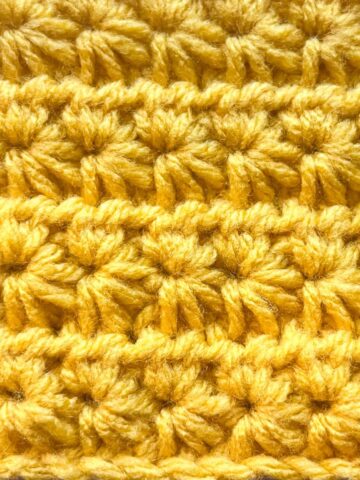
If you're looking to try out some other fun (and maybe less intimidating) stitches, be sure to check out my tutorials for the Crochet Crunch Stitch, Crochet Wattle Stitch, and Crochet Rice Stitch. They’re all beginner-friendly and add amazing texture to your projects.
And here’s a little tip: if you make a swatch using cotton yarn, you can easily turn it into a dishcloth—just like I did with my Suzette Stitch and Grit Stitch patterns. Practical and pretty!
Thanks so much for crocheting along with me—happy stitching!

🐌Expert Tips
- Watch Your Tension: The herringbone single crochet naturally creates a tighter, denser fabric. Keep your tension relaxed, especially if you tend to crochet tightly, or your fabric may stiffen more than desired. Which is great for baskets, but less so for garments or drapey projects.
- Use a Larger Hook: If you want drape, try going up one hook size from what your yarn label suggests. This can enhance stitch definition and improve drape.
- Mark the First Stitch of Each Row: Because of the slight lean and tight texture, it can be tricky to spot the first and last stitches of each row. Use stitch markers to keep your edges straight and avoid unintentional increases or decreases.
🧵Pattern FAQs
The herringbone single crochet (hbsc) is a variation of the single crochet. It creates a subtle diagonal texture, resembling the classic herringbone weave pattern. It's slightly denser and more structured than regular single crochet.
Yes, a bit. Since the fabric is denser and tighter than standard single crochet, the herringbone single crochet does use slightly more yarn. Be sure to account for this in larger projects.
This can happen if your tension is too tight, the hook is splitting the yarn, or the working yarn isn’t consistently held in front. If the latter is true, then relax your grip, use a slightly larger hook, and double-check your stitch placement for more uniform results.
🧶More Crochet Stitch Patterns

If you tried this Herringbone Single Crochet Stitch (or any other pattern on my website), please let me know how it went in the 📝 comments below. I'd love to hear from you!

Herringbone Single Crochet Stitch
Materials
- Any yarn I used super bulky yarn, Lion Brand Yarns Lazy Days in Eggplant.
- 6mm Hook. Or a hook size recommended for your yarn type.
- Tapestry needle
Abbreviations (US terms)
- Chains - ch
- Single crochet - sc
- Herringbone single crochet (hbsc)
Notes
- It’s a simple 2-row repeat. Once you get the flow down, this stitch is very meditative. The 2-row repeat makes it easy to memorize, and you’ll quickly settle into a rhythm. This makes it a great stitch for both mindful stitching and larger projects where you don’t want to follow a complex pattern.
- The stitches have a slight lean. One of the unique characteristics of the herringbone single crochet stitch is its gentle slant, which gives it that signature woven texture. This lean can make stitch placement a bit tricky at first, so take your time and double-check where you’re inserting your hook—especially in the first few rows.
- Busy yarns can hide the texture. The beauty of this crochet herringbone stitch is in the texture, so it’s best to use a yarn that allows that to shine. Stick with solid or softly transitioning ombré yarns for the best visual effect. Avoid yarns with heavy variegation or speckled patterns, as they tend to camouflage the detail in the stitch.
- Odd and even rows have different stitch directions. All stitches in odd-numbered rows are worked front to back, and all stitches in even-numbered rows are worked back to front. This alternating direction is what creates the subtle slant and depth in this crochet textured stitch—so be sure to stay consistent.
Instructions
- For thisherringbone single crochet stitch pattern, we will be working in rows.
- Step 1: Chain as long as you want your project to be.
- Step 2: Work your first sc in the second chain from the hook.
- Step 3: There are 2 vertical bars on the side of the sc you JUST made in step 2. Insert your hook into the second vertical bar, the one on the left, of the single crochet. Don’t yarn over just yet.
- Step 4: Without yarning over, immediately insert your hook into the next chain, THEN yarn over and pull up a loop. You should now have three loops on your hook.
- Then yarn over and pull through all three loops. You've just made your first Herringbone Single Crochet (hbsc) stitch.
- Step 5: Since there are now 3 bars on the side of the stitch, insert your hook into the farthest bar on the left. Then insert your hook into the next chain and repeat like we did previously. As you continue down the row, repeat steps 2–4.
- With each stitch, you’ll notice that the stitches are slanted, giving your project a distinct texture. Continue until you reach the end of the foundation chain.
- Step 6: Once you finish the first row, you’ll need to turn your work to begin the next row.
For row 2 (and all even-numbered rows):
- Ch 1. (The ch 1 doesn’t count as a stitch.) You’ll now be working into the opposite side of the crochet swatch, so tilt your work so you can see the other side, also known as the front side.
- Step 7: Insert your hook from back to front into the last stitch you made in the previous row.
- Step 8: With your working yarn still on the side closest to you, yarn over. Pull yarn through to the back of your work and pull up a loop (This is easier said than done, I like to twist my hook away from me to do this step otherwise the yarn will get tangled up). You now have 2 loops on your hook. With the working yarn still on the side closest to you, yarn over and pull through all 2 loops.
- Step 9: You just made an inverse single crochet.
- Now for the rest of the row you will make an inverse hbsc stitch.
- Step 10: Bend your crochet swatch to view the front side.
- Step 11: Insert your hook into the farthest left vertical bar on the front side of the inverse single crochet stitch.
- Step 12: Without yarning over, insert your hook from back to front into the top of the next stitch from the previous row. Make sure the working yarn stays on the side closest to you.
- Now, yarn over and pull the yarn through to the back of your work, creating a loop. You should now have three loops on your hook. Keeping the working yarn in front, yarn over again and pull through all three loops.
- Step 13: Repeat for the rest of the row, but insert the hook through the farthest left vertical bar as indicated in picture 13.
- This will create the opposite slant from the first row, adding to the woven look of the pattern.
- Step 14: Repeat steps 1-13 for each additional 2 rows. Remember:
- Odd-numbered rows: Work from the front (insert hook from front to back like normal). And make the first stitch in the row a sc.
- Even-numbered rows: Work from the back (insert hook from back to front). And make the first stitch in the row an inverse sc.
- And that’s it—you’ve just learned the herringbone single crochet stitch! Now that you’ve got the hang of it, you can use this beautiful texture to create all kinds of projects—think cozy scarves, sturdy baskets, stylish sweaters, and more.


Leave a Reply