
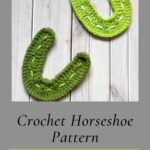
Make yourself a little lucky crochet horseshoe from my Crochet Horseshoe Pattern for Saint Patrick’s Day this year! By making increase stitches in the right places, we can make a chain into that iconic U-shape.
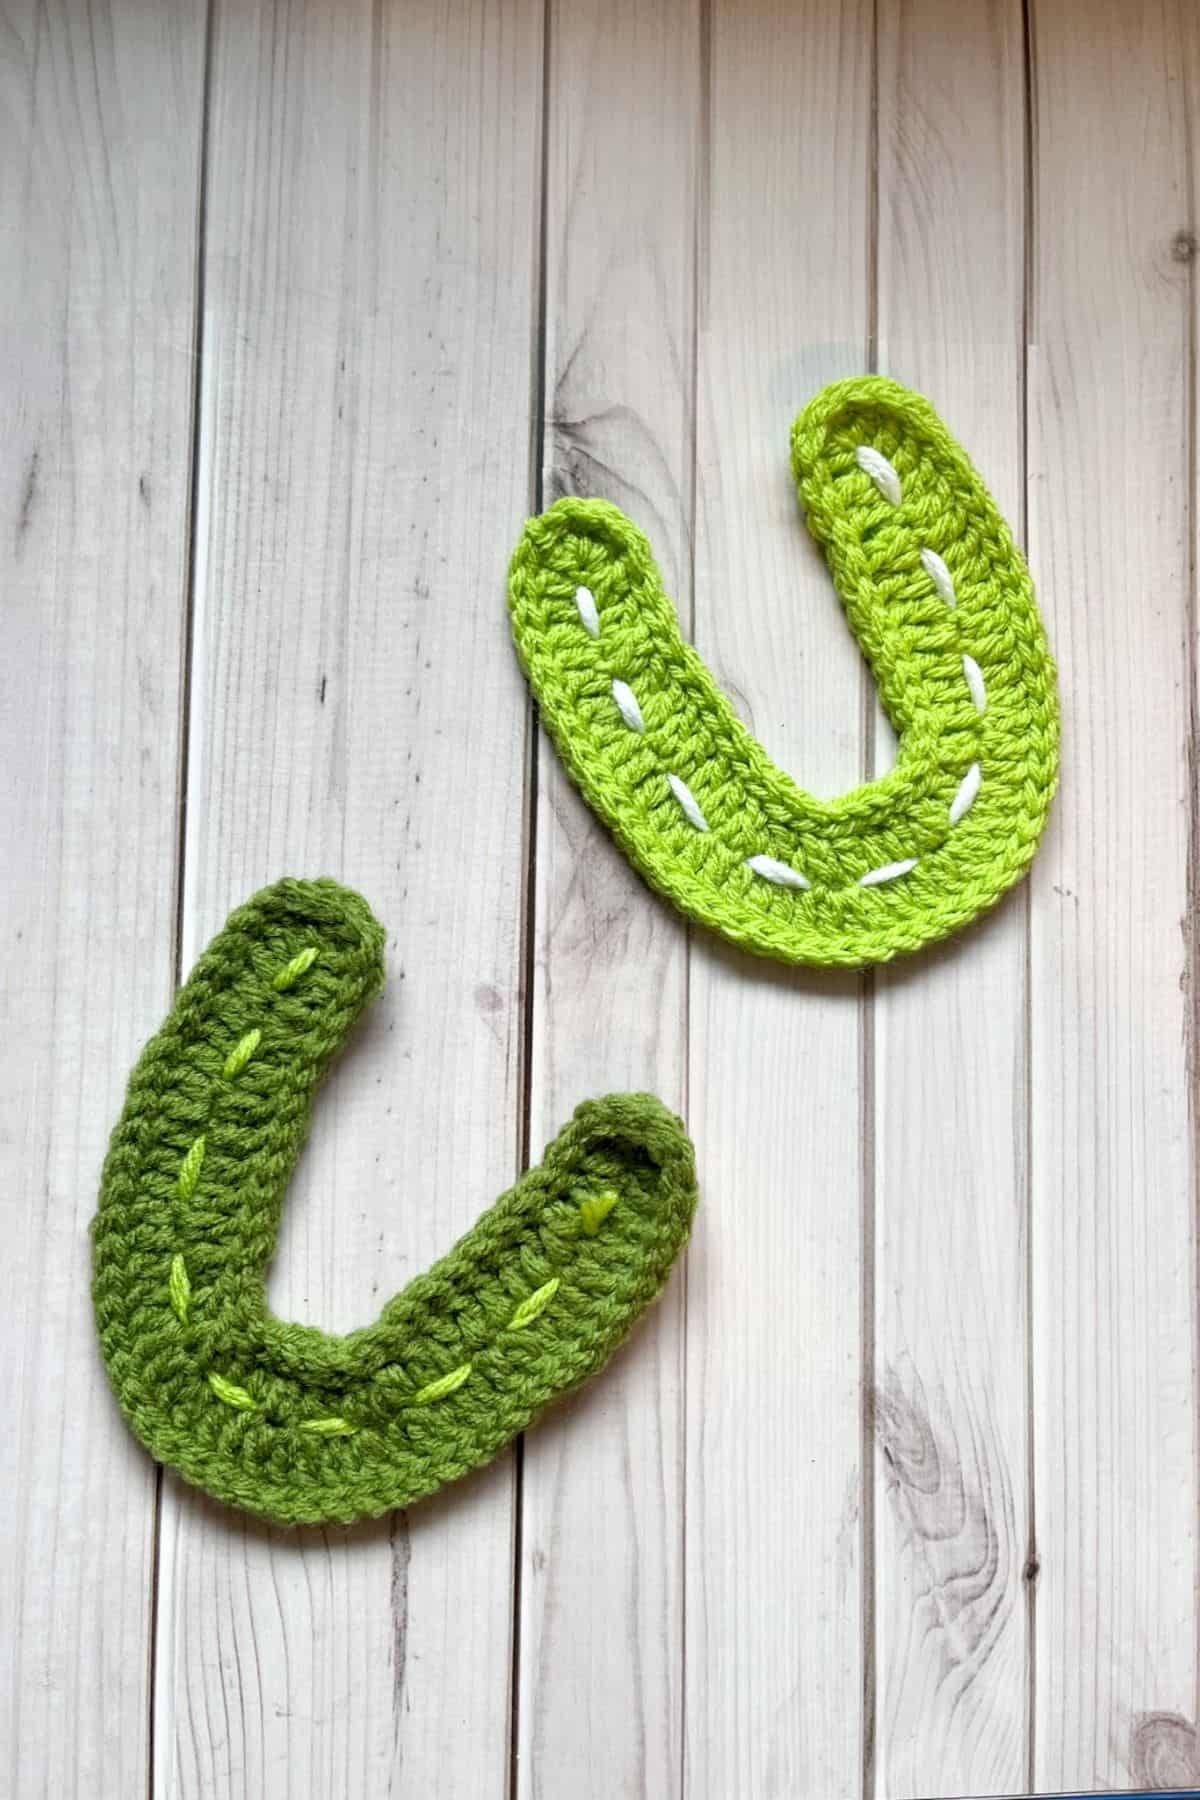
Saint Patrick's Day is all about symbols of luck, and horseshoes are among them! While people might find them difficult to make, they are actually quite easy, especially if you think of them as the letter U.
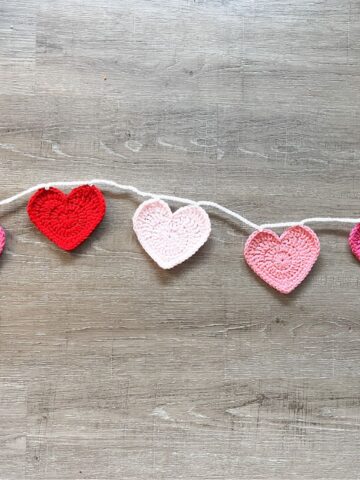
Other symbols include rainbows and shamrocks which I also have patterns for: Free Crochet Shamrock Coaster Pattern, Crochet Rainbow Keychain Pattern, and 4 Leaf Clover Crochet Pattern.
Making a crochet horseshoe is as simple as crocheting a chain, then increasing one side of the chain. After that, flip it over and decrease the other side of the chain at strategic intervals.
Outside of just using the crochet horseshoe pattern as home decor, you can also create a crochet horseshoe applique to use on blankets, pillows, clothes, scarves, and more.
So let's get started!
Jump to:
✏️ Things To Note:
- Yarn Options: I used acrylic worsted weight for the crochet horseshoe pattern, but you can use any size yarn and hook.
- Customization: This is a very basic horseshoe shape, so feel free to get creative with decorative borders or other stitches to make it more unique.
- Dimensions: The finished crochet horseshoe is roughly 5 inches tall and 4 inches wide.
🪡 Materials Needed
💭Abbreviations to Remember (US terms)
- Chain - ch
- Double Crochet - dc
- Double Crochet Increase - dc inc
- Double Crochet Decrease - dc2tog
- Slip Stitch - sl st
🧋Variations
Color Choices: Instead of making green horseshoes, try gray or brown for more traditional uses and decoration throughout the year.
🍵Instructions for Crochet Horseshoe Pattern
The crochet horseshoe pattern is made by making a chain, then working on both sides of the chain.
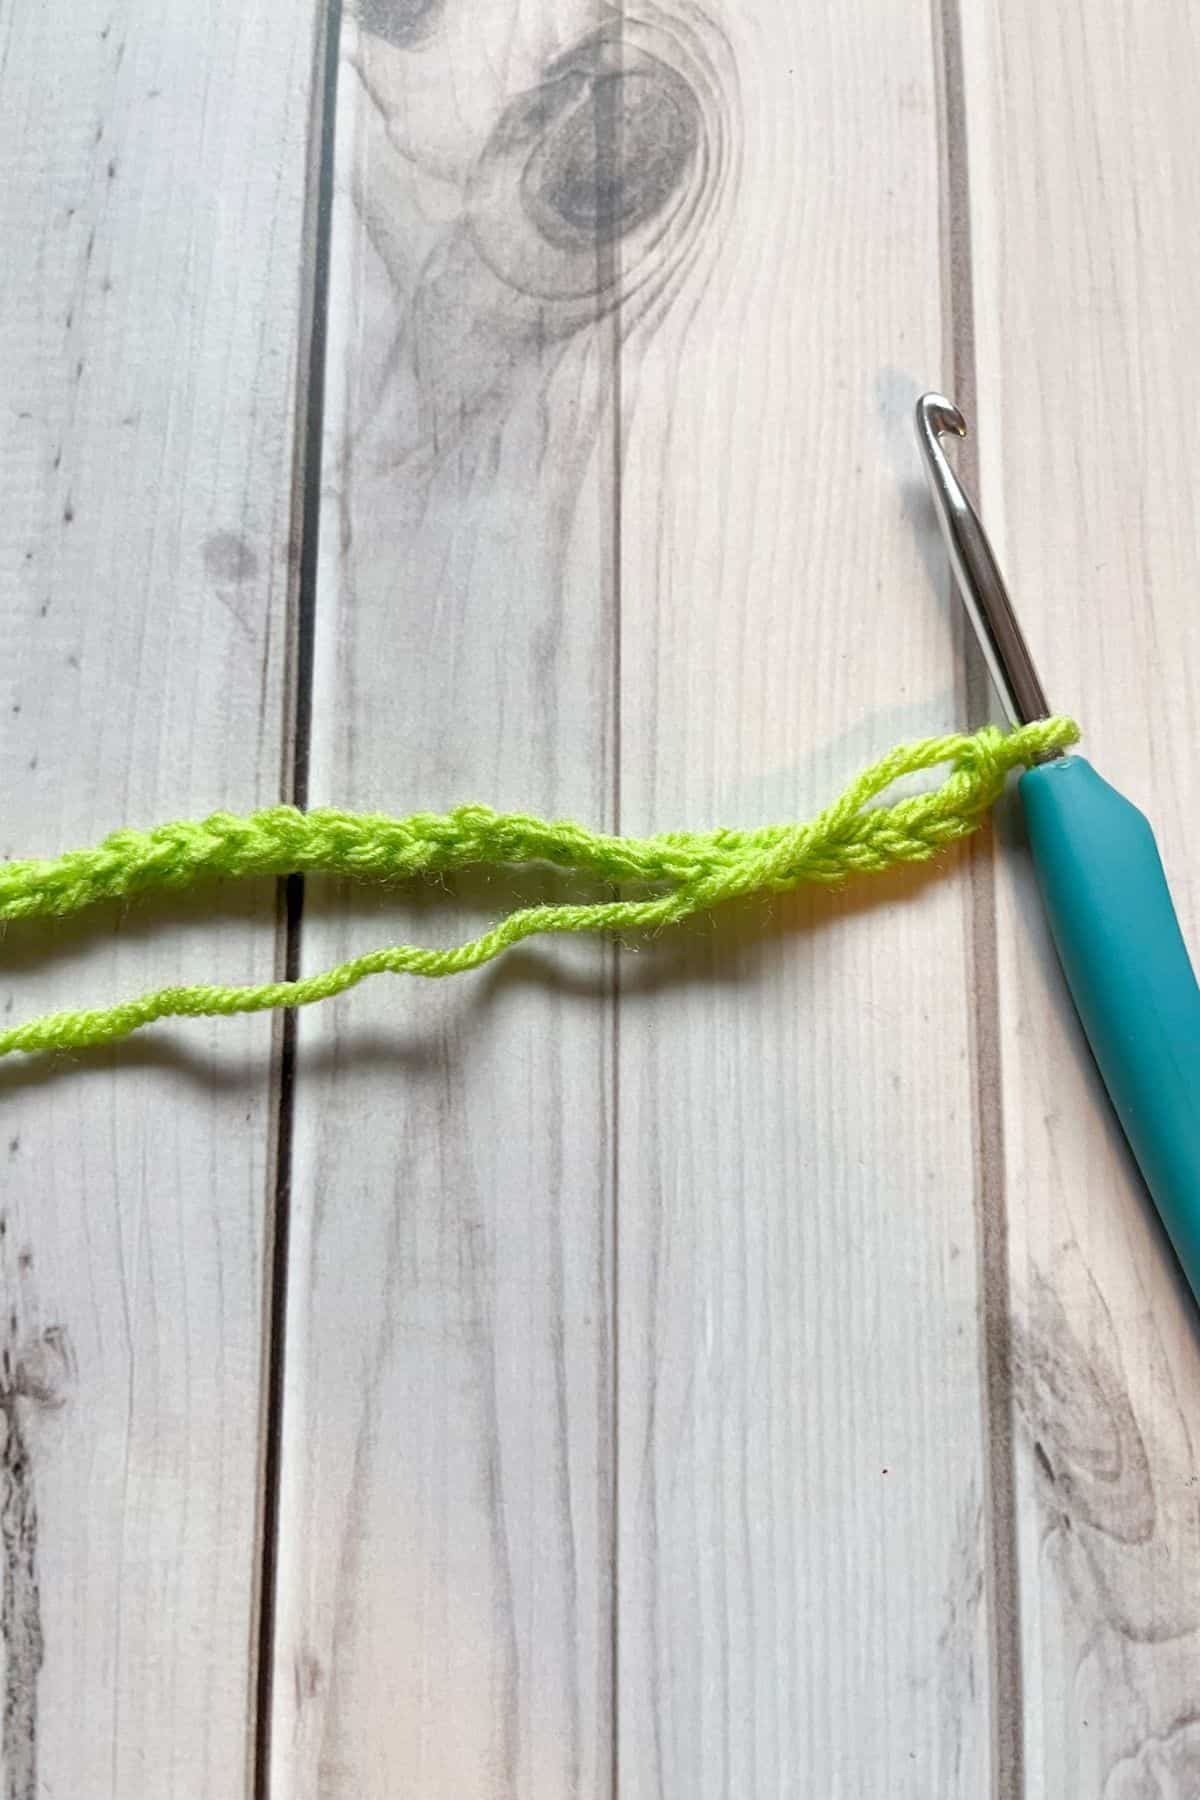
Step 1: Ch x39
Step 2: In the 3rd chain from the hook make a dc.
Dc x6.

Then dc inc, dc x3, dc inc, dc x2, dc inc, dc, dc inc, dc x3,
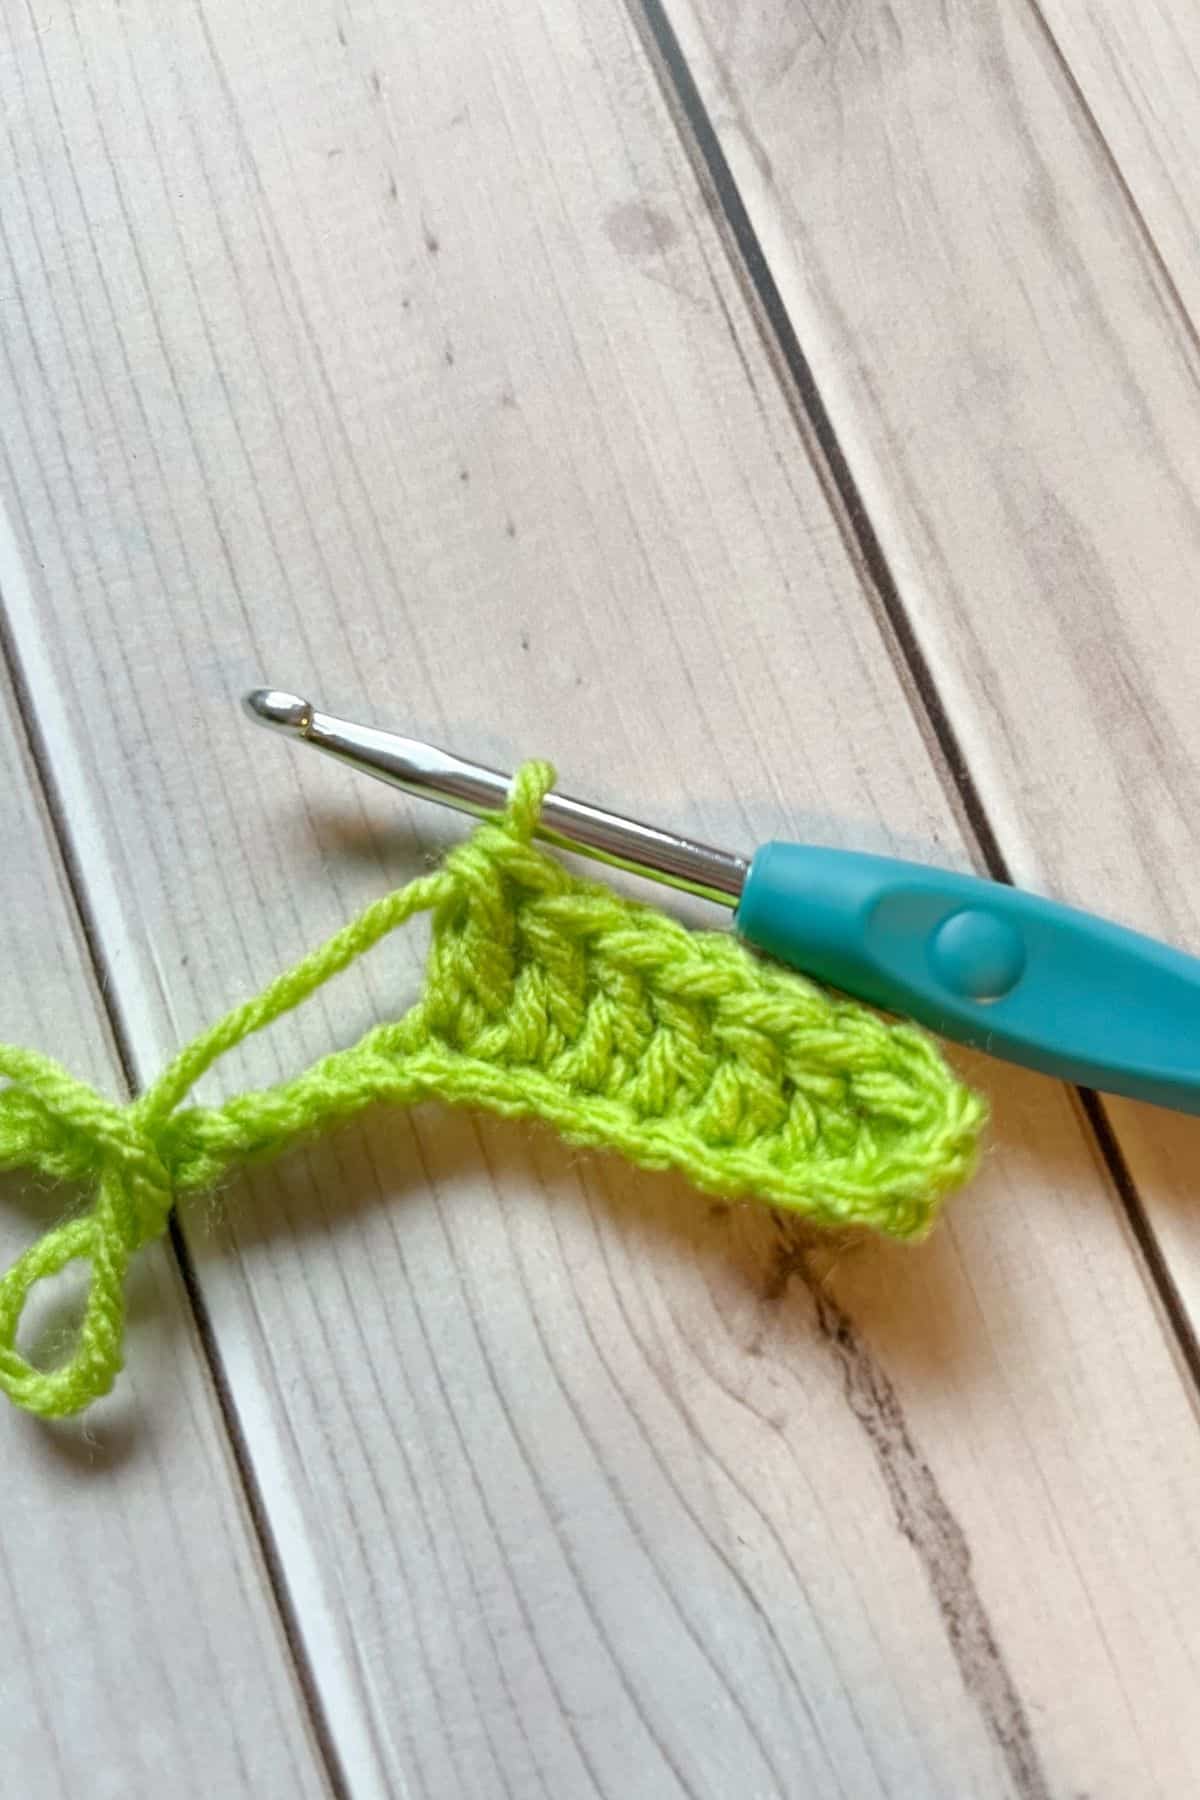
dc inc, dc, dc inc, dc x2, dc inc, dc x3, dc inc, dc x7.
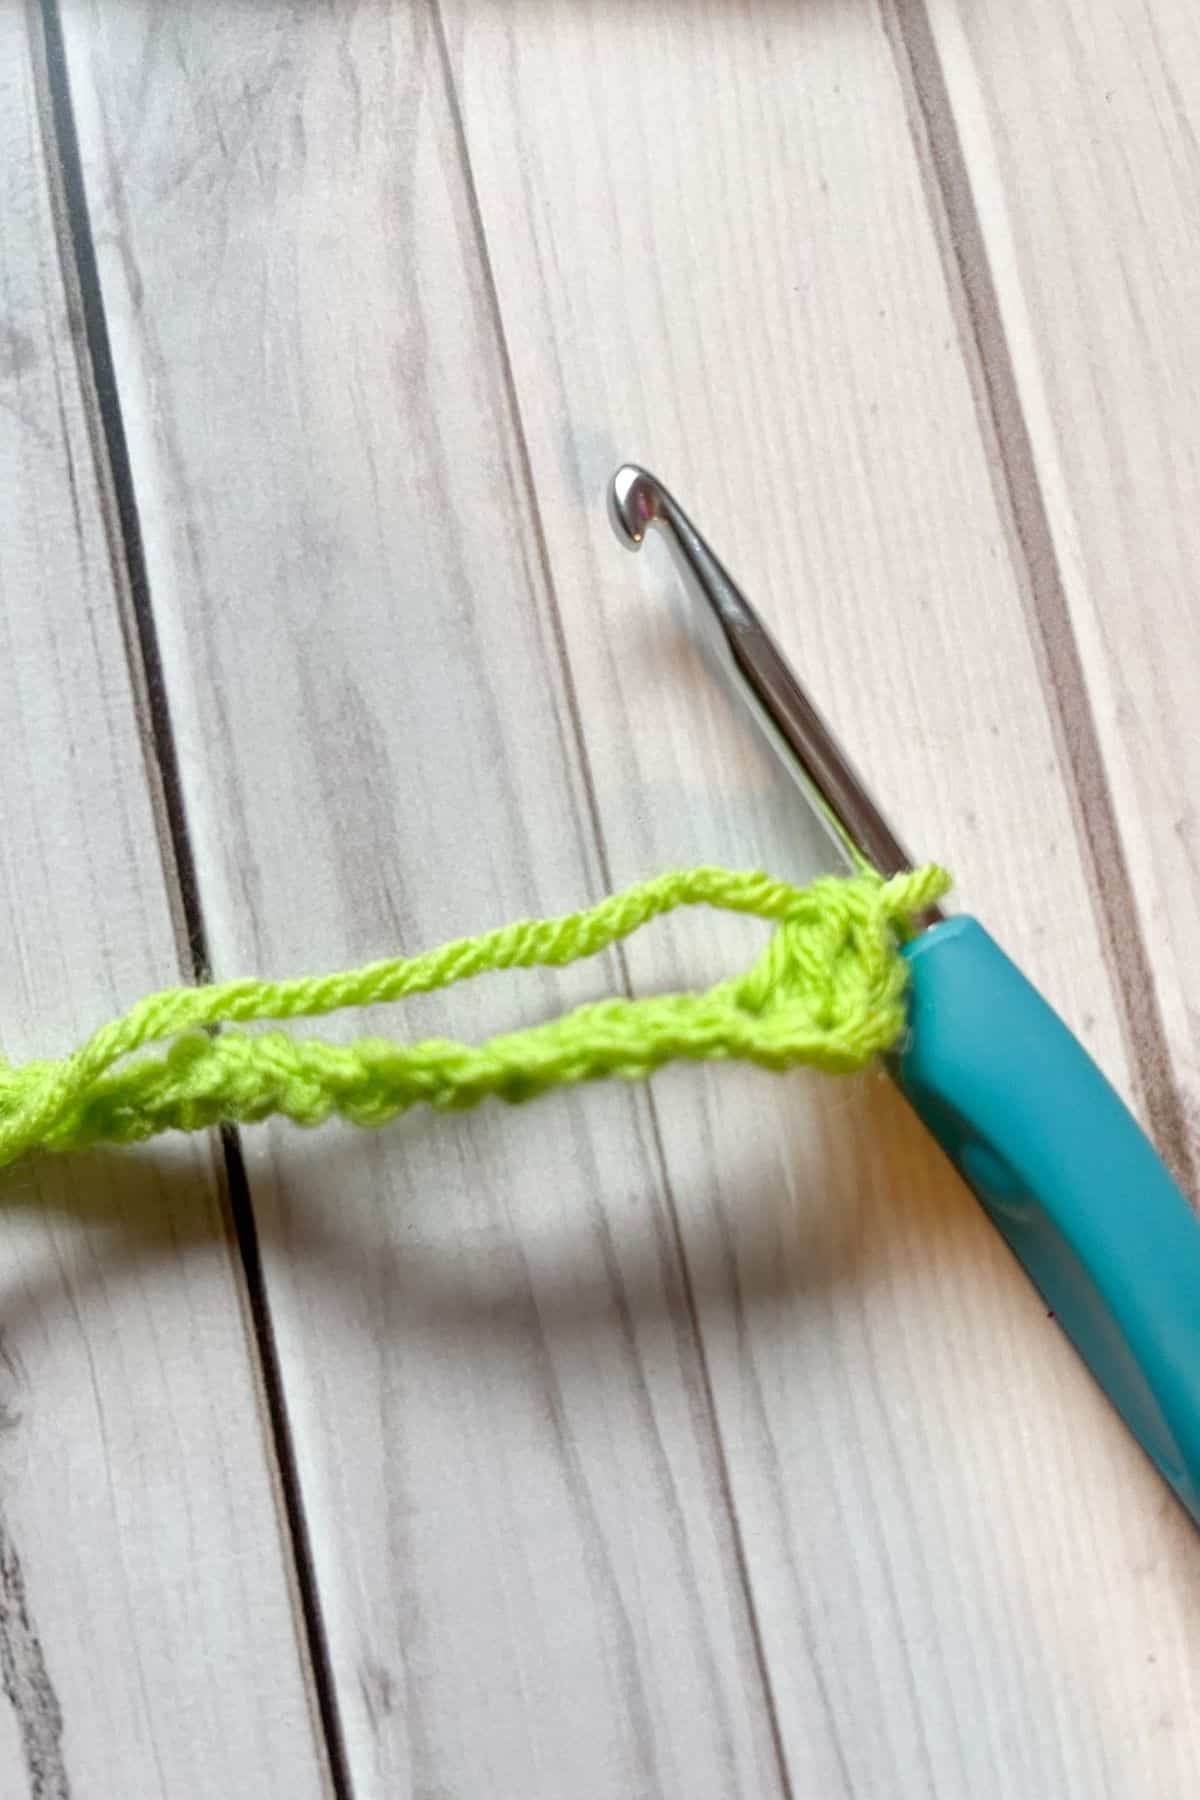
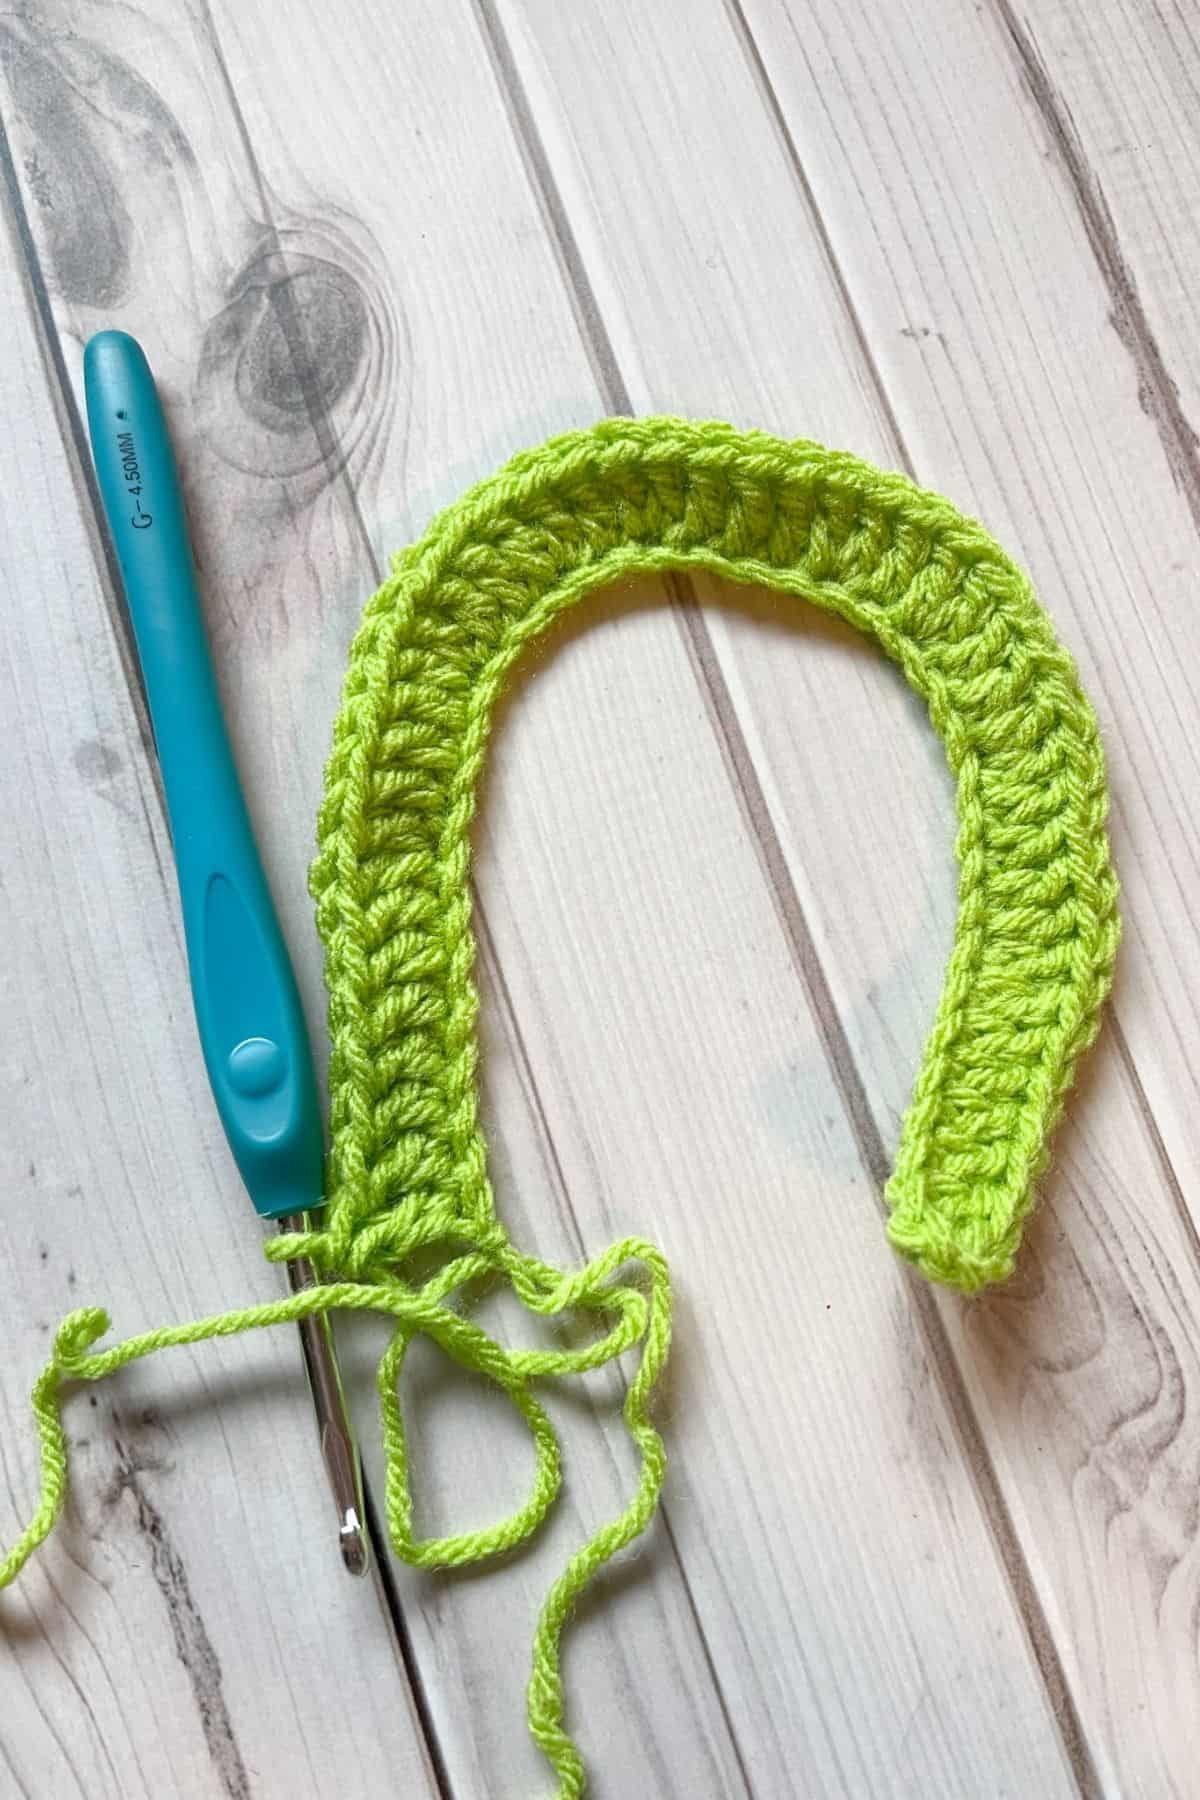
Then add 3 more dc stitches into the same place you added the last dc. This allows you to turn to the inside of the horseshoe.
Step 3: Working on the inside of the horseshoe now:
Dc2tog, dc, dc2tog, dc x6, dc2tog, dc, dc2tog, dc x3,

dc2tog, dc, dc2tog, dc x6, dc2tog, dc, dc2tog, dc inc (this increase is to get to reach the first stitch on the outer side of the horseshoe).
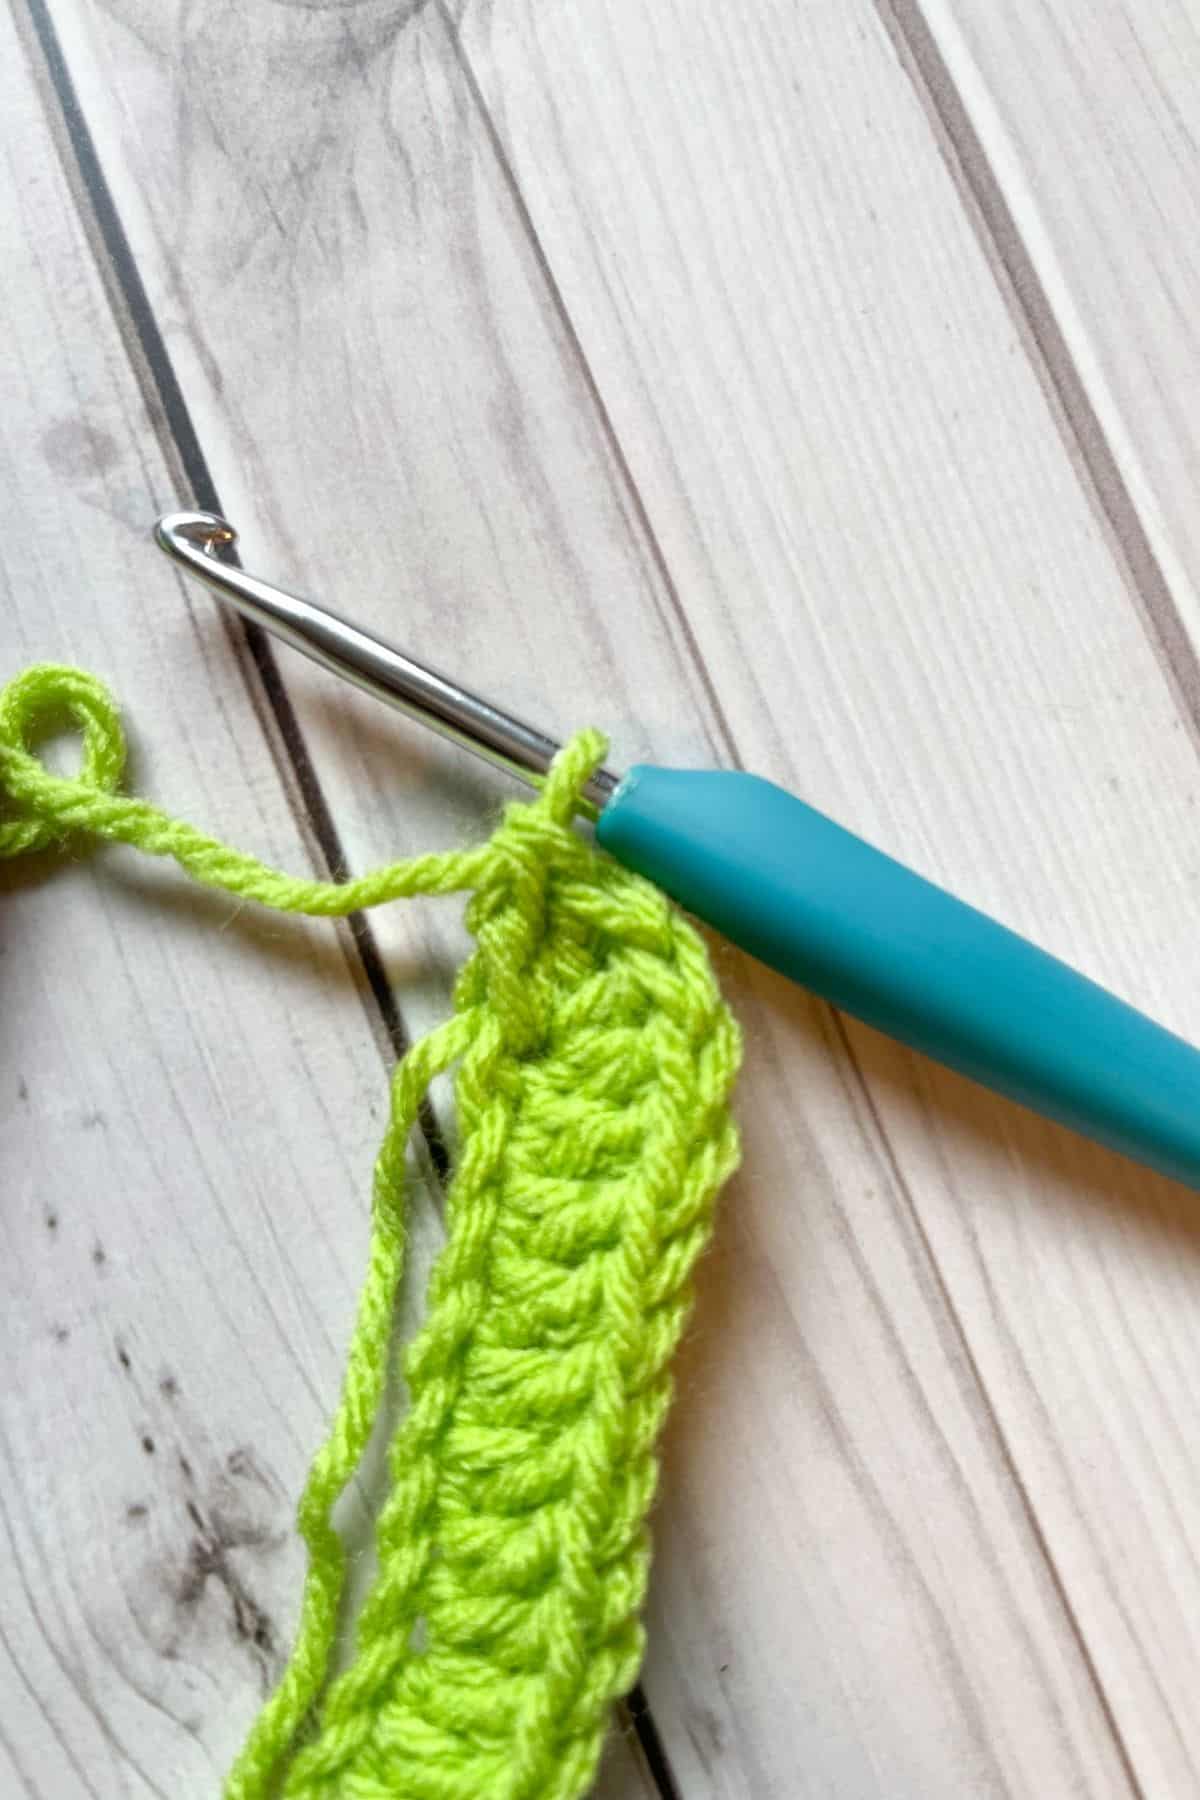
Then sl st to the first dc on the outer side of the horseshoe.
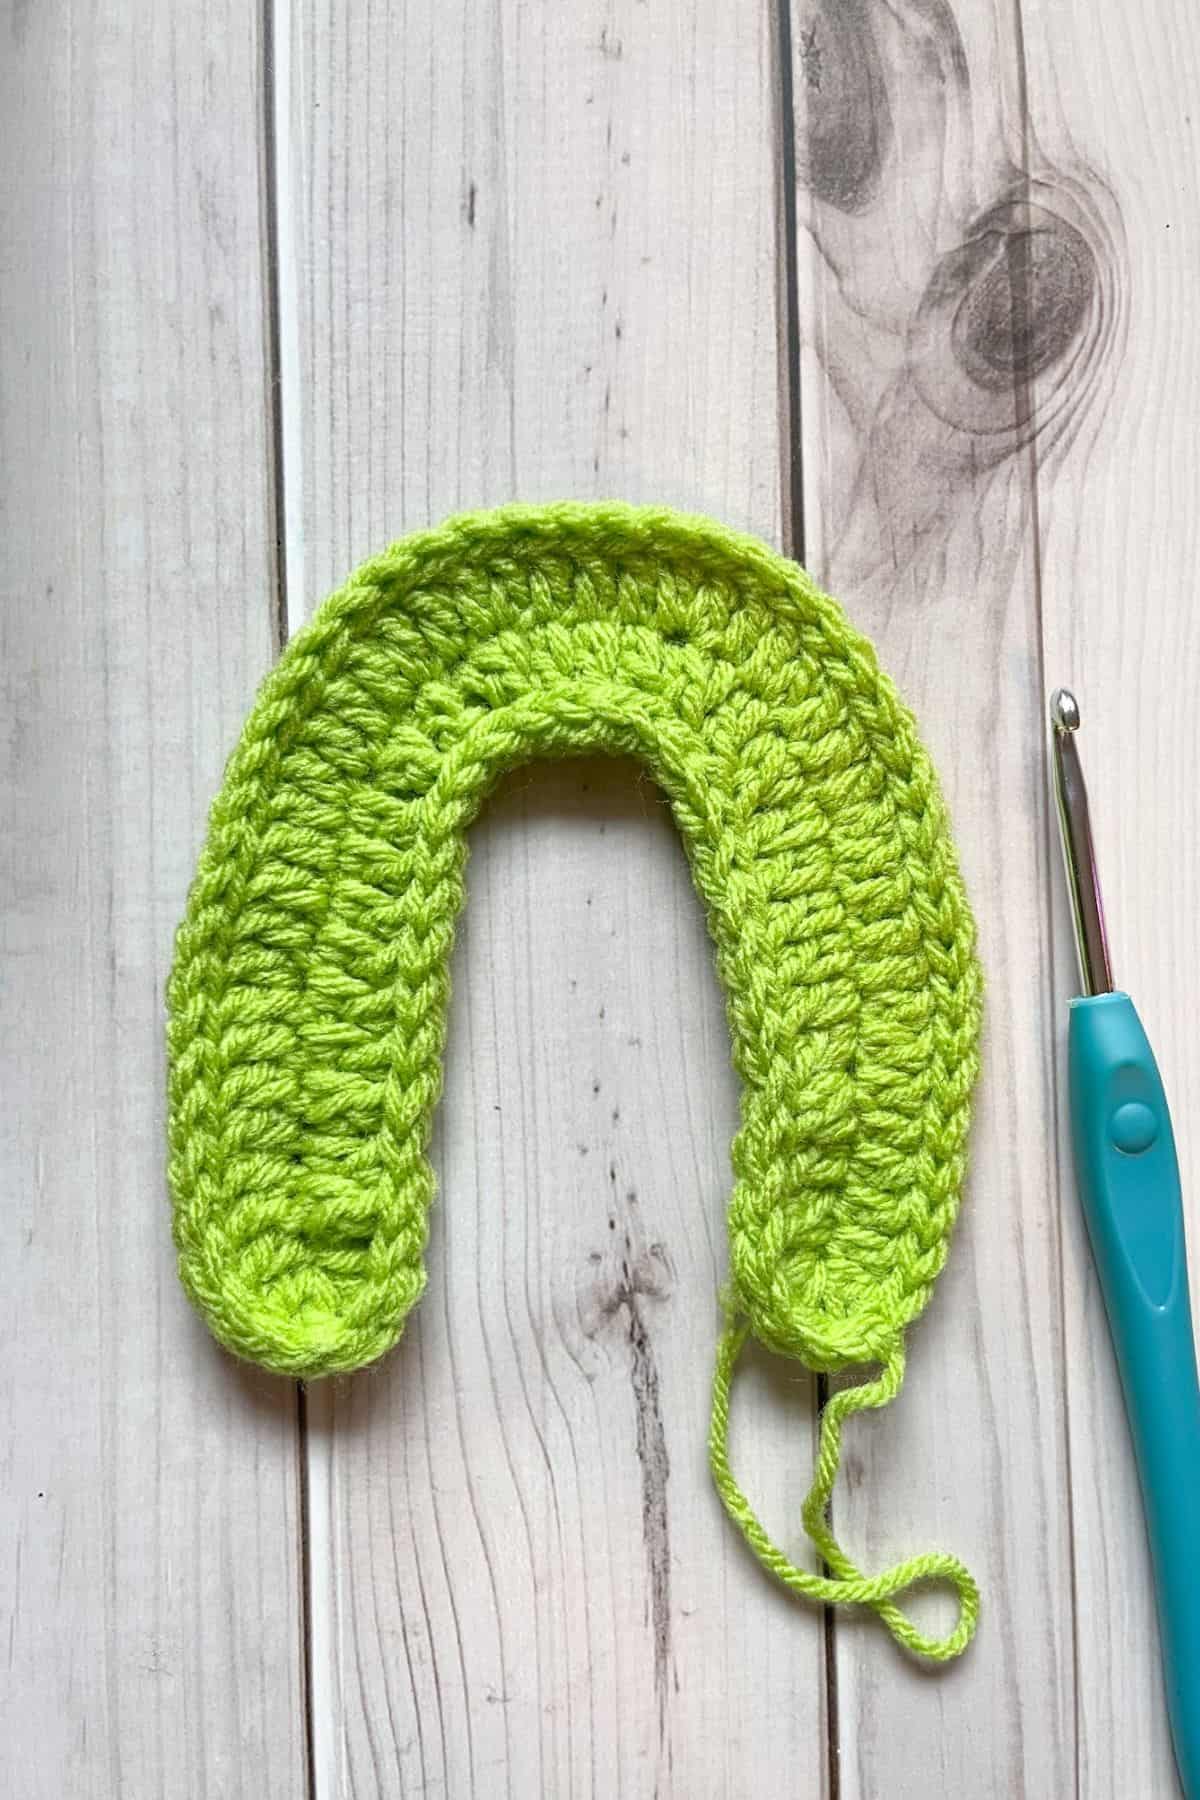
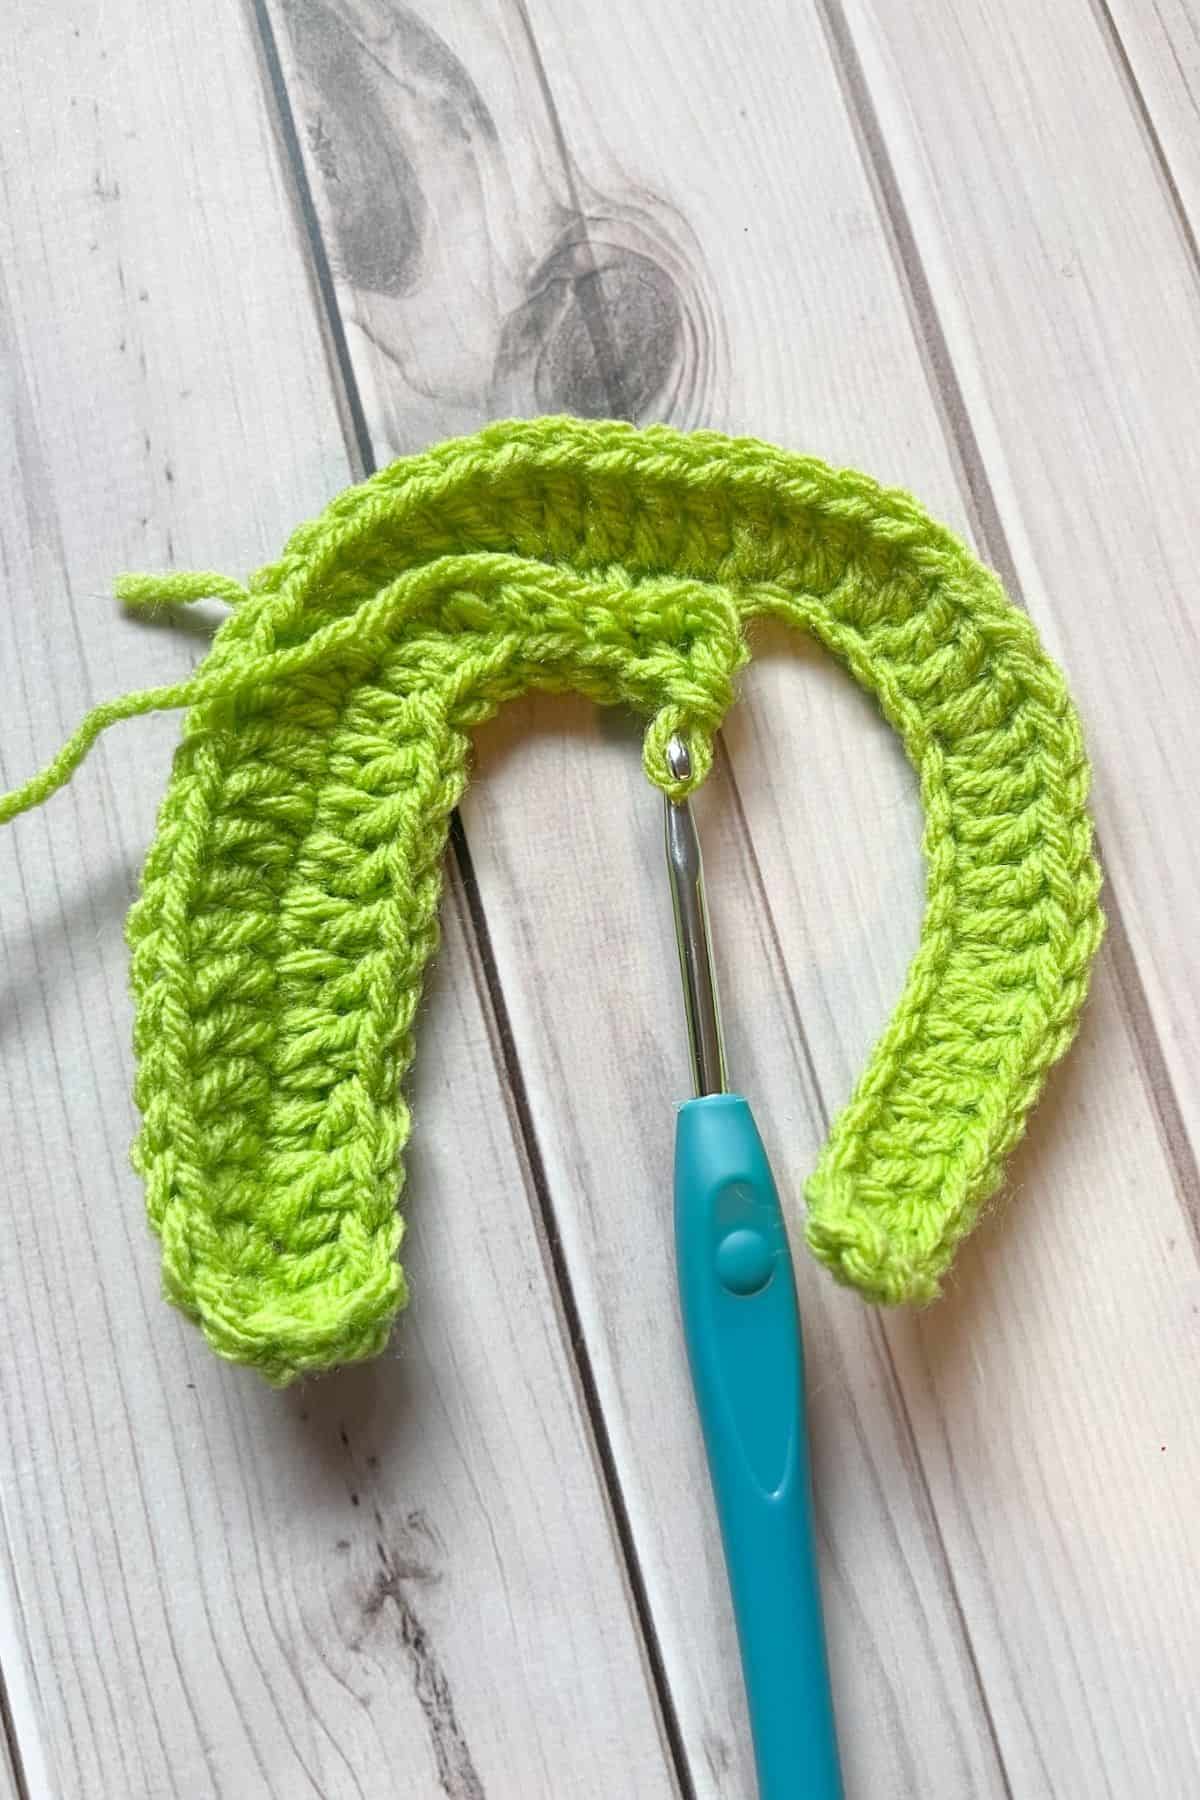
Step 4: Sl st around the entire horseshoe both the outer side and the inner side. Sl st to the first sl st and fasten off the yarn. Then weave in any ends.
If you want to add a bit more flare to your horseshoe you can take your tapestry needle and weave in another colored yarn along the middle of the horseshoe where the chain is to add dash marks.
If you are wanting to make more applique patterns and have yarn leftover, you can make my crochet cherry applique pattern as long as you have some red scrap yarn to go with it 🙂 Same goes for my crochet strawberry applique pattern.
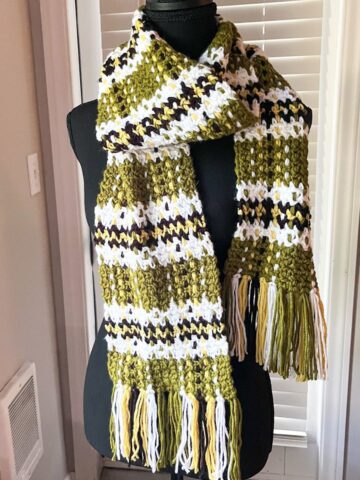
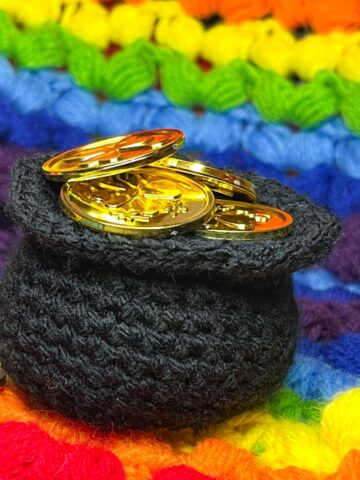
If you are looking at other ways to use green yarn, look no further than the crochet green scarf pattern that makes a tartan/plaid pattern. And my crochet coin purse pattern which is perfect for holding all the golden coins that Leprechaun's might have left for you!

🐌Expert Tips
- Slip Stitch Tension: Don’t make your slip stitches too tight; otherwise, your horseshoe will curl up.
- Color Play: Consider using variegated yarn for added texture and interest.
- Applique Ideas: Use the horseshoe applique as part of a larger project, like a festive wreath or wall hanging.
🧵Pattern FAQs
You can create a simple picot edge for a lacy look.
Use dk yarn and a smaller hook.
You can place it on scarves, blankets, pillows, sweaters, or anywhere you want a little added decoration.

🧶More Crochet Holiday Patterns


If you tried this Crochet Horseshoe Pattern (or any other pattern on my website), please let me know how it went in the 📝 comments below. I'd love to hear from you!

Crochet Horseshoe Pattern
Materials
- 1 small ball White yarn
- 1 small ball Tea Leaf yarn
- 1 small ball Spring Green yarn
- 4.5mm hook
- Tapestry needle
Abbreviations (US terms)
- ch = Chain
- dc = Double Crochet
- dc inc = Double Crochet Increase
- dc2tog = Double Crochet Decrease
- sl st = Slip Stitch
Notes
- Use any yarn size and hook.
- Enhance the basic horseshoe shape with creative touches like a decorative border.
- The finished horseshoe is about 5 inches tall and 4 inches wide.
- Experiment with colors like gray or brown for a traditional look suitable for year-round decoration.
Instructions
- The crochet horseshoe pattern is made by making a chain, then working on both sides of the chain.
- Step 1: Ch x39
- Step 2: In the 3rd chain from the hook make a dc. Dc x6, dc inc, dc x3, dc inc, dc x2, dc inc, dc, dc inc, dc x3, dc inc, dc, dc inc, dc x2, dc inc, dc x3, dc inc, dc x7.
- Then add 3 more dc stitches into the same place you added the last dc. This allows you to turn to the inside of the horseshoe.
- Step 3: Working on the inside of the horseshoe now:
- Dc2tog,dc, dc2tog, dc x6, dc2tog, dc, dc2tog, dc x3, dc2tog, dc, dc2tog, dc x6, dc2tog, dc, dc2tog, dc inc (this increase is to get to reach the first stitch on the outer side of the horseshoe).
- Then sl st to the first dc on the outer side of the horseshoe.
- Step 4: Sl st around the entire horseshoe both the outer side and the inner side. Sl st to the first sl st and fasten off the yarn. Then weave in any ends.
- If you want to add a bit more flare to your horseshoe you can take your tapestry needle and weave in another colored yarn along the middle of the horseshoe where the chain is to add dash marks.


Leave a Reply