
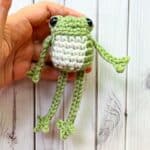
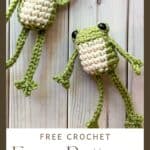
If you’re looking for a quick and easy crochet frog pattern, you’ve just hopped into the right place! This free leggy frog crochet pattern is perfect for beginners and experienced crocheters alike.
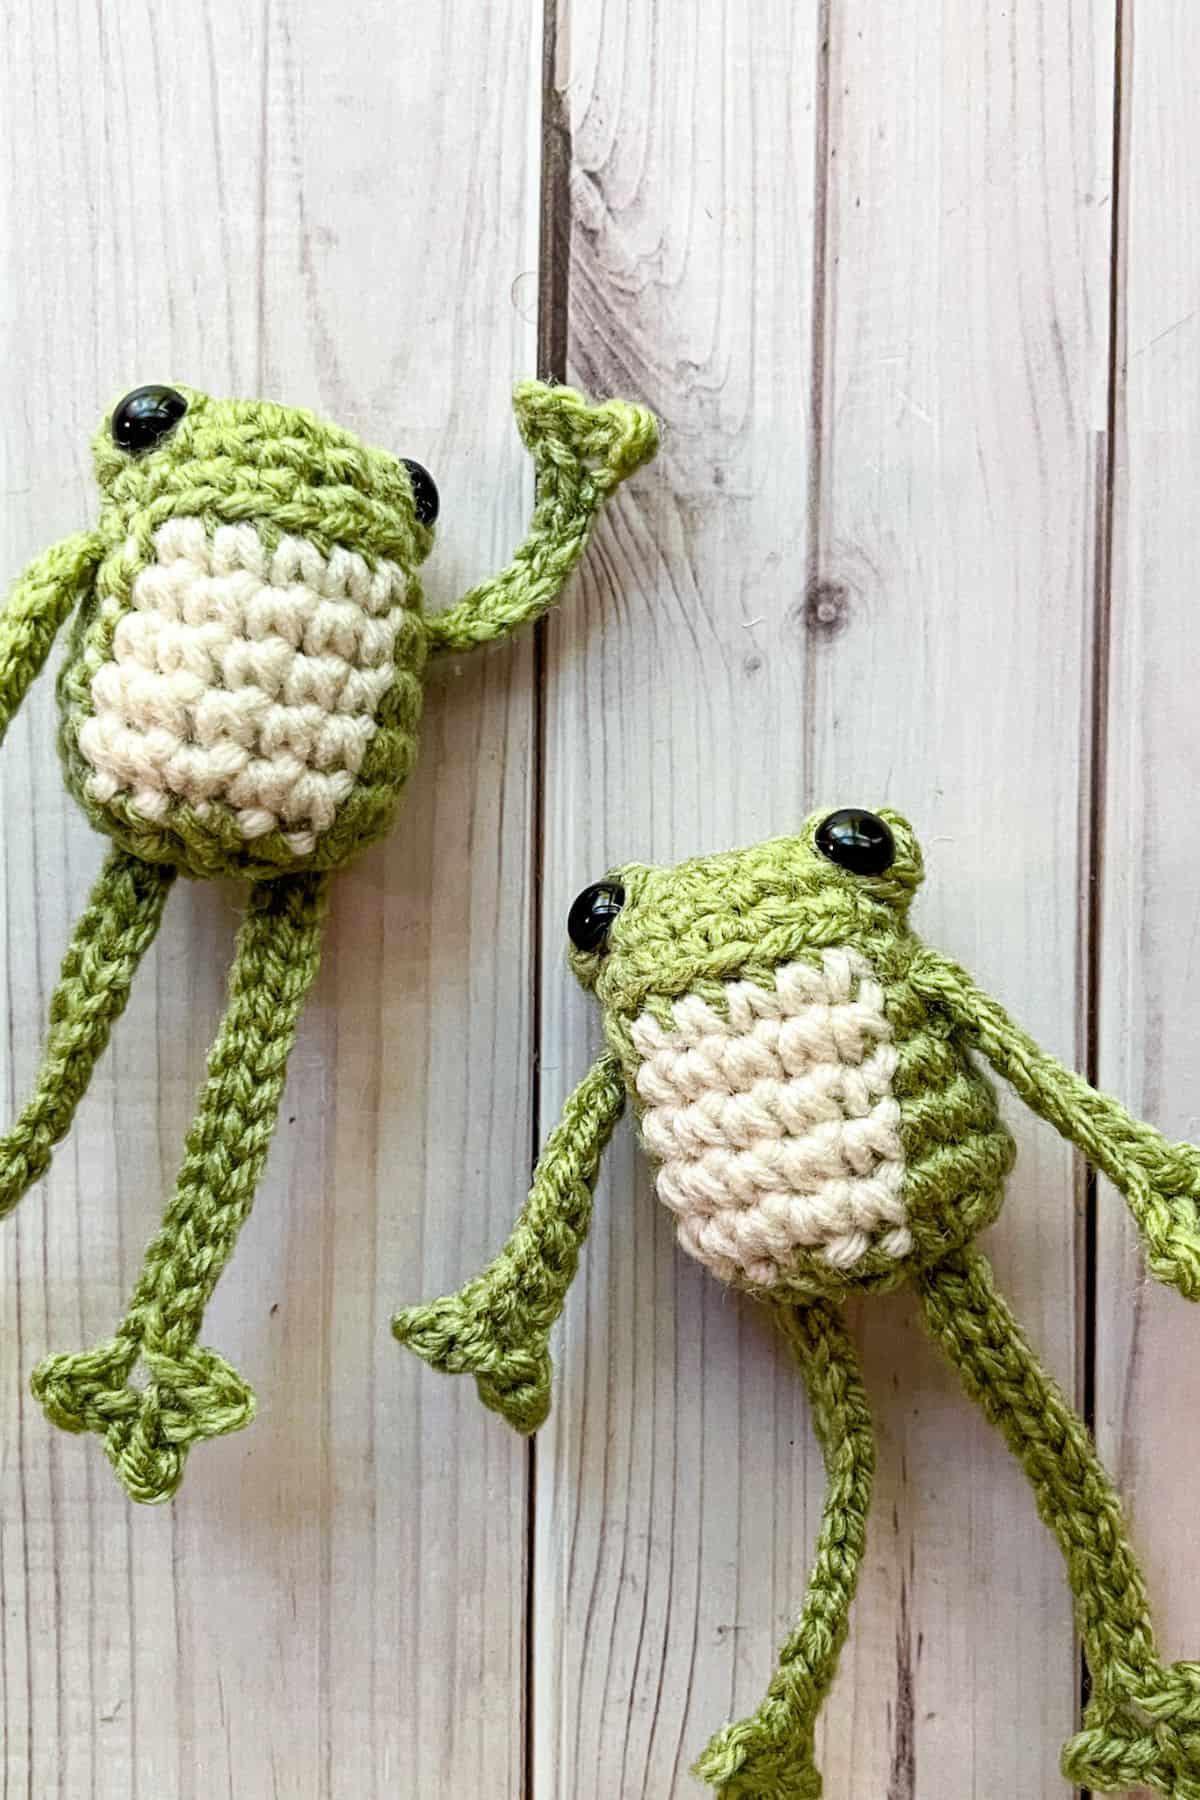
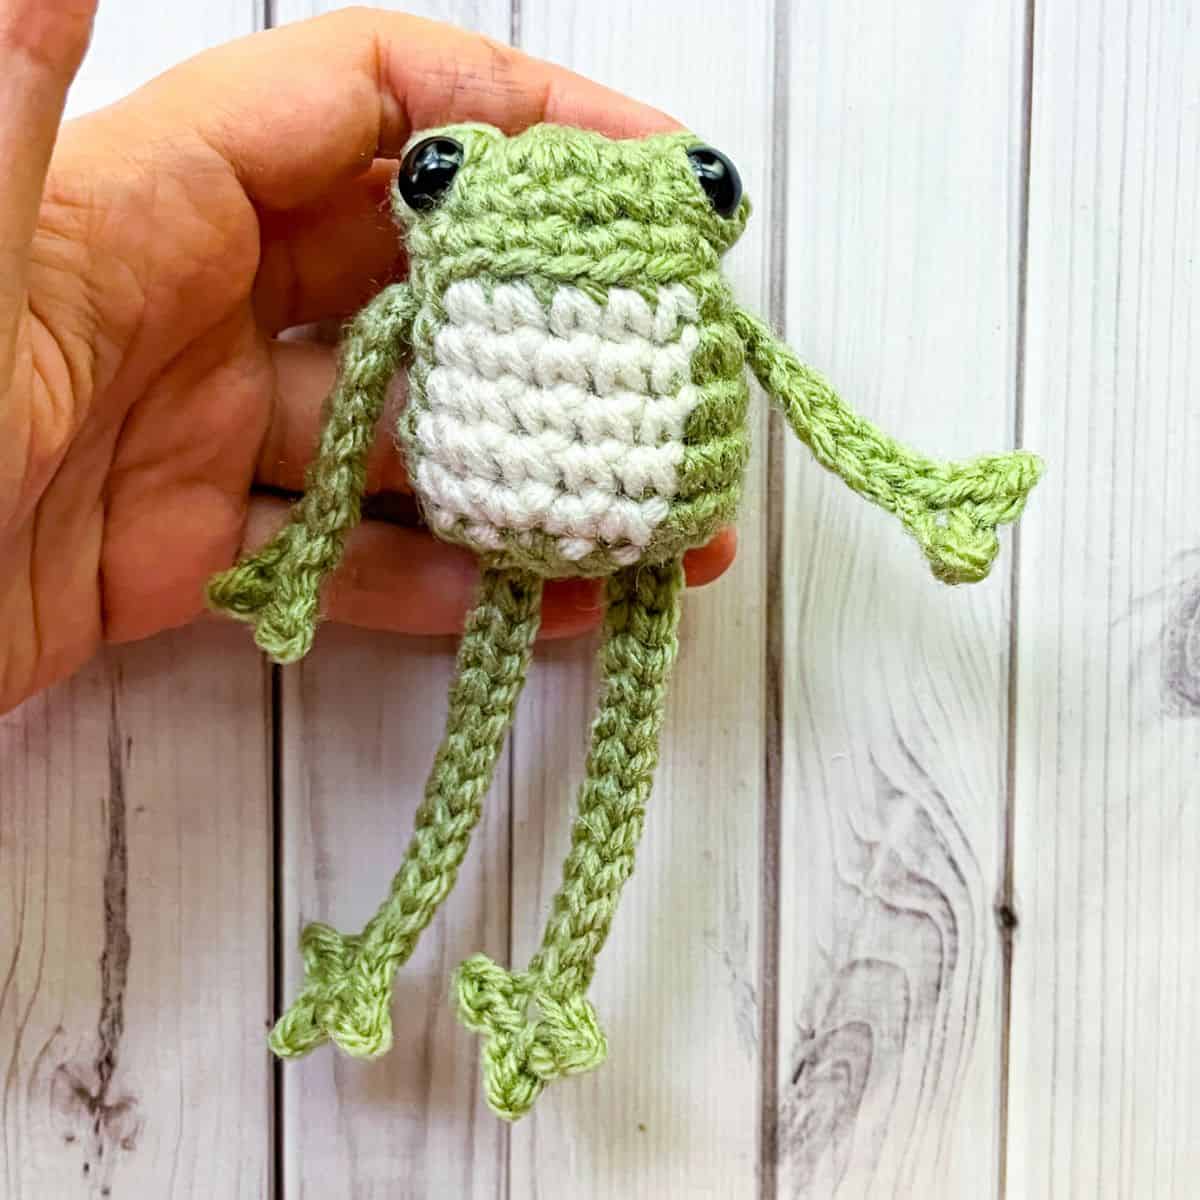
This little crochet frog pattern is not just adorable—it’s functional too! You can turn the crochet frog pattern into a crochet frog keychain, a playful toy, or even a quirky shelf companion. With long, dangly limbs inspired by the popular leggy frog crochet pattern, it’s easier on your hands and adds loads of charm to the finished look.
Although the crochet frog pattern may seem simple, getting it just right was a journey in itself. I actually had to make six different versions before finally landing on this one—and I’m so glad I did! I’m absolutely in love with the final design, and I hope you will be too.
What makes this mini frog crochet pattern stand out is its versatility and speed—it can be completed in under an hour! That makes it perfect for craft fairs, spontaneous gifts, or just those times when you want to whip up something adorable on a whim.
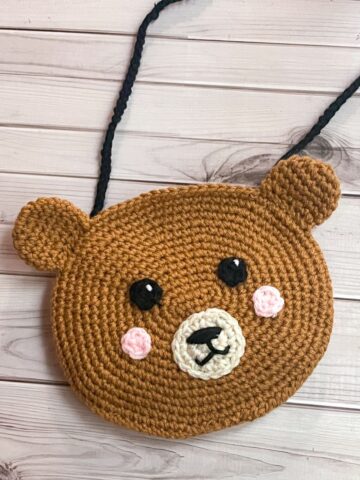
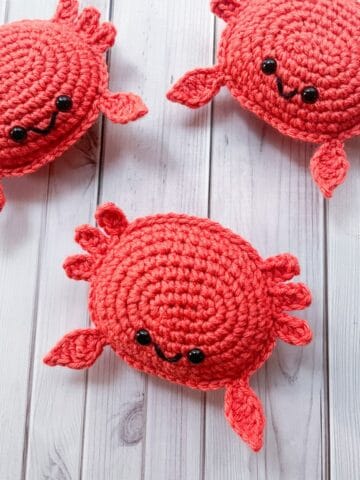
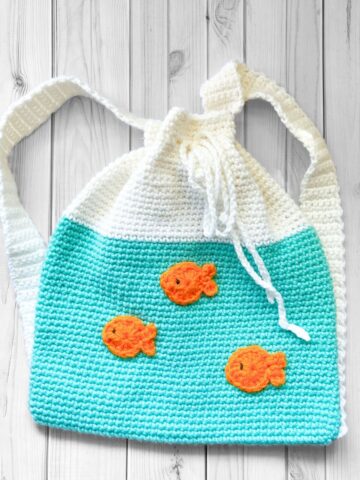
If you’re anything like me and can’t resist a touch of froggie charm, you’ll love my other crochet frog patterns! The crochet frog bag pattern is a fun, functional piece—perfect for toting your essentials with a whimsical twist. For cozy vibes, the crochet frog beanie pattern adds warmth and smiles in equal measure. My personal favorites? The crochet frog coaster pattern and its matching lily pad coaster pattern—they bring a quirky, pond-inspired touch to any table. Whether you're building a collection or just love cute handmade details, these froggie designs are sure to brighten your day!
Let’s dive into the crochet frog pattern and get your next crochet froggie friend hopping off the hook in no time!
Jump to:
✏️ Things To Note:
- Minimal Sewing: This crochet frog pattern is designed to minimize assembly, with only a few parts to sew—great for crocheters who prefer quicker finishes.
- Long Limbs, Less Strain: Inspired by the popular leggy frog crochet pattern style, the extra-long arms and legs make crocheting easier on the hands and give the frog an irresistibly floppy charm.
- Yarn & Hook: The crochet frog pattern works best with worsted weight yarn and a 4.5mm hook, but you can adjust for different sizes by changing your yarn and hook combo. If you use bulky yarn it will be roughly 8 inches tall.
🪡 Materials Needed
- Red Heart Yarn - Aran
- Red Heart Yarn - Light Thyme
- 4.5 mm Hook
- Polyfill
- 8mm safety eyes
- Tapestry needle
💭Abbreviations to Remember (US terms)
- Magic ring (mr)
- Chain (ch)
- Single crochet (sc)
- Slip stitch (sl st)
- Increase (inc)
- Decrease (dec)
- Back loop only (blo)
🧋Variations
- Color Swaps: Classic green is always a hit, but don’t be afraid to experiment! Try pastel shades for a soft, whimsical look, or bold brights for a fun pop of color. Rainbow frogs? Yes, please!
- Yarn Texture: Use velvet or chenille yarn for an ultra-soft, plush feel. Cotton and acrylic yarn gives a cleaner, structured look, perfect for a crochet frog keychain or shelf buddy.
- Poseable Limbs: Insert floral wire into the arms and legs to make them bendable. Great for shelf sitters or photo props!
🍵Instructions for Crochet Frog Pattern
For this crochet frog pattern, we will be working in rounds.
Crochet Frog Head and Body:
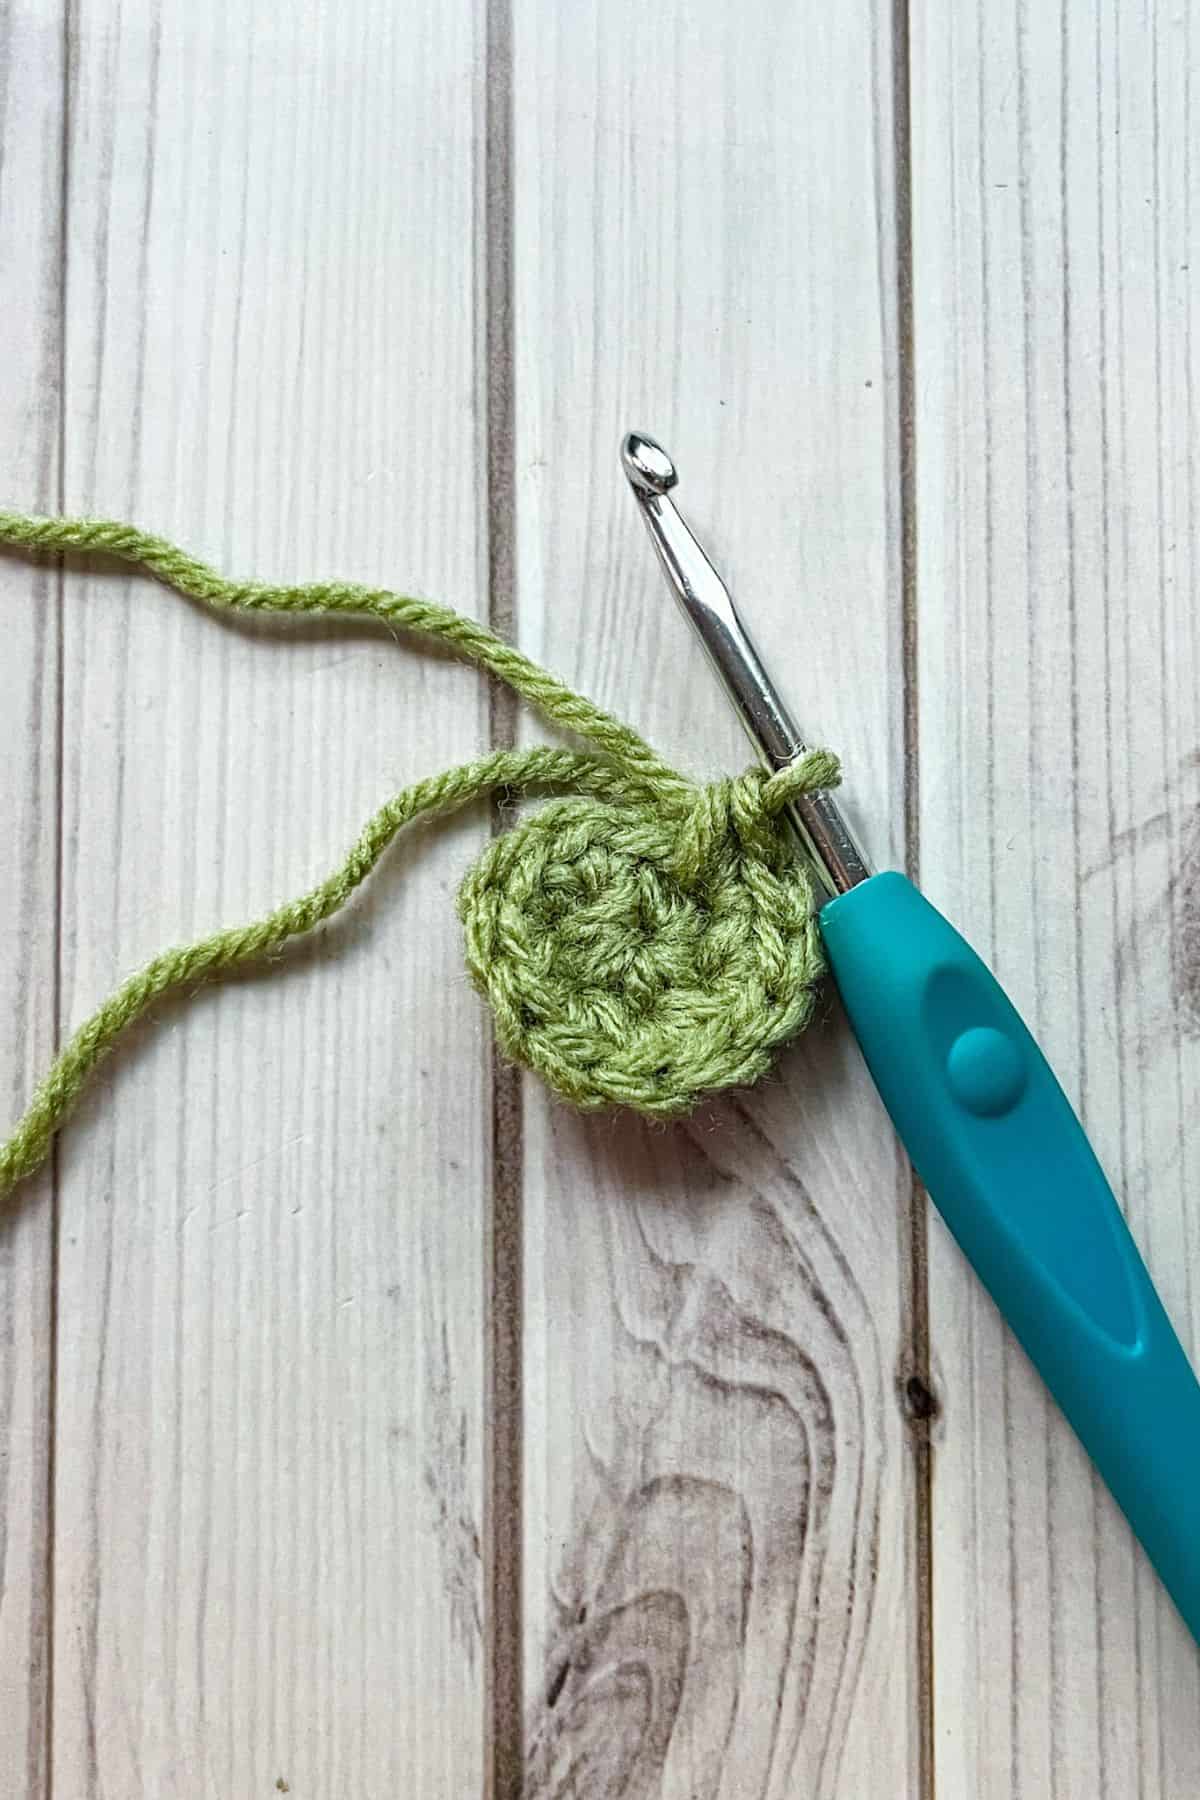
Round 1: Using the green yarn, make a mr and make sc x6 in the circle. If you find it difficult making a magic ring you can chain 2 and then crochet sc x6 in the second chain from the hook. (6)
Round 2: Inc in every sc. (12)
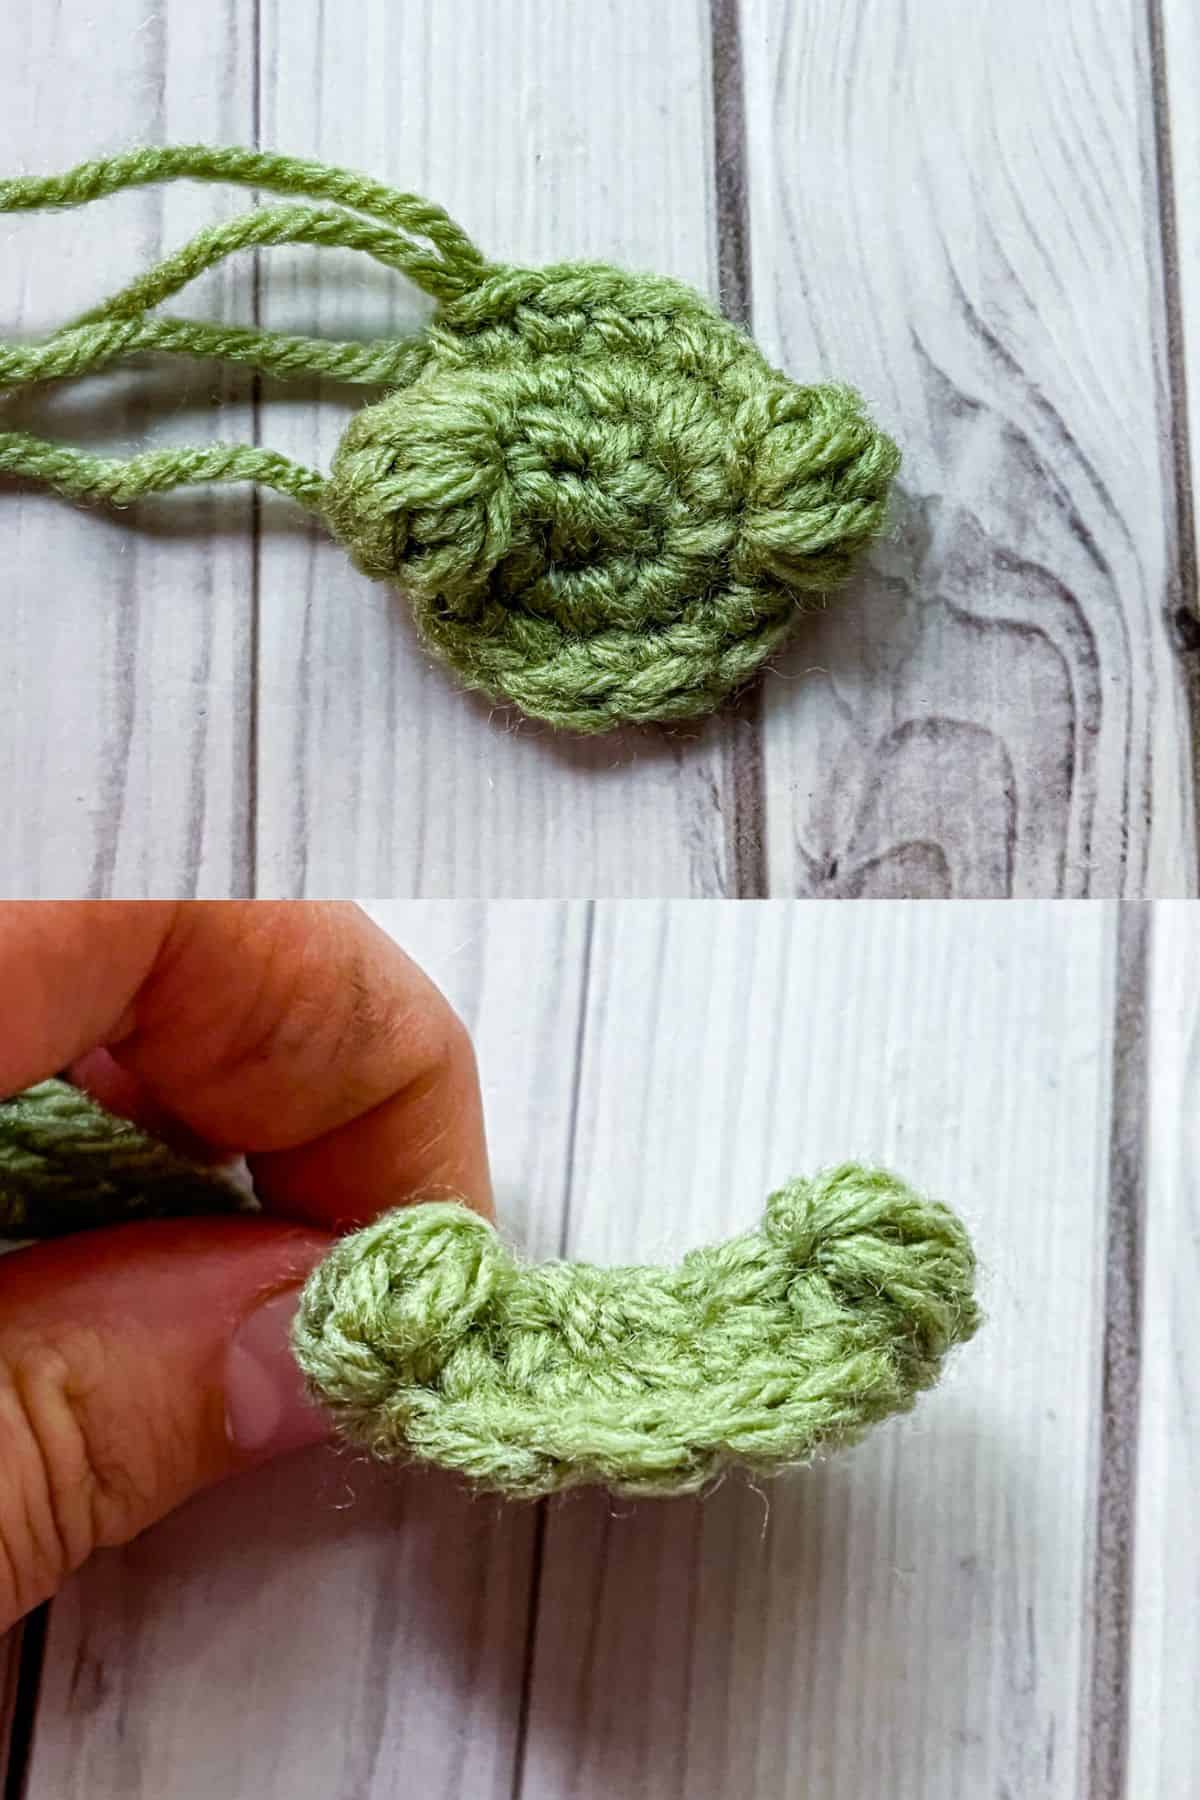
Round 3: Make a *bobble stitch
- BOBBLE STITCH: *Yarn over, insert your hook into the stitch, yarn over, pull up a loop (3 loops on hook), yarn over pull through 2 loops (2 loops remain). Repeat from * 3 more times (you’ll have 4 half-finished double crochets and 5 loops on your hook), pull through all 5 loops on the hook.
Then make a sc in the next 5 stitches. Make a bobble stitch in the next stitch and then sc x5 (12).
The bobble stitches usually puff out on the wrong side of the crochet pattern, so what you need to do now is push them out to the right side of the pattern. You can usually do this with the backend of a pencil or crochet hook and just push the bobble to the other side.
Round 4: Inc, sc. Then repeat until the end of round (18).
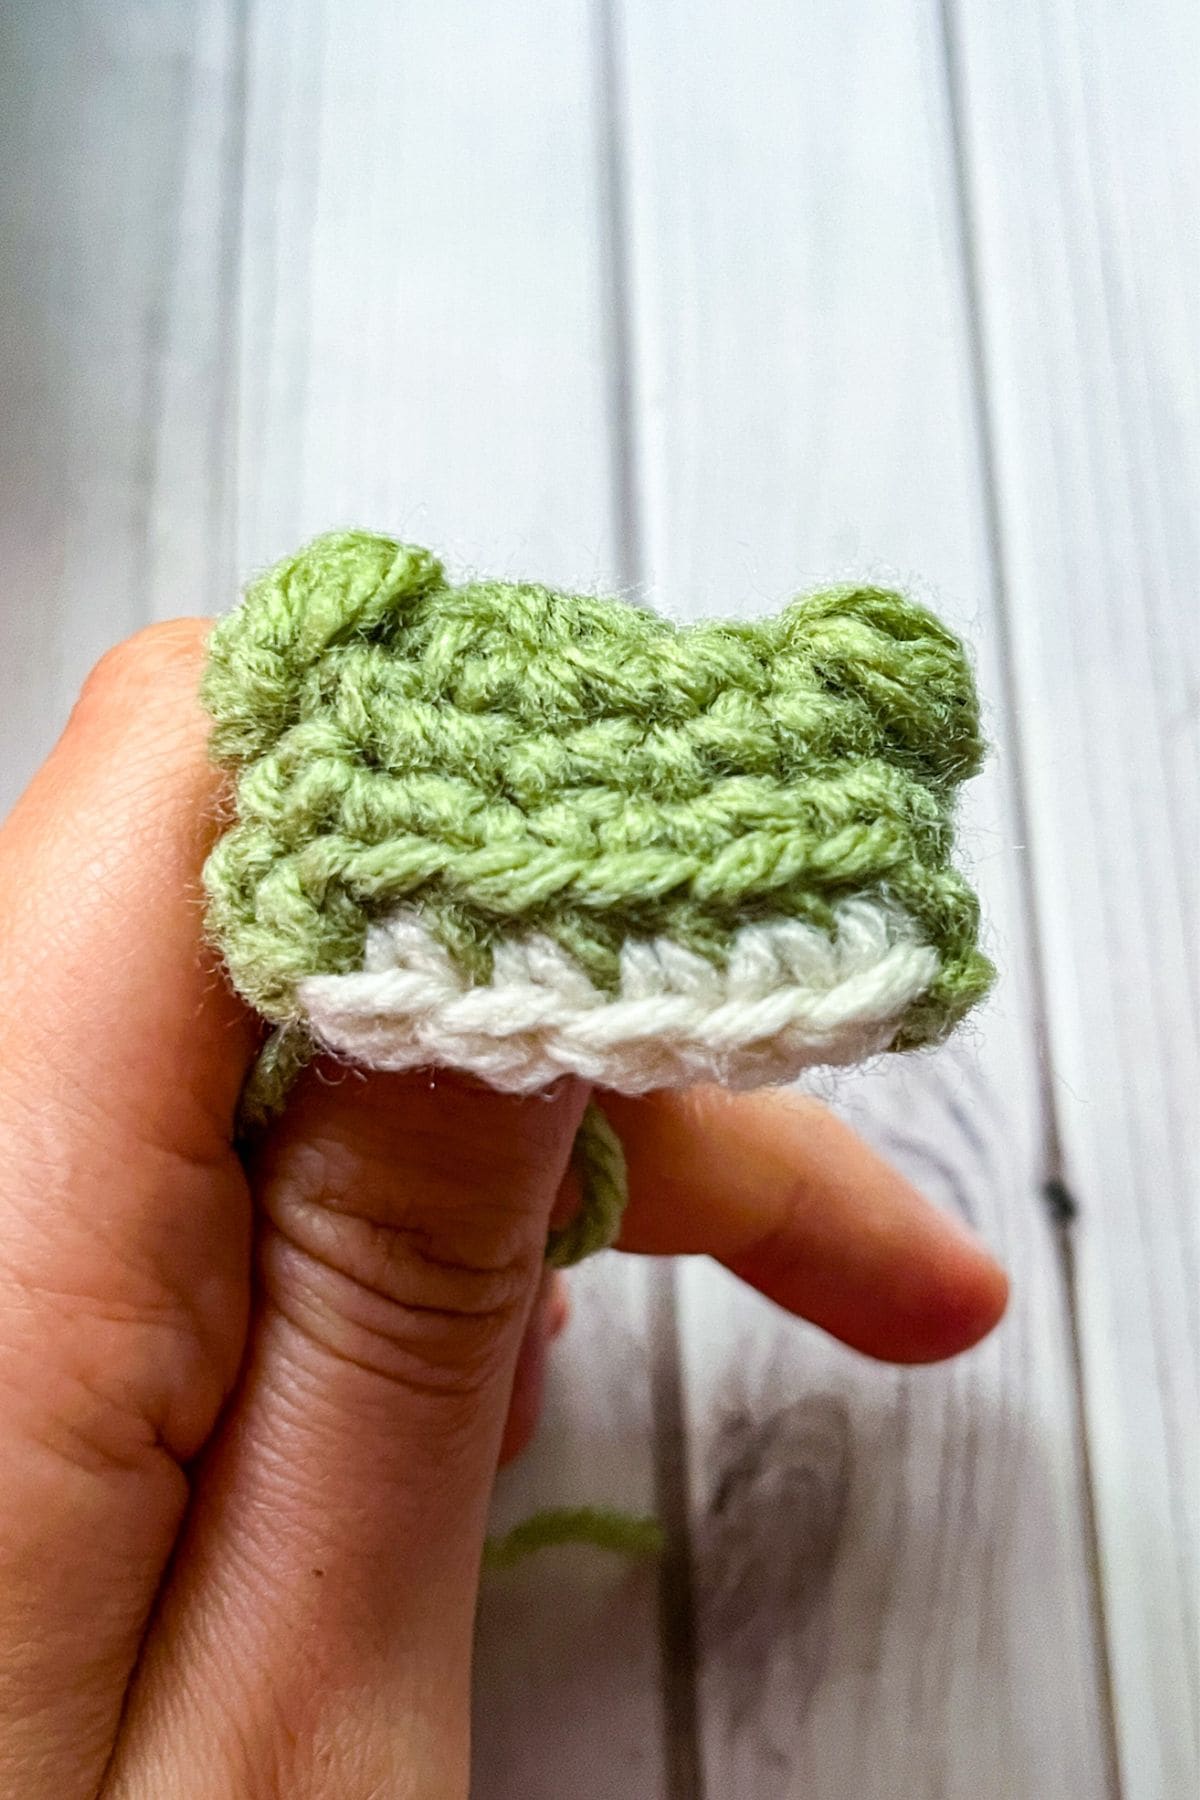
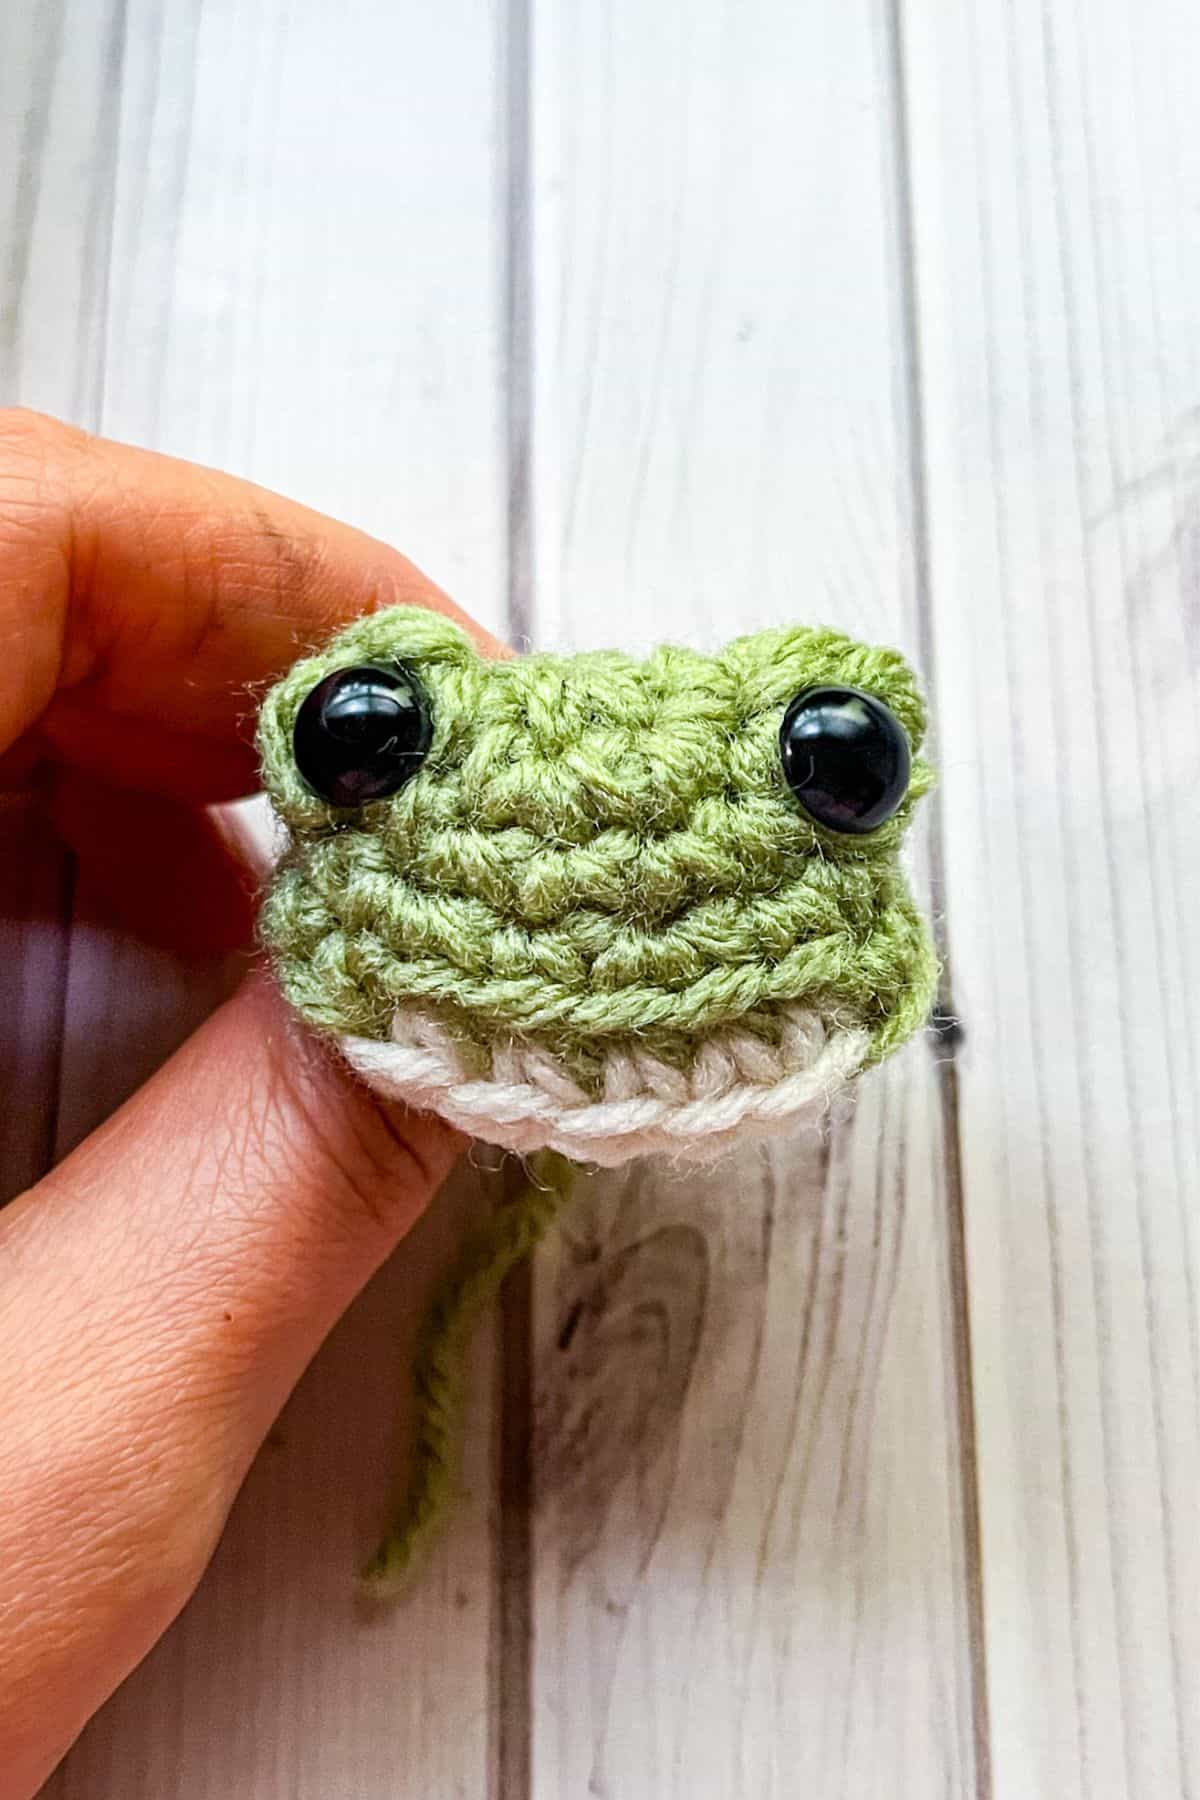
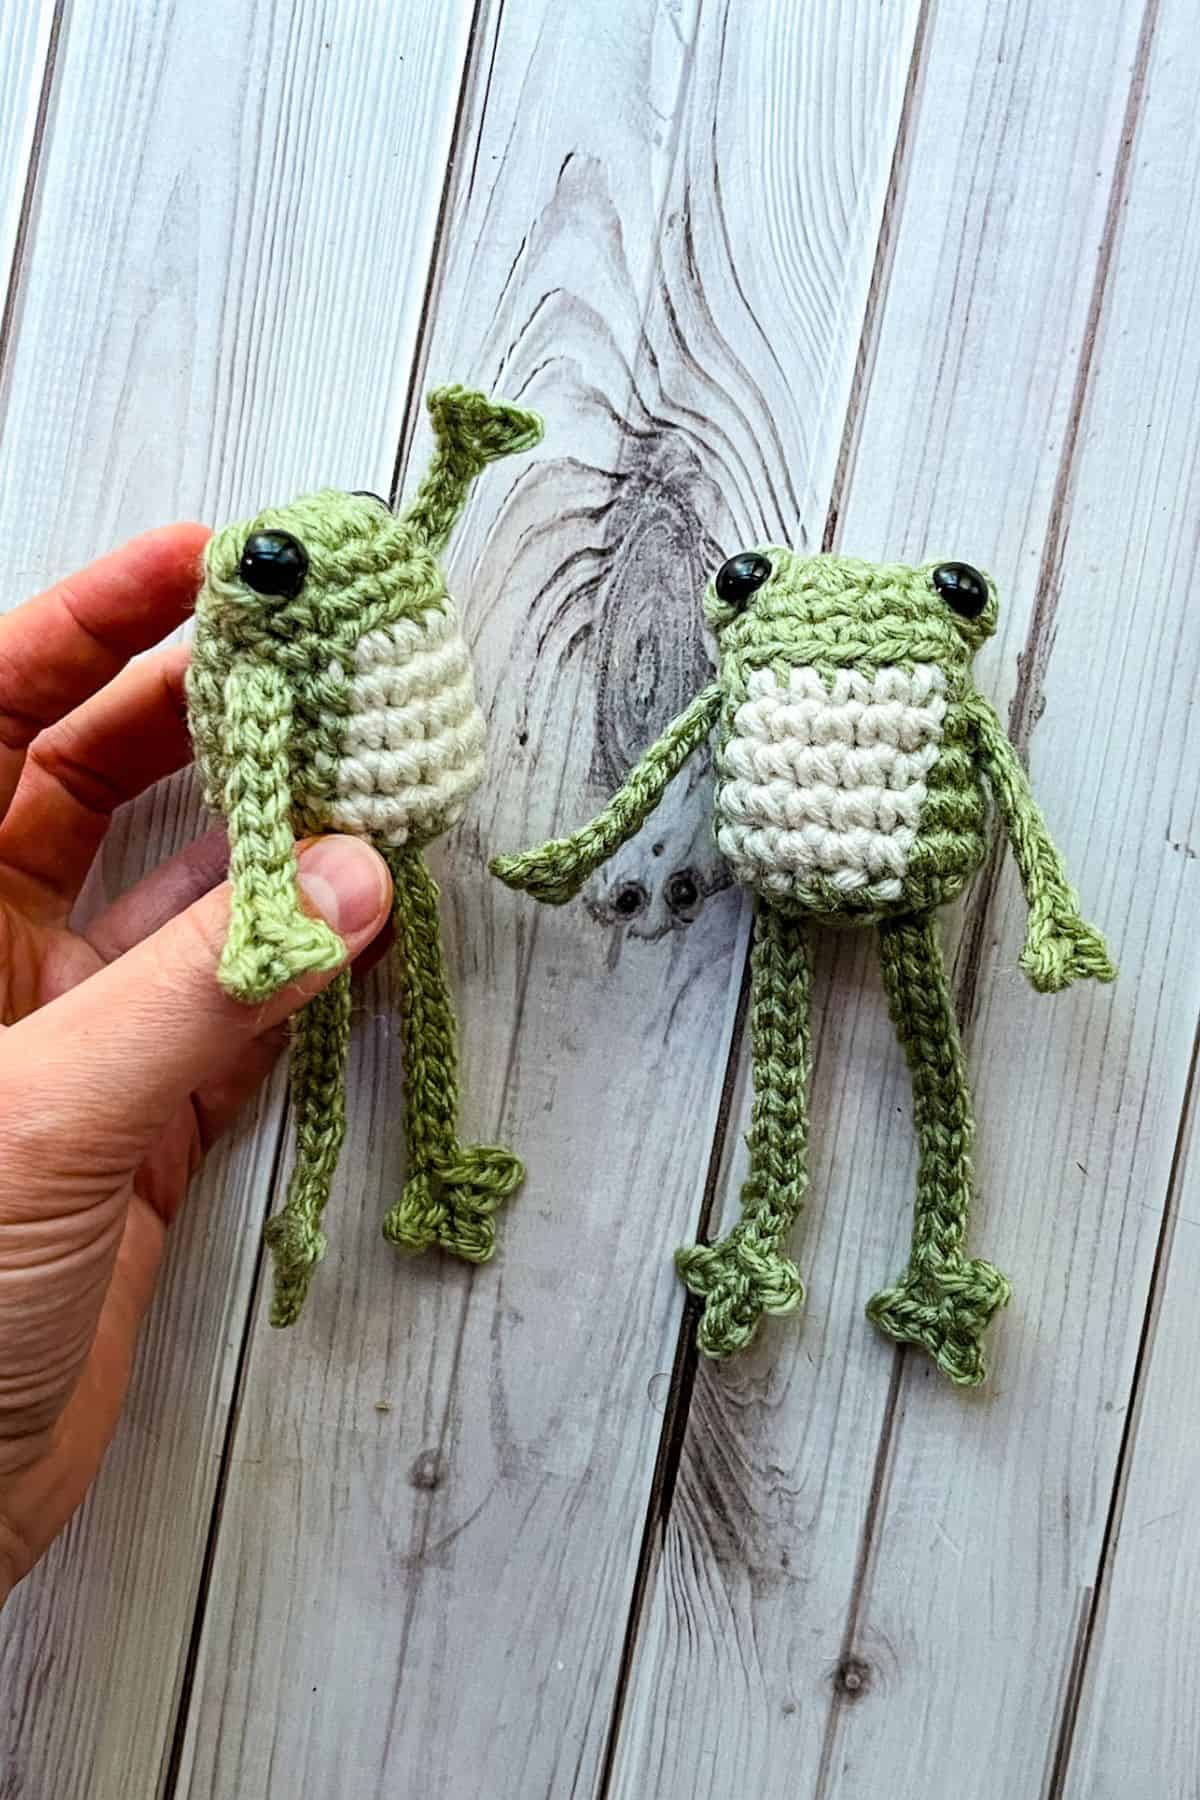
Round 5: For this round we will start adding the cream color for the belly. But first sc x4 in green, then when making the last sc, switch the color to cream while you are finishing up the stitch. In blo, sc x5 in cream, then switch it back to green in the last stitch, then sc x9 like normal (18).
The cream stitches should be between the bobble stitches in the front of the frog.
Now is also a good time to add the eyes to the front facing sides of the bobble stitches. If you wait any longer it will be incredibly difficult to add.
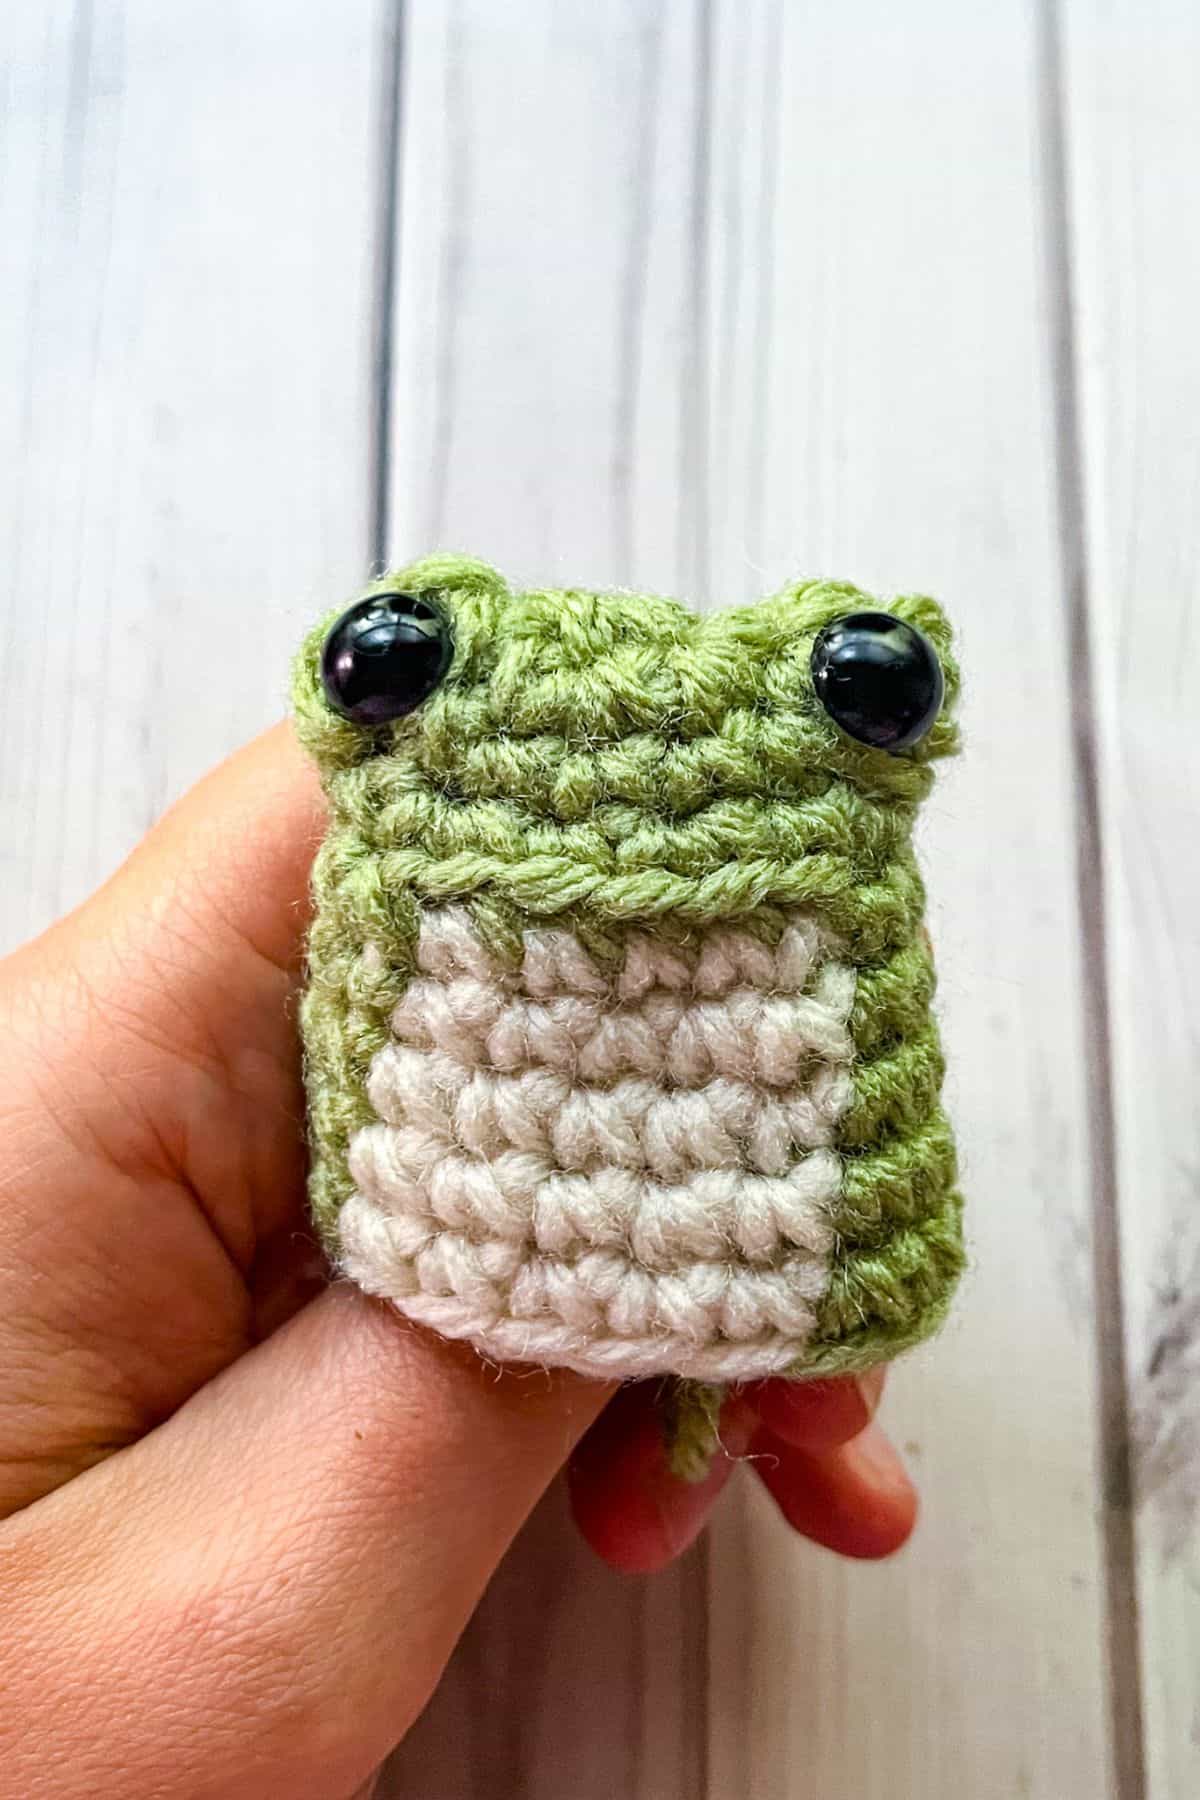
Round 6-9: In green sc x4, switch to cream and sc x5, then switch back to green and sc x9 (18). Fasten off the cream yarn.
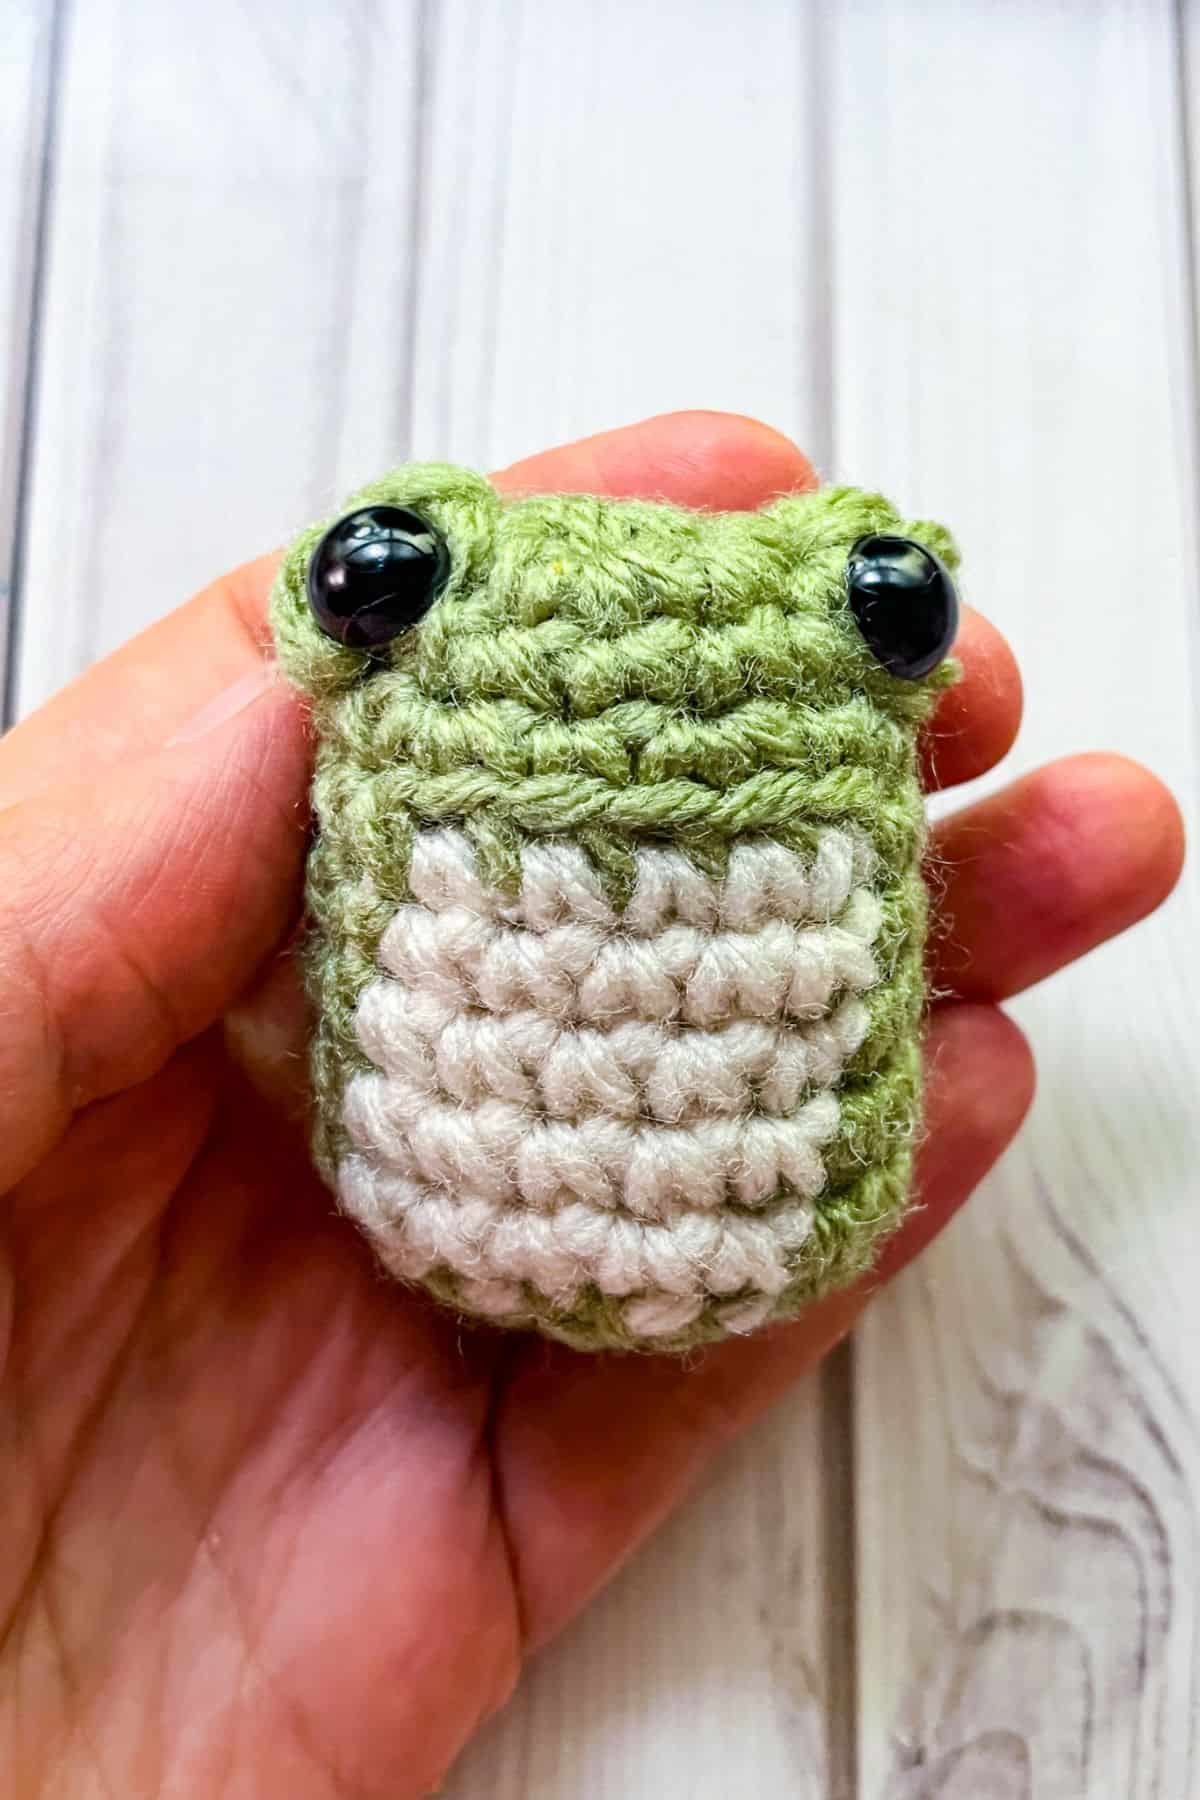
Round 10: With just the green yarn dec, sc and then repeat for the rest of the round (12). If you haven't stuffed the frog yet, you should do so now.
Round 11: Dec in every stitch of the round (6). Fasten off the yarn and sew the bottom of the frog closed. Then weave in any ends.
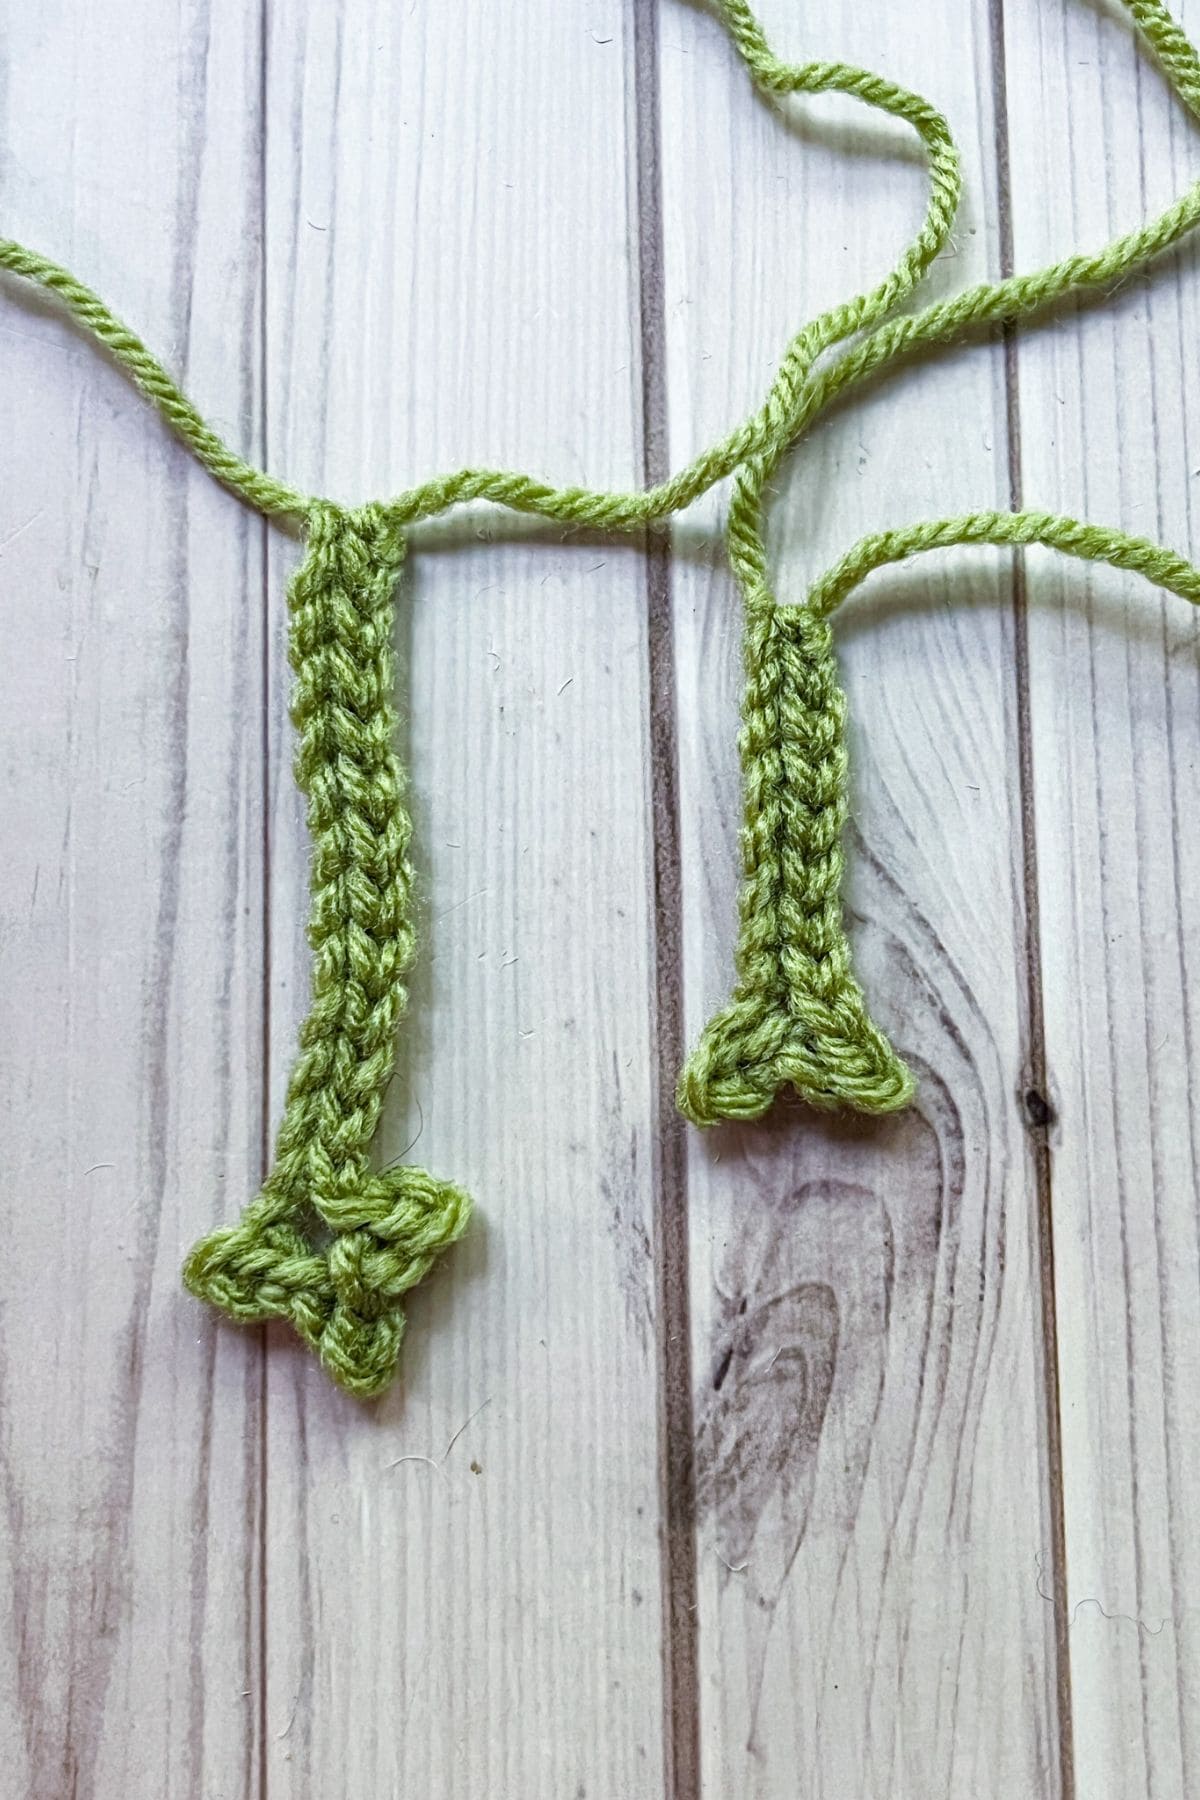
Crochet Frog Legs:
Make x2.
With the green yarn ch x15. In the second ch from the hook make a sl st. Then make a sl st in the following ch. *After that ch x2 and make a sl st in the second ch from the hook and then another sl st in the same place you made the last sl st before chaining 2. Repeat from * one more time for the other toe.
Once the 3 toes have been made, make a sl st in each stitch for the rest of the chain length.
Crochet Frog Arms:
Make x2.
With the green yarn ch x10. In the second ch from the hook make a sl st. Then make a sl st in the following ch. After that ch x2 and make a sl st in the second ch from the hook and then another sl st in the same place you made the last sl st before chaining 2.
Once 2 fingers have been made, make a sl st in each stitch for the rest of the chain length.
Assembly:
Sew the arms 2 rounds below the eye, 2 green stitches from the cream ones on both sides of the body.
For the legs, sew them to the second to last round on the bottom.
I hope you had as much fun making this little crochet frog pattern as I did designing it! Whether you turned it into a crochet frog keychain, a desk buddy, or a market-ready plush, I’m so excited to see how your froggie turned out.
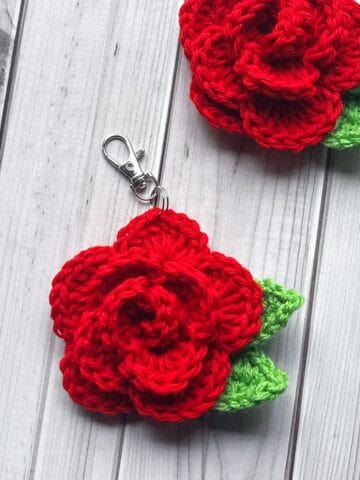
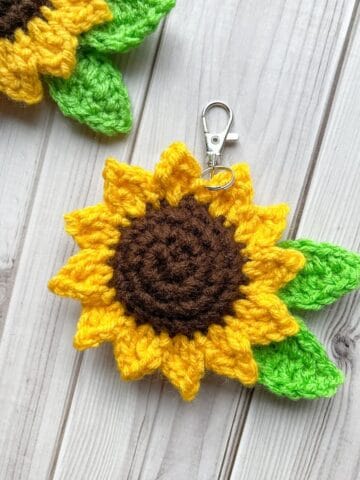
If you’ve got some leftover green yarn—and maybe a few other colors—don’t let it go to waste! Try my crochet green scarf pattern for a cozy and stunning scarf, or turn your scraps into a charming crochet coin purse pattern using the small daisy granny square. And if you're in the mood for something wearable, check out my crochet granny square fingerless gloves pattern, featuring the small sunflower granny square—a perfect project to keep your hands warm and stylish.
Thanks for hopping along with me—happy crocheting, and don’t forget to tag me in your makes!
🐌Expert Tips
- Use Stitch Markers Generously: When working in continuous rounds for the crochet frog pattern, stitch markers are your best friend. Place one at the start of each round to avoid losing your place—especially helpful for beginners or when crocheting quickly.
- Pre-Plan Eye Placement: Before securing safety eyes or sewing on embroidered ones to the crochet frog pattern, use pins to test placement. Small changes in positioning can completely change the frog’s expression—cute, sleepy, silly, or surprised!
- Match Yarn & Hook for Structure: Use a smaller hook than your yarn label recommends to create a tight fabric—this prevents stuffing from peeking through and gives your mini frog crochet pattern a clean, polished look.
🧵Pattern FAQs
Slight curling is natural, especially with longer limbs. You can lightly steam block the arms and legs to straighten them, or leave them floppy for extra personality for the crochet frog pattern.
The crochet frog pattern is beginner-friendly! If you're comfortable with basic stitches like single crochet, increases, and decreases, you'll be just fine. It's also a great introduction to amigurumi.
This mini frog crochet pattern can be completed in under an hour! It's perfect for last-minute gifts, market prep, or a quick stash-busting project.
🧶More Crochet Animal Patterns

If you tried this Crochet Frog Pattern (or any other pattern on my website), please let me know how it went in the 📝 comments below. I'd love to hear from you!
Crochet Frog Pattern
Materials
Abbreviations (US terms)
- Magic ring - mr
- Chain - ch
- Single crochet - sc
- Slip stitch - sl st
- Increase - inc
- Decrease - dec
- Back loop only - blo
Notes
- Minimal Sewing: The crochet frog pattern is designed to minimize assembly, with only a few parts to sew—great for crocheters who prefer quicker finishes.
- Long Limbs, Less Strain: Inspired by the popular leggy frog crochet pattern style, the extra-long arms and legs make crocheting easier on the hands and give the frog an irresistibly floppy charm.
- Yarn & Hook: Works best with worsted weight yarn and a 4.5mm hook, but you can adjust for different sizes by changing your yarn and hook combo. If you use bulky yarn it will be roughly 8 inches tall.
Instructions
- For this crochet frog pattern, we will be working in rounds.
Crochet Frog Head and Body:
- Round 1: Using the green yarn, make a mr and make sc x6 in the circle. If you find it difficult making a magic ring you can chain 2 and then crochet sc x6 in the second chain from the hook. (6)
- Round 2: Inc in every sc. (12)
- Round 3: Make a *bobble stitch
- BOBBLE STITCH: *Yarn over, insert your hook into the stitch, yarn over, pull up a loop (3 loops on hook), yarn over pull through 2 loops (2 loops remain). Repeat from *3 more times (you’ll have 4 half-finished double crochets and 5 loops on your hook), pull through all 5 loops on the hook.
- Then make a sc in the next 5 stitches. Make a bobble stitch in the next stitch and then sc x5 (12).
- The bobble stitches usually puff out on the wrong side of the crochet pattern, so what you need to do now is push them out to the right side of the pattern. You can usually do this with the backend of a pencil or crochet hook and just push the bobble to the other side.
- Round 4: Inc, sc. Then repeat until the end of round (18).
- Round 5: For this round we will start adding the cream color for the belly. But first sc x4 in green, then when making the last sc, switch the color to cream while you are finishing up the stitch. In blo, sc x5 in cream, then switch it back to green in the last stitch, then sc x9 like normal (18).
- The cream stitches should be between the bobble stitches in the front of the frog.
- Now is also a good time to add the eyes to the front facing sides of the bobble stitches. If you wait any longer it will be incredibly difficult to add.
- Round 6-9: In green sc x4, switch to cream and sc x5, then switch back to green and sc x9 (18). Fasten off the cream yarn.
- Round 10: With just the green yarn dec, sc and then repeat for the rest of the round (12). If you haven't stuffed the frog yet, you should do so now.
- Round 11: Dec in every stitch of the round (6). Fasten off the yarn and sew the bottom of the frog closed. Then weave in any ends.
Crochet Frog Legs:
- Make x2.
- With the green yarn ch x15. In the second ch from the hook make a sl st. Then make a sl st in the following ch. *After that ch x2 and make a sl st in the second ch from the hook and then another sl st in the same place you made the last sl st before chaining 2. Repeat from * one more time for the other toe.
- Once the 3 toes have been made, make a sl st in each stitch for the rest of the chain length.
Crochet Frog Arms:
- Make x2.
- With the green yarn ch x10. In the second ch from the hook make a sl st. Then make a sl st in the following ch. After that ch x2 and make a sl st in the second ch from the hook and then another sl st in the same place you made the last sl st before chaining 2.
- Once 2 fingers have been made, make a sl st in each stitch for the rest of the chain length.
Assembly:
- Sew the arms 2 rounds below the eye, 2 green stitches from the cream ones on both sides of the body.
- For the legs, sew them to the second to last round on the bottom.
- I hope you had as much fun making this little crochet frog pattern as I did designing it! Whether you turned it into a crochet frog keychain, a desk buddy, or a market-ready plush, I’m so excited to see how your froggie turned out.
Isabel Franklin says
Love this pattern! It's so cute and easy, the final product looks like it would take longer than it actually does! I'll definitely be making more of them 🙂 thank you!!
Kimberly Arenas says
I'm happy you enjoyed the pattern!
Asa says
Thank you for this cute tut! i just finished making the frog for my friend, will gift it to her tmrw, ik she's looovvveee it <33
Kimberly Arenas says
Awwww! Thats awesome!
Deb Kress says
So cute! I made one for my step daughter and I hear The Bugs Bunny cartoon frog singing every time I look at him. I'm so tempted to add a top hat and cane. 😜
Christine says
I love this lil frog. Have you ever considered making little accessories for him for holidays? I would love to dress him up!
Kimberly Arenas says
Oh that would be cute! I might do that this year! like a little witch hat or tiny cardigan!
Shawna says
My new favorite pattern! I have been making lots of these in different variations of green and brown. I would love to see more patterns like this for a variety of long legged creatures.
Dori says
I am in the process of making almost 60 froggies for our wedding at the end of March! I think I skipped maybe two rows because my test froggie is short 😀 But I will love all of them regardless!
If I can, I will post a pic when they are done 🙂
Kimberly Arenas says
The frog body is a bit shorter than other leggy frogs, but feel free to add rounds if needed!
Dori says
so THATS WHY my test froggie is stumpy! gonna add maybe 2 more rows
Chels says
I’m a beginner and made this today for my sibling. Such a great pattern and super clear instructions. Thank you!!
Kimberly Arenas says
Im so happy you enjoyed the pattern! I hope your sibling liked the frog too! 🙂
MsCmakes says
This is simply adorable and so well made! I have beginner students who want to make toys but soon find that, for the most part, many amigurumis aren’t easy projects. Your little frog seems simple enough for an advanced beginner. Would you be okay with me using your pattern with some of my students? I will, of course, credit you as the designer. And what is your policy for selling the finished product? Thank you, and I wish you success.
Kimberly Arenas says
That should be fine! You can sell the finished products 🙂
Julie says
My granddaughter is a beginner to amigurumi she fell in love with the frog. She noticed that in the pattern no mention of the sl st at the end of the row. Does she need to join or just continue with next stitch
Kimberly Arenas says
Its made in continuous rounds 🙂 So no need for a slip stitch.
Sandra says
Super easy and cute pattern. Thank you so much! Made some for a kayaking trip recently, as we will be seeing a lot of frogs. Will be hanging mine from my hat 🙂
Tamra says
Thanks so much for sharing your pattern…it’s easy to follow and comes together quickly; the result is an absolutely adorable ‘lil frog! I had planned to put him out into the world for a random person to find and take home to enjoy…but, I’m not sure if I can let him go! Guess I’ll just have to make more!
Marcellina says
Loved this pattern! So easy.
Marion says
Hallo Kimberly,
Super niedlicher Frosch - den musste ich auch häkeln! Ich hatte nur Probleme mit dem Bauch. Bei mir ist es leider an den Seiten nicht so "gerade" geworden...(Reihe 6-9). Habe hier auch die Anleitung nicht richtig verstanden. ABER der kleine Kerl ist trotzdem toll geworden 🤩.
Kimberly Arenas says
Im glad yours turned out cute! Mine has a slight slant to it, but you can always adjust the stitch color counts to make it look straighter if needed 🙂
Beth says
So cute and quick to make!
Camilla says
Just finished making this lil guy, he's so cute! He came together so easily too ❤️
Kimberly Arenas says
I'm happy you enjoyed the pattern!
Nicole says
I love this frog pattern! I was a little stumped at the toes on the feet and hands, but quickly figured it out. Honestly, I was surprised at how fast it came together too! Only took an hour or so from start to finish. ...and now my daughter is begging me to make her an army of frogs.