

What screams fall more than a Crochet Pumpkin Pie Pillow!? It's a perfect pillow for beginner crocheters and pie lovers who just want all the cozy vibes surrounding them this autumn.
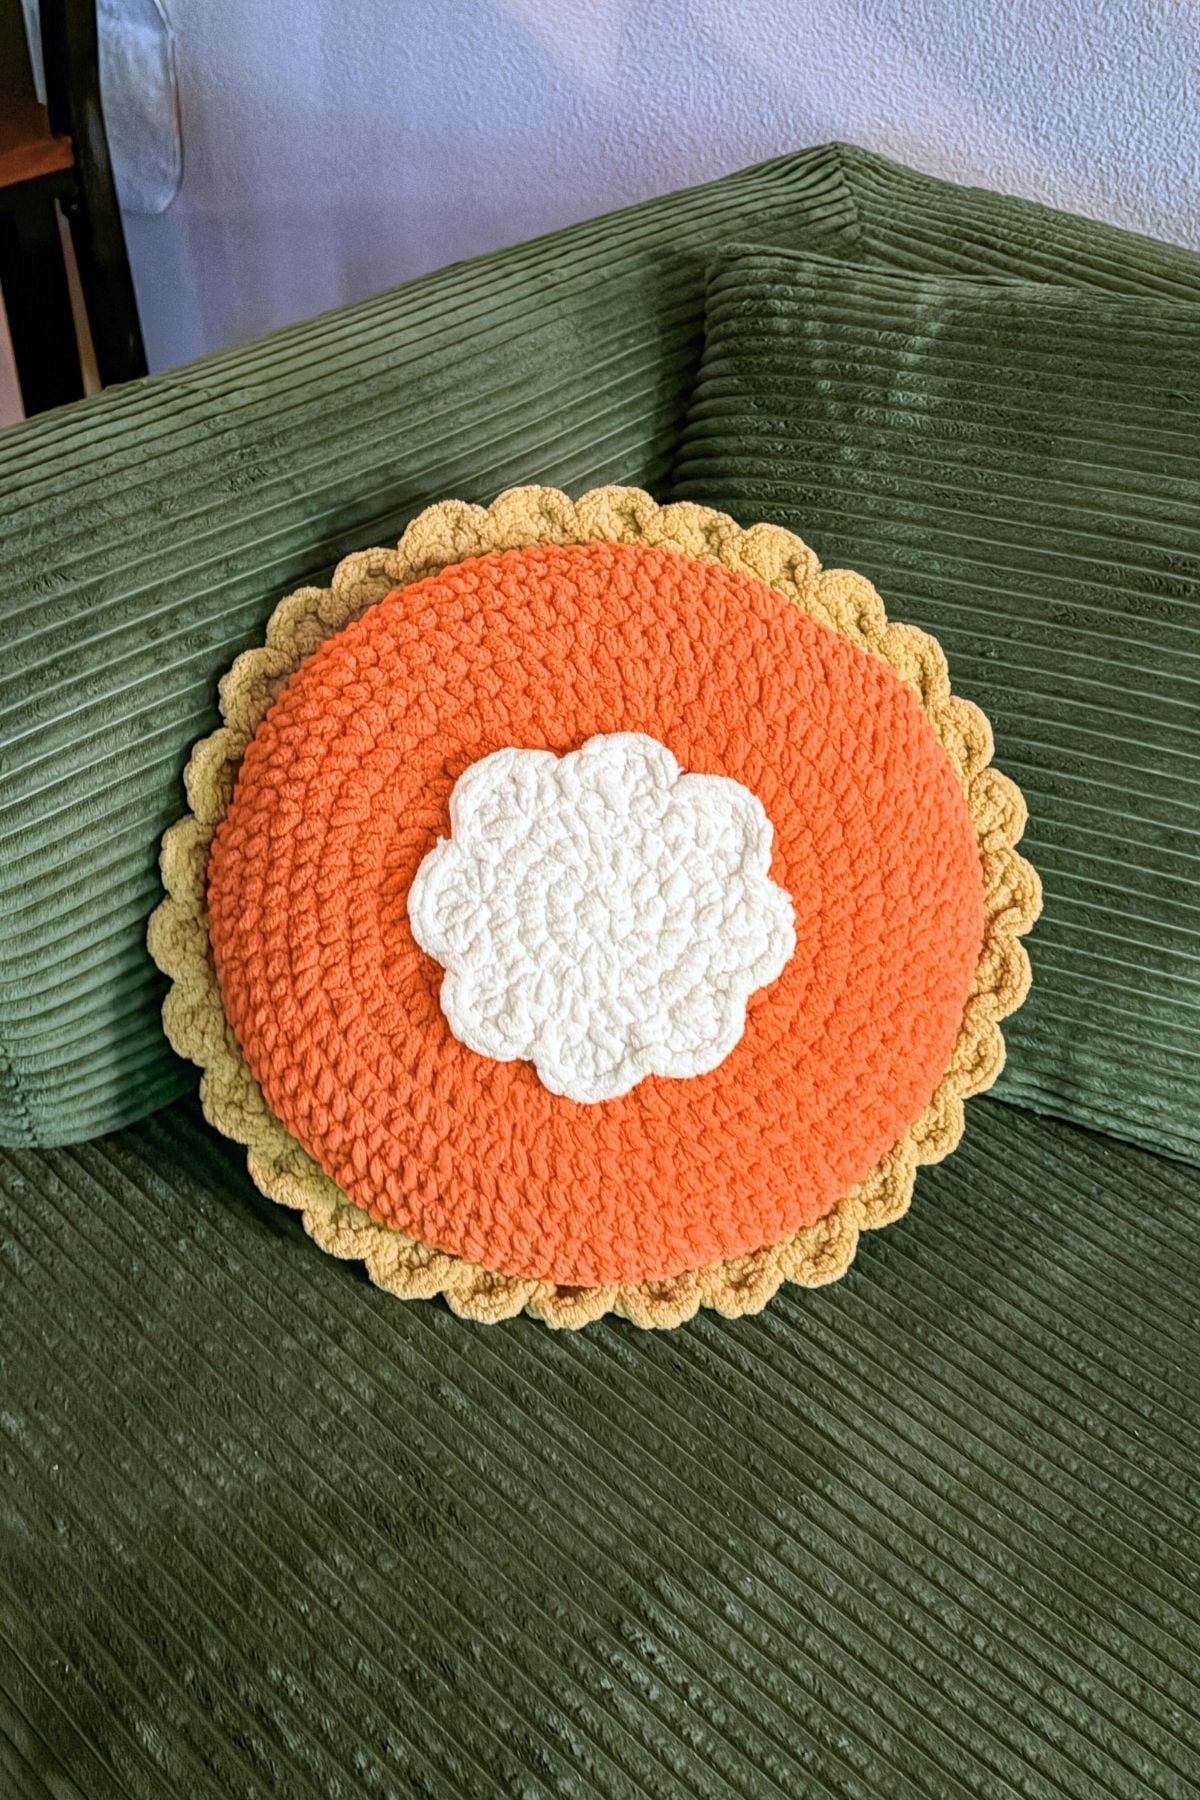
I have been wanting to make a crochet pie pillow for ages now! But I wanted to switch it up and use blanket yarn instead of my normal go to - worsted weight yarn. I've used blanket yarn, from Bernat and other brands, in a few of my other makes like my Crochet Tempura Shrimp Pattern, Crochet Snowman Hat Pattern, and my Crochet Chestnut Pattern I just love how quickly blanket yarn works up! I might have to use it in more of my projects, but I will say I am more of a worsted weight girly, after a while my hands hurt from the blanket yarn and I have to take more breaks.
Now this crochet pumpkin pie pattern isn't my only pie design, I have also made a Crochet Pumpkin Pie Potholder Pattern for my kitchen a few years ago. So if that is something your more interested in, check it out!
Jump to:
✏️ Things To Note:
- Yarn: I use Bernat blanket yarn for this crochet pillow pattern, it might be hard to see your stitches so use stitch markers if you need.
- Size: The crochet pie pillow ends up being closer to 15-16" across once completed. Perfect for a couch or bed!
- Sewing: There is minimal sewing used in the crochet pie pillow pattern. The only sewing you will do is attaching the whip cream to the front of the pillow.
🪡 Materials Needed
- Bernat blanket yarn - white
- ½ skein Bernat blanket yarn - pumpkin spice
- ½ skein Bernat blanket yarn - sand
- 6.5mm hook
- Tapestry needle
- Polyfill
💭Abbreviations to Remember (US terms)
- Magic ring - mr
- Single crochet - sc
- Double crochet - dc
- Slip stitch - sl st
- Increase - inc
🧋Variations
- You can switch up the pie flavor by switching put the pumpkin pie colored yarn! You can make a lemon meringue or key lime pie easily.
🍵Instructions for Crochet Pumpkin Pie Pillow Pattern
The crochet pumpkin pie pillow is made in the round.
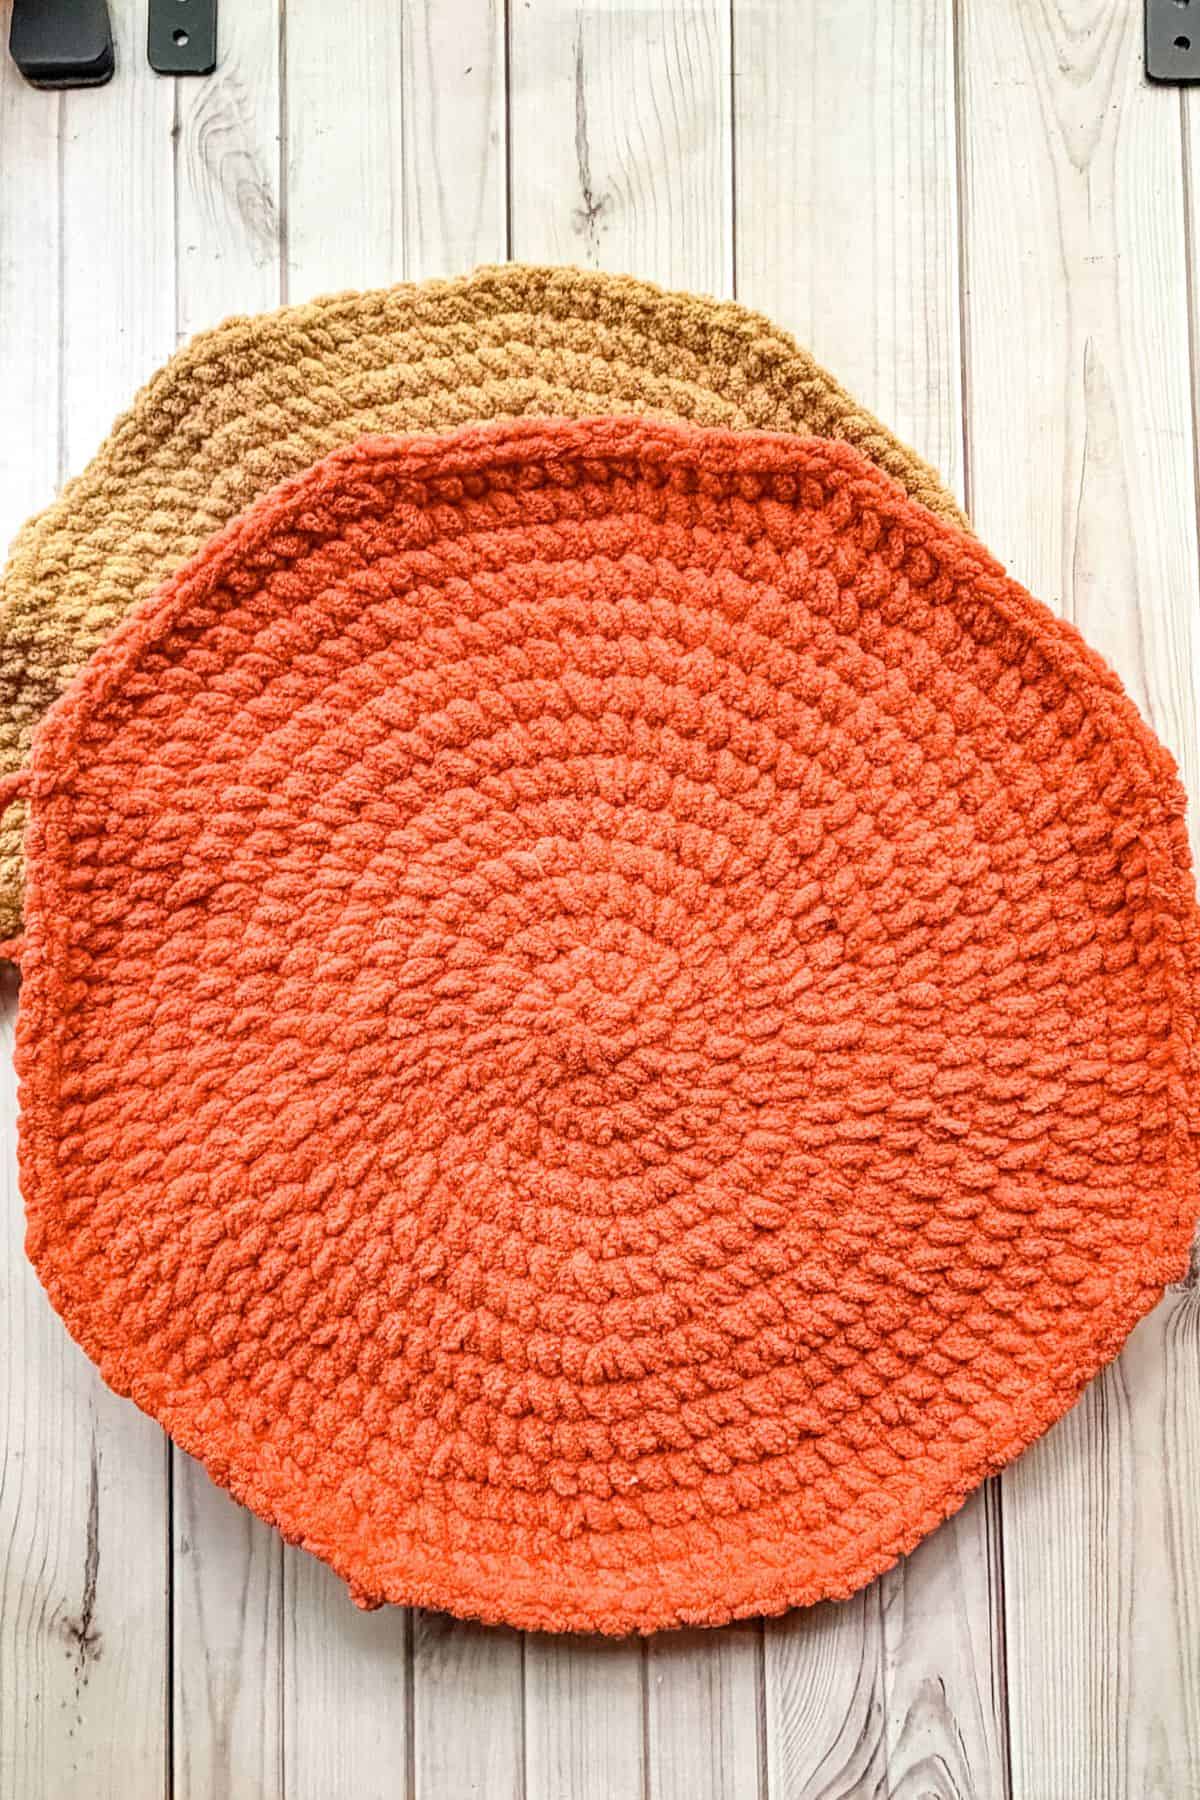
Round 1: Starting with either the orange or sand colored yarn, crochet a circle. Make a mr and sc x8 into the circle. Pull tight.
Round 2: Inc in every stitch (16).
Round 3: Inc, sc. Then repeat for the rest of the round (24).
Round 4: Inc, sc x2. Then repeat for the rest of the round (32).
Round 5: Inc, sc x3. Then repeat for the rest of the round (40).
Round 6: Inc, sc x4. Then repeat for the rest of the round (48).
Round 7: Inc, sc x5. Then repeat for the rest of the round (56).
Round 8: Inc, sc x6. Then repeat for the rest of the round (64).
Round 9: Inc, sc x7. Then repeat for the rest of the round (72).
Round 10: Inc, sc x8. Then repeat for the rest of the round (80).
Round 11: Inc, sc x9. Then repeat for the rest of the round (88).
Round 12: Inc, sc x10. Then repeat for the rest of the round (96).
Round 13: Inc, sc x11. Then repeat for the rest of the round (104).
Round 14: Inc, sc x12. Then repeat for the rest of the round (112).
Round 15: Inc, sc x13. Then repeat for the rest of the round (120). Fasten off the yarn.
Now make a second circle with the other color yarn.
Crocheting the Edge:
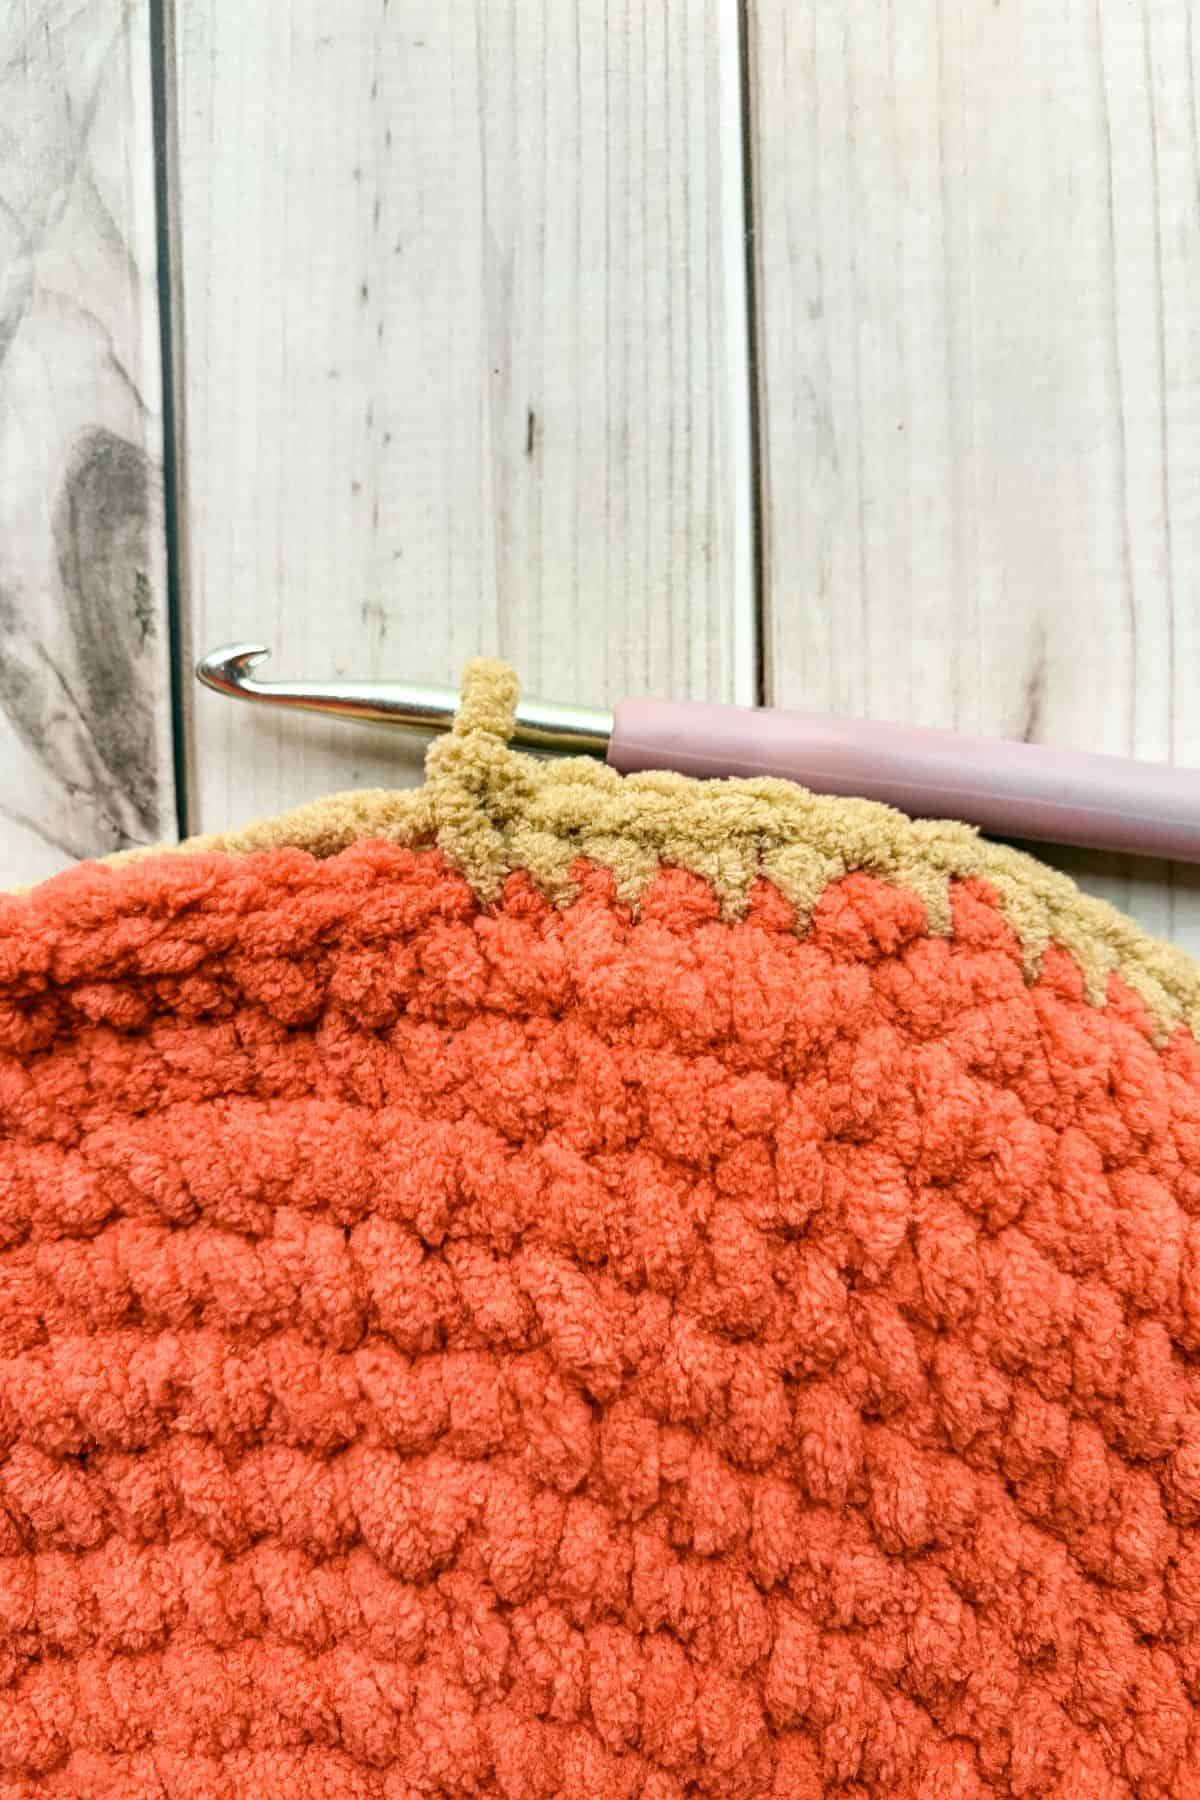
Line up the 2 circles, with the right sides facing outward, then join the sand-colored yarn to the edges and sc the edges together. Make sure to go through both sides of the circles (120). Begin to stuff the pillow when you are about ¾ of the way done.
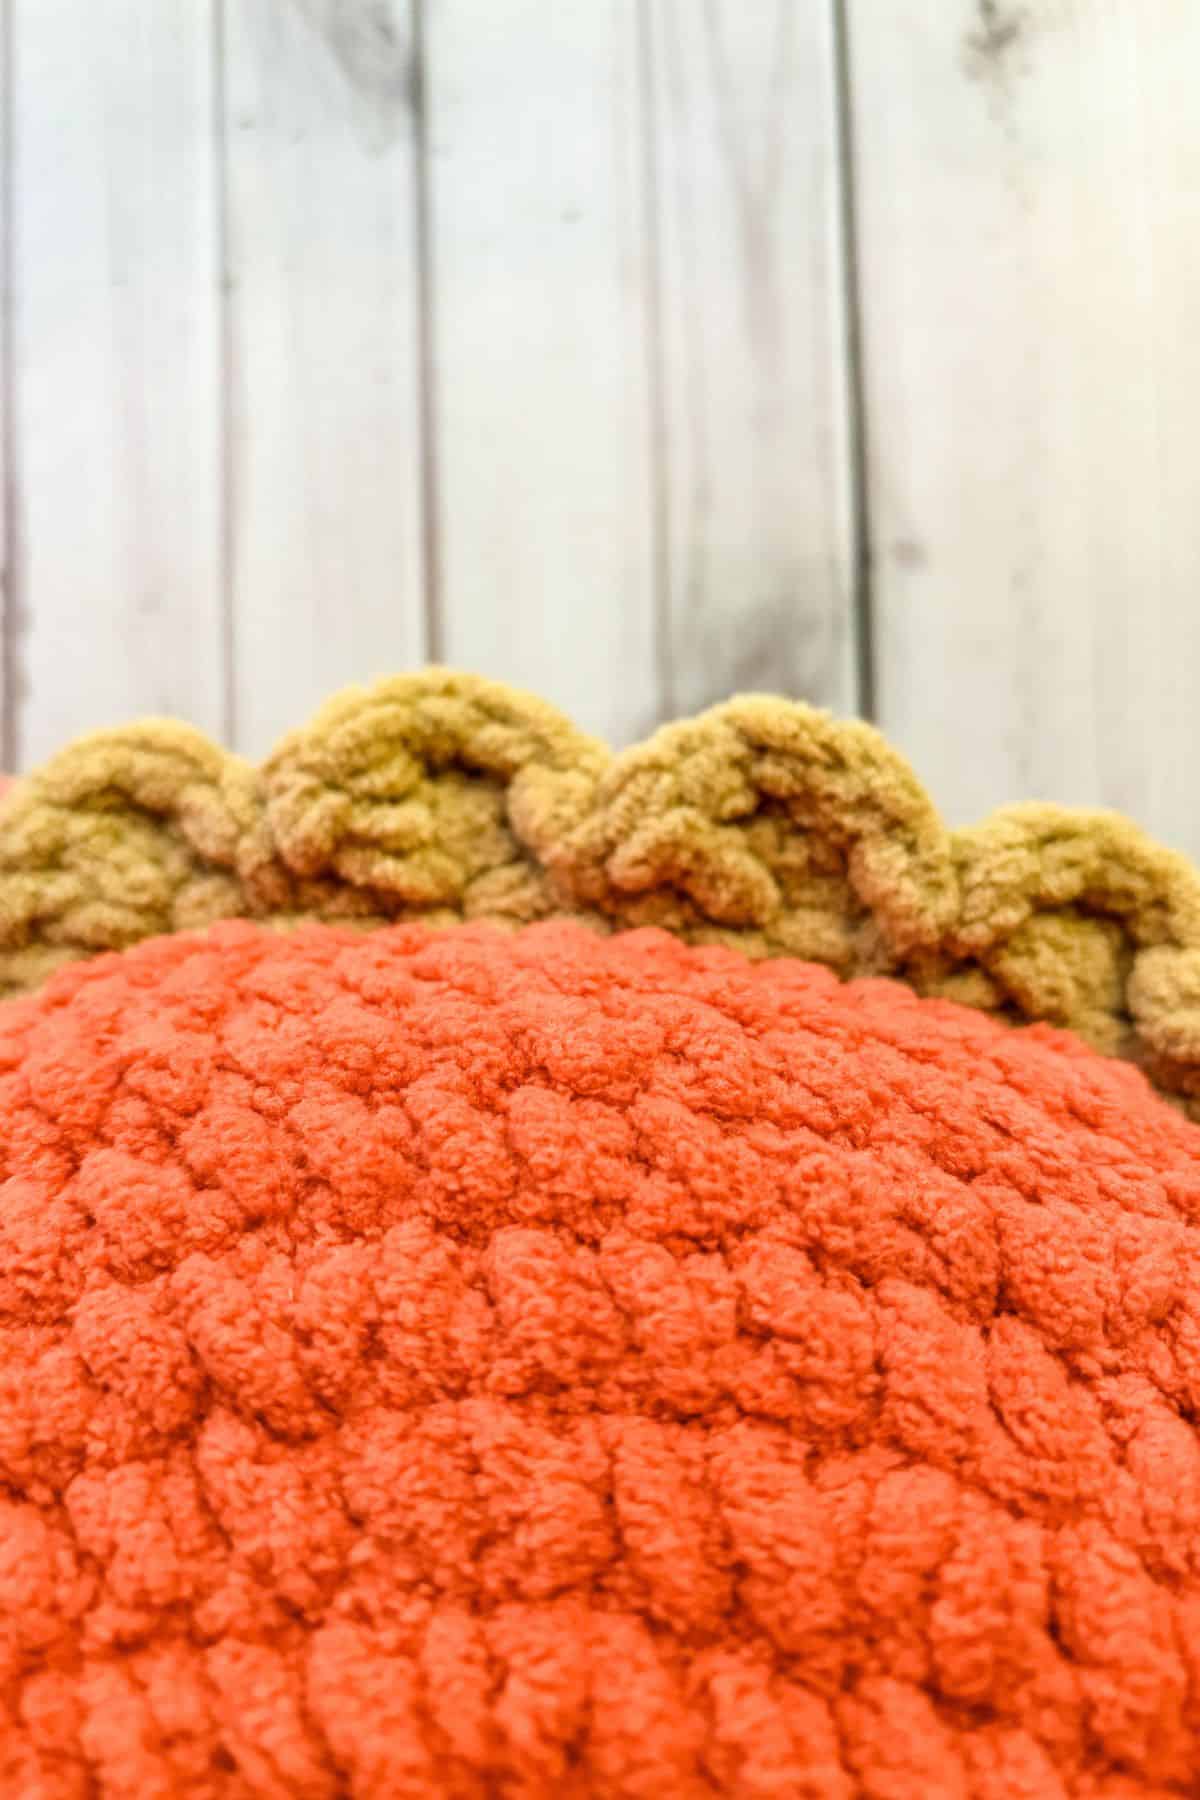
Once the pillow is crocheted shut, begin making the scalloped edge.
*Sl st into the next stitch, skip a stitch, dc x5 into the following stitch, and skip a stitch. Repeat from * for the rest of the round. Once done, fasten off and weave in the ends.
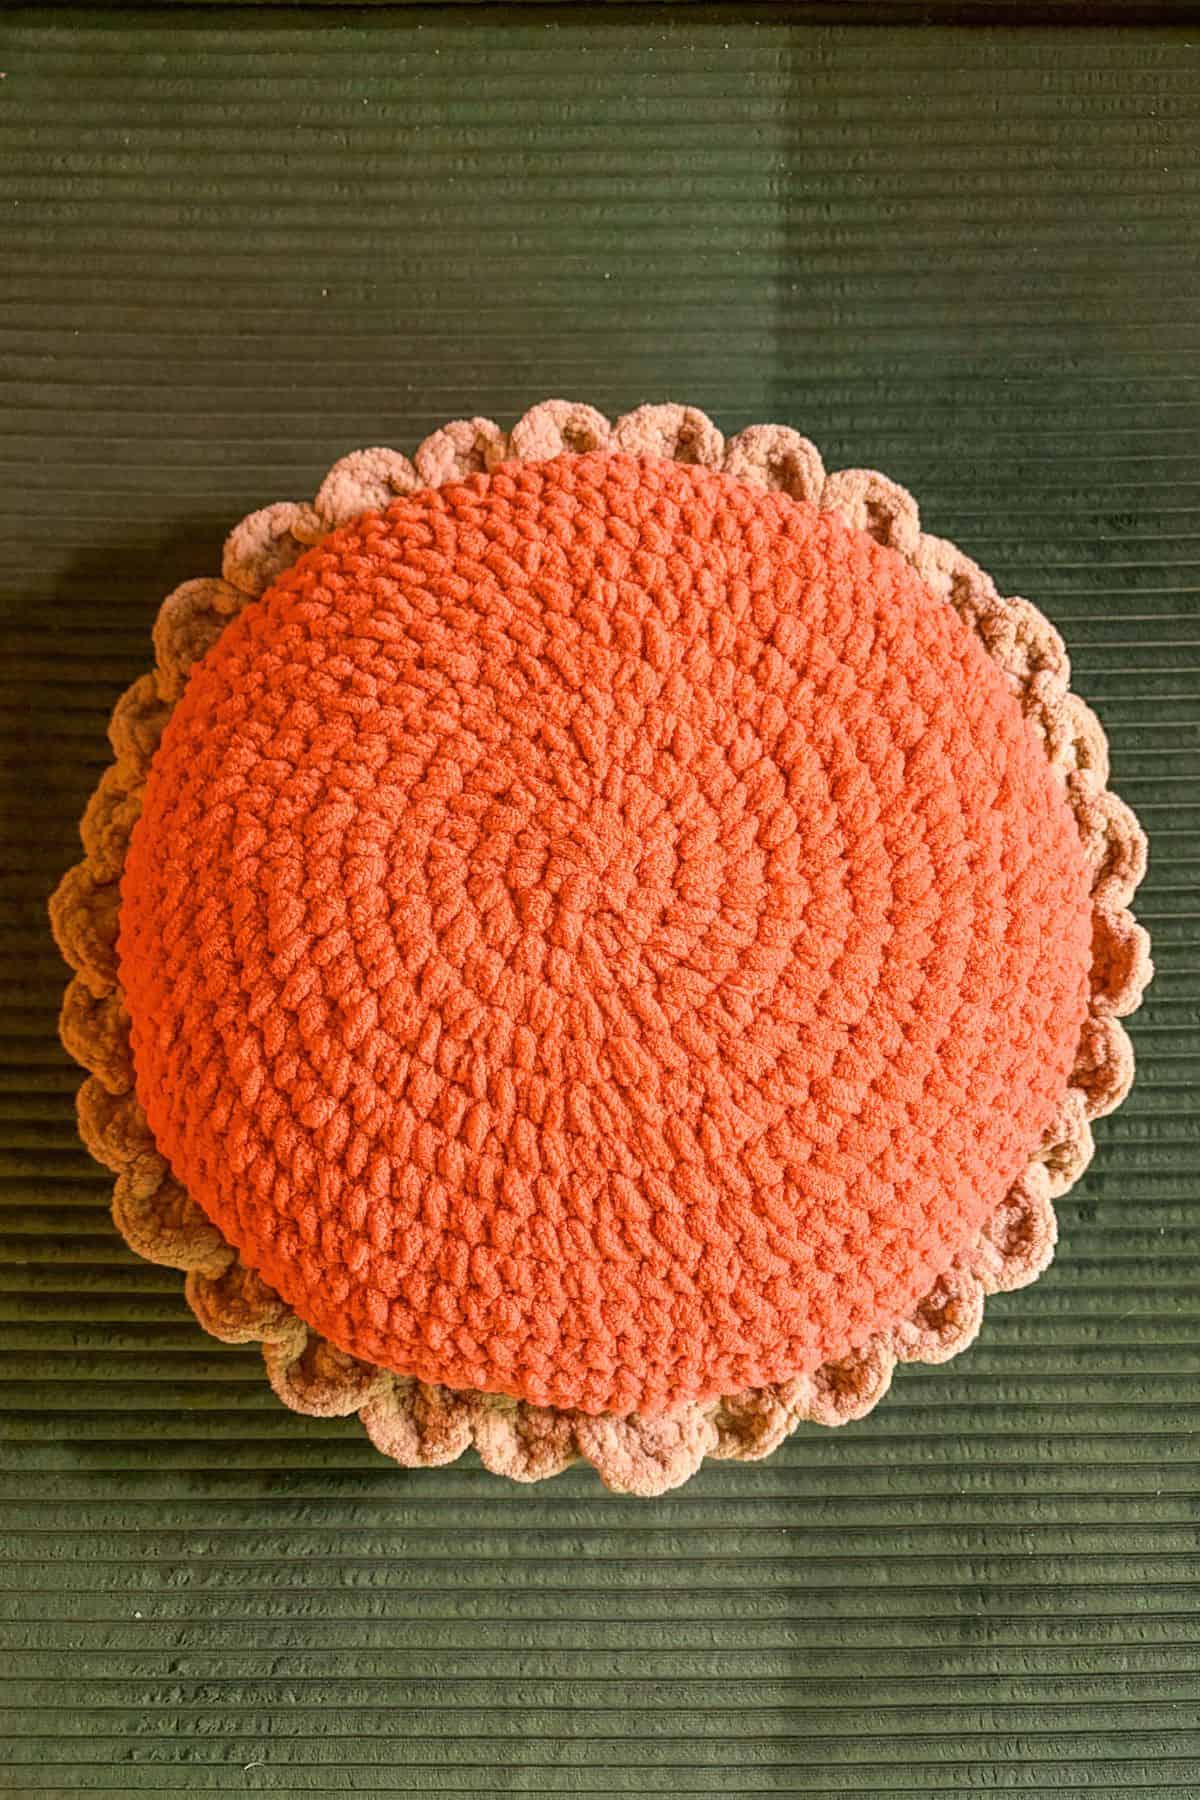
It's okay if it doesn't go evenly, no one is going to tell if one of the shells is squished a little bit.
This is what the pumpkin pie pillow should look like now.
Crochet Whipped Cream:
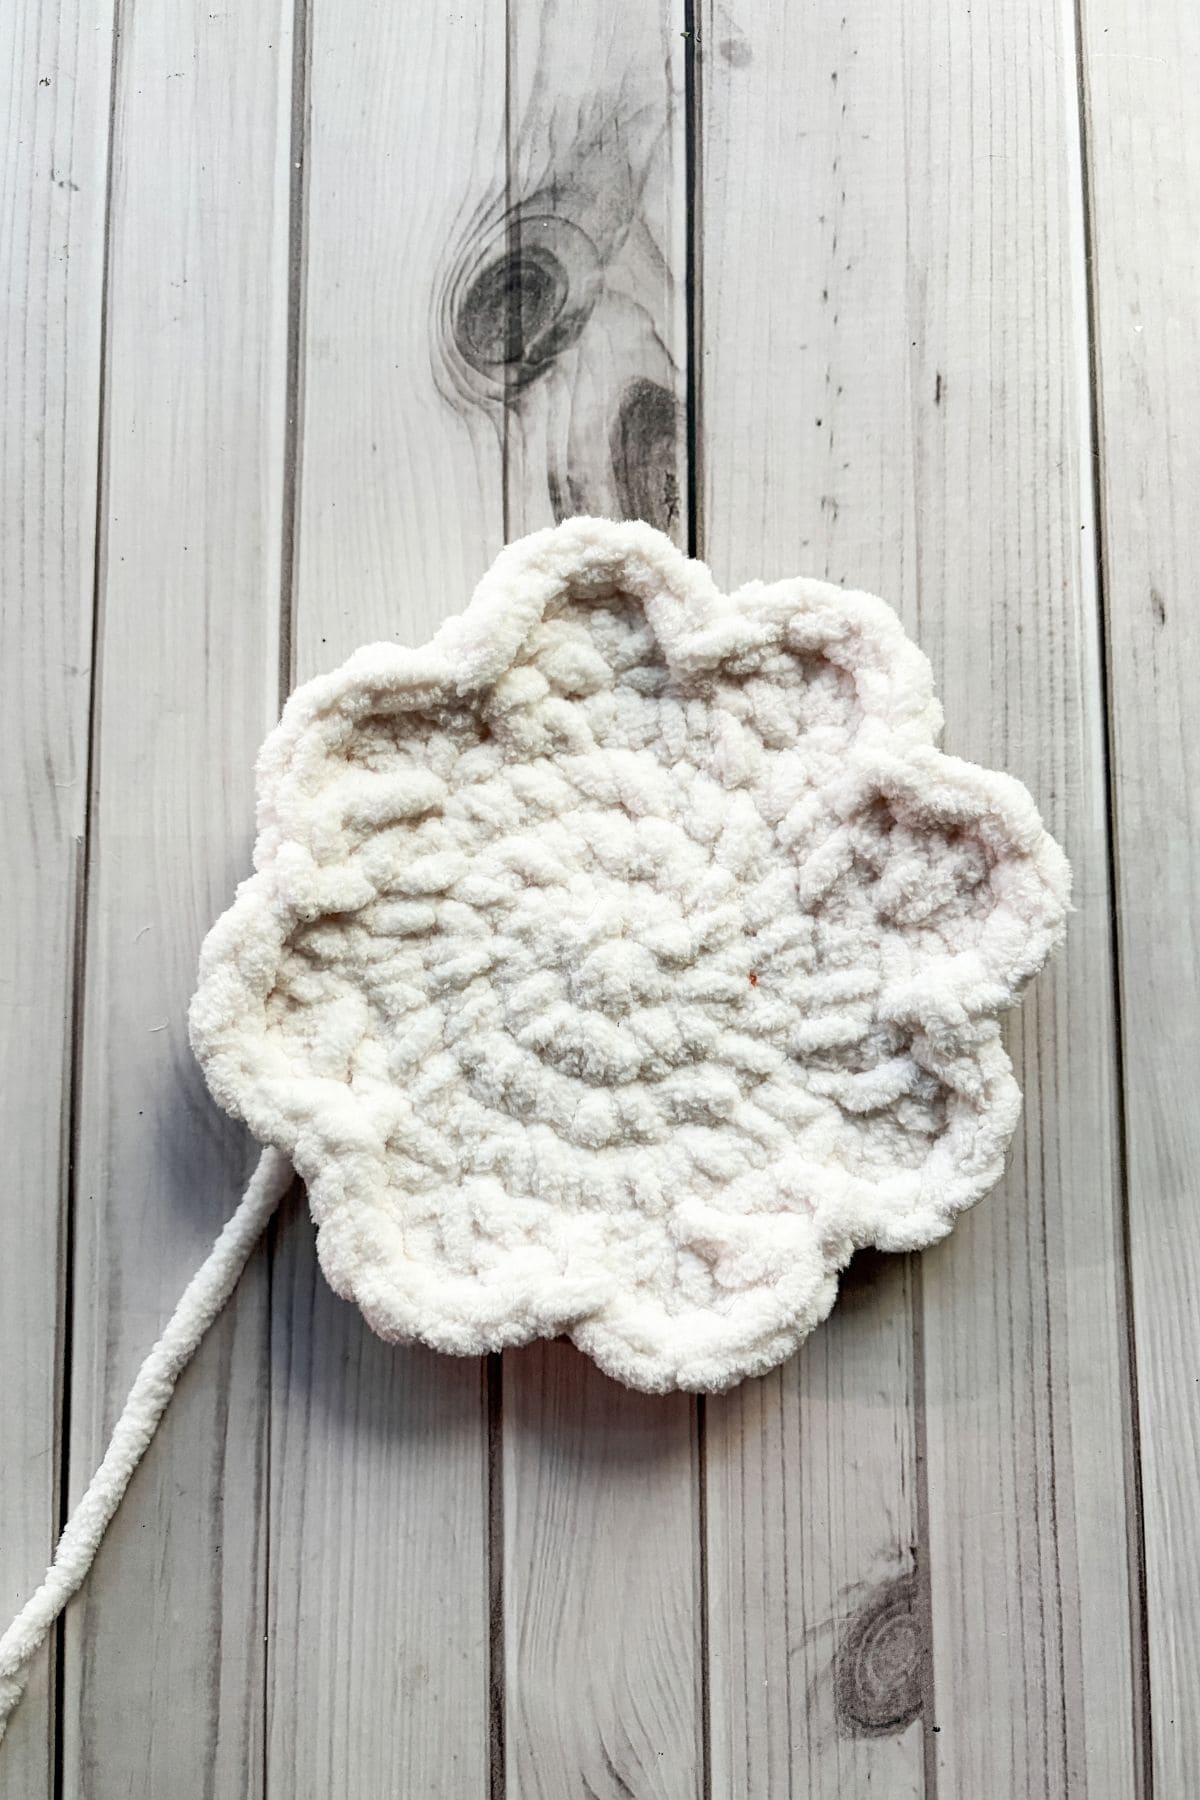
Round 1: With the white yarn, make a mr and sc x8 into the circle. Pull tight.
Round 2: Inc in every stitch (16).
Round 3: Inc, sc. Then repeat for the rest of the round (24).
Round 4: Inc, sc x2. Then repeat for the rest of the round (32).
Round 5: *Sl st into the next stitch, skip a stitch, dc x5 into the following stitch, and skip a stitch. Repeat from * for the rest of the round. Once done, fasten off and leave a tail for sewing.
Sewing:
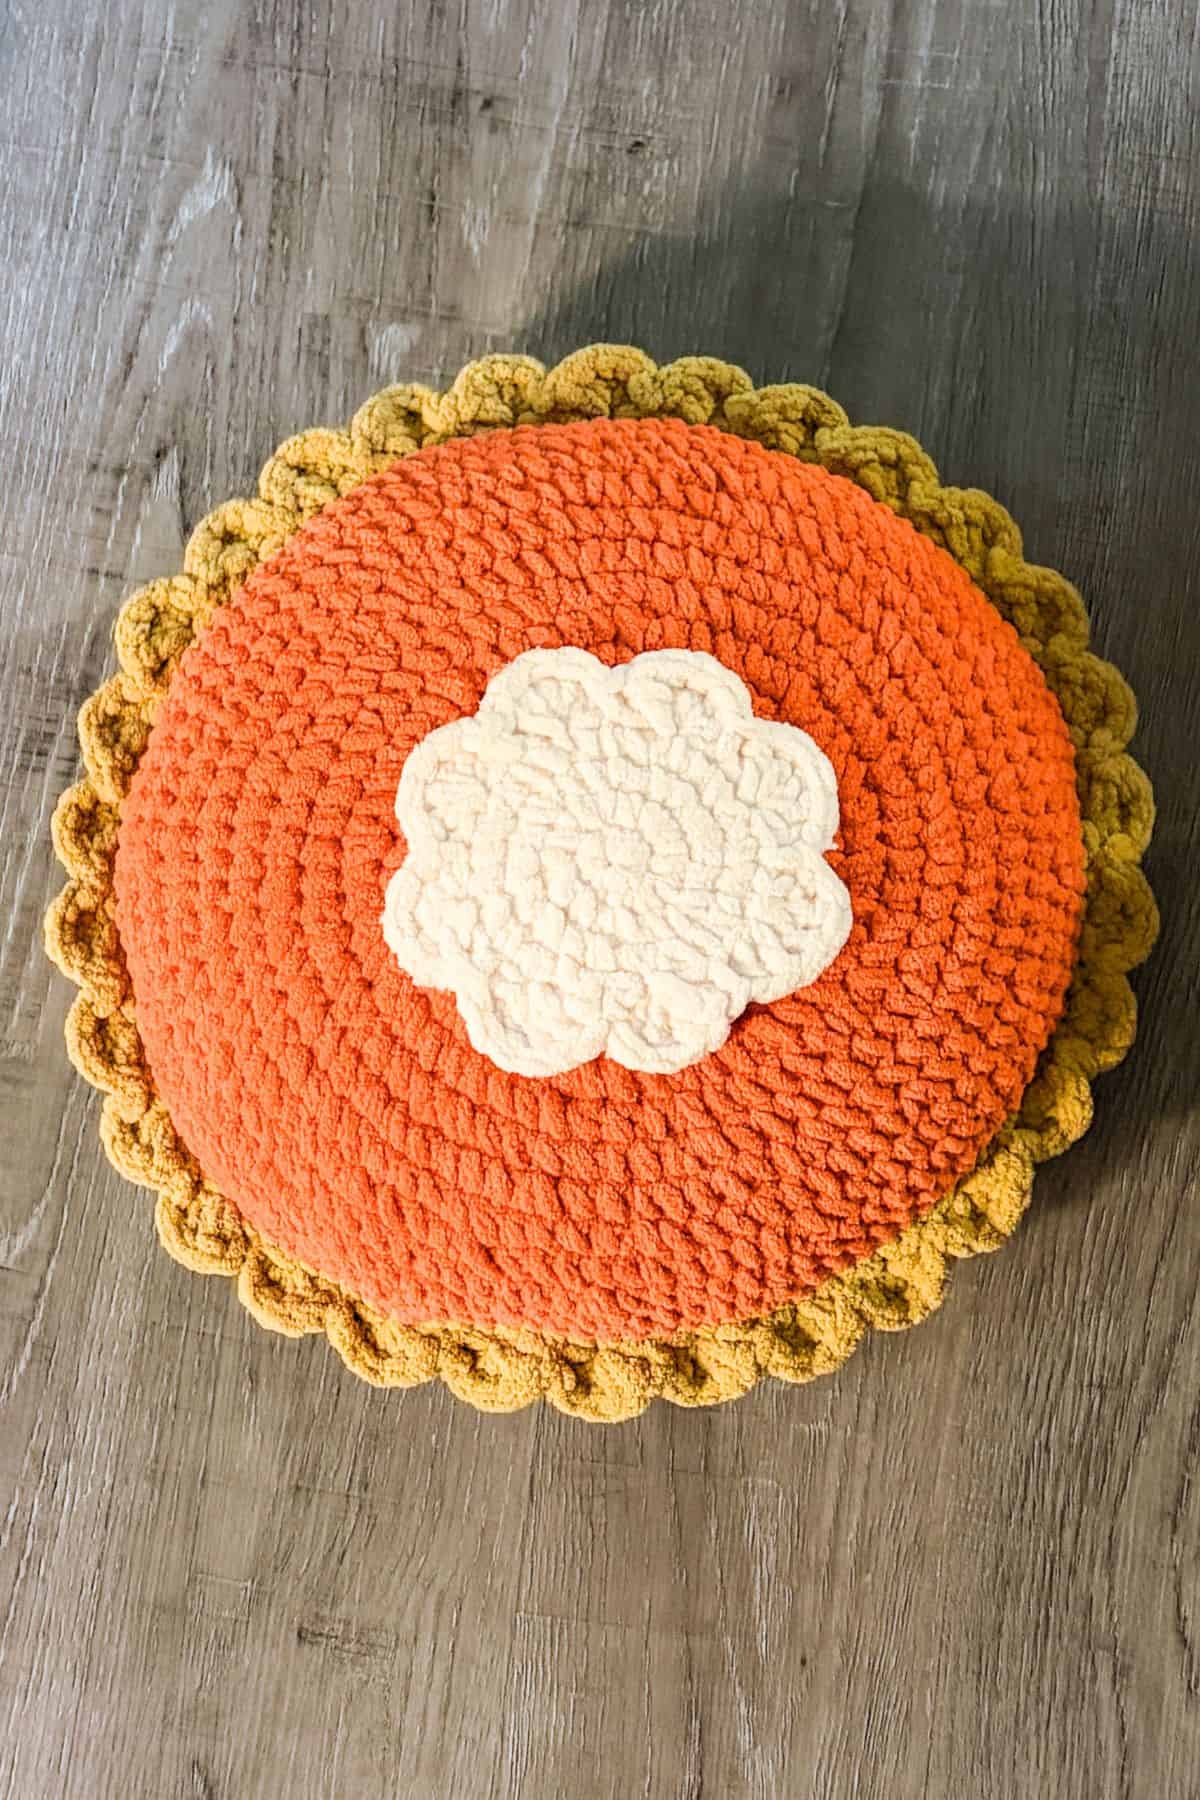
Sew the whipped cream to the middle of the orange circle.
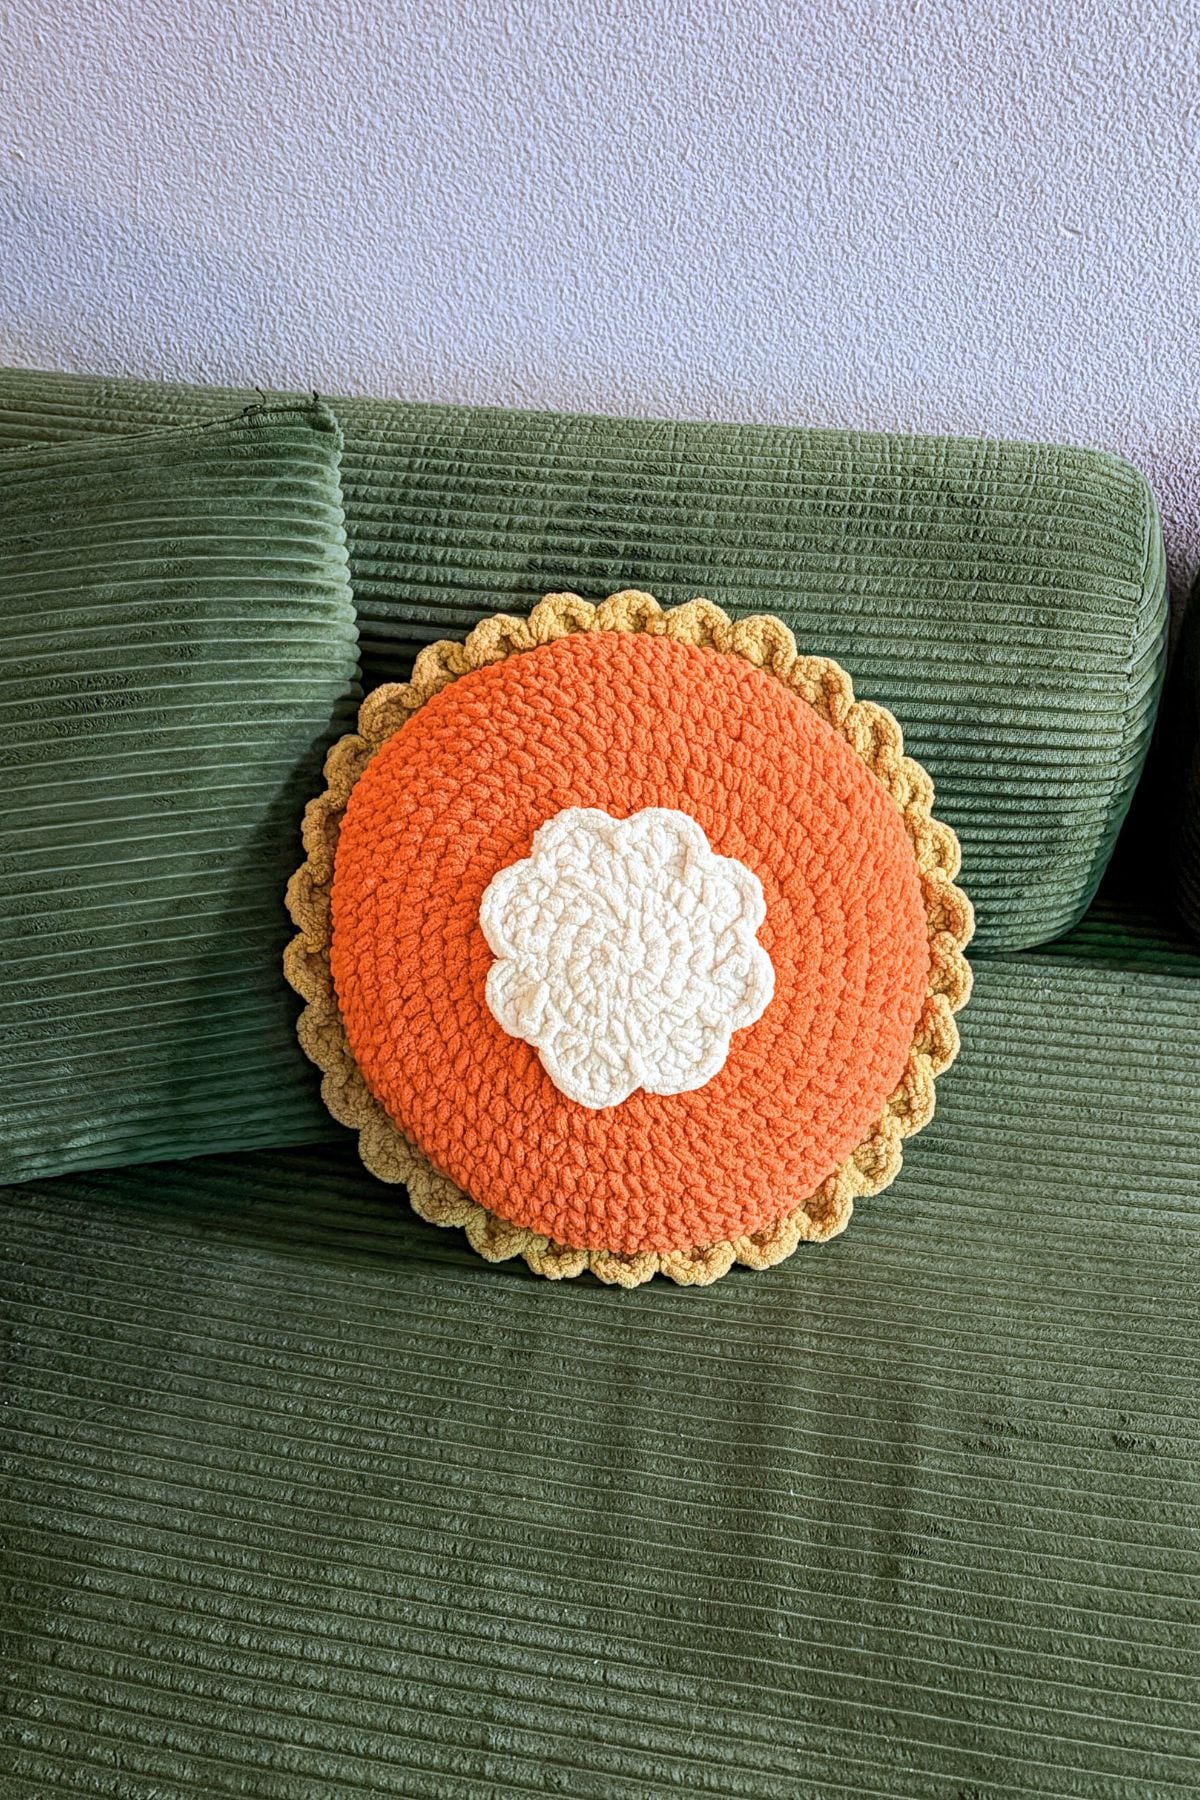
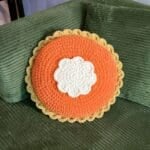
And now you have a cute pie pillow made from my crochet pumpkin pie pillow pattern! Perfect as a decorative pillow for your couch all fall long!
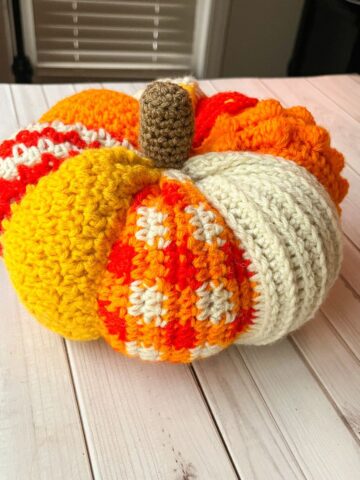
If you are wanting to make some other cute pumpkin themed crochet designs, my Patchwork Pumpkin Crochet Pattern is cute for those who want a more eclectic pumpkin pattern. And if you want a more simplified pumpkin pattern you can never go wrong with my Crochet Pumpkin Pattern with Leaves design.
If you are wanting more fall themed decorations for the home my Crochet Fall Garland Pattern is always a hit! Just sit back and relax to some fall hallmark movies and make tiny acorns and pumpkins while you sit and watch!
🐌Expert Tips
- Don't be afraid of using stitch markers to keep track of the beginning of your rounds if you are having a hard time seeing your stitches because of the blanket yarn.
- If you prefer to use a pillow insert instead of polyfill, just make sure the circles are large enough to cover the pillow.
- You can also sew the whipped cream to the front of the orange circle before crocheting the 2 circles together and finishing off the pillow if that is easier for you.
🧵Pattern FAQs
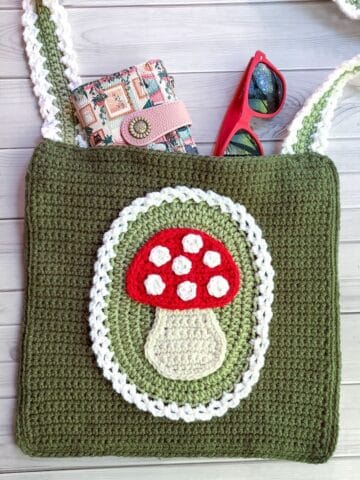
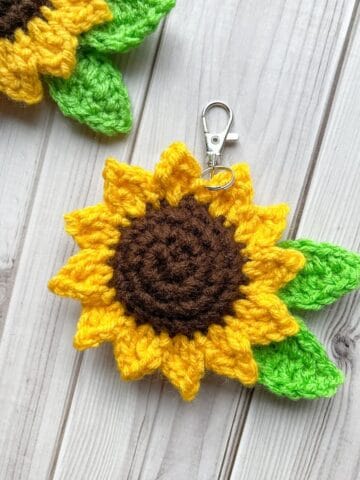
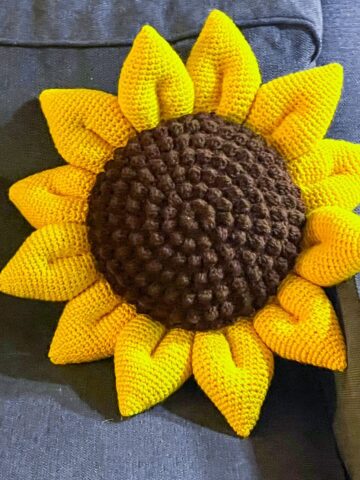
You can make it a berry pie by using bobble stitches - I use them for my Crochet Sunflower Bag Pattern and you could use that as the base for your berry filling if you wanted a heavy texture like that.
If you're only missing a stitch I would just make 1 scallop a little squished, so instead of skipping a stitch just make a sl st into the next stitch proceeding the 5 dc stitches. If you are missing 2 stitches, do this for the last 2 scallops.
Yes! Just increase each round by 8 for both circles.
🧶More Fall crochet Patterns


If you tried this Crochet Pumpkin Pie Pillow Pattern (or any other pattern on my website), please let me know how it went in the 📝 comments below. I'd love to hear from you!
Crochet Pumpkin Pie Pillow Pattern
Materials
Abbreviations (US terms)
- Magic ring - mr
- Single crochet - sc
- Double crochet - dc
- Slip stitch - sl st
- Increase - inc
Notes
- Yarn: I use Bernat blanket yarn for this crochet pillow pattern, it might be hard to see your stitches so use stitch markers if you need.
- Size: The crochet pie pillow ends up being closer to 15-16" across once completed. Perfect for a couch or bed!
- Sewing: There is minimal sewing used in the crochet pie pillow pattern. The only sewing you will do is attaching the whip cream to the front of the pillow.
Instructions
The crochet pumpkin pie pillow is made in the round.
- Round 1: Starting with either the orange or sand colored yarn, crochet a circle. Make a mr and sc x8 into the circle. Pull tight.
- Round 2: Inc in every stitch (16).
- Round 3: Inc, sc. Then repeat for the rest of the round (24).
- Round 4: Inc, sc x2. Then repeat for the rest of the round (32).
- Round 5: Inc, sc x3. Then repeat for the rest of the round (40).
- Round 6: Inc, sc x4. Then repeat for the rest of the round (48).
- Round 7: Inc, sc x5. Then repeat for the rest of the round (56).
- Round 8: Inc, sc x6. Then repeat for the rest of the round (64).
- Round 9: Inc, sc x7. Then repeat for the rest of the round (72).
- Round 10: Inc, sc x8. Then repeat for the rest of the round (80).
- Round 11: Inc, sc x9. Then repeat for the rest of the round (88).
- Round 12: Inc, sc x10. Then repeat for the rest of the round (96).
- Round 13: Inc, sc x11. Then repeat for the rest of the round (104).
- Round 14: Inc, sc x12. Then repeat for the rest of the round (112).
- Round 15: Inc, sc x13. Then repeat for the rest of the round (120). Fasten off the yarn.
- Now make a second circle with the other color yarn.
Crocheting the Edge:
- Line up the 2 circles, with the right sides facing outward, then join the sand-colored yarn to the edges and sc the edges together. Make sure to go through both sides of the circles (120). Begin to stuff the pillow when you are about ¾ of the way done.
- Once the pillow is crocheted shut, begin making the scalloped edge.
- *Sl st into the next stitch, skip a stitch, dc x5 into the following stitch, and skip a stitch. Repeat from * for the rest of the round. Once done, fasten off and weave in the ends.
- It's okay if it doesn't go evenly, no one is going to tell if one of the shells is squished a little bit.
Crochet Whipped Cream:
- Round 1: With the white yarn, make a mr and sc x8 into the circle. Pull tight.
- Round 2: Inc in every stitch (16).
- Round 3: Inc, sc. Then repeat for the rest of the round (24).
- Round 4: Inc, sc x2. Then repeat for the rest of the round (32).
- Round 5: *Sl st into the next stitch, skip a stitch, dc x5 into the following stitch, and skip a stitch. Repeat from * for the rest of the round. Once done, fasten off and leave a tail for sewing.
Sewing:
- Sew the whipped cream to the middle of the orange circle.
- And now you have a cute pie pillow made from my crochet pumpkin pie pillow pattern! Perfect as a decorative pillow for your couch all fall long!

Leave a Reply